Transcripts
1. Introduction & Tools: Hi, my name is Jen Lo. I'm a watercolor nature
artist and sketcher. Welcome to this class. Drawing everyday Objects. Everyday objects are a really
great subject because they are easy to access and
you see them every day. To take this class, it
would be good if you have a little bit of basic
knowledge about how to draw. However, if you don't,
that's also okay. I have tried to make
this class as simple and easy for anyone
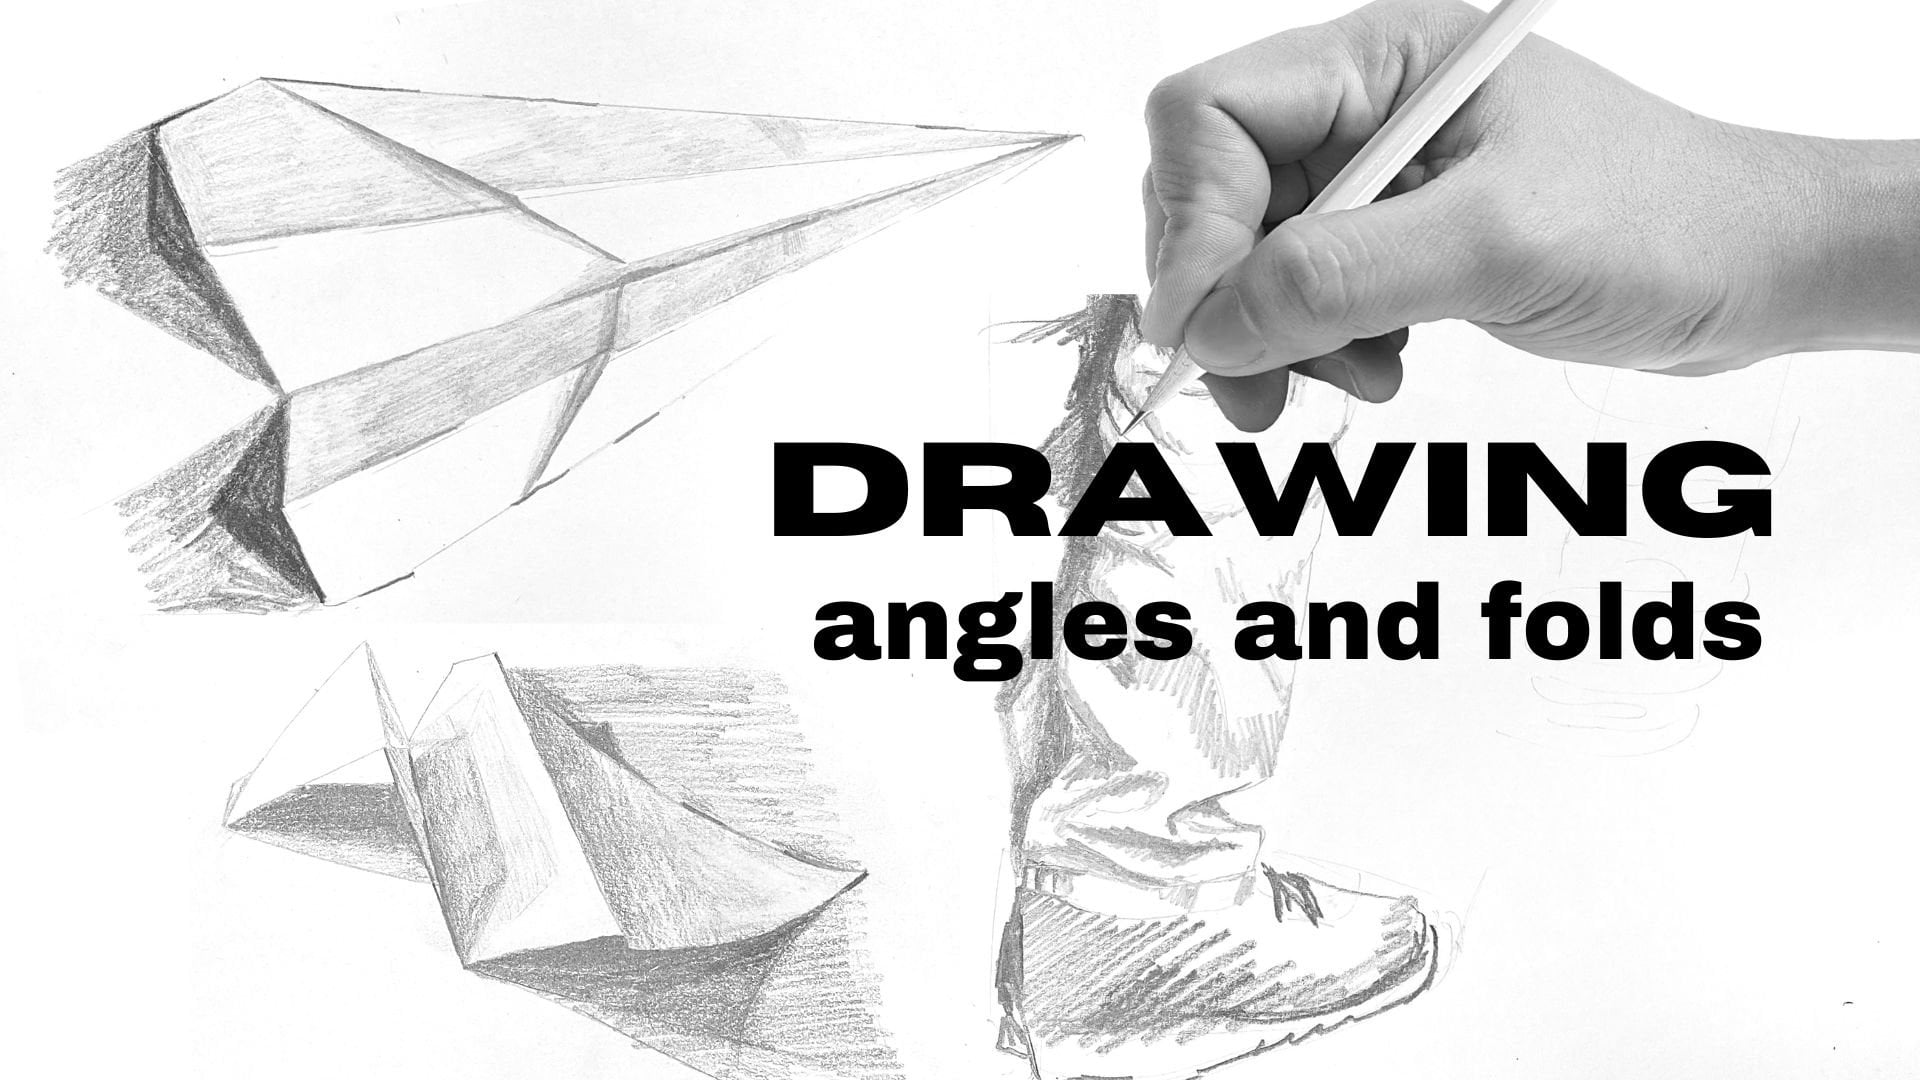
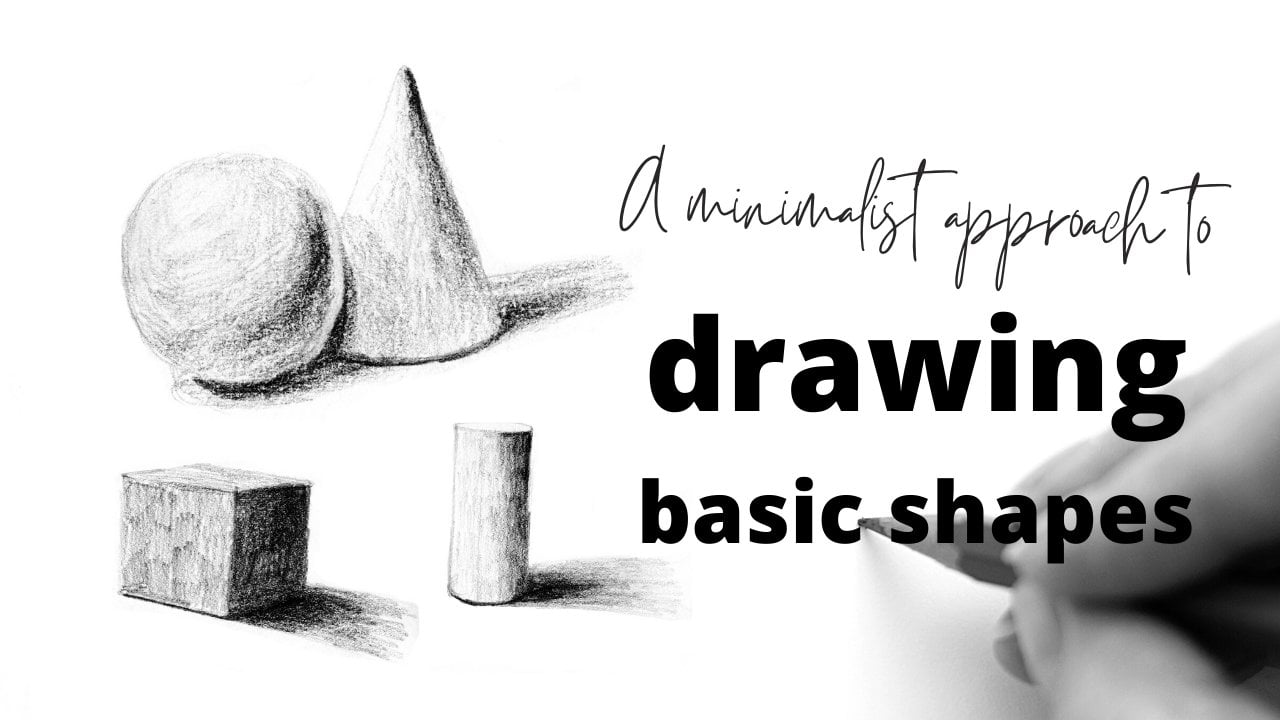
to follow along. This is also a series class. I previously put out basic shapes and drawing
angles and folds. It would be good to go back
and take the classes if you don't have basic of drawing. However, it is not necessary. Each class is also meant
to be stand alone. The tools for this
class are very simple. We will only be using three
pencils and copy paper. The pencils are H B 4.8 Why
are we using copy paper? Well, because it's really
cheap and easy to access. However, if you
have a sketchbook, go ahead and use that. Don't forget your eraser. All right, let's
get into the class.
2. Class project: For the class project,
you have two options. Number one is to draw one of the same drawings using
reference photos. I will add some
time to draw videos that you can use
to follow along. What you can do is watch the tutorial and then use
the time to draw videos. Another option is to set
up your own little scene and find some of the
everyday objects that you have around your house. Here is an example of
how you can set it up, find some plain surface, or you can make one yourself, like using a really big
piece of paper or a sheet. Once you have made a surface, then you can find some of your objects and put
them in the middle. Here are some examples of objects that are really
good and fun to draw. First step, we have this to go for a toy with a
really simple shape. Nothing that's too complicated. Next up, we have the scissors. I love scissors because
it's such a unique object. Scissors also have
variation as well. You can open these ones and it gives you a totally
different shape. Another one is bottles
or some container. Here is a headphone case. It's a little bit
interesting because it's got two different shapes. It's flat on the top, then it's rounded on the bottom. You can put it in different situations and it will give you a different shape. The next is also an interesting bottle with
a different type of top. This will just give
you a little bit of a challenge and there's a
little bit of variation to it. Next we have a paint brush or a marker are really fun because they are objects
that we see every day, but sometimes they have a
different shape to them. For example, this one
goes in and then out, and then also has a
different rush at the top. That gives us a challenge. The next is the marker. It has a little bit of something difficult with the
transparent hook thing, but the one thing
that I would avoid is see through objects or objects
that have liquid in them. That is because of course
it depends on you. But drawing liquid
or drawing anything see through is really
quite difficult. I wouldn't really
explore that until you get to the more
intermediate levels of drawing. There you go. Have fun with all the unique
and interesting objects that you find lying
around your house. Please upload your project
for everyone to see. You can do that by
going to the Projects tab and clicking Upload Project. Look forward to seeing what objects lie
around your house.
3. Vocabulary: Let's go over some
vocabulary that will be used in the class form. The form refers to the
object or subject that you are drawing a shade. This is what I will refer to
when the form is not white, you need to fill up the entire
form with a base shade. A shadow or form shadow. A shadow really refers to
the first layer of shadow. This could be on the
ground or on the form. Form shadow is usually referring to the
first layer as well, but specifically on the form. Sometimes base shadow and form shadow will be used
interchangeably. Second layer of shadow, this just means the
second layer of shadow. It could be on the form
or on the cast shadow. It is the darker
layers of shadow being added after
the base shadow. Let's talk about the
cast and contact shadow. The cast shadow is the
shadow that is being cast onto the ground or
onto another object. The contact shadow is usually
where two objects meet. Sometimes contact shadow and cache shadow will be used
interchangeably but just know the context shadow
is usually darker than the cast shadow angle. When I refer to the angle, I'm talking about the direction
an object is pointing. Now you should have a good
understanding of some of the vocabulary that we'll
be using in this class.
4. Toy Plushie: All right, in this
video we're going to be drawing this plushy toy. It's very simple
and easy to draw. We're going to focus on the
areas where the contacts are, where each ball connects
with each other. Just play around with putting these round
shapes together. The first thing that I want
to do is I'm going to see the angle that is being created between
the head and the tail. It's slanted like this. I make a little
line to show that. Then from here going
to do the head, I'm going to just wrap around. I'm holding the pencil
very loosely at the end. It's really easy
for me moving with my whole arm and making
this easy C shape. Now it's a bit wider at the head and a little
bit thinner at the tail, maybe something like this all. Now we have our general idea, Now it's time to make
what are these called, the lines in between each fall. This one you want to look at
the direction it's pointing, a little bit to the right
and also the curve. The curve is going
out in it's shape. I'm going to just draw
a line like this. Then I'm going to
curve it a little bit. It's going to look
something like that. Tiny bit curved. All right, the next line is pointing
more to the left. It's not really curved at all, it's pretty much straight. I'm going to point
it to the left and I'm just going
to keep it straight. Let's count how many
pieces there are. 123456. I need to break
this up into six pieces. We can measure that these two pieces in
front are almost the same size or
the same length, but the second one is
a little bit longer. Let's go to the next one. Now it's going
something like that. It's also curved,
but this one is making a backwards C.
It's not making a C, it's making a backwards C. Next one is pretty much straight. Let's see, let's measure it. The line to the line somewhere right there's
pretty straight, straight with the line
of the paper straight. Then it's also making
upside down upside down. The last part is pointed a
little bit down to the left. It's also making quite
a big upside down. Now we've broken
it up into pieces. And what we're
going to do is now we're going to make more of the shape of each individual
part of this worm. Going to hold my pencil
like this, let me think. Let's hold the pencil like this. I'm still holding it
out in the middle because I need to
make big shapes. If I hold it too closely, I won't be able to
make those big shapes. I still want to hold it a
little bit out so that I have more range of movement with my arm rather than
just my wrist. Right. Let's do the next part. Next part is like this. You can here, where
these lines overlap. This one comes over and
this one comes under. So we're going to do
that on the other side. It's the same but not as much. This is pretty
straight and then it wraps around like this. This one is pretty small wraps. Let's finish this. Wraps
it around like that. Okay, so we have
the general shape, but the one thing I'm noticing is that this particular part of the worm is actually
a little bit smaller than what I
have depicted here. I'm going to erase this a little bit and just make it
a little bit smaller. I think what it is is that
just a little bit more like that then this part is
coming out here. There. So we have it all drawn out, that's to the Y. And a little, not
supposed to be, the feelers for the worm
is just a little X. Okay, so now we're
going to clean it up a little bit before we
get into the shading. Now we're going to go in with the HP and just make
everything darker, just to give it the base. The H. B is a pretty
sharp pencil, the lines are quite obvious. You still want to follow
the form and make it look like it's wrapping around. What I'm trying to do with this is I'm just
trying to fill up the white space so that
it doesn't look so empty. You draw the little tag here. Okay, I'm only going over
and doing the darker ones. That's its base shade. And then now I'm going to go in and I'm going to do some of the form shadows for
the lighter ones. Okay, let's start from
this one here. Let's see. The light is coming from
all directions but the top, it's looking a tiny bit darker. That's because the light
is like touching all around but not hitting
the top as much. Also the part where
the balls connect, There's going to be a
contact shadow there. Let's add a little bit here, a bit here, then
a bit on the top. It already looks a little
bit more like a ball. Okay, let's move on to
the next ball here. It's being cast in
shadow on the top here, the contact shadow here. And then maybe just a little
bit in the back here. Okay, I'll move on
to the last fall. Definitely the contact shadow, maybe a little bit around here. Now we're going to
move on to the four. We're going to add in the
second layer of shadow. We're going to use the
four to do the form, so for the darker parts. Okay, So the same
start at the top, it's a little bit
darker here at the top. Try to get it to blend
in a little bit more. Okay. And then we have
this contact shadow here, which is pretty obvious. We have a little bit
down here under the eye. That one is starting
to look a bit more. D, contact shadow here, put a little bit here, but not too much,
some around here. Contact shadow,
maybe a little bit down here because it's
touching the table more. There's less light there. Let's see where else maybe
splend a bit better, but a little bit here now it
is a little bit down here. It's the contact shadow down here for sure. Make this contact shadow a
little bit more obvious. And go back to B to do the hi and use the four B
to more contrast. Okay, now I'm going
to go back to the H B because does look great. It looks a little bit, a little bit patchy, like there's just
too much white space I'm going to try to use. So try to use the HB and just make
everything a little bit, so the same here. Just fill it in a little bit. Make everything a
little bit softer. Because after we go
in with the four B, the darker parts become darker. But then as you can see, once I fill in the H B, then there's not as
much contrast anymore. Now we're going to go
in with the four B again and just push some of those a tiny
bit darker still. We should try to blend
it as well as possible. It's okay if it
looks a little bit scratchy, it's totally fine. Because these are not
full render drawings. These are just sketches, they're just sketches
of things around you. I do think the sketchiness adds this really nice quality
to the drawings as well. Now, we're going to
go with the eight B. First thing I want to do is get this one as
dark as possible. Get his eye, it just for contrast
around the eye. Now we got to do
the contact shadow. Hey, next contact shadow, it gets a little bit darker, just in certain spots. Okay, looks great, but it still feels like
something is missing. That's because there's
no context shadow from the table to
and the object. It feels like it's floating
a little bit in space. For that I'm going to use the
four B. It's pretty soft. It's a really soft shadow, but there's definitely
some sharp lines on the very bottom of
the little worm. I'm going to really
sharpen all of that out, right then fill it in pretty dark, right next to the word. And then kind of soften it out. It has some words here, so it just add some
little doodles, make it look like words. And we can put a
little bit of shadow here because I see a little bit. Not too much though. We're back to just fill it a
little bit here and there. This part just looks messy. I don't like it
that's blended in a little bit more as this car.
6. Fork and Spoon: For this video, we're moving
on to the next drawing, and that is the fork and spoon. Now the fork and spoon have a texture to them,
because they are wooden. But I will not be
filling in the texture. I will simply be filling in the form shadows and
the contact shadows. These photos are all
taken in the same place. There's light coming
from everywhere. And most of the shadows are not very strong and very sharp. But we still need to
add those shadows in. It looks like there is a surface on the ground where
it's contacting. I know that the spoon and fork are roughly
the same length. Once I map out the fork, it will be a lot easier for
me to map out the spoon. Let's take the pencil,
just measure it out. It's about pretty much the
entire blue of the pencil. And then let's figure
out the angle. It's almost straight, it's
pointing up a little bit. I'm going to draw a marker here. Then draw a marker here, and holding it very
loosely at the end. Draw a line. All right, now let's figure out the width, or the length of the
head of the fork. See, I would say it's a little bit and it's
pointing to the right. So let's do like this. Okay, marker and
then draw a line. Then let's take the
base of the fork, the very end, something this. Then I can just
draw a line over. Let's just figure out where
the head of the fork ends. I would say it's
about one third. Yeah, somewhere around here. Then we can also figure out
where those somewhere here. And the angle is
following this direction, that's the rough
outline of the fork. Now let's move on to the spoon. The spoon is about
the same length, then measure the distance. Let's start from here.
It starts about halfway. I'm just going to
draw a line out here. That's the head of the spoon. And then I'm going to
measure here straight. Maybe that's how far away it is. Let's get the angle. The angle is like this. It's pretty much the
same as the fork. The fork was pretty much
all the blue here there. I'm just going to
draw a straight line down that tells me
the spoon long. Let's measure the
width of the spoon. I know that the end
of the spoon is here. If I measure the width, then it should be about here. That is the general
outline of the spoon. Then I guess it would
come somewhere like this. That's the head of the spoon, curves up quite a bit here. Let's get the angle of the
end, something like that. And then just draw
it out like this. Now we have the outline
of the fork and spoon. Now I'm going to go in and
actually add a little details. Let's start with the fork. With the fork, it goes up here, and this one is pretty
much straight. Okay? Then we need to make the, I don't know what
these are called, edges, spikes of the fork. Okay? Then it goes like this. We need to have two
more, one here. One here seems to be
a bit too far apart. I think it's curved
a little bit. Measure the handle, this. That means this needs to
go inward all the way to this seems a little
bit too thin. Then the handle curves
in a slight S shape. It goes up at the point
where you would hold it and then it goes down and then goes up
again at the very end, but it's super slight up again. I think the curve is
a bit more closer. Something like that.
Okay. The next one, the handle at the very
end, is also rounded. This side of the fork. We can also see it has a bit of depth to
it, just a little bit. Okay, the fork is done. Now we're going to
move on to the spoon. We already got the shape here. The spoon also has a bit of a different shape
on either side. It goes up here and then it
rounds out on this side, it's a bit more flat. That's just because of the
angle that we're looking at, the spoon, it's
something like that. The same with the
spoon. A little bit more flat on the
end of the spoon, but it still goes
up a little bit. Right here between the
head and the handle. Let's add that in. Then
just goes down like this. Same here, goes up. The end is also rounded. Now, we need to make
the depth of the spoon. You can see here, it
looks weird, right? That's because the handle
doesn't really start there. The handle actually
comes from around. I'm going to start from
here. I'm going to go like that. Now it
looks a lot better the same because it has a
little bit of depth. Goes a bit on this side, this is right, but it's
a little bit too wide. I'm going to connect those. That shows that
there's depth of the. So then we're going to fill
in the side like this. Now that it's cleaned up, we're going to start
adding the shadows. Now like I mentioned
in the beginning, even though they have texture, we're not going to be
drawing the texture. We're just going to be
focusing on the form shadow. Even though it's quite bright, there is still some form shadow because it's not a
completely flat object. It is changing and moving. Still use the HB and
we're going to put down the base form shadow. Let's start with the forked. The most obvious is on the side. Weirdly, it looks too wide. Right now we're at
the stage where the drawing just
looks a bit ugly. Worry, it will get better. Now let's add a
little bit of shadow. I see on the head of the fork, there's a little bit of shadow, the very top of the spikes. And there's a little bit of shadow where it dips down here, where the head of the fork
dips down a little bit. And then we can see
a little bit here, which is like the
middle of the fork. Let's start there a little bit. Right here. Okay, that's all we're
going to do for now. Now, let's move on to the spoon. The head of the spoon
here can see it here. That's where it dips down. And then we can see a
little bit around here. And then the same we can
see where it curves up and also the part where it
dips down, Let's start here, can also follow the form
a little bit on the side here where it dips down. And then of course, just the
other side of the spoon, maybe a little bit here. I'm also going to go in
and do the contact shadow. Very faint, and that's
because it's quite bright. There's not a lot
of strong light coming in any one direction. A little bit like this.
Keep that spot light there. That shows that the
spoon is curving up. Okay. And also on the, for a little bit down
here that shows that the fork is curving
the same in between. The fork doesn't have as much
as a curve on the handle. There's not that much shadow, contact, shadow, but
there is a little bit. Okay. Now we're going
to go in with the four. And just to make
everything a little bit darker, start with the spoon. I whole bit, a
little bit darker. So you can see the difference
between the side of the spoon and the
contact shadow. Now it's a bit more obvious which part is dark and
which part is light, but we can't really tell
the difference between the paper and the
fourth end spoon. Now what I'm going to do
is I'm going to go in with the HB and lightly
fill out everything, but keep a little part, some parts white because those are the parts of the reflection. Starting with the
spoon. I can see a reflection going here, which is on the right. It's darker on the left
and lighter on the right. Then on the other side
where it's on the right, then it's a little bit
lighter on the left and it goes all the
way down the handle. We're going to leave
some of those parts white and try to go
as light as possible. Try not to use the sharp
side of your pencil. Try to use the light side. Try to use the soft
side of your pencil. On the left light, we're going to fill
in all the dark here. Keep a tiny bit on the
left. There we go. Let's do the same with the fork. Similar ideas. If the right is dark then left. It's going to be a
little bit lighter. But this one doesn't reflect
light as much because it has more texture and
it has dark light within the fork itself. Just going to use the
soft side all in, leave a little bit light here, same leave the left side here. Light mostly fill it in. And where it's dark as going to have a
little bit of light, there we go, but now it's looking a
little bit flat because the difference between the dark and light is not
as obvious anymore. For the very last, final touch up, we're going
to use the eight. Now use this lightly,
Don't overdo it, just use it in certain
areas to really pop a little bit here on the spoon just
to make it more obvious. A little bit down here, I don't want to use it
for the contact shadow, just doesn't seem like
I should use it there. Maybe just use it to draw the outline a
little bit clearer. Blend it in as much as possible. Use it here just to
draw that a little bit. Moving on to the fork, let's have a little
bit darker in between. And right around here, maybe we can use it the same. To draw the shape a
little bit clearer. I'm going to go in and use the four B on some
of the cast shadow, or the contact shadow, just because the
eight B is so dark, even starting to look
a bit too light. Now, find that a
little bit better. It's not really clear what
is what I'm going to go in. Again, make that clear. Just looking at it and seeing
what needs to be changed. I still think that the contrast between the
two is a bit too strong. Now I'm going to take and just try to blend
things a little bit. For example, right here just
feels a little bit too dark. Blend it a little bit
just here on the screen, for some reason just
doesn't look very smooth. Just go over and smooth
it a little bit. The same over here, doesn't look very smooth at all. We want to be careful
not to go overboard, just get the details in
cave that this is done.
8. Two bottles: All right, for
this next drawing, we're going to be
doing a bottle that has a different shaped top, and then another sort of
triangle, cone like bottle. First let's get the length, let's get the width. Just draw out a
box or the bottle. Then let's get the top, which is like this much. For some reason this
doesn't look right. Then what we can do
is we can figure out the width of the bottom of the bottle because
it's lying down. We can see the bottom
of the bottle, We know it's about this wide. And then from there we
can draw out the eclipse. Then on the top, it's just making a shape, shape like this. Then we have our lines that
should go around the bottle. Also we can measure,
if we look closely, because the bottle
is on its side and the back is going
further in the distance, it might actually be a
little bit thinner up here. Instead of going straight, these lines going straight, they might go in a little bit. That's just because that bottle is receding into the distance. Very slight, but it's
wider here and then it goes in a little bit here. From there we can
draw out the top. It's a backward C. Try to
make the sides rounded. You can see a tiny bit of the bottom of the cap here
going to do the same, it's also a backward C. Then it goes like this. The top part a bit like this. Great. For now we have the
general outline of the bottle. Now let's move on
to the next one this bottle is covering. And we can't see a lot
of it, but it's okay. We don't need to
draw through at all. Let's just figure out from
this point to this point, how much space is there? It's going to be
something like this. Okay, that's the top. Then let's find the angle and the length of this top
part, something like that. Okay, now let's
just draw a line, make sure the angle is right, and then just draw a
line down very quickly to check we can look at the
negative space between, is there enough space between
the bottle and this line. If it is correct,
then we can move on. Okay, so let's draw
the next part. It's like this and then
just draw a line down. Let's look at the
negative space. Is there enough space
in between? It looks. Then the bottom of this
bottle is a rounded top. We can only see a
tiny bit of it. We're just going to put
that in the teeny tiny bit. Let's figure out the
top part that's curved. There's a line here to show
that that's different. There's this little tiny
detail on either side. We can also see the top part
of this very little bit. All this one is pretty simple, So we're going to start from
the bottom of the bottle. The first thing you're
going to notice is that the bottom of the bottle
is not completely flat. It concaves up a tiny bit. That's why there is this
white light part in between. Taking the H B, we're
going to make that, we're going to make
the form shadow. And we're going to
leave the middle white. It's the same as we were
sketching the cylinder. We're going to do either side, leave this middle part. Maybe we can do a
little bit here, but generally leave
the middle part white. Just a little bit here. There we go. The form is
already starting to take shape. Here is a contact shadow,
it's quite dark there. We can put up a little then for the cap is going to fill the entire thing in and
use the four later. There's a tiny little
high light at the top. I decide to leave that in. Okay. Now, let's move
on to the other bottle. This bottle is a little bit
darker, it's not white. What I'm going to do is
I'm going to fill in the whole thing with a
base shade using the HB. One thing you need to
know about sketching on just regular copy paper is
that it's really smooth. It really shows all of you, all of your pencil strokes because it's not rough and
it doesn't have any texture. It doesn't really
help you blend. That's the good thing about
using sketchbook paper, is that it helps you
blend a little bit. But it's okay for these drawings because these are just
practice sketches. These are not finished drawings. The idea behind
these sketches is just something you can have super easy
access to right away. You can practice without
making things complicated. At the very top here, it's white, very
bright highlight. I'm going to leave that out. We can also do the cast shadow on the bottle that's lying down. Moving on to the four B. Let's use the four
B just to add in some detail and make this shadow form shadow
a little bit darker. Just a little bit. Then here I just want to make it a bit
more obvious, what is what. Just a tiny bit the same
on the bottle here. Now we're going to start
putting the shadow in the same as bottle. The top also just going to fill in here and
there on either side. That shows that it's a cylinder
and the light is wrapping around for this part, I'm going to go in
with the eight, just make that a little
bit darker so we can see. It may make this part here
a little bit right here. There's going to be a
little bit of a cast shadow because these two are
very close to each other. We have one here
and we also have one on the bottle itself. The bottle that's standing up, maybe a bit over here as
well, where the two touch. Now filling in the
form shadow here, it might be a little
bit difficult to figure out where you
should put the shadow, but just look for
the darks and lights because this shape is not
a very specific shape. It's round on the
bottom and then it has a triangle on the top. It's a little bit like a cone, but slightly just fill in a
little bit here and there, especially on the sides. And then that will start
to give it its form. Then for this one here, just fill it in here and there. And that's what will make
it look a bit different. Like a very sharp line here. Also put in some of those lines, not all of them, just
a few here and there. That looks a bit too, even. We're going to change
it up a bit there, that makes it look a little bit different then the same
on this bottle top, it actually has those little
grooves. Let's put it down. We can also write some of the putting in little
things like the labels and the text will bring your drawing to life and make it look
a bit more interesting. There's nothing wrong
with leaving it blank. If you want to leave
it blank, you can, but if you want to just add in a little bit of
that extra detail, then go ahead and write
some of the labels. You don't need to write
the actual words either, you can just make
some scribbles. The thing to note
about the label here is that the text is
wrapping around, the text needs to have a
little bit of an upside down. I'm going to just draw
a line like this, then can use the sharp part. Just add a bit of
text like that. There's some text here that
goes all the way around. Just add it in like that. There's also another line here. It just makes it look a
little bit more interesting. This is pretty straight, so it's going to
do it like that. So now we have the label one on this one is going to
be a bit more difficult. Let's start with the H B, wrap it around, make it a
little bit darker here. You can see there's
a difference. This one is quite complex, so I'm not going to
fill in everything. I'm just going to fill in, for example, like
this line here, some of the detail here, and maybe the stuff here
just for interests. Just little interests
here and there. All right, Next thing I want
to do is I just want to make the top A darker. Let's go in with the eight B. Now, get some of those
contact shadows. There's this tiny
little shadow here. Maybe we can add it around
here just for interests. There's a little bit
of a shadow here. Contact shadow. We can just draw a
line here, it's clear. What is, what we can add a
little bit here. Super light. One thing that I'm
noticing that's bothering me is the
fact that the top and this bottle look
almost the same shade when actually the top of this
bottle is a lot darker. What I'm going to
do is I'm going to go in with the four B. Just try to make it darker. I tried with the H B, but it wasn't dark
enough when go in again with the four B and use the four B
as the base shade. But now all of the
detail that we got in from before
it disappeared. Let's go back in with the B and lightly add some of
that back in there. That looks a lot better. This drawing was really fun because although
it's more simple, it's fun to add the
little writing detail in. I think that's what makes
drawing every day objects so fun because they have all
of these little details. The more you look at something, the more you observe
how something is, the more you'll see
you are the artist, you are able to put in
or take out anything. It's your drawing.
Have fun with it.
10. Scissors: I feel like being able
to draw scissors is a really big
accomplishment because it's quite a weird
and unique object, but it's something that
you can see every day. It has different depths. The top part of the scissors
is a little bit thinner, and then usually the handle
is a little bit thicker, it has a lot of variation. And it will really help you
improve your drawing skills. Let's start by
measuring how long it, what I'm going to do is I'm
going to measure from the top to the bottom of the longest
side of the scissors. In this case it's the one
that has the longer end. It's about almost
the entire pencil. Also check the angle. I'm just going to
draw a straight line. This is our reference
for this part. This side of the scissors. Now let's do the other side. But before we do that, let's
figure out the distance between each of these
this much, okay? So make a marker there.
Check the angle. Okay, it's right. You can
also check the handle side. It's pointing a little bit to the left, maybe
something like that. Let's put a little marker there. Okay, that should give us the general idea of how
long this part should be. But let's also just
measure, just in case. Okay, it's slightly
different, it's slightly off. I made it a little bit longer, but I think it's generally okay. So let's draw a line that should be the
beginning of our scissors. And this point where it meets is where the
circle part should be. Let's see, the width
of the scissors. So this is exactly
in the middle. The scissors would be
something like this. So this is just
the rough outline of what the shape
of the scissors. Check the angle.
Yeah, it's correct. Okay, let's do the
other side first. Let's measure in between, so it's like a little bit
black, something like this. And then now let's measure
the actual handle, which is the black bit
and something like that. We already have the end of the
back part of the scissors. We're just going
to draw the line. Like this goes up,
then it goes around. For this part, we know this is the circle
that's in between. Then we're just going to draw
two straight lines down. Then it's about okay, so we have our general
outline. Let's erase this. Always check before you move on, let's measure the length. It's pretty much
the entire pencil. This part seems to be a little bit longer
than it should be. Should end here actually. Okay. Let's measure
the other side. It's about this,
where my finger is. Okay. We also have the same
problem. We made it too big. Okay. Now let's measure
the scissor part. It's about this much. Yeah, so that's about right. This one is also right. Okay, it's kind of
hooked like that. Let's draw the circle again. Okay, so before
you go any further and start to add in all
the little details, it's better to just
quickly double check that you have your
proportions correct. All right, so let's add
the information here. Let's start on the left side, so we can see the
side of the scissors, it's pretty wide up here. And then it gets a lot thinner. Pretty wide up here,
it's a lot thinner. And then just wraps
around like this. Okay. Then we can
see the other side, thinner again and wider
on the two sides. Thinner in the back and
wider on the two sides. Try to get this shape accurate, it goes up like this. And then around this part, although it curves, it's
not that deep of a curve starting from maybe around here. The back side of
it is pretty thin, then the front side
is a lot wider like this. We can try to
make this shape again, something about it
doesn't look right. It's a little bit thinner here. And then it gets thicker here, then it wraps around. It wraps around and
makes this kind of tail. And this side of the eclipse, or the oval, is a lot
thinner than this side. Those little details,
if you can notice it, then it will really
help you to draw moly. It looks something like that. Okay, now this part needs to be wider and this
part should be thinner. And that's what's
going to make it look. Let's draw the inner part. The inner part we
can't really see. This side starts out from here. And here, this part
is pretty straight. You have to really
observe things because sometimes things just
look a little bit of. For example, this
scissor part just looked a little bit off because it's
going in this direction. But the scissors were
going in this direction, the angle wasn't really correct. Again, there looks a lot better. Now it looks like this, the scissors are actually
coming out of the handle. Whereas before, it was
like the handle was going this way and then the scissor part
was going this way. Yeah, just making sure
that everything is correct the same at this
side. Side looks fine. Okay, let's go in and
start doing the details. I'm still going to use the HB and very lightly fill this in. Okay. Then we're also
going to lightly do the scissors because
it's a different shade. That's just the base
of the form shadow. Now we're just going to
go in and push everything a little bit darker
so that there's more contrast before we add in the shadow on the white part. That will help us to
make sure that we don't make those shadows too dark. Let's go in with the four B, it's a little bit dirty, right? Add some dirt. There's
a little bit of shadow side and then
a little bit of shadow down here
where the scissors curve here where they touch. Okay, so I can see
it a little bit darker here on this one and here around the
edges or the corners, it's a little bit darker. Okay, now let's add in the
context shadow down here. There's a little bit of light in between and that means that the scissors are not entirely touching the ground
the same on this side. There is a context shadow here, but it still curves. And then there's a tiny bit of light right here,
you can see it. Let's make sure we keep
that the same here. Let's erase this
out and try again. It touches here where it's dark, then you see a tiny bit of light which is right
there like that. All right, We're going to
go back in with the H B and do the white on the scissors. Make sure to do it very lightly. Once again, I'm going
to erase this out. I'm going to use the shading to show that this is
a different side. I'm going to leave this part here and here. I'm just going to make this
line a tiny bit darker. That's going to show us
that there's a difference. But this one, I'm going to
start with this triangle here, because it seems quite obvious. That's going to show us that
there's a different side. We're seeing two sides to
this part of the scissors, although it's a
little bit harder to notice the same here I see the difference
between the dark and light. Just gives you an
idea of the form, just hints of information
here and there. Okay, now we're
going to go in with the final details
using the eight B. I notice that there's some
detail on the scissors here, but I don't want
to fill that in. I'm just going to put in
that little dot there, contact shadow a lot darker in here and just around the scissors and the
inside here, right here. It's pretty dark right
here on the form on the scissors and also in
the shadow right here. Okay? And then for this one, just going to draw out that contact shadow here
where they connect. Had it in here. Use the four B to make this a bit more obvious. There's a little bit of
dirt on the scissors. Final details are just clean up. Not really that necessary
unless you want to clean up then I'm just going to use the eight to really enhance some of these lines because it's a
little bit messy and it's a little bit hard to
see what is what. And finally take the
H B go in and make the handle part darker, and we're done.
12. Final Thoughts: Well, I hope you had fun drawing some everyday objects
and learned something. Please don't forget to upload your projects in
the projects tab. I look forward to seeing
all of your projects. If you would like
more classes from me, please go to my channel. There, you'll find all
the classes that I've put out on watercolor
and sketching. Thank you so much and
have a great day.
 Jenna, Watercolor + Sketching + Nature