Transcripts
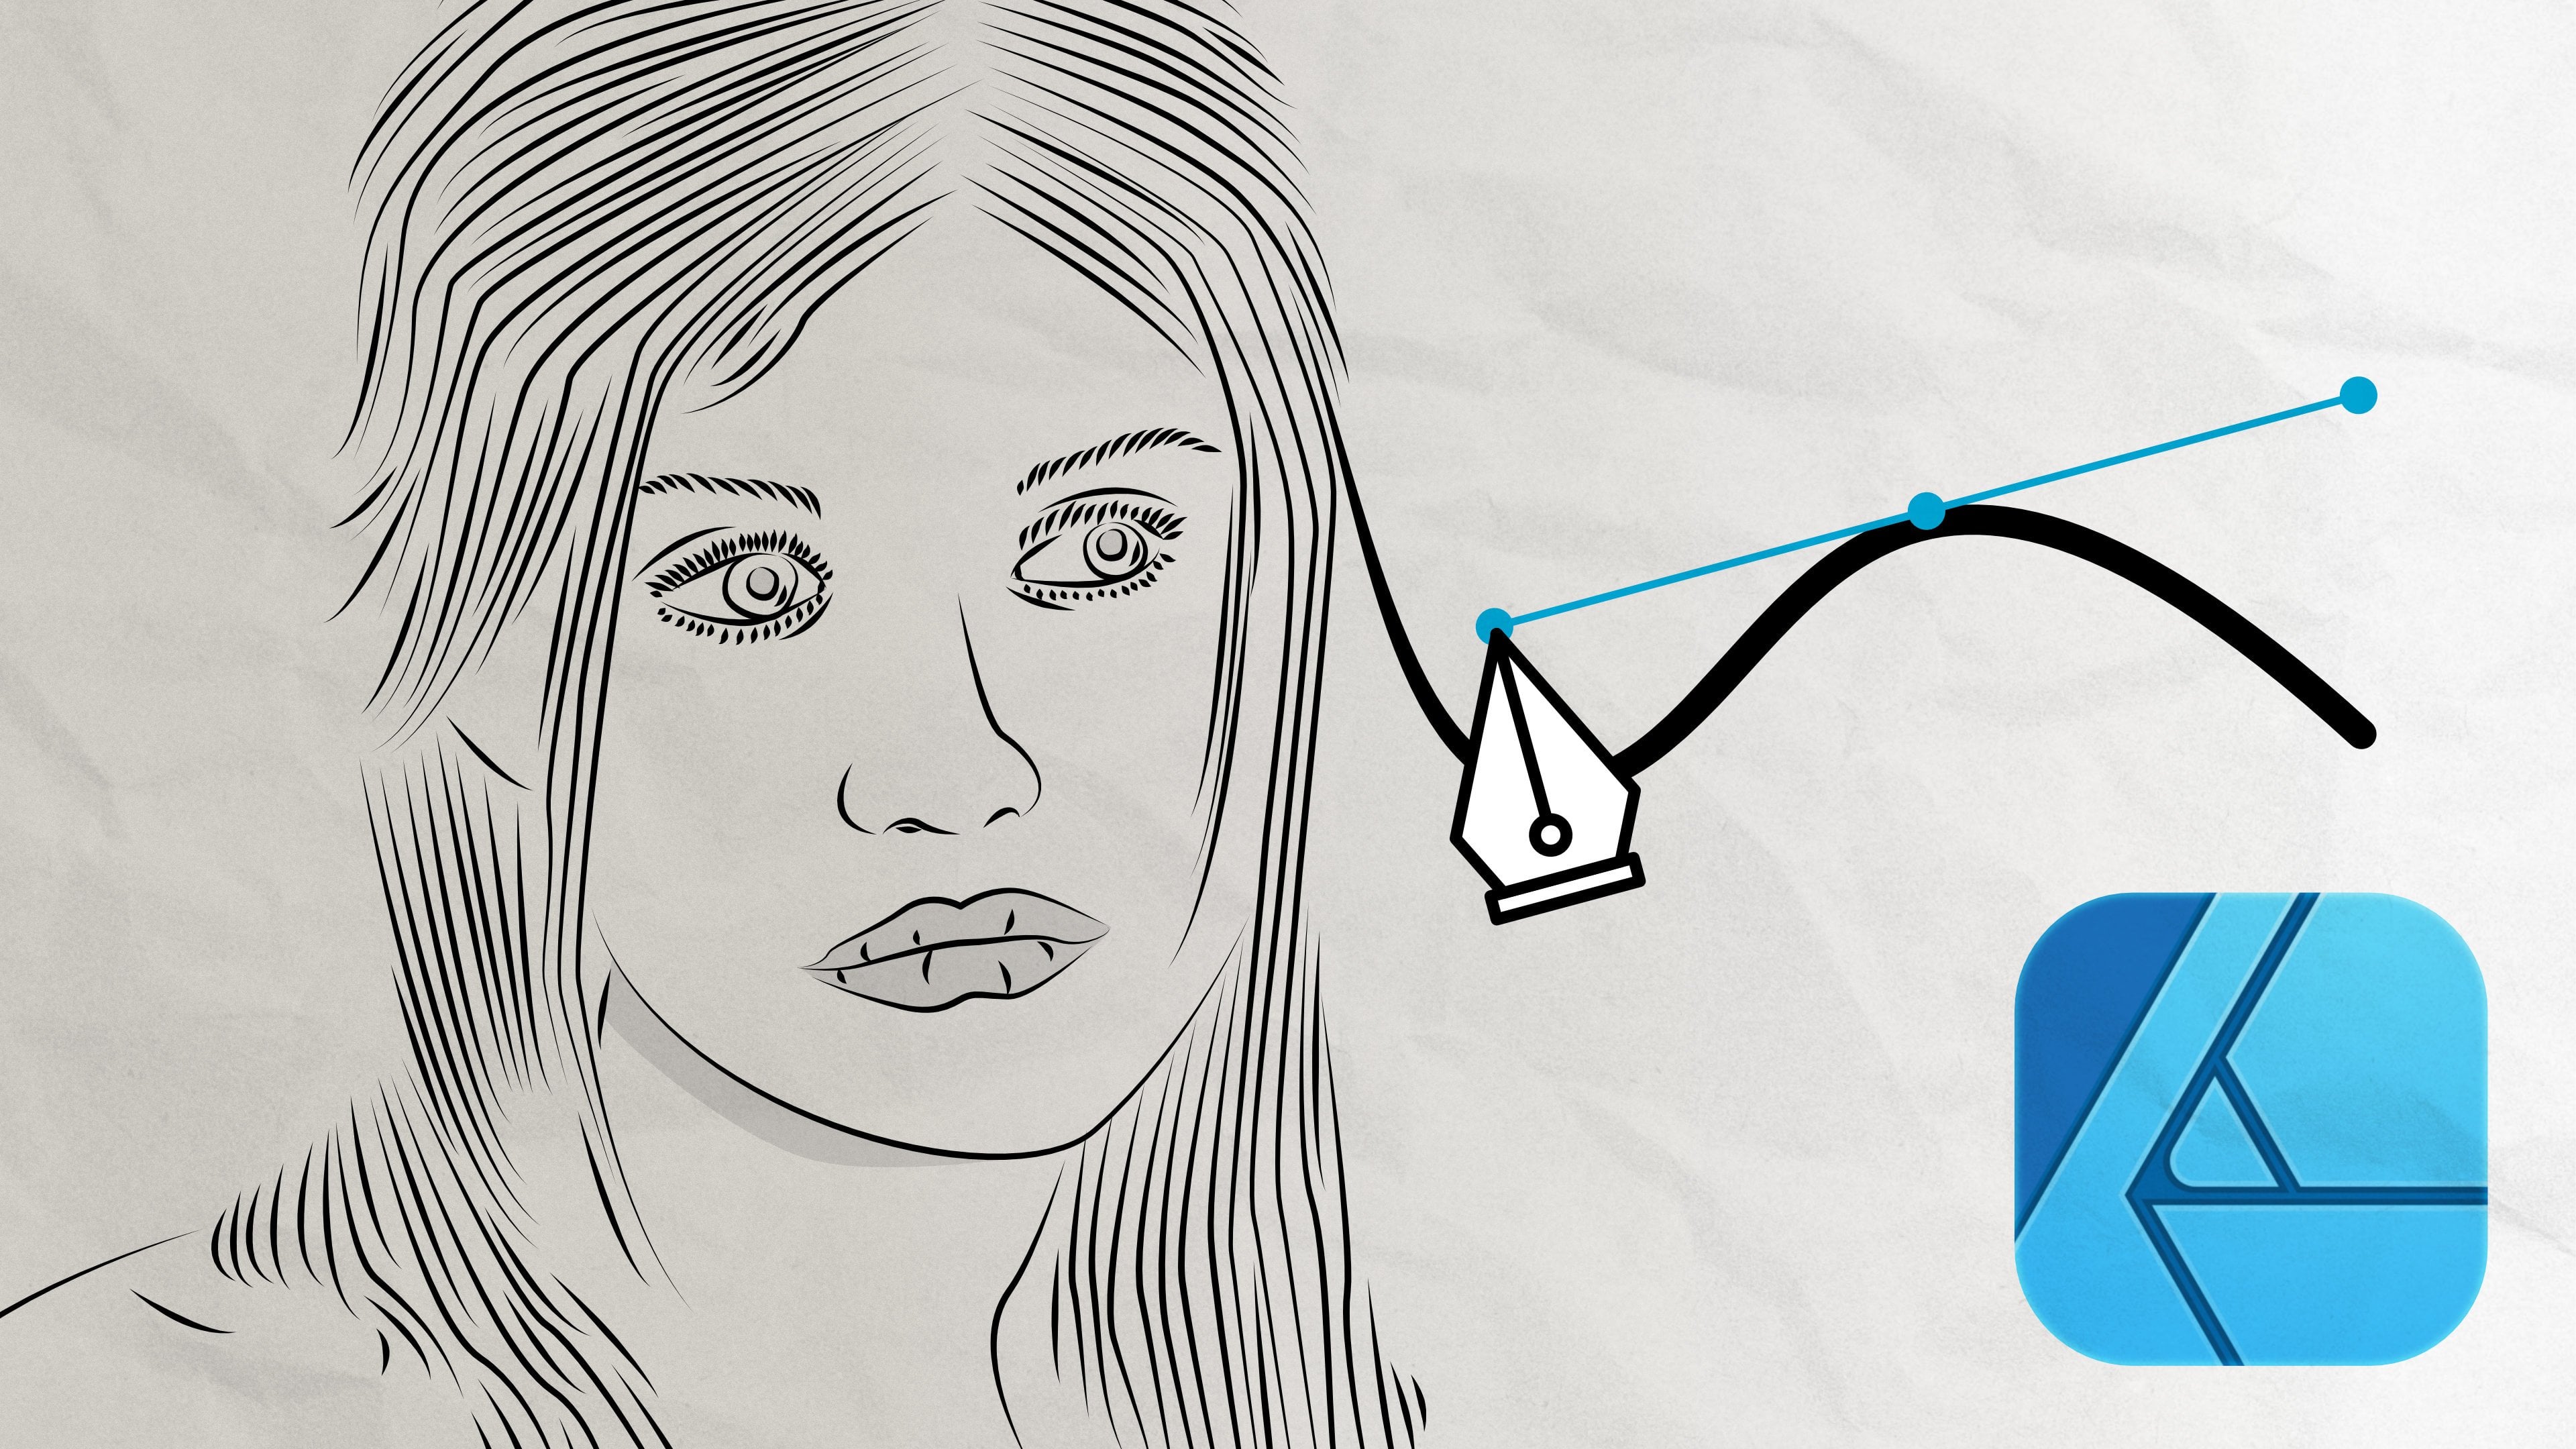
1. Lesson Introduction: in this costs, I will teach you how to draw black and white Leinart portraits from photographs with Victor Crawfish software such as Affinity Designer. I'll show you the whole workflow from choosing a good photo craft to use as a source up until finished line art. Thus, in this class, I'll show you how to choose the quick photo craft to make the line out from the better. The photo is, the easier the line drawing work will be. Once we've chosen a good photo, I'll show you the tools needed to create Leinart and how to use them. Then we'll also set up the documents on workspace in affinity. Designer was We have the tools ready will dive into the actual drawing. I'll show my own workflow. I'll explain along the way why I do things the way I do. I will also share tips n tricks while I draw. So if you're watching this first time, I encourage just to concentrate on listening and watching for now. Once you watch the whole thing through, you can replay just bits Unit. This way, you get most out of this cost. This gas is suitable for everyone who has basic knowledge of vector graphics on any vector graphics software. While I use affinity designer, the techniques can be used also with other vector graphics software. Bear in mind that the duels on work flows my differ between software on operating systems.
2. Video 1: Choosing a Good Source Photo: in this video, I'll give some tips on how to choose the photo to draw the line. Art from Leinart is actually simply lining out the shadows off the image to create a drawing with two colors, which usually are black and white. You can, of course, use any other color combination, too. The thing is that you don't have the luxury of using several colors or shaped for shadowing . This means you need to decide what amount of line ege and dark areas are enough to make sure the image pops out. The better the shadow patterns are on the photo, the easier the line drawing will be good. Shadow patterns in the photo make the drawing a lot easier. This usually means that the photo is taking with heart light that produces harsh shadows with well defined edges and contrast. It also emphasizes lines and wrinkles, which makes better Leinart. In general, you need to be able to see enough details and shadows in the original image to make the Leinart feel alive. Otherwise, the Leinart will be bland. Using a high quality and high resolution image is important, especially when you're a beginner. If you choose a photo that has very few shadows, or if it doesn't have enough high resolution, you will just rip your hair out when you get better. You can make Leinart drawings from almost any photo, no matter the quality or the shadow patterns off the photo. It's good to start with a photo that has, preferably a very high resolution and large pixel size. This way you can zoom in on. Still see enough off the details. Resolution off the image is not necessarily as important as the pixel size, but the higher it is that easier. The drawing will be anything above 200 dp I dots per inch is good 300 dp I or more is excellent. You will manage with 72 dp I as well. As long as the pixel size off the photo is large enough, a preferable pixel size is more than 2000 pixels on either side. The larger the pixel size, the more details the image has as this class is about drawing portray its It is good to choose a source that has a crop from waste above. The closer the person is to the camera, the better details you get on the droid. As a beginner, you confined high quality photos. Use a source material from a splash dot com or any other free photo bank for the class project. You can use any photo off the ones I've collected to this class project. I'll use your own if you choose to use one off your own photos. Just make sure the photo meets the quality requirements laid out in this video. It will make the drawing easier. Once you've chosen your source photo, it's time to jump into the next video on to set up the working document and tools.
3. Video 2: Document & Tools Setup: In this video, we set up the designer document on tools for drawing. I also share a few tips on best practices in order to give the work flowing, well open affinity designer and create a new file from file. New Because we're creating vector graphics, which is limitless. Lee scalable The art port size is not as crucial as cities When working with beat about photos, I usually prefer basic a four or letter size, depending on your source photo. Make the art port landscape or portrait. Once you have the art port set, import your source photo on one layer. The image file is important in full pixel size, so it might go over the airport limits. You need to scary down. Defeat the art board. Make sure the aspiration off the images locked so that the image will scale down correctly . If you don't look the ratio, the image will distort when scaling. If this happens, don't worry. You can either take steps backward until you get to the step before scaling the image down and then lock the ratio. Or you can just delete the distorted photo and imported again. After scaling the photo with large pixel size might go outside the art board, and you can see juice Navigator A zoom out until you see it now drug the image to the visible area off the art board. Once I have scaled on, drag the photo on the dartboard, I reposition it and scaling to feed the art port. Once you've imported on scale, the photo defeat the art port, it's good to lock the layer in place. This ensures that you won't accidentally move the photo while drawing. You will create the actual drawing on a layer on top off the image layer. This way, you can also check your own progress while drawing and see if anything needs fixing. Now we will set up the drawing tools. I used the technique that creates the lives with notes, which means I create the actual line. One note at a time. This way, I can easily follow the shapes on the source photo and much the lines with them. Note that in other vector graphics, software notes are usually referred to as anchor points. You can also draw the line freehand with the pencil, a brush tools, but these are more advanced techniques for drawing a line with notes. I use the pen tool. Note that line thickness and other properties are referred in most software with the term stroke Select the pen troll said the stroke thickness as thin as possible. I used 0.3 points when drawing. Keeping the stroke as thin as possible enables you to see where you are and how well the line follows the shape on the photo. The stroke thickness is not that important when it comes to the finish line. Art. The finish line art is actually just color filled areas, and there was no actual need for lines to be visible at all. However, it's not very useful to draw the line. Drawing with filled area color own as part of the source image will be covered with the fiddle color. This might cost that you can see where you should insert the next note, so make sure that when drawing only the stroke has a color on it and make sure there's no feel color for the tool selected. Now you're all set up for the actual drawing
4. Video 3: Drawing Eyes, Eyebrows, Nose and Cheeks: No, we dive into the drawing itself. I usually start with the ice on the area around them. It doesn't really matter where you start, but I saw are easy to line out. Thus, for a beginner, they are a good starting point. The person in my sample image has large eyelashes on the eye itself is almost fully covered with them. In this case, I start by outlining the eyelashes and then moving into lining the Irish. Also as a reminder. Don't worry about the lines not following the lines in the photo. At this stage, the finished image won't have to resemble the original 100% on. In any case, you can finish any details you wish. Afterwards, there are two techniques to draw eyelashes. 1st 1 is that do you draw them one by one? This is good when drawing from photos that don't show too many details for some reason. 2nd 1 is that you draw the lashes as one curved item. I used the 2nd 1 most of the time. This is because I don't have to draw every single lash separately and I feel it's bit quicker. Be free to try out which one works for you best, then let's move on to the Irish. If the iris has reflections, make sure only the largest ones are outlined. There's no point in drawing every tiny detail in the eye as it won't really show in the final drawing. Unless the final drawing will be the size of a house, remember that you can finish the details later. So for now, just insert notes by following the natural lines in the photo. - I usually draw wrinkles and lines around the ice with the eye itself. They set the tone off the image without any lines around the ice. They seem empty and floating in the air. So remember to draw at least the most permanent lines around the eyes to give the portrait some depth. After the ice, I draw eyebrows. They can be drawn just like eyelashes with the same two techniques. I prefer drawing them as one single area to just like eyelashes, rather than one by one. When drawing a portrait straight ahead, remember, you need to draw only the shadow areas. It might feel wrong, but it's surprising how few details is actually needed to make a Facebook out. So line out the nose and cheeks just as the shadows in the photos just don't worry about keeping outlines separate. If the shadows seem to be combined, it's important to draw them as they seem to be, as it will make the drawing more alive. - Now that we have drawn the ice, nose and cheek, let's move into the wrist off the face and torso. In the next video, we also line out the hair, but without the highlights.
5. Video 4: Drawing Mouth & Rest of the face, Hair & Torso: drawing mouth might be a bit of a headache, as all the areas tend to be such that they can be drawn as black. Especially the lines between lips from gums and teeth are like this. Just keep in mind that everything inside the mouth, apart from teeth, can be considered a shadow areas. This usually helps so that you don't have to even draw the outline for the Leafs separately . If Deng is permanent in the photo, then droids shadows as usual. After the mouth, I move into the hairline, asked in my sample image chair more or less functions as the frame off the face instead of July. Now on ley, line the outlines off the hair and don't think about the highlights. We'll draw them in the next video. When drawing head. Remember also to draw some separates. Trent. This will add movement to the portrait. The strengths, once again, don't have to be exactly as in the photo. After outlining the hair, draw that also, if you can't see clear lines in the photo you could follow, just draw the ones you can see. You can fix this later if something looks like to be off in the finished drawing
6. Video 5: Highlighting Hair & Finishing Facial Details: I always draw here last. This is because it's usually the most detailed part off the drawing shadow wise When drawing in black and white, it's not very useful to try to draw each history and instead study how the light reflects from the hair and then line out the reflections. If you're drawing dark hair, then draw the light reflections from the hair. This way you get the flow off the hair. Depict the best when drawing fair or blond hair, draw the outlines off the hair and then just line out the shadows. Don't worry about the outlines not being exactly like in the photo. It's more important to catch how the hair flows than to make the drawing an exact copy off the photo. Once you have finished the hair highlights, you can finish the wrinkles and all other small details off the artwork.
7. Video 6: Thank You: Thank you for watching this lesson on how to draw a black and white Leinart poor traits. I hope you got a good idea how the technique works. Now you can try to yourself by during the class project, which is the drawer, and I There are pre selected photos in the project. Or you can use your own feel free to share any progress shots as well as the finished ice and give the back also to others. If you have any questions, you can ask them in the class discussion in all hours of them as soon as I can. If you enjoyed this class, also please consider giving a review. Thank you. Bye.
 Eeva Lamminen, Graphic designer and illustrator