Transcripts
1. Introduction : Hi, I'm shraddha, an artist and illustrator
based out of India. And in today's class, I'll be sharing with
you how you can draw on real leaves.
To take this class, it doesn't matter which creative field
you are coming from. If the thought of putting pen to the surface of leaf, sounds interesting ; then this class is for you. The project for this class
is kept very simple. We'll go out, find a
leaf and draw on it. Whether you are a beginner or have experience with drawing, will only change the kind of artwork you create on this leaf. Keep in mind, that the purpose of this
class is not to tell you what kind of artwork we
can create on a real leaf. The possibilities are endless. The focus is on the process. The exercise of going out in the nature, finding a leaf you like, bringing it back and creating an artwork
of your choice on it. So no matter which
creative field you are from or how much experience
you have with drawing. I encourage you to
take this class. It is an extremely
rewarding process of respecting something which has come to an end of its life. I've been drawing on
leaves for four years now, and I can't tell you how much of a fun and rewarding
this process is. I can't wait to have you join this class
and share with you everything that is there to know about drawing
on real leaves. So let's get started.
2. Class Overview: Before I begin the lesson, let me take you through the
class overview so that you know what you can expect
out of each lesson. First, I will cover the material required
for this class. Next, I will share with
you a lot of ideas of designs which can
be drawn on leaves. This will work as
a great reference for you to pick
your own patterns. Then I will cover how we
can go and find the leaves, what to look for, and how to prepare the leaves. Now that we have got all our material together
and decided on a pattern, I will demonstrate to you
step-by-step a simple doodle design and a Mandala
pattern on the leaf. Moving forward, I'll share with you how you can
preserve your artwork. And to finish the class, I will show you a
number of ways in which you can use the
artwork you have created. A couple of ways can be
as a wall decor piece, or you can laminate them
and make bookmarks, or you can use them
for decorating your gifts and writing
personal messages. The project for this class
is kept very simple. We'll go out ,pick a leaf and
create an artwork on it. I'm really excited to see
what kind of leaves you select or pattern you decide
to draw on those leaves. I encourage you
to share what you create in the class
project section. I'm really excited to see
if you can find a way to use this unique artwork
you have created. So let's begin with the lessons.
3. Material List: The material list for this
class is fairly simple. You need leaves and
pens for drawing. In the upcoming lessons, I'll share with
you the process of how to pick leaves and pens
or patterns for drawing. But keep in mind
that everything I share are just tips
and guidelines. I encourage you to go
ahead and start with any kind of pen you might have
or any leaf you can find.
4. Pens Overview: For pens, you can choose from a number
of available options. My personal favorite are gel
pens and acrylic markers. You can also use acrylic
colors with the help of a brush if you prefer
working with that medium. I have also created a
lot of artworks with simple, supermarket bought
glitter pens and gel pens. These artworks are
three-year old and made with a
normal glitter pen. So don't worry if you don't
have acrylic markers. You can also use sketch
pens for drawing on leaves. You can try any
color pens you have got and see if you
like the outcome. Gold and silver pens
also look great on leaves. I personally prefer
white ink because it shows beautifully on green as
well as brown leaves. And most of your leaves
when dry will turn brown. So white is a safe option. You can also use sharpie
pens for drawing on leaves. So to summarize about pens, you can use acrylic markers. You can use gel pens
and glitter pens. Sketch pens also work fine. You can also use a Sharpie
or acrylic colors. No matter which color
pens you choose, the outcome is bound
to look beautiful. So don't hesitate to
experiment with color choices.
5. Pattern Overview: When it comes to patterns, you have a number of
options to choose from. There are a lot of beautiful patterns you
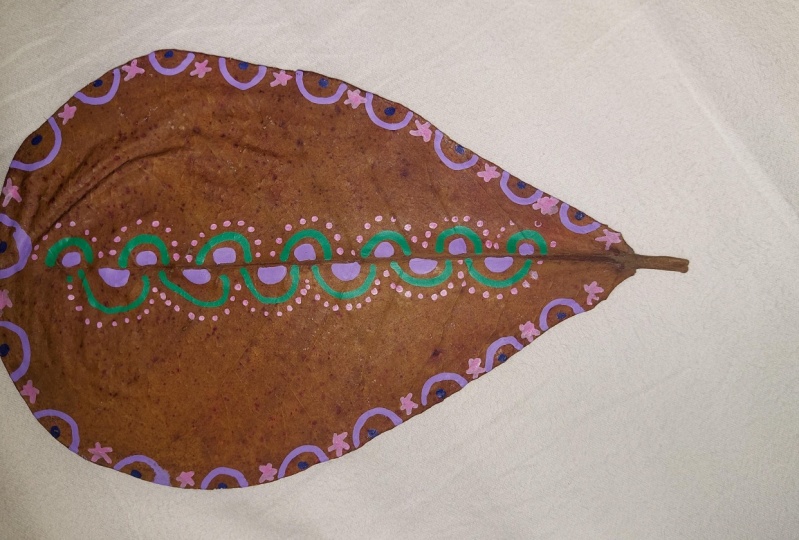
can draw on real leaves. Simple patterns look great on leaves . Like dots and circles, simple lines, geometric shapes. Any sort of
repetitive pattern is a great way to
decorate your leaves. Abstract patterns also work
great to decorate leaves. Do not hesitate to mix
and match patterns. They are a great way to
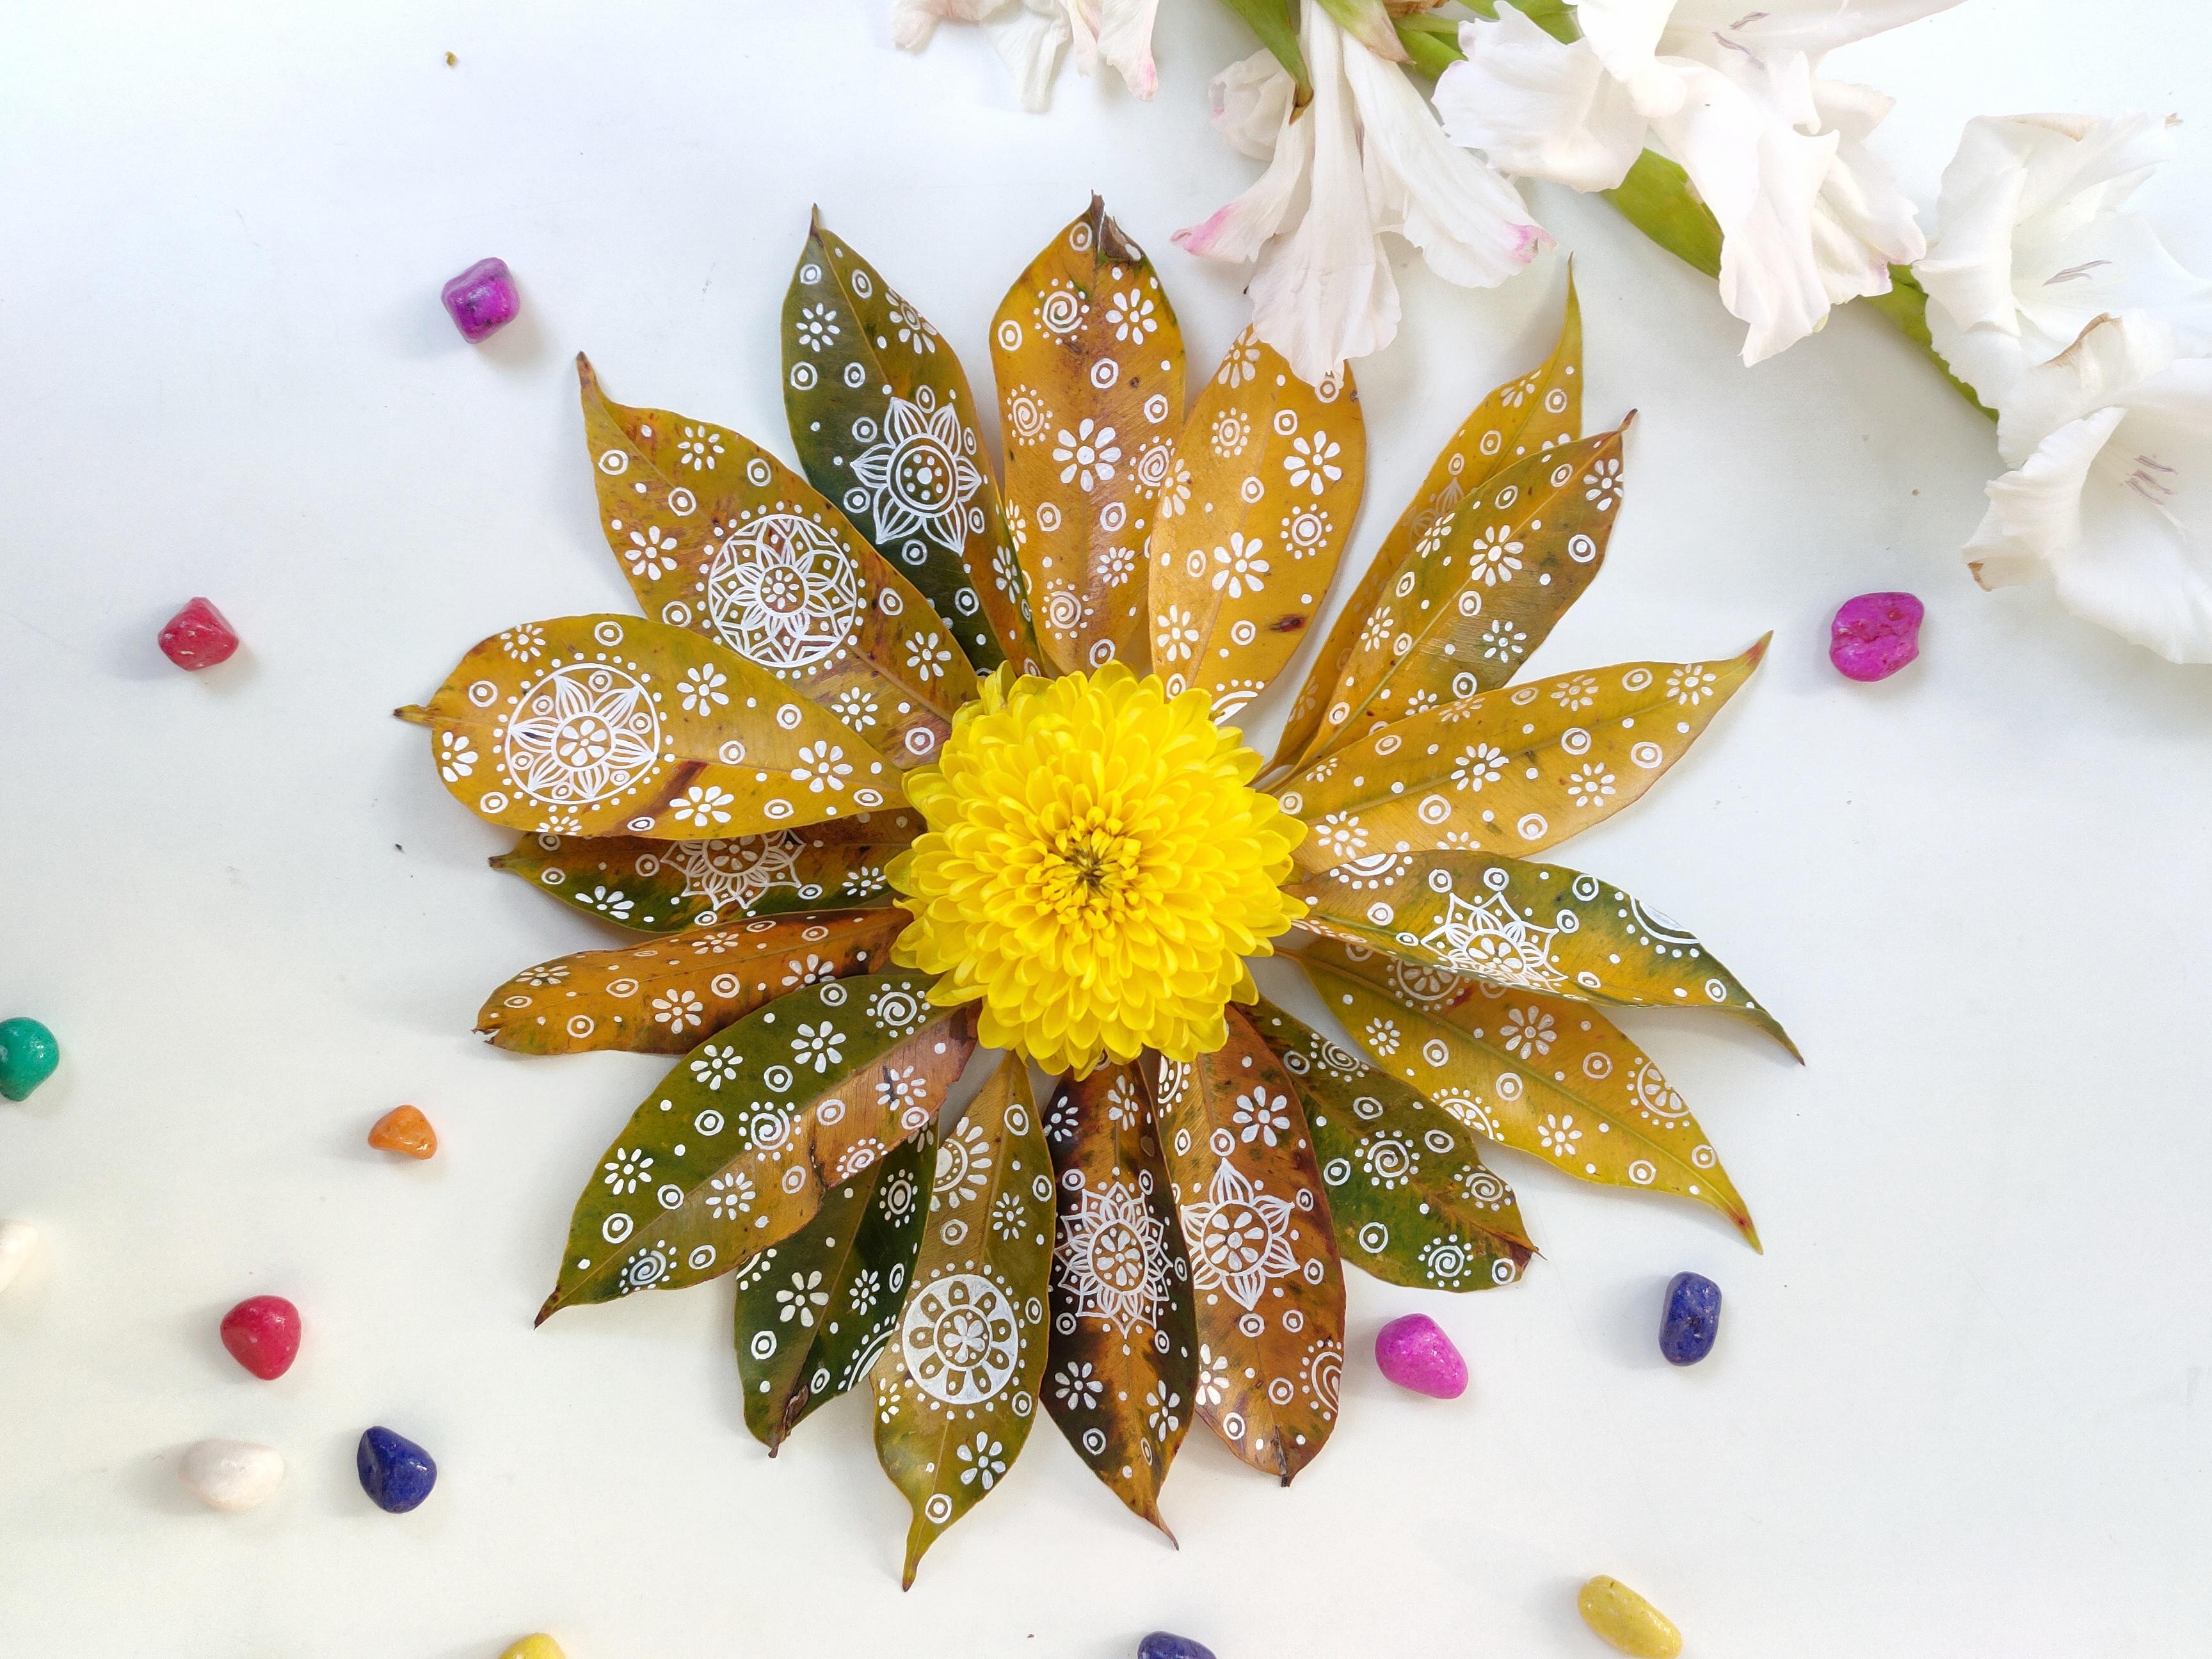
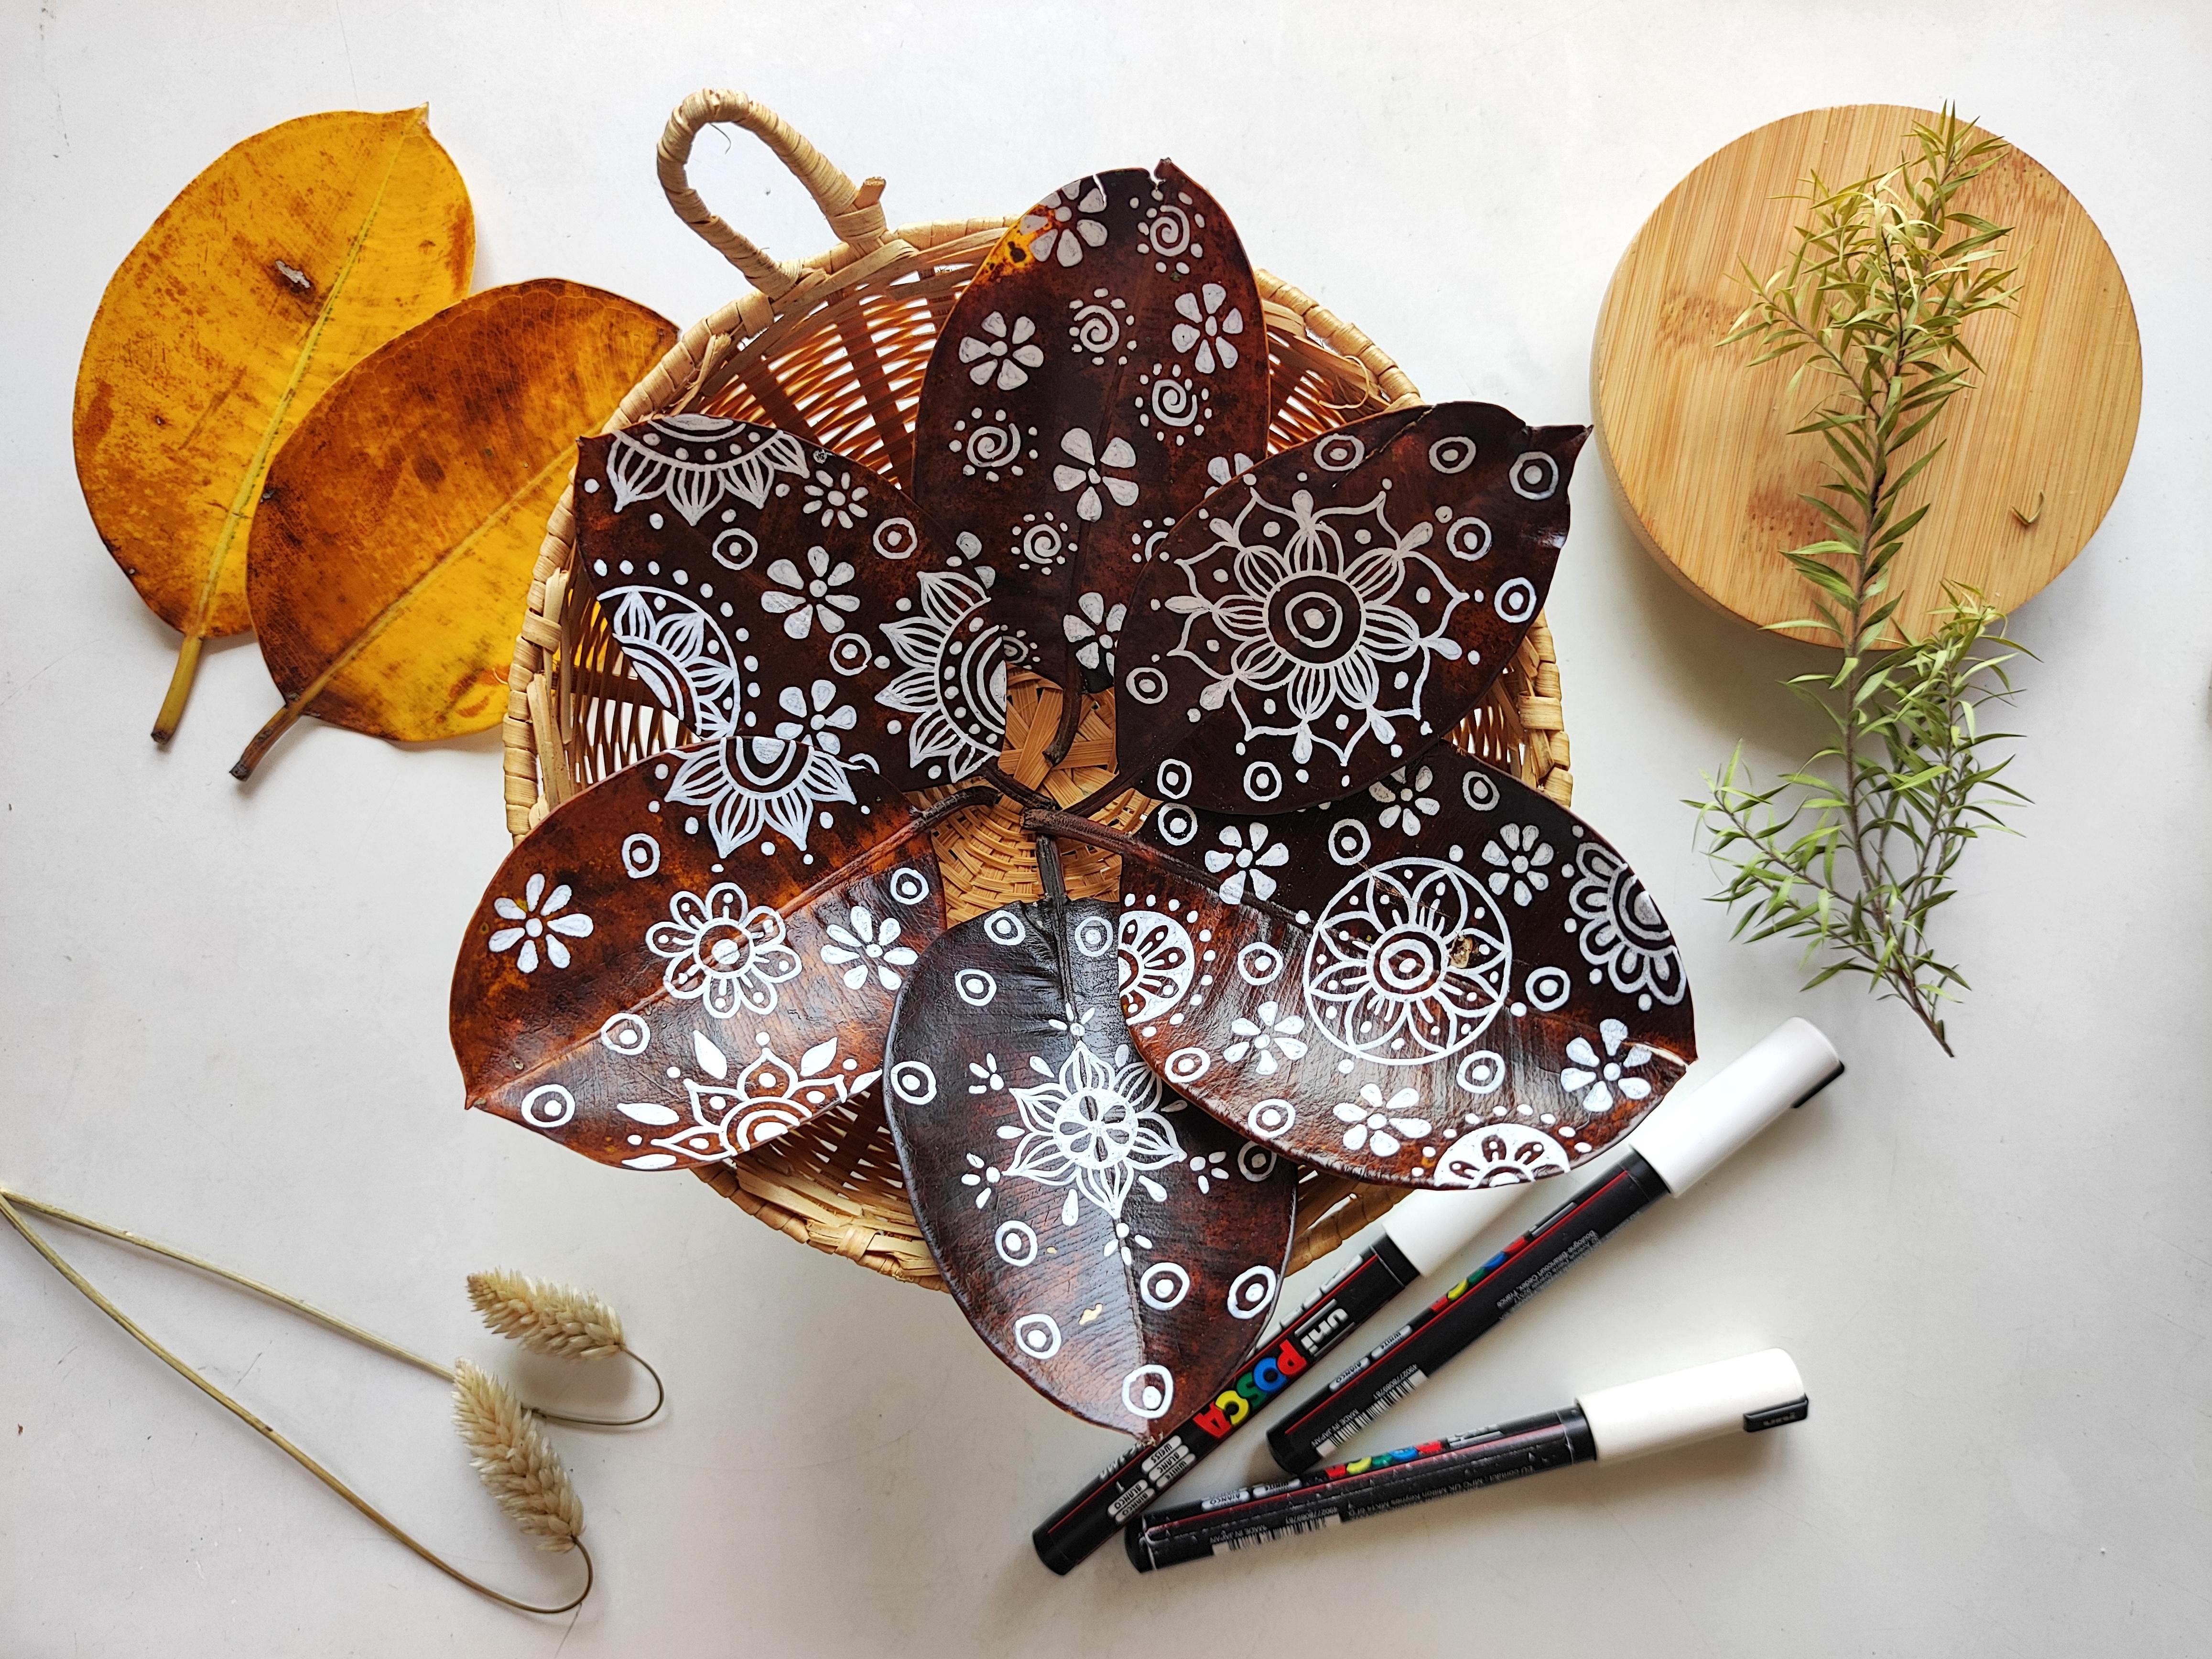
add designs to your leaves. And my favorite, as you can see from the volume are Mandala. You can make them as simple
or as complex as you like. Most of the patterns
which you can draw on paper can be replicated on
leaves in simpler forms. Simple flowers also
look great on leaves. When it comes to choosing
the level of details, you can either completely fill the leaf or you can keep the design minimal and let the details of the
leaves show through. Filling the design completely or leaving gaps is a
personal choice. I've seen a lot
of artists make landscapes and
portraits on leaves. And let me tell you they
look absolutely beautiful. I'll be leaving links
to the profile of some wonderful artists who work on leaves and you can
check their work as well. In the upcoming class, I will show you how to make
these simple repeat patterns. And I will also demonstrate how you can draw a Mandala
design on leaf.
6. Leaf Selection & Preparation: Now let's talk about
collecting leaves. I personally do not pluck
leaves from the trees. I prefer to collect the matured ones which
nature has discarded. While collecting leaves, try to pick up as much
variety as you can. You can pick leaves
with different colors, texture, shapes, and even size. Although I encourage you to experiment with leaf
texture as well, let me show you some
of my observations. Soft leaves like these, tend to get very paper like
once dry . Leaves like these, which have a soft, waxy , shiny surface and have
some flexibility to them ,tend to stay
better once dry. This is the same
leaf after drying. I do not discard
leaves if they are broken ,torn or have
spots on them. Let me show you how they
look once they are dry. Every imperfection adds
beauty to these dried leaves. If you like a particular
plant leaf, like I do, then also you
can introduce variation. I've picked a smaller leaf, some large leaves, and
even varied the colors. This is a complete brown leaf and this has shades of
green and yellow. And this is a pure yellow leaf. Look for leaves with different shades of
green, yellow, and brown. You'll have lot
of fun drawing on such a beautiful and
stunning Canvas. Now let me show you how these
colors look after drying. Green colored leaves turn
slightly dull in shade, but still manage to stay green. Yellow and brown leaves, stay brown and yellow
and turn a bit dull. If you pick mix shades of
green, brown, and yellow, then these colors also stay intact after the leaves are dry. As you can see, this
has green and yellow, and this also has
green and brown. To summarize about leaves, avoid leaves which crease
easily when you bend them, or are coarse and
rough to touch. Leaves which are waxy, soft and flexible, tend to
stay strong once they are dry. So I encourage you to try
and pick different colors, different sizes, small and large, and a lot of variation when
it comes to leaf shapes. The leaves which you pick from the ground will have a
lot of dirt and dust. Now that you've
collected your leaves, it is very important
to clean them thoroughly before
you draw on them. For cleaning these leaves, you need clean water
and a piece of cloth. Just spray some water on the
cloth and wipe the leaf. Also remember to wipe the
backside of the leaf. Try to be gentle while
you clean the leaves . Clean the tip, and the stalk. Don't worry, if you end
up bending the leaf. It is alright. Depending on the
weather conditions, give the leaf ,2 to 5 min for the dampness to go away
before you start drawing.
7. Leaf Selection- Add On Tips : After the last lesson, I hope it gets a
little easier for you to select an
appropriate leaf. But let me go ahead and
share some of my favorites. So in case you find
a leaf , similar to these in your area and
you can start with them. I have drawn on
Jackfruit leaves. Most of the ficus leaves
also work really well. Mango leaves also work fine. Eucalyptus is also
a great choice. Although they feel delicate, they retain their color
and texture really well. & my top pick are leaves
of Java plum or black plum. Java plum leaves
dry really well, and look beautiful once dry. I encourage you to go ahead, pick any leaf which you find and then refer
back to the class. Or use the suggestions
I have shared so that you can improve over time in
your leaf selection process. Now, in the next class, I will show you a couple of designs which we
can draw on leaves.
8. Let's Draw - A Simple Doddle: For the first demonstration, let me share a simple
doodle pattern with you. Let's start with this one. I'm using white acrylic
marker for drawing. Without putting too much
pressure on your pen, Gently draw the design
of your choice. And we're done. For the
second pattern, I'll be drawing
swirls and dots. When you draw on freshly
fallen leaves, the pen glides very easily, and makes the process much
more enjoyable and fun. Draw any pattern you like. We are done with two.
Let me try this one. You can relax your mind by drawing these
repeating patterns. The only difference is , instead
of using a piece of paper, you are drawing on a leaf. Because at times it is a bit difficult to start on a
blank sheet of paper. Most of the times I pick designs
which are quick and easy to make. We are done. Or you can keep the design minimal and let the details
of the leaves show through . Filling the design completely or leaving gaps is a
personal choice. With very less efforts, you can make beautiful
artwork. That's it. Now that you saw how easy it is, don't hesitate to try it out.
9. Let's Draw - Mandala & Floral pattern: For the next demonstration, let me make a floral pattern and a Mandala design
on these leaves. Both of the designs
for the demonstration are kept fairly simple so that we can ease
into the idea of trying something new and
reduce the hesitation. As I prefer white pens, I'll be using posca pen in white ink . I am choosing
a fairly simple Mandal design and
demonstrating it step-by-step. As you can see, I'm
using fingers from my other hand to keep the
leaf flat while I draw on it. Without putting too much
pressure on your pen, gently draw the design
of your choice. I encourage you to
freehand your designs. With these repeating patterns, it is very easy to
reach the flow state. After drawing these simple
patterns on leaves, I feel less worried about
spoiling a blank canvas. Draw anything which
comes to your mind. Use these tiny details to
embellish your design. That's it. We are done. Let's start with this one. When you draw on freshly
fallen leaves, the pen glides very easily. Most of the times, I pick designs which are quick
and easy to make. You'll be surprised to see how beautiful these
simple patterns look. With very less effort, you can make beautiful art work. Most of the patterns
which you can draw on paper can be replicated on
leaves in simpler forms. I encourage you to pick a
pattern of your choice. If you like drawing landscape, It is a great idea
to see if you can make one on the
surface of the leaf. And we are already finished
with both of our artworks. So I encourage you to try
and make different patterns. Don't worry about designs
being complex or simple. I can assure you, no matter what you draw, it is going to look beautiful.
10. Leaf art - Finishing Touch : Now that we've
created our artwork, once the ink is dry to touch, take a notebook and
put the leaves between the pages and put the diary under some heavy weight. You can check the leaves
after a week or so, and chances are that they must have become flat. In
case they haven't, you can leave this set up
for one to two weeks more. If you do not wish
to press the leaves, they have a natural tendency
to curl up and have bends. If this is the look you prefer, go ahead, do not press it. Or I encourage you to
try both the ways. You can also use protective spray to your
artwork if you need. But it is not required. These leaves do not have any protective spray on them
and are three years old, the colors hold really well. Whether you want to use a protective spray or not
is a personal choice. In case your colors
don't look like this, then please don't
be discouraged. I've been drawing on leaves
for four years , still I see failures
every now and then. At times, the color doesn't stick to the
surface of the leaf or the leaves curl
up unexpectedly. So things might not go as
planned, but it's okay, we will start again.
It is more about the process than the outcome. Now that your leaves are ready, I will show you a
number of ways in which you can use the
artwork you have created.
11. Using your leaf artwork: Now that your pressed
leaves are ready. There are a number of ways
in which you can use them. My personal favorite, where
I use both fresh leaves as well as pressed leaves for
decorating the gifts. I write thank you notes or names on the leaves and use them
to decorate my packaging. It is a great way to add
handmade touch to your gifts. You can also make bookmarks
out of these leaves. Bookmarks is a great way
of using these leaves. Lamination or not, is
a personal choice. You can simply stick
the leaf on a sheet of paper and use
it as a bookmark. You can laminate
just the leaf or stick it on a piece of
paper and then laminate it. Some of these artworks
are two to three years old and still
look beautiful. If you want.
12. Share your work : Now that we have reached
the end of our class, I really hope you found the idea interesting and give this
creative exercise a try. I'm really excited to see
what kind of leaves you select or pattern you decide
to draw on those leaves. I encourage you
to share what you create in the class
project section. And I'm really excited to
see if you can find a way to use this unique artwork
you have created. So I sincerely hope
you'll give this a try and I'm really excited to
see what you come up with.
 Shraddha Bhati, Artist