Transcripts
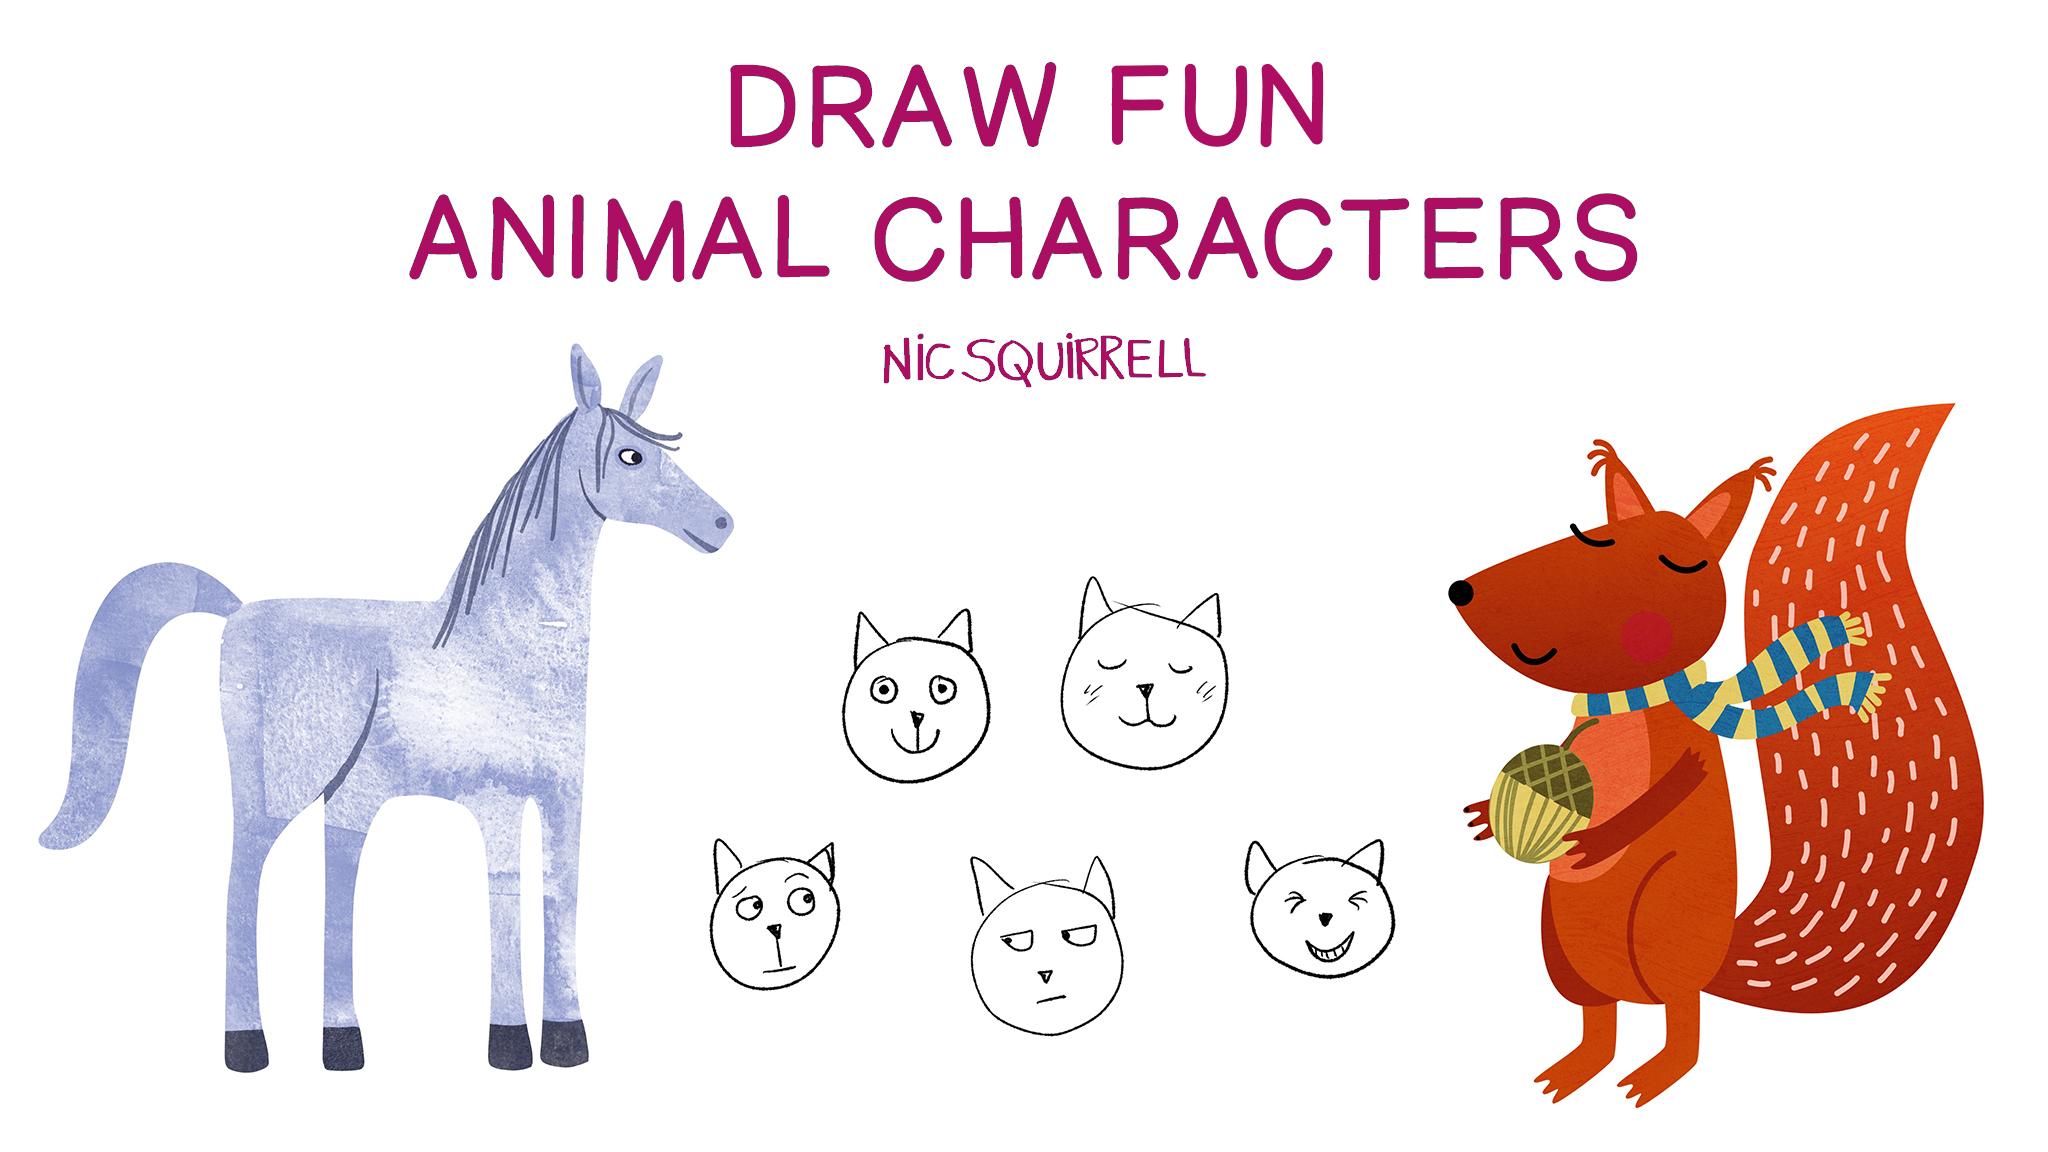
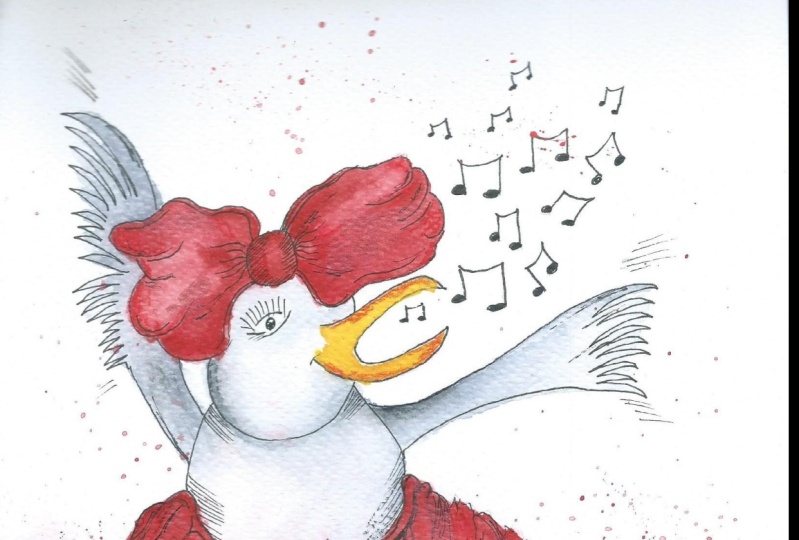
1. Introduction: Hi, I'm Nick. I'm an
artist and illustrator. In this class, we'll be using
the basic principles of character design to draw fun animals with
plenty of personality. I make my living by drawing quirky animal characters,
as well as other things, which are sold on all sorts
of products around the world, from greetings cards and
stationery to clothing, home decor, pet
supplies, and more. I'll take you through my
process from distilling down the characteristics of an animal to what makes it recognizable. Different ways of drawing
features and expressions, using simple shapes to map out your sketches and different ways of creating your final piece. You'll be following along and creating your own
fun little bestie. When you're finished,
you'll be able to confidently come up with your own fun creatures adapted to your own
personal style. Of course, there will also be plenty of tips and tricks
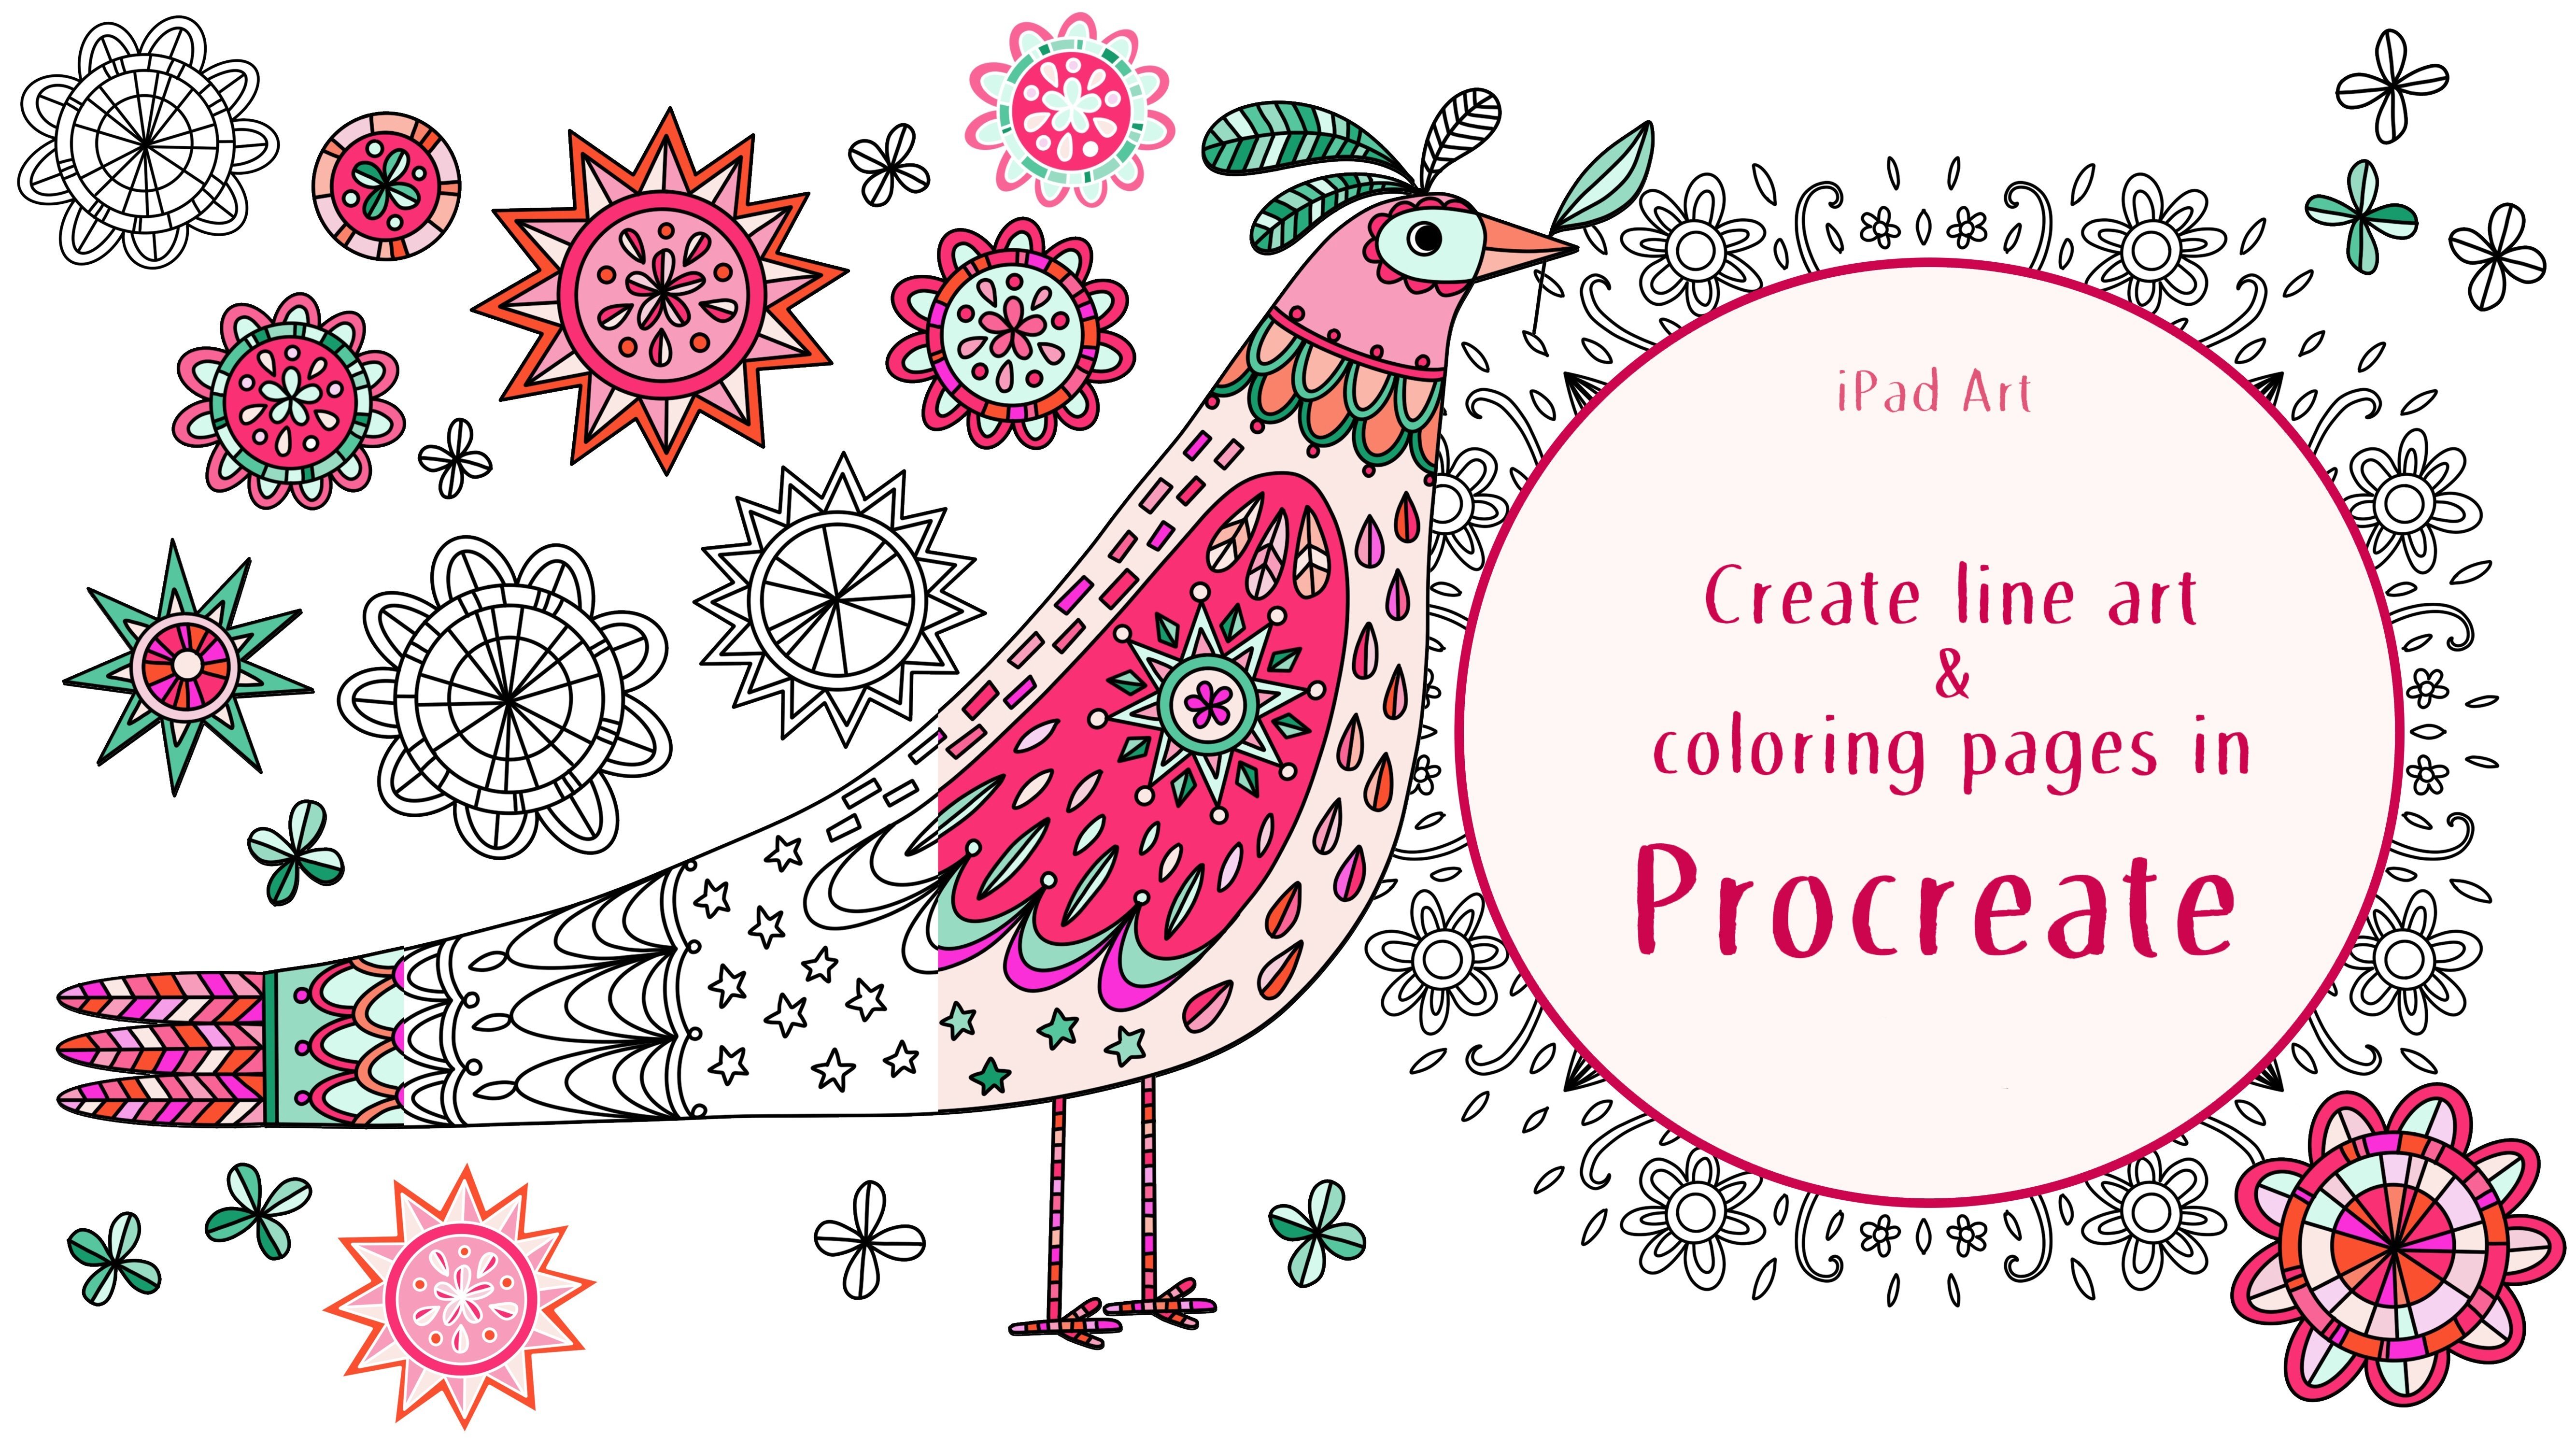
thrown in as usual. I'll be using Procreate to
demonstrate some of this, but you could use
another app if you prefer or just a pencil
and paints on paper. The ideas and principles
will be exactly the same. There are a whole bunch of cheeky characters waiting to be discovered though come on
in and let's get started.
2. Your Project: Your project for this class
is to follow along with me and create your
own animal character. As I said in the introduction, I do make my living
drawing these we beasties, please don't copy mine
or anyone else's. Your own ideas will
be so much better and reflect your personality
and your way of working. Post your finished character in the project section of the
class as either an image, photo or screenshot and include any process sketches
if you want to as well. It's really fun to see how you progress from your
initial ideas. Can't wait to see what
you come up with. I do always look at your
projects and I love seeing them. With all that out of
the way, let's go.
3. Simplify Your Animal: M. Let's start by
looking at how we can make our animal
instantly recognizable. You can do this in
any app or on paper. It doesn't matter. I'm
demoing in Procreate. I'm going to start by drawing
some circles for the faces. If you want a perfect
circle in Procreate, you can hold down the
pencil at the end of your stroke until this ellipse or circle choice
appears at the top. Then you can tap circle. I must say I prefer
my drawings to be a bit wonky because it adds character and interest rather than starting with
a perfect circle. I want them to look like a human has drawn them as opposed to AI. Choosing whichever way
feels best to you will be part of what makes these
characters uniquely yours. That's really what
we're aiming for. Next, we need to pop in
some dots for the eyes. Don't overthink
this. We'll be going back to specific features later. Now just those two dots on the circles already make
them look like faces. The human brain is
finely tuned to recognize faces even from
something as simple as this. Now let's make them
look more like animals. Certain animals have very
recognizable characteristics. By adding a minimal
amount of detail, we can really bring
these to life. A pair of long ears turns
this one into a rabbit. Here's a cat, and a dog. This one could be a bear, but lots of other animals
have cute rounded ears too. It could also be a
mouse, for example. You could add a muzzle and a big nose or a pointy nose and whiskers to make it look
more like a mouse. Onto the next one. If we move the eyes up on top of
the head, it becomes a frog. And a wide mouth adds
to the frogginss. Big ears and a long nose
make this one an elephant. So it's your turn now draw a page of simple
animal faces using just the minimum amount
of detail that you can to make them look
like a particular animal.
4. Main Characteristics : Now I've got the idea of using as little detail as we can to
make a recognizable animal. I want you to write
down some different animals you might
like to portray. You don't need to finish
all of them for this class, but it's useful to
get you thinking more about which ones you'd
like to take forward. Bear in mind that if you're
not used to drawing animals, it will be easier to start with something obviously
recognizable features like a cat or a lion rather than something more
obscure like a capybara. One could be your
pet if you have one. The others are up
to you, but try and make them quite different
from each other. Well this next bit
seems really simple. It's important because
it does help you to distill the most obvious bits of your creature to include. Think about how you
describe your animal to an alien in the
shortest way possible. What is the most striking
feature of this animal? Is there something
really obvious which defines it and makes it
instantly recognizable. What would you
absolutely need to include for someone to
know what your animal is? An elephant's trunk
and big ears, a rabbit's long ears and
fluffy tail, a lion's mane. A squirrel needs a
fluffy curvy tail and some perky
little pointy ears. This one could also be a fox, so we could give him a nut
to nibble as a prop or some squirrel teeth.
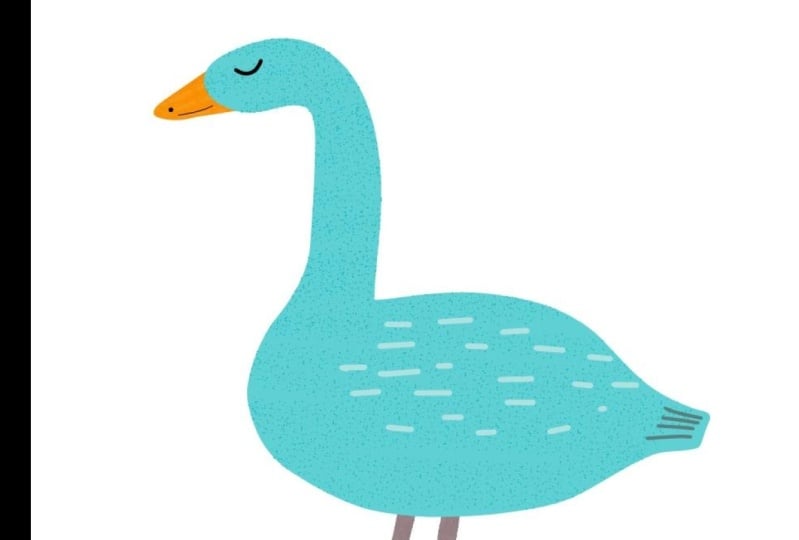
A mouse's tail. A giraffe's long neck. This main characteristic is
what you're looking for. Then have a look at what
color this creature is. Does it have a
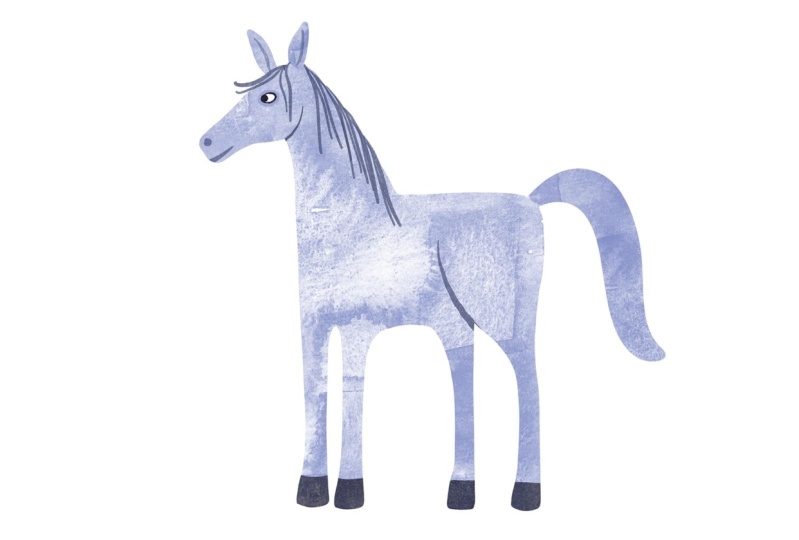
recognizable pattern? Here's a horse, but the stripes instantly
make him a zebra. If we take away the lion's mane and give him some stripes, he turns into a tiger. Or we can give him some spots
and make him into a led.
5. More Features: Et's have a look at
some more features, starting with the ears. What shape and position are
the ears if they're visible? Are they rounded?
Are they on the top, or at the sides of the
head? Are they pointy? Are they perky? Are they
big? Are they floppy? Let's have a look at some noses. What nose does your
creature have? A little cute triangle nose, pointy snout, some whiskers
maybe, a bare nose. How can we make that
bare nose look long? Has it got a long
nose like a horse or maybe an unusual nose
like an elephant or a tapir? What kind of mass does it have? Is it wide like a
frog or a hippo? Is it long and spikey
like an alligator? Does it have prominent
teeth like a rabbit? What shape is the body? We're not looking at
the details here, just a very simplified shape. For example, a bear
has a rounded, quite plump and not
very defined shape, so you could use an oval or circle as a starting
point for its body. Most animals on four legs can be started with a rounded
rectangle of some sort. But it's good to have
a look and see if your chosen creature has a particular shape
you want to include. For example, a greyhound
has a little tiny waist. Cow is quite angular compared
to a horse and so on. What kind of legs does it have? Does it stand on four legs or
maybe two or eight or many. Does it have pads or
claws or maybe hoofs. Or perhaps cute toenails
like an elephant. Are there big thigh muscles
like a horse or a kangaroo? Does your creature have a tail? Is it long or short? Is it wide or thin? Is it scaly, maybe it's curly. Is there anything else
about your animal, which you would need
to include in order to make it obvious what
creature it is? Maybe it has tusks or horns or something else that
we haven't mentioned here.
6. Personality and Expressions: In this exercise, we're going
to look at ways of bringing faces to life with different
details and expressions. Draw along with me and try all these possibilities to
see which resonates with you. Start with the eyes, and we're not going for realistic
animal portraits, so you can take
artistic liberty here and really add some
personality to your drawing. There are so many ways to draw eyes, so let's try some out. The easiest are simple dots or circles like we did
in the last exercise, you really can't go
wrong with these. If you make them bigger
and wider apart, your eyes will look more
childlike and cute. Little curves give
you closed eyes or turn them the other way
up for very happy eyes. Draw circles for
the eye whites with smaller circles for
the iris and pupils. Because there's a
lot of white showing this one looks a bit surprised. Have them looking straight
ahead or in another direction. Chameleon eyes can see in two directions
at the same time, which is a very cool superpower. Change the shape of
the eye whites to give different
expressions and looks. So animals have
different shape pupils like cats or goats. You can pop in white dots
to represent the shine on the eyes and make them look
a little bit more realistic. You can add some eyebrows to give different expressions too. Even though this is generally
more of a human thing, if you're making your
animal anthropomorphic, which means giving it human characteristics,
this works well. Make them surprised, angry, or suspicious or worried. Noses and mouths are next and people noses are
easier in a way. The animal noses will be very different depending
on your creature. We already looked at
some very simple noses, those could just be
a little button nose or a pair of dots or
circles for the nostrils. Cat nose could just be
a cute little triangle and that could also
be a bird's beak. You might want to
draw in a shape to represent the whole muscle area, for example, for a bear. You could make the
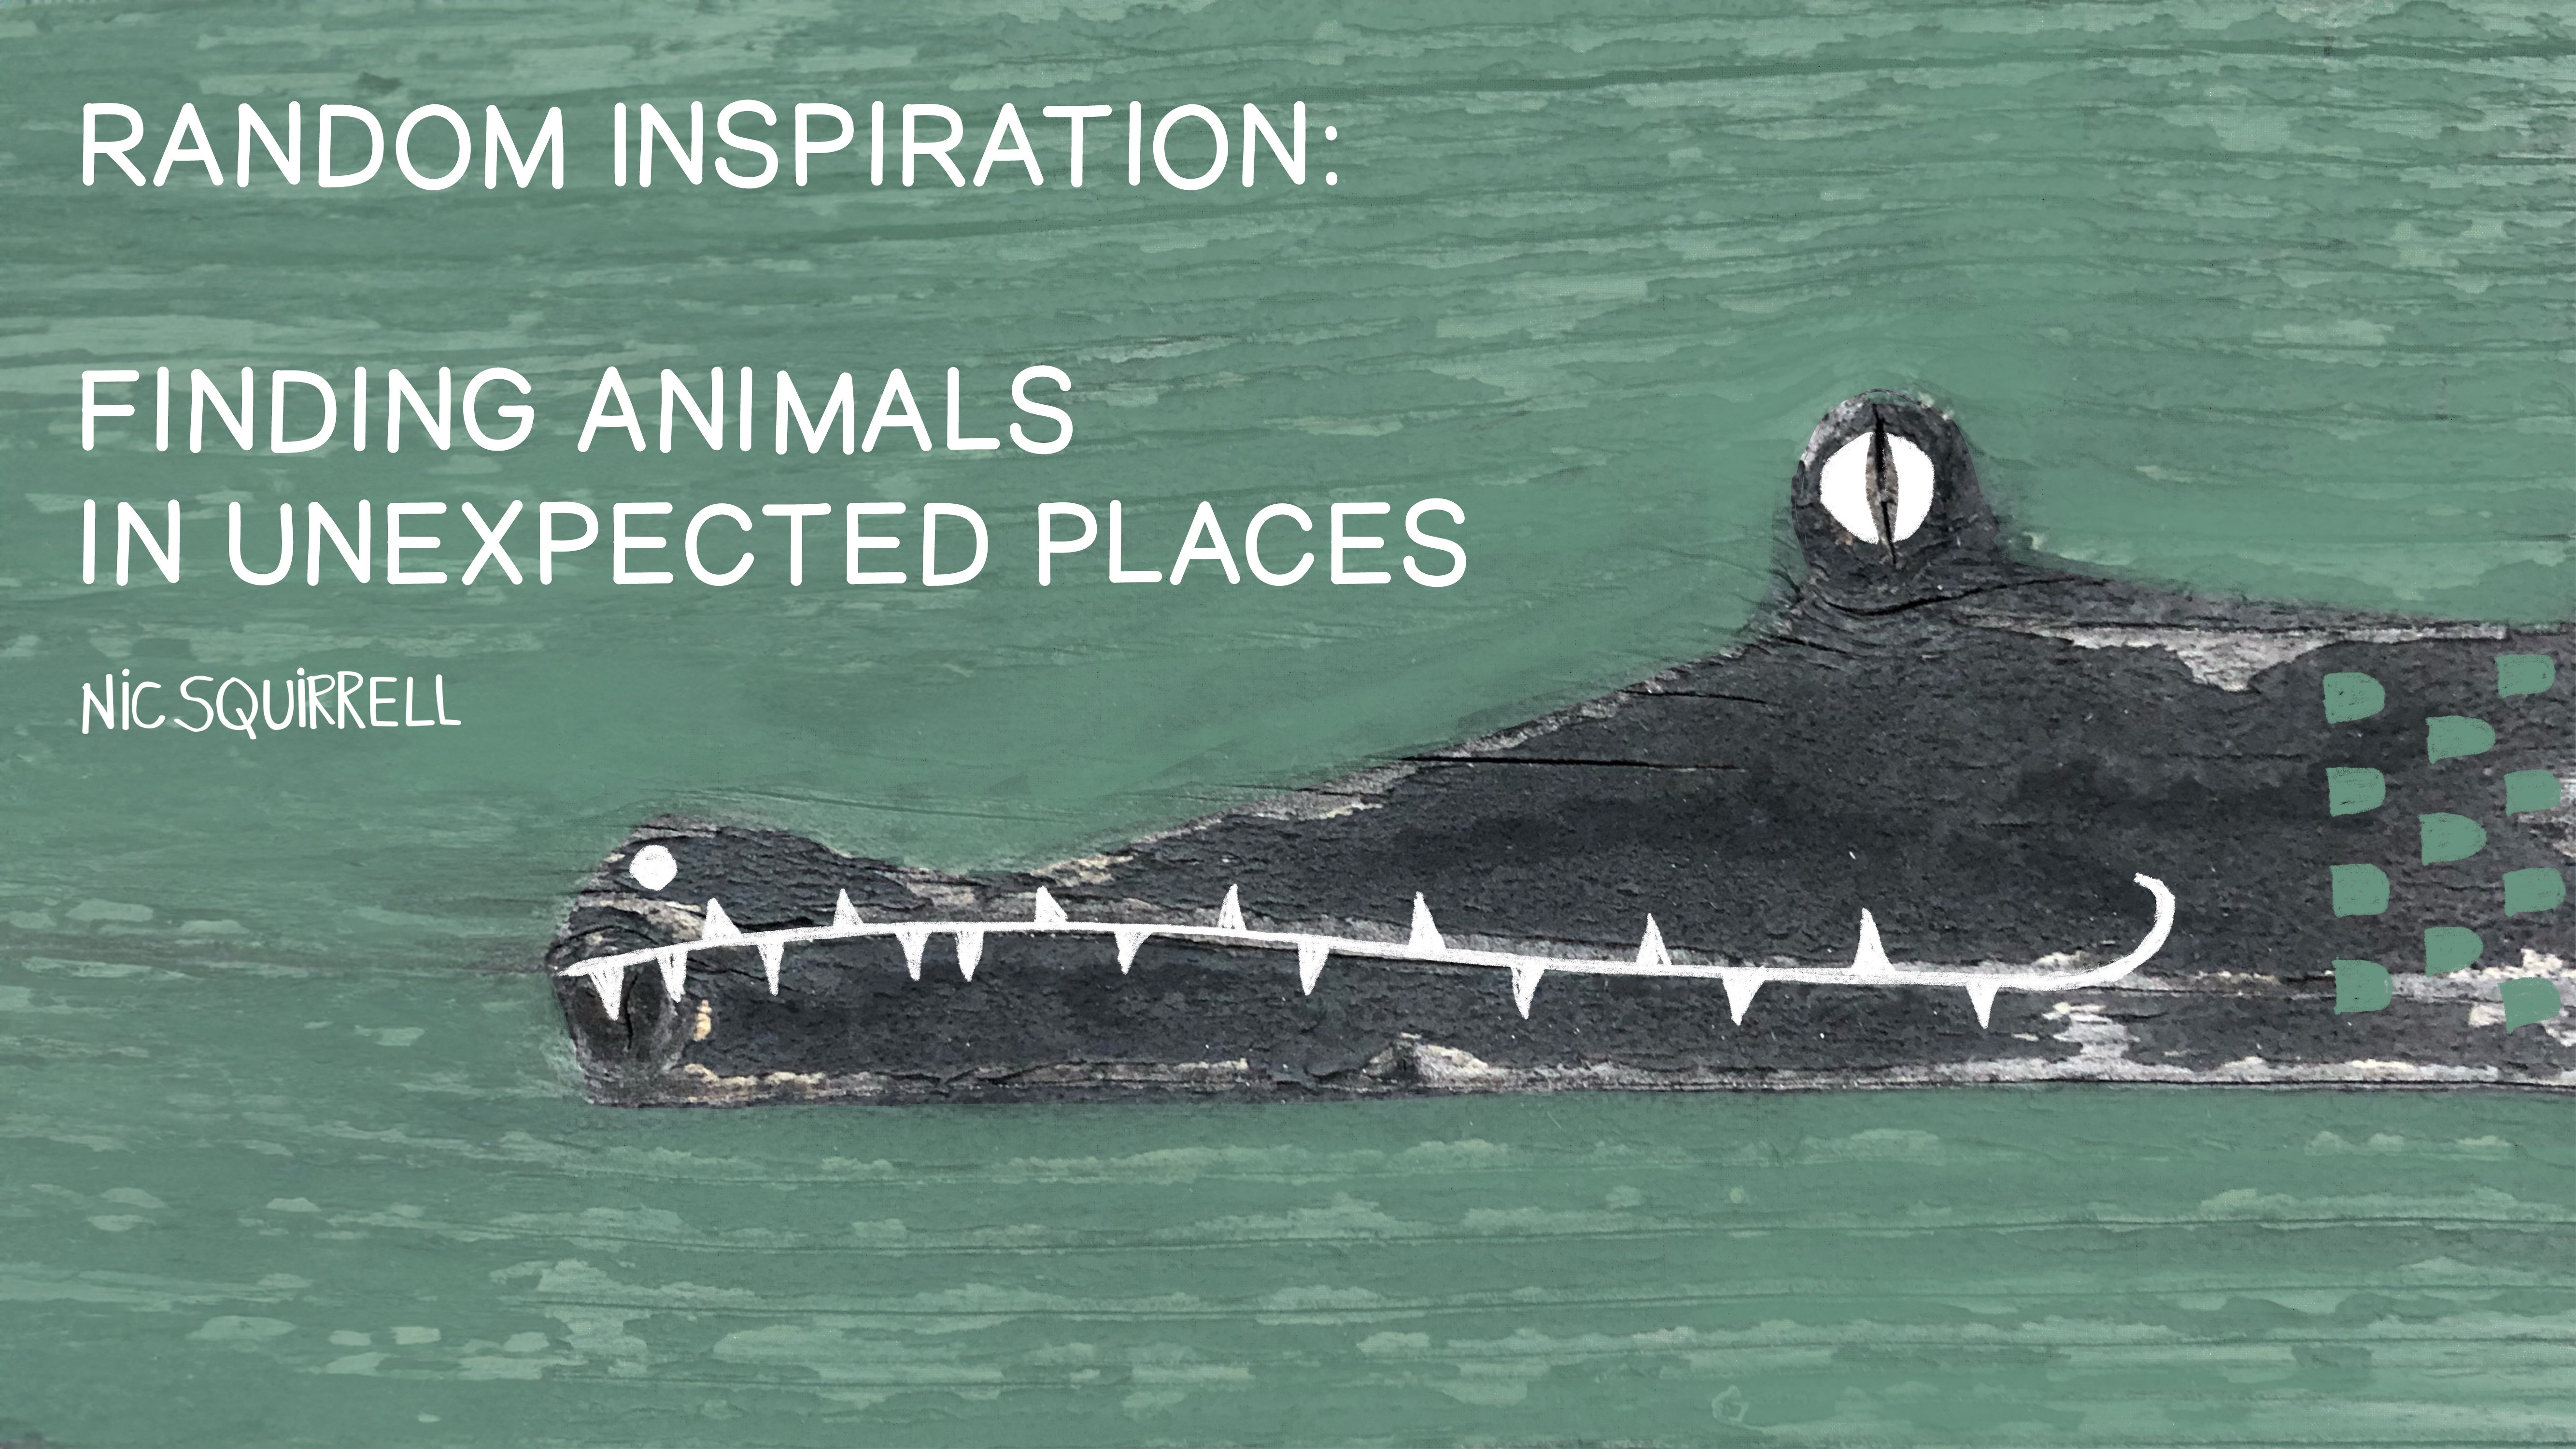
nose side on even though your animals facing
forward if it looks right. We often do this with people. On the front, you might not even be able to see the
nose very well. If that's an important feature, it might make more
sense for you to draw your animal's head side on, for example, with a crocodile. Or you could have your animal's face just turned slightly to the side so that you get the outline of the
nose and face shape. Then you can decide to include just one or both eyes and ears. This can be trickier, so it's really up to you how
you choose to do it. If you're going to illustrate one character in a number
of ways, for example, in a book, you
need to be able to draw them in lots of different
views and positions. But let's just pick one for
now and keep it simple. Go with what looks best for your animal or what is
most appealing to you. The mouth can be fairly
realistic and you can choose to attach it to
the nose if it makes sense, or you can keep it separate. You could make it look more human and give it
human expressions. An upturned mouth is a classic happy smile and a downturned one
is angry or sad. A tilted line is neutral
or maybe confused, or it might be a rice smile. Circle for a mouth makes your
character look surprised. Do you want to add
some teeth or tongue? Or maybe some leaves poking out to show that
your animal is eating. All these details are up to you. We covered ears earlier, but ears can give your
animal a lot of personality. Cat ears often point at whatever they're
concentrating on. Here are the same dog ears, but changing their position suggests different
moods and breeds. Draw a page of different faces and expressions for
your character. Sprinkle in some extra
bits of your own. There are endless ways
of drawing features. You just have to look at a few children's book
covers to see what I mean and your choices and preferences will be what
makes this uniquely yours. Just a few more decisions to make before we get sketching. Think about the
type of personality your animal naturally has. Is it feisty and fierce? Is it friendly and cute? Is it quiet and shy? Sometimes it's fun to
flip this and have a fierce mouse or a cute
crocodile. You're the boss. You need to decide if you want your animal to look
and behave fairly naturally or to be more anthropomorphic and
people like, for example, a cat standing up right on two
legs, doing a human thing, maybe even wearing
human clothes, such as a dress or a
suit or boots and so on. And you might want to
add fun accessories. Would your animal
be wearing a hat or a tie or scarf or bandana? Will they have some
prop like a cup of tea or a bag or something that
shows them doing a human job, for example, a stethoscope for a doctor or a tutto
for a ballerina. You may also want
to experiment with different poses and positions
for your character. Should they be sitting
or standing, mid jump? Just choose a pose
that highlights your animal's personality. And lastly, are they going to
be in a particular setting? If your bar is in the woods, you might want to add
a tree and so on. Now you should
have a whole world of possibilities
for your character.
7. Sketching: Now that we have all
the ideas in place, it's time to begin sketching
our chosen animal. I'm going to start with
the horse for this one. If I'm working digitally, I like to use a different
color for sketching to my finished art so
that it's easy to see, although sometimes
I do end up making the finished art the same
color as the sketch anyway. Remember, it's okay
to start rough. Sketching is all about
working through your ideas on paper or on screen and
refining them as you go. Start by blocking in
the basic shapes. You can use ovals, triangles, rectangles and circles
to mark out the head, body, and limbs
of your creature. My horse's body is a rectangle. Then the neck leans
forward a little and his head is sort of rectangle but narrower towards the nose. And you can already see
that this is going to be a horse or something similar
even from just a few shapes. So I'll add in his legs, his ears, and a tail. Add in your animal's most
distinctive features, and don't worry about getting the proportions
perfect right away. This is all about experimenting, adjusting as you go
and seeing what works. As you sketch, remember that
the more relaxed you are, the more personality your
character will have. Playful with your lines. And if you're
stuck, you can look at your reference photos, but don't feel tied to them. This is your chance
to exaggerate, simplify or stylize your animal to make it uniquely yours. Once you've got
your rough shapes and proportions mapped out, move on to refining
the outlines. I'm adding some curves to make my horse a bit less blocky. You can now add more
defined details like the eyes, the nose, and the mouth, using the facial features and the expressions we
explored earlier. My horse just looks neutral, but here's another possibility. I'm going to draw
another animal as well, and this one is a squirrel
because I am a squirrel. I'm going to have
him standing up so he's not going to be acting
like a real squirrel, he's going to be
anthropomorphic. His body is an oval shape and smaller at the top
where the head will be. His head has a pointed nose, but it's also quite
rounded and I've made it proportionately bigger
than a real squirrel because this one
is more cartoony, so I'm exaggerating some parts. Obviously he needs
a fluffy tail. He's going to be in a
three quarters post, not front on, but not
completely sideways either. You can see more of
the animal this way, although front or side
view is simpler to do. I've given him floffy curved
thighs and little feet, some ears with cute tufts on
the end and his little paws holding a nut to keep the
facial features simple, he does look very
pleased with himself. Here he is cleaned up and
ready to go and I've given him a cozy scarf as it can be
a bit chilly in the forest. In the next video, we'll be adding some color and texture.
8. Add Colour and Texture: Now that we have our
outline finished, let's move on to adding color. With this step, you
can either stick to realistic colors or you can get creative
with your palette. It's entirely up to you.
Remember your animal doesn't have to
look like a photo. It can be as quirky and
imaginative as you like. You could even fill
the animal shape with a pattern if you want to. You can use any app program or art materials on paid Perl, whichever works best for you. There's so many
different ways of doing this from just black
cartoon outlines colored in or flat
areas of color with no outline to watercolor
or textured paint. Remember that the shadows
and highlights will make your character feel
more three dimensional. You can use shading
or you can use lighter and darker shades of your base colors to give your character
depth if you like. You don't have to overdo this. Just a little bit of shading in the right places can
make a big difference. The shadow underneath will anchor your character
to the ground, which is great if you're
putting them in a scene. Don't forget to add
any finishing touches that help tell the story
of your character. Maybe some rosy
cheeks or a cute look or a bit of dirt on the paws
to show they've been busy. Might want to add fluffy fur or smooth scales or feathers. This can be done just
with simple marks, or you can use
brushes in Procreate or any other program that
mimic different textures. Experiment with different
marks, brush types, and art materials to see what gives the effect
that you want. You can even add texture
afterwards digitally. For example, here's
my flat squirrel and I brought him
in to procreate. I'm going to add a new layer on top and I've got a
pale color selected, but you can also try dark
color and I'll show you both in the brush library
in the industrial section, and then to use the
concrete block texture and you can experiment with
all different fun brushes. I'm going to paint the texture
to cover up the squirrel. Obviously, this doesn't
look good right now. I'm going to go back
into the layers and I'm going to tap the
little N at the right. There are lots of choices which
all give different looks. Scroll down to overlay, which usually works
really well for this and you can play around with all the
other blending modes too. This is what he looks like with exactly the same texture and
settings in a dark brown. If you think the texture
looks too strong, you can tap on the layer
where it now says over overlay and slide the opacity down until you're happy with it. That's a really quick and
simple way of adding texture. Here's my flat squirrel. Here's the pale texture and
here's the dark texture. Now for my horse, I'm going
to keep him really simple. I've decided to make him
blue because why not? I'll start with a layer
of blue watercolor. Then I'm adding some
simple lines for the head and leg and
also the mouth and nostril and then add in
his eye and his man again, just with a few lines and just
going to darken his hoofs. It doesn't need to
be complicated. You can keep it nice and simple and still get a really
effective illustration. Now it's time for you to finish your animal character and
make it uniquely yours.
9. Final Thoughts: That's it. You've
successfully designed your very own animal
character from initial concept through
to finished illustration. I hope you enjoyed
following along and creating your
own quirky creature. You've learned how to
use basic shapes and minimal details to make
recognizable animals. You've explored how to
give them personality and you've played with color and texture to bring them to life. Now got a whole library of
animal characteristics, expressions, and ideas for
future characters too. Like everything else,
the more you practice, the more confident you'll get at creating your own characters. The skills you've learned
here can be applied to any type of creature
real or imagined. Keep experimenting and having
fun with your designs. Don't forget to post your project and feel
free to share on social media and tag me at Nick Squirrel so
that I can see it. I do share some of them in my Instagram and
Facebook stories. If you enjoyed the class, please could you
leave me a review? It really does help me and it helps others to find
my classes as well. Follow me here on
Skillshare to be kept up to date with my new
classes and discussions. Thank you so much for
taking this class with me. I can't wait to see all
the wonderful characters that you come up
with. Bye for now.
 Nic Squirrell, Artist and illustrator