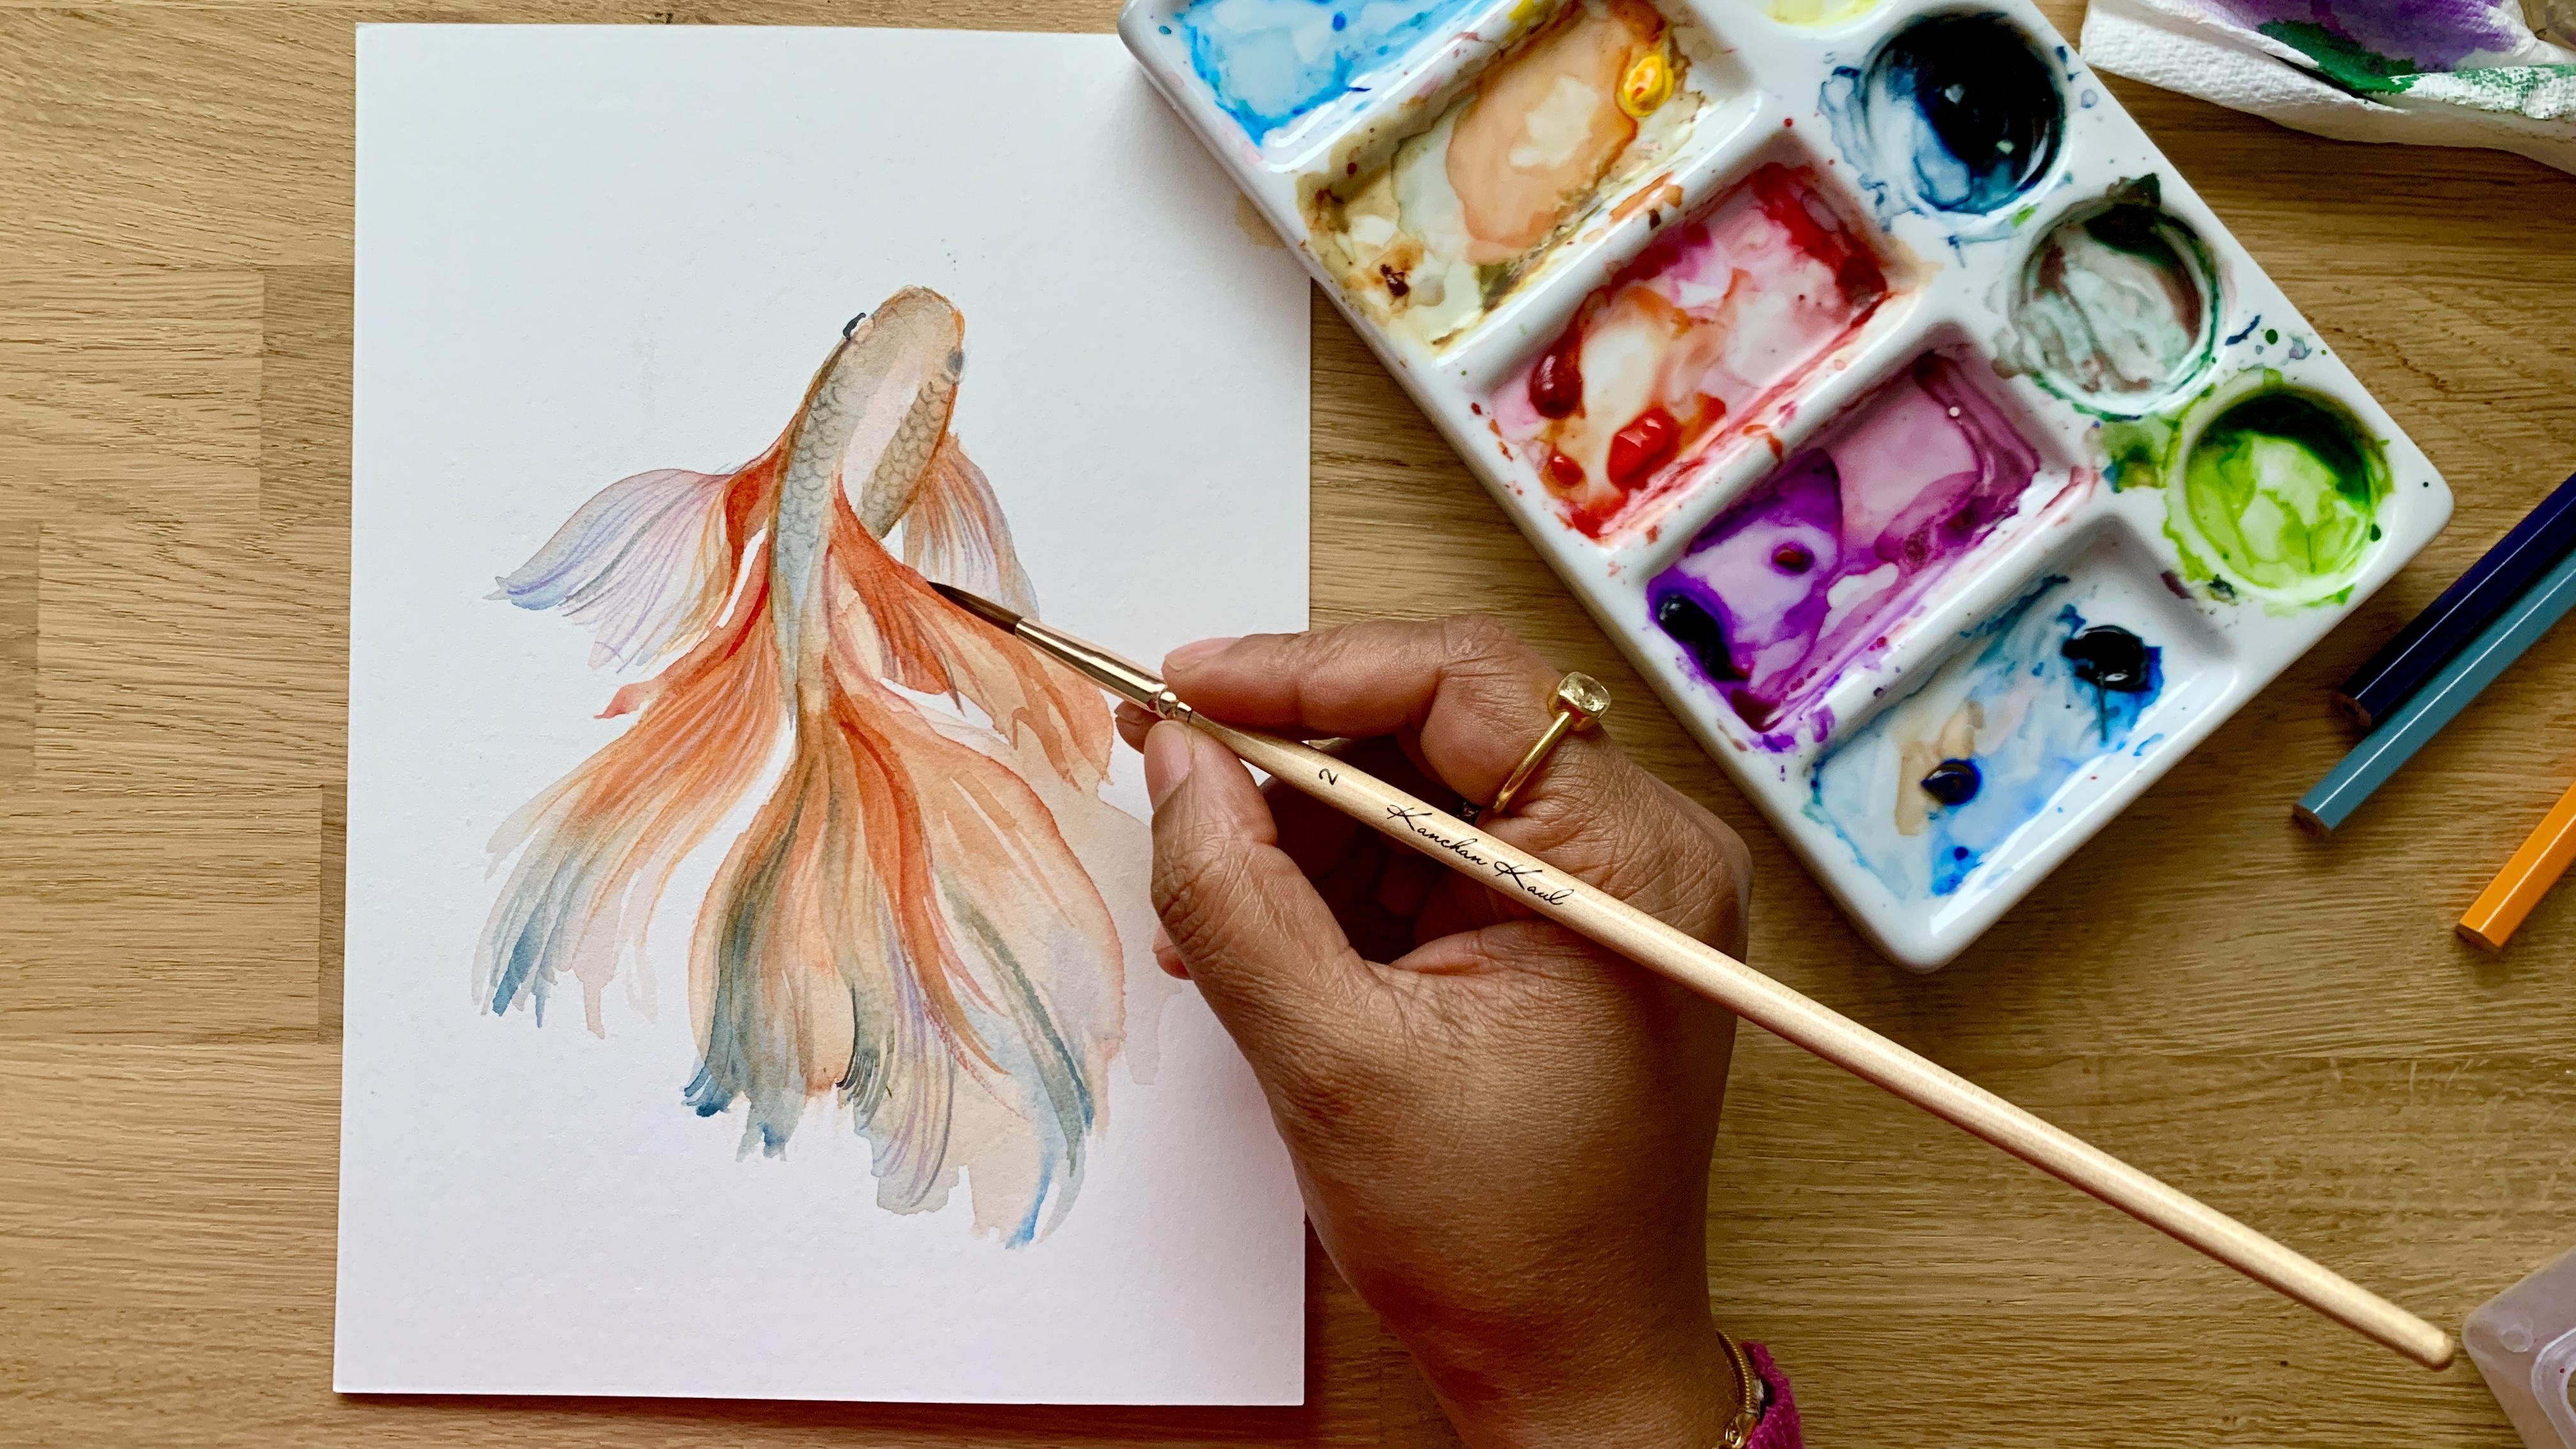
Draw & Paint a Betta Fish: Watercolour & Colour Pencil Art in 5 Minutes
 Kanchan Kaul, Artist and Illustrator
Watch this class and thousands more
Watch this class and thousands more
Lessons in This Class
-
-
1.
Welcome
0:16
-
2.
Drawing
1:04
-
3.
First Layer
1:56
-
4.
Details
2:01
-
-
- --
- Beginner level
- Intermediate level
- Advanced level
- All levels
Community Generated
The level is determined by a majority opinion of students who have reviewed this class. The teacher's recommendation is shown until at least 5 student responses are collected.
435
Students
22
Projects
About This Class
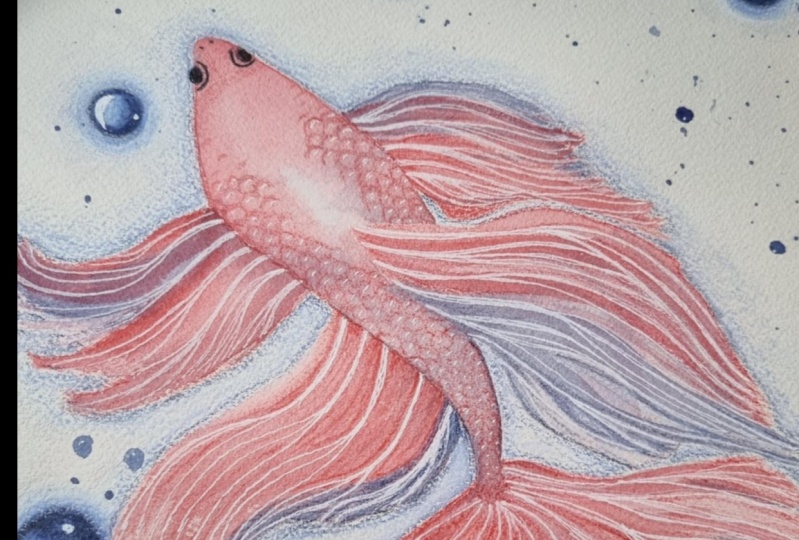
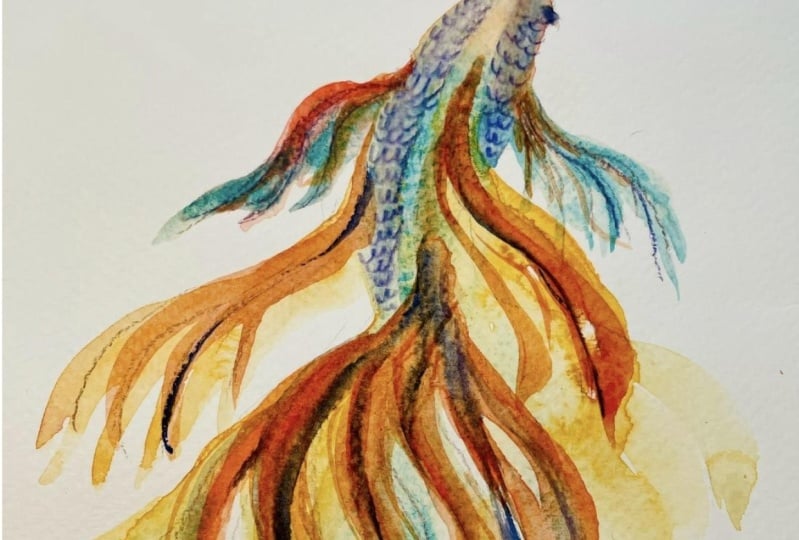
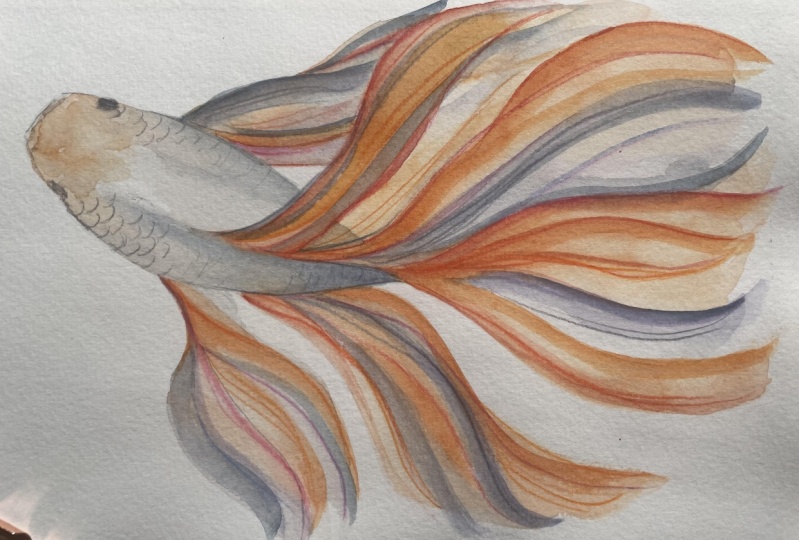
Join "Draw & Paint a Betta Fish" class, perfect for beginners and art enthusiasts looking to improve their watercolour and colour pencil techniques. In this quick, 5-minute session, you'll master free-flow brush strokes, capturing the vibrant beauty of a Betta fish.
What you will learn
With step-by-step guidance, you'll learn how to
- create fluid, expressive lines,
- blend watercolours seamlessly,
- and add intricate details using colour pencils.
Who is this class for?
This class is designed for both beginners and intermediate artists who want to enhance their painting skills in a fun and creative way. Start now and create stunning Betta fish effortlessly!
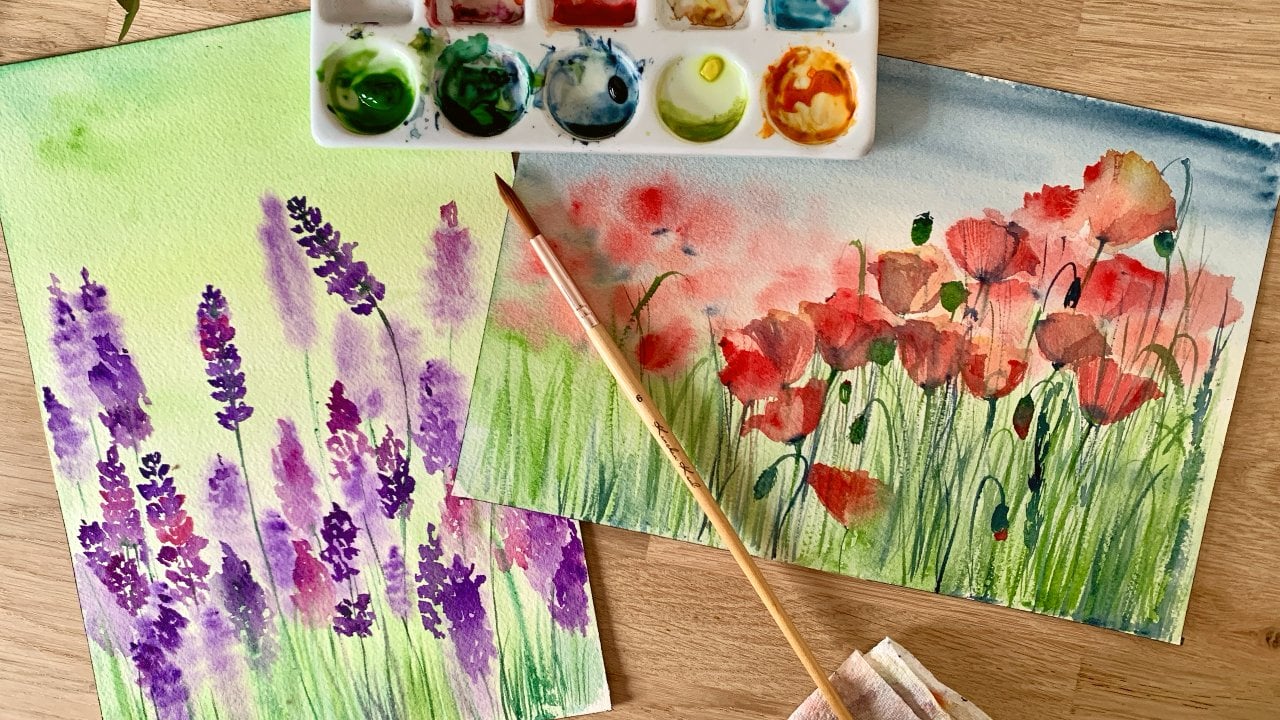
Recommended Classes for further learning
Easy Loose Watercolour Vegetables: Learn the Foundational Technique

Hands-on Class Project
In this bite-sized class, you will draw and paint a Betta fish along with me. Share your projects in the Projects Gallery below to get my feedback and encourage others to paint along!
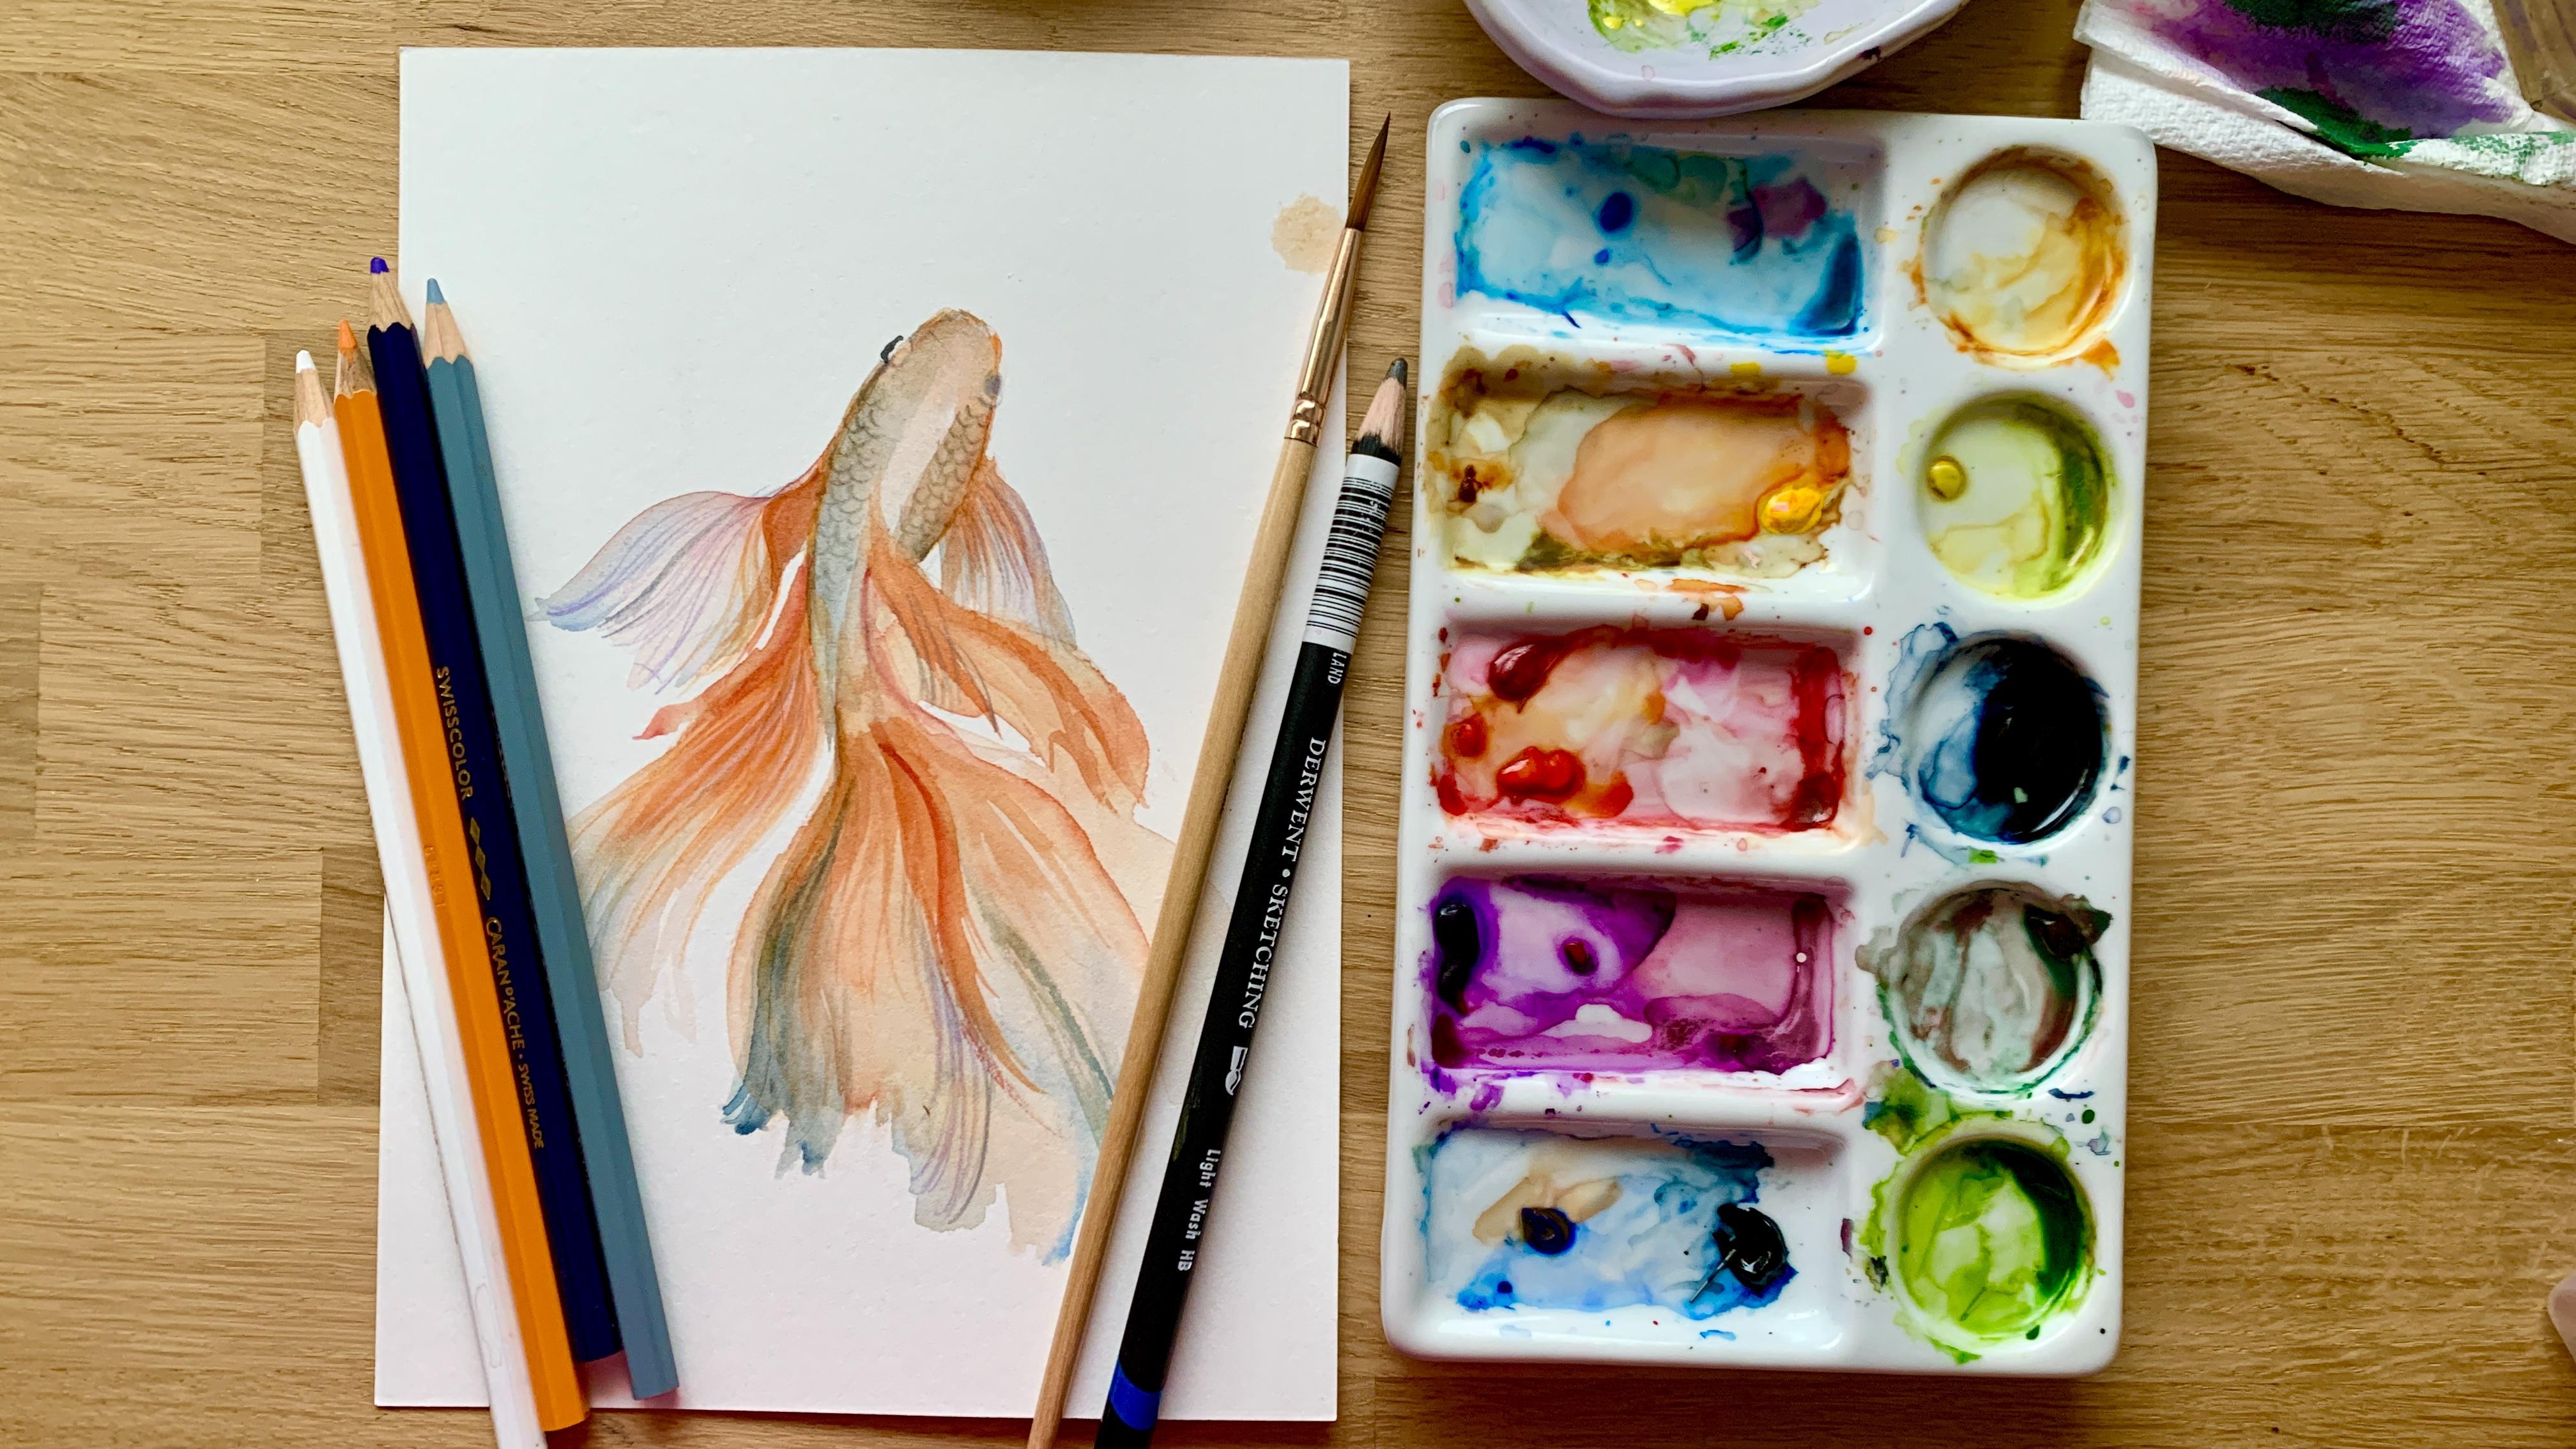
Materials
- Watercolour paper 300 GSM
- Brushes: Round size 2 or 4 and Size 1
- Colour Pencils - Orange, White and Blue /Grey
- Water
- Eraser
- Drawing Pencil

Class Ratings
Why Join Skillshare?
Take award-winning Skillshare Original Classes
Each class has short lessons, hands-on projects
Your membership supports Skillshare teachers
Learn From Anywhere
Take classes on the go with the Skillshare app. Stream or download to watch on the plane, the subway, or wherever you learn best.