Transcripts
1. Intro: Hi, my name is Claire. And in this class,
we're going to draw a fun birthday cake in
Procreate, step by step. This beginner-friendly project is the perfect way to explore texture brushes and play with Procreate tools like
clipping masks, the selection tool,
and blending modes. I've included a set of custom texture brushes and a color palette from my texture
sample kit for you to use. Firstly, I'll introduce
you to these brushes, and then we'll
dive into creating your birthday cake
illustration in Procreate. I'll walk you through different ways to make your
illustration look playful and full of personality
using different textures. You should have a
basic understanding of how Procreate works, but I will be explaining
every step slowly so that you can learn no matter
your current skill level. By the end of the
class, you'll have your very own colorful
birthday cake illustration and a solid understanding
of how to use textures in creative
and dynamic ways. And remember to add
your student project here by the end
of this tutorial. Whether you're new to Procreate or just want to have
a fun creative break, grab your iPad and let's make
something sweet together! :)
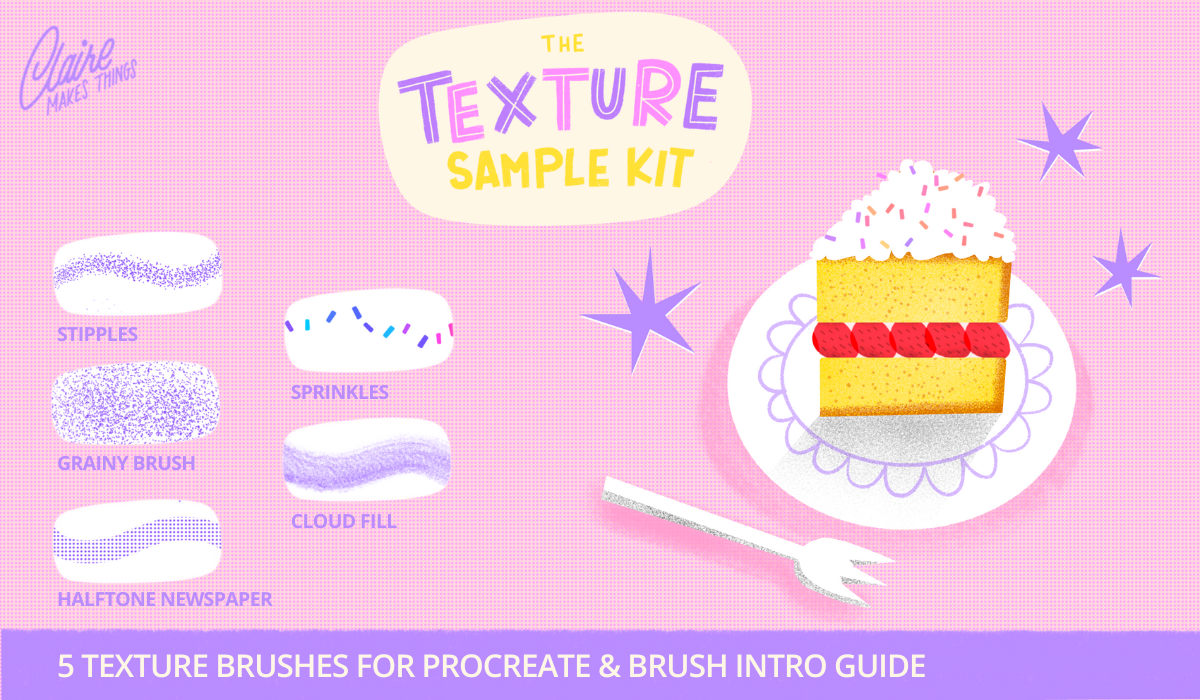
2. Brushes: For this project,
we're going to use this fun set of texture brushes. I love using these
brushes for shading, adding fun backgrounds and
details to my illustrations. Before we start, I'll
show you how you can download this
sample kit for free, and I'll guide you through
the brushes In Procreate. So firstly, let's
install these brushes. The link is also in the notes in the menu bar and in
the class description. So when you go to that link, make sure that
you're logged into your Skillshare account
and then tap on Buy now. And then tap on apply a discount code and then
use the code TEXTURES. When you tap on Continue, you'll be able to
see all the files. So you've got your brush set, your color palette,
and a PDF guide. If you're on your iPad, you can download and install
the brushes directly. So let's tap on the
Bush set first, on Download and then save
your brushes to your files. And then you can open it
directly in Procreate, and it will be added
to your brush library. So you'll see it at the top. And next, we also need
the color palette. So tap on the swatches, save to your files, and then open in
Procreate as well. And then if you go to
your color palette, it will appear
either all the way at the top or at the bottom. And I also added a
handy brush guide. In this, you've got a bit more info on the brushes as well. So let me show you first what
these brushes look like. The first one, Stipples, is
my favorite kind of texture for shading and adding
texture on a smaller scale. You can change the size of
this brush quite dramatically, so you can use it as a larger texture and also even as a line brush or a sketch brush
if you wanted to. Next up, this grainy brush
is a similar texture. It's something that works
well on smaller details, but also on a bigger
scale for a rougher look. And I like to use
this grainy texture as an overlay on top
of my illustrations. And you'll notice
this, especially when you're printing your
designs, for example, postcards, you'll see
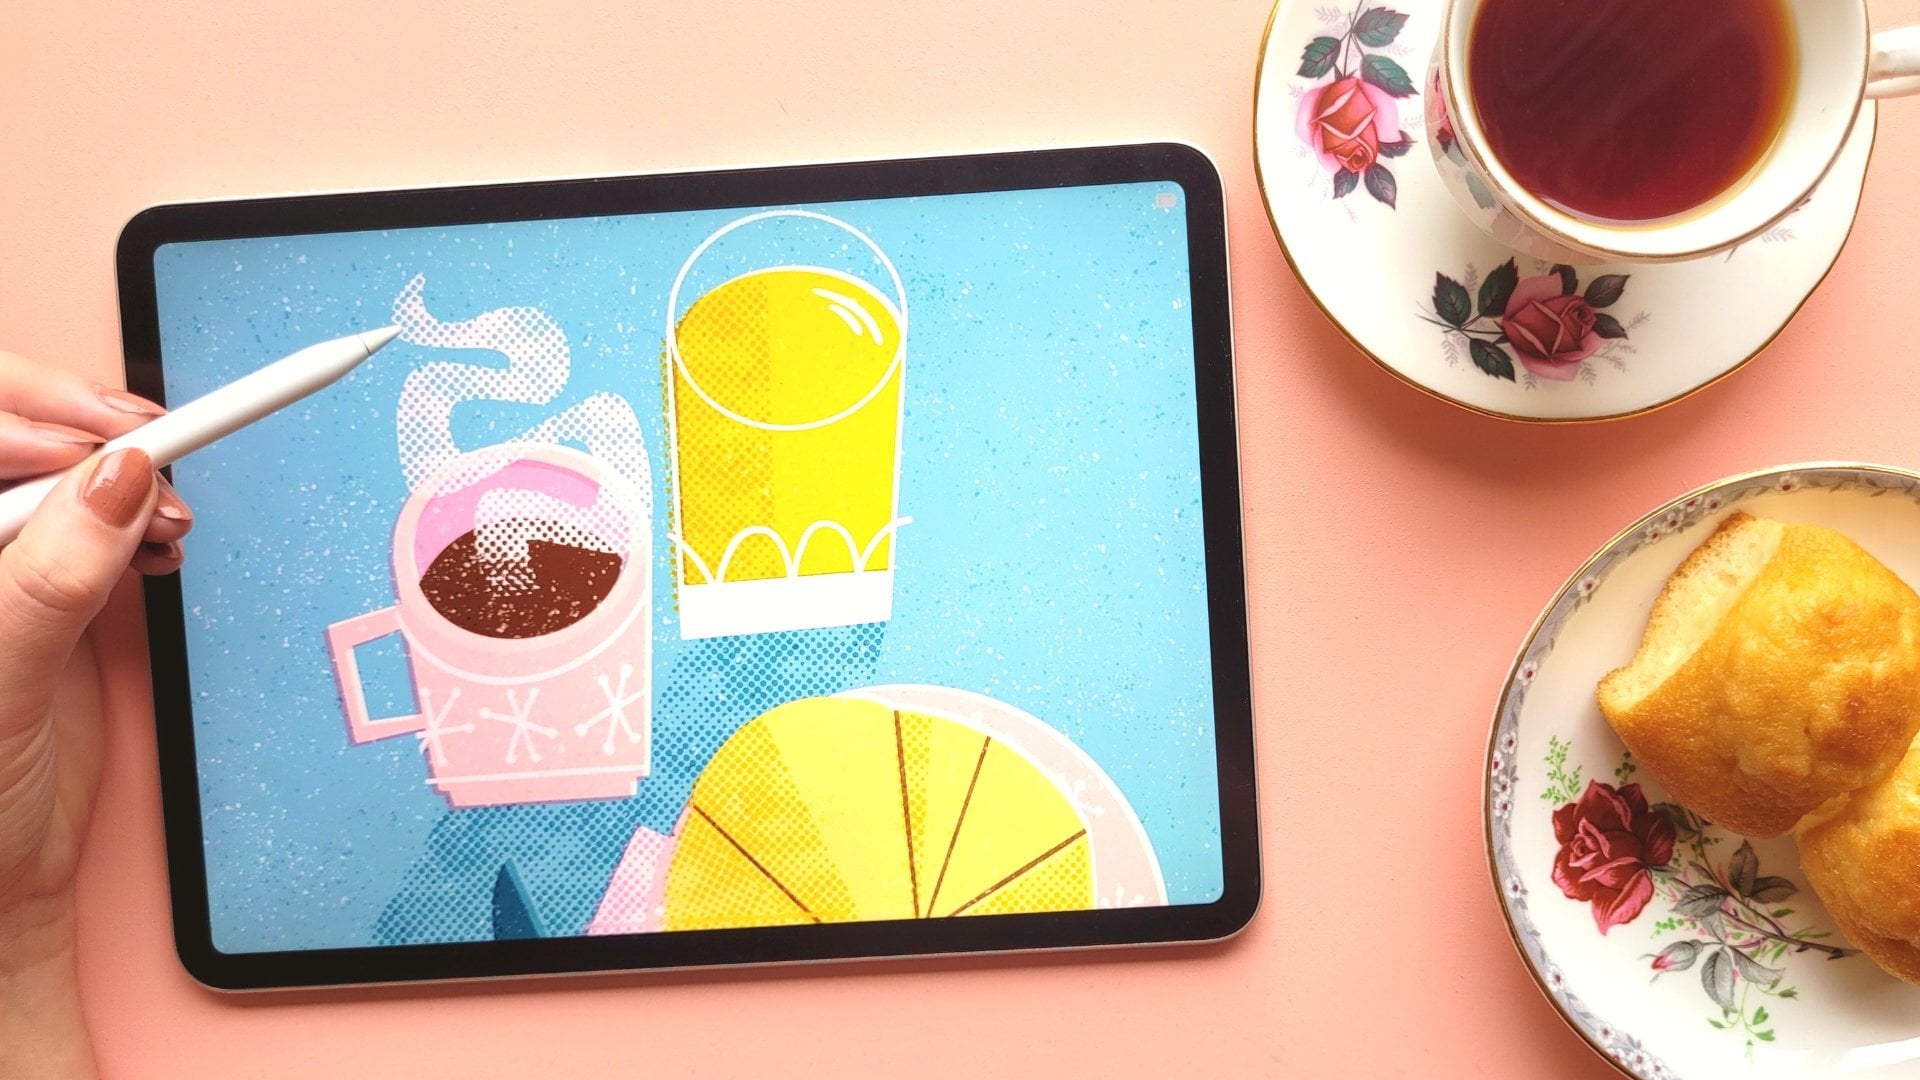
this subtle grainy look on the paper. This is a classic
half tone pattern. You can use this for
shading and coloring in, making your design
look a bit more retro, or just add some
interest to your art. When you rotate the canvas, you can change the angle of your half-tone pattern as well. If you want to learn
more about how to use half tones
in your designs, I discuss it in
depth in my course, Finding your style with
textures in Procreate, and I'll show you how
you can use this for coloring in your designs
and as a texture as well. And next up this Sprinkle brush is just fun for decoration, and it's a stamp brush that basically changes color
with every stamp. So every sprinkle is different. If you change the
color of this brush, the tones of your sprinkles change as well,
which is really fun. And lastly, this
Cloud fill brush is a slightly more
dusty kind of texture, and you can use
this for shading. I like to use it for filling in my shapes and
shading as well. And you can change the size of this brush dramatically as well, and it works really well
with blending modes. So if you layer
your illustrations, put this on top in
a blending mode like multiply or overlay, you get this subtle texture
on top of your art as well. For our project, we're going
to use all of these brushes. So before we get started, make sure to install the
brushes and the color palette.
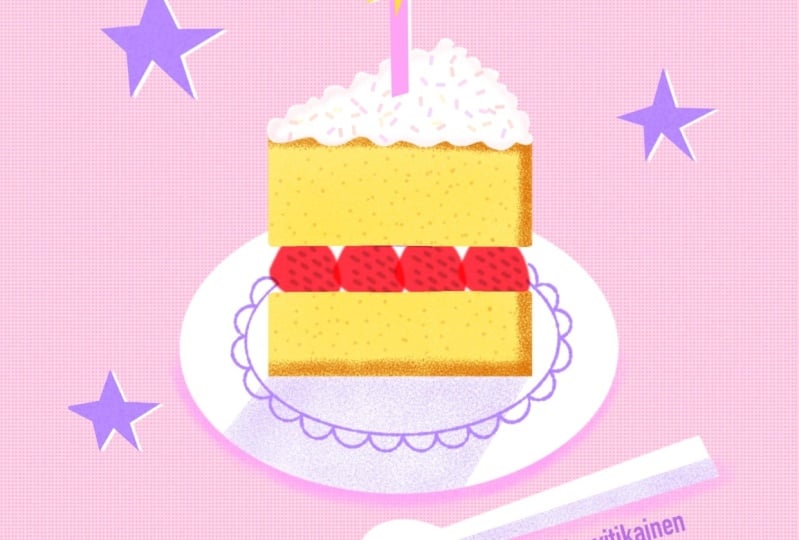
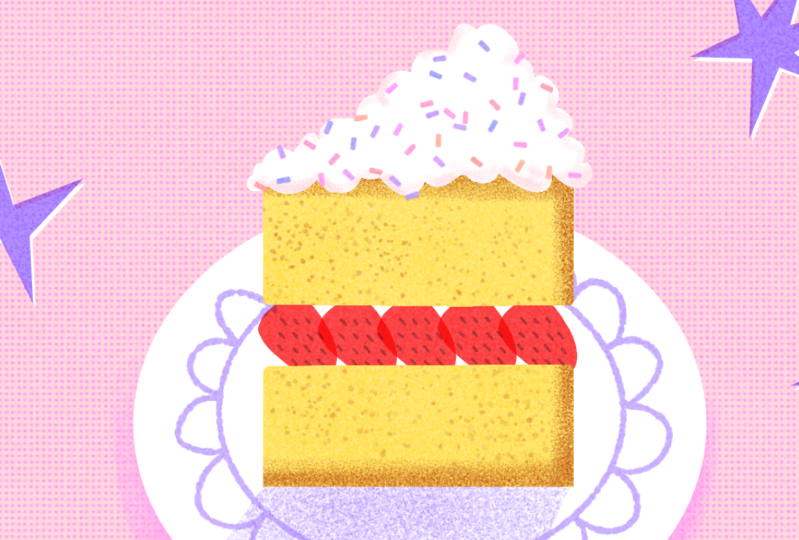
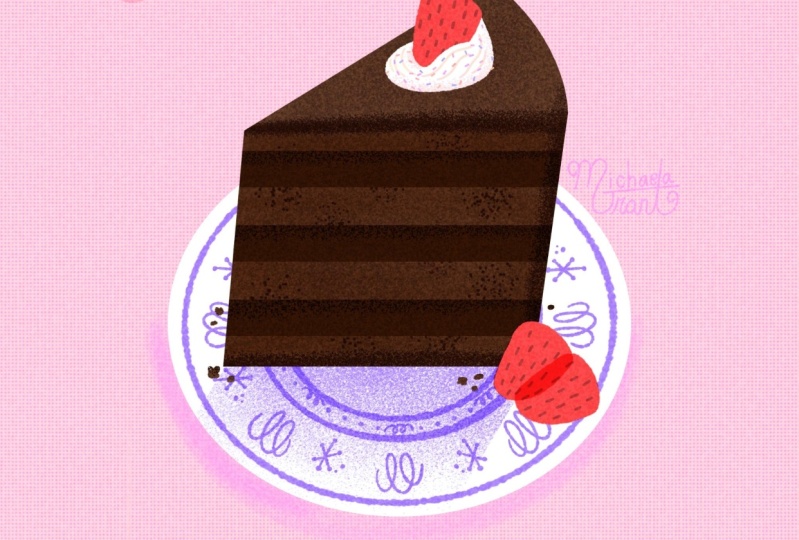
3. Color & Textures: So let's start with our design. Let's make a new canvas. So we're going to
make a birthday cake. It's going to be a
vanilla cake in yellow with a strawberry filling and then frosting with
sprinkles on top. We're going to build
it up in layers and we'll start with
our background first, then our plate, and
then the cake on top. Let's make our background first. Select the background color, and we'll change this
to the lightest pink. But we're going to
change the color slightly by using
the halftone brush. On our first layer,
let's select that slightly darker pink and
our half-tone brush. If you look at the side
bar here at the size, when I change the
size of this brush, the size of this half tone
pattern doesn't change. This is helpful when
you want to use this half tone in different
places in your design. You want to make
sure that it always has the same size of half tone. For now, we're just going
to select the biggest size so we can easily fill
up our entire canvas. Here you can see when you zoom in that you've got
these little dots. But when you zoom out, it
has this subtle texture on your background and it blends the two tones of pink
together as well. Next up on a new layer,
let's select white. We're going to make the plate of our birthday cake first because
this is our bigger shape, so we want to make
sure that we're placing it in the
middle of our canvas. To make our plate, go to select and then make sure
that color fill is turned on. This way, when we
create a shape, it will automatically be filled in with our
color that's selected. I'm just making
this ellipse shape and then making sure it's
centered in our canvas. And we're going to do the same
thing for our cake on top. So on a new layer with
our sort of beige yellow, we'll do the same thing
but make a rectangle. And then on top, we'll just
kind of select by hand, we'll draw and fill in the
shape of the top of our cake. And this is kind of the
basis of our birthday cake. Let's add some texture
to this right away. Let's turn this layer to alpha lock and then we can
draw inside of that shape. Let's use the grainy brush, and then we're simply using
the slightly darker yellow. And then we're just filling
that in with stipples. So you get this very subtle
texture in that cake. And we're going to
use the stipples to add some texture and some color
to the edges of our cake. I'm just adding these stipples
to the edges of our shape. Don't worry about the top
because we're going to add a frosting on top later. For now, we'll just focus
on the side of this shape. By the way, at any point, if you want to change the colors or the style of your cake, feel
free to change it. And let's lower the opacity and then bring up
the size so that we can add some subtle
stipples as well. And that makes our cake just
look a bit more interesting. Now let's add our
frosting on top. Let's create a new layer. We're going to do
the same thing with our selection tool and then select white and make sure that the color
fill is turned on. This way, it will automatically
fill in our shape again. I'm just loosely following
the direction of the cake, but add it in little curves
as if it's a whipped cream, I guess, on top or a frosting. And then you can just use a regular smooth brush to just fill it in a bit more and make those edges a bit smoother. Before we continue
with the cake itself, let's also add a
bit of decoration to this plate because right
now it looks just white, but we want to add
some colour here. Let's select purple.
Then for this, I actually want to just add a slightly more
interesting line brush. I'm actually going to
use this retro liner from my liner toolkit brushes, but use whatever fun texture
brush that you like. You can even use
the stipple brush on a really small
size, for example. Firstly, we'll make a circle. Then you could just
add some ovals to this or some flourishes. Let's bring down the
opacity just a bit, it's just a bit more subtle. Next up, this is also
really important. We need a fork and this will also look a little
bit more dynamic in our canvas, to have
something that breaks up the perfect circle plate. To the side, we'll use the selection tool
and add our fork. You can just use the
free-hand option here and make sure that
color fill is turned on. And we'll turn that
to white, as well. Right now our plate and
our fork look really flat. Firstly, let's add some
shading underneath this. I really like using the
cloud fill brush for this because it's a bit more smooth than the
stipples, for example. Let's use pink for this and just add a little bit of
shading underneath. Adding shading like this just immediately helps
with your shape, so it doesn't feel like they're floating in your canvas as much. And let's also add some
shading to our birthday cake. Something subtle so that
it doesn't feel like it's just on a
perfectly white plate. Let's use the grainy
brush and then instead of just right
away adding this shading, let's use the selection
tool and select a part of our plate that we're going to add our grainy brush too. I'm going to do the same thing, but inside our fork so that
it doesn't feel as flat. Select your fork layer and
then turn that to Alpha lock, and then we can add our
shading inside of this. With the selection
tool, I'm just selecting the bottom half
almost of this fork. And then adding the grainy brush with purple on those edges. In the next lesson,
let's add the filling of our cake and add some
more details.
4. Details: Now we're ready to add
filling to our cake. We're actually going
to cut in the middle, but we don't want to make any
changes to the cake itself, we want to work in a
non-destructive way. To do that, let's add a
mask to this cake layer. Just tap on the
layer and then mask. Then with black selected
and a simple smooth brush, we're just going to make
a cut in the middle. Because we're using a mask, we're only making
these changes to this mask and not to
our actual layer. At any point when using
a mask when you want to undo something or if you want to bring some
of that layer back, just select white instead of black and that way you can bring back
parts of your layer. I'm just going to round
these edges a little bit. Now here you can see in
this layer if you deselect that layer that our birthday
cake is completely intact. This makes it a lot easier to make changes
when you want to. To make our filling, let's add a new layer behind our cake, and my preference
is strawberries, but feel free to
change it up here. Let's select red. Then again, with the selection tool, let's turn on color fill. I'm just going to hand-draw
a strawberry shape, diagonal. Right now it looks
really simple, but we're going to add just
a few details to this. Let's start with
adding some seeds with this slightly darker pink/red, and we just want a really
simple smooth brush like this monoline brush
which I like to use for simple details, and just adding
these small stripes. Since we've got our
one strawberry done, we're simply going to duplicate them to fill up this layer. Swipe left on your
strawberry layer, and then, let's turn the
blending mode to multiply. Now when we move our layer
a little bit to the left, you can see them overlap
and you see that the color actually saturates where
the layer overlaps, which is a fun effect as well. We'll just keep doing
that and I think we can add just a couple more. Duplicate your
layer. It's already set to multiply, and
then just move it up. That's our strawberry
filling done. Just to keep our layers
a bit organised, let's swipe left on
our strawberries so that we keep them
grouped in one place. Next up, this frosting right now looks a
little bit plain. We're going to just a tiny bit of shading and texture to this. Let's add a layer on top of the white frosting and then let's turn that
to clipping mask. This way, we can
add some shading on top of our layer without making actual
changes to the layer itself. This is the easiest way to work if you want to
make changes later. Let's use our very light pink
with the stipples brush and just add a little bit of
that graininess to the edges. And finally, let's use
the sprinkle brush. We're going to add
some sprinkles on top. If you select pink, then you get these
slight changes in tone. So you've got some
purple in there, some kind of, like,
light orange. And as you can see, all of
these colors look really familiar because this is
basically our color palette. So it matches the rest of our
illustration really well. I know we're keeping
this cake quite simple, but you can make
changes here like adding a candle in your cake, for example, adding more
sparkles, whatever you prefer. We're going to just add
a few more details, including something
in our canvas because right now it's plain. Let's add some sparkles or stars around
our birthday cake. I'm using purple and then
with the selection tool, I'm just drawing
these little stars. Now that you have
that layer with your stars on it or whatever
sparkle stars that you have, duplicate that
layer, and then turn the bottom layer to alpha lock and then fill it with white. And then turn your
purple layer on top to multiply and then
just move it slightly. We've actually just created
a bit of contrast by adding some white edges and some saturated color
edges on the other side. This is a really quick
way to make your shapes, stand out from the background and make them look more fun. Next up, let's add a grainy texture on top
of our entire design. To do that, add a new layer, and then let's select black and then change the blending
mode to overlay. Now let's use our grainy
brush on a big size, and then fill the entire canvas. When you zoom in,
you can see that this overlay blending
mode actually turned our black grains
into saturated speckles. This is a nice way to
add a texture on top of the entire design and it also just saturates the
colors a little bit more. If you want that effect
to be less noticeable, you can turn down the opacity of that layer just a little bit. I like to add it usually
around 20 or 30%. And lastly, of course, don't forget to add your
signature to your design. Try to add it in a color
from our color palette, so it matches everything else. If you want to know more about this multiply technique
that we used in our stars, in my 'Make it Pop' course, we talk a little bit more
in-depth about why this is such a useful technique
and just a bit more about how you can use that
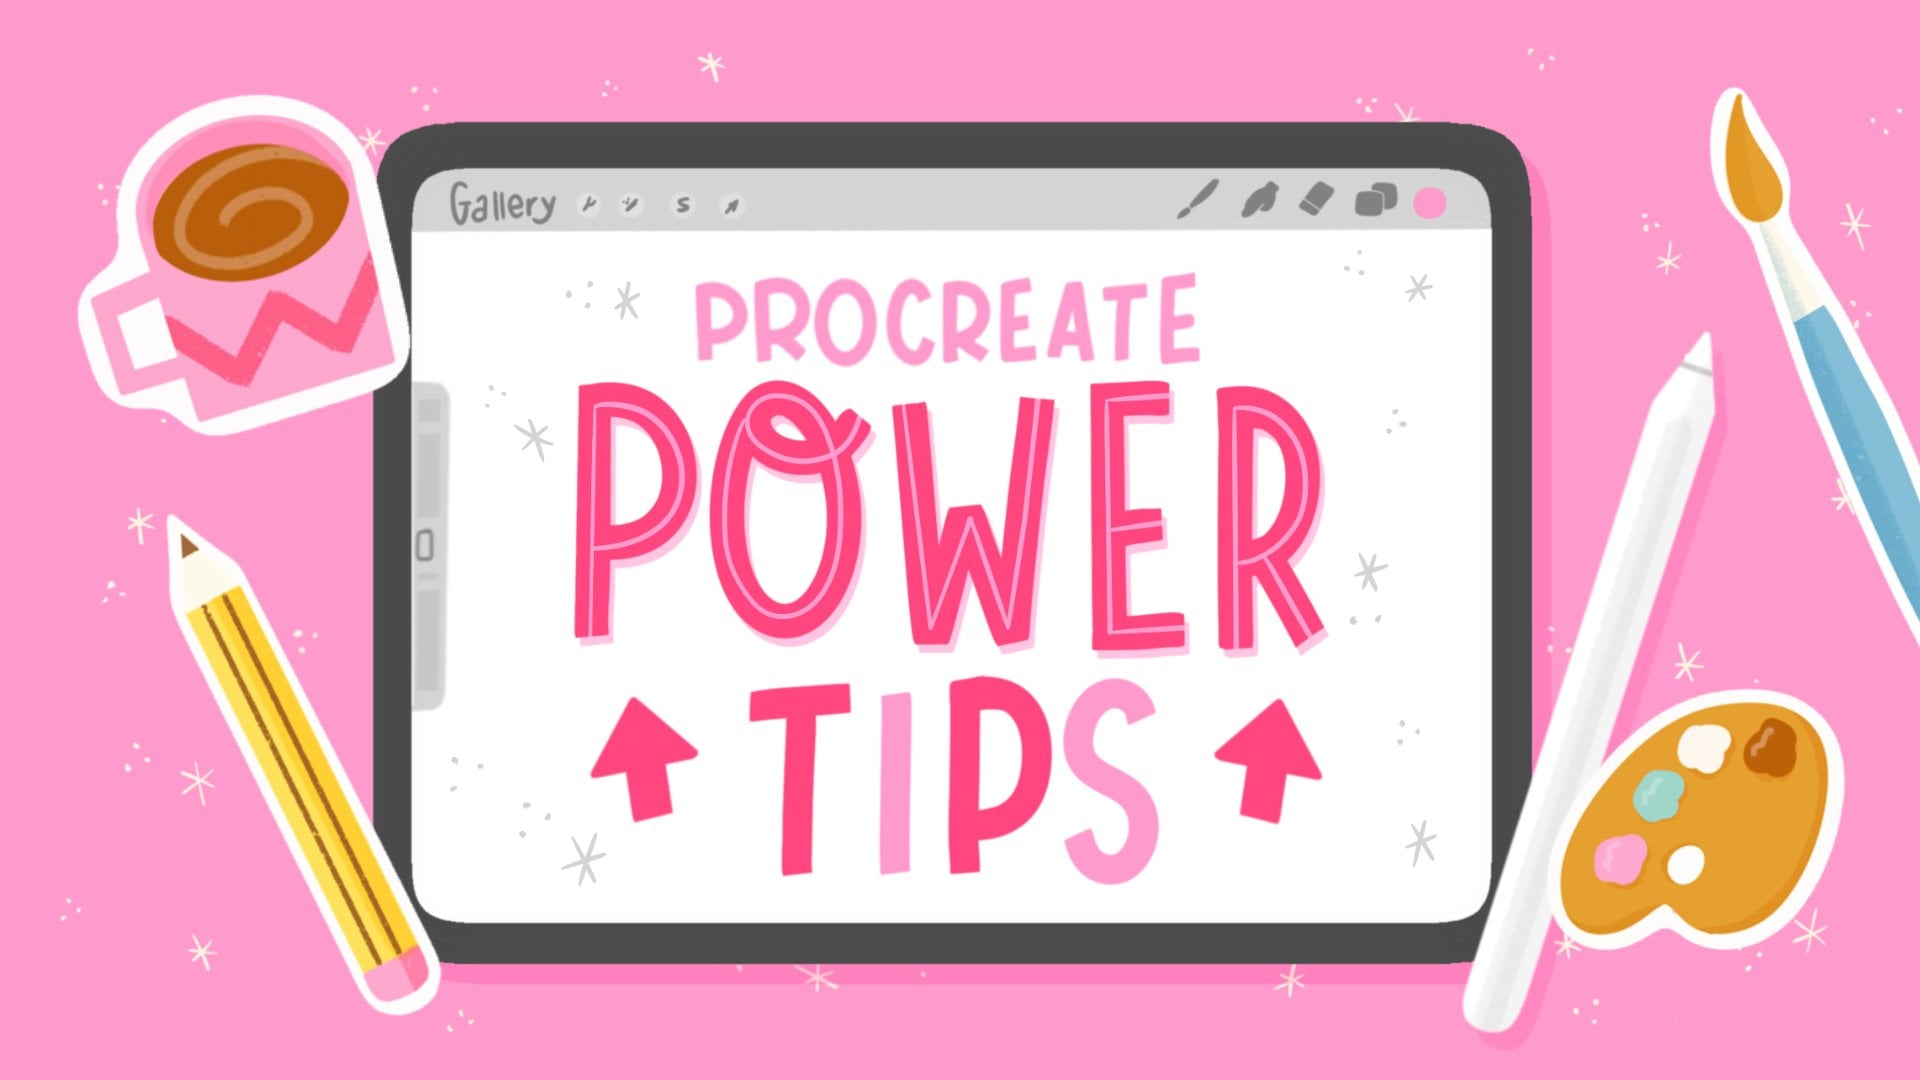
in your own illustrations. If you want more tips on
how to use Procreate in a more efficient and fun way
in Procreate Power tips, I'll just give you some
more tips on how to create shapes and stamp
brushes and more. That's it. This is our
birthday cake design.
5. Share your Work!: Thank you so much for
watching this class. I hope you had fun creating
this cute illustration. Don't forget to
share your project in the Projects
and Resources tab, and tag me on
Instagram, as well. I love to share projects
in my stories there. If you liked this
tutorial and the brushes, please leave me a short review. This really helps me
to make more classes and brushes in the future. You can find all my
other brush sets for Procreate here
on Skillshare. Just check the links
in the notes in the menu bar or
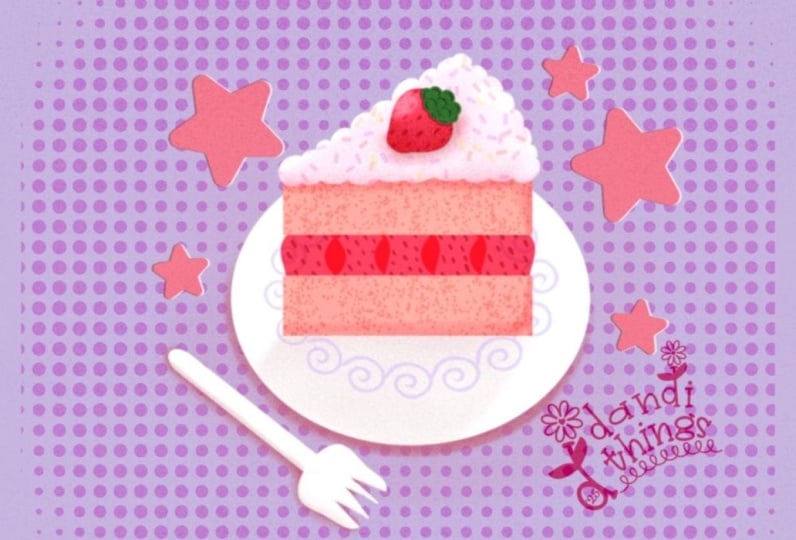
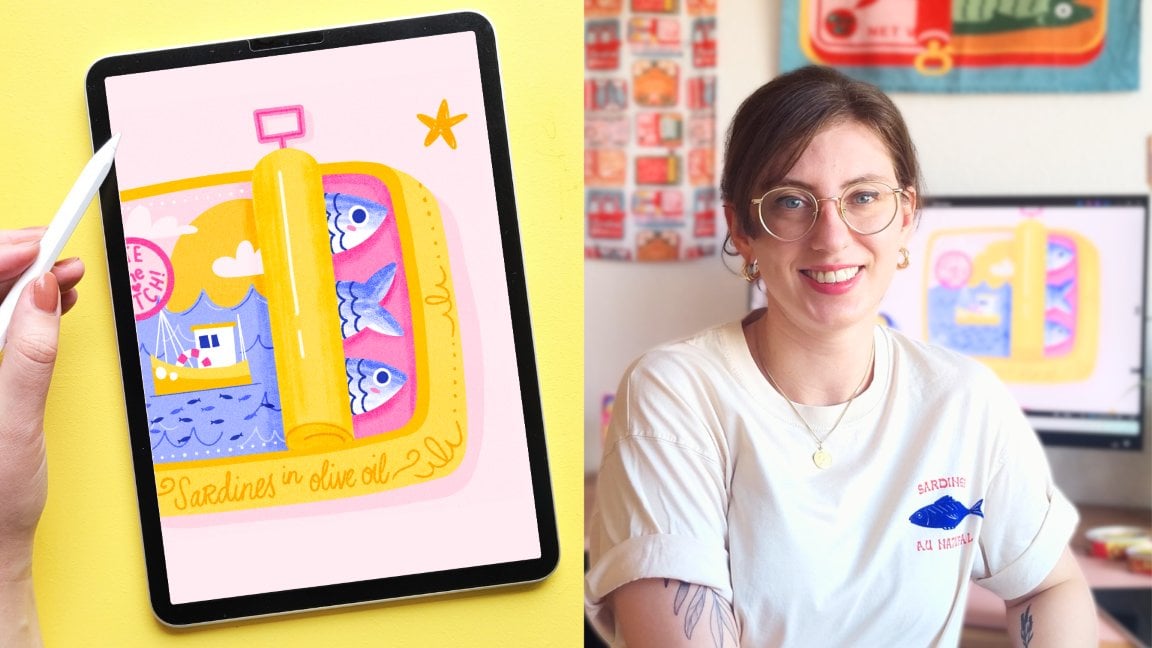
go to my profile. This project was inspired
by my other texture class, finding your style with
textures in Procreate. And I just wanted to
make a shorter version so that you could dive
right into the project. But if you're feeling
inspired, do check that out. This is a little bit
more in-depth on textures and really how
to make them your own. This class also
comes with brushes, and I'd recommend having a look at all the student projects. They're super inspiring. I regularly add resources to the discussions tab as
well, related to the class. And I also like to share student projects
in my newsletter, so join me there. You'll also be updated first
on exclusive giveaways, brushes, tutorials, and
more. See you soon! :)
 Claire Makes Things, Illustrator | Lettering Artist