DIY Envelope with Watercolor Patterns: Easy Step-by-Step Guide | Aleksandryna Gromyko | Skillshare

Playback Speed


1.0x


  • 0.5x
  • 0.75x
  • 1x (Normal)
  • 1.25x
  • 1.5x
  • 1.75x
  • 2x

DIY Envelope with Watercolor Patterns: Easy Step-by-Step Guide

teacher avatar Aleksandryna Gromyko, Watercolor tutorials for everyone

Watch this class and thousands more

Get unlimited access to every class
Taught by industry leaders & working professionals
Topics include illustration, design, photography, and more

Watch this class and thousands more

Get unlimited access to every class
Taught by industry leaders & working professionals
Topics include illustration, design, photography, and more

Lessons in This Class

    • 1.

      About the Class

      1:01

    • 2.

      Painting Pattern

      2:00

    • 3.

      Cut the Envelope

      4:45

    • 4.

      Other Pattern Ideas

      2:21

  • --
  • Beginner level
  • Intermediate level
  • Advanced level
  • All levels

Community Generated

The level is determined by a majority opinion of students who have reviewed this class. The teacher's recommendation is shown until at least 5 student responses are collected.

49

Students

2

Projects

About This Class

If you're looking for a useful and easy craft project - here is your short class about making envelopes

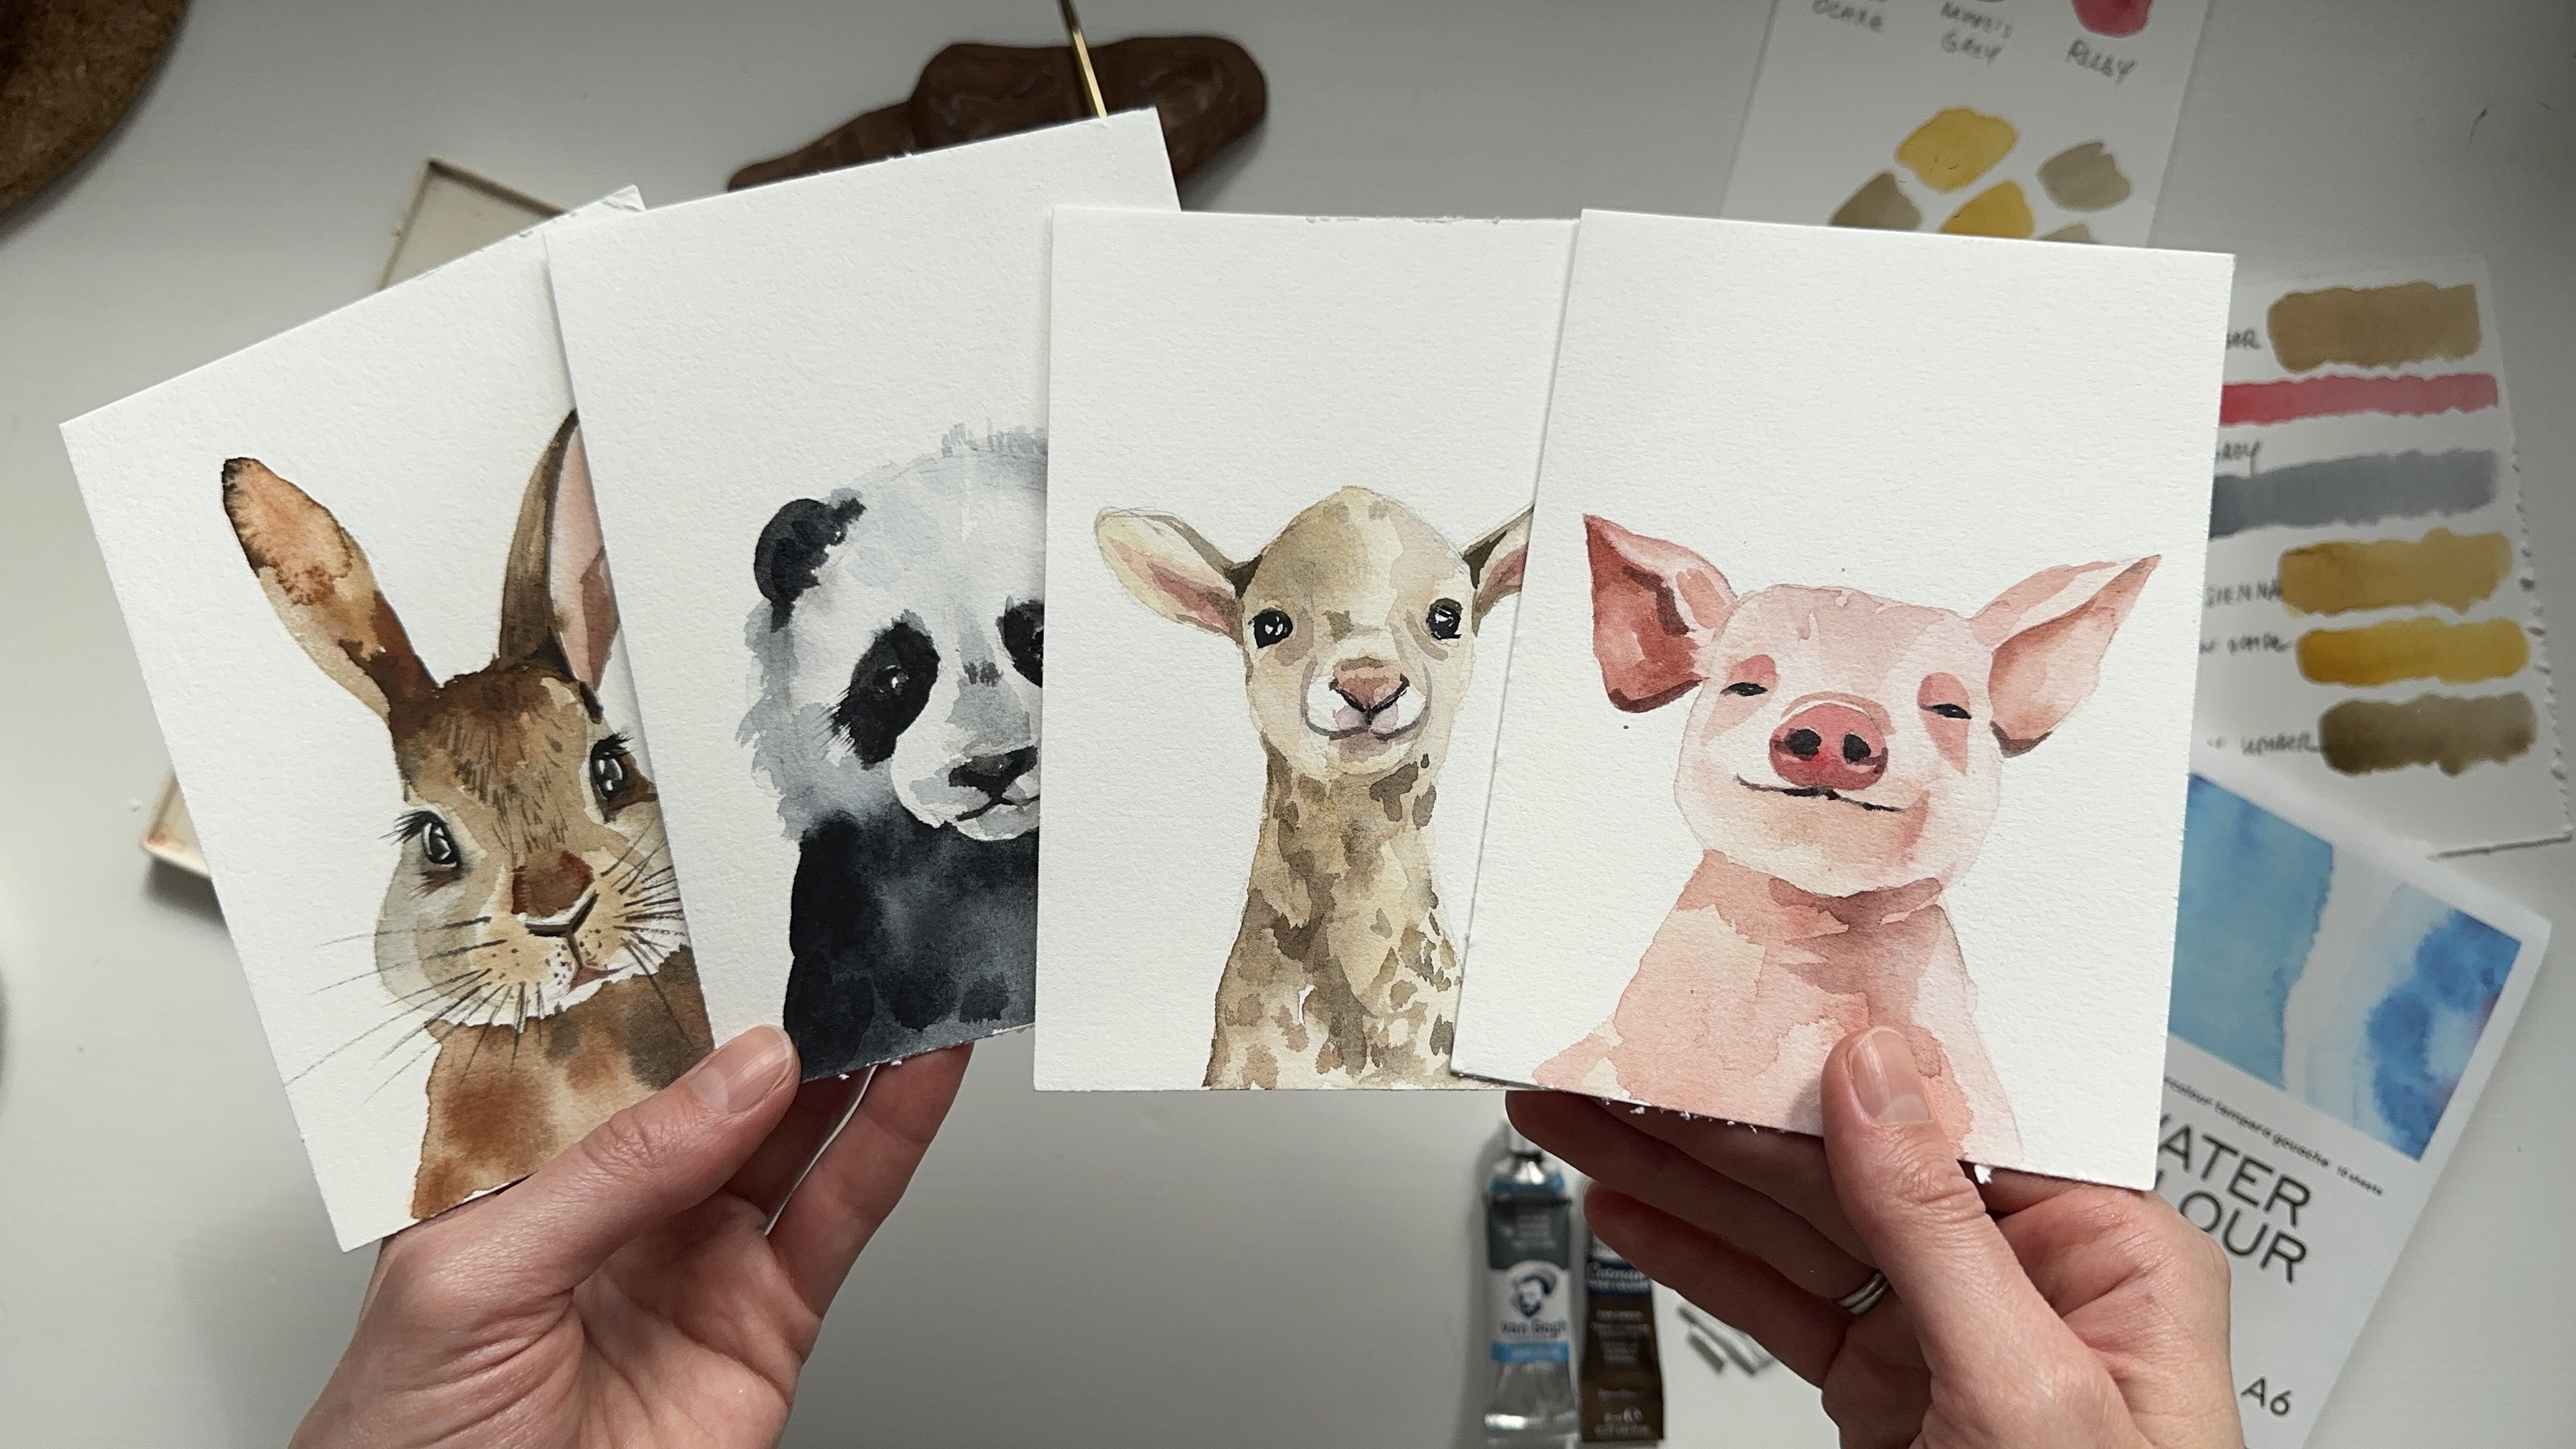
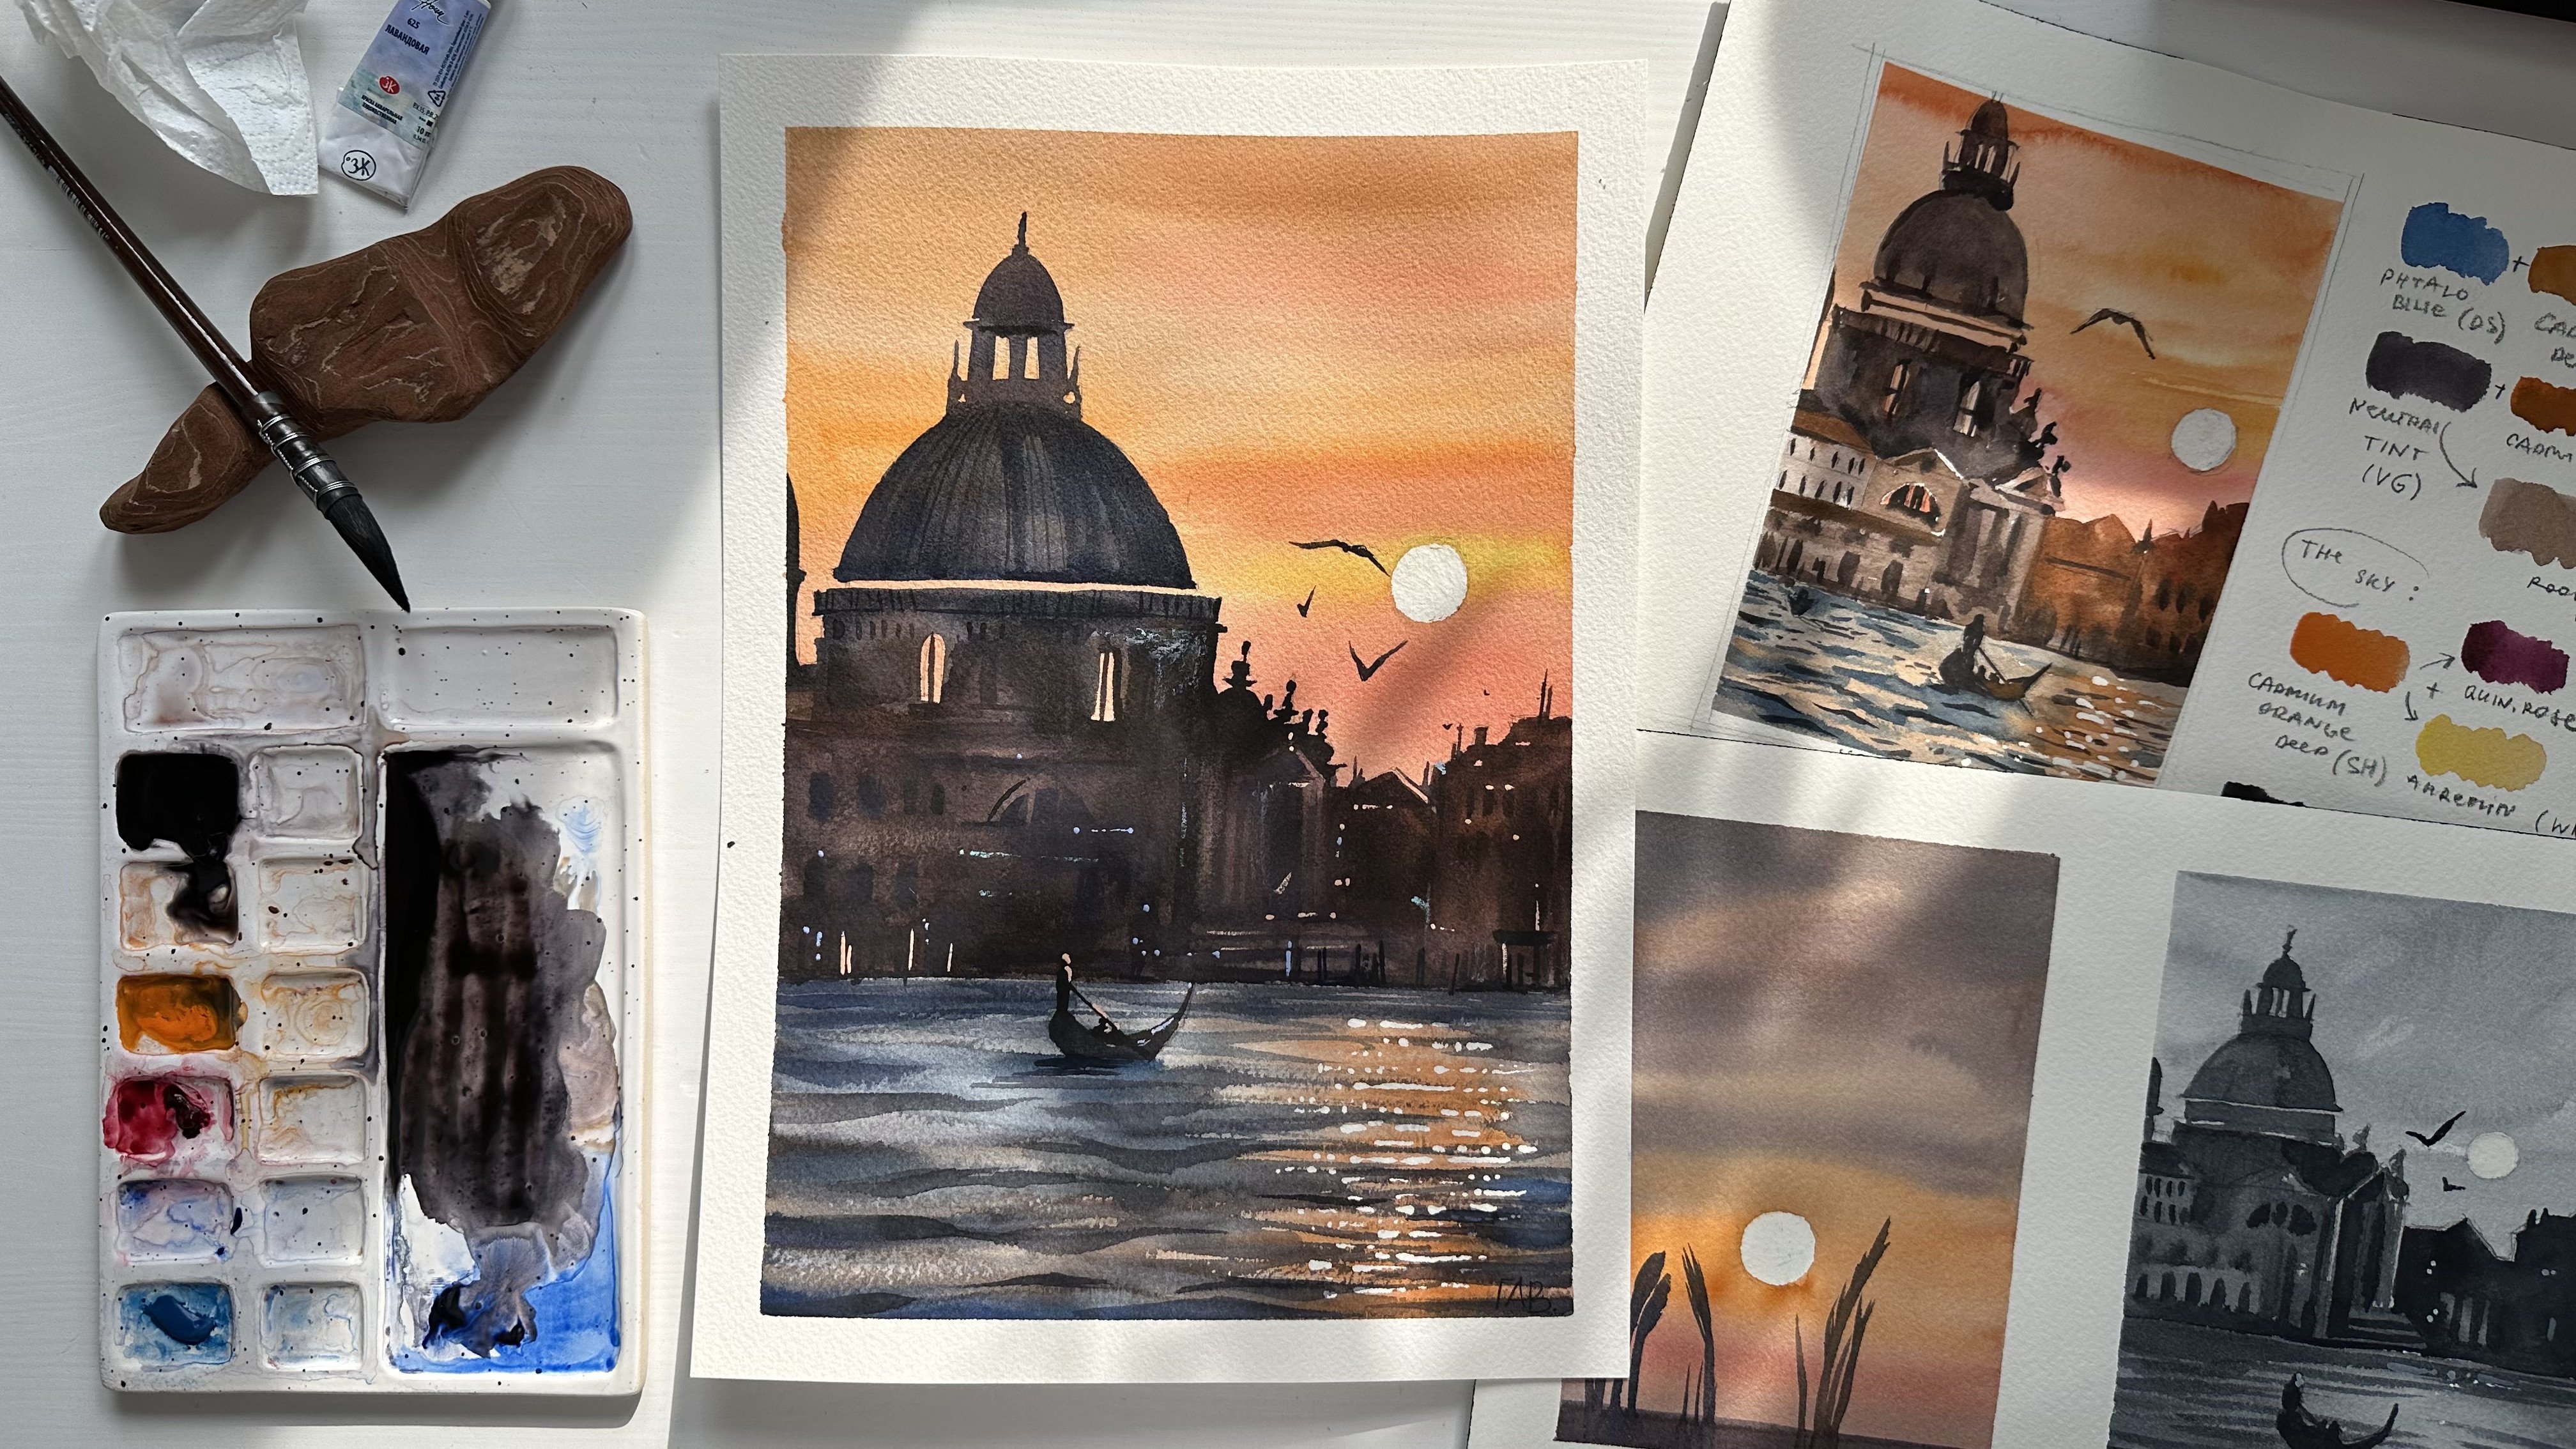
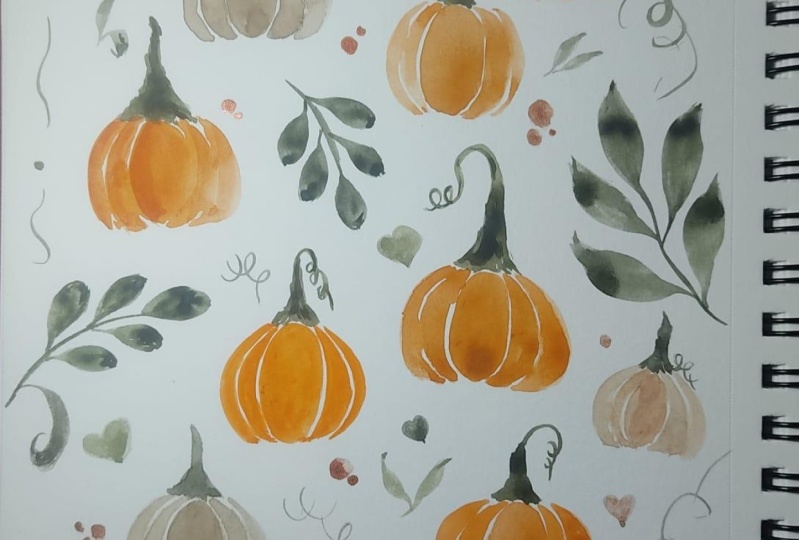
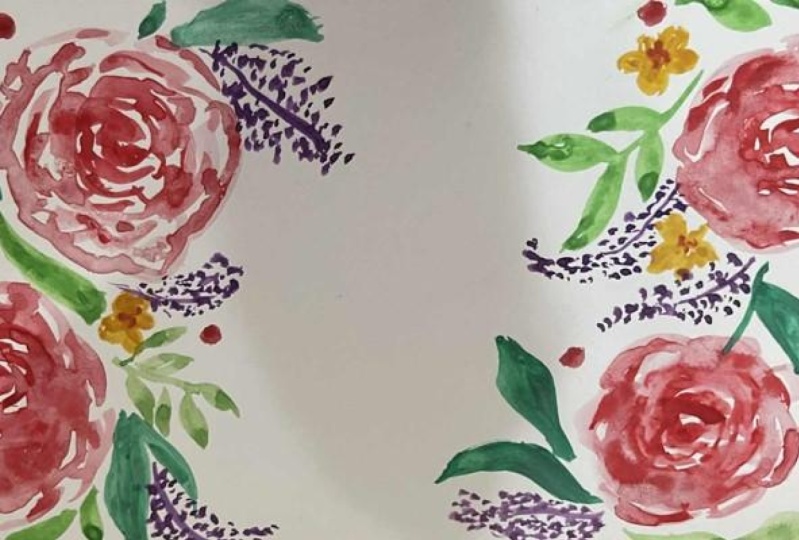
In this class, you will learn how to make a simple envelope with your very own hand-painted watercolor design. In just a few lessons I show you some simple pattern ideas you can paint with watercolor or get inspired by. 

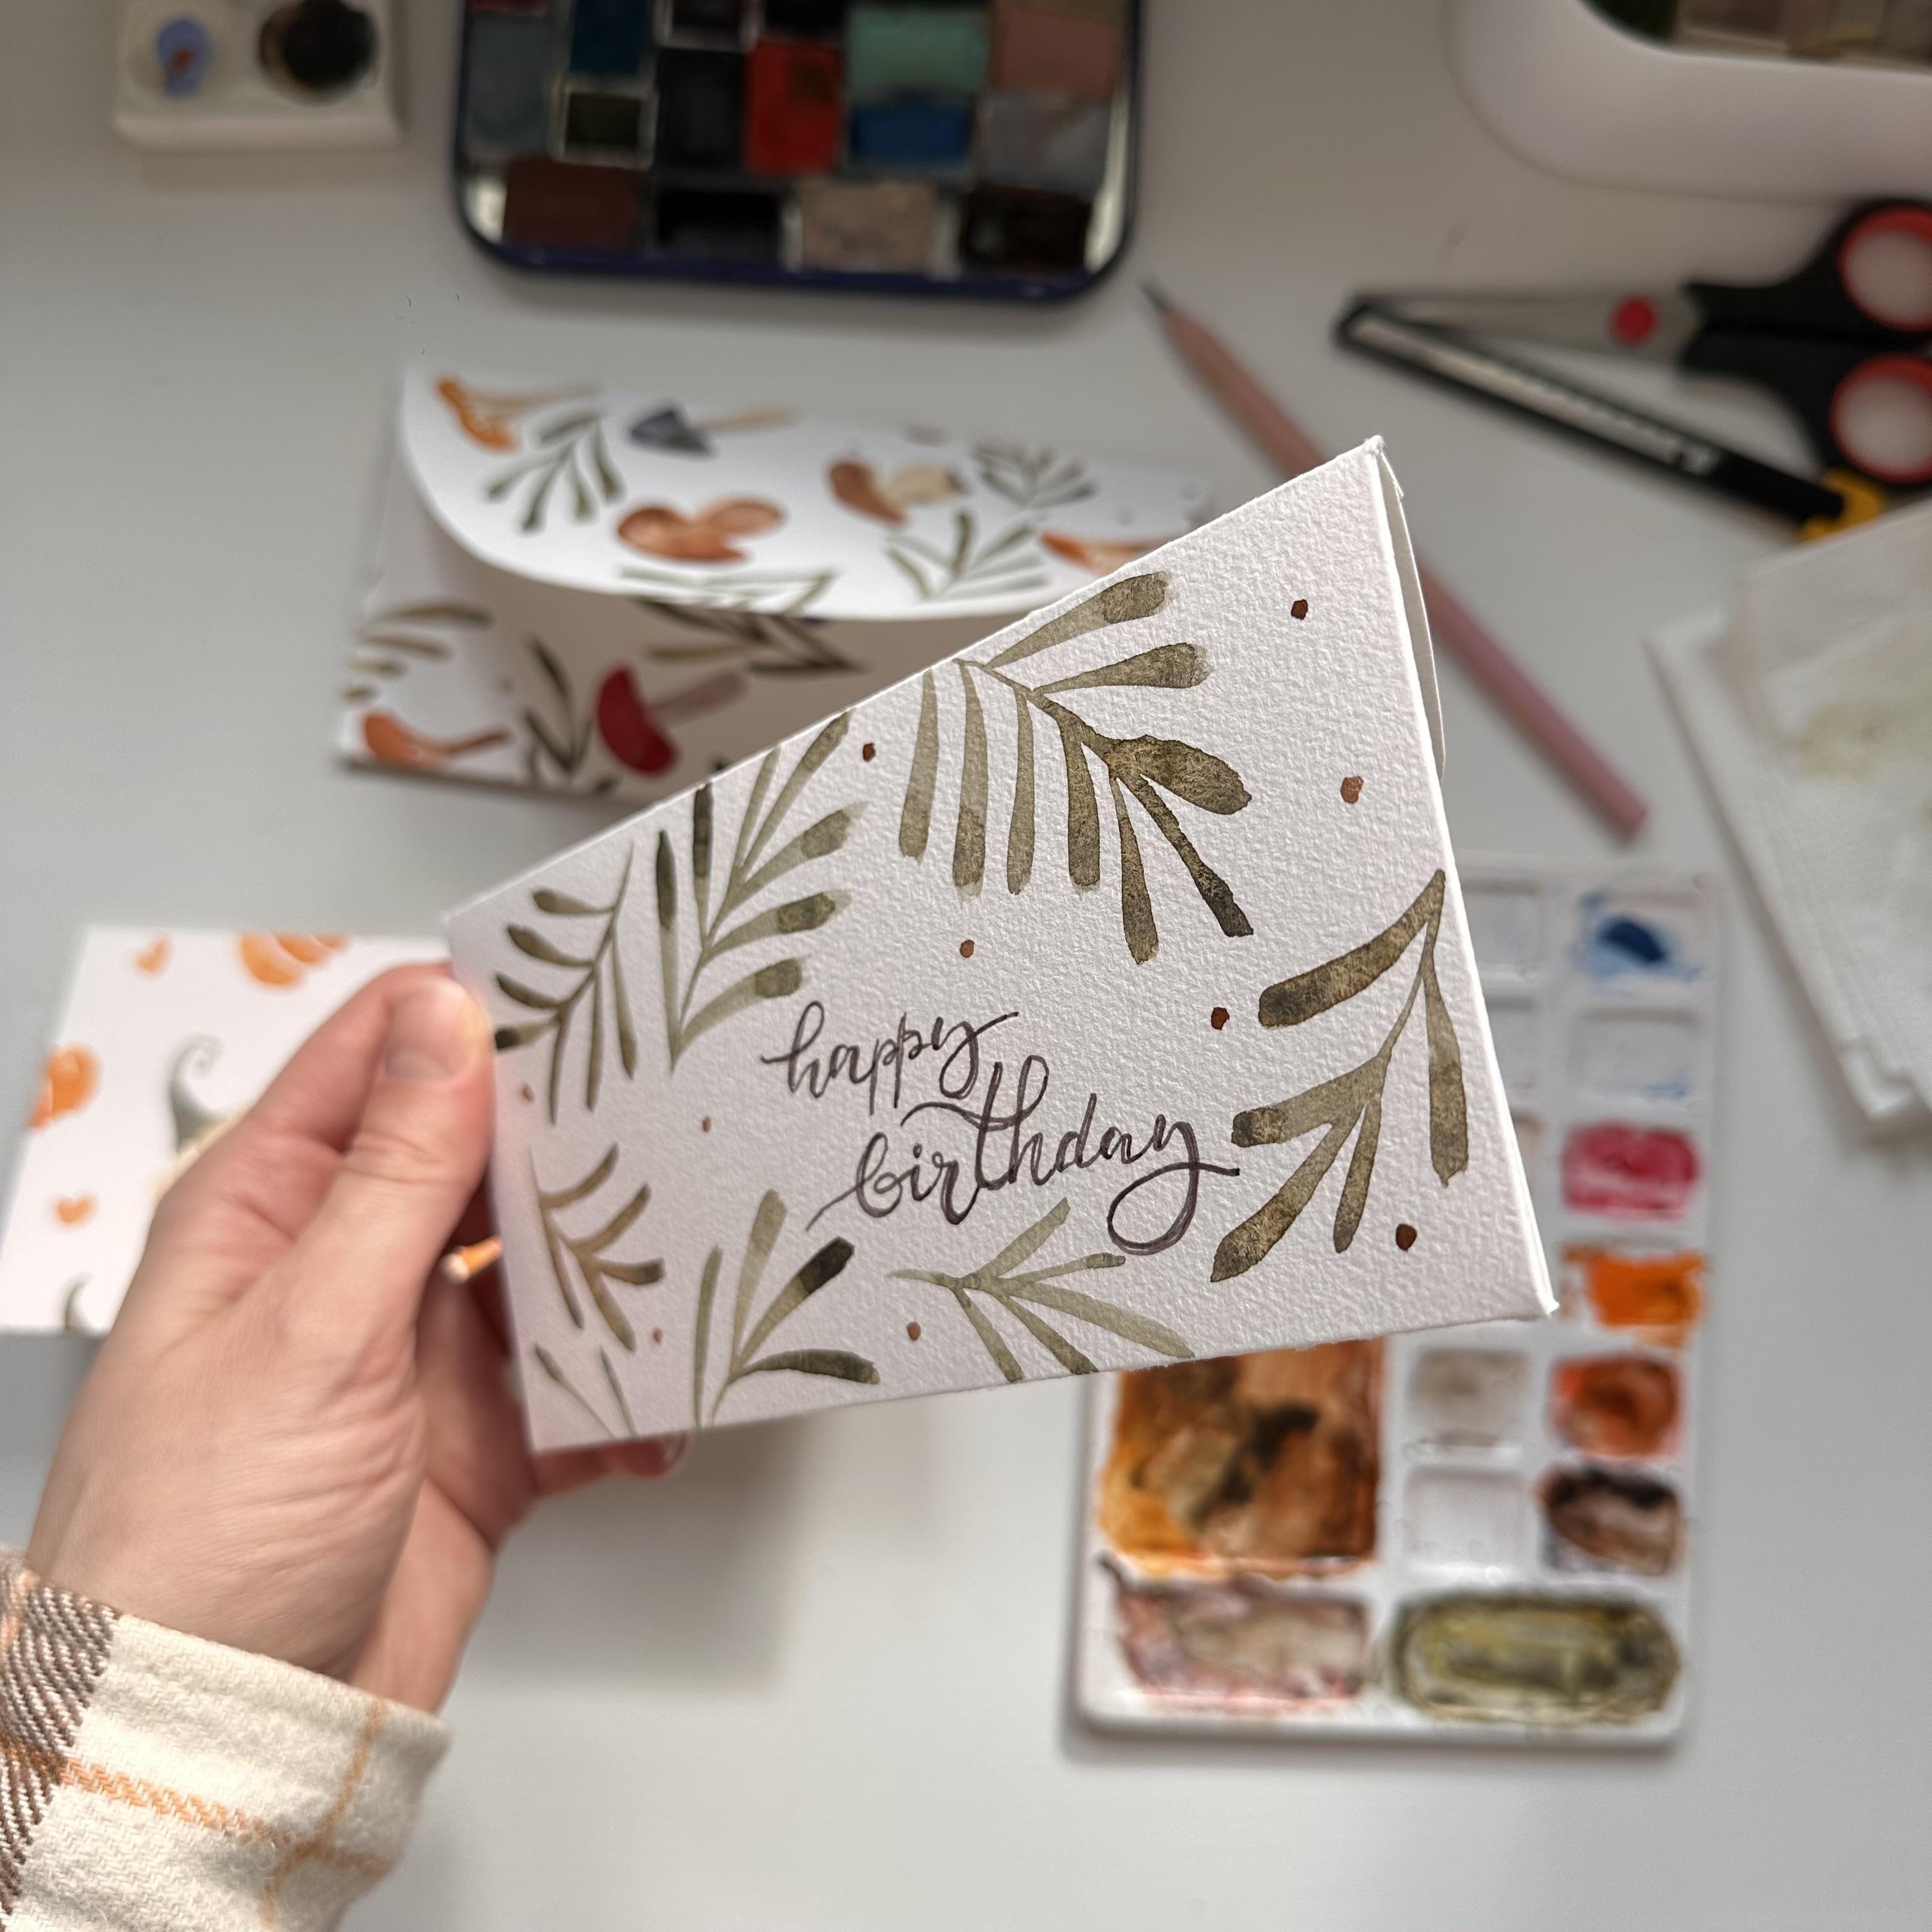
This lazy way of folding envelopes I learned from my mom when I was a child. You don't need specific measurements to make this envelope, but I included an envelope in the attachments to this class just in case. 

Here are the materials you might need for making a DIY envelope with watercolor pattern:

  • Watercolor paper 300 gsm/140 lbs A4 size
  • Watercolors (particular colors I used in the class resources)
  • Round Brush #4 
  • Utility Knife
  • Metallic Ruler
  • Scissors
  • Glue Stick
  • Pencil
  • Sharp but non-cutting object (I used a nail file)

Whether you’re a beginner or have some experience with watercolor, this class will guide you step by step through the process. First, we’ll create a beautiful watercolor pattern. I will share some simple painting ideas. Then, I’ll show you how to fold that artwork into a unique, handmade envelope—perfect for letters, cards, or special gifts.

By the end of this class, you’ll have a personalized envelope that’s as special as what goes inside.

So, grab your paints, and let’s get started!

Meet Your Teacher

Teacher Profile Image

Aleksandryna Gromyko

Watercolor tutorials for everyone

Teacher

Hello, my name is Aleksandryna and I paint with watercolor. I love that watercolor helps you to leave all worries behind and just enjoy the process of painting. I believe that everyone can paint and the only secret of success is a lot of practice. And if you really enjoy the process, hours of practice don't seem so scary!


I invite you to explore a watercolor world with me. Let's start this amazing journey!

See full profile

Level: Beginner

Class Ratings

Expectations Met?
    Exceeded!
  • 0%
  • Yes
  • 0%
  • Somewhat
  • 0%
  • Not really
  • 0%

Why Join Skillshare?

Take award-winning Skillshare Original Classes

Each class has short lessons, hands-on projects

Your membership supports Skillshare teachers

Learn From Anywhere

Take classes on the go with the Skillshare app. Stream or download to watch on the plane, the subway, or wherever you learn best.

Transcripts

1. About the Class: Hi, everyone. In this short class, you will learn how to make a simple envelope with your very own hand painted watercolor design. Whether you're a beginner or have some experience with watercolor. This class will guide you step by step through the process. First, we'll create a beautiful watercolor pattern. I will show you some simple painting ideas. Then I'll show you how to fold that artwork into a unique handmade envelope. Perfect for letters, cards, or special gifts. By the end of this class, you will have a personalized envelope that's as special as what goes inside. Join the class, grab your paints, and let's get started. 2. Painting Pattern: Let's start painting our pumpkin pattern for the envelope. I use cut Mm orange deep, Bash color, and dusk yellow. You can find the full list of materials in the attachments to this class. I paint a very minimalistic pumpkin using just one orange color and moving my brush from top to the bottom, so the color would stay there where the shadows are. You can paint all the pumpkins with one color or add some similar colors like I'm doing right now, I'm using bash color. Using dark mix, I use dusk yellow and neutral tint. The colors I have on the palette, but you can use other colors like burn Ciena or Cepe. I paint the stems with also very simple brush strokes. I normally use a four size of paper as a standard one, and I always have some watercolor pad with this size, but you can also use a square size of paper. And now I will just finish painting the pumpkins, and I will add a little details in between these pumpkins. I add some orange hearts. You can add just ordinary dots or anything you like. Now let's move to cutting the envelope. 3. Cut the Envelope: In this lesson, I will show you how I cut the envelope from a watercolor paper. I use a template envelope, but you can use measurements I shared in class resources. First, I place the envelope template slightly diagonally, leaving at least a 1 centimeter margin from each corner. I trace around the envelope with a pencil. It's important that the sheet of paper is phased down during this. Then I extend the lines along each side using a ruler. Then I cut the corners using a utility knife. You can use scissors, but a knife more convenient for me. At this point, I'm not trying to make each side equal or need. I just remove the corners so I can fold the basic shape of the envelope and then decide where I need to cut more paper. Once I've done this part, I see that one side of the envelope is too big, and now I can reduce it. The main body of the envelope is about 8.5 centimeters, so I'm marking the same margin on this long side, and I can cut even smaller size. As you can see, it's pretty lazy way of making an envelope because I don't have particular measurements. For example, I see that this side can be shortened, so I cut it. Now we have a basic shape of an envelope, and I take a nail file. You can use another thin, sharp, but non cutting tool and press along the fold lines. This will help fold the sides without leave in creases on the envelope. Then I carefully fold each of the sides. I place a left over piece of paper underneath and press down each fold with the handle of the scissors. So the handle wouldn't leave any marks on our envelope, as you can see, it leaves on the scrub paper. At this point, you may notice that it doesn't fold easily, so we need to round the side edges as this helps fold the envelope better. I trim any unnecessary parts if needed and fold the envelope. You can round this edge or just cut it straight. Now we need to glue the sides and our envelope is done. I mark the edges with a simple dots and pencil, so I know where to apply the glue. But that's only because I'm going to apply it on both sides. You can just place the glue on this side part and glue it. And now I place the scrap piece of paper underneath again and press down each fold with a handle of the scissors. Our envelope is done. If you painted the watercolor pattern, you have a beautiful envelope. If you have a white envelope, you can paint something beautiful on the main side right now. And let me show you some of the ideas. O 4. Other Pattern Ideas: Here is a very simple and beautiful idea for painting on the envelope. For this painting, I need only one brush. I use brush number four by silver brush and one color. I use dusk yellow, by Van go, it's granulating color, but you can use any color that you like or that you have. So I'm painting these random leaves or branches with leaves using just one color. The main thing is that I'm pressing the brush and I leave it at the end of each leaf. So I start with a very thin line, then I press my brush and I leave the brush in the end. So the color would stay there. I leave some unpainted space in the middle so I can write down happy birthday or for example, address of the recipient that will receive this envelope via mail. One of the secrets of a beautiful pattern is to add some little details between the big elements. We have our big elements leaves, and now I will add some little dots using bronze, Watercolor bifan go. I love making these hand painted envelopes for money gifts or even for male when I need to send something. Our envelope is done. You can also paint some leaves on the other side. For the class project, you can paint anything you want and include the image of your envelope in the class project section. Please don't forget to leave review, and I hope to see you in my other classes.