Transcripts
1. intro: Hello and welcome to this class on finding
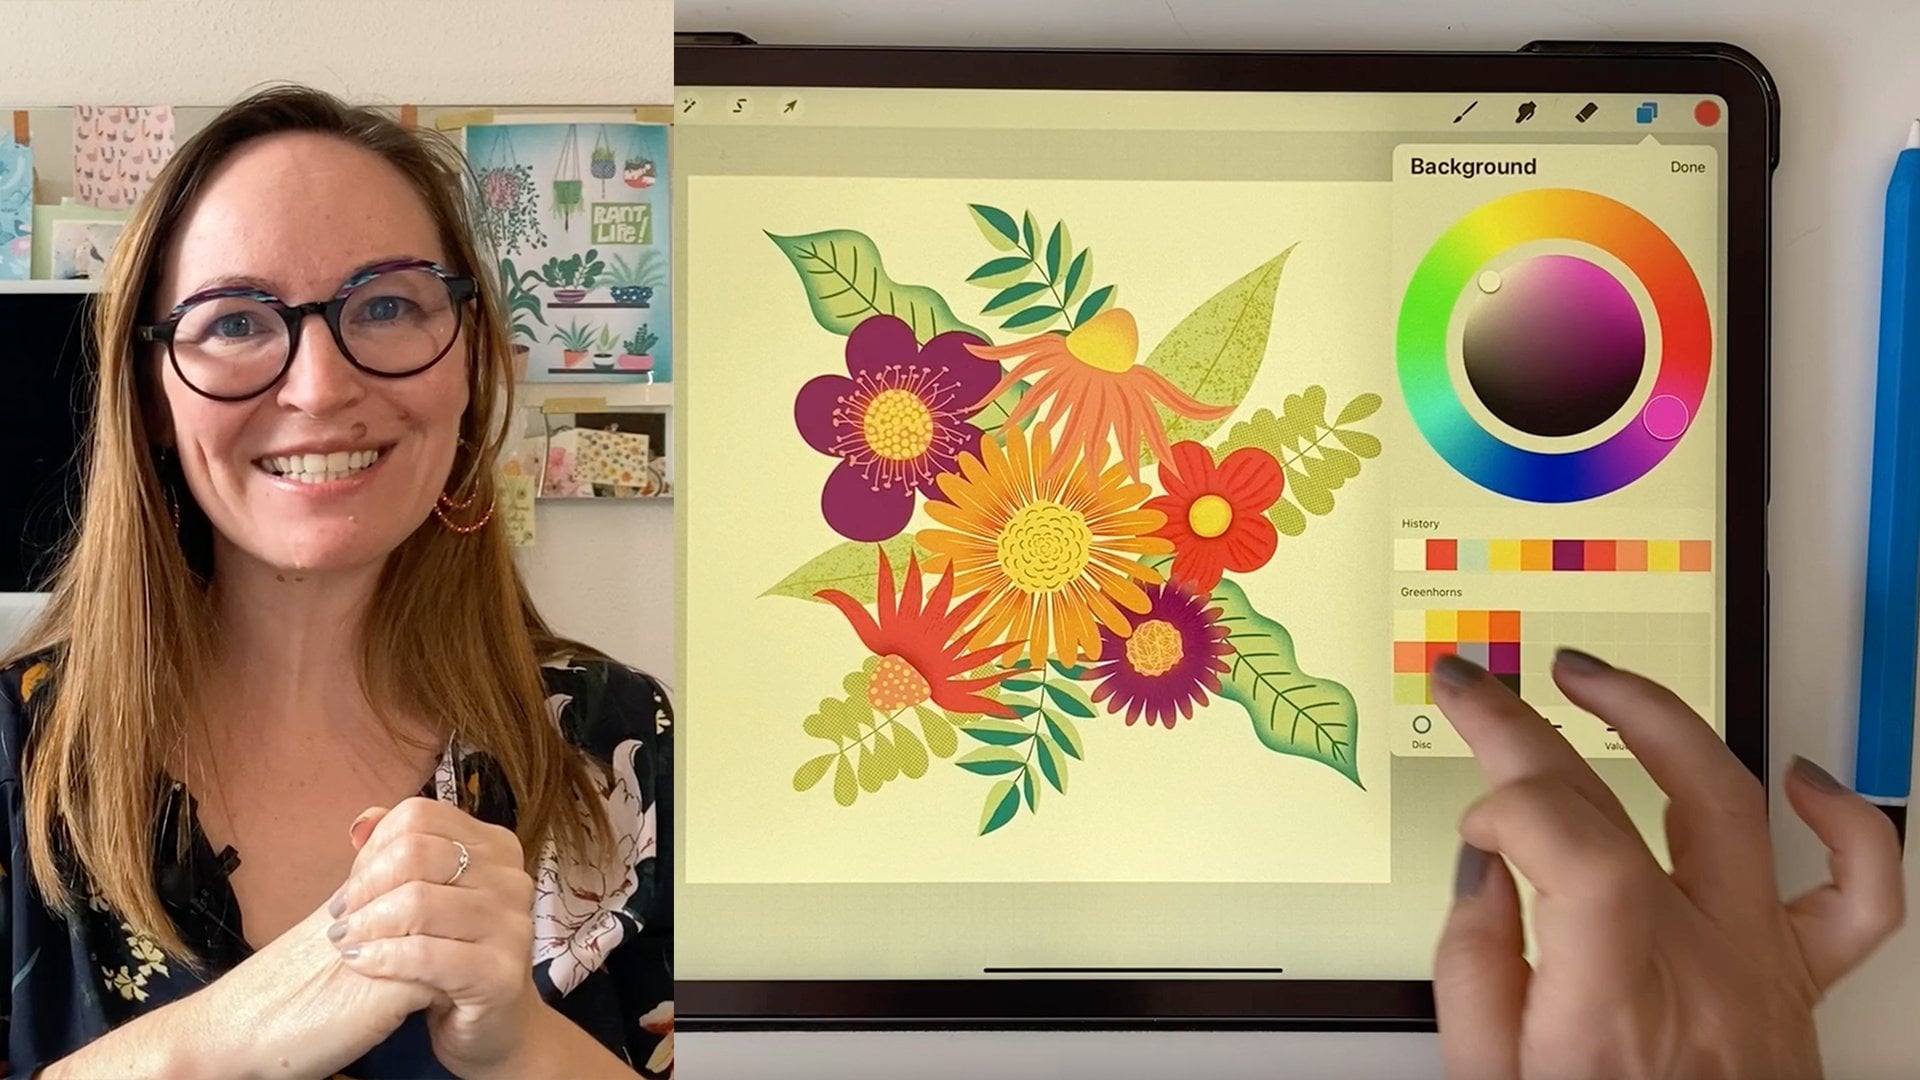
your unique style. I'm Nici an illustrator
and pattern designer, and I work mainly in
Procreate on my iPad. I'm not a lifelong artist. I discovered my drawing
skills very late. At the age of 38. I wanted to design
my own fabric for sewing and got infected
by the pattern design virus. My former job was
in fields of IT. And I've always been
drawn to technique. And so I found my
Style on my iPad. I am self-taught without
any formal training, but I can show you
anyway how I found my joyful and colorful
drawing style. Throughout this class,
we'll be exploring different drawing
styles and transfer them on a simple apple shape. So we start simple and
we stay quite simple. So you should be able to follow along even if you
are new to drawing. I do my work in
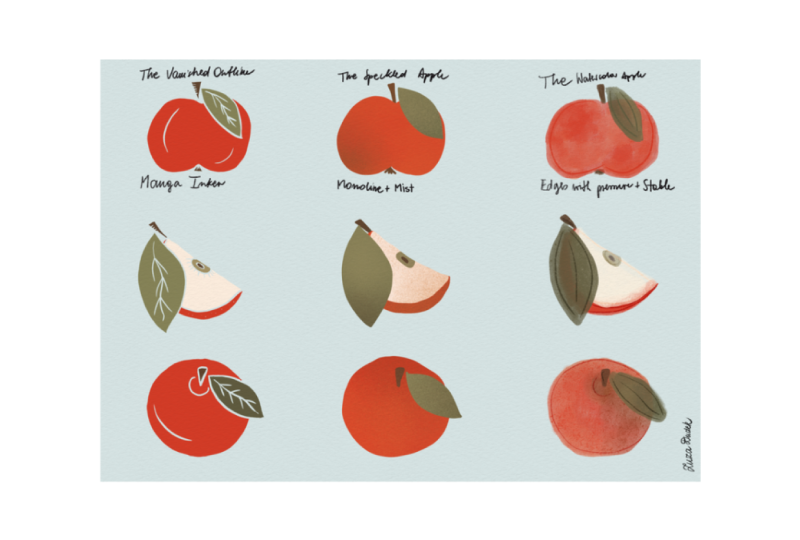
Procreate on the iPad, but you should also
be able to follow along in any other
digital drawing app. Now, you might be
wondering why is finding your unique
style so important? Well, your style is your
Artistic fingerprint. It sets you apart
from others and gives your artwork your personality. It's your unique
way to communicate your emotions and experiences
through your artwork. Finding your unique style
is not like finding a lost key. So that's the bad news. Identify what styles
you are most drawn to and then do the work. Your unique style will
evolve by practicing. That's the important thing. Don't worry if
you're unsure where your special style
preferences lie just yet. This class is all about
experimenting and discovering what special
style resonates with you. By the end of this class, you will have the tools
and the knowledge to start experimenting with different drawing
styles and techniques. And ultimately, discover
your own Artistic Voice. I'm thrilled to be your guide on this creative journey and see each and every one of you discover your
own signature style. So crab your equipment and open up your favorite
drawing program. And let's get
started. Do the work!
2. your projects: In this class we
are going to draw apples in different styles. The main styles I'd like
to dive deeper with you are: Outline a shape and
fill it with color. Draw a shape with a crisp border and play with different
textures on top of it. And draw with different
textured brushes. I am not the right
person to tell you anything about how to
draw photorealistic. For sure, there are
a lot more styles and combination of
styles out there. But these three groups are the ones that we dive
deeper in this class. Your project in this class is your collection of apples in
different drawing styles. Please upload them to
the project gallery by clicking the green
Create Project button. And we can all take
inspiration from each other.
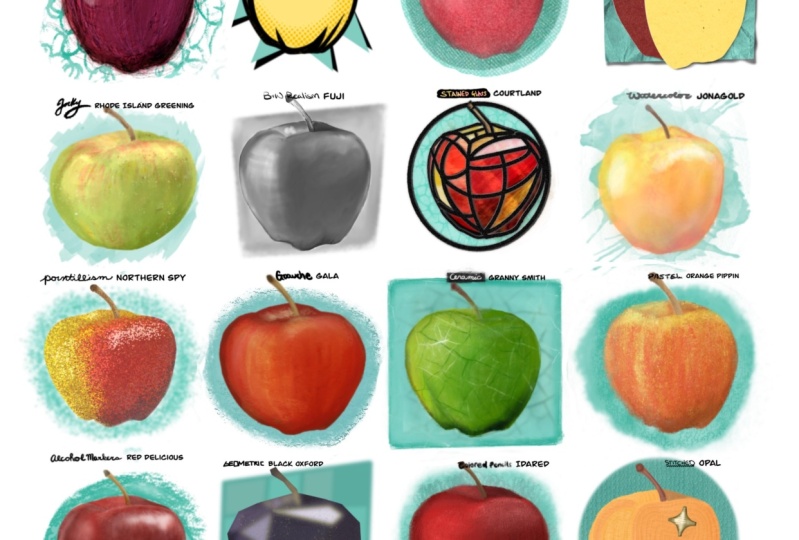
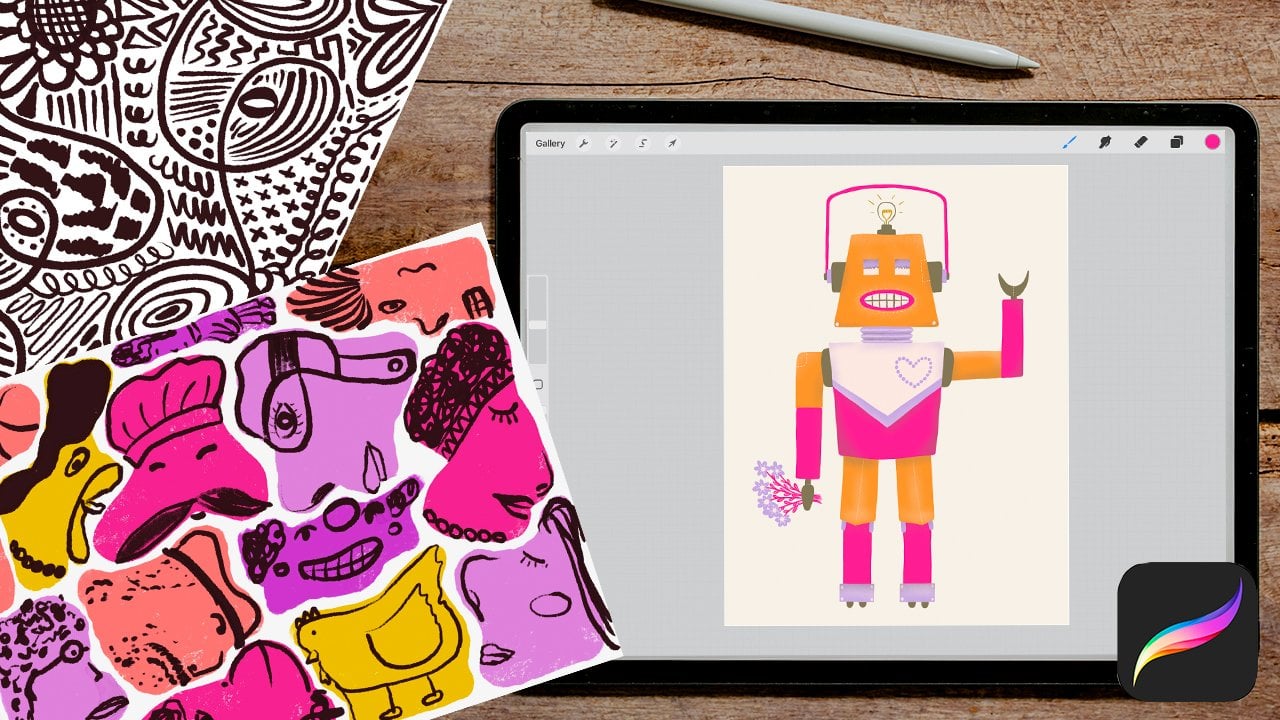
3. exploring style: This is a pattern I've drawn in my earliest stage in Procreate. And you can see on the apples, I've tried out the
different brushes that are pre-installed
in Procreate. And I thought it might be a
good idea to choose the apple again and show you my process
of finding my style. To help you get started I have created a
Pinterest board for you, which I link you below. And I've collected
some pics with food illustrations
or illustrations with nature inspired
elements in general. And you can find
different styles here. For example, abstract ones or outline shapes or patterns, intricate patterns, or some playful fruits. And here you can get
the inspiration. And of course we don't want
to copy any of these. But this pics can
help you get started. And in our class, I would like, as said, to draw in three different main styles. And the first one is
the outlined shape. So it's like this one or
this one with the lemon a bit shifted to the side. Or one with more
abstract elements in it. So this is the first one. And the second one
I'd like to create with you is more like this, with crisp borders and
then details on top. Or like this one. That style. And the third one is draw
with textured brushes. So for example, this is
a very textured brush. And the artist played with different opacity
of the elements. Or this one is more
watercolor style. So we can play around
with these ideas. And the good thing is, when you draw digital, there are a lot of brushes out there you can buy
or some are free. And you can simulate every
Drawing Style on your iPad, on your drawing program. Okay, you can go through my list and search for some inspiration. Then let's meet in the
next class to create some apples with outlined shapes.
4. preparing canvas: Ok, open up you're drawing app. And I use Procreate. As said, I'd like to draw in these three different
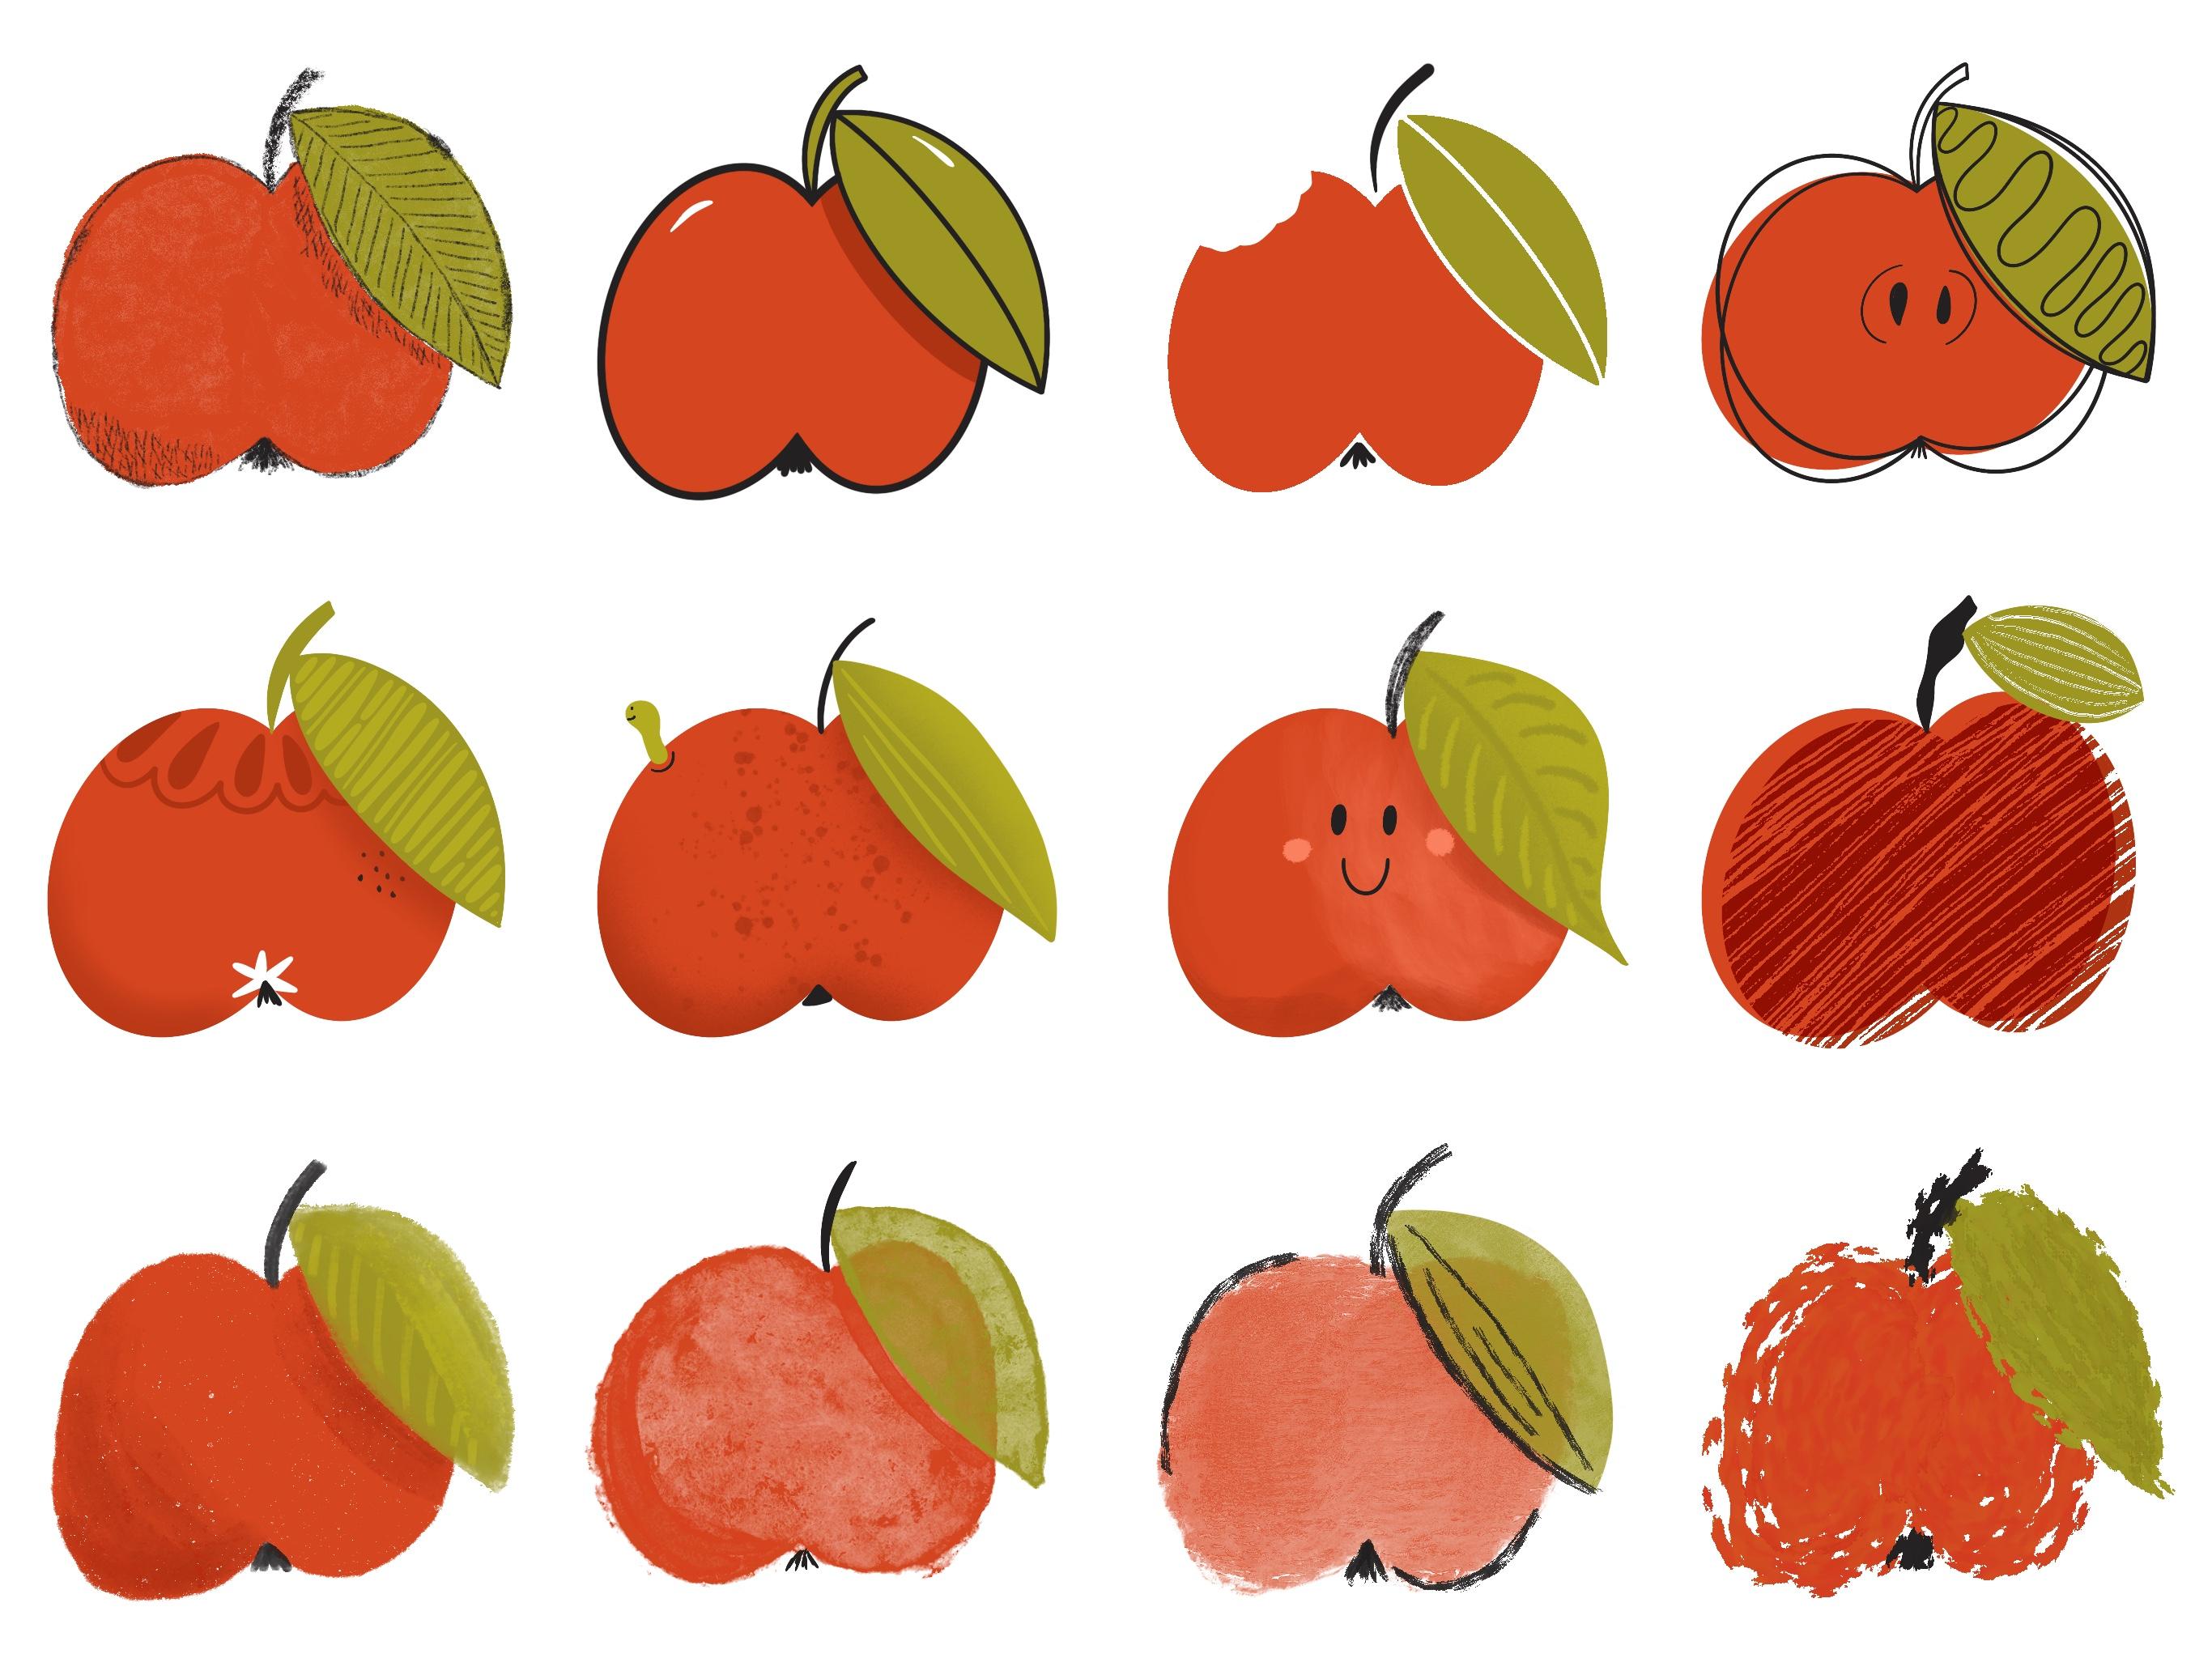
main drawing styles. And four apples in
each style category. And for that I'd like to divide
my canvas in 12 squares. So for that, go to the
wrench icon on the top-left. Drawing Guide, turn it
on, edit Drawing Guide, and then go up with the
grid size till there are four squares in the weight. Then shift
the blue dot bit. Okay. Till we have twelve squares. Then click Done. And I suggest that we draw the 12 apples all with
the same colors. And only vary with the brushes
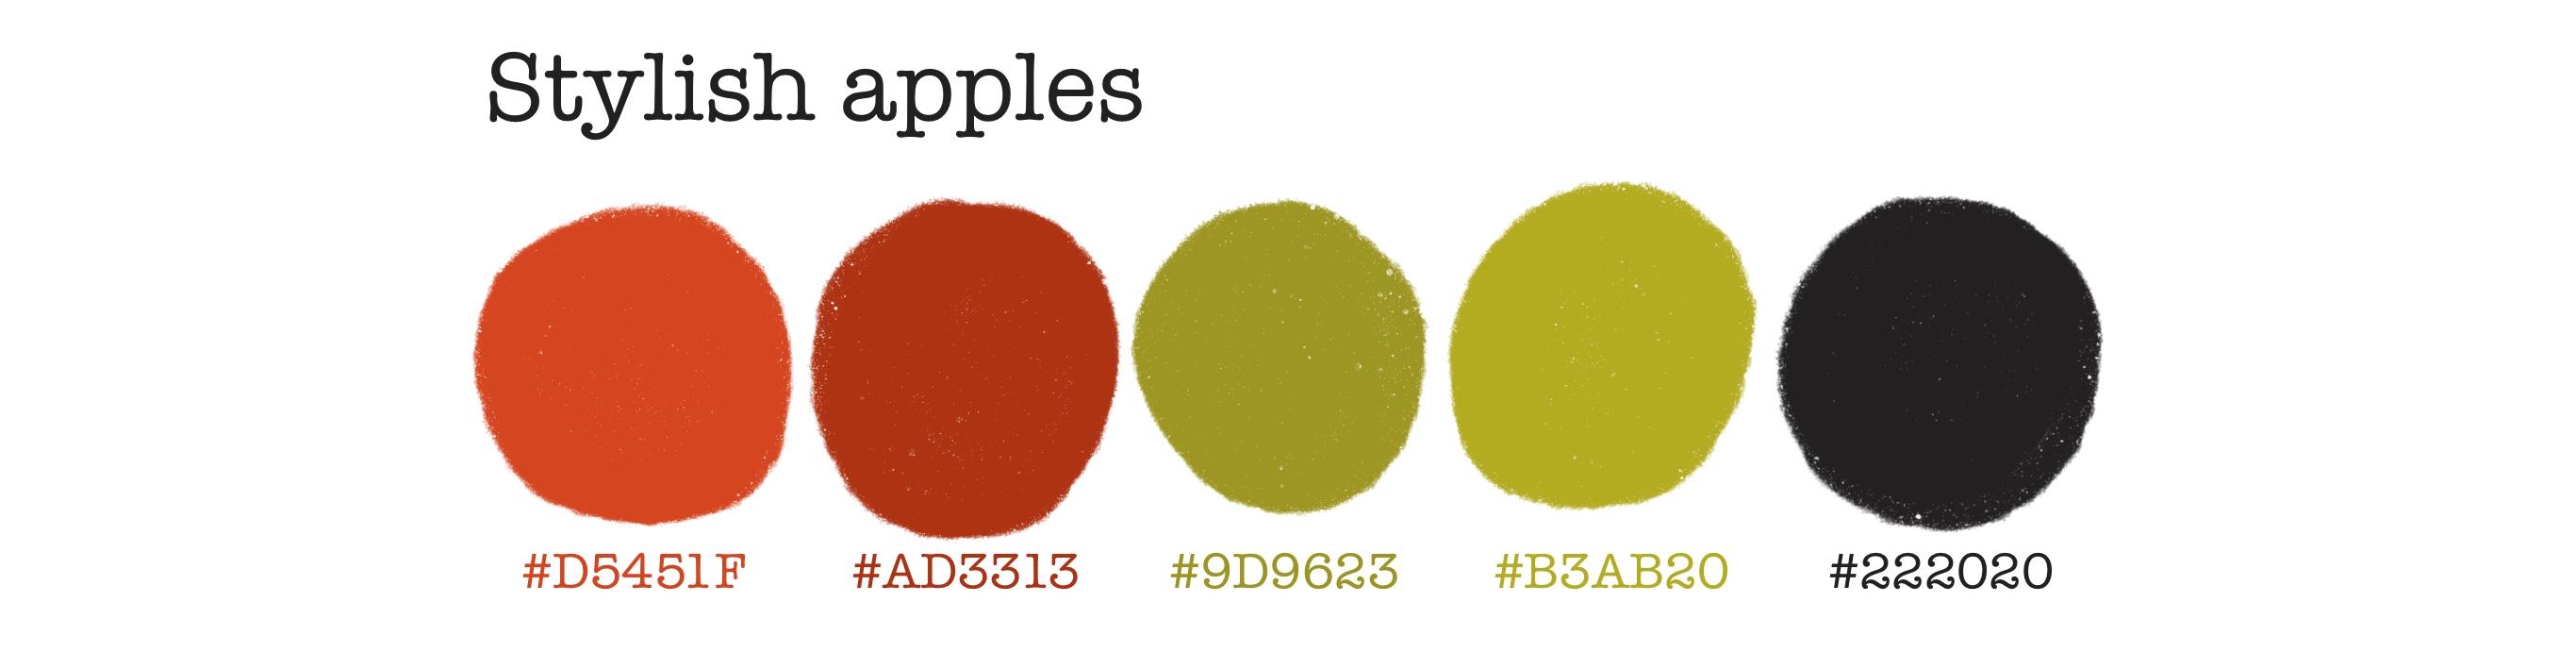
and the drawing style. I have created a color palette, which I link you down the class. And you can use this or take
any colors you like to. And I have two reds, one for the apple,
and the darker one for the textures on it. And the green for the leaf, and a light one for the
textures or the details. And this dark color for
the outline or the stem, or to make any details. And I choose this
dark one and go to sketching and to
my 6B pencil. And I'd like to draw a
sketch of an apple in the first square and then
copy it in the other 12 to have a kind of guide. Okay, a simple apple shape
and the stem and leaf. You can erase the
overlapping part. And the beard or
however this is called. Okay. This is the
first sketch for the apple. And now I duplicate it 12 times
in each and every square. Okay. Then you can reduce it on one layer and turn
the opacity down. I go to 30% around. And I always like
to lock my layer so I can't draw on
this by mistake. I always leave
my sketching layer on the top so I can always
see my sketching.
5. sketchy apple: Okay, As said, we draw four apples in three
different styles. So the top row should include
apples with outlined shapes. And for the first one I'd like
to draw a sketchy apple. So leave this pencil strokes, make it a bit nicer. And then draw with the
red in the shape. Okay? I leave my 6B
pencil and the dark color. And then I draw
over this sketch, but make it a bit more unperfect, hand-drawn. And I shift my pencil a bit. So sometimes the
strokes are a bit thicker to create interest. Okay, sketch it out. You can also create a second line, to make it a bit
more hand-drawn. I've forgotten to sharpen my pencil. And for the stem I lay my pencil to the side so the stroke is thicker. Nice. And, I name it the beard. I don't know if it's
the correct word. I guess not, but I
say it's the beard. And now we can make some
veins in the leaf. Also sketchy. Don't it perfect. It's a pencil and it
shouldn't be exact. OK, nice. And now let's fill
it with color. For that, I take another layer
and turn it under this outline. Choose my
red apple color. And for a bit of a texture I'd liked to choose
under inking the Tinderbox. So it's a solid brush, but has also a slight texture. And fill it with color. It mustn't be perfect
with the outline. Like you draw in a
coloring book. OK. And then the same
with the leaf. I choose the darker green one. It's okay to leave some white
spots and dots between. But you can also make it
perfect. It's Your Style. So experiment with
that technique. Okay, and it's a sketchy apple. So we can go back to this sketching layer and the dark color and
the 6B pencil. And you can create some shadows. So let's say the sunlight
is from the top right. So you may have some shadows
under the leaf and down there. So you can create the
shadow by drawing over. Or you can use the technique with the
strokes or cross hatching. Make some strokes and hashtags to create
that shadow effect. That's definitely not
a technique I prefer. So I'm not really good at this. But maybe you, maybe
this is the one you like to create. Then make the strokes
down here also. Okay, and we're done
with our sketchy apple. And if you like, you can write down which brushes you have used in this
as a reference for later. So we used the
6B pencil. And for the color the Tinderbox. You can also write this
down on a separate layer. So this might be a good
idea to cut and paste. So you can turn it off later. And I reduce my
apple on one layer.
6. comic apple: Then create another layer. And let's go further with the
second outlined apple. And this time I'd like to make an apple in a
kind of comic style. So I leave the dark color and
then I go to calligraphy, the monoline brush. Go a bit up with the size,
eight per cent maybe. Okay, That's good. And outline the apple in
a more exact way. So I leave my pencil so the
curve is nice. Edit it a bit. I draw the second one too and erase
that part later. To have this nice curve. The beard. And maybe go a bit down with the size, 4% and make the stem. I go down to 1%. Ok, and make it in a
double line so we can drop color in here and draw the leaf. And then erase that
part of the apple. And I create a vein in
the middle of the leaf. But not the many
veins like here. OK, for the color, I create another
layer underneath and make this outlined
layer as my reference. And then go to the
layer underneath. And reference means,
in that case, you can drop color in and it uses the lines in the
layer that is referenced. I take my apple red, fill it in. And also the leaf green. I stay on this
layer, drop it in. And also the stem. Make it a bit more perfect
for this kind of style. OK. And I like to create
the shadow underneath the leaf with the darker red. And on the same layer. And I make it alpha lock, swiping with two
fingers to the right. So you have to checkered
pattern in the background. And then I go up with my size and create the shadow. We have it on the same layer, the green and red. So maybe it's a bit overlapping and you have to correct it now. Okay. But now I think
it's, it's fine. But one more thing to
create more interest. We can take the eraser and
choose not the mono line, but the studio pen. And then erase some lighting dots or parts, I don't
know how to say, here and there. And we are done with
the comic Style. And go back to the layer where we have
written the brushes. Write down. We have drawn with the
monoline, monoline. And that's it. And we have
erased with the studio pen. Okay. The next one!
7. vanished outline: Okay. The next one. I'd like to duplicate this
outline shape from here. And I tell you why in a minute. So reduce this at an
apple to bone layer. And this is the cockpit outline. And we move it to
the next Apple. Turn the reference on again. And then on another
layer underneath. Drop the color in, like in the version before. But now we turn off
our reference layer. This is the effect we
would like to have so erased the outline part. So we have no outline. And with the dark version, dark color, go to the studio
pen and make the details. So I don't make the stem from the very
middle of the pool, but a bit higher. So because of the
erased outline, try to not touch the
leaf in that kind. Also beard. It's also erased down there. And what can we do to
make it more interesting? We, can you raise with the studio pen bite of APA? Some make it a bit
wonky for the teeth. We have our one with
the erased outline
8. funky outline: And the fourth version
of the outline. I'd like to create a
kind of funky style. So a bit more loose or abstract. So I leave my studio pen. I delete my reference layer with the outline, create
another layer. And then draw over the apple in an exact curve. But maybe go a bit down.
It's too thick. Go down with the
size and make it in an exact bow, but two lines overlapping, maybe in this way. And the same for the other. Maybe shift it a bit. Then erase that overlapping. Tried to be a bit
funky with that one. So I make the stem
in a double line. And the leave also.
Whoops, what happened? Two lines overlapping. Not so extreme than
in the apple, only a bit. Then erase that
part of the apple. And now let's draw on the
layer underneath the apple. So I draw the apple shape. I don't drop the
color in that shape, but make a separate
shape for the color. So this is a real experiment. But why not try
this technique out? And I think it's cool. And make an other layer instead of erasing
that red apple, I create another layer for the leaf and draw
the green shape. Make it a bit smaller. So you have this white part. So it's interesting. And I leave the stem
white in this case. And reduce the layers. And I turn off my
sketching layer for a moment. Go back to my outline layer and fill in some more details. For example, we can
make the veins in a curvy way or whatever you like to make. And why not draw the cores? Here. And the other way around. Make a curve down here. The Beard. It's a cool, funky apple. That's not my style, but I love to
experiment with this. So you never know what
occurs when you try to be a bit more loose and
don't overthink your process. Just try out different versions. And to close this
outlined versions, I go back to my layer where
we named the brushes, and choose my 6B pencil and the dark color and
write down the brushes. So here we had
the studio pen. I think this was the only one. And here also only the
studio pen. That's it. Here are our outlined apples. Let's meet in the next class
to play around with apples with crisp borders
and textures on top.
9. playful apple: We have finished the
outlined apples. And now let's go over, over to the next
group and create some crisp apples with
some textures on it. I've merged all layers. So one apple is on one layer. But you can organize this
as you like to do this. And I create another layer. I leave my layer with
the brushes on the top and take my apple red. And for the crisp borders, I choose my studio pen. Let's turn on our sketching
layer and draw one apple. Check, if there are any dots. And I think I'd like to duplicate this
shape in all four paths. So this is the time to, to play around with the
textures and not with the shape itself. Duplicate. Fine. And we can play around
with the leaf and stem. So, but for now, this one is the
first, the last, so I take it up to have
the correct order. Number one, number two.
And I go to this one. And create another
layer for the, the leaf and stem. Take my leaf green
and draw the stem this time with the
green and not with the black. Add the leave. And why not decorate this apple? Let's start with the leaf. And we can make the veins
a bit more abstract. So for example,
you can draw some, some lines in the
horizontal direction. Maybe one thinner. I think I liked it. You can also make a broken line between.
And I speed this up for you. I liked that. And here
on top we can make a little nice decoration line with the dark red. The darker version. And go back to my apple. Make it Alpha Lock. Kind of chain. Maybe some drop
shapes. Or you can Draw some blooms. Whatever you like to, to decorate the apple a bit and make it different
from the other versions. And I choose my dark color. And why not make some
black dots here? Try it out. Only a bit. Why not? And the bottom, what can we do here? So maybe we can erase a kind of star from here. A star shape. Or you can draw
it in. Deselect the Alpha Lock and
draw in the beard. I think it's nice. You can also go back to alpha
lock and choose my dark red and then make some
with the soft brush, some shadow. It's nice. And I reduce it to one layer. We are done with that. And I draw my, I
write my brushes. So we have used the studio pen again. Studio pen. And that's it. Ah, the soft, what was it,
the soft brush. Oops, sorry. Soft brush.
10. speckled apple: Let's go over to the next one. This time, I go to the studio pen and
make the stem black. And the beard. I make it a bit
more in a triangle shape. Why not? And the leaf, I take
it on another layer. See what happens. Studio pen, make the leaf. A bit thinner but overlap the apple. And let's create some
with the darker green, some stripes. And why not draw a little worm from here, from the apple, from the side? Make it a bit funny. And playful. A bit bigger maybe. It's a big apple so the worm must be a bit bigger. And with black. Make a smiling face. If you like you can
draw in a little head, but I leave it. That's too playful,
too much for me. Now we can create some shadow. I take for the leaf,
the light green. Make it Alpha Lock. And then I'd like to
use the spray paints. Medium nozzle. That's one of my favorites. And I draw the light part
here on the top of the leaf. And on the apple with the dark red, here the shadow. And there the shadow. You can also try out the flicks. Why not? For more interest. I think we are done
with that too. Oh, one more thing. Take the dark one. Go back to my studio pen. And I draw a little curve
here to, for the worm, the worm's hole. It's a nice one. I reduce it on one layer. So let's write the brushes. And it was the studio. I only write studio. And the medium nozzle
for the shadow. And what was it called? The flicks, I think. Spray paints, Flicks. Oops. Always the same mistake. Flicks. Okay, That's it. Over to the next one.
11. friendly apple: Why not draw an
apple with a face? So this is the correct one. I leave the pencil brush
to make the beard. And also the stem. Make it a bit more unperfect. And then draw the leaf, go back to my studio pen and make the leave
a bit more curvy. Play around with
different shapes. And I take my stem over
the leaf. It's nicer. This overlapping. And then I alpha lock my leaf. Take my, my light green and choose under
materials the noise brush. This is a nice one too, to create some nice texture. And then I go back
to my dark green and take the ink brush, maybe ink bleed, and
draw in the veins. Only on one side on the top. Because here you can't see it. But you can also
take the light green and draw with the light
green on the other side. It's nice. That's the point. Try out different brushes and mediums and see what occurs. And to make some
texture on the apple, I like to, maybe make a bit, make it lighter. This and there is a watercolor paint, here under
painting, watercolor. But if you have any other watercolor
brush, that's fine too. And make some texture. You can also go back to the dark red and make the
texture here for the shadow. Nice. And then go back to the black and
with the studio pen. We draw in a nice smiling face, eyes and a big smile. Okay, and if you like, you can go back to this light red color
and make the cheeks, maybe with, go back
to the ink bleed and make some rosy cheeks. Nice. Let's write the brushes. Reduce the layers. And then right on the
brushes layer. Studio. Then there was the noise brush and the watercolor. And we've also used
the 6B for the stem and this beard. 6B and the ink bleed
for the veins and the cheeks. Oh, we used a lot of
brushes over here. Okay.
12. layered apple: Okay, The last one. This time play around with blending modes. I duplicate this apple and fill it with the dark
red, the darker version. And then let's move
this dark apple a bit down and to
the side, only a bit. And then we can, I turn off my sketch
layer to see it better. And when you click on the little N on the
right of the layer, you have the blending modes. And you can see what happens if you use the
different blendings. So for example,
this is a nice one. But to make it even
more effective, I'd like to erase some parts of this dark top
layer with the multiply mode. And I take under inking, don't know how to pronounce, Thylacine, maybe. And go up. It's nice. And you can also reduce the opacity if you
like to, to make it slighter. But I leave it at a maximum. I liked this one. It's totally
different from the others. And I create another layer
and make the stem. This time a little more wonky. Why not? And I leave the beard
because it's overlapping and I think it's not necessary to make the
beard in this case. And I don't want to, to hide some parts of
this textured apple. So I make only a small leaf on the top. On an other layer.
Take the green. OK, and we can also erase some parts
with that striped brush. Maybe reduce the size
to three percent. Let's see. I think it's too big. I reduce it to one % and only make some stripes. Oh, I like that too. Let's write down the brushes. The brushes layer and I
write down the studio. Then. The striped one is called
Thylacine. Thylacine. And was there an other one? No, I don't think so. That's it. We're done with
the crisp border apples. And we have also created
a nice collection. And I'm surprised by the variation you can create
with the different brushes. It's the same technique, but totally different apples. Let's meet in the next
class to draw four apples with textured brushes.
13. inky apple: Okay, let's start with
our textured apples. And the first one,
let's start simple. For the first one, we can choose the dry
ink under inking. This is a nice textured brush. And turn on our sketching layer. And draw the apple. It's too big.
Make it smaller. And this time you can't drop the color in because
when you do this, you would lose the texture. So you have to draw it out. And this is kind of
meditation for me. Nice texture. For the leaf, ee can try out an other brush. Maybe. This Pandani. Smaler. It's low in opacity, but you can draw over
it several times. So the opacity is not so slight. And we can stay with this
brush and take the dark red, go to the apple and
make it Alpha Lock. And then we can create the
shadow with that brush. Why not? Down there. No, I don't like it here. Maybe try another one. We have the old beach
under artistic. Bigger. I think it's better. It has a better edge. OK. And the leaf make some
details in the leaf. Make it Alpha Lock. And I stay with this old beat brush and
go to the light green. And, only on one half. And I go back to my Pandani brush, with the
striped edges and reduce it. Yeah. Why not? Okay. And for the stem, I take my dark color. I try out the pandani
here again. Yeah. It's good. Another nice one is done.
14. watercolor apple: And for the next apple, I'd like to stay with this Artistic, old beach and draw an apple with
just that brush. I try to make it
not too perfect. Then draw over it here again
to make it a bit darker. No, I don't like it. I reduced the size and then draw over it. Why not? And then the leaf, our green color. It's low in opacity. So you can see the apple underneath. But why not? I leave it with this
low opacity. And I like these
texture very much. And I think to not make
it overwhelmed in texture, I draw my leaf and the beard
with my studio pen. Here. Studio pen. OK. Don't overdo it. I leave it in this way. I like that.
15. gouache apple: Okay, go over to the next one, and this time we can try out under painting, the gouache. There are great collections of gouache brushes
out there to buy. But there are also one gouache brush that comes with procreate. And let's try this one. Maybe ten per cent, try it out. OK, it's big. But I leave it any way to, to have this nice texture. Because when you
reduce it, very small, you lose this striped texture. I leave it that big and try to fill the shape with that. And if you don't like the
opacity of this apple, you can always duplicate the layer to make
it more saturated. But in that case you will
lose some of the texture. Maybe tried to reduce
the opacity on one layer to find your perfect
match and I leave it in that way. Okay, then draw the leaf. I stay with the gouache brush and make it at eight per cent. And I draw it and then erase the parts that are overlapping. Draw it twice. No. Then take the brush, studio pen and make
clear strokes for the leaf. And for the details, maybe make the same
with that leaf too. Duplicate it and reduce, yeah, I leave it that way. Under calligraphy,
you find the Kunanyi. I hope I
pronounce it right. And we can make some
details with this one. Go to my black. Go on top and use the Kunanyi to try out a combination of textured brush
and outlined shape. Too small. And I draw in some outlines, maybe it's too big, a bit smaller, six per cent. Okay? I like it more. And draw a stroke over there. A bit thicker. Nine per cent. Yeah, here and there. It's another
total different apple.
16. abstract apple: Let's go over to the last one. This time go a bit more crazy. Try out under artistic the leatherwood. I draw the apple shape. It's totally different,
but why not? Try it out. See what happens. Maybe this is your style. A bit crazy. Why not? Go crazy! And the leaf. It's a bit more abstract, It's nice when you draw over it
several times it gets darker. Nice brush. And I take my black and draw the stem. And only a dot down there. It's a bit too big. Yeah. Okay. And we have forgotten
to name our brushes. Let's do this now. I hope we can remember
all the used brushes. I remember this one.
It's the leatherwood. And this was the gouache. Gouache. And the Kunanyi. I think that's it. And here. We had the
watercolor, no. We had the old beach. I think it was the
old beach. Yeah. Old beach and the studio pen. And here It was the dry ink. It was also the the old
beach for the texture. Old beach And this one was the
old beach. And we also had for the texture, under inking, the Pandani. Always do the same mistake. Pandani. Okay. That's it. We are done now.
17. recap: I turn off my sketching
layer and also this Drawing Guide, the lines. And turn off my pencil, my brush layer for a moment
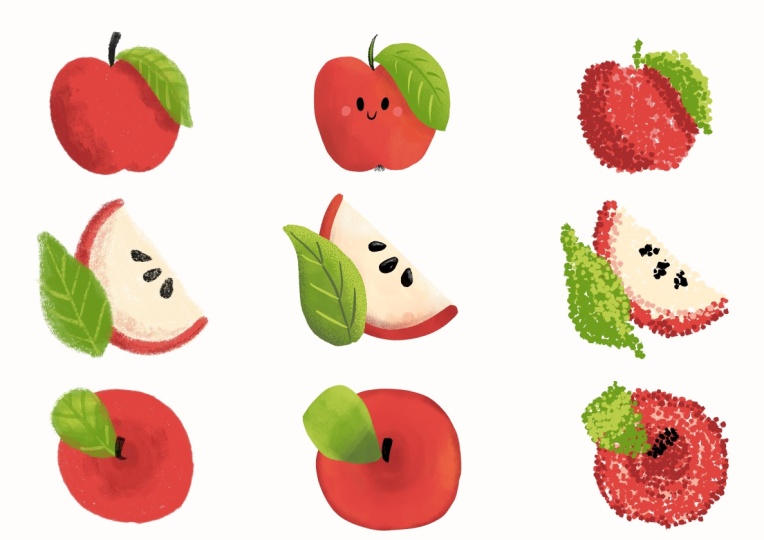
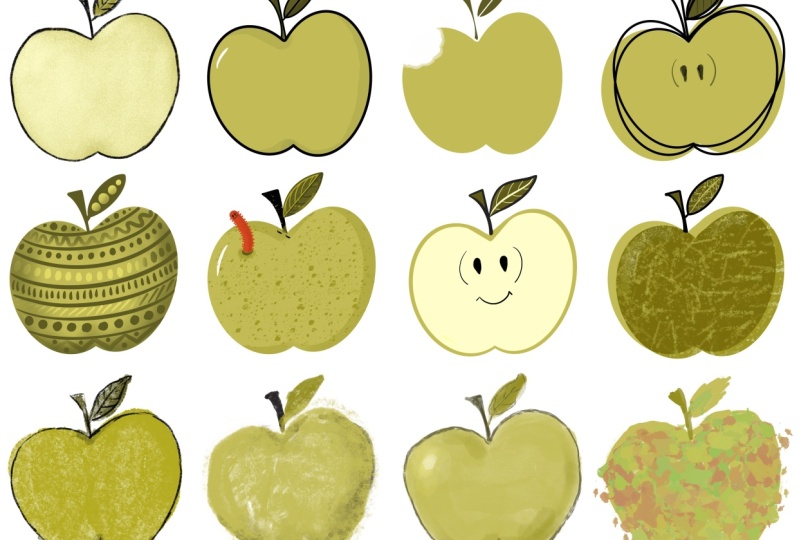
and see what we have created. It's a nice variation of apples. We have used the same colors
in each and every apple, but created totally
different versions of the same apple shape. So that's amazing. I'd like to show you
to dive a bit deeper. So I'd like to invite you to choose your three favorite apples, and talk about how you
can go further with this drawing techniques.
From the outlined brushes. I like to choose this one. My comic style. And in the middle section, I like them all. That's the kind of
style I draw the most. So it's mostly this, this kind of apples. So I choose this one. But I also do sometimes
in that decorative way. And from the bottom line, I especially like
this one the most. But to go a bit more different, I'd like to choose
this Kunanyi. See you in the next video. And I tell you how you can dive deeper with this
three techniques now.
18. stick with that style: Okay, I have copied my favorite three
apples one from each category in a
separate canvas. And I want you to
go a step further. Because sometimes
you like a special, a specific drawing
style very much, but you don't like to draw it, and that's totally fine. I suggest that you
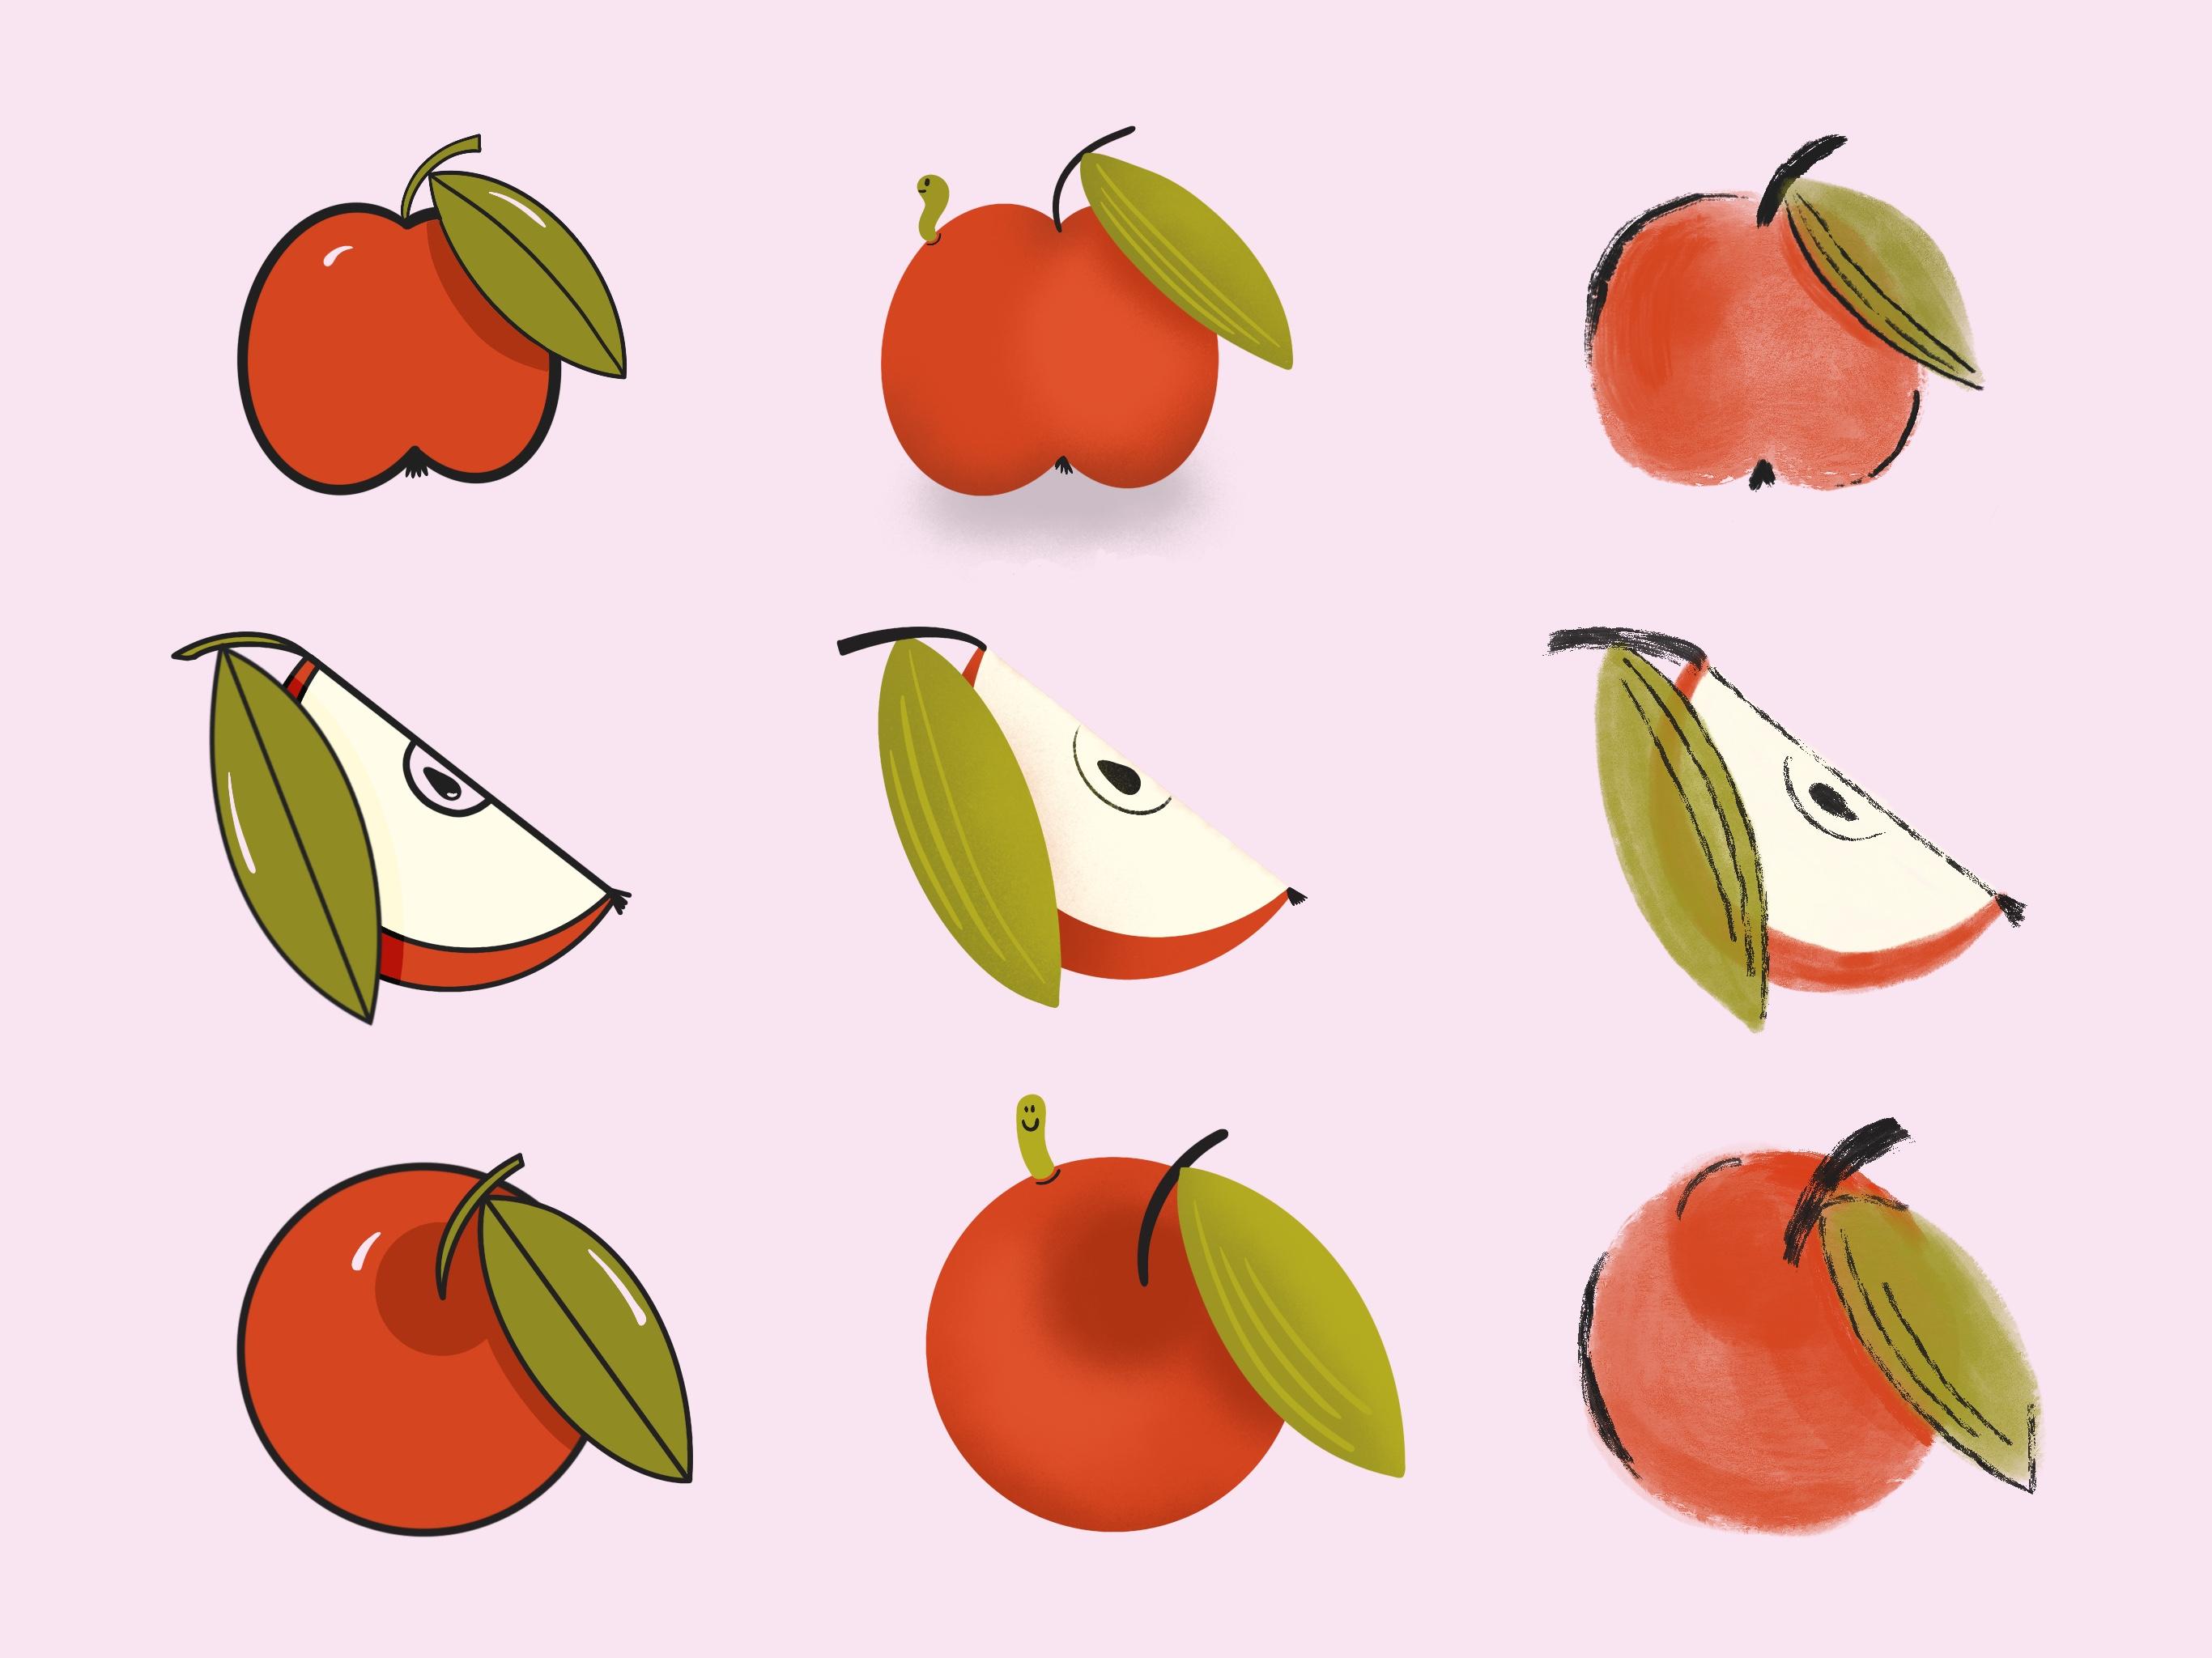
take one style, this comic apple, for example, and draw an apple
in the same style, but from a different angle
or with different details. So for example, I have drawn a slice of apple in that style. And I've also drawn the
apple from the top view. So the point is you have to stick with the style
for a while and draw only in that kind of style and see what feelings you
have when you draw this. Is that the kind of style
you want to stick to? Or you want to dive deeper? Or do you feel that you are
not in the right direction? So that's the point. Dive deeper. And I've drawn
these three apples in, in this, also in
these two positions. So the apple with the worm,
here is the slice, and that one. And I also liked this one. But when I drew the different apples, the slice
and the apple from the top, I noticed that this doesn't
feel natural to me to use a kind of gouache brush or
that extreme textured brush. But that's the point. Stick to that styles
you are most drawn to. And then try them in a
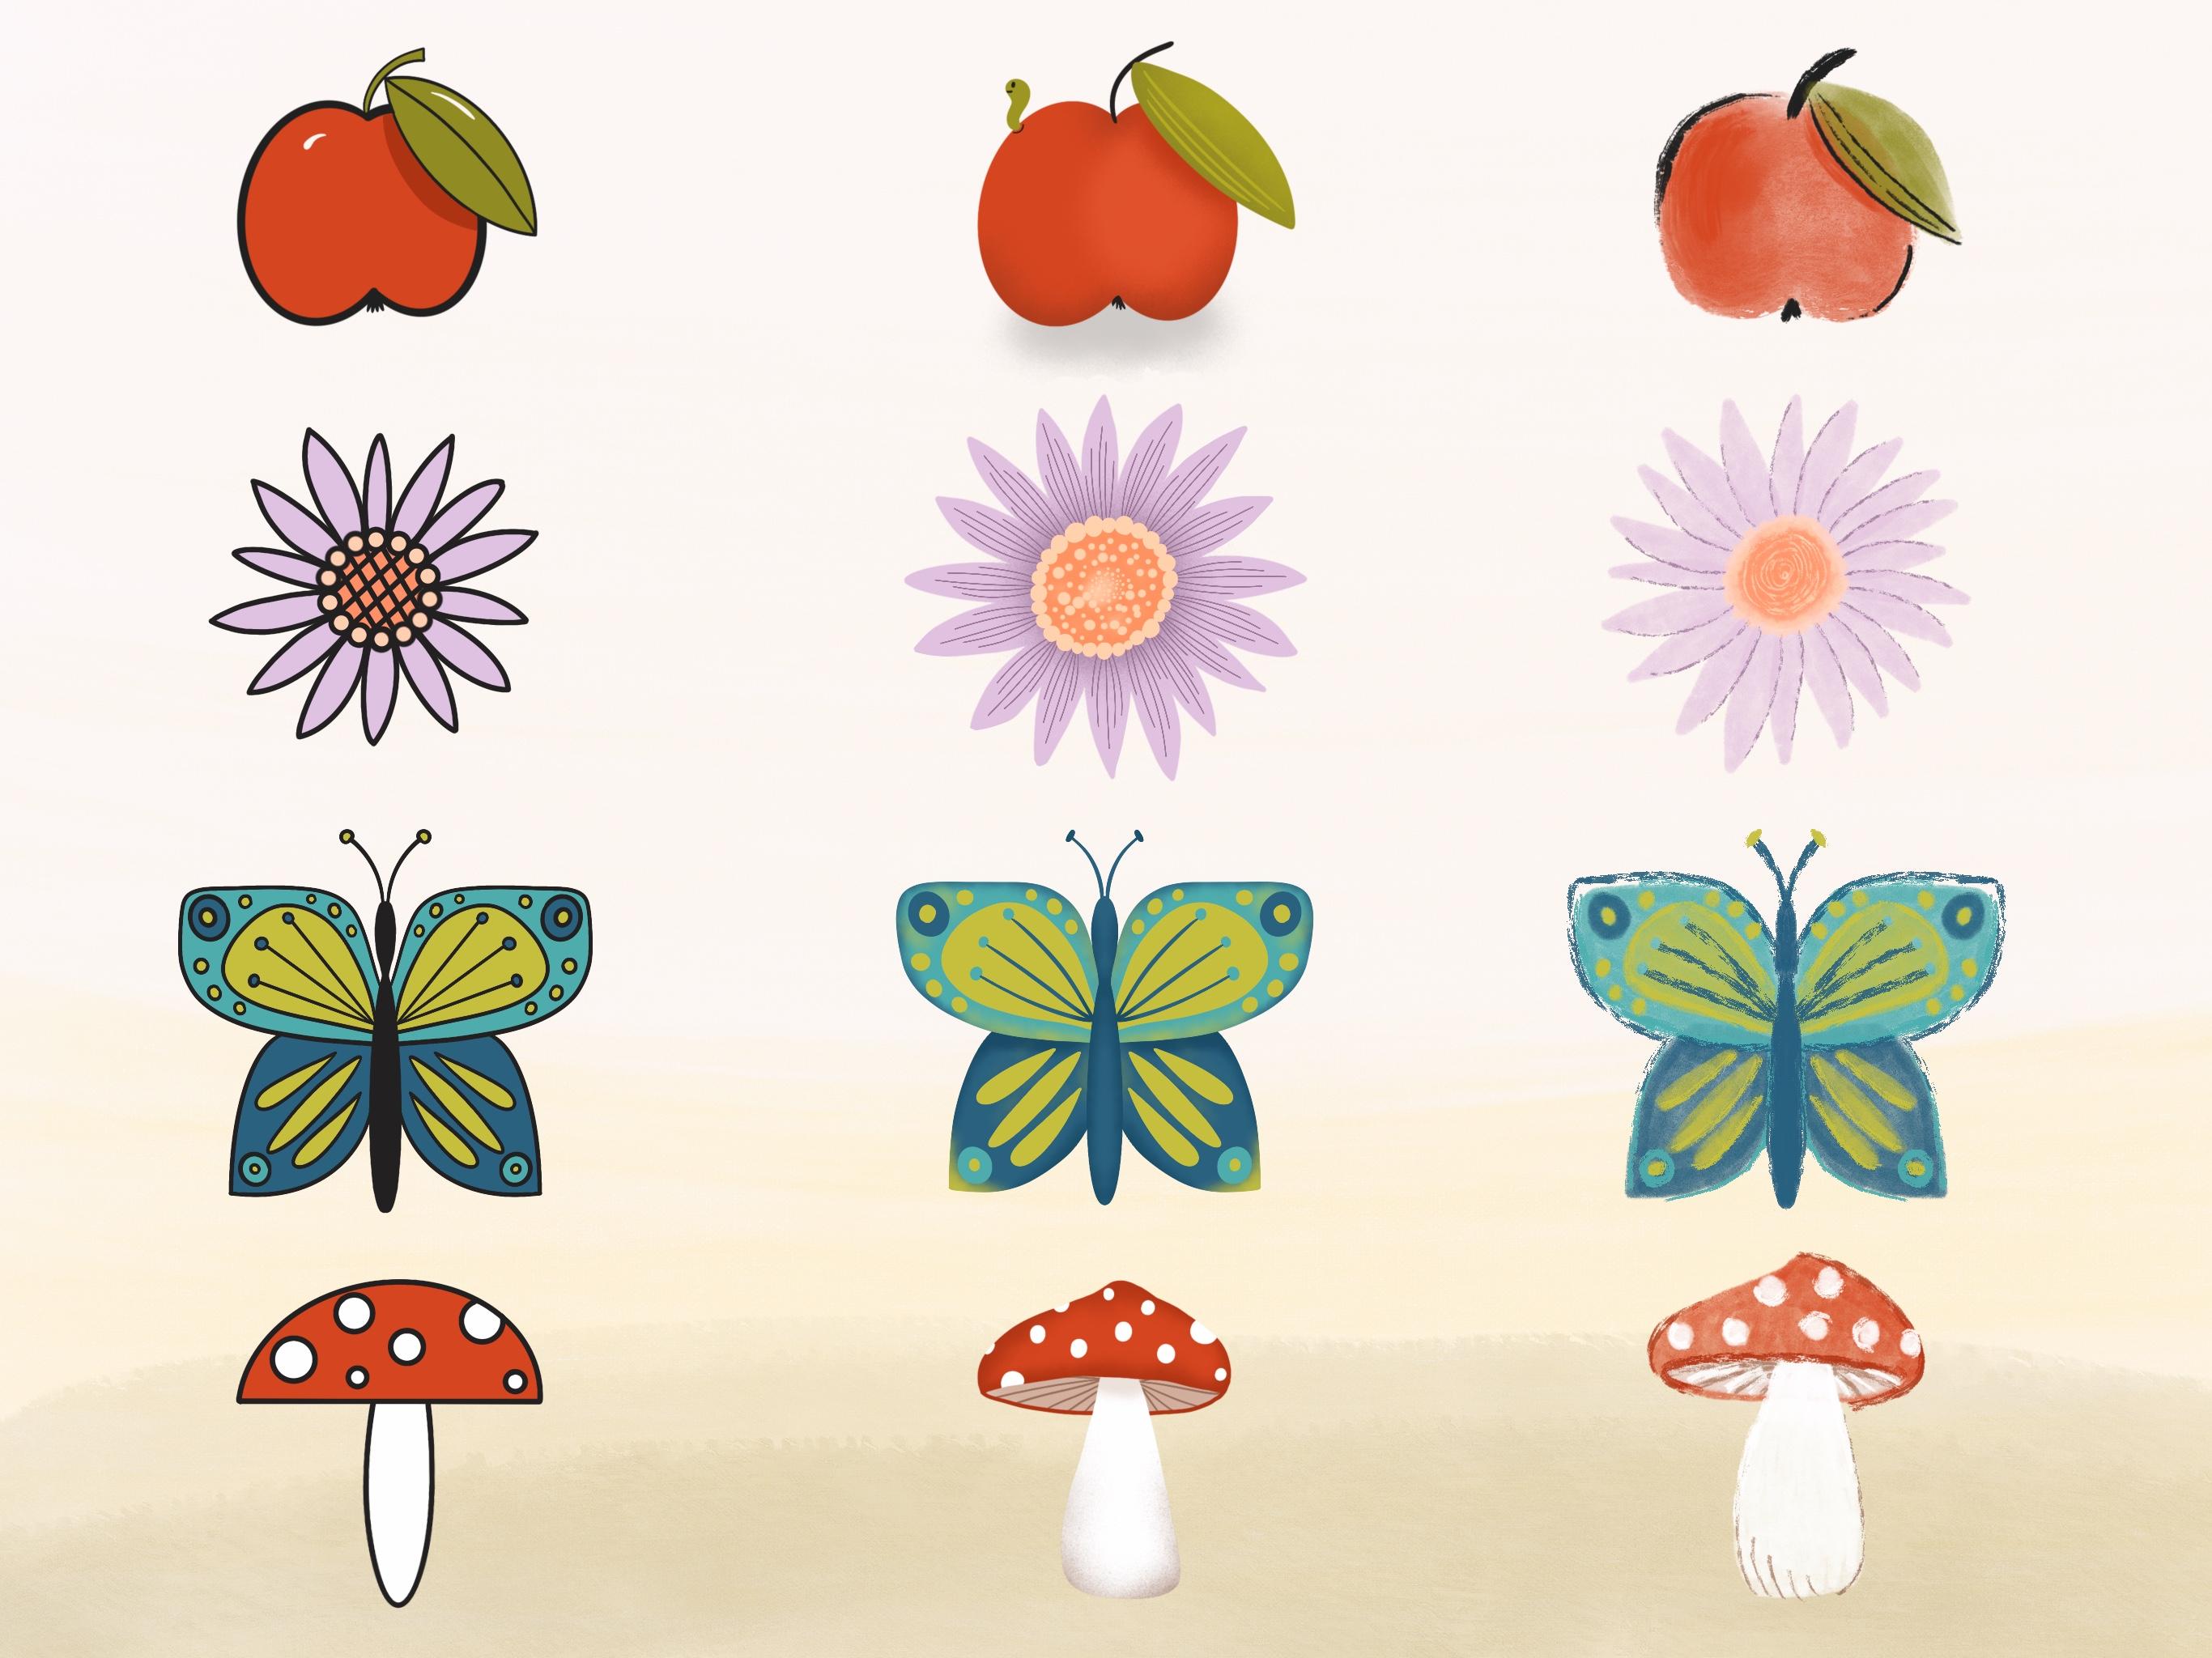
different kind of way. And to go one step more further, I copied this apples in a, in another layer,
another artwork. And then you can draw other elements or
objects in that style. I've drawn a flower
in that comic style, and also a beautiful
butterfly and a mushroom. So it's all in that outlined comic
style or graphic style. And, yeah, I like it. But I missed the possibility
to add some texture. So maybe you can combine two, two styles together and also create some
textures on top of that. And I've also drawn in
my favorite apple style, a flower and a butterfly
and a mushroom. So this kind of style
feels natural to me. This is the one I'm,
I'm sticking to. And the last one. I had a hard time to be honest to add the details
in that flower. I felt that nothing
was fine enough. I missed the clear strokes and, I couldn't find a method
to really liked that flower. And that's exactly why I
suggested to make this exercise. So you can check out if you like to stick
with that style. I like the mushroom. But I like that more. So this is my favorite style!
19. thank you: Thank you so much
for watching and for letting me be your guide
on this creative journey. Have you found a style, you
would like to go further? Stick to that for a while. Take your time and practice. Please. Please, please share your apples sheet in the gallery. Inspire your fellow artists. And if you post your
project on Instagram, feel free to tag me
@nicigabrieldesigns. I would be very happy if
you could leave a review on this class so I can make improvements and help you
with further questions. If you like this class, feel free to hit the
Follow button by my name. I'm planning to create new
classes on a regular basis. And I've already two Procreate
classes here on Skillshare you may want to check out. That's all for now. Thanks again. Stay safe and see you next time.
 Nicole Gabriel, Procreate Artist