Transcripts
1. Overview: Hi, everyone. Welcome to the first class in my new digital painting, Siri's Mastering Digital Art in Photo shop. I'll be sharing with you all the technique, steeps and shortcuts. I wish I knew when I first started painting digitally Things Class will focus on painting realistic hair. I walk you through my bending process from sketch to final results. I'll talk about some of the most common mistakes people make when painting hair and how to avoid, um, also show you how to create custom pair brushes in photo shop and how to take advantage of some of further shelves. Most useful features ready to take your arch to the next level. Join me in this class and practice painting realistic hair with the many resources and exercises are share with you, so let's start.
2. Supplies: for this class. They're two very important tools you need to have access to. First abandon tablet. I strongly advise against using the mouse for your digital paintings. It's not impossible to paint with the mouse, but it's really difficult to create clean, straight or curvy lines, and they often end up looking really wobbly. Using a graphics tablet allows you to paint in a more natural way. We've features like Ben pressure sensitivity, which is great. Now there are many different brands of graphics tablets with different sizes and different price ranges. My tablet is an insurer's five touch. I've been using it ever since I started drawing digitally so for more than five years now, and it's still working perfectly well. So if you don't already own a graphics tablet or are still unsure about the brand that will work best for you, drop me a common below. I'd be more than happy to help you find a good tablet. The second to you really need to have access to for this class is the painting software. I recommend using photo shop because I'll be demonstrating some of its features like how to create a custom brush or use blending modes, but overall the technique for painting hair out did. You can be used with any painting software. If you don't own the painting software, you can download photo shops free trial on Adobes website
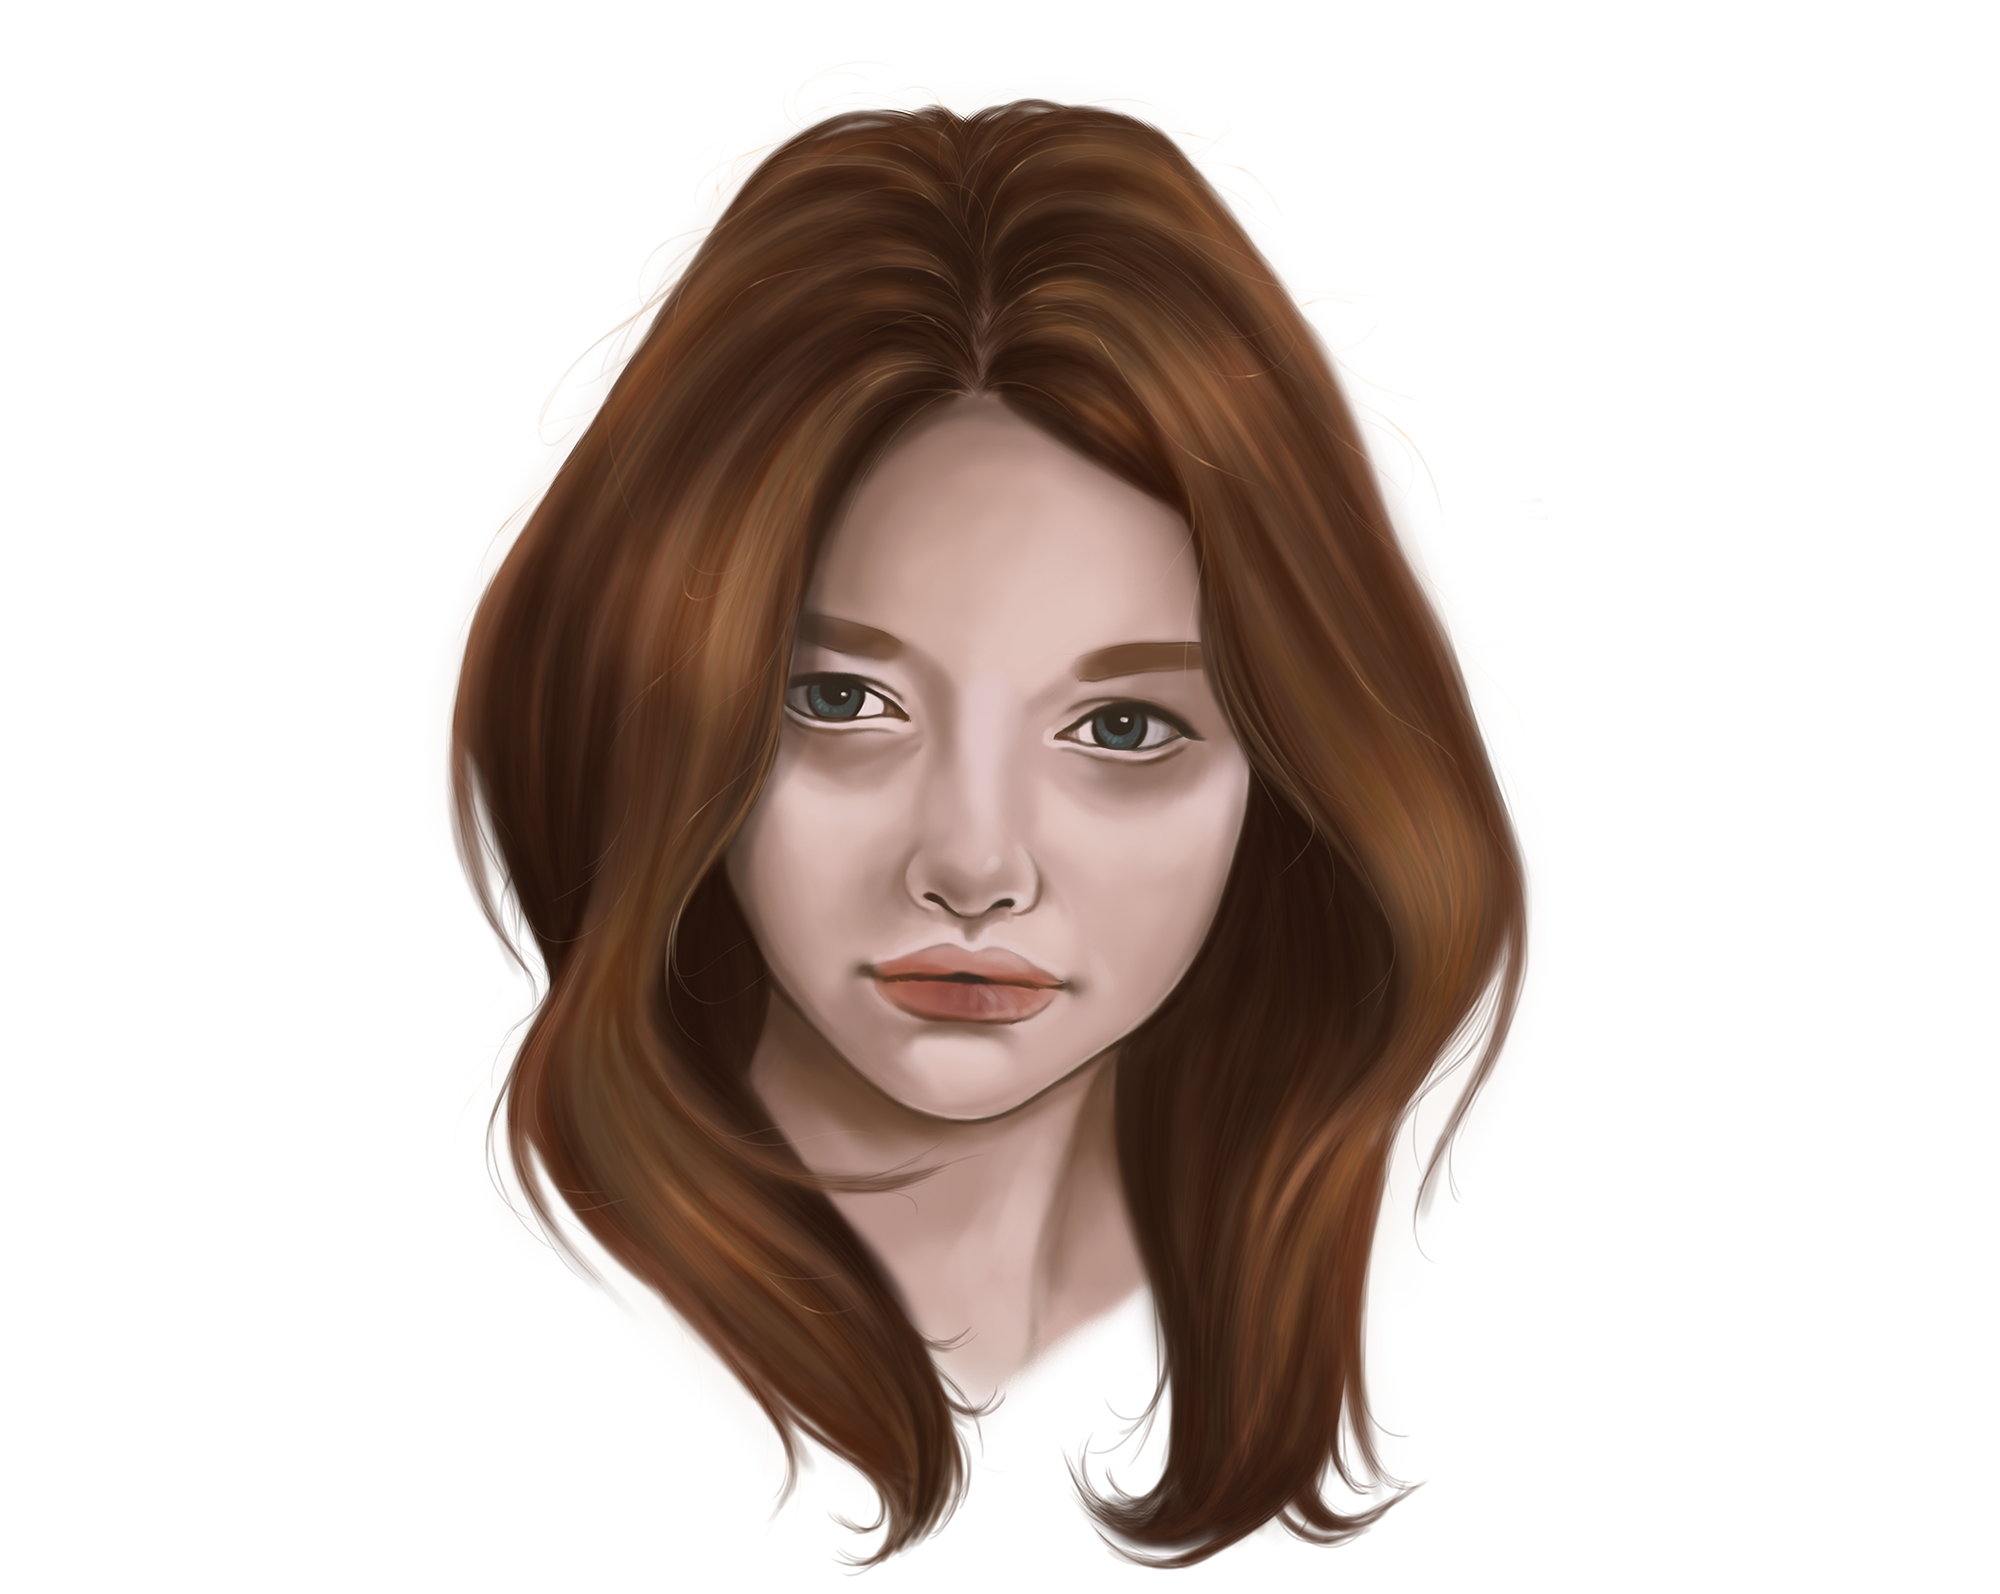
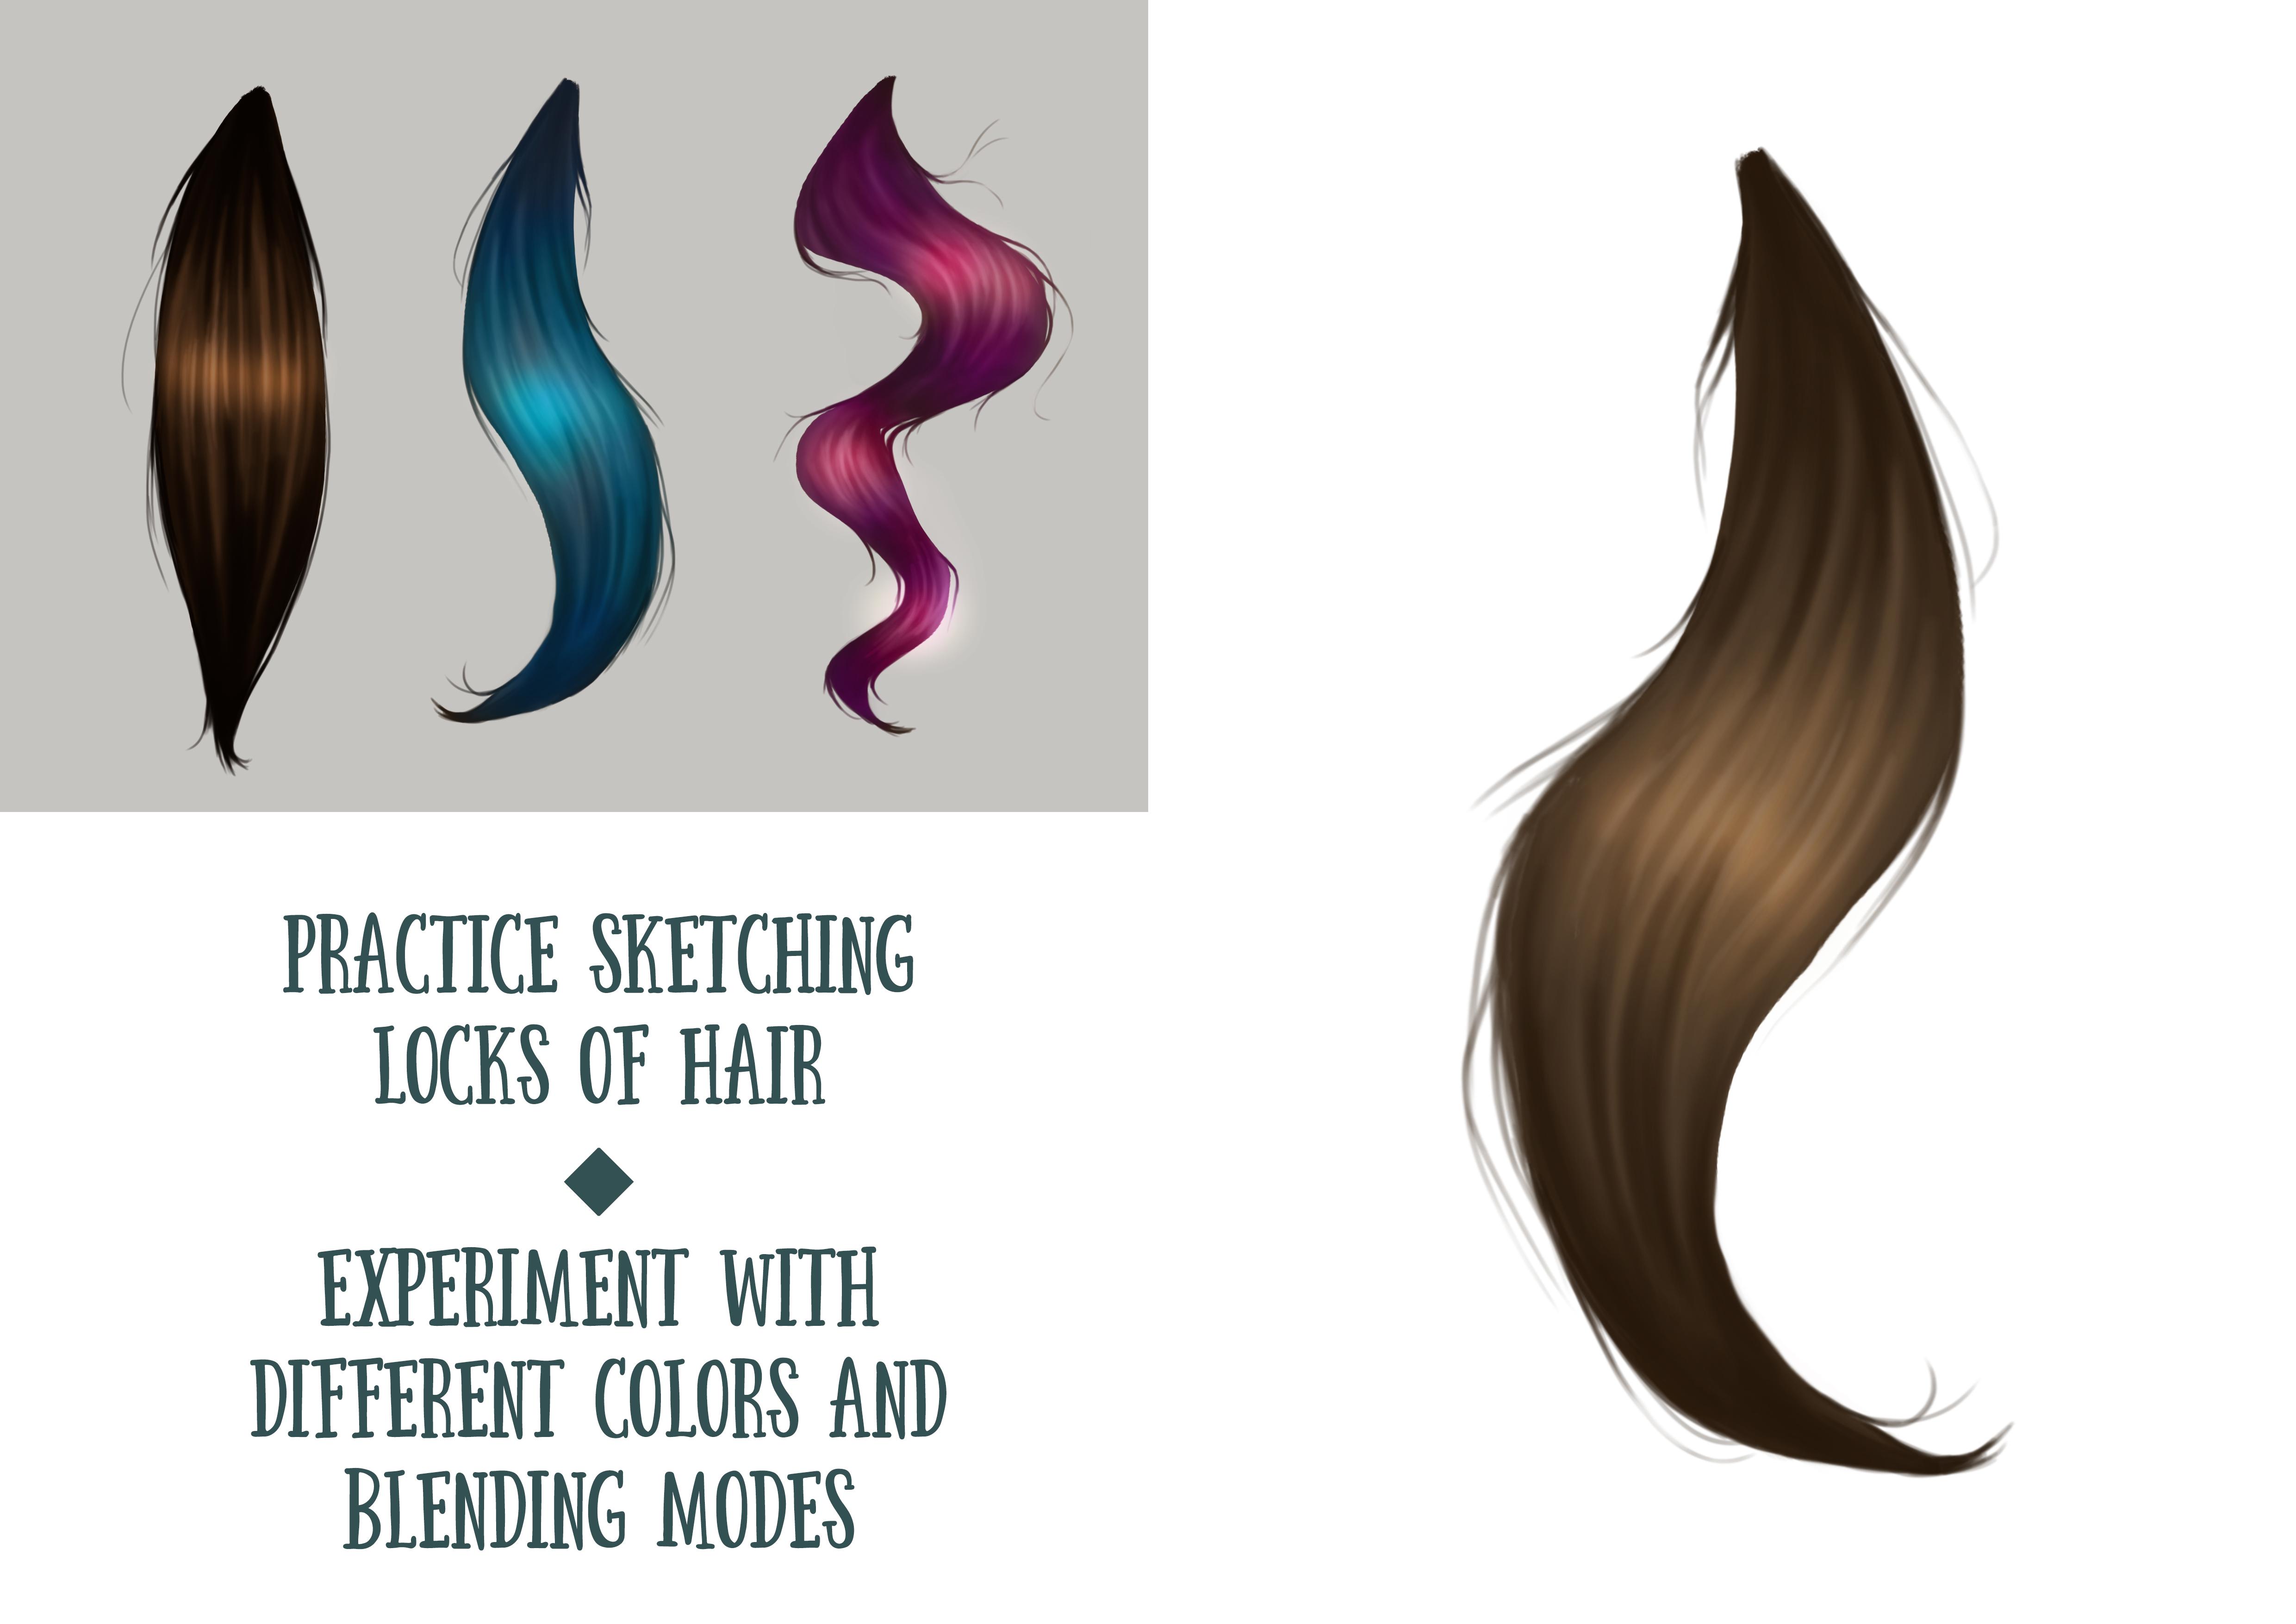
3. Shapes and Colors: the first thing to do to be able to paint realistic hair is to gather references, look at pictures of hair in magazines or online, and pay attention to the shapes. The hair creates the way the hair can be broken down into looks rather than individual strands of hair. I assure you that you won't need to pain each and every individual strand of hair to make it look realistic, and that it's better to focus on the locks of hair. Try to also pay attention to relighting to the way the light eliminates each lock of hair. They could look at the colors. You see that they're always three types of colors, shadows, mid tones and highlights. The shadows are the darkest areas of a picture. But remember that unless the picture has really high contrast, the shadows will rarely be pure black. Usually it's just a combination of very dark colors, like dark blue, dark red or dark green. The highlights are the lightest areas of a picture, but again they're rarely pure white and the mid tones other colors in between. In the next video class, I'll show you my technique and what to avoid when painting hair
4. Do's and Don'ts: here is my usual work space in photo shop. It's the painting default workspace that you can find here. Just go to window workspace and select painting depending on the workspace you're using. Your have access to different panels here on the right. All the panels are directly accessible. Here you have a list of them so you can choose the ones you'd like to see in your workspace . For example, I sometimes used timeline to create gifts, so I just click on it and it appears here. When I paint the main panels, I use our days here, the color panel, the brush presets and the layers. But this class, I'll be working with only one brush. You really don't need to have access to any specific brush backs to be able to pain realistic hair. But I'll also show you how to create your own brushes. So the British I'll be using ISS, one of photo shops. Defoe brushes, so if you have better shop, you're sure toe have to brush. It's the soft round brush. As you can see it. It's gold soft round because it creates this very blurry effect. Of course, it can change its presets to have more hard edges, but for this particular class, I'll be using it as it is here and now. Let's take a look at some quick dues and Don's when painting realistic hair. If you're a beginner or you have never tried painting hair before, you might be tempted to pick a small brush and start painting strands of hair one by one. I know it. I've been there. Seems logical, right? Well, the problem with this is the result often looks flat and unrealistic, plus painting how like that, especially if you're painting long, luscious hair. It will just take your crazy amount of time. So really avoid painting individual strands of hair, especially at first, and I'll talk about this more in the next videos. Another thing to avoid is using pure black and pure white. Play around with your own references, rhythm Many photos I provide as resource is for this class, and you see that this two colors almost never appear in people's hair, even jet black hair. It's open, made of dark gray or dark blue and in this example, dark green. If pure white appears in a picture, it's mostly due to the lighting. These are things to avoid, so what should you do instead? First of all, think of each lock of hair as a three D object. Start by sketching a simple shape with a narrow edge, locks of hair it and unnaturally in narrow. At the end. Choose your three main colors, the colors for the shadows, the meat don's and the highlights. At this point, it's better to avoid too much contrast, so natural colors are preferred. Start adding some soft details to deluxe of hair. This will create the illusion of volume, and now you can add a few loose strands of hair if you like. No haircut is ever perfect and painting a few strands here and there wants you finished painting the larger locks of hair or make it look even more realistic. Finally, use a light the color for the highlights and give even more volumes to the painting by adding some light effects with the blending modes in photo shop, I'll demonstrate each and every one of these steps in detail in the next video classes, and I'll also show you how to paint the whole haircut instead of just a few. Lux, join me the next class where I'll show you how to create another painting
5. Underpainting: the first thing to do when painting the hair of your character is too great a new layer. Always keep different parts of the face or even different parts of your character on separated layers. That way, you can very easily edit them later. Oh, create multiple layers for each step of the painting process. But most of the time I use maybe three layers of most for the hair, one for the shadows and meat bones, one for the highlights and one for the details. Whether you already have a very detailed line, work for the hair or just a rough sketch is totally up to you. It depends on your own art style and the way you work here. I've already created a very rough sketch of the shape of the hair. The first thing to do is to choose the base color. Now. Remember the three colors we talked about in the last video, the colors for the shadows, the meat sounds and the highlights. Some people like to start with the darkest color, the shadows color and to go from darkest to lightest scholar. Others prefer to start in the mid tones and then two out shadows and highlights where it's needed. These two techniques both work very well for the hair, so it's a mother of personal preference. You can try them out and see for yourself which one you like the most. Here I Joes what will be my mid tone color, so I'll be adding both shadows and highlights on top of it. Later as before, I try to imagine the hair as a three D object, and I create very rough shapes with sharp edges. When sketching the Hecate, be sure to use a large brush so you can create very simplified and rough shapes. You really shouldn't be worrying about the details at this point, so just make sure that you like the general shape of the hair. You can find this work shit in the class, resources and practice getting haircuts an easy way to start adding shadows and volume to the hair is to hit lock transparent pixels, which is the first I can hear in the layers panel. It looks like a square with a great This will select Onley what you've painted on this particular layer so you can add shadows to the hair without messing up the background. I used the cell from brush at a low opacity, and I use a darker color. The color chose for my shadow tones to give some volume to the hair. Make sure to use references for this part. That way you can see where to place the shadows in a realistic way. They are usually around the face in the gap between the face and the shoulders, or even at the top of the head. Weather. Locks of hair part his references to determine the direction of the largest locks of hair in this case, the hair. It's wrapped around the face, so the locks of hair out paint. Next, we'll follow the same general direction for this hairstyle. I decided to paint a middle part, so I sketch it quickly, using the same base color I used for the face. I didn't draw a few strands of hair, covering it up a little bit. I didn't think slightly lie to color, the color that I'll be using for the highlight tones, and I start adding details to the locks of hair. I used the same self drum brush at 50% capacity, so the results is still rather blurry. Here are the three main colors. Are we using to paint the hair in this portrait? And now I've finished the under painting. I have the general shape, a rough idea off where the shadows and the highlights will be in the painting and the colors I'll be using. I can now start building the next layers of shadows and mid tones. See you in the next video class.
6. Building Up Layers: now that I have on under painting off the hair, I create a new layer. And in the layers panel, I changed the blending mode to lighten. That way I can accentuate the spots where I'll be painting the highlights later. I didn't create another layer that I said on Darken, and I do the same thing with the shadows. - You can experiment with different blending modes to see how they affect the painting, and I'll be talking more about them in the next video class. But for now, I focus on detailing the locks of hair on top of the head on a new layer and still using the soft drum brush, I start detailing smaller locks of hair by switching between lighter and darker colors. I also accentuate the shadows. At this point, you can build a players as many as you like and refine the general shape of the hair. Oh, no, - I usually add a few loose trends, both on top of the head and around the largest lux of hat. - Join me in the next video class, where I'll be talking about blending modes
7. Blending Modes: the blending modes in fellow shop are a great way to experiment By adding a Siris of different effects to your painting, you can find them in the layers panel, which is usually on the right side of your workspace. If for whatever reason, your layers panel isn't showing up well, you just can find it. Simply goto window layers, and you can see that the shock it for this one s F seven. When you use a blending modes, it's always applied to the layer you're currently working on. So always make sure to create a new layer when using a new blending modes. If you look at the list of blending modes, you'll see that there are a lot of them and they're separated in six groups. In this class only be talking about some of them to darkening modes. Lightning modes, the contrast modes and also show you how to easily edit colors with the competent modes. Once you've finished your painting. If a disappoint, the hair is still looking a little bit flat. You can add some contrast with the overlay blending mode. Don't forget to create a new layer, set it to overlay and then at some shadows with one of your free base colors, you see that the darker tones will immediately stand out and catch the eye. You're free to experiment with different blending modes and see how the colors change, then stew in the overlay mode. Try out different colors to add more realism to the hair. - It's really starting to look more realistic now, but the hair is still a little bit too blurry for my tastes. I've only been using water fellowships, default brushes, the soft traum brush. And in the next video glass, I'll show you how to create your own custom brush for painting more textured hair.
8. Custom Brushes: in this video, I'll show you how to easily create your own hair brushes in photo shop. Start by creating a new document. It doesn't have to be very large. I usually go for 500 pixels with and heights. Greet the new layer and select the soft round brush. And now we have to do a Spain. A few random dots. More realism. Try to very dis ice and the A pass ity of the brush. Once you're done, simply go to edit defined brush preset and name your new brush. You're all set. You can now find your new custom brush into brush panel. Now, if you want an even more textured brush, do the same thing. But instead of the soft round brush, use another one a brush with sharper edges. Again, paint a few random dots with different sizes and a pass ity and go to add it. The fan brush presets and name it. You have now to custom brushes that you can use to add more texture to the hair. In the brush presets panel, you can adjust most of the brushes characteristics I like to use transfer because it softens the hard edges of the brushes. You can try out different presets to see how it changes the brush. And now you can add more details to the locks of hair without having to paint every single trend which will really save you a lot of time. Oh, no. Yeah. Join me in the next video class where I'll show you how to add light effects to your painting.
9. Highlights and Lighting: once again useful to references. For inspiration, observe how the light partly eliminates some locks of hair. How, when the light is coming from behind, the loose strands can appear almost white. There's an easy way to recreate this effect in photo shop. By using the blending modes, create a new layer and set it to overlay. Then use the self from brush on low opacity. The highlight. Large chunks of the painting use either pure white or a very light own off any color you like. But make sure to have your brush on the very low capacity because you can very easily overdo it and the lighting won't feel natural. This is an easy way to add some lighting to your painting without losing any details. What I like to do sometimes is to highlight the outline of the haircut a little bit like in the examples I showed you when the light is going from behind the person, I think, especially for Portrait's that just makes a general composition stand out from the background on a side note, and now that the lighting has been taken, care off. I see that the haircuts. Do you have some very hard edges, so I decide to soften them before going on with my painting. There are different ways to do this. First of all, I decided to merge all my layers to be ableto edit them out once to do these, Be sure to de select all your background layers, your face layers, everything that is in your hair. Cut. Then right click on one of the layers you want to merge and then select. Merge visible. Now I only have one layer for the hair, I said, like the whole layer with the rectangular marquee to from the tools panel on the left side of my workspace. I did this so I could copy paste this particular layer. What you can do now is use this much toe on low capacity to suffer from the edges of the hair. I like to use this much, too, with a sharp edged brush, but that's just my personal preference. Instead of this much to you can also simply use soft from bush to stuff on the edges of your painting. - And now I'll show you a quick trick to paint loose strands of hair in a realistic way, especially those that catch delight in such a beautiful way. Once again, you only need the soft drum brush. For this. Try to avoid painting straight lines as the hair is very flexible. Instead, try to pain more curvy lines, then select your razor on the low opacity and just lightly suffered the tips or even parts of the strands. Individual strands of hair are so thin that it often looks like the disappearing in the light. And now, in the best part, at some highlights, this will really make the strands of hair stand out. This is the final step to create realistic hair and father shop Ada's many strands of hair as you like and highlight them so it looks like they're catching the light. Don't forget to create a new layer, especially for this. That way, if you want to soften the strands of hair, for example, it won't raise the hair underneath. - It's done. The hair looks natural and realistic. Join me in the last video class, where I'll show you a few final tricks
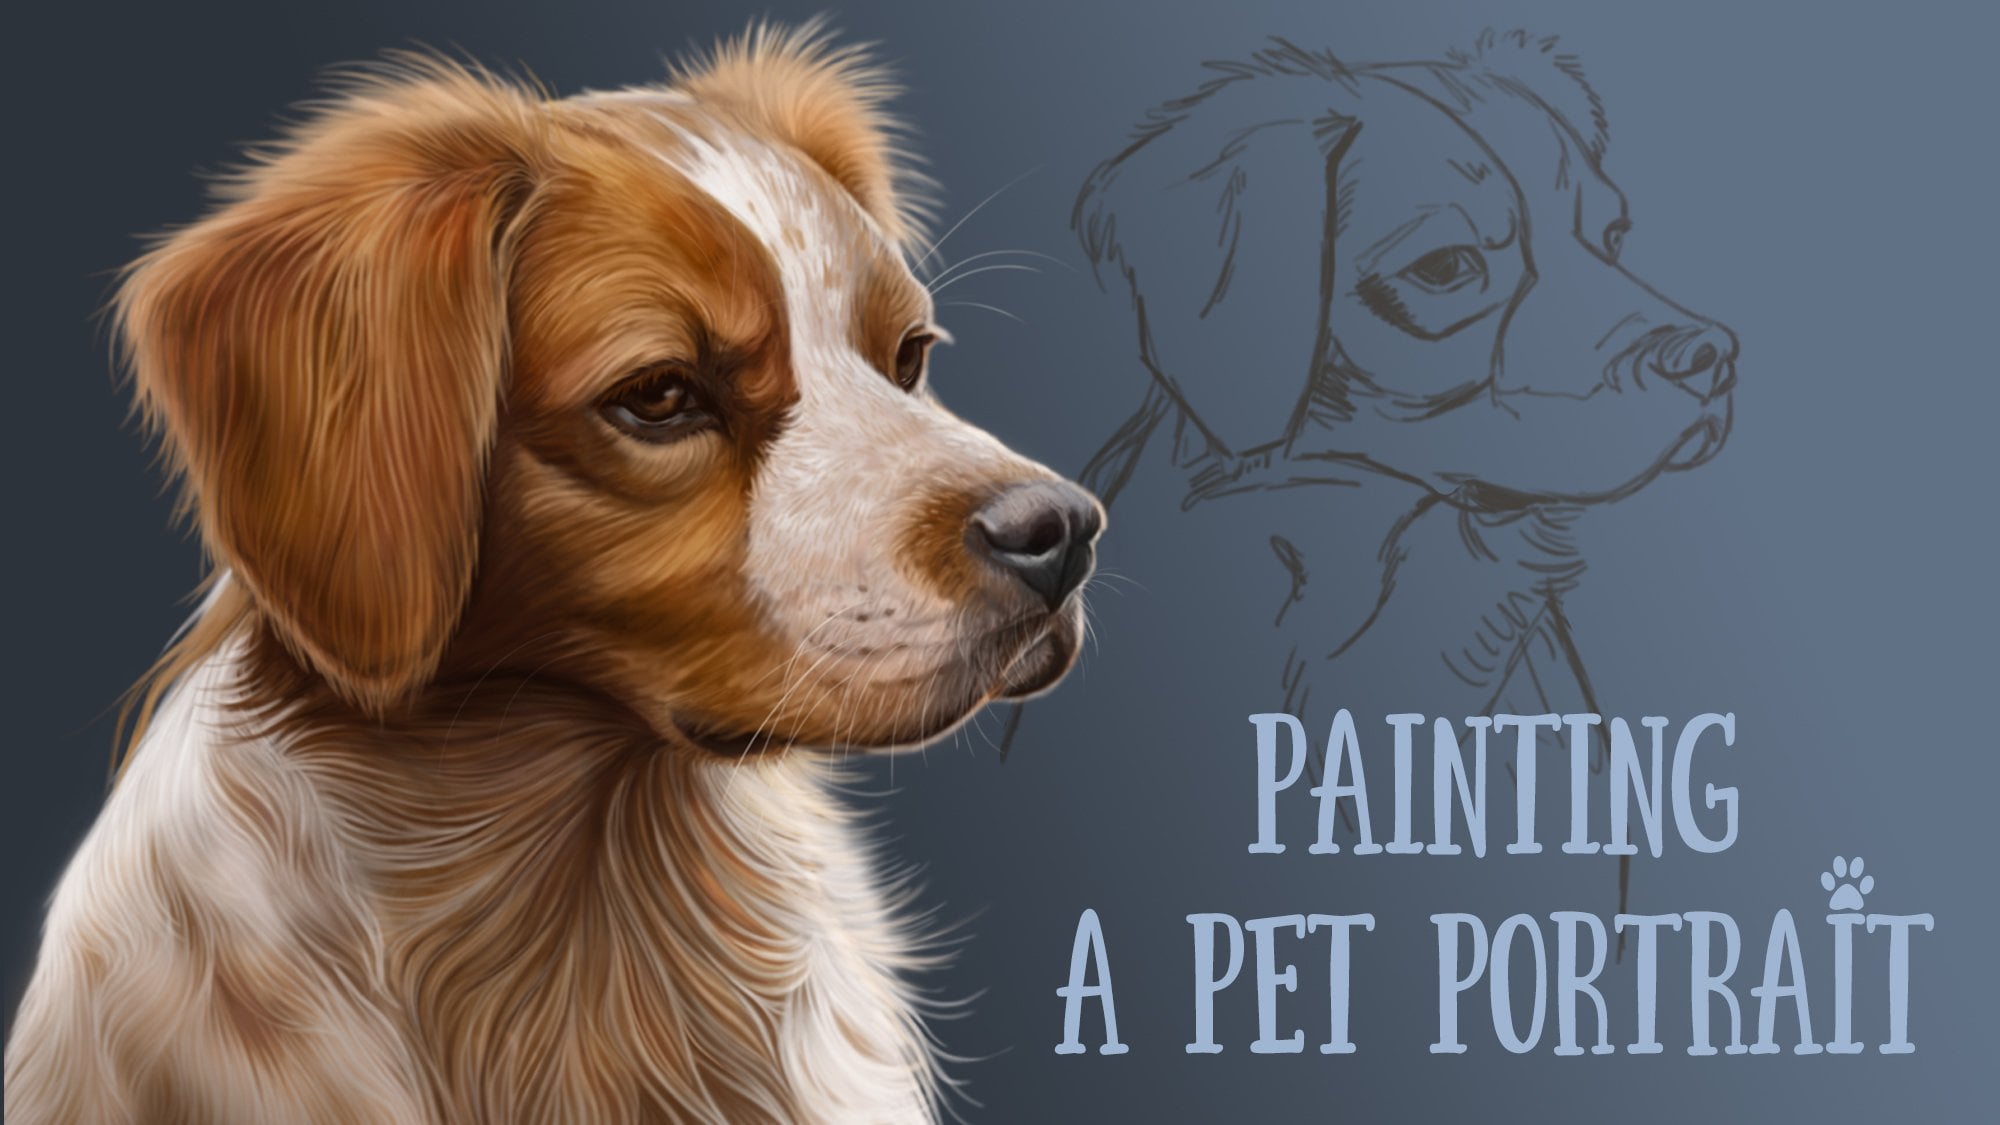
10. Final Tips: Now that the painting is finished, I'll show you how to easily change the hair color with the blending modes. First of all, if you haven't already merged all of your layers, so the hair is on a single layer. Keep your background on a separate layer, though, then create a new layer and select color as the blending mode. You can now use the soft from brush on low opacity to add a different color on top of the painting. As you can see this, blending modes preserve the highlights and the shadows of the painting and only changes the colors. Feel free to experiment with different colors and blending modes. Some of them are more interesting than others and some colors who look better than autos as well. - Also , if you don't want to mess up your background when doing this right, click on your current layer the blending mode layer and select create clipping mask. That way, you'll only be able to color the hair as the clipping mask on the applies toe. One layer in this case, the layer with hair. That's the reason why we merged our layers to be able to create the clipping mask. - And now just a quick reminder that the painting technique I showed you works for any type of hair. I did the same with a wavy in the curly hair style, starting with a rough shape that's I didn't detailed with mid tones, shadows and highlights. I used some blending modes for delighting, and I finished by adding a few loose strands of hair here and there. Oh, no. Yeah, Oh, no. Yeah, I've created a collection of resource is that you can use to practice painting hair and father shop. Use this reference pictures as inspiration for your paintings or creates two days of, um, I've also put together drawing exercises that you can complete for your class project. I really hope you enjoyed this class as much as I enjoyed creating it. Feel free to ask any questions you might have. If you need additional information about any of the painting stages, I'd be more than happy to provide further explanations. Also, don't hesitate to share your paintings whether it's working progress, shots some of the exercises or even finish portrait's. Thanks for watching and see you soon
 Margarita Bourkova, artist | dreamer | infp