Transcripts
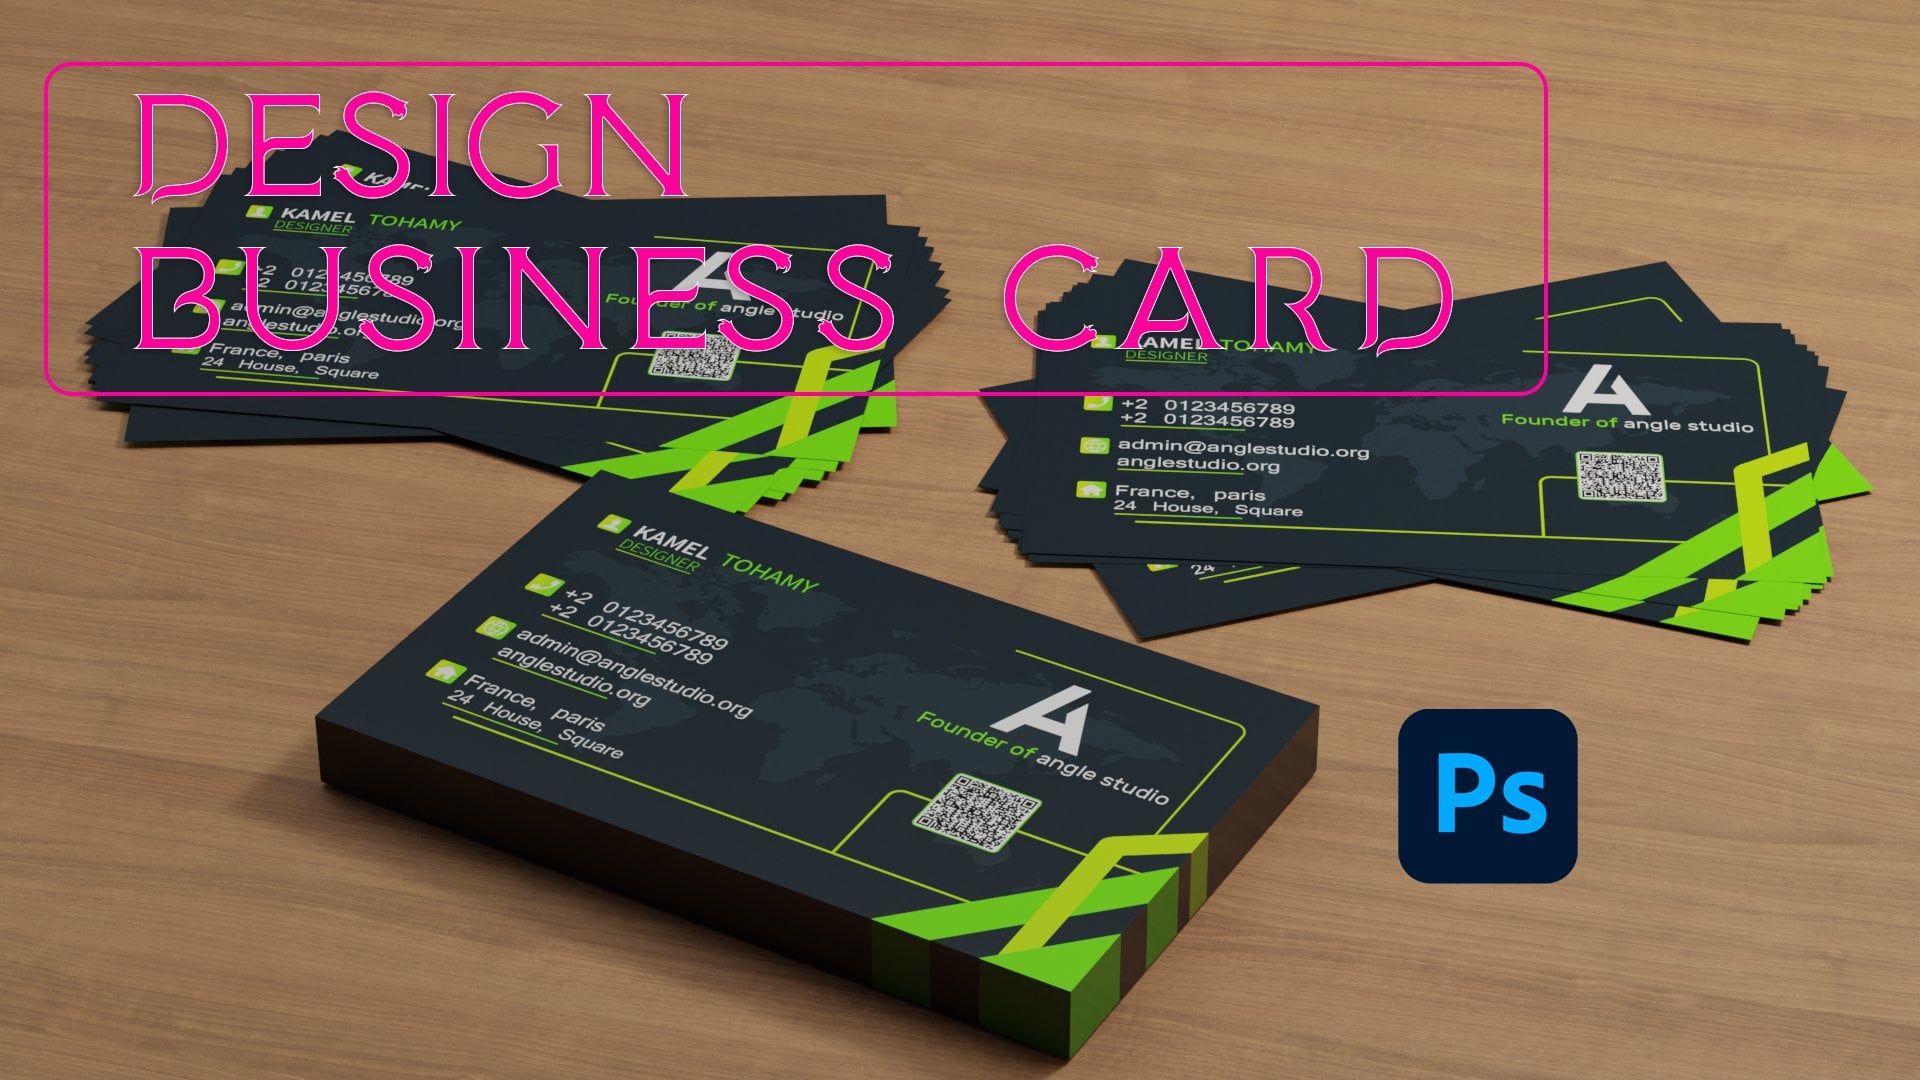
1. Promo : Hello everyone and welcome. Here is coming from angles
to the end of the day. I'm very glad to
introduce this class. Today, we have the challenge to make a double sided business
card inside the job, and we will do our best
to make this realistic. So firstly, wounds on the front and the side for
a business card. And we'll do our best to make it realistic and to do our
best to make it model. After that, we will
make a mock-up for this business
card in Blender. And after that we will
render a pandemic. Is this mock-up very,
very real story. Have designed tons of a
business card and sort of job. And I am very glad to share
this knowledge with you. You can follow along using
any version of a job, 2020 or 20182017, enough
job version will work. I was like it's a Creative Cloud version
and you can still firm using any
version of Photoshop. So if you don't have a
word for job, don't worry. I will explain every tool in Photoshop using some tools
such as blender and for job, you can make clean,
modern business card. And I will show you how
you can sell your idea. So making interval Canvas
or business card or brochure is high and one task and you should be all
of that sort of token. Let's talk about
your class project.
2. Types of business cards: Hello everyone. Welcome. So we should talk cause as
I mentioned before, we get started and start for job and start designing
our business card. So each country has
its own dimensions. But there is some rule and the general or
standard dimensions. So the dimensions
for business card, it's width of three inches and
2.5 inches in millimeters. It will be around nine
by five millimeters. And there is some bleed
area is this is some tips. So you live through and 0.25
inch tube and the bottom. And in the width. And also this is the
dimensions in millimeter, 8.9 by 51 to it. And if you want to
make is a vertical, we have two versions
of business card, one vertical and horizontal. If you want to make it
vertically and start by making the width to two inches
and the height C15. We will also make an
oblique and learn to lead. And this is the guides for us. Of course we will use
CMYK and that's it. We can use double-sided
card or one side card. We will of course
use double side. And that's it for now. This is, of course,
this is folded. Say of course it will be four because 44 but
which will be the same. So that's it for this lesson. You can search online
for your country. If you live, if
you are living in G7 or edges dimensions may
be slightly different, but this is a
standard and I will work by this dimensions. See you in the next
lesson. We will start for endodontic origin. Scott.
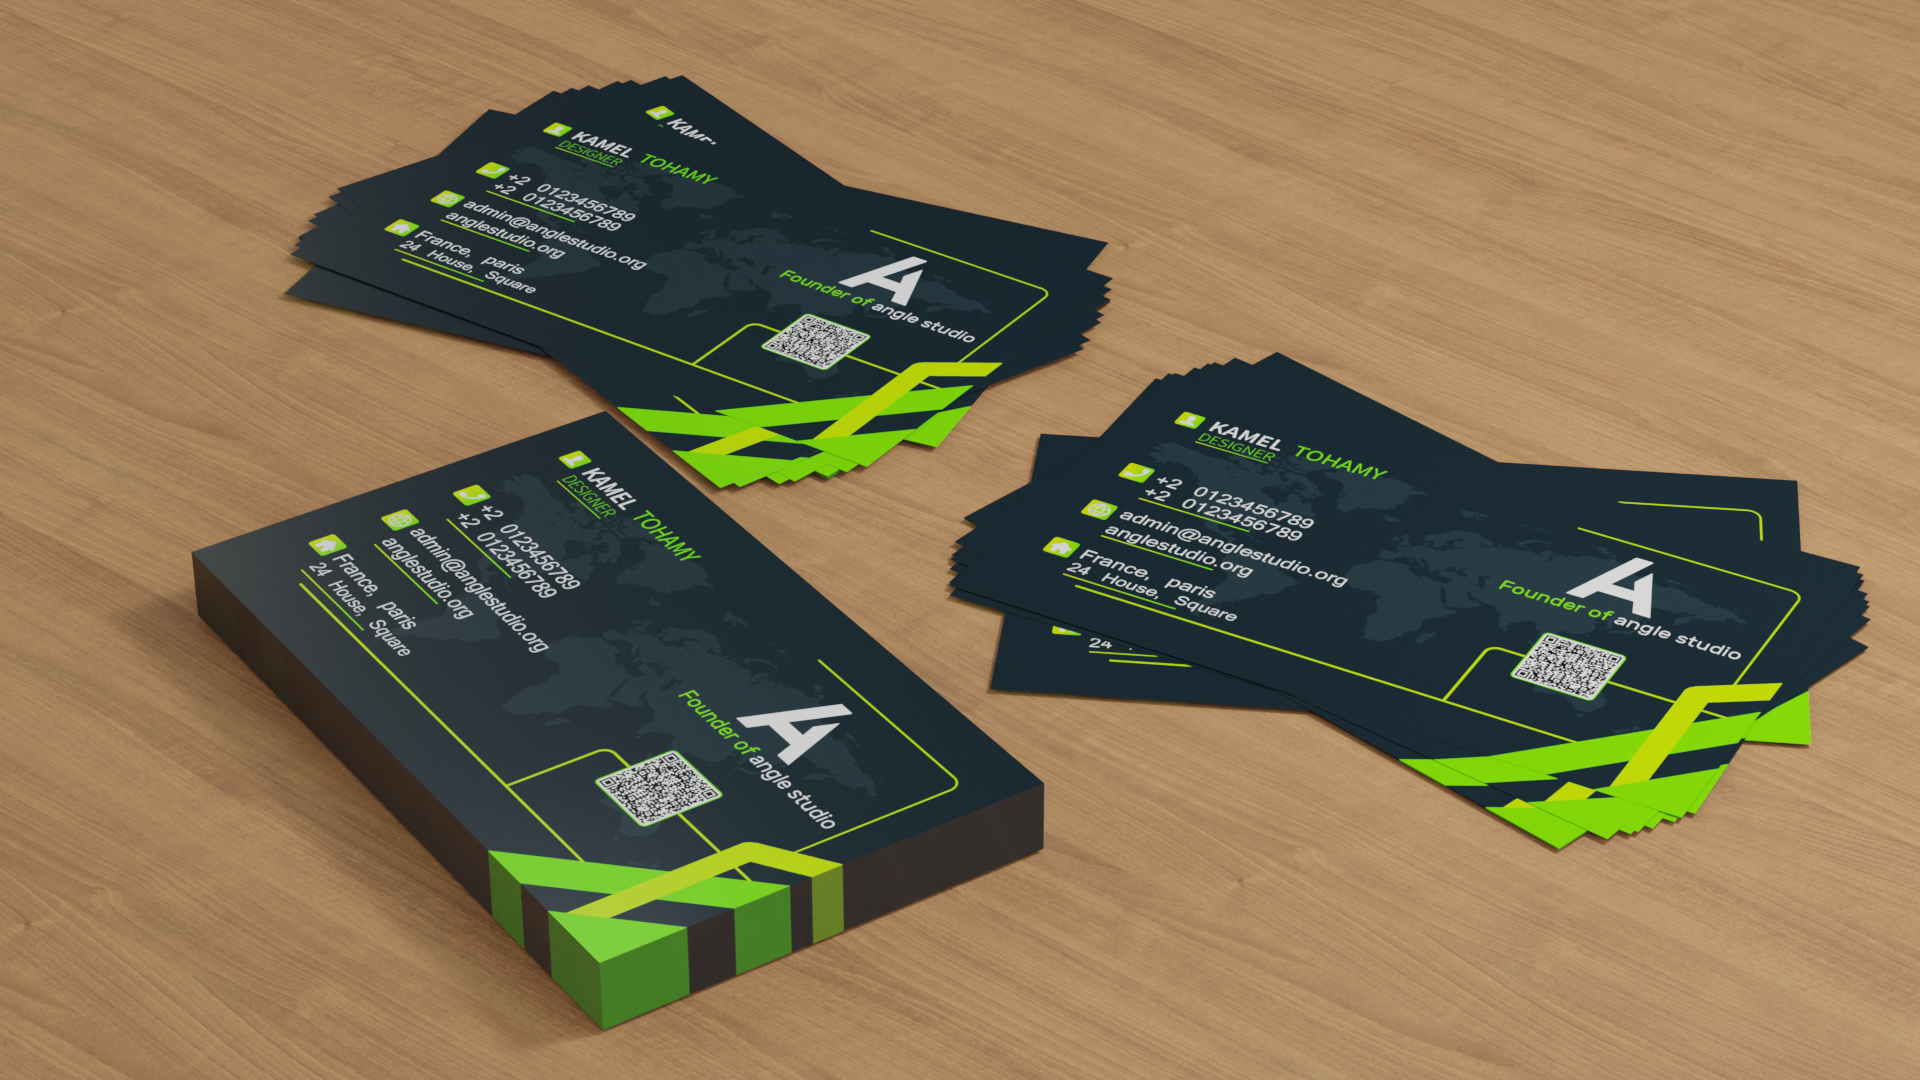
3. Design front side: Hello everyone, Welcome. So this will be the first
restaurant and D to D, you are going to design this business card.
It's double-sided. So in this video, I'll try to finish the front side and we
will make the backside. As you can see, we
have two colors. And this is a grid, of course, and
this is dark blue. As you can see, this type of business card is
horizontal, not vertical. So that which would be nine
by five centimeter by five. And I'm using an old
version of Creative Cloud. You can use any later version. The latest version
of YouTube is 2022. You can use it of course. But I'm using this
because we will not use any of the
latest features. So let's get started
by making a new file. And here is our new file. I will make it, I will call it front side. And so there's the inches
which will be 3.75. It will have a bleed
and height 2.25. That's it. We have 4-bit to
make something new file. Let's make it CMYK of course, because we will print
it and pixel per inch will be 300 or four. You can make it up to 500 if you'd like. I
will leave it for. And as you can see, let's see it Card, Card Front. Here we are.
Everything is correct. For a cover file, you can using CMYK, we will not use powder GB, of course. Let's hit. So the first thing we want
to make is to the right. So a view new guide, 0.125 inch. And you're going to
go into a two inch. You guide vertical point, which is here. It's in some Twitter
control or let's see, we can use it to be inches. View. New guide is
3.625, which is correct. And you can select this one and tight if you knew
guide horizontal. And as I was going to five from here and the view new guide,
horizontal inches maybe. I think it's 2.12. Why? Because we have this area. It should be this area
should be and size. It. We have two inches,
height and 3.5. And here and here, 0.25 inches and here, quarter of 2.5 inches. So we have around here. I sent two millimeter from here and two
millimeter from here. All dimensions two millimeter. So this is our work area. Alright? So the
first thing is to make our background here. We have the background here. And this is the
color to 2320, CD3. And ohmic new layer
and failed by Control Backspace, such as this. And do have the group. As you can see, I
have downloaded this vector file illustration
and it has two versions. We can use this of
course, or EBS, that you use the EBS
and will be in here. Of course it would be big.
I will click Control a, Control C. Or let's first remove this white.
Remove this white. We don't commit any weight. This weight also. We can use, no problem if we have some way that
you can click Shift, Delete, or you can use the
color orange if you'd like. For the color, I will make the color gray color
overlay to be gray. And the Western, two or
one plus two, maybe one. Let's try Color Overlay fight. So I will try gray. And we can scale up. Here. We have an
labeled for you. That's what I would
call it the ground. Let's look and look. And I will call it back. After that. Let's type my name. I will type my name. And font will be
source, sense of row. And I will make it light. But the color, we
will make it all. Caps. Character will
be all such as this. And let's say regular. And this one will be bought. Or symbol. Font
will be maybe ten. And this one would be white. Let's move it here and see Designer. And this one will
be maybe light. And denying it. I think it will be fine. And the move here, Let's scale using the rectangle or line as you'd like. And they make symbol
rectangle here. And for this rectangle, make something or you
will go from gradient. It will be rotated. Such as this. I can do it, but this one
will be the same green. But this one will be green. But we want to reverse. So reverse. We will make this tight for
all ships as you'd like. And here I will choose the designer to be the same
font or some color here. We will be slightly lighter. And that's it. Let us make an icon,
radius, maybe five. Alright, so we have
made the title. And to be clear, we will make another
icon to make a group. So we'll go here
to this distant. And they make, using
Control Shift, make an icon such as this, and move this icon above. And we will copy the style. From here could be styled
Layer Style and divest here. This D layer style. And you will use icon. I have dilute this vector icon, and I will snap here and x, and of course it's large, so Control T and make
it scaled down 70. Maybe 70 is fine. And Color Overlay. Color Overlay of white. If you want to make
a slide and sit, Let's try the inner
glow or inner shadow. This inner shadow,
slight, maybe 15. And just to if you want to make it such as this. Right. So this is all
I will call titled. And as you can see, we have made the title and
I will make an rectangle. This rectangle has disagreeing. Let us make an rectangle using this shape and other rectangle. Using because this shape selected zoom and rotate 45. But minus aqueous. And the move, this one here. And we want to make something, or you will choose
the urban tool. We have is I've been told. So let's move here, move here, and hit Control Z. And after that, Let's use
a brush and use this one. Let's try the bin tools to quit syllabus with the brush. Clean. This is good, but we want to
increase the brush. So b and d, psi is 55, or sick is T5. And using the pen
tool again struck us and the brush, this is fine. We want the brush
to be simulated. So like this. This effect is, is, isn't what we want so
we can trace the Vinson. Alright, And after
that I will click on the B to go for Ben tool. Of course I have choose
a brush, maybe 50. Let's increase it,
or decrease it. And go for B stroke boss. And the brush is good and we will make another stroke
to make its thickness. Another stroke of the
same to make it large, may be ten or ten or eight. And we don't need it the most, so we'll go from us and we can move it too
much or reference. Alright. This is what we need. And let us make some shapes. So from here I will use lime. And let's click here. It will be an width
of five pixels. From here to here. Alright. We are selecting the
line and shift. Click here. Stroke will be this color. And for the fill
will be gradient. And this, we will, we will use this one. I think for the stroke. We will use this one and the reverse. Anyway. We can, Let's try the stroke. And of course we will move it. Control to be done. And we need shape. So I will use this one
under this to be maybe ten. And the stroke will be, we don't need a stroke. And it's smooth. Such as this. Or you
didn't create it 25. Let's move such as this. And let me move here. Mirrors Troy's. I will rotate the canvas
and direct me check this one shape and doing it another one above. So let us make the
rectangle here. Anyway. It will be a
stroke of four this time. And we don't think it
feel Rasterize Layer. Rasterize Layer. And did it CDD this portion. And we also rasterize, both. Delete this portion
and this area. Here we are. We have
made this weird shapes, except here will be the logo and the hair
will be the QR code. I will group all this
and to call them ships. So that's it for this lesson. In the next video,
we will see how we can generate a QR
code and how we can add logo and
other information for our first business card.
4. Add personal info and website: Alright, this is a secondary
zone and today you are going to start by adding some
information about us here. So I will duplicate this title, duplicate the group and
the name, phone number. Then you will move
in this direction. It's an oily tweak
it a little bit. Of course, I will
remove this 14. Here. I will use another font. But let me tell you. Any number. 0123456789. And of course,
because its English, I will make it start from here. And to be such as this. And let me, yes,
this is correct. Me search for free from
the call over fico. Alright, so let's
try another font. So I'm no such thing
afforded light, thickest. This one, maybe work. This one work. And the regular. You will make it smaller. So maybe 77 or eight. Let us make it large to be it. And I will duplicate because we will add to
phone, to phone numbers. And four here, rectangle. Or you will move like
this and for the height, or you will increase
maybe 1 third. And widths. Of course, we don't need this worked. And here we will make a fool. As you can see, this is
the folder structure. Here we will save
our final interval. Here is a mock-up. We will see how we can
make a mock-up in Blender. And here some icons, I will use this phone. Feel free to use any of them. Or you will hear Control C, Control V for icon. And after that, let us flip
horizontally and make, don't apply that conservative presently and move it above. Make it white. We can select this layer. We are selecting layer and this layer and copy layer style. Then we can paste it here. And don't forget to resize. You can scale it to 30. Still too much. But I will make something
it or increase it. 80, maybe 115. And for the phone number, I will decrease its
height to be 8070, maybe. For this one. And
I will add three, duplicate group and
duplicate group. For lumber wouldn't be above. And the phone number
is this will be here. And we can split such as this. We will adhere. The location. Here is the location and
here is the address. I have downloaded
and added both icon, this one for the home
Annual Forbes website. If you want to be organized, you can rename this
one to be home icon. Or you can home. And this one will be equal to. Alright, and after that, you can use this
icon up to be here. And copy layer style. This style deletes
the older, older. And if you want to
make it in the center, you can center such as this. Not forget to resize. You can resize boy, 70. It right for the third one. Let us move here and
delete this one. Or center it first three. And based layer style, then resize to be 80, maybe. That's it. Alright, for font, we will see admin, admin.org. Alright, so the font
is all in caps, so let's make it small. And I will leave the
font, such as this. Let's move it here. And for the website. And to do work. Of course, also this one will be regular tickets, not all, not all in caps or in
capital and photos at home. And I will tell you, let us remove this and
let me type France. There is. And let me remove duplicate. For this one. Let us say 24. How is this clear? School year? So it doesn't matter
the location. So we have we should
have the QR code here. But I certainly think because
this one has some stroke. So let's go here. And for the stroke, we don't need any stroke. And I will add here and
no stroke of course. And the fill color, such as this one. So let's edit our
code here about, I think 25 is too
much, so maybe five. And a new layer. A QR code. Let me make it a radius of
eight, such as this. And this one will be white, but the border will be green. It has some stroke,
some drop shadow. And the stroke will
be the scholar. This a try. We will
adhere the QR code. So that's it for this lesson, we have seen how we can
add that information. In the next video,
we'll see how we can generate a QR code for our website or
our social beach.
5. generate QR code: Alright, so this is
the lesson you will see today how we can
make the QR code. It's very simple.
I'm using Inkscape is there is two ways I
will experience a twist. If you don't have Inkscape, you can generate it online. So firstly, you can go for from Render Queue or could. And after that type,
you are thickest. And here you can tell
dimension maybe 100. And I will type my website. And the live preview here so
that we can see our QR code. Here is our q are good. It's good size, too big. Let us say two and a square, so
he's maybe ten K. And after that, I
will hit Apply. Then using this QR code, you can export as the energy at any
location is in export. And the height for your image. Then you can export as
we energy from here. The second method is
used an online website. So you can enter here the URL, and you can make your site, you can make and your tickets or contact to contact you or call you and add PDF as
you would like. And after that, we can generate. So it's a dynamic and you can download the resolution
you would like, then dilute as
being edgy or SVG. If you have any free account
you can dilute as energy. So let's type and don't loot. Q are good. So we have generated this one using the Inkscape and this one using the online generator,
which is upside. So let me open this
one, Adobe Photoshop. And After that, I
have added a QR code. And then I will center in here and we can convert
to smart object. And the clip, you can add
a two-week clip here. And after reset. Let us
scale using Control. Alt Shift to scale
proportionally, such as this. And here we are. Okay. Let us login to
finish the front side. So I will add here. And this is my yoga. Fine. Let us and for a will be here. And for this one we can make
another color such as this. So that's it for this tutorial, we have finished font size. You can add your own
logo here as you'd like, and then make it
white and green seem. So in the next video, we'll see how we can make some oxide. And after that we will win
a lender anthemic ARMA cup.
6. Design back side: Alright, so lets us
make the backside. I will save this file. Of course. Firstly, I will
save, then add a new version. You can start a
fresh, new upside, but I find it easy to make
another version card. Back. As we study. We can call it Q or R code. Anyway. We don't
need that anymore. For further shapes. I will leave this
except this one. I will delete a QR code. I will delete my name
or logo details. We will do it will be deleted. And two groups here
will be deleted. Because this group
will remain to one. And this one will be here
for our queue or could be here from so we will absorb colors. So this one will be green
and this one white. This is one green. Alright, here we are, I think. So. Let us add here the detail. And we can see tug, let us control G, Select All and move. And for this one, you will see we design 3D animation. All of this will be eight. And Italian. Let us see Tarik. We need it. Eric. Formed.
So let's see this one. Right? It's fine. So for let's see the mood. It's CMYK, it's
ready for printing. And if you want to print this, this one, you can save as, you can save as PDF, tiff or PDF, these two
formats, let us try. So BDF card back. And after a few seconds, it will show us some *****. Use high-quality
and save as PDF. Yes. And that's it
for this lesson. In the next video, we are going to see
how we can make our mockup in society
blender, Susie, Susie.
7. Finish mock up in blender: Hello everyone. So this
is a mockup section. And in this video are
going to see how we can convert our design to a mock-up or how we can make
a realistic CDC and using our, using our carts. So let's go for import
images as Blend. If you, if you didn't
use blender before, I'm using Ubuntu,
which is extroversion. Feel free to download
it from Blender. And if you didn't use what we're going to
be and therefore you can go to my YouTube channel
is a result of lessons and you can watch my courses
on Skillshare channel, YouTube.com slash as the honey. So go to Preferences easily and search for blends
and activities Adam, for navigation if blender
we use the most for. So here's the navigation. Zoom in Ben and rotate. But I am here in input. Mux worry about most, so I use artistic likeness
to do somebody most. Nichols middlemost
doesn't work for me. And if you have an avid most, you can also go to
activity this one. So I'm using the Alt and
left-click to rotate. Let's add a new group
to demonstrate. We are now rotating and
Alt Shift to zoom in, zoom out, zoom in, zoom out. And I'll shifted to Ben and
Alt Control and zoom out. As you can see, here
is the shortcuts. Firstly, the third step
is to import our file. Here is the front. You
can see it's added. And let's move one centimeter. Or you will use the owner to, to be something neater. G z1. And let's go for here. So I will make the thickness maybe one
meter or 0.5 millimeters. So exit route in z. Going to fight AG
is it minus five, which is five millimeters, we need only 0.5 millimeter. G is minus 0.5. So is it minus one
to one millimeter? And let us move in z. So it's an open to
five millimeter. For this one, it will
be cite the backside. So I will call it the back image has the sign. So let us see our as you can see, it's a flip. So it's a flip. So we can go for UV
editor and select or Control M and X and control. So let us select this on only, which is a back and
using the UV editor. And here is the front Control, X or Y. This is one. So let's see, see duplicate and 100. Okay, no problem. Let's hit 100. Okay, we will stick to that. But as you can see, if we zoom out,
zoom in, we'll see. So for the border, we can make it black.
As you'd like. I will make it glossy
black or white. Let us make it inclusive. Lack roughness, going
to 04 and assign. You can add, develop, but
it's a tiny two-node, be clear, are visible. So let us, for a surface itself
in the front, we need it roughness blend
to this peculiar T6. And also for the back. Further back, we will make
it a glossy sort of 0.1. And let us make some versions. One version here and
another version here. This one will be an array. What you will use the
Cycles Render Engine, GPU. And their Enter. It will be started from 600. Therefore once tile size 200. And that's it. Let's add an array. In the Z11 o to 0. We want 50, maybe 1.0512121111. And you can scale the D2. And at a rate of 100. Who can add
Bevel if you'd like, it will be tiny, but we will
afford of one millimeter. Let us make centimeter. Going to O2. It isn't mandatory
or obligatory, so you can disable
if you'd like. And here we are. Curious. This one, if you'd
like. This is the first time. For the second one, we will make an array
this time of ten only. And after that, we can apply. Then select all, and sorry for that
severity, boilers vertice. Select and set
origin to geometry. Or 45, right? Or is it five or ten? Or is it the minus 11124? We make random random rotation. Such as this, as you can see. This one, maybe an array of 20 on one-to-one. And apply. Let's add three, only one to one. And Visual Geometry to mesh. Select poll, separate
boilers, vertice. Also select endemic
origin to geometric. Then I am rotating based
on the bounding box. Or is it or is it
will take to make it as soon as this
I will move it to be a collection called
this second card is two. And this one will be a car, this car, this three. And this one will be this one. Alright, let's move all this to be in that
zone collection. Here we are. We have
made clean mockup. And you can rotate such
as this on the move. And Zoe. Then let us make the background I will make
and background the scale. Before the move to
camera collection. This will be called
as the floor. If you have this
add-on, it's an add-on, has 20 authority weight, but it has a free version. So you can, if you don't
have any experience, you can your own material. So we don't need some realistic
materials to be metal. Metal, silver To Theresa, gold. With the gold. And that's it. Now, we will add lighting
and render our scene. If you don't know
much about lighting, you can add an EGD or
ROI from environment. Here you can feel free to use your own and white font. That using an ROI will be much helpful and will be easy for you if you are
beginner. And delete us. Because I seen this same angle because it's a close up
shot. So you'd make 90. And this is the word I don't like. So you will remove. But for lighting. For lighting. I will add here and
relate to camera. One would be 2000 and
another light here. This one will be filled
and it will be blue. So for this one, we can unwrap. Let's apply the skill. And unwrap as in
principle be SDF and going to the shader
editor and add some texture. But if you have
enabled wrangler item, you can click this principle. Alright? I will select the
difference will be S diff, which is the general Studer
and control shift T T and sit up going to this folder or
any folder, just dilute. And BB or material. It has color or Albedo, texture, color and glossy normal
reflection and just hit Okay. Then scale will
be 33. Let's see. And it is, that's fine. Let's move it, such
as this to get. And let's use I will
make anticipate here. But for the material in the UV, you will rotate 90 degrees. Alright, so now let's render. I will save. Hit. If
it will be different. Depending on your machine. It will take a few minutes or a few seconds depending on your machine and also
depending on your setting. And if you have a graphics card, maybe in your graphics
card from NVIDIA, It will be much
faster, and that's it. So mine will take around ten minutes and it will finish rendering
after ten minutes. So I will pause the
video and did it. Continue in the next lesson to talk about our class project.
8. Class Project: As usual, there is
a cross-product. If you have Owens
the source files, I have uploaded some reference and you can follow to
make this business card. And it's only, it's also an business card
which is doubled side. Just don't lose
difference and follow and share in the
discussion board. And if you have any questions,
don't hesitate to tell me in the commodities or
sending me via email. So see you in the next course.
 Kamel Altohamy, Designer & Youtuber , basically Engineer