Transcripts
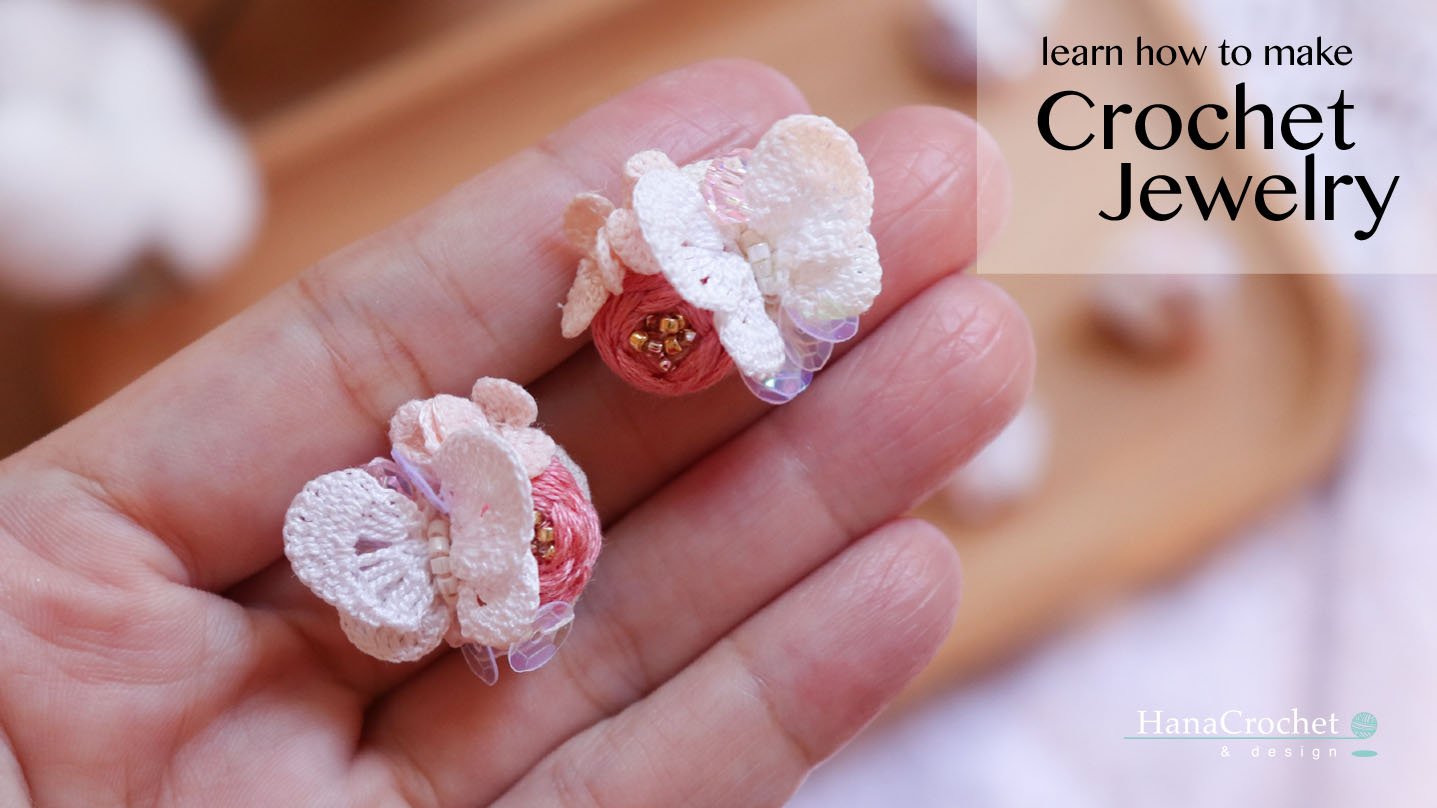
1. Introduction to micro crochet: Hi everyone. My name is Eva. Welcome to Hannah crochet design and it's a pleasure to meet you here. My journey with micro-brew, she's started in 2016 after I saw a beautiful crochet work by Japan is Christianity's. Obviously I didn't right away start with a tiny hook. I started with one millimeter hoop to make my first tiny flowers, and then gradually I changed to smaller hook. My crucially jewelry is inspired from nature. Like to crochet rose, they see peony and also a beautiful butterfly. In this class, I'm going to introduce you to the dose and materials that are used to make my jewelry. We're going to work with a fine trap, as thin as sewing thread and a tiny little hook. I have few tiny hooks for microporosity, but my favorite one is always this 0.5 millimeter. Hope. We're going to learn some basic stitches that you might already know. Loosen your book, going to yarn over two loops. Yarn over. I will also include video tutorial, depreciate all the flowers, and attach them altogether into jewelry. So if you're interested to create your own jewellery, get your journey here and let's get started with our class.
2. Tools and materials : Next I'm going to explain about the dos and materials that we are going to use to make this project. So you're going to need jewelry priors. You will also need 0.5. millimeter hook to grow sheet of flowers. We're going to need to sizes of graph wire. We need 22 gauge. And the gauge for the crystal I'm using Swarovski crystal. Now let's talk about the Crochet tray that I used to make the flowers were going to start with a bigger flower. So I'm just using the MC, cotton thread number 80. And for the small blue flowers, I'm just using the MC embroidery threat. I'm just using one strand of embroidery tread to grocery each flower. You will also need fabrics, different air. I use these tools defined all my crochet flowers, so the shape of the flower can stay nicely far the dose and materials, I'm going to list everything in the information box below.
3. Basic stitches: Hi everyone. So today I'm going to demonstrate some of the basic stages that we're going to use the meat flowers on this tutorial, I am using my crocheter size for D. And this one is clover book size 1 million events. So we'll start with slipknot. Wrap the yarn over your finger. Insert your book and neither purse yarn drawn a second yarn, fully true. And then you go into, let go the yarn on your finger. And then the type and asleep not you pull the tail of the track to make the chain. You wrap the yarn over your book, and then you pull it should wrap the yarn over your hook. And then for each yarn over. The next stage is called single crochet. I already made my first single crushing here. So you have to do is you insert your hook into the next stage. And then you yarn over. Or it's true. When you have two loops on your book. Yarn over again for each row, two loops. In certainly our hope until the next speech. Yarn over Polish rule. Now you have two loops on the book. Yarn over. The next stage is called half double crochet. So you're going to yarn over one's. Insert your hook into the stitch. You're going to yarn over and pull it through. Now you have three loops on your book. You're going to yarn over Bush road trips. We do that one more time. Yarn over. Insert your whole Internet stage. Yarn over for each rule. Now you have three loops on your book. You're going to yarn over again. And whose rotary loops. The next stage is called double crochet. Yarn over one's in circular holes into the stitch. Yarn over, posed through. Now you have three loops on your book. You're going to yarn over Bush root, two loops. Now you have two loops on your hook. Yarn over. Oops, let's do it one more time. Yarn over. Insert your hook into the stitch. The yarn over. Now you have three loops on your whole. Yarn over food through two loops. Yarn over. Cultural tubes. The next stage is called traveled crochet. So you're going to yarn over two times 12. And you're going to insert your host into the stitch. Yarn over whole Schroeder stitch. Now you have four loops on your book. You're going to yarn over whose root? Two loops. Now you have three loops on your whole yarn over, pull through two loops. Loops on your book, yarn over two loops. Let's do it one more time. We're going to wrap your yarn around your hope to times 12. And then you're going to insert your hook into the stage. You're going to yarn over. You have for loops on your OK. learned over whose root, two loops. Now you have three loops on your hook. Yarn over two loops. Now you have two loops on your book. Yarn over pulsar two loops. The next stage is called doubled troubled crochet. So you're going to yarn over three times 123. Then you are going to insert your book into the stitch, yarn over. And then for each rule, now you have five loaves on your book. They're going to yarn over, pulled through tooltips, yarn over pulsar turnips, yarn over two loops and allows one yarn over, will show two loops. Let's do it one more time. We're going to yarn over three times 12. Tree in circular hook. Into the next stage. Yarn over, pull shrew. You have five loops on your book. Turnover. Porsche tubes, yarn over. Pull through two loops. Yarn over, through two loops. Yarn over, will show two loops. Next one we are going to learn how to make Magic Circle. Rep your yarn around your finger like this. Insert your book and during the first yarn, and then draw the second yarn, pull it through, tweets, and then chain one. And this is your magic circle. And I'm going to make six single crochet into this magic circle. So I just need six single Cauchy interdimensional Cellco. Now that I've done the magic circle, you're going to pull this data and then you're going to make us sleep stage. So these are the basic features that we're going to use to make our cushy for our jewelry. Thank you for watching everyone. Why.
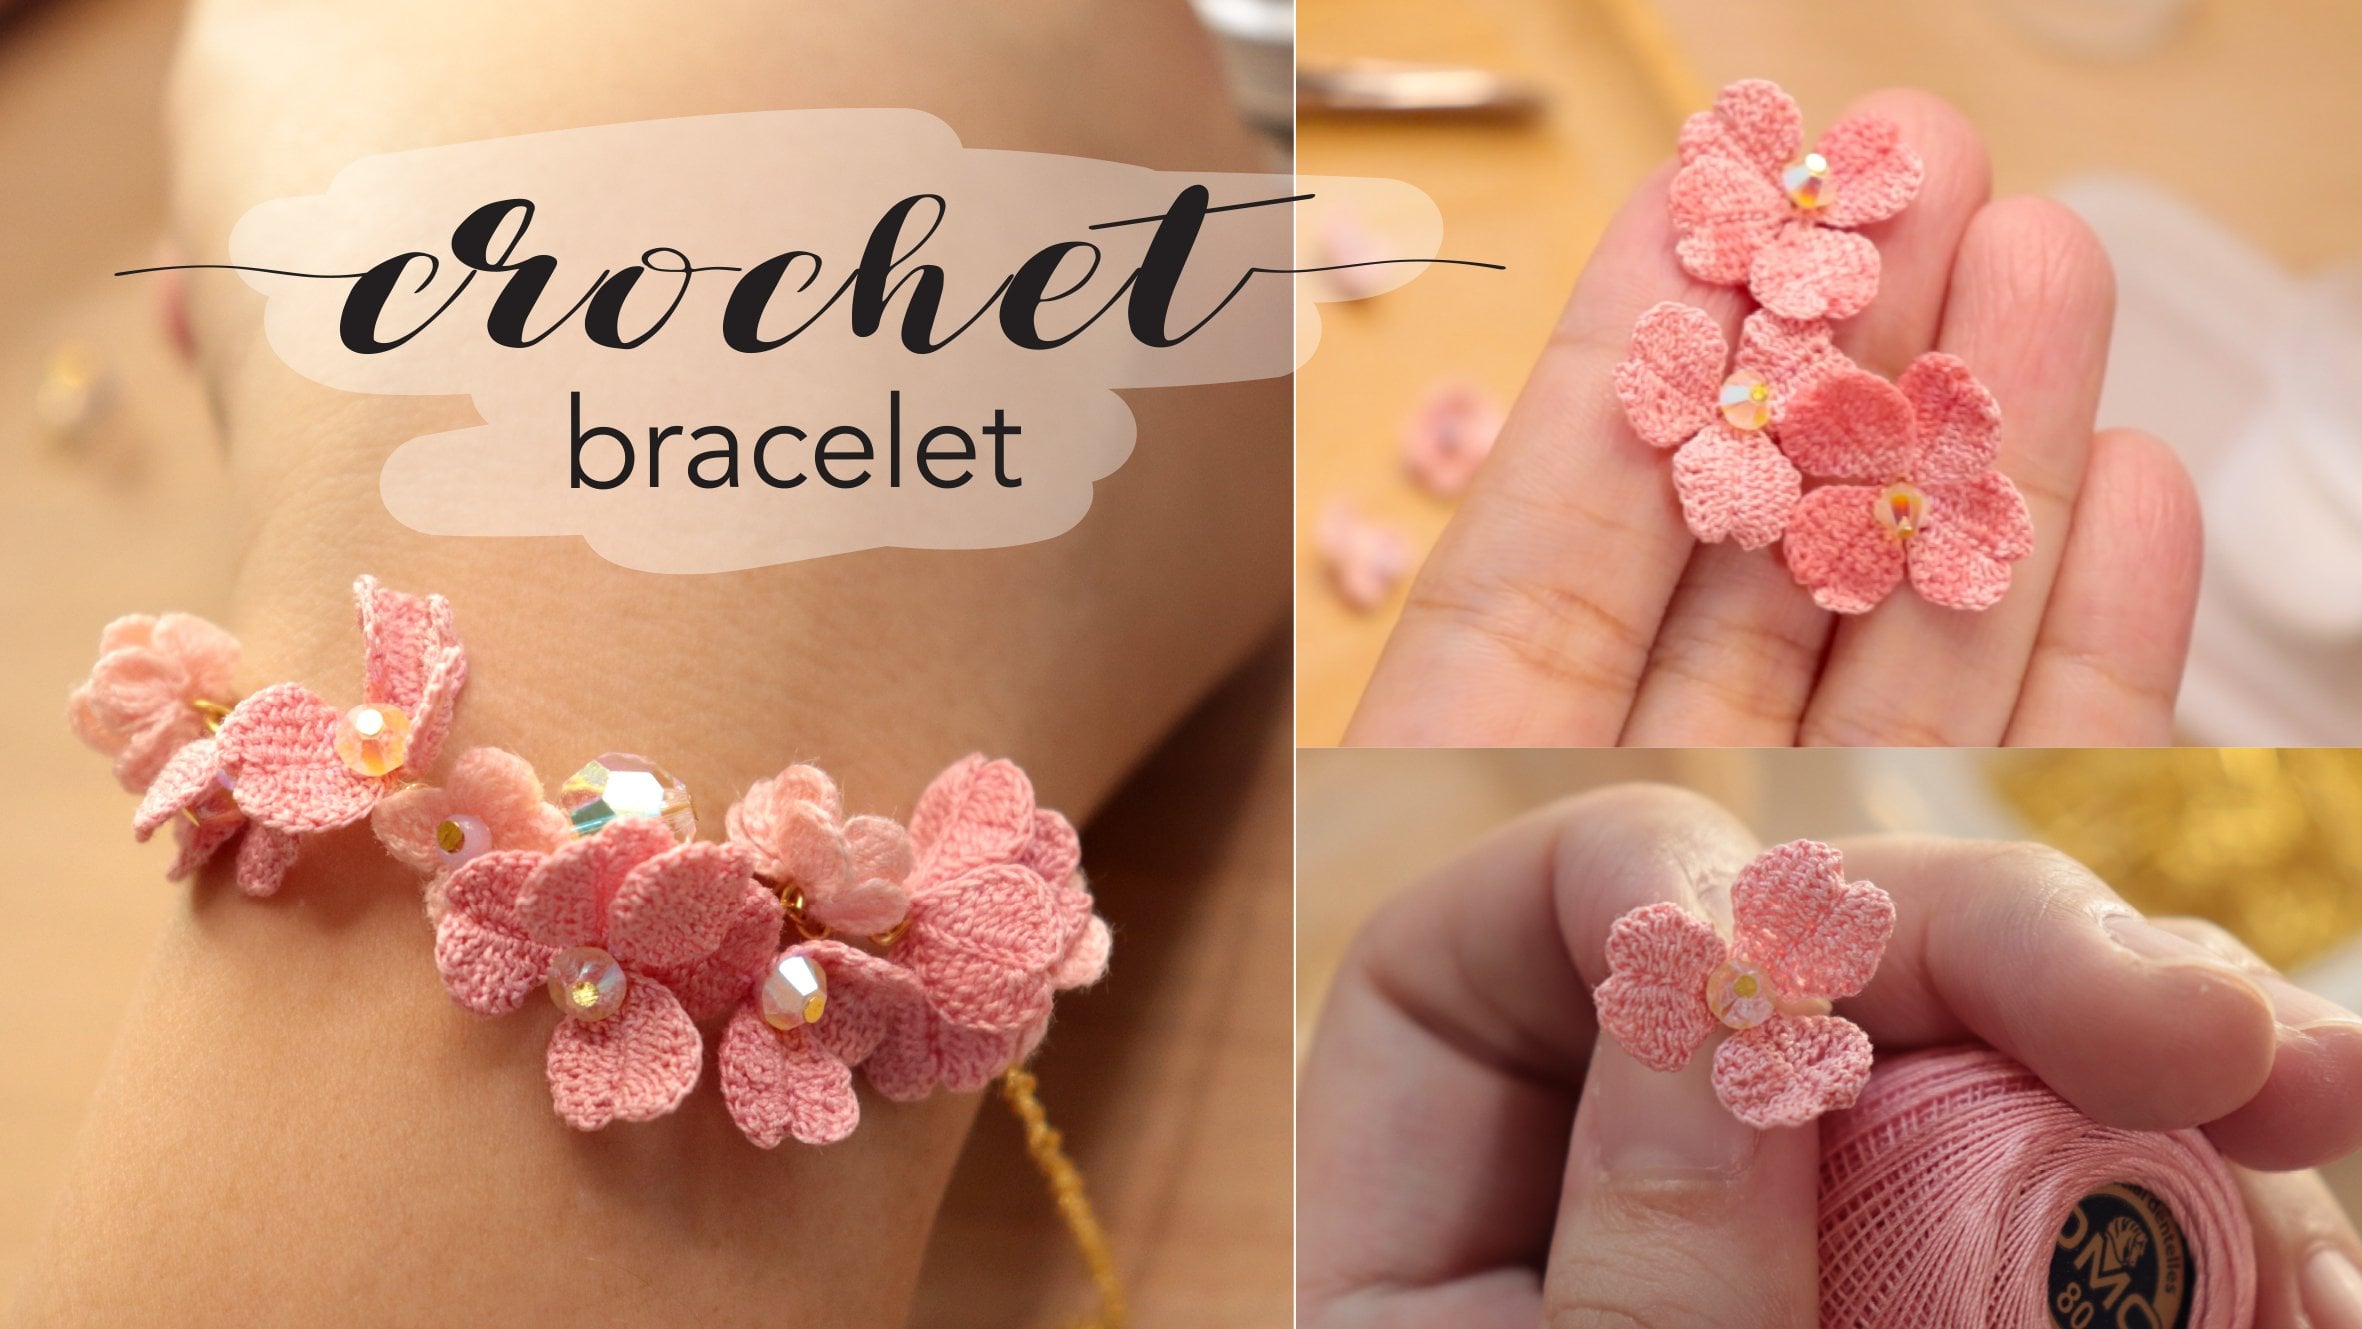
4. flower crochet pattern: So we're going to start with the orange flowers. The material that I used for this orange flowers is the crochet tried from the MC. This is crocheter at number AD and the color code is 740. Start data slip knot, end chain. So this is the first chain, 234567. Next we are going to make to double crochet on that third chain from the hook. So this is your first double crochet. And this is the second one. If you're not familiar with the stitches, I'm going to put the video about the basic stitches down below to travel crunchy on the next ditch. This is one. And this is the second 11 double crochet and the next stage. The next stage. On the next Teach. Next we are going to make single crochet stitch. Stitch. Next teach. I double crochet on the next ditch. Double crochet and the next stage. And this is the second one, which is one. And this is the second one. And then sleep staging and same stage. I'm going to make a sleep stage along the middle stages. So after you finish crochet ten potatoes, those one by one to make a flower. So one follower consists of five battles. So here I'm showing you how I saw my first flower. So this is how my first flower looks like. And you're going to do the same thing with the second flower. Next, we are going to create a center part of the flower. The material that I use to crochet this flower is the MC crochet track number 80 and the color code is nine 7-6. We will start with the Magic Circle. Wrap the yarn over your finger, insert your hook underneath the first yarn and draw the second year. And we're going to chain one. And into this magic circle, we're going to make five single crochet. So this is the first 1, second and the third single crochet. And the last one. And I'm going to tighten this magic circle by pulling the trend. And we're going to end this round with slip stitch. Make our first petal. We're going to start with chain due to next, make treatable crochet into the same stage. So this is your first double crochet. Second double crochet, and the third double Croce, chain 12, and then slip stitch into the same stitch. Moving onto the next battle, we're going to make one slip stitch into the next stage. And then we're going to change 12 and then tradeable crochet into the same stage. So this is your first step. Second. And the third double crochet. Next we are going to change and then slip stitch into the same stitch. Continue to detect patterns. And the pattern is exactly the same as other petals. So this is your data. And then we're going to continue. The pattern is exactly the same as the other battles. So this is your fourth. And then this is the last method. We're going to start with a slip stitch into the next stage. And then 123 double crochet into the same stage. This is your first double crochet. And this is the same thing again. We are going to change and then slip stitch into the same stage. This is how the central flower looks like if you're using crochet tread size AD. Now we're going to attach the flowers, repair the two for orange flowers that we have created earlier. And we're going to stack them and sew them together. Right back to, back off their followers. And then we're going to sew it on top of the orange flower. I also make the flour in different colors. So far these pink tread, I'm using the MSE crochet track number 80 and the color code is 601.
5. flower crochet pattern: Next we are going to appreciate the base of the flowers. I'm using crochet threat size AD and 0.5. millimeter hook. So we're going to start with the Magic Circle, Rep the yarn over your finger. Insert your hook underneath the first yarn and draw the second year and pull it through. And then we'll go into chain one and into this magic circle and go into crochet six single Croce. So this is your first single crochet, too. 345. And the last 16 by Daniel Magic Circle. And then MDs round with a slip stitch. For the second round you're going to start with the chain one and then make do single crochet in every stitch around. So this is your first single crochet. And then make an under single grocery in the CMB Stage. Two single crochet In the next ditch. So this is your first single crochet. Second single crochet to single crochet in the next stage. So this is your first single crochet. The second single crochet in the same stage. Next, do single crochet. Under next ditch. Do single Christiania, next ditch, two single crochet and the next stage. And then we're going to end this round with the slip stitch. For the third round, we're going to start with a gene one. And then we're going to make one single Croce in every stitch around. So this is your first single Croce to tree 4567891011. And then we're going to end at that round with asleep stage. So after you finish making the crucial circle, you're going into. So this at the back part of the flower. I'm just going to sew a few times to secure it. And then I'm going to die notes in the end.
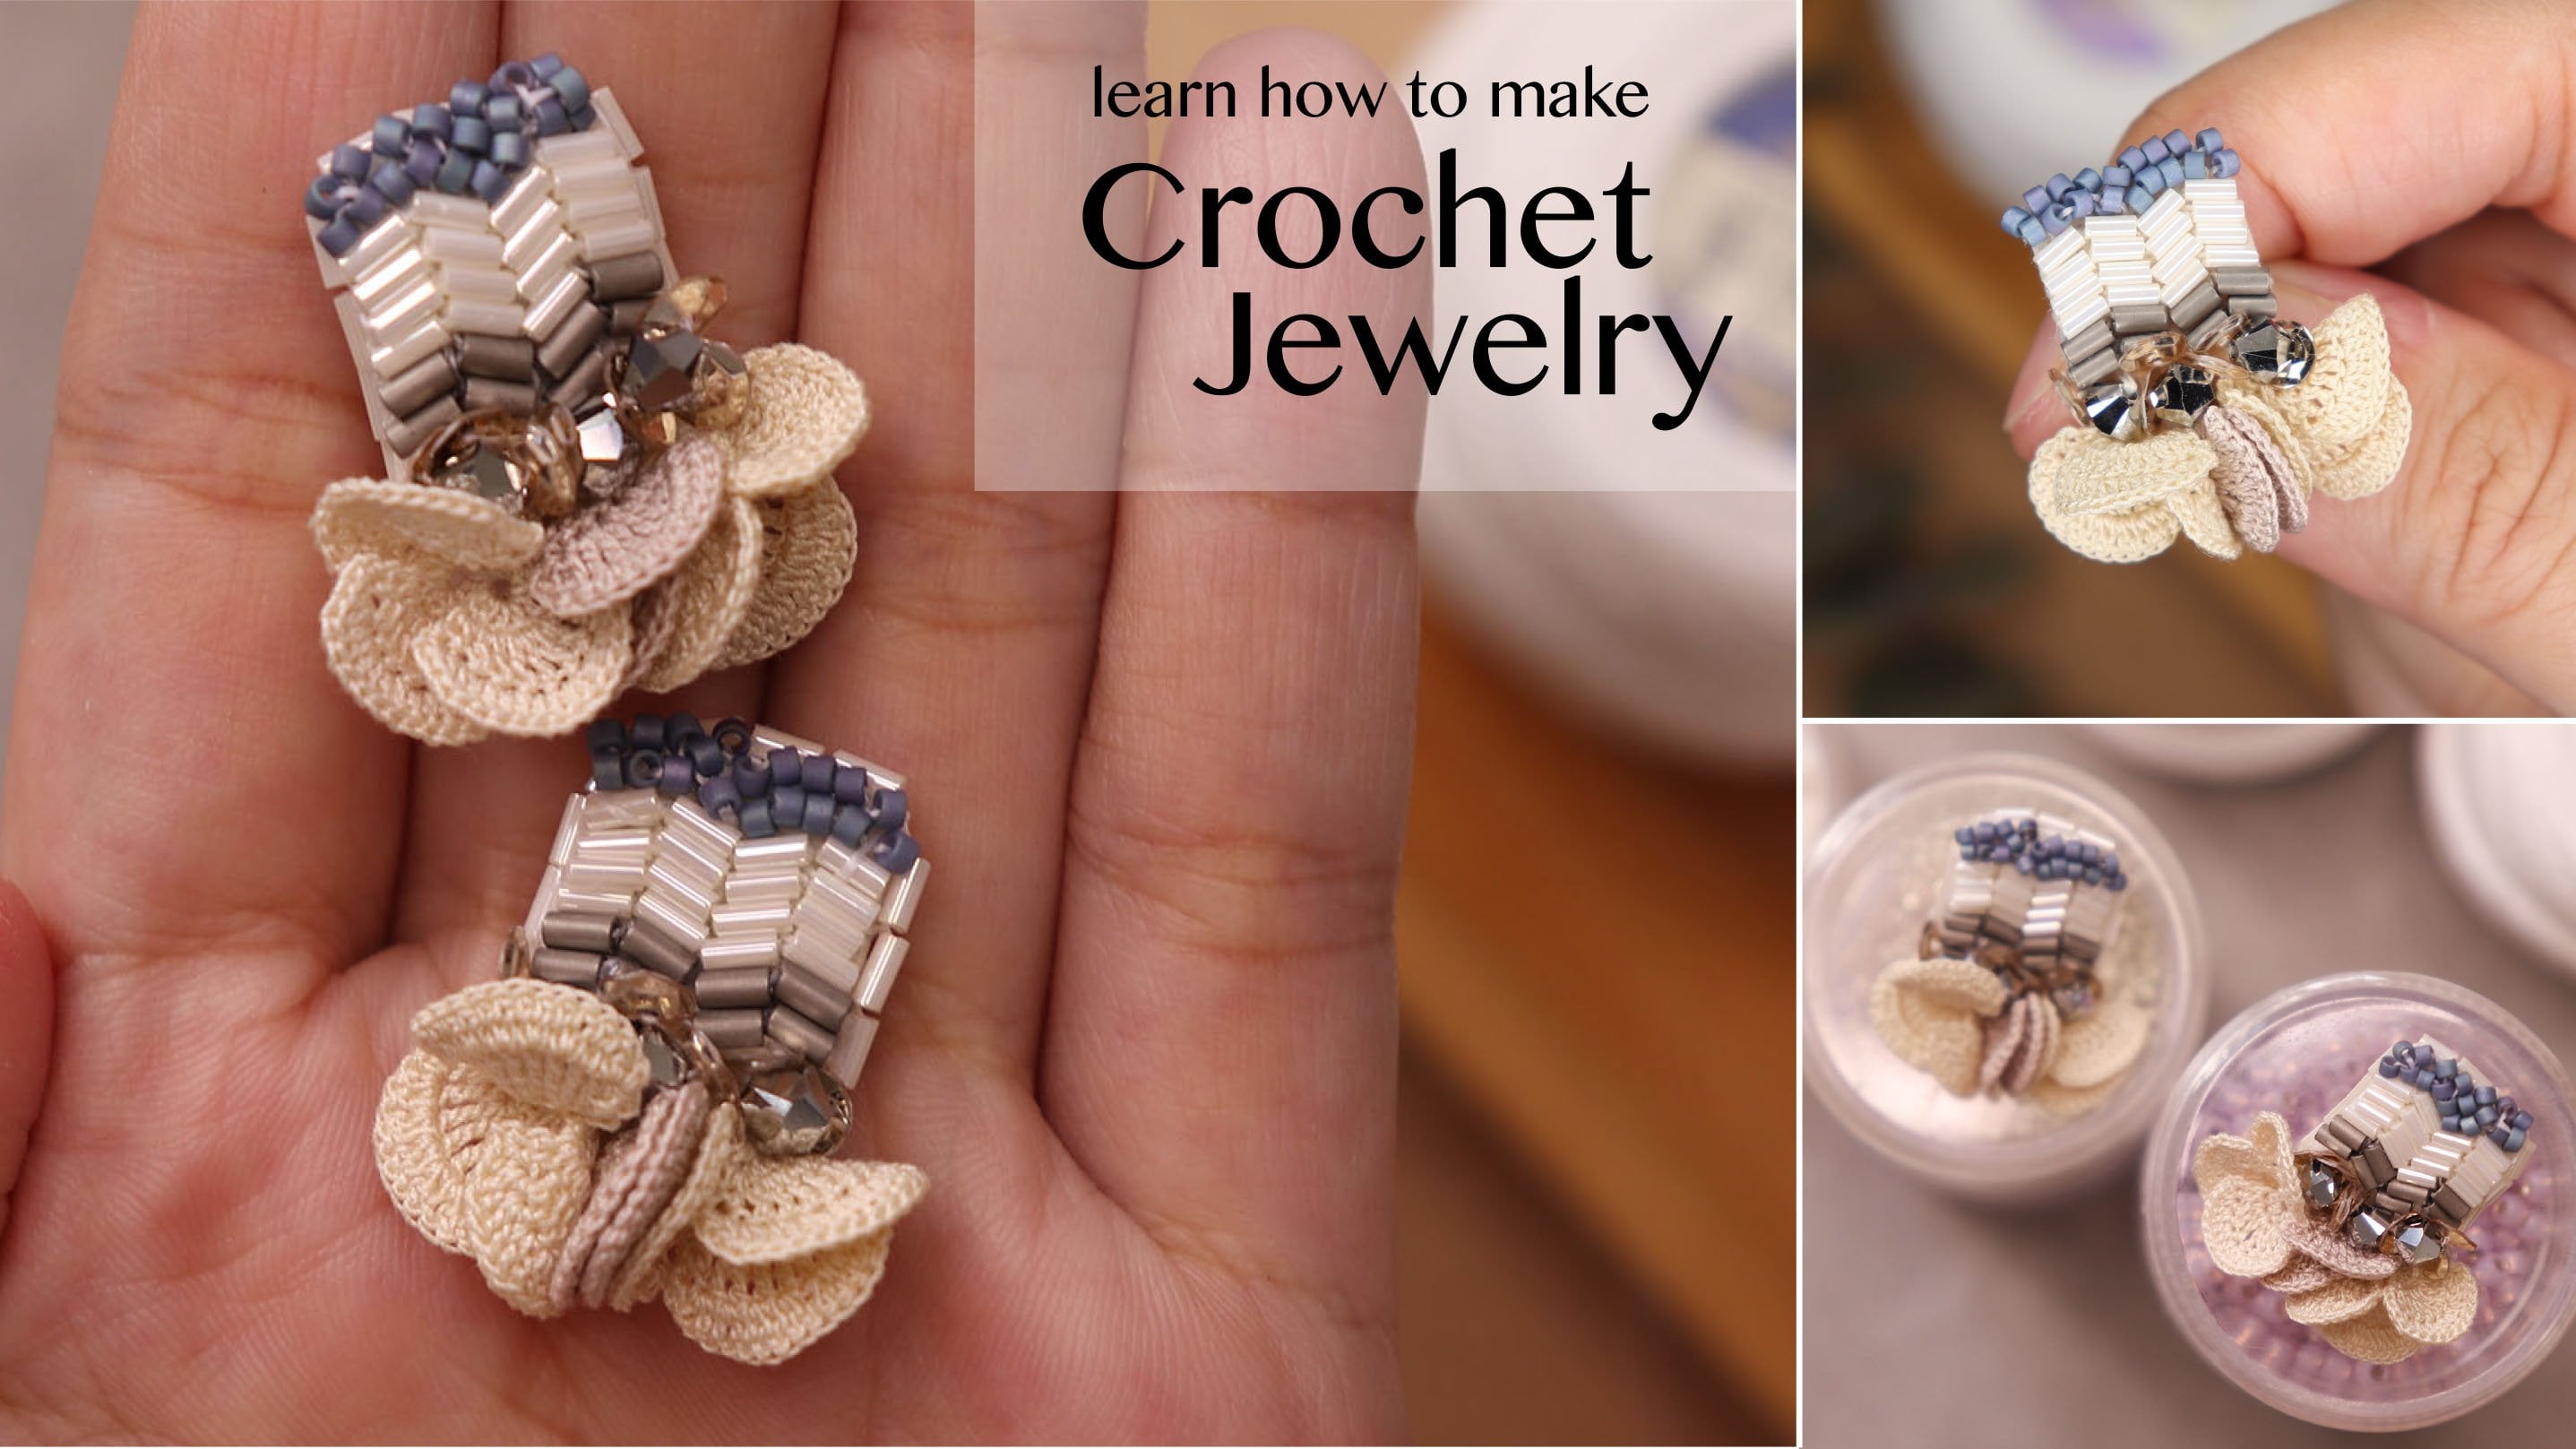
6. Blue flower crochet pattern: Next I'm going to show you how to crochet these blue flowers. The treasure that I use is the MC embroidery track. I'm using two colors. The lighter blue is 747 and the darker one is 800. And we will only use one strand of embroidery threat to crochet each flower. We will start with the Magic Circle. Rep the yarn over your finger, repair Yahoo, insert your hook underneath the first yarn, grab the second year and pull it through and make a chain one. Into this, we're going to make six single crochet. This is the first single crunchy, 23456. Then the magic circle by pulling the thread. And I'm gonna go into any strong with the sleep stage. And then we're going to make our first battle star would be the gene tree 12. And then travel crochet into the first h x. We're going to make five doubled tripled crochet into the same stitch. So this is 123451, Trevor cushy into the same stage and inching tree to tree. And then sleep stage into the same speech synthesis, how our first battle looks like. Continue to the next one. We're going to make a slip stitch into the next stage. And then slip stitch again into the next stitch. And we will continue with our second panel here is the same thing again, are going to change 3123 and then troubled Croce into the same stitch. And then five, treble Croce into the same stage. So this is 12 3451 traveler protein to the same stage. Chain tree. Can slip stitch into the same stage. X are going to make a slip stitch into the next stage. And then sleeps teacher get into the next stage. And we will tell the new with our battle. It's exactly the same as the ADA battles, almost at the end of our data. So we are going to end this battle with chain tree to make a sleep stage into the same stage. Going to slip stitch again into the next speech. So this is how the flower looks like using one strand of embroidery threat for flowers in the darker shade, and two flowers using lighter shade.
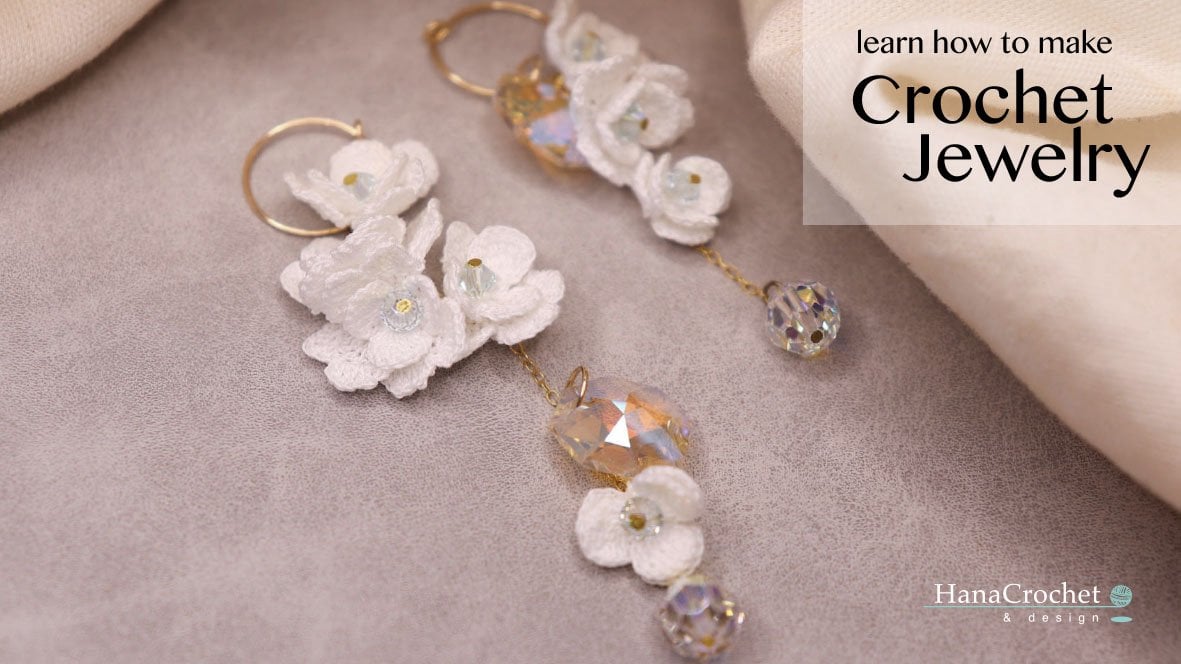
7. Finishing up : So after you finish grocery all the flowers, no, we're going to attach them together. So you're going to prepare your 22 gauge crop wire. Here, going to cut about eight centimeters. I'm going to bend the end of the wire. And then with around player, I'm going to make a loop. Next you want to prepare your 30 gauge crop wire and cut it about 25 centimeters. You're going to wrap that wire to the ticker wire that we have prepared earlier. Now you're going to prepare the CBD. And then I'm going to insert a wire. Next year going to prepare the small flower in the lighter shade. And then I'm going to insert the CBD again after the flower. Next I'm going to insert the wire back to the flower, but do not insert a wire to the seabed underneath the flour. And then I'm going to twist the wire to secure the flower. So the first 6-bit will hold the flower from sliding down through the wire. Next, I'm going to wrap the wire again before I insert the next flower. If you see some gap, when you wrap the wire, you can gently push the warrior with your finger to make it tight. Next I'm going to insert the next bit. And then I'm going to insert a flower in darker shade. And then followed by the CBD again. Same thing again. I'm going to insert a wire back to the flower, but not to the first seed bead. And then you're going to twists and twists to secure the flower. Know, prefer your orange flowers. I'm going to insert my crop warrior through the back of the flower. Next I'm going to prepare my three millimeters Swarovski beat. The color is ra school. So after you insert the bead and then you're going to insert your wire to the flower again. And then I'm going to wrap the wire to the main wire. I will also include four millimeter Swarovski beats to my earrings. So I am going to insert the bit to the wire. Then after that, you're just going to twist a few times to secure a bit in place. I'm going to insert the CBD again. And then I'm going to insert my blue flower. And then I'm going to insert another CBD. And then same process again, we're going to insert a wire back to the flower. So here I stuck do flowers together to give it more texture. So I'm almost done with my earrings. If you want a longer earrings, definitely you can add more flowers. So to finish this area, I'm going to bend the n. And then I'm going to cut the wire and lead with their own player. I'm going to make a look. I'm going to attach a Swarovski crystal at the end of my earrings. Sowell insert my crystal to the jump brain. This is five millimeter jumping. And then you're going to insert a jumping to the loop and then make sure you close the ring tightly. Next you're going to prepare your fulfilled your hook. You are going to open the loop. And then you're going to insert your earrings to the loop. This is the final steps. I'm going to stiffen all the flowers with the fabric. So I'm going to dilute fabrics different era with a water and apply it onto the flower one by one and then let it dry. And this is how the earrings looks like. I hope you enjoyed this tutorial and don't forget to pause your creation here, our tag me on Instagram. If he decided to make one, I would like to see what you come up with. See you soon in my next video tutorial.
 Hanacrochetdesign Eva Widjaja, hanacrochetdesign