Crochet a Star in One Piece: A Quick and Cute Project
 Olga Bortniak, Crochet designer, dollmaker Olgamigurumi
Watch this class and thousands more
Watch this class and thousands more
Lessons in This Class
-
-
1.
Introducing Your Star Project and Materials
2:11
-
2.
Building the Star: the Foundation Circle
2:24
-
3.
Defining the Points of Your Star
2:49
-
4.
Creating Height for a Puffy Star
1:31
-
5.
Finishing the Star Points
2:25
-
6.
Stuffing and Finishing Touches
3:10
-
-
- --
- Beginner level
- Intermediate level
- Advanced level
- All levels
Community Generated
The level is determined by a majority opinion of students who have reviewed this class. The teacher's recommendation is shown until at least 5 student responses are collected.
145
Students
10
Projects
About This Class
This class will guide you step by step to crochet a charming, puffy star in one piece. Whether you’re looking for a fun decoration, a thoughtful handmade gift, or a new skill to add to your crochet repertoire, this quick and cute project is perfect. You’ll learn foundational crochet techniques as well as creative methods for shaping and finishing a three-dimensional star.
Who is the class for?
This class is designed for beginners who have a basic understanding of crochet (e.g., making a magic ring and basic stitches) but is also suitable for more experienced crocheters who want to explore a fast and rewarding project. No advanced skills are required—just your enthusiasm to learn!
Why is this class useful?
Versatility: The crochet star can be used as a garland, ornament, keychain, baby mobile, or gift topper, making it a versatile addition to your crafting skills.
Skill-Building: You’ll master techniques like crocheting in a spiral, shaping 3D forms, and seamless assembly—all of which can be applied to other crochet projects.
Creative Fun: This project is a relaxing and creative activity that can be completed in just an hour—or even less—making it perfect for busy schedules or last-minute gifts.
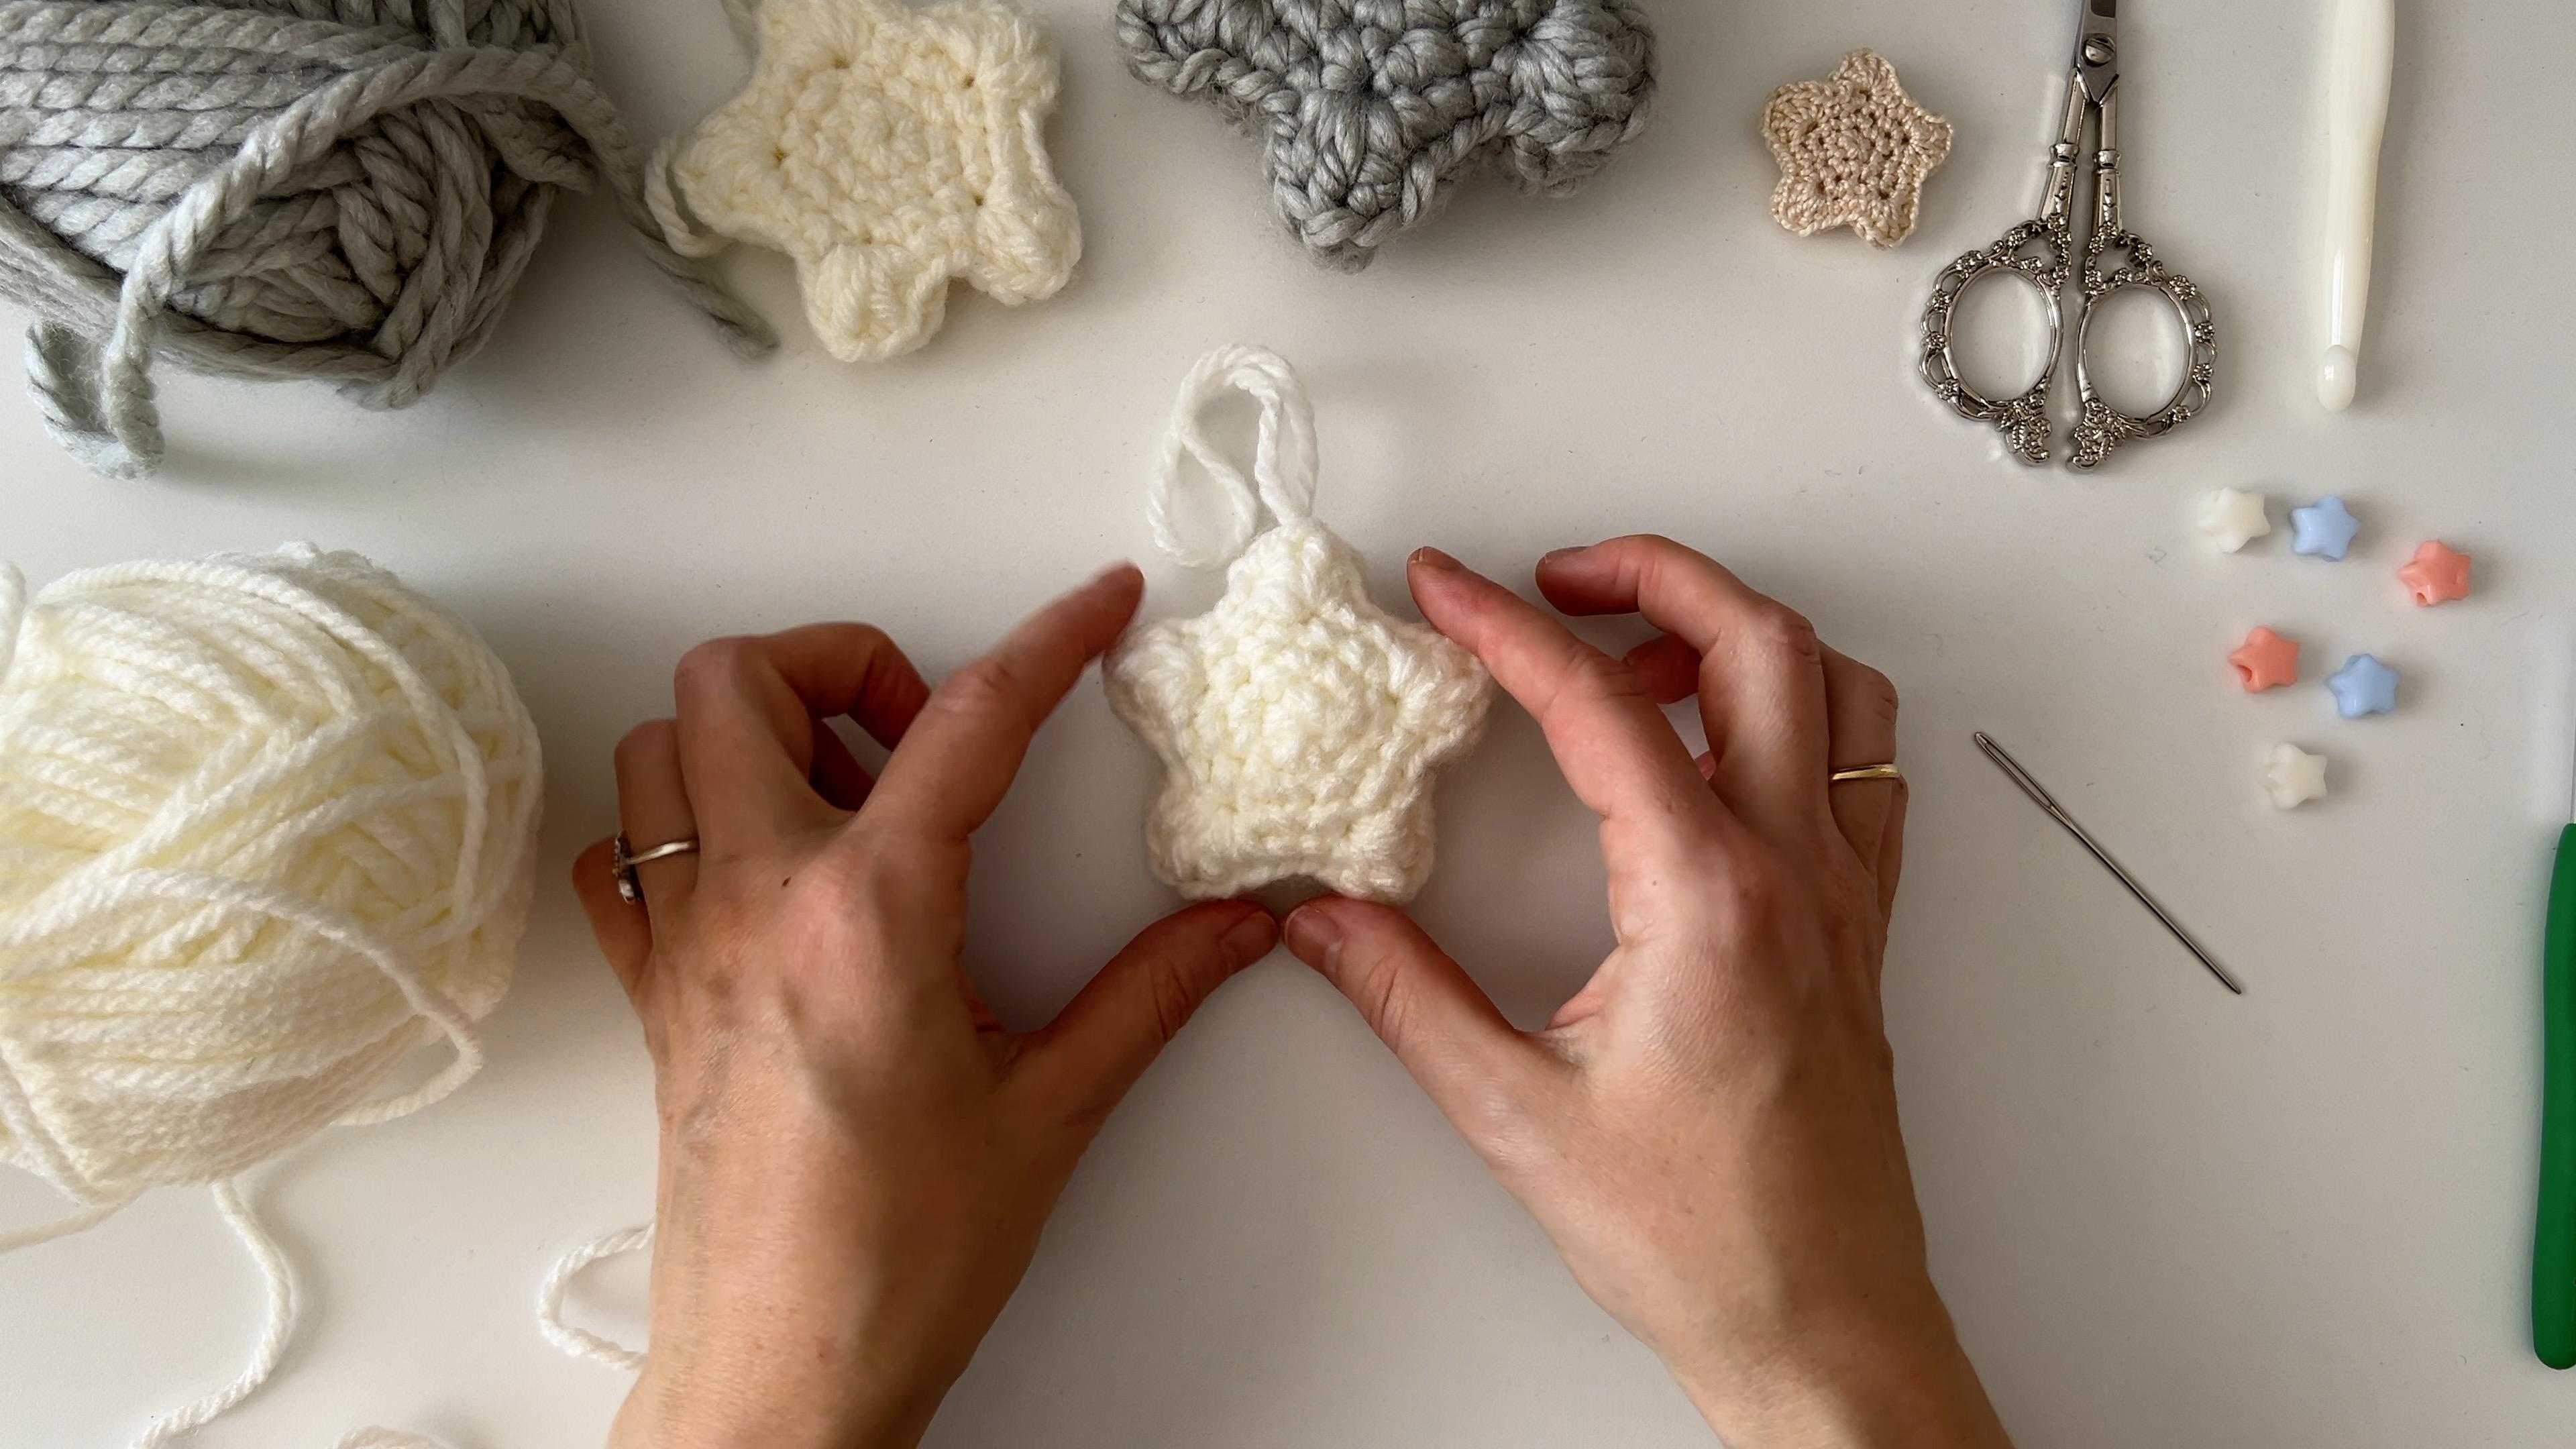
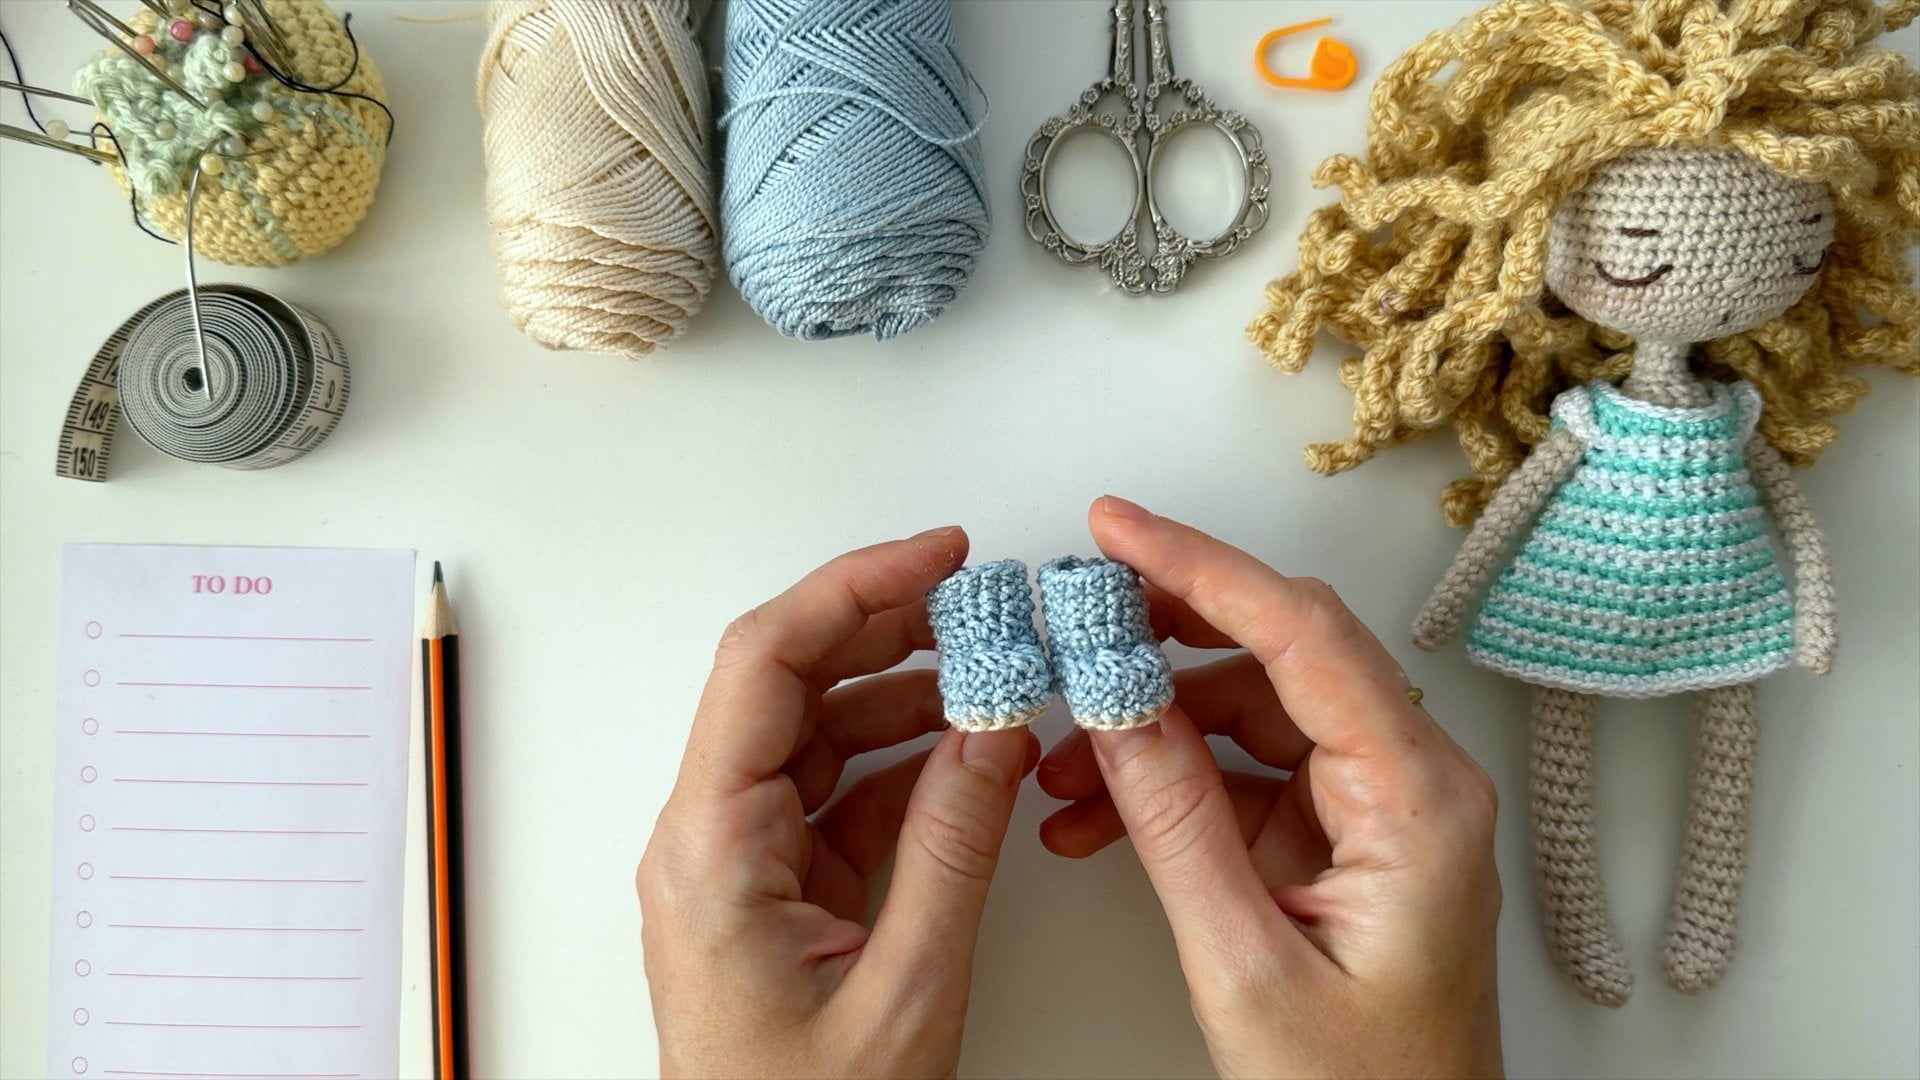
Materials Required:
- Yarn of your choice (this class uses thicker yarn for a better demonstration and a bold, puffy look).
- A suitable crochet hook for your yarn. I recommend using a hook slightly smaller than the one indicated on the yarn label. For this class, I use a 5.5 mm crochet hook.
- Fiberfill for stuffing.
- Scissors and a yarn needle.
- If you're a beginner, I recommend using stitch markers to mark the start of each round.
This project combines creativity with practicality, giving you a skill you can use to make beautiful, functional items for any occasion. By the end of the class, you’ll have a completed crochet star and the skills to make more in any size and color you like!
Let’s start creating together!
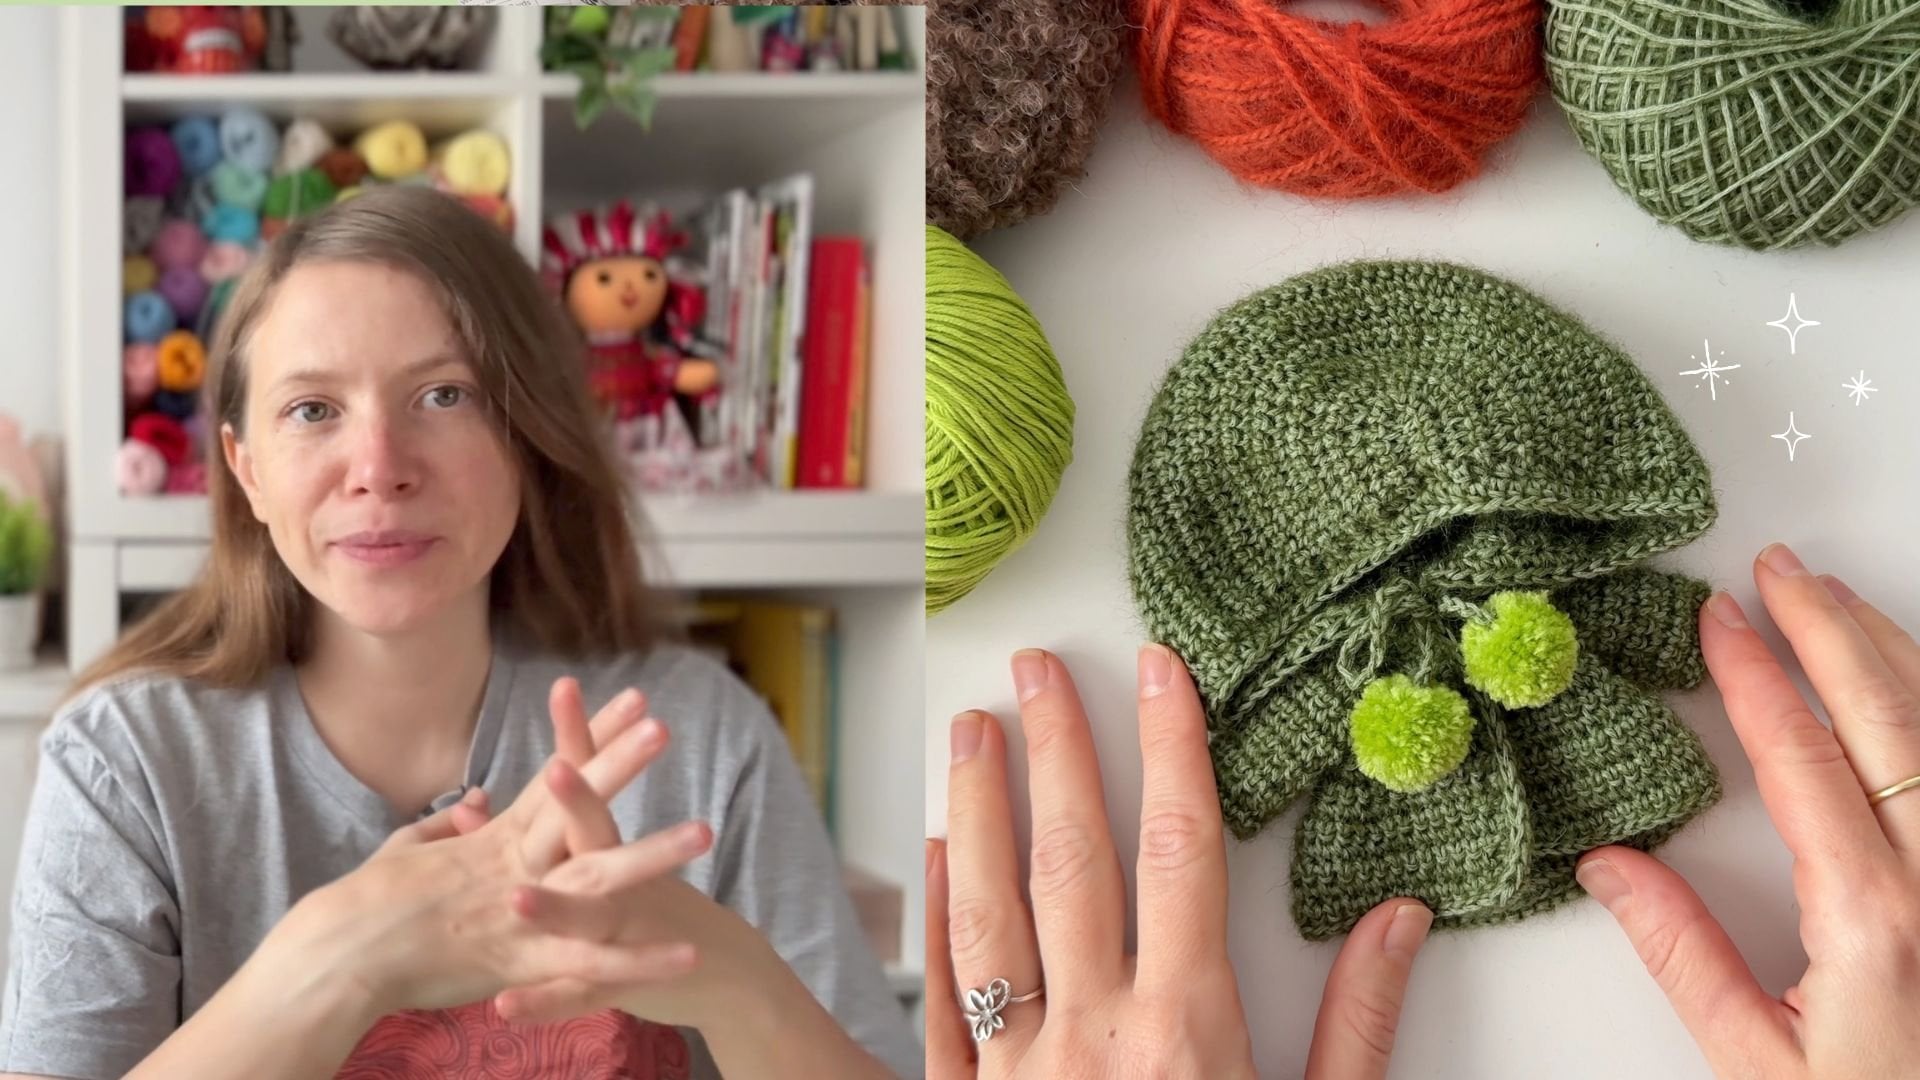
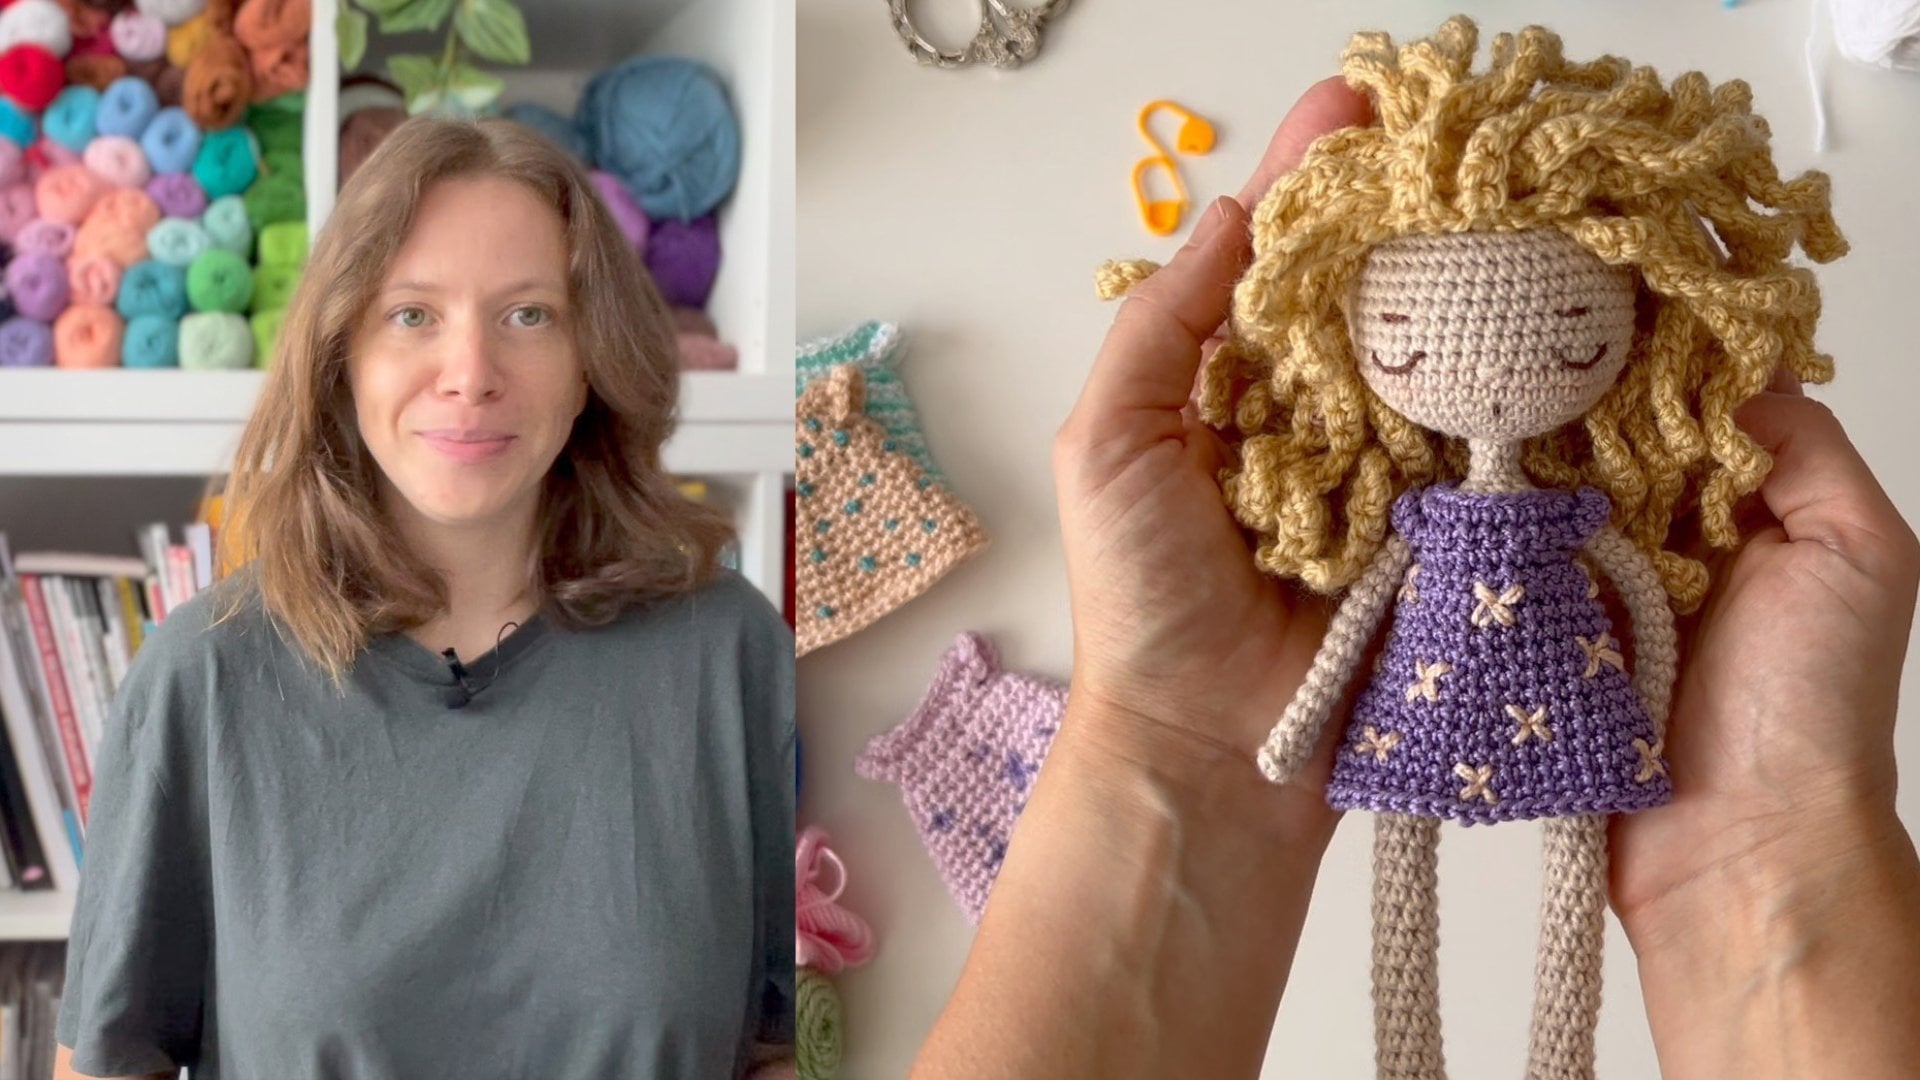
Meet Your Teacher

Hi! My name is Olga. I'm a crochet designer and a dollmaker.
I make dolls for sale, offer premium and free crochet patterns, share video tutorials on Youtube and Instagram. Also I love to draw and colour!
I can't live without learning and I would like to share my knowledge with you!
You Can Find Me on:
My Youtube Channel
My Etsy Shop
My TikTok
My Facebook
See full profileHands-on Class Project
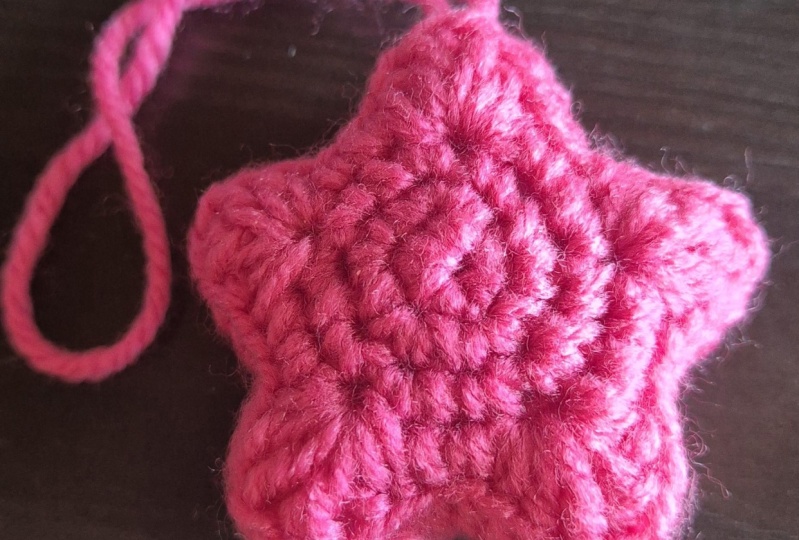
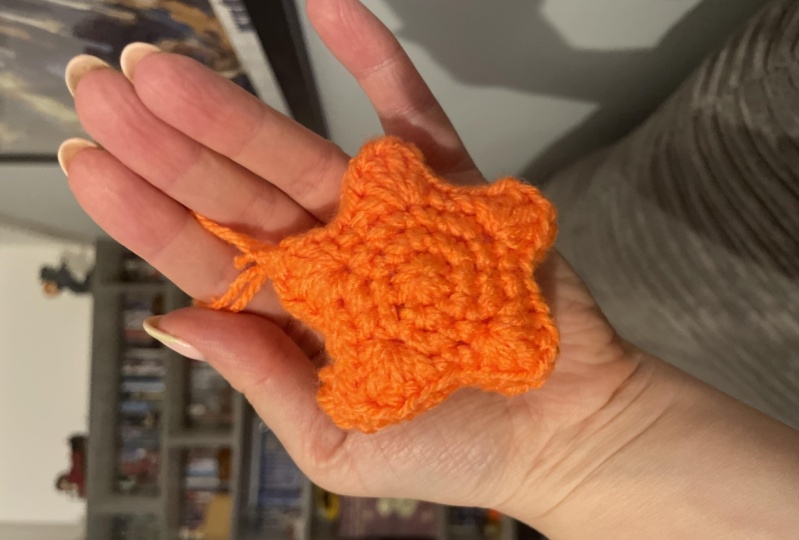
Crochet your very own puffy star in one piece!
This quick and rewarding project is perfect for adding a personal touch to your home décor, creating handmade gifts, or simply enjoying a relaxing crochet session. By the end of this project, you’ll have a beautiful 3D star that’s ready to display, gift, or customize further.
If you´re a beginner, please watch my class Crochet Stitches for Beginners: Make a Cute Flower's Bracelet
Steps to Complete the Project
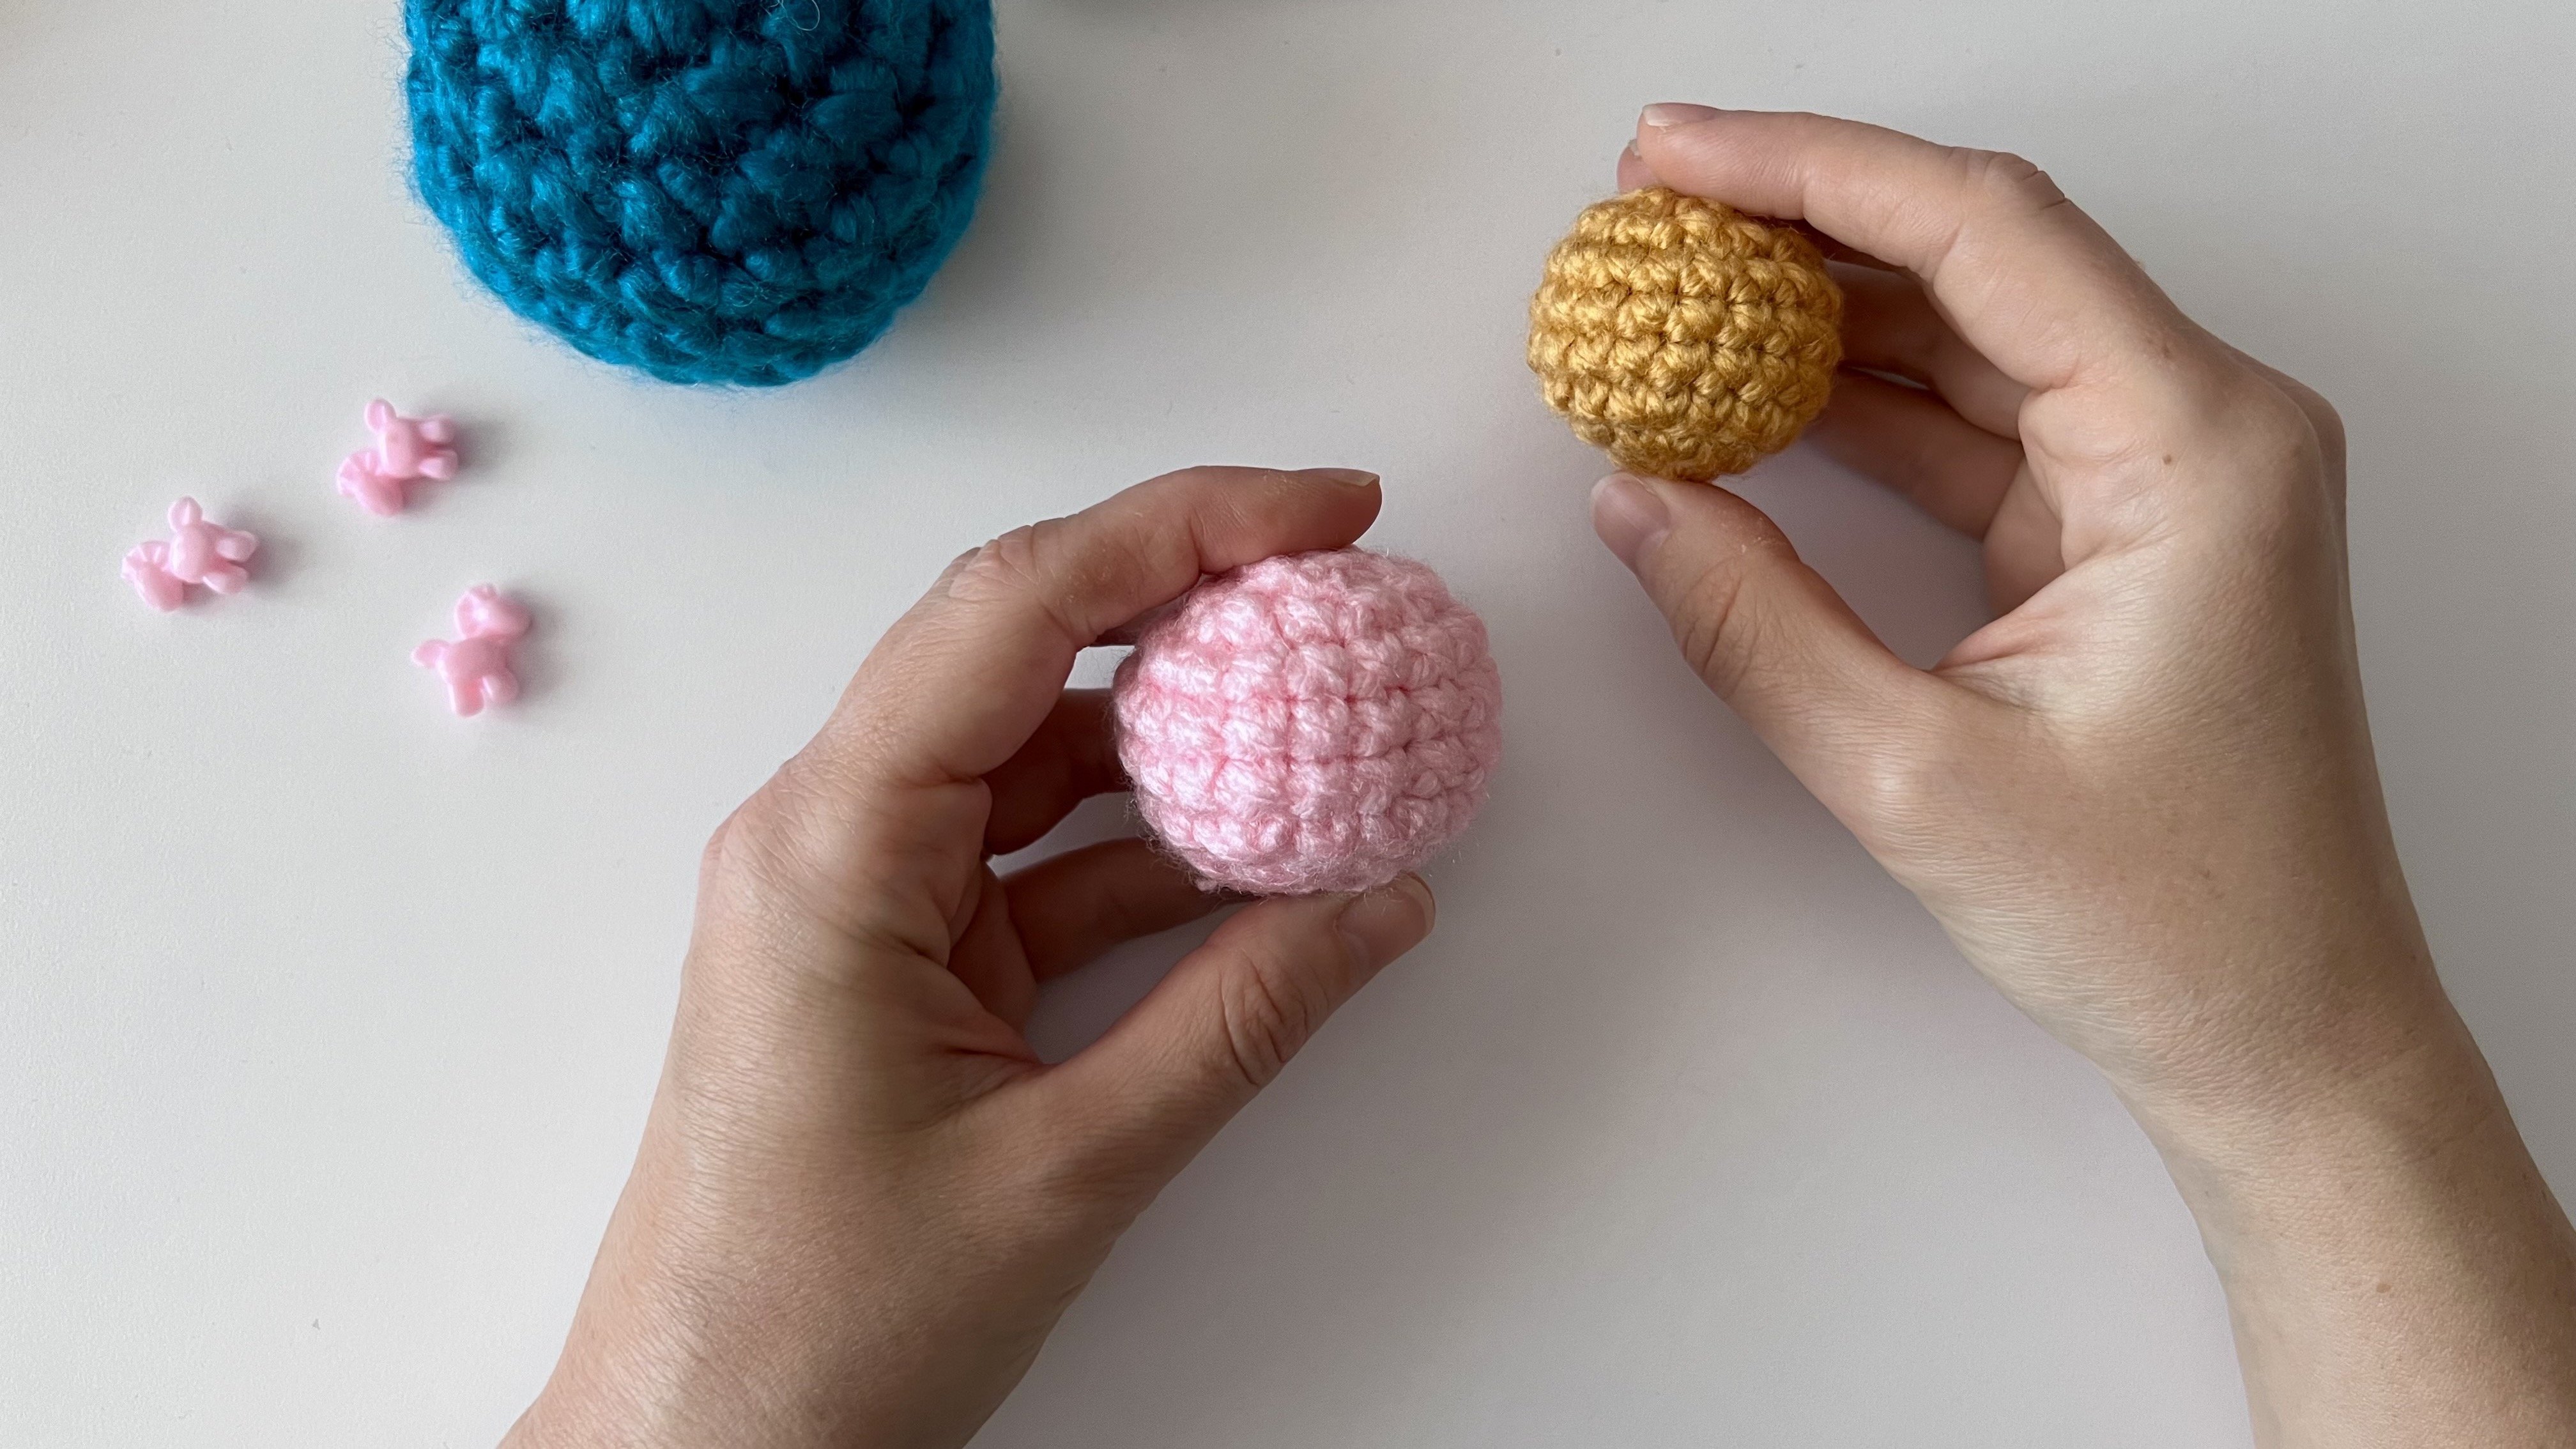
- Prepare the Materials
Gather your yarn, crochet hook, fiberfill, and other tools. - Start with a Circle
I’ll show you how to crochet a magic ring and work in a spiral to create the base of your star. - Shape the Points
Follow the detailed steps to form the five points of your star—this is where the magic happens! - Add Height to Your Star
Work an additional round to give your star dimension and puffiness. - Close the Points
Crochet the back part of the points, using a variety of stitches to close them together seamlessly. - Stuff and Close the Star
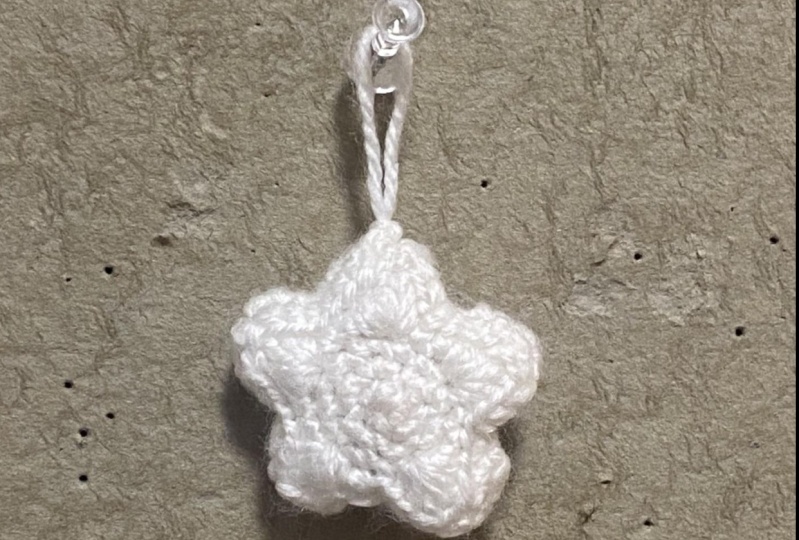
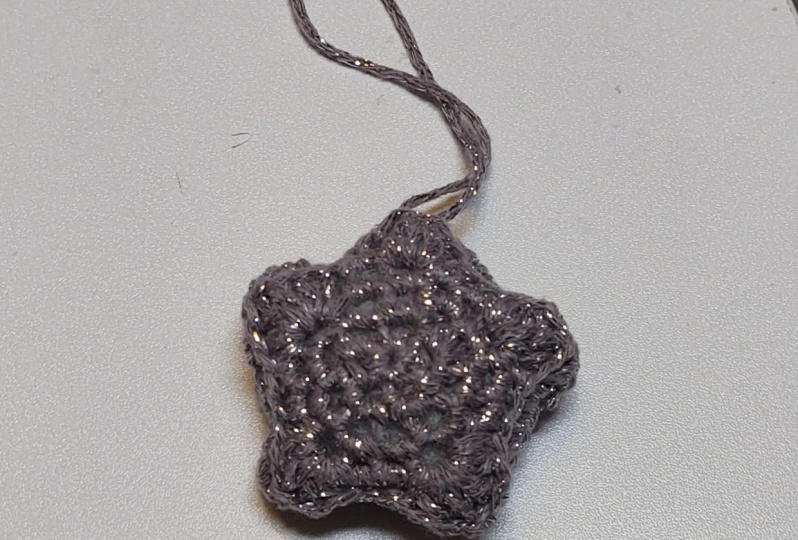
Carefully stuff your star with fiberfill and finish by closing the circle with decreases. - Weave in the Ends and Add a Loop
Finish your star by weaving in all loose ends and optionally adding a loop to hang it as a decoration.
Benefits of Completing the Project:
- Skill Development: You’ll gain confidence in shaping and assembling 3D crochet projects.
- Versatility: Use your finished star as a garland, ornament, keychain, or baby mobile.
- Creative Satisfaction: Enjoy the relaxing process of creating something beautiful and unique.
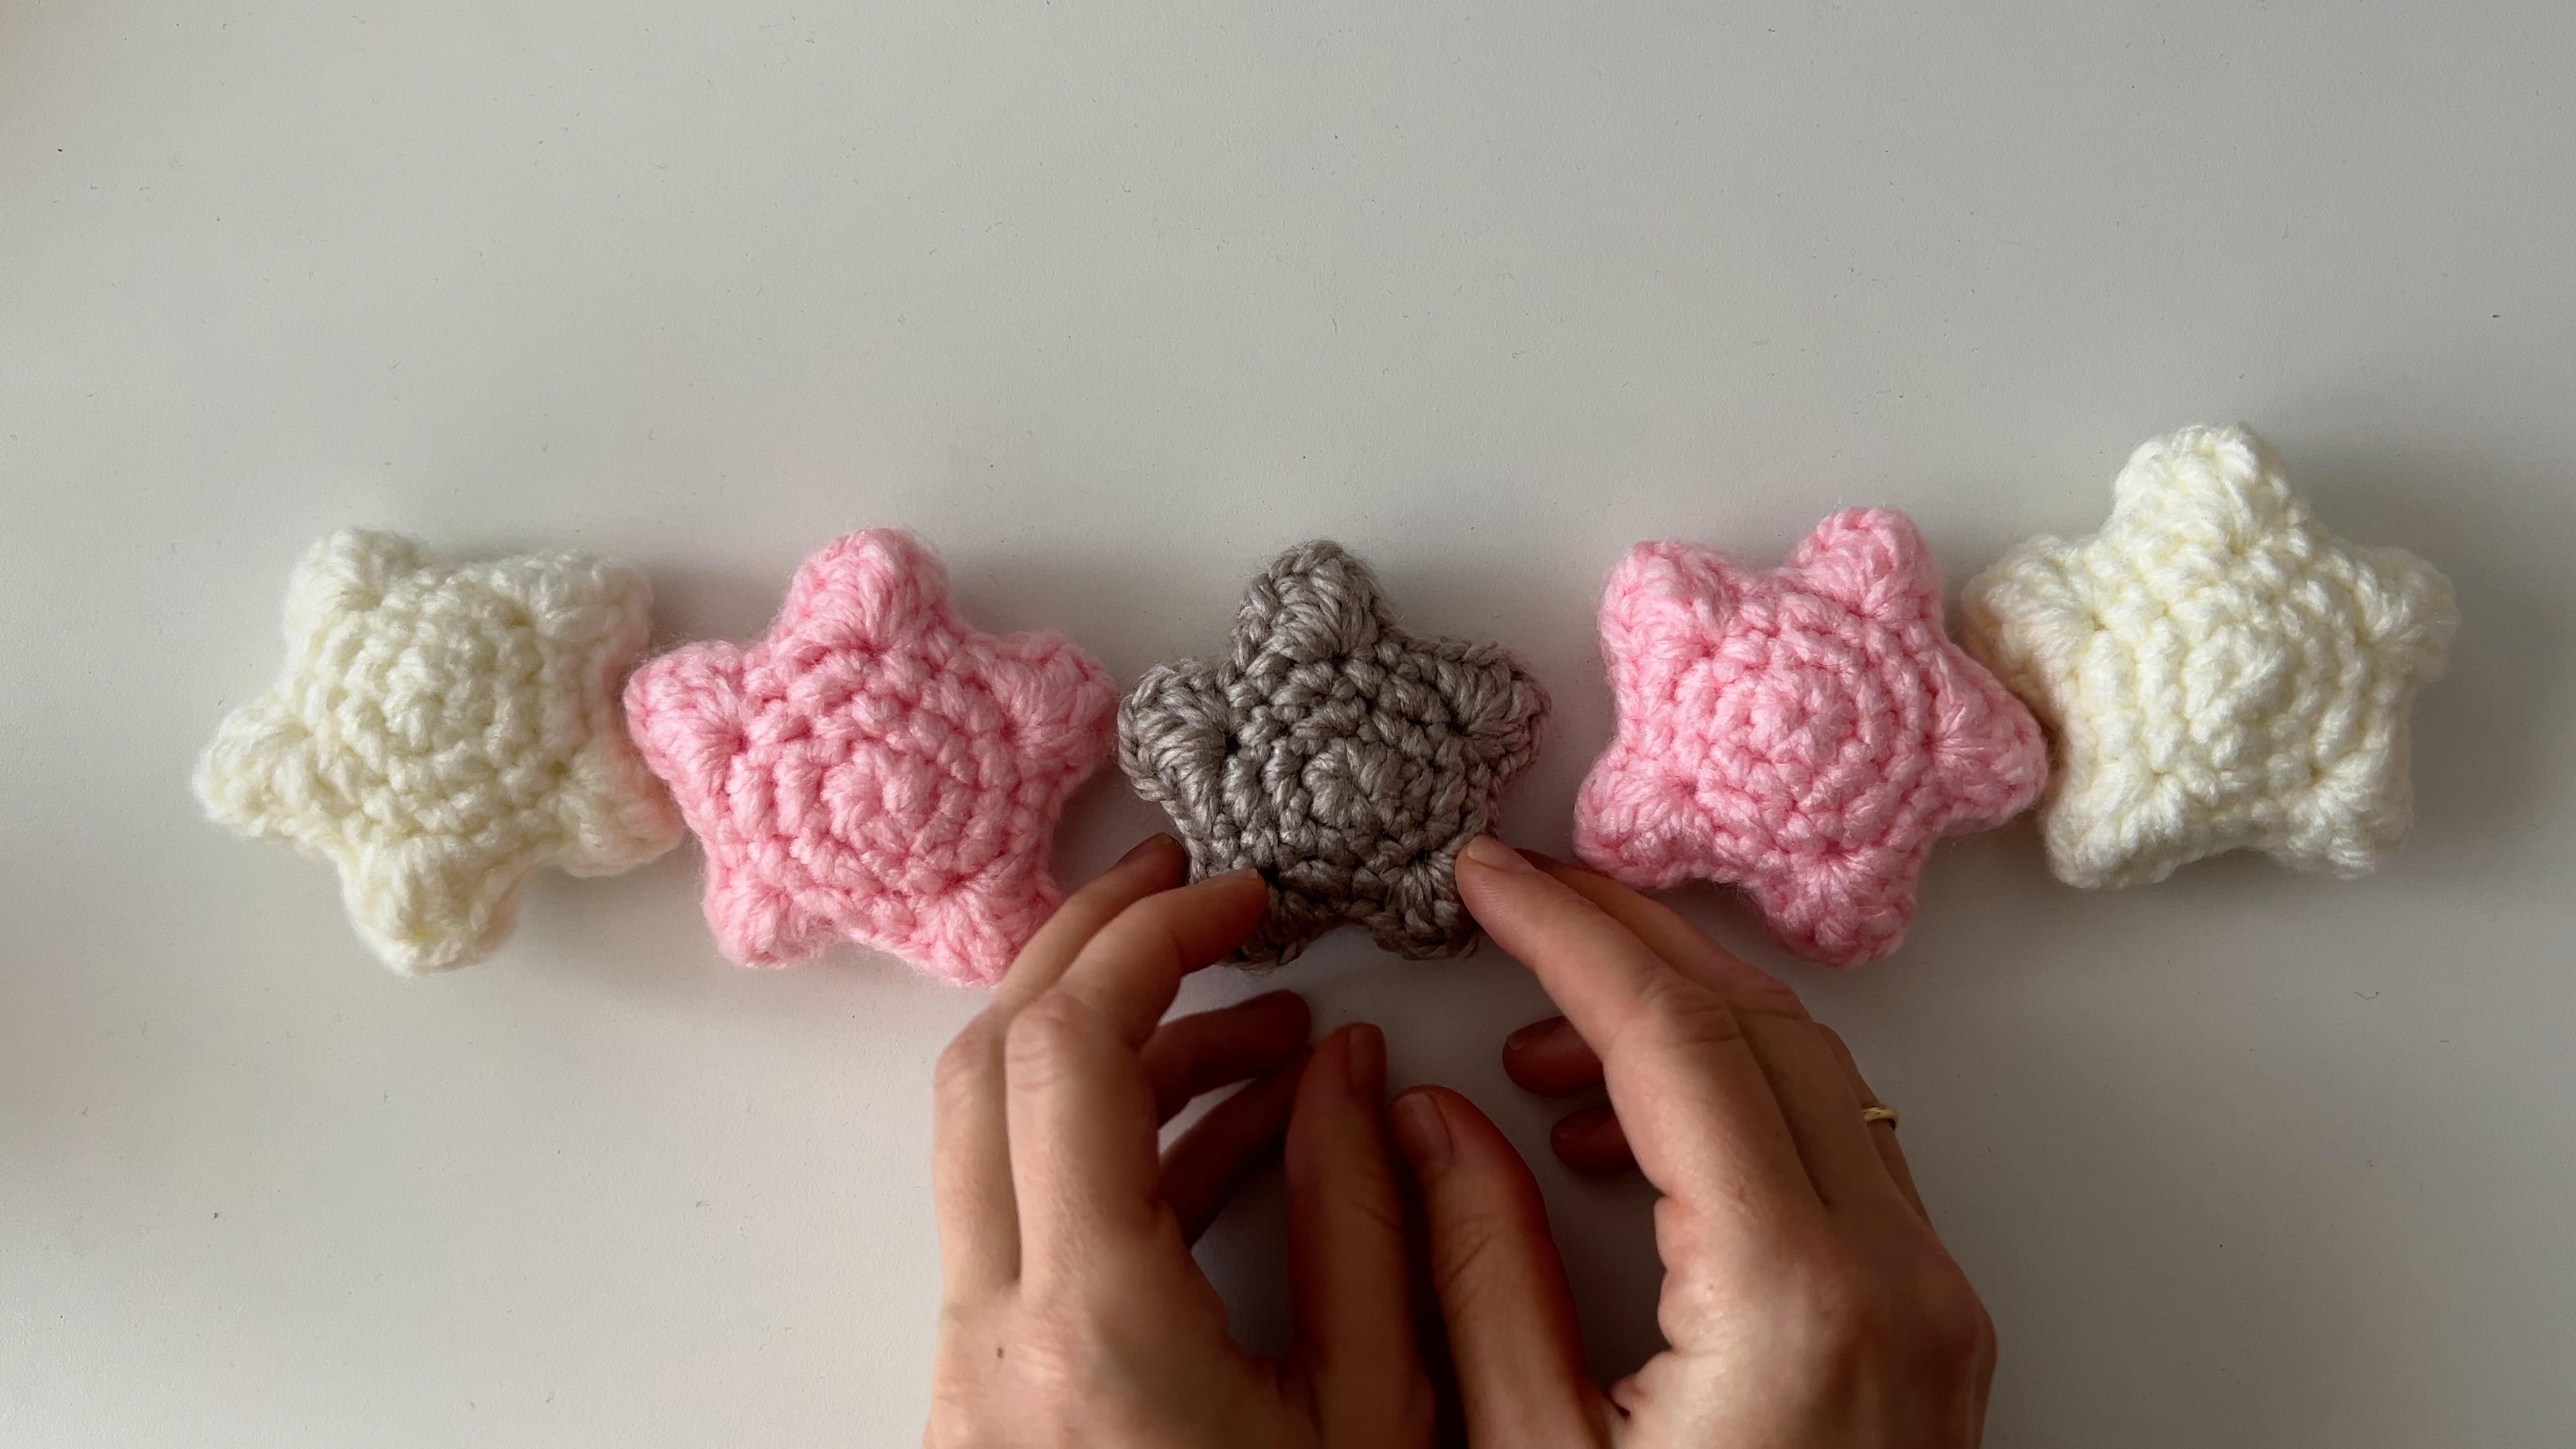
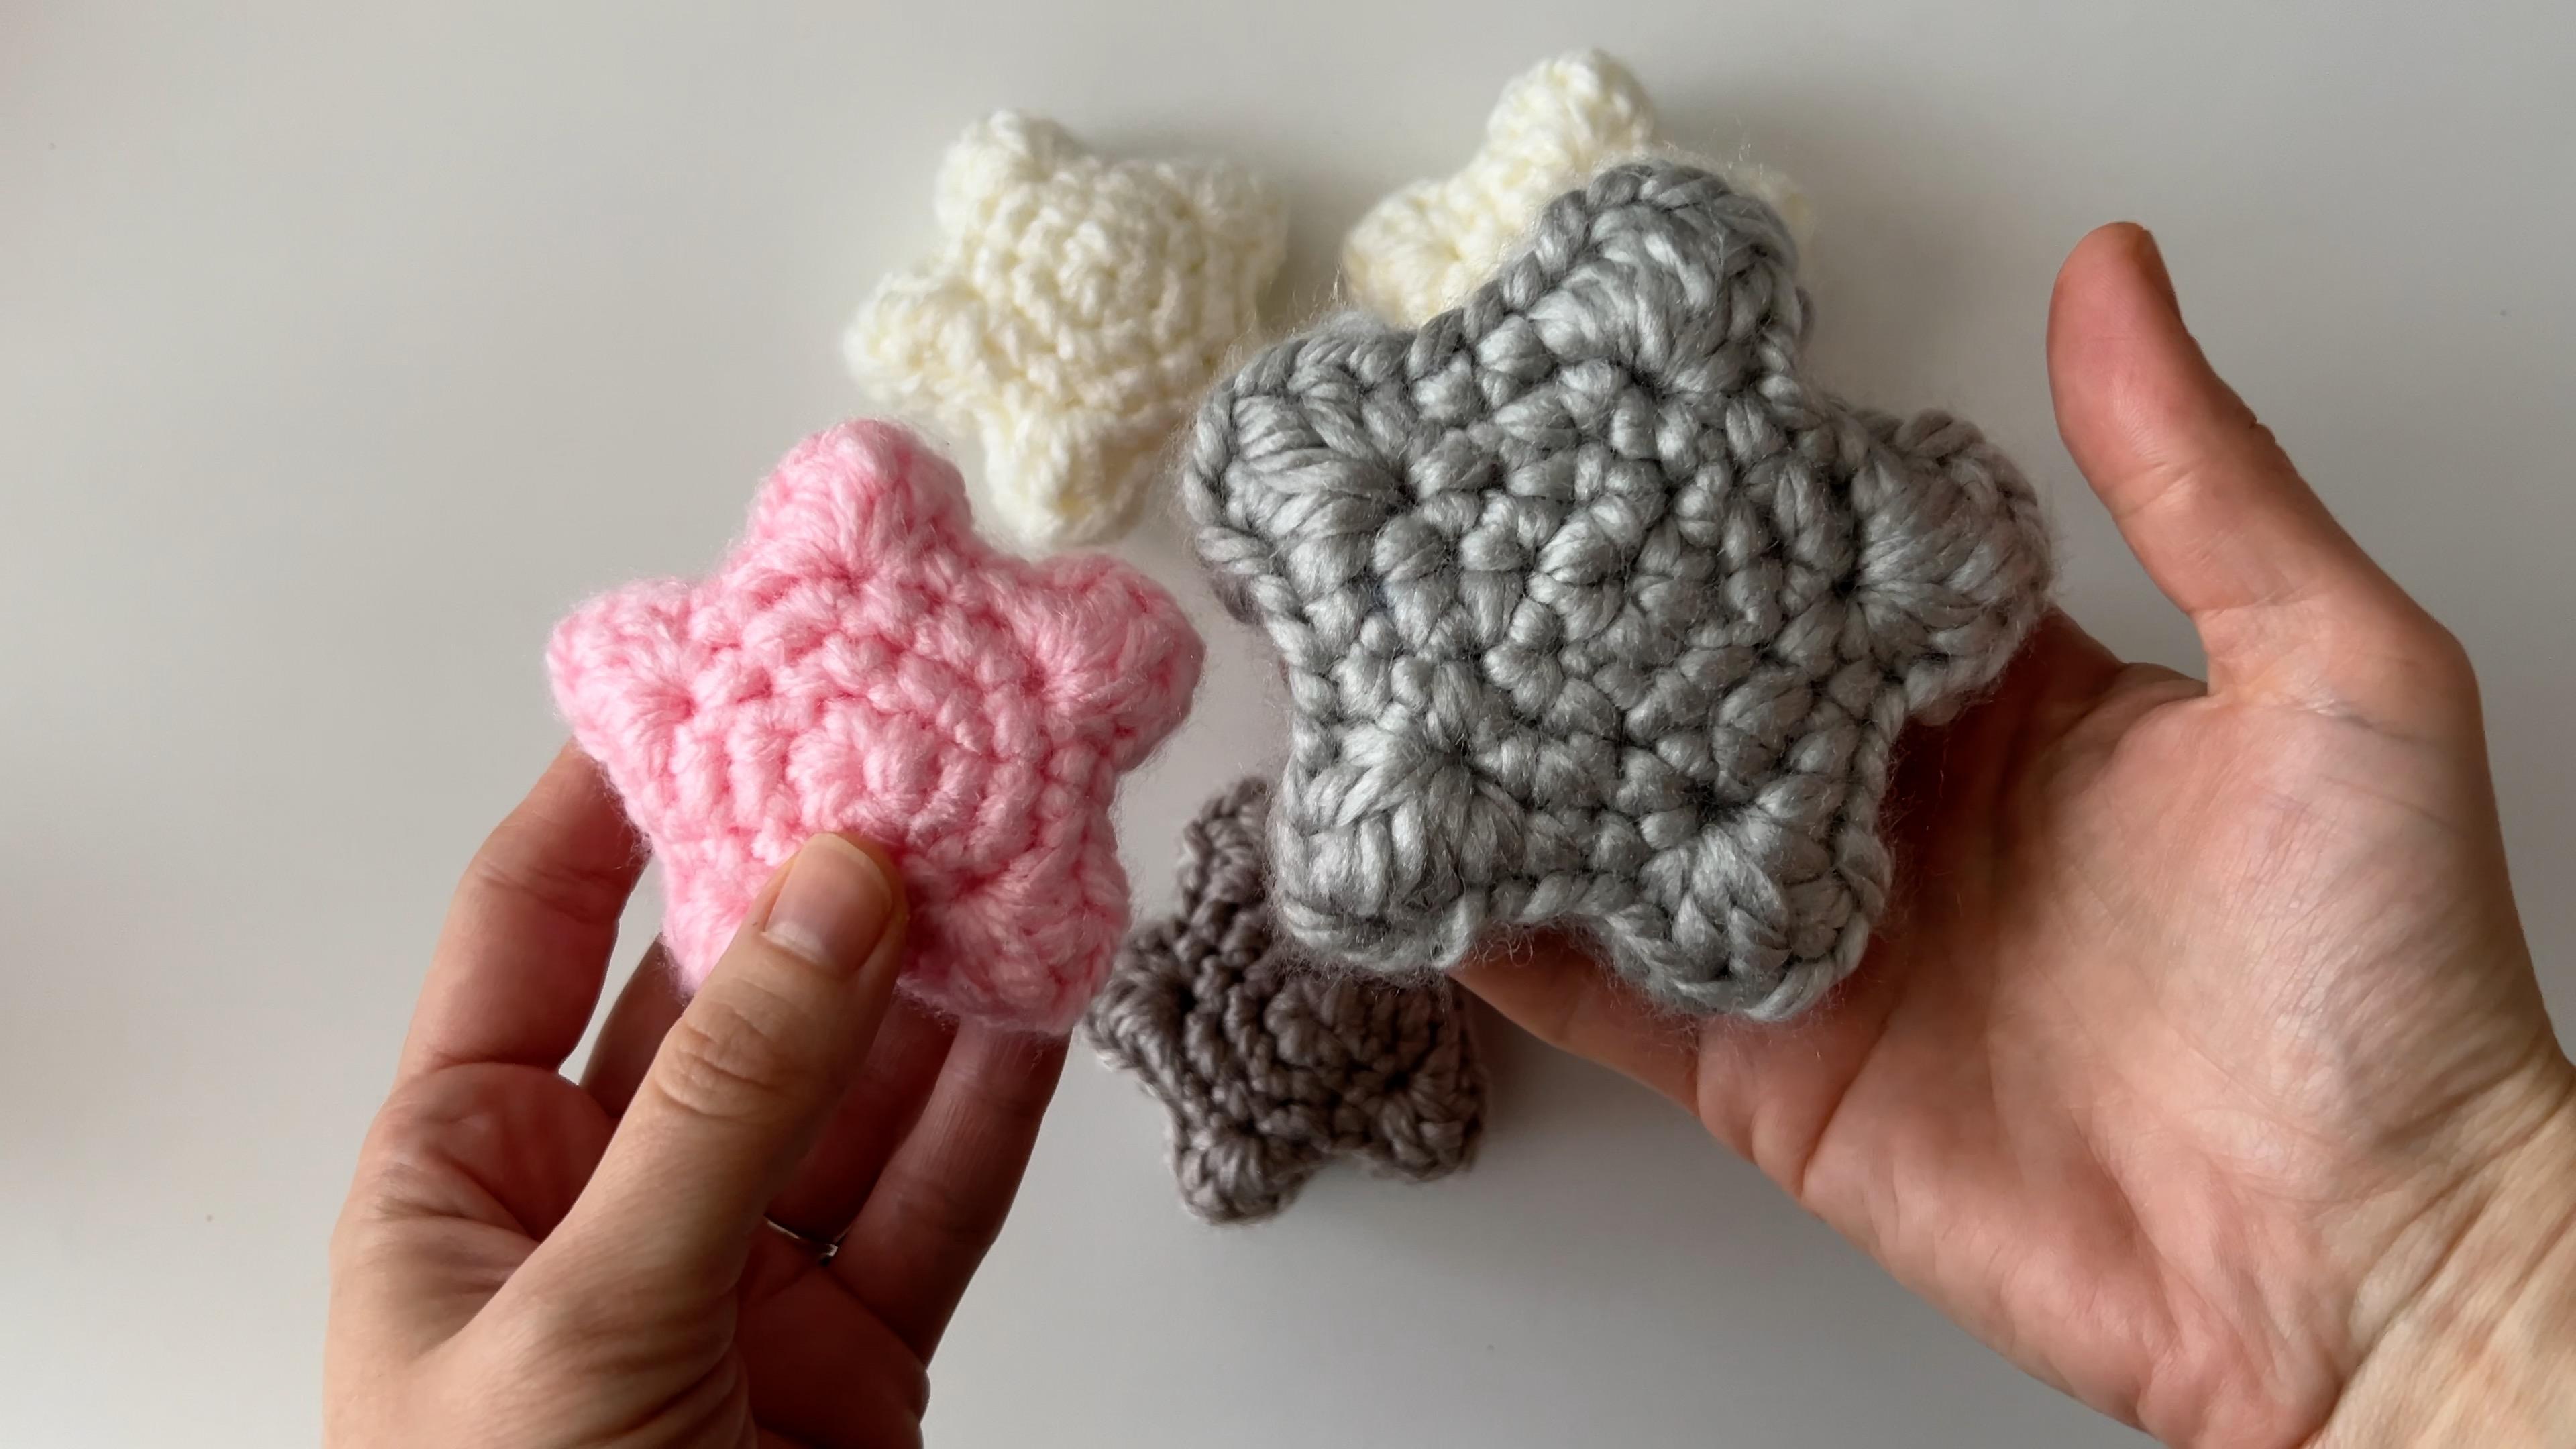
The Finished Project
Your completed star will be soft, puffy, and perfectly shaped, customized to the size and color you choose. You can make just one or create an entire collection in different sizes for a variety of uses.
Don’t forget to share your project in the class project gallery! Seeing your creations will inspire others and let us celebrate your progress together. Let’s get started and bring your crochet star to life!
Class Ratings
Why Join Skillshare?
Take award-winning Skillshare Original Classes
Each class has short lessons, hands-on projects
Your membership supports Skillshare teachers
Learn From Anywhere
Take classes on the go with the Skillshare app. Stream or download to watch on the plane, the subway, or wherever you learn best.