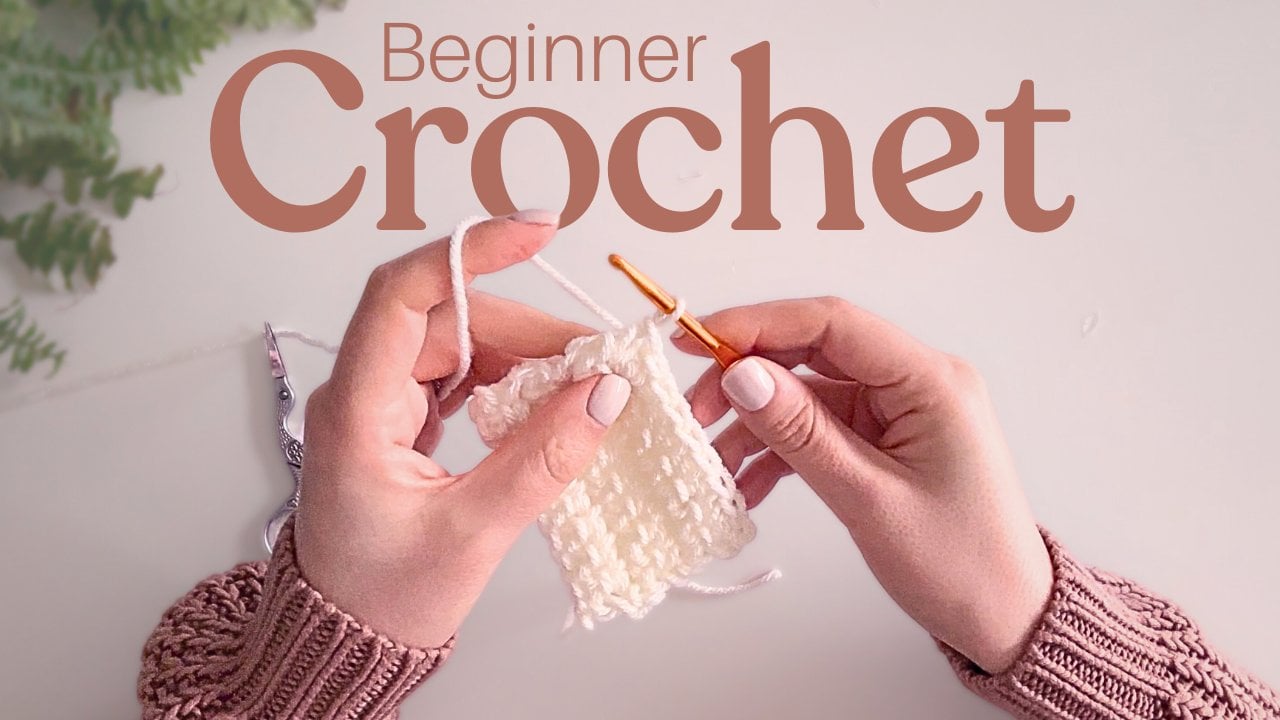
Crochet a Mesh Cotton Cardigan: Lightweight Wardrobe Essential
 Cat Kemble, Crochet Educator
Watch this class and thousands more
Watch this class and thousands more
Lessons in This Class
-
-
1.
Introduction
1:18
-
2.
Back Panel
5:56
-
3.
Front Panels
3:30
-
4.
Sewing panels at the shoulder
0:58
-
5.
Making the arms
5:51
-
6.
The cuffs
5:37
-
7.
Sewing up the sides
0:30
-
8.
Button band and collar
6:35
-
-
- --
- Beginner level
- Intermediate level
- Advanced level
- All levels
Community Generated
The level is determined by a majority opinion of students who have reviewed this class. The teacher's recommendation is shown until at least 5 student responses are collected.
26
Students
--
Projects
About This Class
Learn to crochet a gorgeous, lightweight mesh cotton cardigan that's perfect for both warm or cold weather and great for layering. In this step-by-step class, I'll guide you through creating a wearable garment using a simple two-row repeat that works up quickly and looks stunning. Whether you're crocheting your first cardigan or adding to your handmade wardrobe, you'll finish this class with a piece you'll reach for all year long.
What You'll Learn
In this class, you'll master:
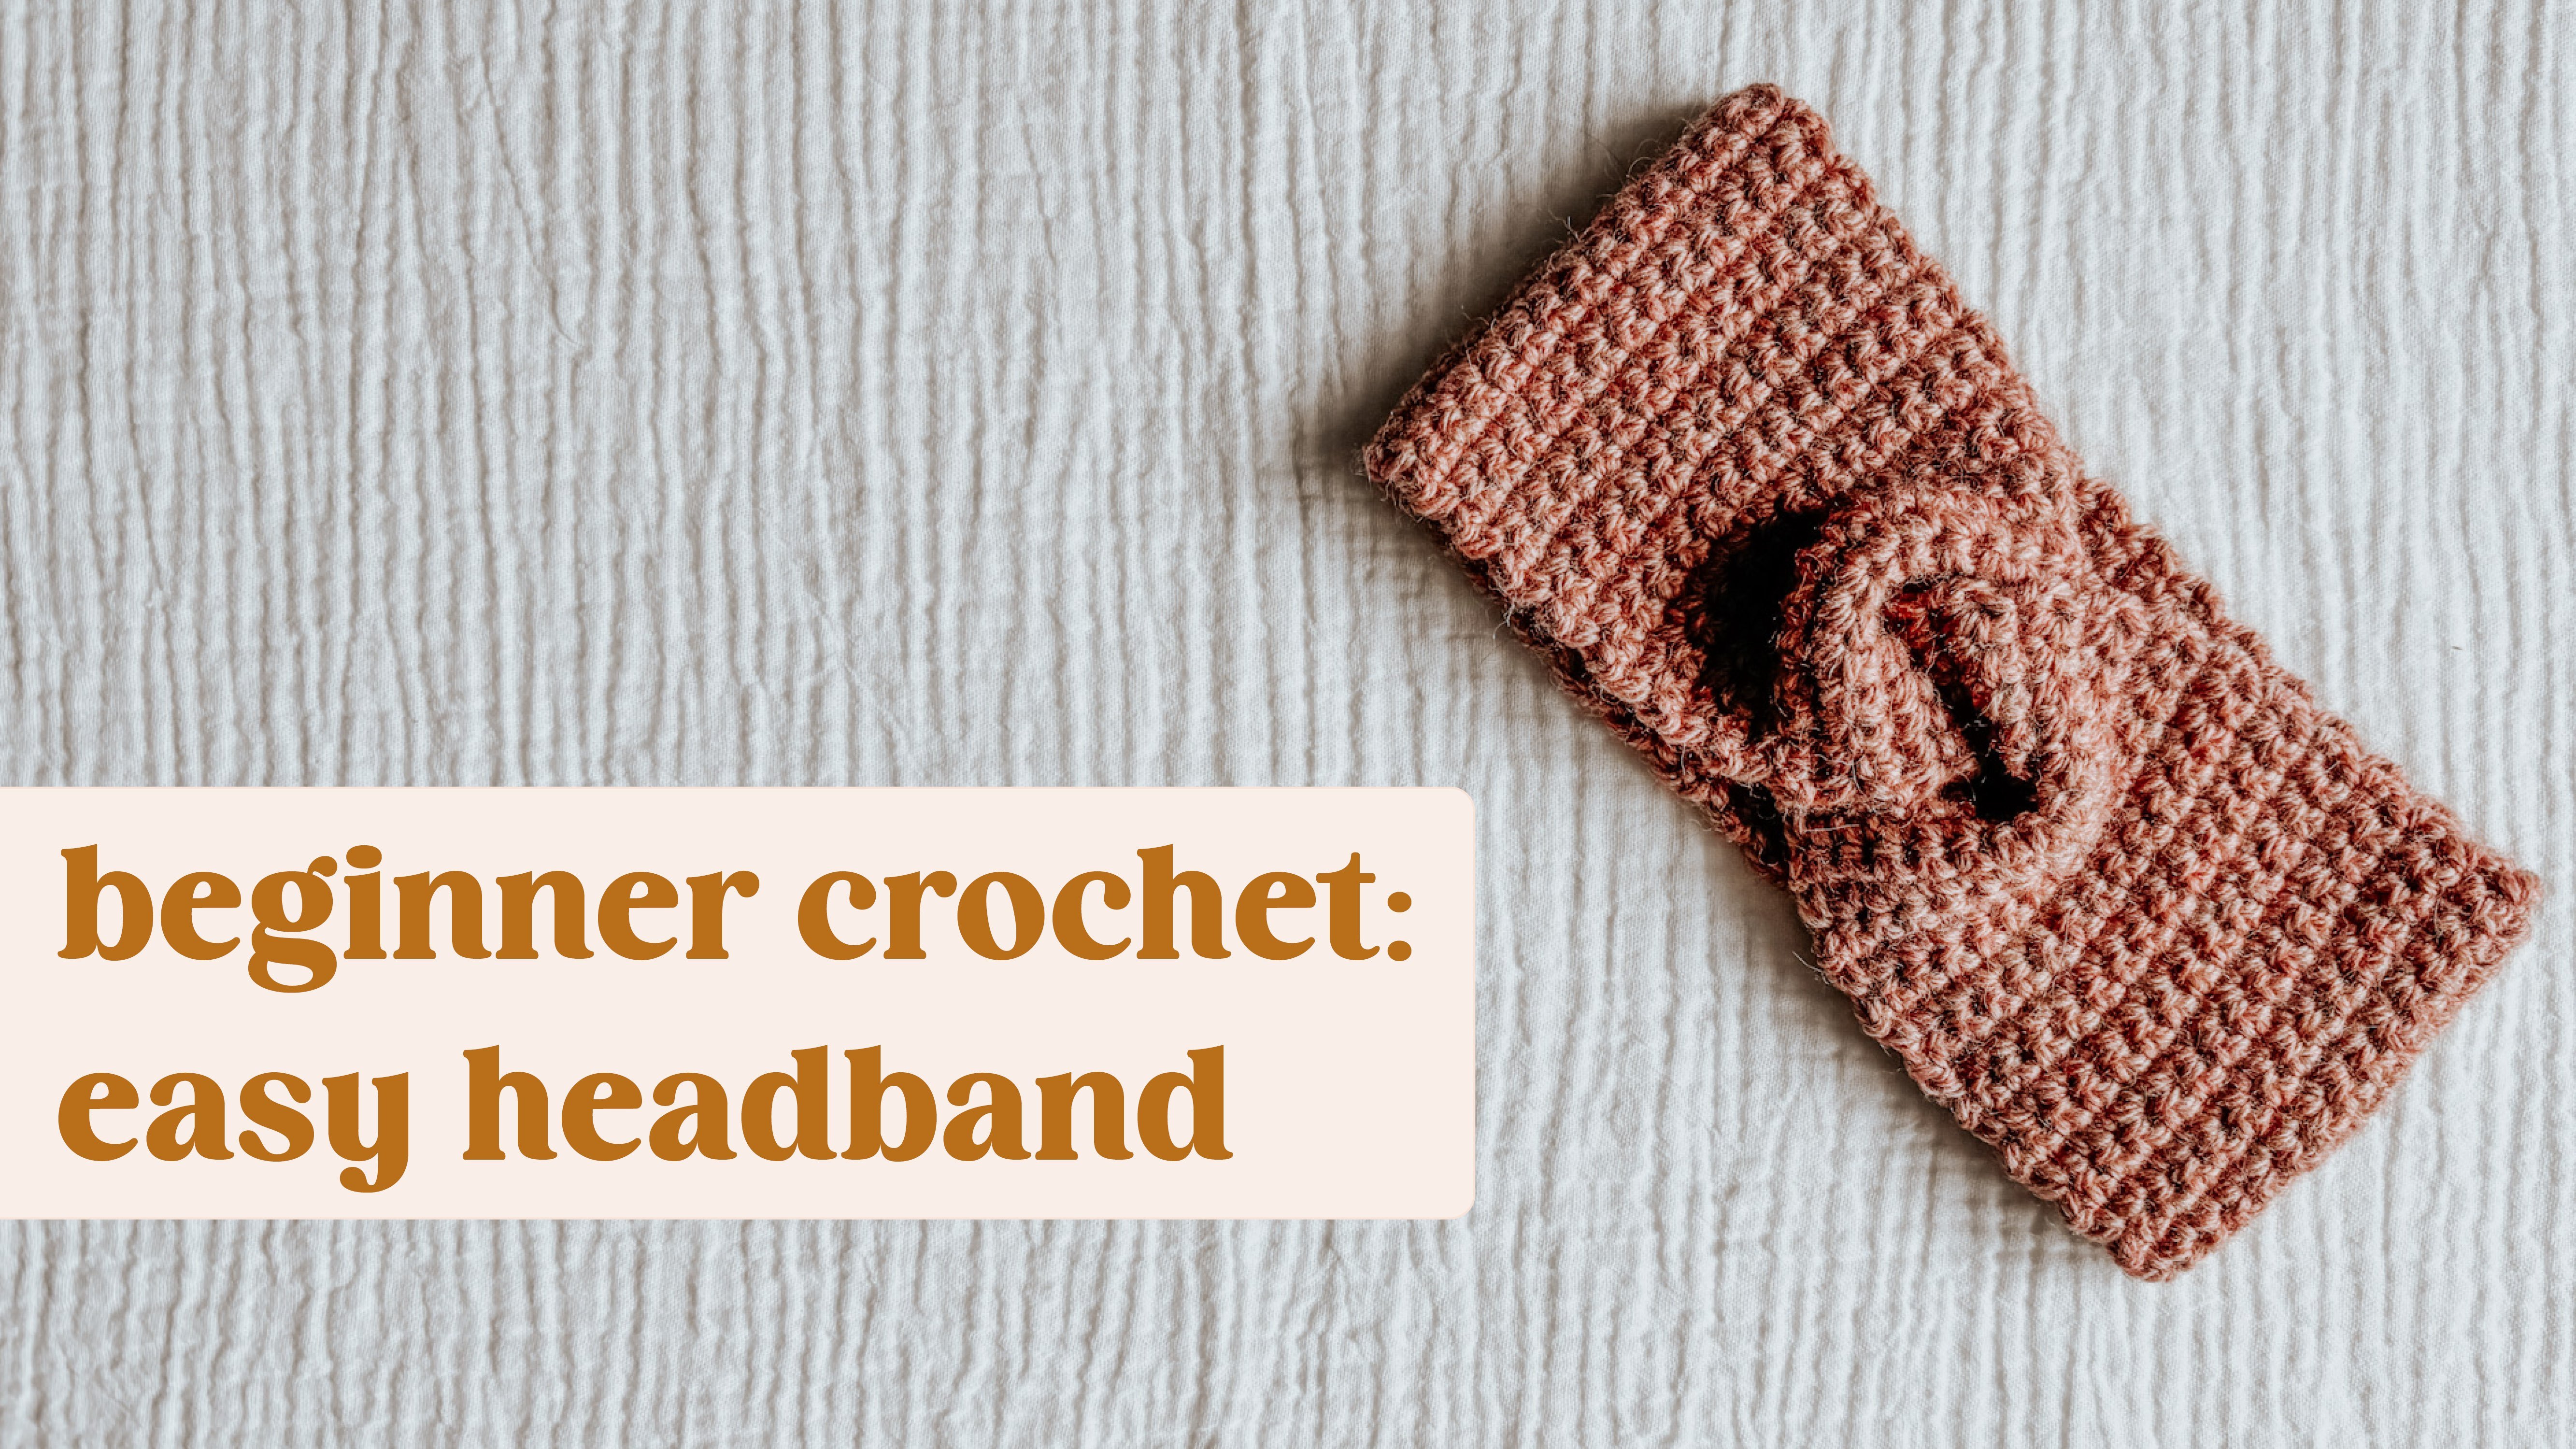
- Front-loop-only single crochet for textured waistbands that hold their shape
- Mesh stitch technique using a two-row repeat for airy, breathable fabric
- Shaping necklines and sleeves to create professional-looking garment construction
- Tunisian crochet cuffs (no long hook required!) for polished finishing touches
- Mattress stitch seaming to invisibly join panels for a seamless look
- Creating buttonholes and button bands that lie flat and function beautifully
Why Take This Class?
I've been designing crochet patterns for years, and this cardigan is one of my absolute favorites. It looks intricate, but it's built on simple techniques that confident beginners can absolutely master. The mesh stitch creates stunning drape without being too hot for summer, and because it's made in cotton, it's breathable and perfect for layering.
What I love about this project is that it teaches you real garment construction skills you can apply to countless other projects. You're not just following steps you're learning how waistbands are structured, how sleeves are shaped, and how professional-looking finishes are achieved. Plus, there's something incredibly rewarding about wearing something you made from scratch that actually gets compliments!
The pattern uses a straightforward two-row repeat, which means once you've got the rhythm, it works up faster than you'd expect. Perfect for when you want to make something impressive without spending months on a single project.
Who This Class Is For
This class is designed for confident beginners to intermediate crocheters who:
- Know basic crochet stitches (chain, single crochet, double crochet)
- Are ready to tackle their first wearable garment or want to expand their garment-making skills
- Want to learn professional finishing techniques like seaming and button bands
- Are interested in creating handmade clothing that looks polished and wearable
You don't need to have experience with Tunisian crochet because I'll teach you a beginner-friendly version that doesn't require any special equipment. If you can crochet a chain and work a double crochet, you're ready for this class.
What You'll Make
Your class project is to create your own mesh cotton cardigan following along with each lesson. You'll build it step by step: back panel, front panels, sleeves, cuffs, assembly, and finishing.
Feel free to customise your cardigan by:
- Choosing your favorite cotton yarn colour
- Adjusting sleeve length to your preference
- Sizing the body panels to fit your measurements
When you've finished (or if you're working on it and want to share your progress), upload photos to the project gallery! I'd love to see your colour choices, and I always leave feedback on student projects.
Materials You'll Need
I've included a complete materials list and pattern links in the Resources section, but here's what you'll need:
- Yarn: 12 balls of worsted weight cotton (I use Yarn & Colors Epic in Ecru)
- Crochet hooks: 4mm and 5mm hooks
- Notions: Yarn needle, stitch markers, 5 buttons (10mm)
- Pattern: Available from my website or Etsy (linked in Resources)
Don't feel locked into my exact materials, any cotton or cotton-blend yarn in a similar weight will work beautifully. The technique is what matters!
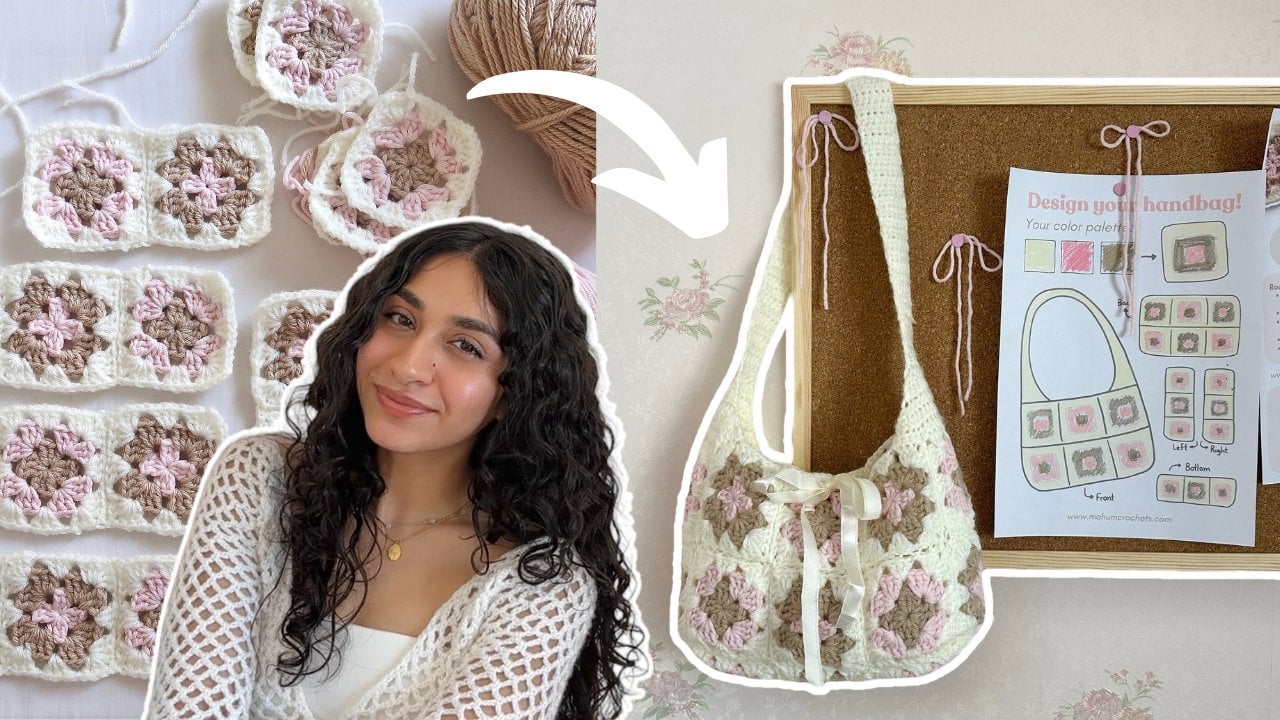
About Me
Hi, I'm Cat Kemble! I'm a crochet designer and educator who's passionate about helping people create beautiful, wearable pieces they'll actually use. I focus on teaching techniques that give you professional-looking results without unnecessary complexity.
I believe crochet should be relaxing, rewarding, and accessible, and that anyone can learn to make garments they're proud to wear. I can't wait to see what you create in this class!
Meet Your Teacher

Hi, I'm Cat! I'm a crochet designer and content creator from England, and I love helping people discover the joy of crochet. Whether you're a total beginner or looking to sharpen your skills, my classes will guide you through the process with clear instructions, helpful tips, and plenty of encouragement.
I create modern, easy-to-follow patterns and tutorials that make crochet fun and accessible for everyone. From mastering the basics to tackling more intricate stitches, I'll help you build your confidence and create something you're proud of.
So, grab your yarn and hook, pop the kettle on, and let's get crocheting!
Let's stay in touch:
Follow me on Instagram to what see my current projects I'm working on You can also find my patterns on my website or E... See full profileHands-on Class Project
Create your own lightweight mesh cotton cardigan and share it in the project gallery!
Follow along with each lesson to build your cardigan from start to finish. You'll work through seven key stages: the back panel, front panels, sleeves, cuffs, assembly, and finishing with the button band and collar.
What to Upload
Share photos of:
- Your finished cardigan (styled or laid flat)
- Work-in-progress shots showing different stages
- Detail photos of techniques you're proud of (cuffs, button band, mesh stitch texture)
Make It Your Own
While I'm teaching with Ecru cotton yarn, feel free to customise:
- Colour Choice: Pick any colour that makes you happy! Neutrals are classic, but a bold colour or variegated yarn would be stunning.
- Sleeve Length: You can adjust to three-quarter length or short sleeves by working fewer rounds.
- Fit Adjustments: The pattern is flexible. Add or remove rows from the panels to customise the fit.
- Button Style: Choose buttons that reflect your style. Wooden for boho, brass for vintage, modern minimalist, or fun statement buttons.
Tips for Success
- Take your time with tension in the mesh stitch. Consistent tension makes all the difference in how the fabric drapes
- Block your finished cardigan for the most professional look
- Don't stress about perfection! Handmade items have character, and small variations add to their charm
- Share your process! The crochet community is incredibly supportive, and you'll inspire others with your progress
Share Your Work
Upload your project to the gallery and include:
- What yarn and hook size you used
- Any modifications you made
- What you learned or found challenging
- How you styled it or plan to wear it
I personally review every project submission and love giving feedback! Plus, sharing your work helps inspire other students and builds our class community.
Good luck, I cant wait to see your work!
Class Ratings
Why Join Skillshare?
Take award-winning Skillshare Original Classes
Each class has short lessons, hands-on projects
Your membership supports Skillshare teachers
Learn From Anywhere
Take classes on the go with the Skillshare app. Stream or download to watch on the plane, the subway, or wherever you learn best.