Transcripts
1. Intro: Crochet is a wonderful
way to relax. And if you can create
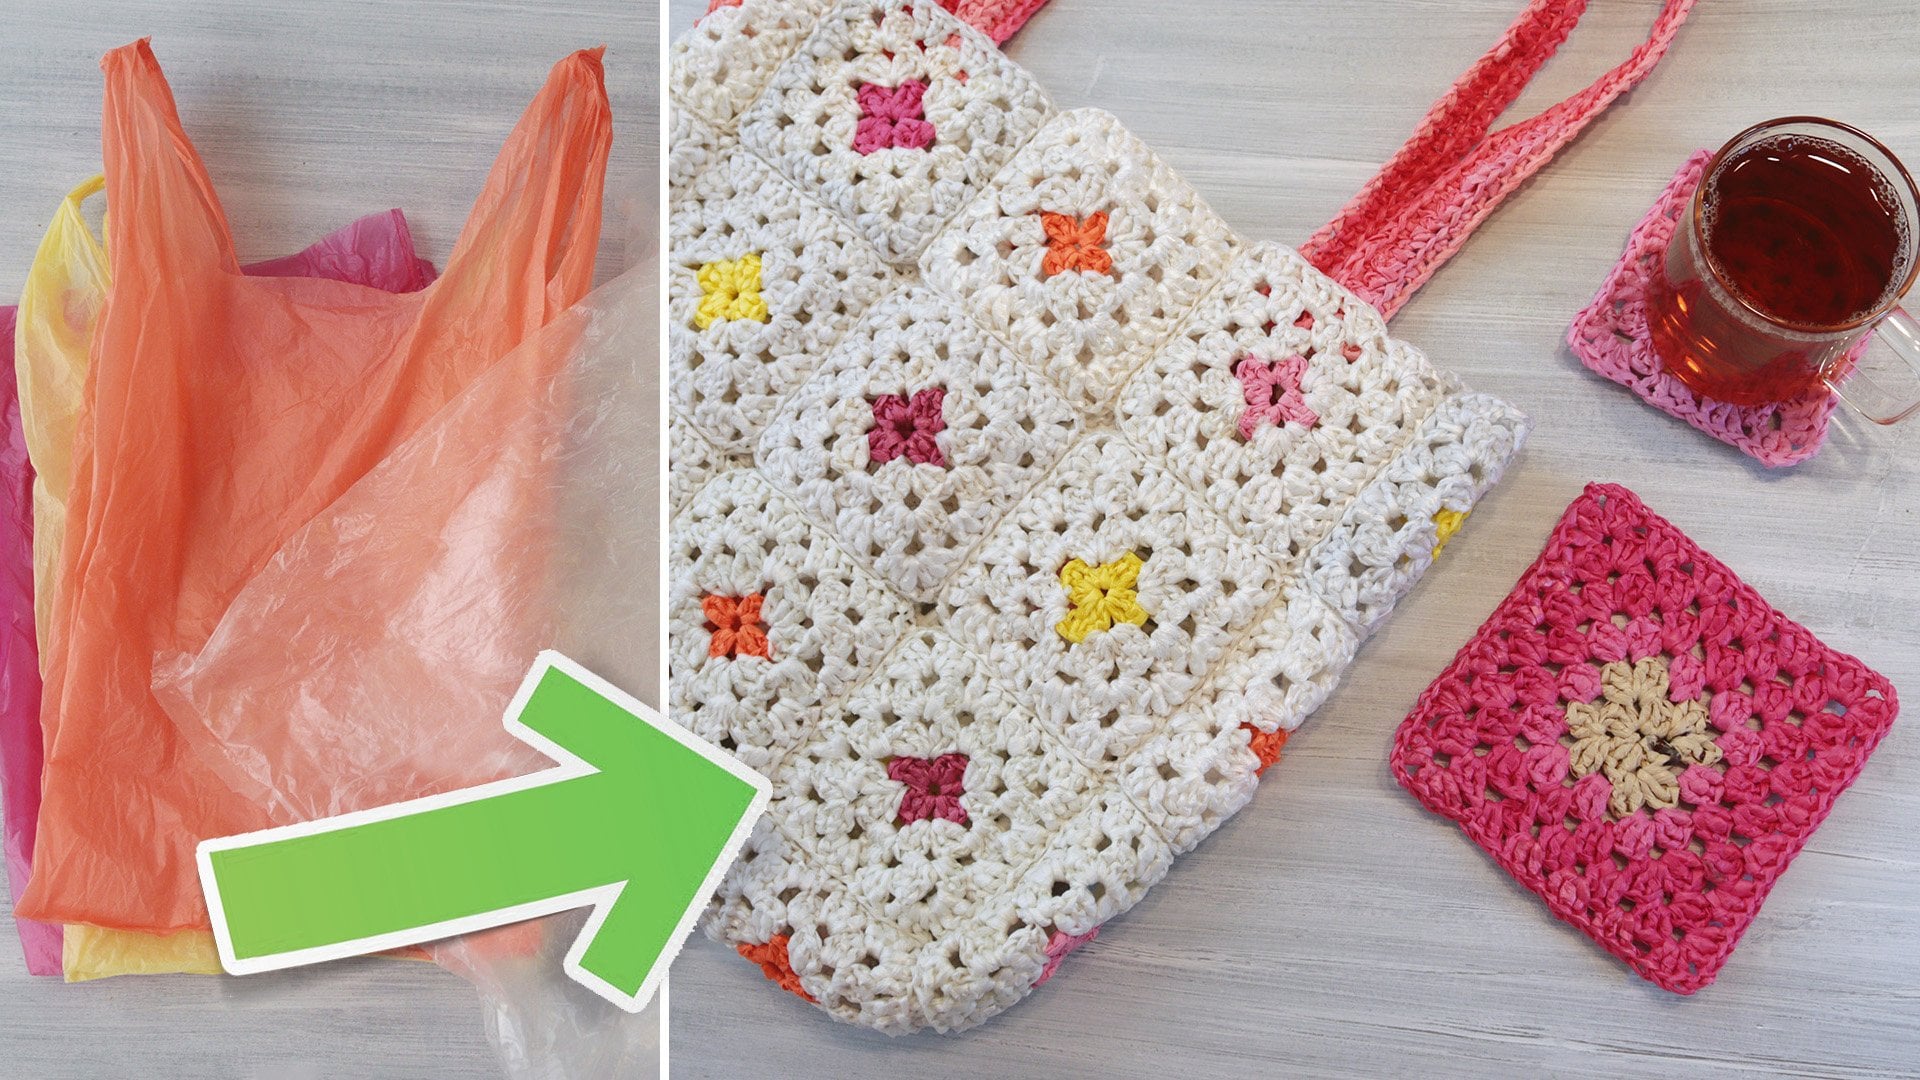
beautiful pieces and reuse trash,
it's even better. That's why I love to
crochet with plastic bags. Hi, I'm Naama. I'm a graphic
designer and artist. In this class, I
will show you how to transform simple plastic bags
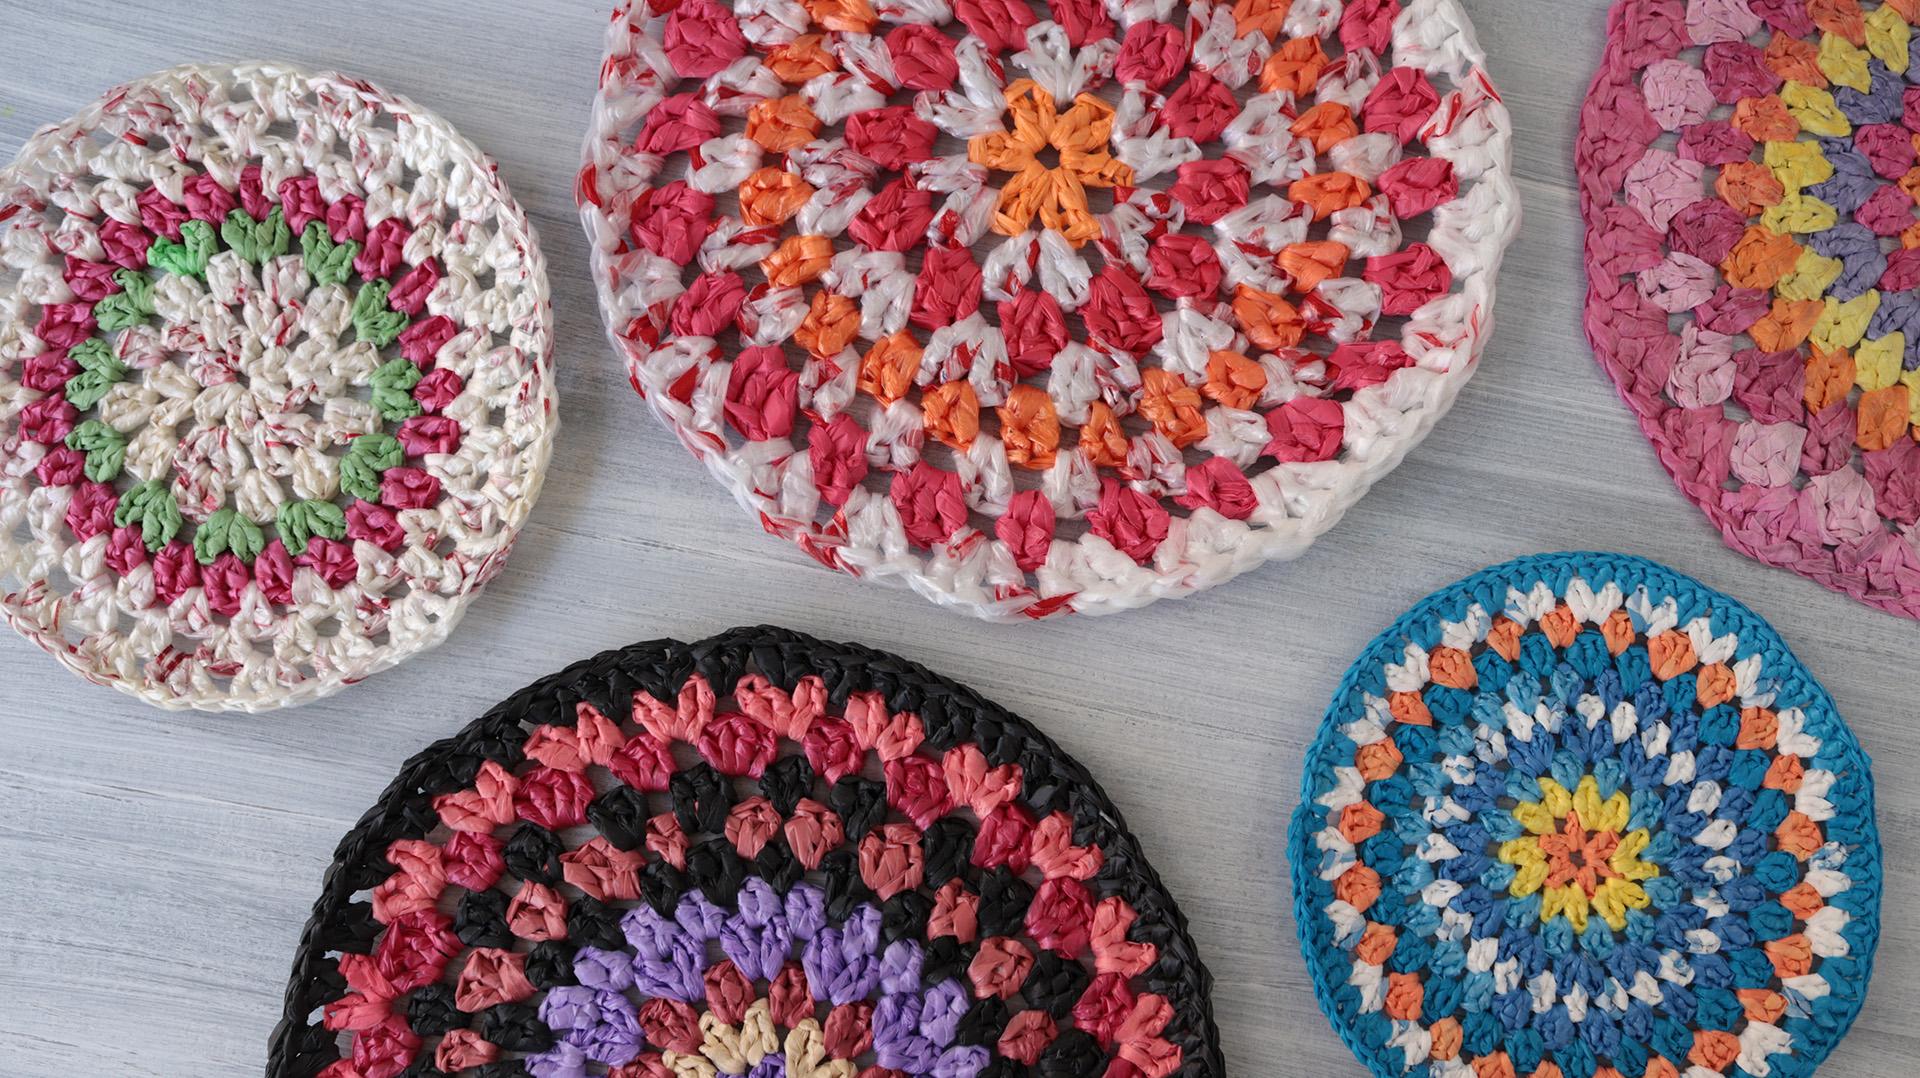
into something beautiful. Your project will be to create a granny circle and you can make it in any
size you prefer. We'll be making yarn
from plastic bags. But if you'd rather use regular yarn in your project,
feel free to do so. We learn how to do the
double crochet stitch and how to crochet granny
circle, no matter the size. You can use it as
a decorative piece or even as a practical
coaster for hot dishes. I'll share a handy tip for
this in the final lesson. If you're looking for
a simpler project, check out my basic
class where we focus on just the basic crochet stitch
and don't need any patterns. Granny circles are not only colorful but also functional. We use them a lot in our home, and I'm sure you'd love them
too. So let's get started.
2. Tools and Materials: What do we need to
crochet with plastic bags? We need good scissors
to cut the bags. If they are not very good, it can be frustrating. A crochet hook,
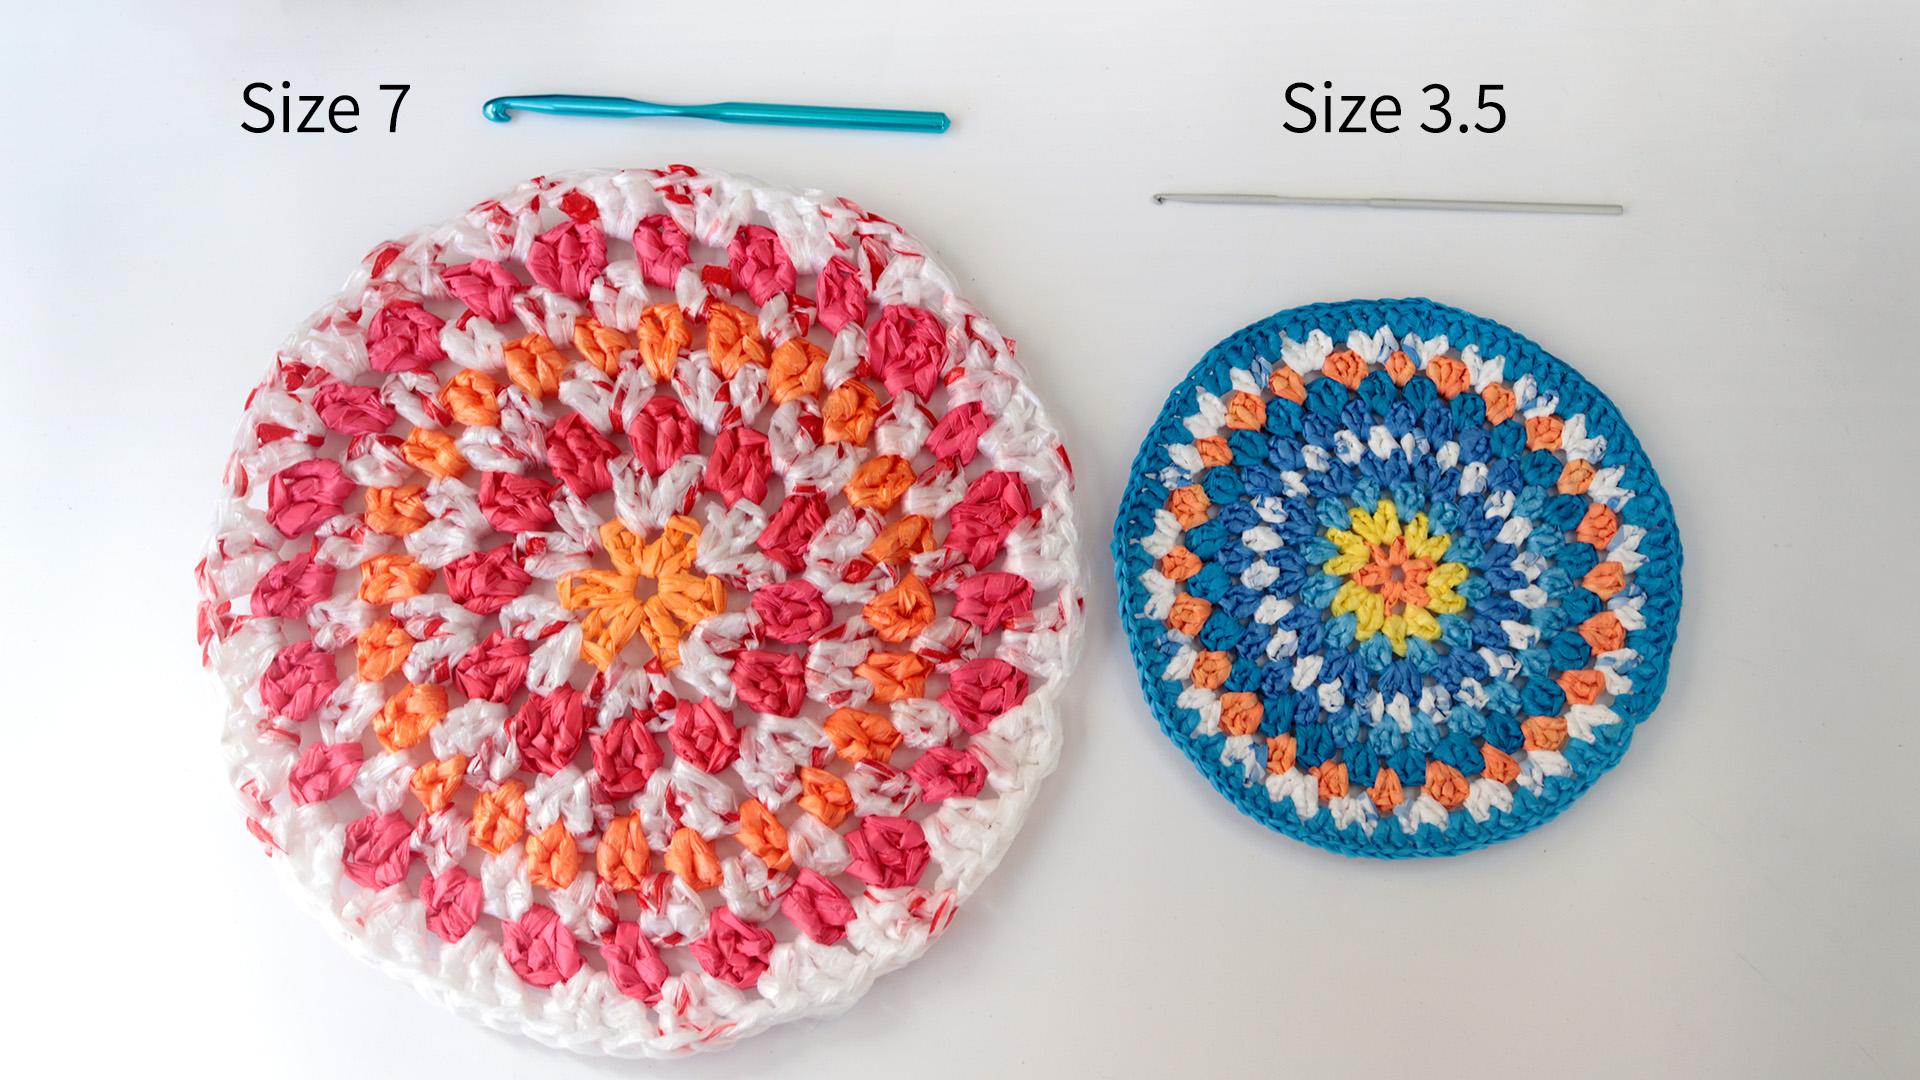
whatever size you have. To make this one, I use
a thick crochet hook. This one is size seven. But you can use whatever
crochet hook you have. You just need to cut the bag to a width that will fit
the crochet hook. In the next video, I'll
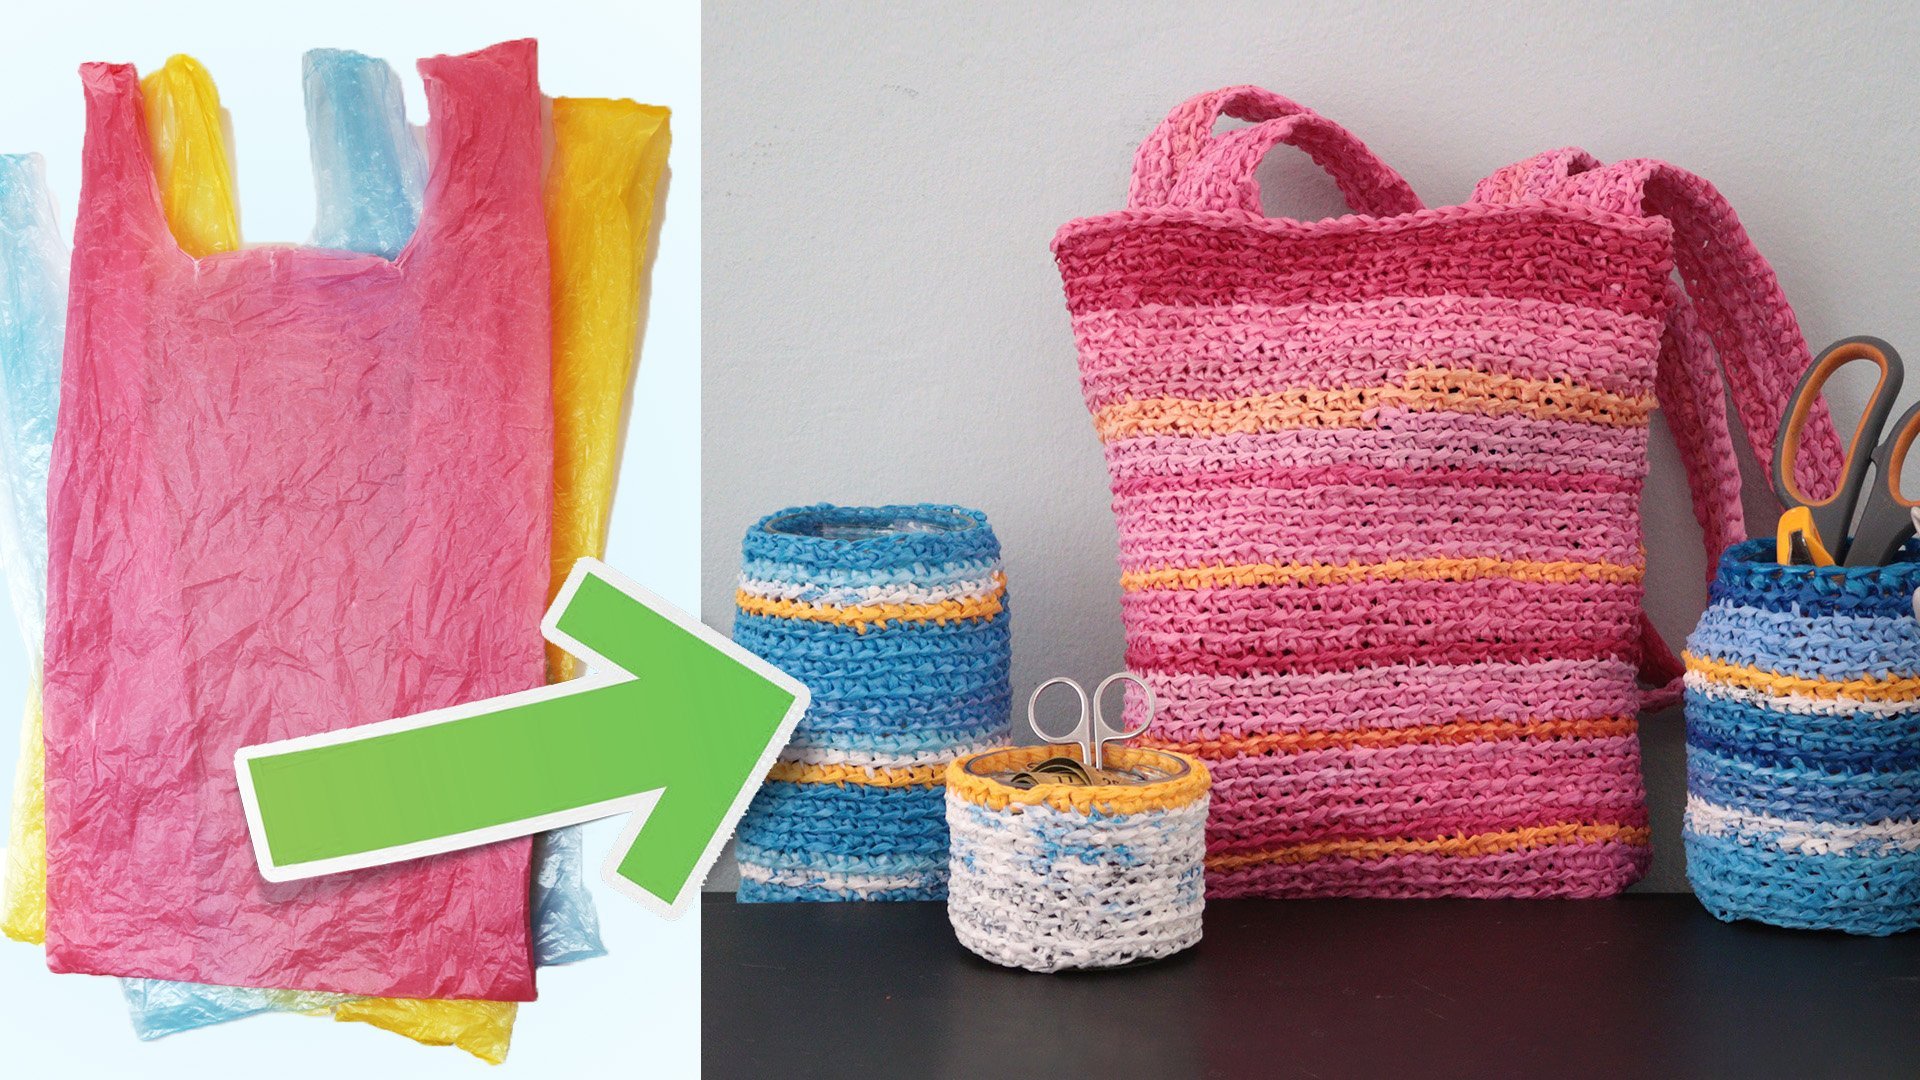
show you how to check this. We need several plastic
bags, at least eight. They can be with solid color or with a print, whatever you have. Granny circles are
more interesting, if not all the rows
are the same color. So it's worth combining
at least two colors. In this project,
I used white bags with red print, and bags with warm colors, because that's what I had and I think they make a
nice combination. But just use the bags you have. The result may surprise you. In the next lesson, we will
see how to make the yarn.
3. Making the yarn: So how do we make
yarn from these bags? Put the bag flat on the table. Fold it like this.
And once again. I want to use size
seven crochet hook, so I need to cut the bag
to the appropriate size. First, I made a simple
template, a piece of paper, 2 centimeters wide or about
three quarters of an inch. I hold it with my left hand
because I'm right handed. Cut one loop, and now we'll open the loop and check if it is the right
width for the hook. Take the crochet hook, fold the loop, and
insert the crochet hook. Now you can see that the yarn sits nicely inside and
doesn't stick out. If it sticks out, then that means you need
narrower loops, 1.5 centimeter or half an inch. If the size is right, then
you can use the template you made and cut the rest of
the loops to the same width. After I cut a few of these, I will continue
without the template. I already have an
estimate of the width. If it comes out a
little wider or a little narrower,
it's not a big deal. I prefer to cut by
eye and not with a template because
it's faster that way. After we cut the loops, we can connect them
to one thread. I will demonstrate with loops in two different colors
to make it clearer. Open one of the loops. Hold it close to the edge. Open the second loop. Insert one inside the other
and then take the tail, insert it into the
top, and pull gently. If you pull too hard... I'll do it just now to show you. It will break. I'll do
it slowly one more time. I want to connect the second
loop in the middle here. I don't want to connect it here because it will be uneven. So I pull and hold it in
the middle of the loop. Hold it close, and
connect the third loop. It may look
complicated right now, but after you do it a few times, it gets simple and intuitive. I usually hold it like
that in my left hand. And open the next loop
with the fingers of the same hand and
pull it like so. Connect the loops from the bag that we cut in the same way. And now we have thread or yarn, which fits the size
of our crochet hook. In the next video, we
will begin to crochet.
4. Rows 1+2: In this lesson, we will see how to crochet the first
and second rows To start, we will make
a loop like that. Insert the crochet hook and close the loop,
but not too tight. I hold the knot of the yard with my fingers so that
I have a grip. We will crochet three chains. Insert the crochet hook into the first stitch and
close with a slip stitch. Now we have a tight loop. In the middle of this loop, we will now crochet
12 double-crochet. It is very small, so it is a little difficult
to find the middle. We will start with two chains. This will be the first column. Wrap the yarn around the hook, insert it into the hole. Pull the yarn out. Now we
have three loops on the hook. Pass the hook through
the first two loops and once again through
the two remaining loops. And that is how you
make a double-crochet. Let's do it again. We will continue until we have a total of 12 double-crochet, including the first column. I will just stop
for a minute and count. There are two more left. To close this row, you can crochet a slip
stitch like that. Or close in another method that I will show
in the next row. For the second row,
I will change color, and I will use the yarn
that I prepared earlier. We will crochet between the columns, in the gaps
between the double crochet. Insert the crochet hook
between two double-crochet. Take the new yarn like that. No need to make a
loop. In this way, there is no end of yarn left that needs to be
incorporated into the work. Crochet two chains. This will be our first column. In this place, I'll crochet
three more stitches. So we have one, two, three, four, double-crochet And we'll make four more in the next gap after two stitches. Here after the second
double-crochet Count two stitches again, and then crochet
four double-crochet In total, we should have
now 24 double-crochet To close the circle, this time, I won't use a slip stitch, but I'll show you a
different method. Cut the yarn. Bring
it out like this. I'll take a smaller hook
because it's easier. Insert it under the top stitch
here, but from the back. Pull the yard out.
Insert the hook in this stitch from the back,
but in the middle of it. And pull the yarn back. And we'll hide the remaining yarn behind. So you can use the slip stitch or this method,
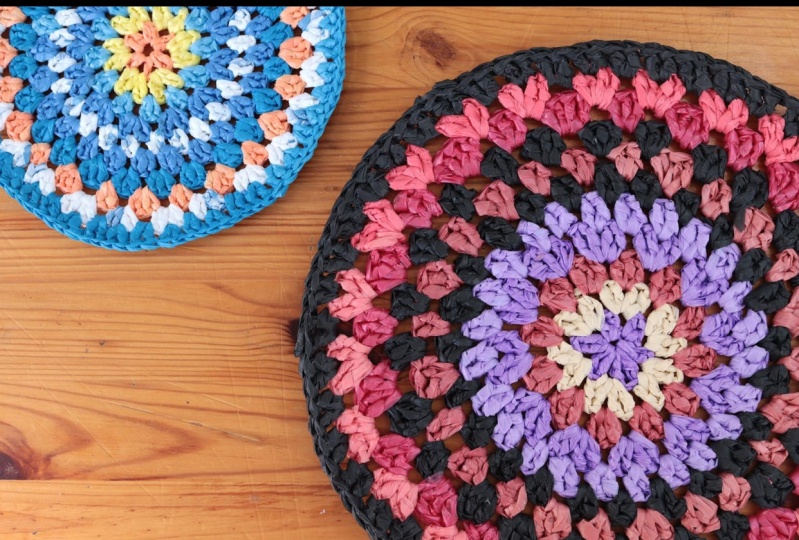
whatever you like. So these are the first two rows. Because I use two different
colors for the rows, the first row look like
a flower or a star. In the next lesson, we will see how to crochet the
remaining rows.
5. Rows3 8: In this video, we will see how to
crochet the next rows. In the first row,
we had 12 stitches. In the second row, we had
24 stitches, doubling them. In the next row, we
will not double. We will just add
12 more stitches. In total, we will have 36 stitches. We'll
do that like this. We will crochet
three double crochet between every two stitches. Chain two, and now two
more double crochet. And again, after two stitches, in this space, we will
crochet three double crochet. One, two, in the
space after two. Before closing the row, count the stitches to see
that we did not miss one. Three, three, three, three, In the fourth row, we will
add 12 double crochet again. In the previous row, we
made groups of three, and now we will make
groups of four. In the space, we will crochet two chains and add three
more double crochet. Now I have four. And we will crochet four double
crochet in the next gap. That will be four
double-crochet, four double-crochet, and so on. Count to check that we didn't
forget one along the way. At this stage, if we
discover a mistake, then we can easily unravel, go back and crochet again. In the first row, we
add 12 double crochet. In the second row, we have 24. In the third row, we had 36, we added 12 again. In the fourth, 48, we added 12. In the fifth, we do not add 12. You will crochet 48
double-crochet again. The triangles will
spread out more. And instead of groups of four, we will crochet two
pairs of double-crochet. Two double-crochet between
every two spaces. Two double crochet here, two double crochet in the
next space, and so on. In row 6, we repeat
what we did in row 5. To double crochet every
two double crochet. In this row, we will
add 12 double crochet, and we will do it this way: Two double crochet,
three double crochet, two double crochet, three
double crochet, and so on. And so we will have a total of 60 double crochets. Let's
start with three. It is a little more
complex than the previous rows because you need to
concentrate and pay attention. Here three. So in the
next, there will be two. Two. In the next gap,
we will crochet three. And so on all the way. If it is curving inward, then you can stretch
the triangles a little to flatten it. This was row 7. In this row, we had
three, two, three, two. In row 8, we will
increase by 12 again. We will crochet three, three, three, three, three all the way. And in total, we will
have 72 double crochet. And we are done. We
have all eight rows. If you want to add more
rows, in the next lesson I will show you how.
6. How to add rows: So how do we add more rows? In row 8, we
finished with groups of three. Here is row 8. In row 9, we increase
and make groups of three, four, three, four, total of 84. In row 10, groups of
four, total of 96. In row 11, we do not
add stitches and make groups of two double
crochet every two. The principle is:
in each new row, we add 12 double crochet. And every four rows or so, we do not add more but repeat the same
number of stitches. And this keeps the circle
flat without unwanted curves. How to increase beyond that? You can simply repeat the
pattern as we have done so far. Row 10 is like row 4. Row 11 is like row 5. Row 12 is like row
6 and so on. And you can just try it. And if the row seems
too big or too tight, you can unravel and add double crochet or
subtract double crochet.
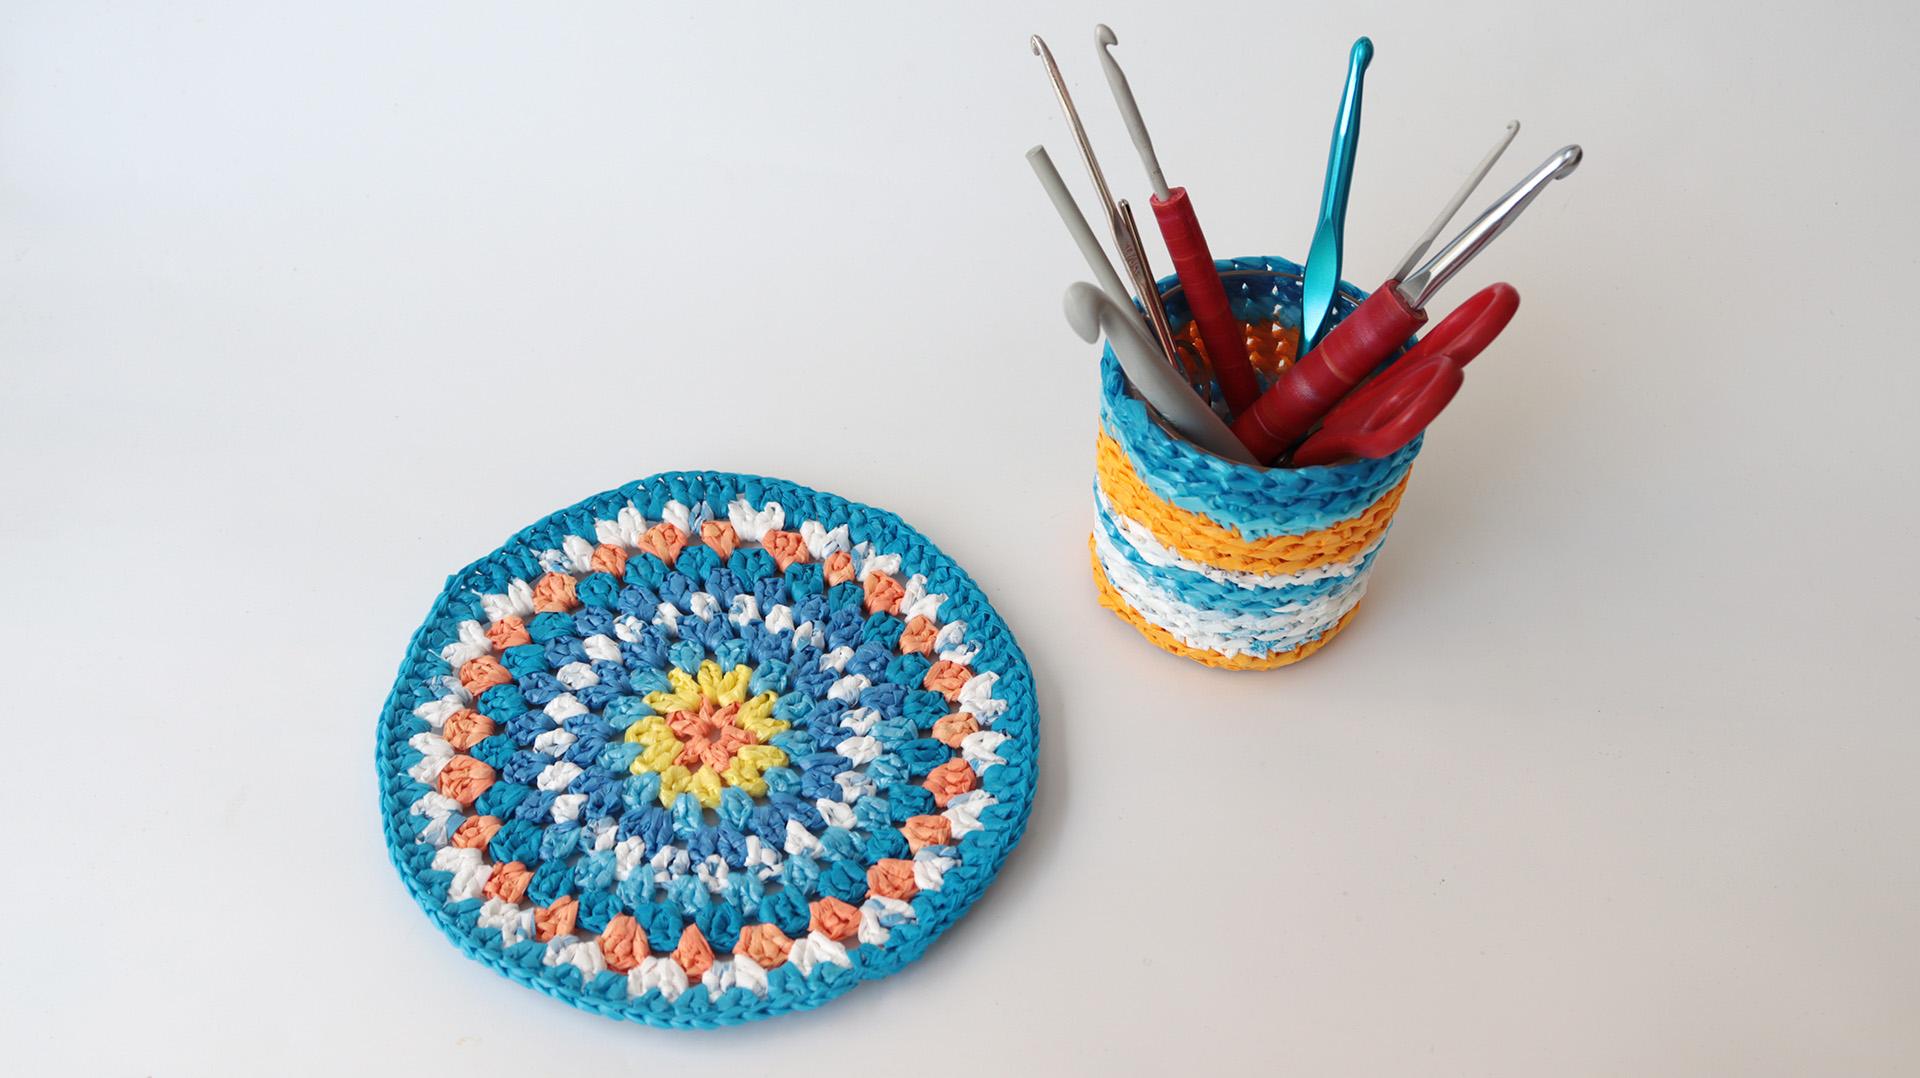
7. Final tip: Congratulations. You
finished the class. Here is a final tip.
You can use the circle as a doily but also as a
coaster for hot dishes. The heat will not melt it, but it might shrink
the yarn a bit. When you use it for
the first time, place baking paper on top. Carefully, place the hot dish on top and use it to
iron the coaster. This is how we
prepare the area in advance and avoid
unexpected results. I made this one a few years ago, and I used it many times
with very hot dishes. There are so many things to
do with everyday materials. I hope this class
inspired you to reuse plastic bags instead
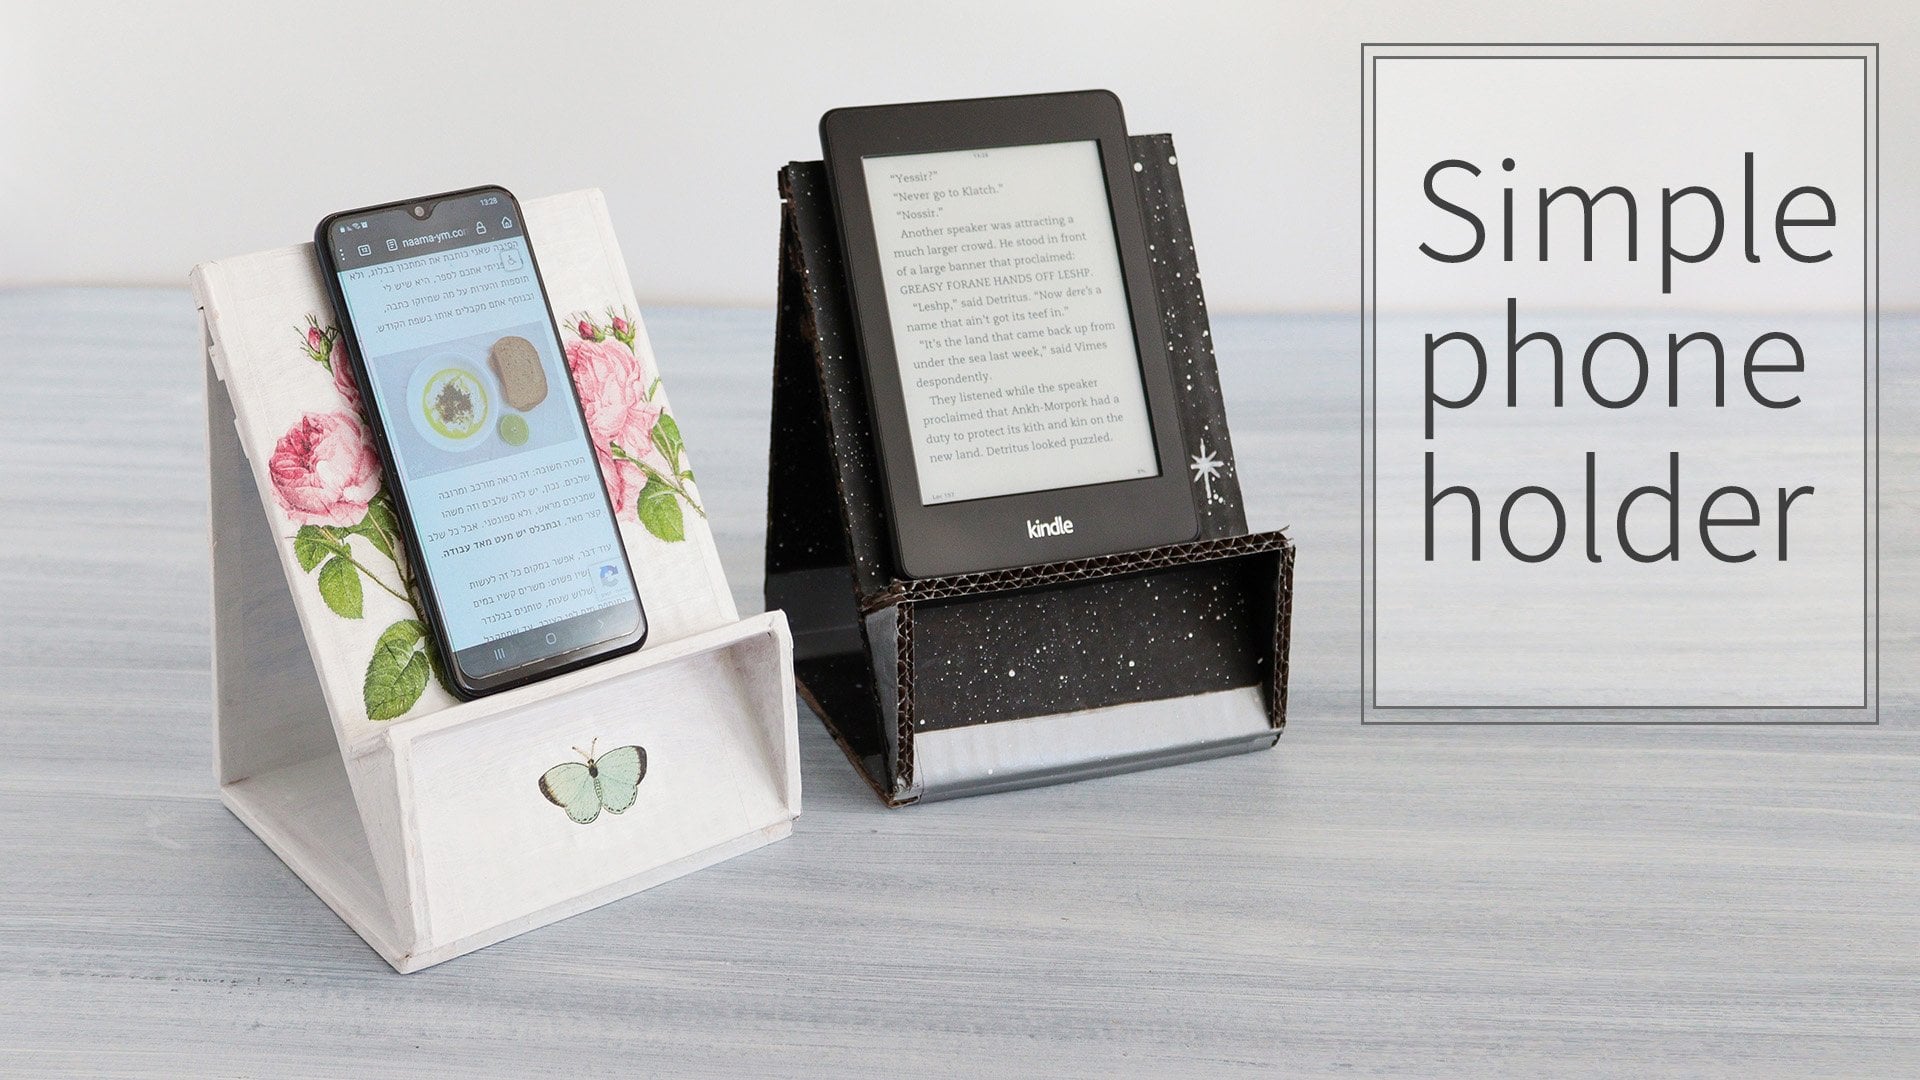
of throwing them away. For more ideas, check out my teacher page to
see what more you can crochet with plastic bags and how to make furniture
from cardboard boxes. I'd love to see your work. Each circle will be unique. So let's make a
gallery of circles. Please post your creation in the project gallery here
and share it with us. If you have any questions or insights, you can
post them here. I value your opinion, so please leave a review,
even a short one. It helps me to promote my
classes and to improve them. Thank you very much for watching this class and for
sharing your creations.
 Naama Yaffe Mendelboim, Graphic designer and artist