Transcripts
1. Introduction: I'm sure that we all have been there staring at the
blank piece of paper or a new digital canvas
and wondering where are all the great ideas from the
last night disappeared to. Let's see what we can do
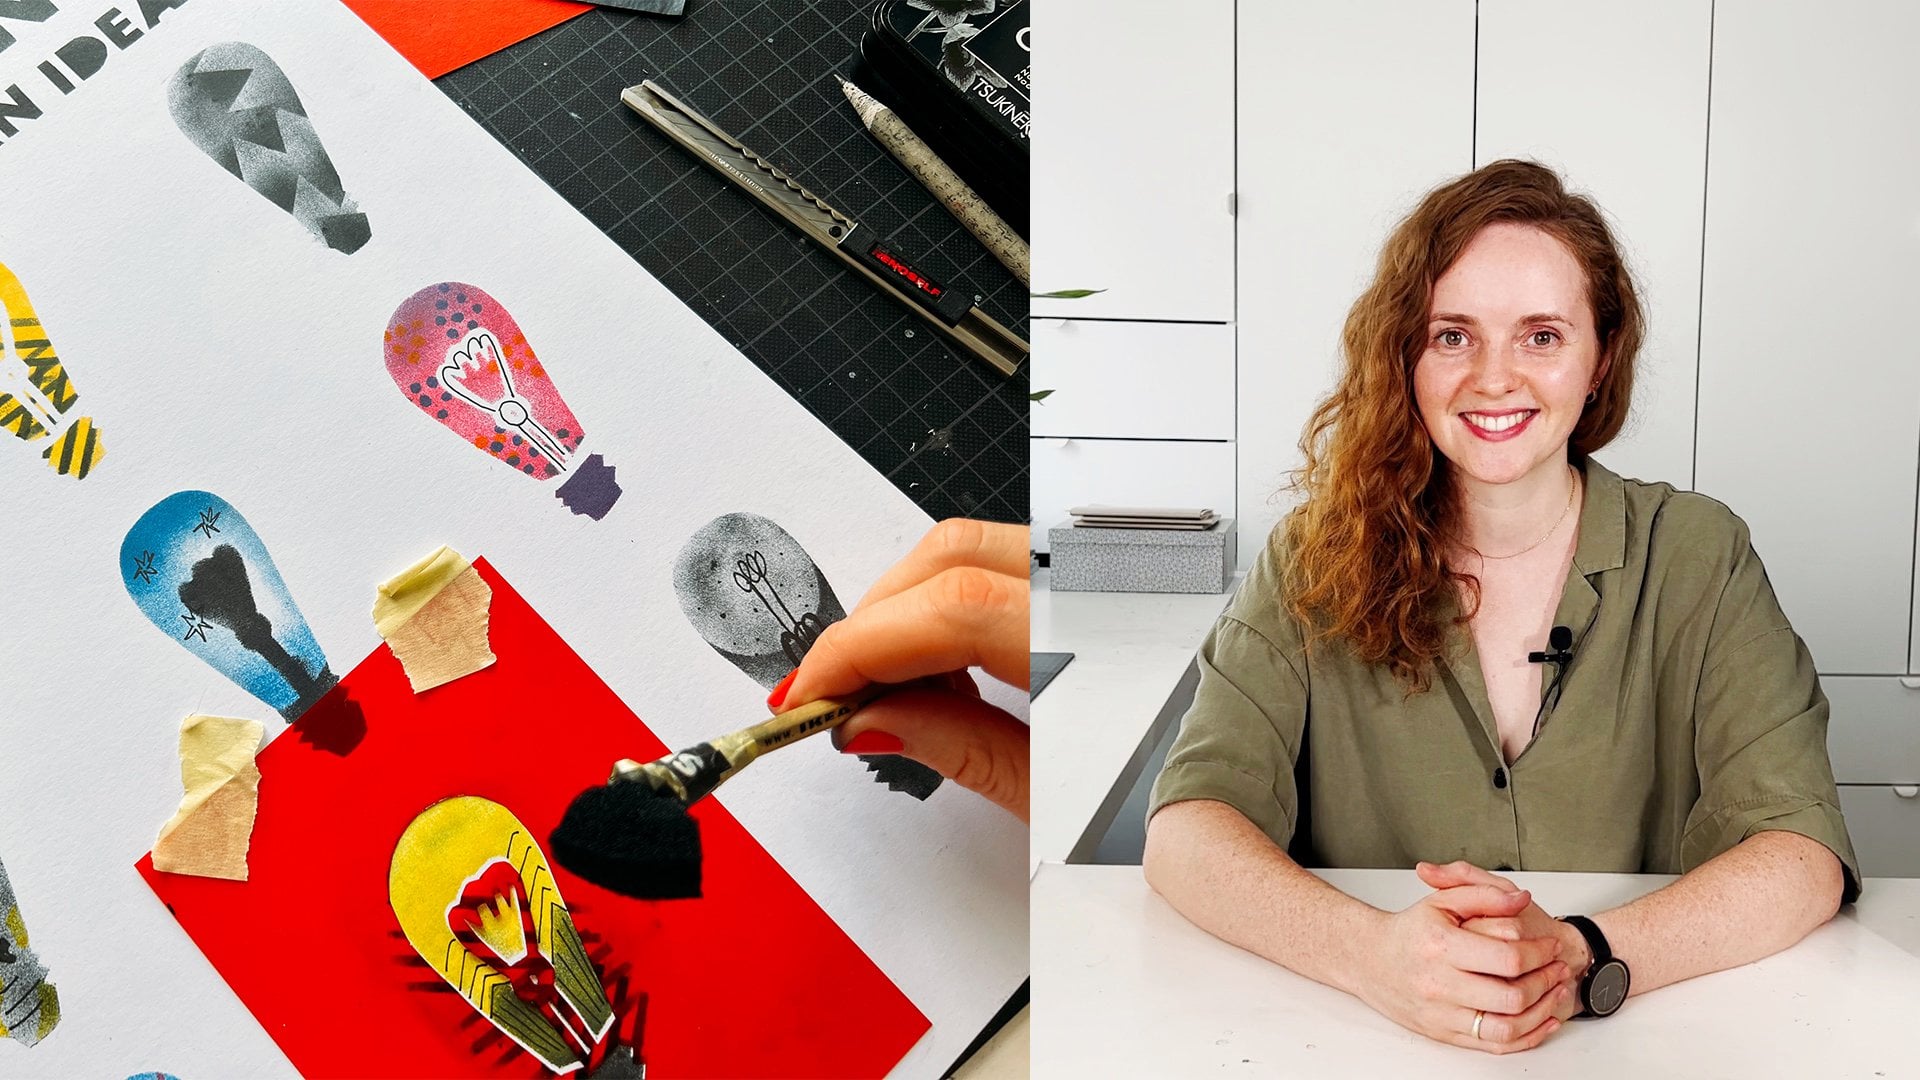
about it. Hi, I'm Anna. I'm an illustrator,
graphic designer and art teacher from Berlin. And in this class we will
unlock your creativity. I often have to solve
visual problems. Sometimes it's not easy
to find a solution. I also experience
creative blocks, do not rely too much
on inspiration. I started looking for various methods to develop my creative and visual thinking. I tried many different
approaches and found that I like those which are easy to remember and
use when needed. If you are struggling to find new fresh and captivating ideas for your illustrations
or sketches, class may be a key to a
limitless inspiration. Throughout this course,
you will learn to spot inspiration in everyday things
and also within yourself. Discover how to use
simple methods to find metaphors and
symbols for your work. Receive a handy list of ideas to spice up your daily
creative praccess. Generate a bench of fresh and exciting ideas for your illustrations
without any struggle. Come on, join this class to
find your creative spark.
2. Project: For your class project, I have a very simple idea. After the class, choose
one method that we have learned and use it to create
your own illustration. I suggest try out every
technique I give you in this class in form
of quick sketches. This will help you
understand them better and remember these techniques while you need them for
your future projects. Once you've tried them all, big one that you like the most, and think about how
can you use it, enjoy the class, and let
your creativity flow.
3. Everyday Inspiration: Let's follow the creative spark from the outside to the inside. Take a moment to observe
your surroundings. What do you see, for example, on your desk or in your kitchen? Let's work with the simplest
items that surround you. Look for objects that
share common attributes, such as a shape or color. For instance, consider drawing all blue or red objects
within your reach. Now let's try together. I'll using tablet,
but you also can use sketchbook paper and
traditional materials. Here's the plan. Gather
ten blue objects, arrange them into a
still live composition, or simply sketch them
one after the other. This method offers a
quick way to kick, start your sketching and
enhance your drawing skills. It also serves as an
excellent warm up before diving into more
extensive projects. As you immerse yourself in the process of
finding the objects, you'll find that taking that initial simple step can
be incredibly beneficial. You might wonder, what do I do once I've drowned
everything around me? In such cases, seek out
different combinations. Try combining all the
round shaped objects or everything made
of wood, and so on. This approach keeps
your creative and ensures that you always have fresh sources of inspiration. Now try out this simple method. Think about one
attribute, color, shape, and gather the objects. You can also download photos of the objects that I took
for this exercise. They are attached to this class, but I recommend to look what you can find in
your surroundings. The sketches
shouldn't take long. Three to 5 minutes for
each object are enough.
4. New Perspectives: Now let's dive deeper into
our creative exploration. We will continue working
with very simple objects, but now we'll engage
our imagination. Select three random objects. Everything we'll do,
it could best spoon a roll of tape or
drinking glass. Now think, how
could you transform this objects to change
their function entirely? Or maybe it can become a
vital part of a story, or perhaps a character. Produce a minimum of five sketches for each of
the three chosen objects. Consider how the
objects appearance and functionality may
vary when it's late, flat, positioned upright, or viewed from different angles. These sketches should be
fast and uncomplicated, taking no more than five
to 7 minutes for each one. This method challenges
you to think creatively and push boundaries
of the imagination, which is very important in creating engaging
illustrations. The exercise also helps in developing the skill to
solve visual problems. The idea of an illustration is convincing but
not too obvious. By studying and re
imagining an object, we learned to observe
details like shape, texture, color and form, which are crucial in creating
compelling illustrations. This method also encouraging abstract thinking
so that we learn to understand that objects and even more ideas can have
multiple interpretations. As you learn to uncover unconventional solutions
for ordinary objects, you'll find it easier to apply the skill to more complex
subjects as well. So have fun creating
your shirt sketches, and I see you in the next class.
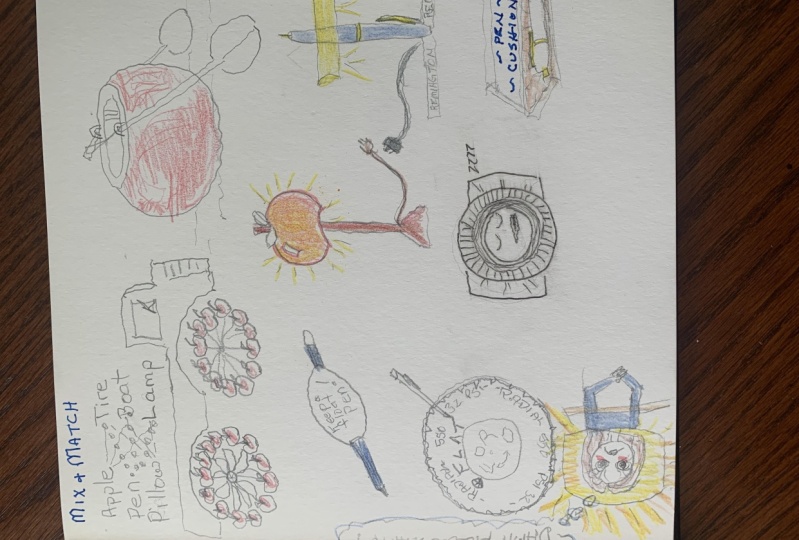
5. Mix & Match: In this method, we will mix concepts that may seem
unrelated at the first glance. This helps us to come up with really unique
ideas for our projects. Start by listing three to five random
words in the left column, and then write down the same number of random
words in the right column. On the left side, I have words, strawberry, balloon and plant. In the right column, I have computer tree and spoon. Now let's combine them together in every way you want
and write it down. Now you've got some intriguing
word combos to play with, perfect for sparking
your creativity. Imagine what a strawberry
computer might look like. Or picture a balloon tree. Maybe there are
balloons hanging from a tree or a spoon
with a plant inside. You can create quick
sketches using various combinations or choose one and turn it into a
complete illustration. Trying to combine
unrelated words helps to develop creativity and
find new ideas faster. Using unusual combinations in your pictures can
make it more exciting for the viewer to look at your work and find
amazing interpretations. I personally really
enjoy this method. Even when you're feeling a bit stuck and your head
is just empty, you can always find some
random words to mix and match. I can't wait to see your sketched ideas in your
projects, in this class.
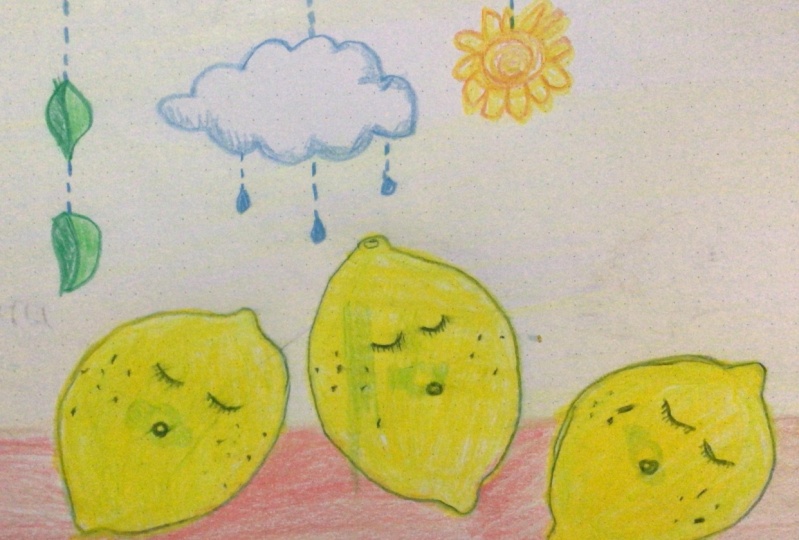
6. Hunting Metaphors: The next method is a lot
like a previous one, but it leads to more interesting
and detailed pictures. Start by selecting a main topic, like one word or a short phrase. Perhaps you already
have a specific topic, for example, from your client. Or just something that you're
interested in, for example, friendship, or nature, or
environment, and so on. You can also use a GBT to
brainstorm a general topic, or you can draw inspiration from the objects we draw
in the first methods. Either way works, the first step is to write down
the initial word. Let's say I choose
nature, pollution. Next, come up with
two additional words that you associate
with the first word. In my case, it might be
environment and health. Now, under each of these words, write down at least ten
associations with them. However, there are two
simple rules to follow. The first one, use
easily depictable words, avoiding abstract concepts to employ nouns for
the first column, and verbs or action words for the second.
Here's an example. Now comes the exciting part. We search for combinations
that spark our imagination, creating mental images that
can be used for illustration. But remember to stay
with the primary topic. The first word or
theme you wrote down. In my case, it was
nature pollution. I have running trees, perhaps from some dark wave
or something like that. Smiling clouds,
breathing forests. You can also combine
two words from the first column to make a concept more visually
impactful and engaging. For instance, happy people
measuring trees or highways, eating forests, or earth is running from
a trash can and so on. You can continue.
You've probably grasped the concept now, depending on your message, whether it's positive
or critical, you search for matching
words and craft a concept for a sketch or even a
full fledged illustration. Here is an example that
I did for this class. I took the phrase,
people measuring trees and turned it
into an illustration. I tried different
perspectives and proportions. First I decided the
whole composition, then the color palette. At the end, you will
see that I added some nice structures
and details. This could be an
illustration, for example, for a text about how people
assess the problem of forest pollution or about how forests change
due to pollution. The more different
options you try, the more interesting
your metaphor will be. The most obvious options
are always on the surface. It gets interesting when
we start to dig deeper. Here you can see my
illustration process and I see you in the next class.
7. Your Turn: Pick One: Now I recommend giving
the methods a try and selecting one that
resonate with you. The must use the chosen
method to create an illustration and share
it within the project. In this class, I'd really
like to see your creations. You can also find the illustration I
made in my Instagram. It would be great to
see your results. I would like to share them. If you just take me
or your Instagram, I will see you work and I would be really
happy to share it.
8. Final Words: On this course,
you learned about different ways to find ideas
for your illustrations. It doesn't matter how you draw, whether you use
traditional materials or create digital art, You can use the methods for simple sketching or creating
complete illustrations, even if you already have
a brief for your project. These techniques are
absolutely great for your own creative projects. Feel free to
experiment with them. I'll be thrilled to see your
awesome work and of course, see you in my next class.
 Anna Zaretskaya, Illustration and graphic design