Transcripts
1. Introduction : Hi everyone. I'm Saba
and I'm thrilled to welcome you in this exciting
journey of creativity. Today I'm going to
teach you something in which I've had the passion
of teaching since yours. Today, I'm excited to
take you to the journey where I have the experience
and I just love to be in. And we are going to love and delve into the art
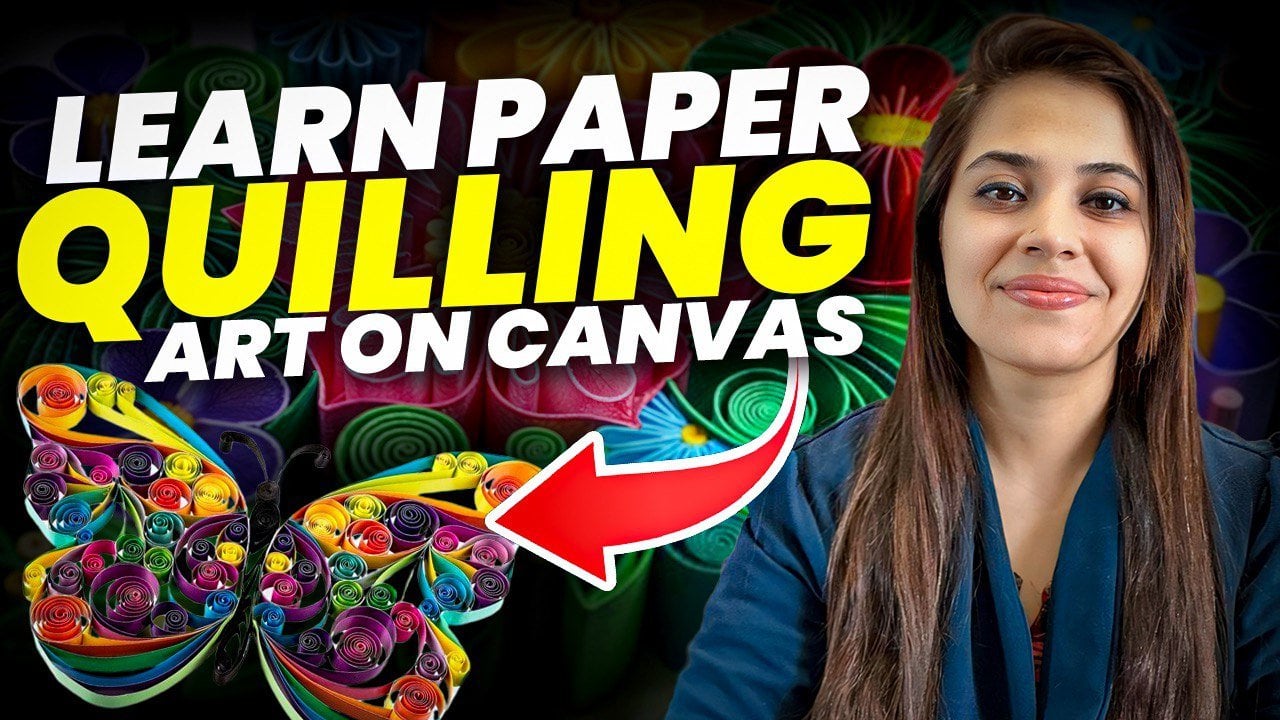
of paper quiling. It all started years
ago when I just saw the mesperizing coils and the paper stripes of
the paper coiling art. I just felt amazing and I just fell in love with
all the stuff and all the equipment because it just turns out to something
very interesting. Then I didn't even
stop a bit and I just started doing
each and every day. From the simple coils
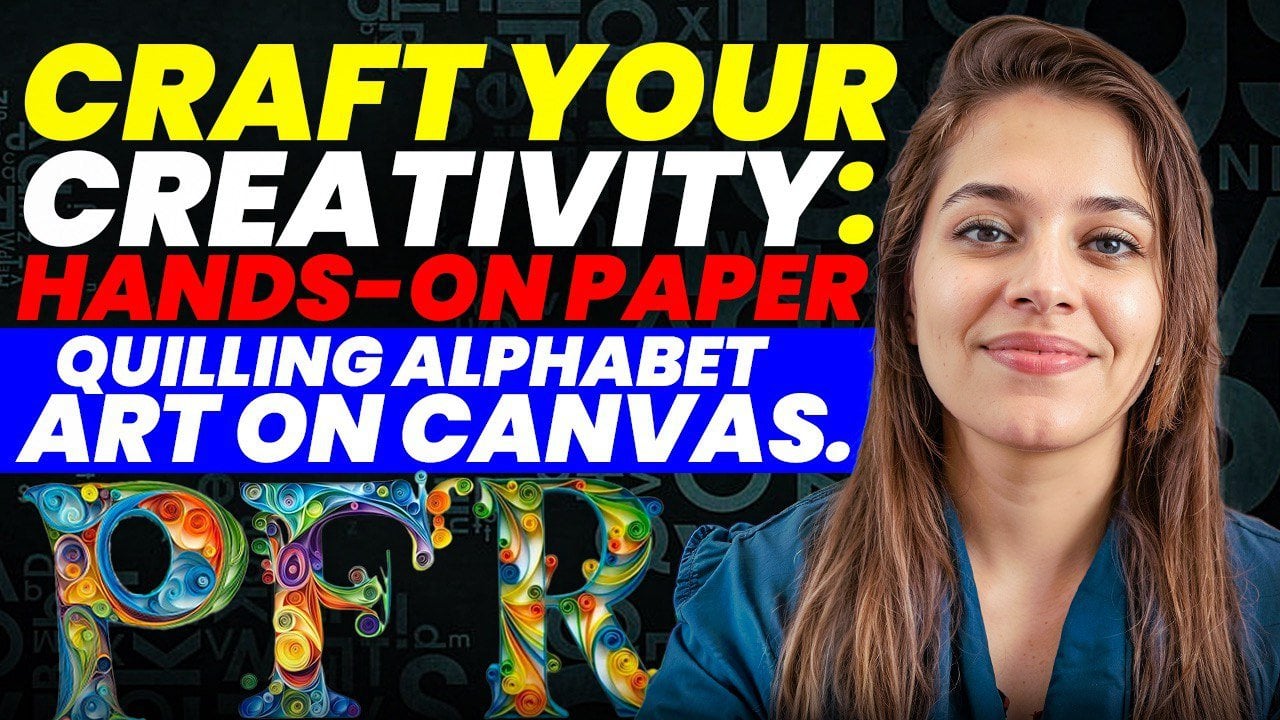
to intricate designs, the paper coiling art offers
the endless possibilities. First, I wanted to share some important
knowledge with you. Can anybody tell me what
is paper coiling art? It is the delightful combination of precision and creativity. And it allows you to convert the very basic materials to something very
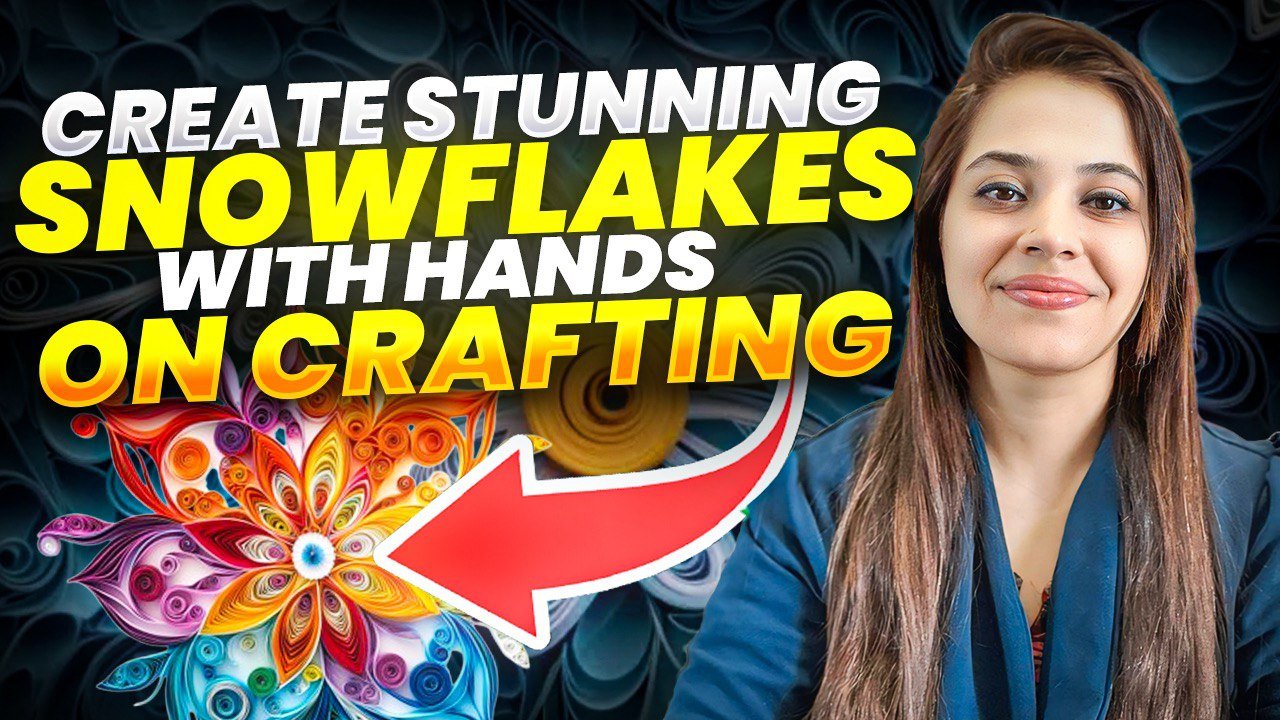
stunning masterpieces. What are the uses of
this paper coiling art? I'll tell you about this. It helps us for so many things. First, you can use
as a home decor, We can also make the
personalized gift cards, and the possibilities
are endless. Let's get ready to
be inspired, amazed, and most importantly,
have fun as we delve into the fascinating
world of paper quill art. First, I would like
to tell you that the heart of the scores
lies in the patents. There are 22 patents
taught in the scores. The patterns are used by
the paper quiling strips. When you learn all the
22 patents or design, you will be very, very confident in using those patterns in your
decor or gritting cards, or any personalized gifts you wanted to make
for your loved ones. And also this
patterns will inspire your creativity and it will also add a personal
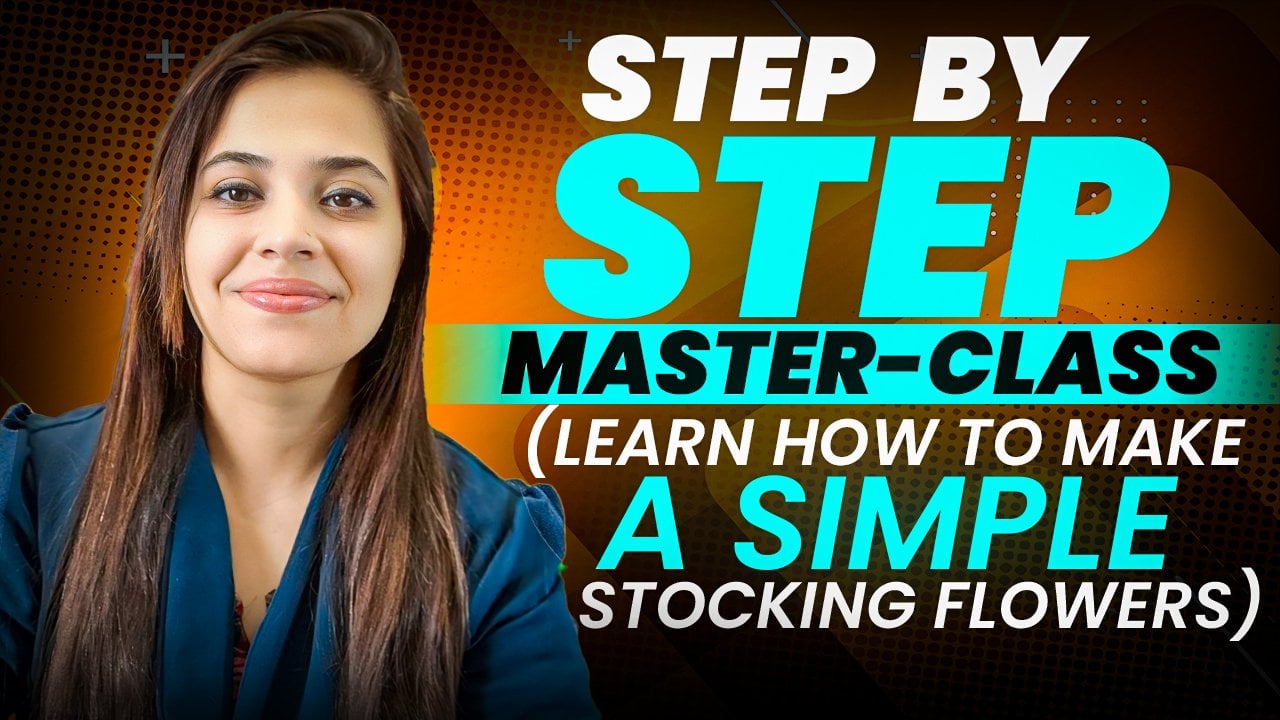
touch to your projects. But we won't stop here. I will also guide
you how to make three simple greeting cards with the help of
paper quiling art. You won't believe, even if
you make very simple cards, it truly touches the
heart of the loved ones. Just imagine the joy of your loved ones
when he will feel, when you will gift him or her the personalized
greeting cards. Join me as I share you my experiences from
the very basic. Even if you are a beginner, please don't worry because this is a very beginner course. Together we are going to learn the fascinating world
of this paper quilling art. And let's make some magic.
2. Important Details about how to use Needle: Hello everyone. So before
starting the course, I would like to give you a T, a small tutorial about how to use this needle for
paper cooling art. I know it may look simple, but for the bigness sometimes it becomes
difficult to use. But when you get the
habit of doing this, I'm sure that you will be
able to do it very fast. Like this is the needle
and here is a small gap, you can see, right? This is the small gap
between the two lines. What you have to do
is take the stripe of paper which has a flat
surface as you can see. Just insert inside like this. I hope you can see this.
Okay, I can do in this way. I'm comfortable in
using the right hand and I'll hold this stripe
with the left hand. As you have seen
that I have inserted this strike from the center, just you need to turn this, that's it, and start rolling. I have the habit
of doing it fast. As you can see, it's
easy for me to roll, but I would suggest
you to do it slowly. See sometimes it
just gets out of the line and this removes. First, I'll suggest
you to at least take two to three stripe of paper and just roll it
and practice it. It will be easy for you
to make the patents. Thank you and see you
in the next video.
3. Your Project : My honest request to
all my students is, please do share your creativity
in the project gallery.
4. Tools required for Quilling Art: Hello and welcome.
So in this course, we are going to need
a coiling tool, which is a needle like tip for rolling and shaping
the paper strips. A clear drying Lu is ideal
for coquiling projects. And these are the
thin stripes of paper available in
various colors. Different colors allow for
creative and colorful designs. So let's start.
5. Quilling Patterns - Tight Coil,Loose Coil,Tear Drop,Shaped Teardrop and Bent Teardrop : Hi again. In this
video I'm going to teach you the patterns of
the paper coiling art. We have 22 patents which are
being taught in this course, but as the patterns are being
taught in a practical way, I have divided this 22 patents
in a different videos. My request is that if possible, please do it along. It will be very
helpful for you. Okay. All the best. Let's start first. We will start with
the tight coil. We just have to
take the needle in the hand preferably I will
use my right hand for this and you have to hold the stripe and just
roll the needle on it. I understand this
will be the habit, only after you do this practice. Every time try to pull the stripe from one hand so
we can get the tight coil and then we can
just add the glue. Remember, add a very
little glue because it is a very thin stripe of paper and it gets sticked very easily. Here we go, this
is our tight coil. Second we go for the loose coil, again, you have to hold
the needle and the paper. As you can see that I'm
using my right hand for the needle and the left
hand for the paper. But you can use it any way
you like, just carefully. You have to roll the needle. As you can see, it got slipped from my hand,
but that's fine. You can just pull
from one end and slowly you can
make a loose coil. This, add a little glue
and you can just stick it. Here we get the loose coil. Third is a to drop again,
the same procedure. Just be careful while rolling. Okay, just make them
a little loose, then we can just add a little
glue and stick it first. Then we can make it
in a tear drop shape. We just have to pinch this
one side. And here we get. Here we go. Four is
shaped teardrop. Similarly, it's like
a tear drop only, but we can give a little shape again, make it a little loose. You can hold it in
three fingers and make it loose a little glue. Now you just need to stick that. Now you can see that I'm
just bending the one side. Okay, So this is the
shaped tear drop for this bent tear drop here. I'm adding two strips
of paper first so that I can get a big coil. Please roll it carefully. Because we have used
two strips of paper, there are very more chances
to come out easily. I'm just holding it in three fingers and rolling
it very carefully. This is it, make it a little loose as you can see after
making it lose the shapes, becomes a little not good. Again, I have just made
it with my own fingers. Then Just add a little glue. Yeah. And now we
have to stick it. It takes a little time to stick. Okay. So I'm just
bending from one side, just more pinched and
curved. Here we go.
6. Quilling Patterns - Curve Teardrop,Marquis: Six, this golf deal drop. Not so tight and
not so loose coil. Adding a glue and
then sticking it. With the help of the needle, we can just make it curved so this curve tear drop. Now next is Marcus again rolling the stripe of paper with the help
of the needle. Do it carefully, just make it loose a little
and now add to stick it. Then you just need to pin from both the sides to
give the marks shape.
7. Quilling Patterns - Double Curve Marquis,Duck Foot,Square: Now at this double
curved Marquis, take the needle and the
stripe of paper and roll it. I make it a little
loose as you can see. I'm just holding it
with two fingers. And I'm doing it very
carefully because there is very more chances
that the paper can just slide away and
it gets open easily. I'm just pinching
from both the sides and just giving it
a nice curve shape. Next is duck foot. Again, we are ruling. Okay, again, the same procedure. Lose the coil, add
some glue, stick it. Now you have to make a shape
which look like a duck foot. Do it very carefully,
it's really easy. You just need to concentrate
and just pinch on the edges. And on the one side, here we go, next is a square shape and add some blue and stick it, and now we can try to
get the square shape. There we go, square shape. Oh.
8. Quilling Patterns - Rectangle,Crescent,Ghost: Now next shape is rectangle. Again, the same procedure
doing multiple times. You can see that now our
practice has become more nice and I can
roll it very fast. Okay, so make it a
loose coil stick with the glue tire. A little glue because
it is enough. Otherwise our
fingers will become very messy and unnecessarily. Then it gets stick to the paper and now I'm giving a
rectangle shape to it are rectangle. The next is a crescent shape, make it a glue. Again, adding the glue, now we can give you
the shape of Krysten. Okay, so here we get
the crystal shape. Now the next shape is ghost carefully. Okay, remove it and just
make the loose coil. Sure.
9. Quilling Patterns - Shark Fin,Triangle,Arrow: The 14th pattern is shark fin, roll the stripe with the needle, stick with the glue. Now give a shape of shark fin. 15th pattern is tangle, make it loose coil,
stick with the glue, give the shape of the triangle. 16th pattern is arrow,
roll the stripe, make a loose coil and
then stick with glue. First we will make
tear drop shape, and then with the help of
needle make arrow shape. Here we go.
10. Quilling Patterns - Heart,Arrowhead,C-Scroll: The 17th pattern
is heart shaped. I've used the red color stripe, we just rolled it
made a loose coil. Now with the help of needle, we can just tuck the
middle part and then we can get a nice heart
shape as you have seen. First we made the
teardrop shape, and then we just made
a little hole on the upper side with
the help of the needle so we can get a heart
shape. Here we go. Next is arrowhead again. We made a tear drop shape and we just made a little pointing
on the upper head. Yeah, Yeah, we get
the arrowhead. Now for the roll from one side, we'll roll to half. Just leave it as it is from the other end. We will again do the same thing. I will also leave that as it is. It will give us a nice sea rule.
11. Quilling Patterns - V-Scroll,S-Scroll,Assymetric V-Scroll: Now the next one which
is a 20th pattern, it's a V scroll. Now for the V scroll, we actually have
to make a V shape. For that, you have
to take a stripe, make it half, just fold it. And from the one end start rolling with the
help of the needle. This bring it down
by rolling till the very end only 30%
should be remained. We have to do the same
thing with the other end. Also, roll it again from
the outside direction. Come down till the 30% of
the strike is remaining. Leave it. And now you can see that we got the
proper V shape. This is called a scroll. Now the next one
is the 21 pattern. It's scroll again.
For the scroll, we have to make shape for that. Start rolling one end of
the stripe, come down, then from the other end, start rolling the stripe with the needle again and come down. As you can see the shape of the, the upper one is little, small, the circle is a little small and the down one circle
is a little thick. When you will take the stripe
and a needle in your hand, you will understand like
how much you have to roll for here we get the
proper shape of S. This is scroll now
the last one which is 22nd pattern is
asymmetric scroll. For this you have to
take the one end and start rolling with
the help of needle. Just make it little
roll and then leave it. Now there is some twist. We can just fold the stripe
from only this half, not less than half
once you do that. And then from the other end, start rolling with the help
of needle and come down. Now you can see that we
have made the two roles, which is not symmetric,
it is asymmetry. This pattern is very useful
in the flower decoration.
12. Learn how to make Greeting Card with Paper Quilling Art - 1: Superb everyone. I'm really happy that you're done
with 22 patterns. I'm very sure that you're
happy to learn that. Now we are going to
learn how to make three simple greeting cards
with the paper coiling art. Let's get started with
the first gritting card. For making a gritting card, we are going to need
a paper stripe, blank gritting card,
needle and blue. These are the paper stripes
which we are going to use for making the
petals of the flask. This will be the gritting card. And here's a needle. So let's start. First, we will start making the
petals of the flowers. We'll make a loose coil, stick with a glue.
And like this, like this, you can
make four petals. First thing, I want you
to tell you one thing. It's your choice whichever
color you want to use. I'm using white paper, but it's totally up to you
whichever color you like. You can just pick
and start rolling, but be careful while rolling. As you know, if you go fast it may get slip and you
have to start it again. Then as you can see that we are giving
the shape of the Marquis, slightly pressing at the edges. Here we got the white
color paper stripe and we made it in a
shape of Marquis. And now we have
started ruling for the green stripe paper so that we will be using
for the center part. And now, here we go. Here we go. For the blank
greeting card paper, you can just draw the
lines at the corner. You can also draw like
some flowers if you want, with the help of
the sketch pills. But as I wanted, I just want to show you
in a very simple way. I've drawn four lines at the
corner, now I'm just giving, now I'm just giving a
try before sticking, you should first
keep the petals on the blank greeting cards so that it will give you
an idea like how it looks. When you are clear with that, you can just go ahead
with the sticking part. So we have to stick
everything now. Now for the ten, I'm just using the long stripe of green
color paper first, it gets difficult to stick, but you should just hold it for some time and then it will
automatically get stick. Now take green striped paper
and start making leaves. I'm giving it a tear
drop shape here. I have chosen two
yellow teardrop and two green drop for
the leaf of this flower. Now start sticking it. Yeah, I think now it's
going to look perfect. So, So this is the last one we are sticking. And here we go. I just loved. Yeah, It's looking very
pretty and simple. Once it gets dry, it will
just look beautiful.
13. Learn how to make Greeting Card with Paper Quilling Art - 2: That's amazing. Now let us go
for the next gritting card. As you can see, we have used the patterns which you have been learned in
this last videos. So let's go for the second
greeting card. All the rest. Okay, for the second
greeting card, we are using the colors
blue and purple. And we are going
to make a flower again on the pink
blank critting card. So let us start. First, we'll start making the petals
for the flowers. So I'm starting with the
purple color stripe. Again, be careful by rolling
the stripe of paper. Make a little loose
and stick it. Okay, now I'm giving
it a ghost shape, as you can see that we have already learned
in this patent. As you can see, the ghost
shape is very easy to do. You just have to
make a loose coil, and at the outer lines
you have to pinch it on the two sides to
make it as a ghost shape. Now trying to make a stem here I'm using a light
blue stripe paper, giving it a shape as a stem. I have made three
for three flowers. Now on the blank
greeting card paper, keep it and just take an
idea about how it looks. Please be careful
and please remember. Don't stick it first. You need to check how it looks and then you can go
for the sticking part. Let's stick the stems first. Okay, Now start arranging on a card and start
sticking one by one. Oh, here we can see on the edges of the
stem that you can see there is a white blue
which is coming out. But don't worry, when it
gets dried it easily, it won't be visible very carefully. You can see that some blue gets stick on our fingers too,
to try to remove it. Otherwise, the papers
are very light, they will easily get
stick to our fingers. Now start making leaves. I'm giving the leaves, I'm just taking the two leaves. And here we go. I think I should bend
the stem in this way. Yeah, this looks more better. So here we go. So we are done with the
second reading card.
14. Learn how to make Greeting Card with paper Quilling Art - 3: Now the time for the
last reading card. Let's start for the
third reading card. Let's start taking a stripes
and a blank reading card. I'm using the colorful stripes. Let's start first. Okay, the
first thing, start quiling. I'm making a loose coin. Be very careful while
making a loose coin. I'm using the pink color now, so we have made the
two pink color coils. Here you can see that
two red and two pink. For the red I've
made more loose, but for pink they are
a little bit tight. And I'm giving the teardrop
shape to all the four coils. We are here to make a
small and cute butterfly. Now, with the help of
white striped paper, start coiling and
make a tight coil. So I have made five tight
coils of white stripe of paper and now we have to arrange
it on the card paper if the coins are very small and it becomes difficult to arrange
with the help of fingers. So you can use pencil or a needle to give it
a proper sequence. Now the two antennas, so I have used the
orange stripe. Just roll it till the
half in this way. And here we go, we
get one antenna and we'll do the same thing
with the other antena also. Here we go, I think
our butterfly. Now there is only
a sticking part. First I'll arrange it and then start sticking
with the glue. Go slow. Don't be in a hurry. And don't put so much of
glue because it is a paper. It gets ticked fast and now it's sticking
part for the Anna. And here we go again. We can see some glue
which is coming out, but don't worry,
it will get dry. Now, we can also
decorate with something. This color is not so bright, so I'm choosing the other color. Yeah, this color looks
perfect on this. Such greeting cards are very
useful on any occasion. When you give your personalized
cards to loved ones, it is very touching,
it feels amazing. I'm writing welcome. Yeah, here we go. Our third getting card is also
done. I hope you liked it.
15. Final thoughts: Great job everyone. You have just completed the wonderful journey
of paper quiling art. So now you have learned the cool shapes and
the intricate designs. So I'm pretty sure
that you are going to be very excited to make
your own creativity. The best part of this creativity is there are the
endless possibilities. By learning the
patterns you can make, the number of gritting cards, number of different
designs of your choice. Whether you're making a
personal gritting card, your creativity will surely give a personal touch
to that every occasion. A very big thank you for
being a part of this course. Your excitement and
hard work have made our little community of paper
quiling artist. Awesome. Thanks again for joining in. Keep quiling happily.
 Saba Faisal