Transcripts
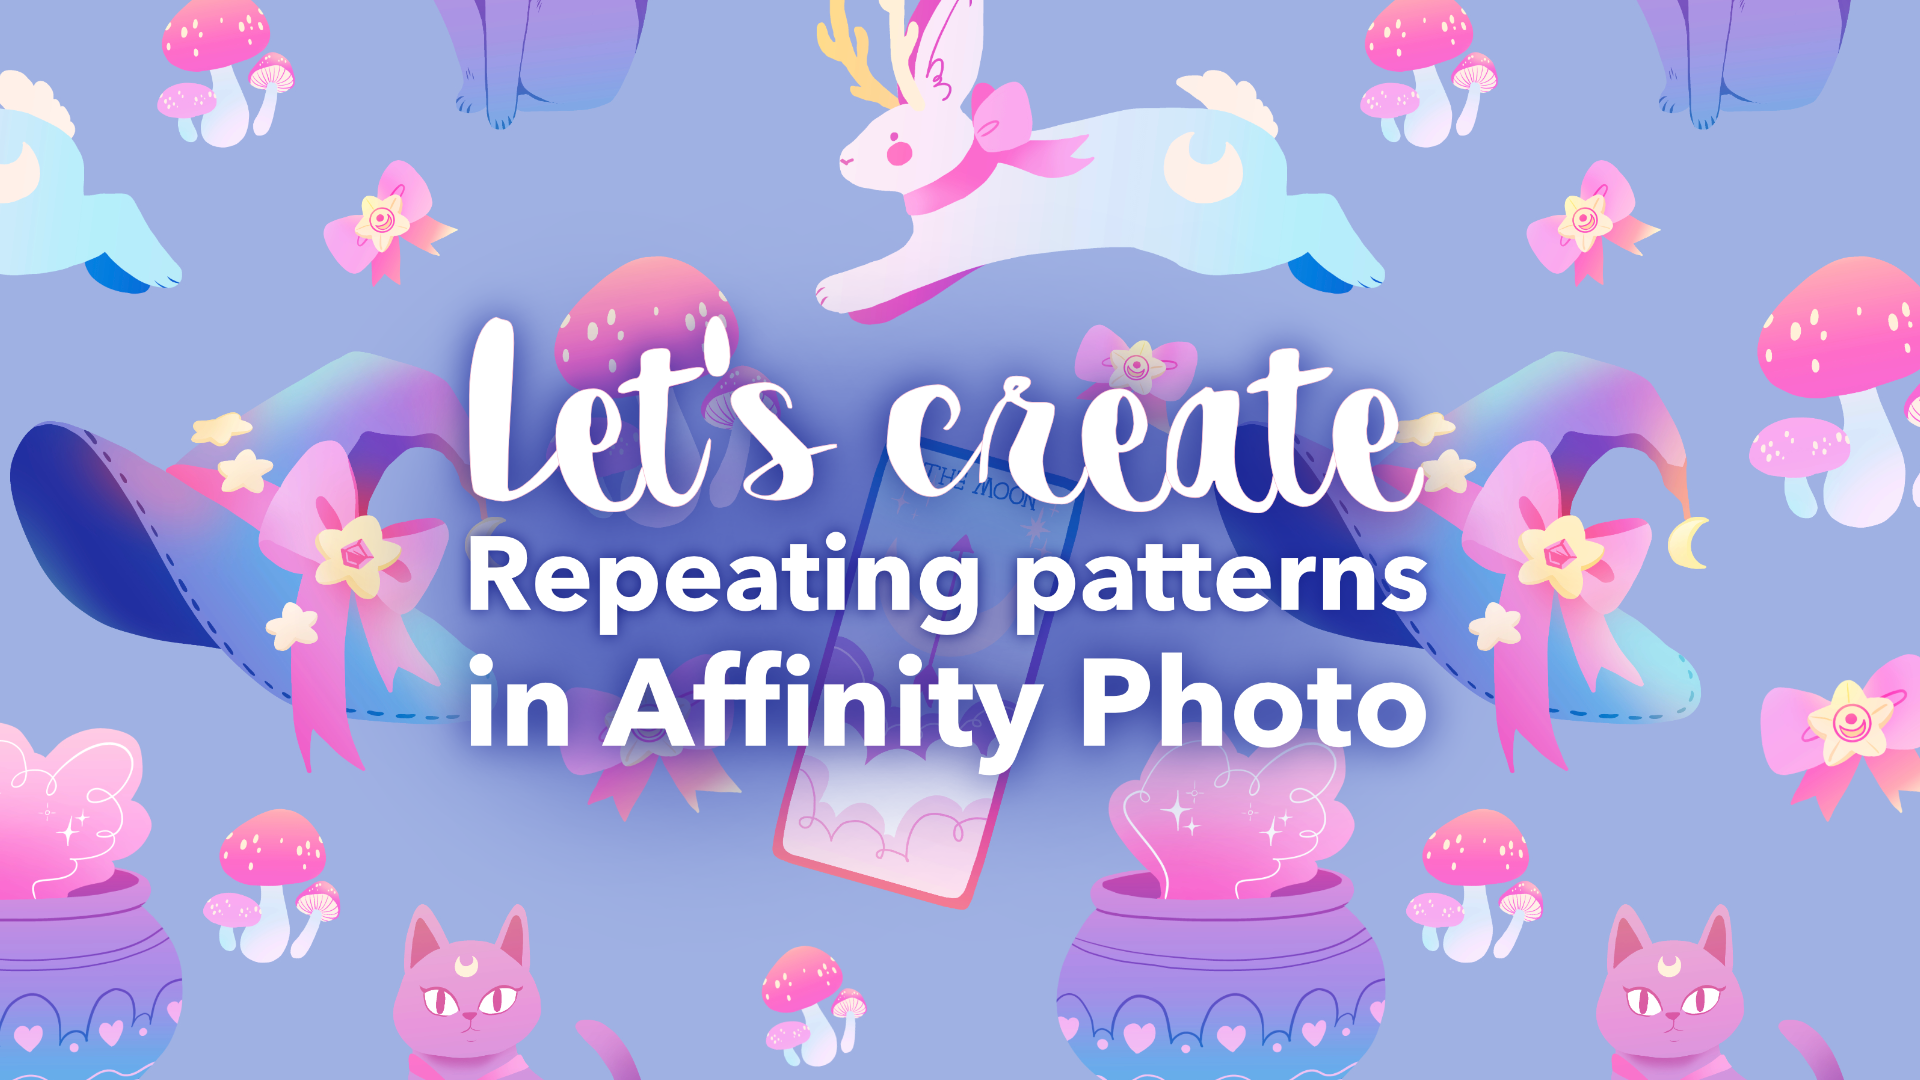
1. Intro to Seamless Pattern Creation in Affinity Photo: Have you ever fancied making a seamless tile pattern
in Affinity Photo? Well, this class will
aim to show you how. Hi, I'm Amy started. I am an artist and illustrator living in
the American Midwest. You can find me online and Amy illustrates.com where
you can see my artwork, find my stores and more. In this class, we will be
taking your original designs, importing them into a
perfectly square document, and using measurements
along the x and y-axis to create our
seamless pattern. It may sound a little
complex at first, and it does involve a
little bit of math, but it is very easy and you will be so happy once you
learn how to do this. Once you have created a
perfectly seamless tile pattern, you can use it to
create notebook covers. You can use it to
create wrapping paper, fabric designs and more. Please join us and create your own very unique
tiling pattern that you can use
for many purposes. Hope to see you in
class. Bye bye.
2. Lesson 1 - Spanning Patterns Across the X-axis: Hello everyone and
welcome to lesson one on turning your artwork into
seamless repeating patterns. In Affinity Photo. The first thing you're
going to want to do is to have some artwork ready that
you would like to work with. Here, I have some witchy
theme drawings that are already prepared on a
transparent background. The transparent background
allows me to easily cut and paste my designs without any backgrounds
getting in the way. The next step is to create a new document that
is a uniform square. This one is the 2000 pixels. By 2000 pixels, you can choose however big you
want to make your square. This is just what I use and it ends up
printing well for me. But if you want to work
larger or even smaller, you're totally welcome to. But be sure it's a
complete square, 2000 pixels by 2000 pixels. Having a uniform
square is crucial to getting your measurements
correct later in the project. Alright, for the
purposes of this lesson, we are going to be
focusing exclusively on measuring along the x axis, and we'll cover the y-axis. Lesson two, I don't
want to give you too much in a row
and confuse you. And for those of you
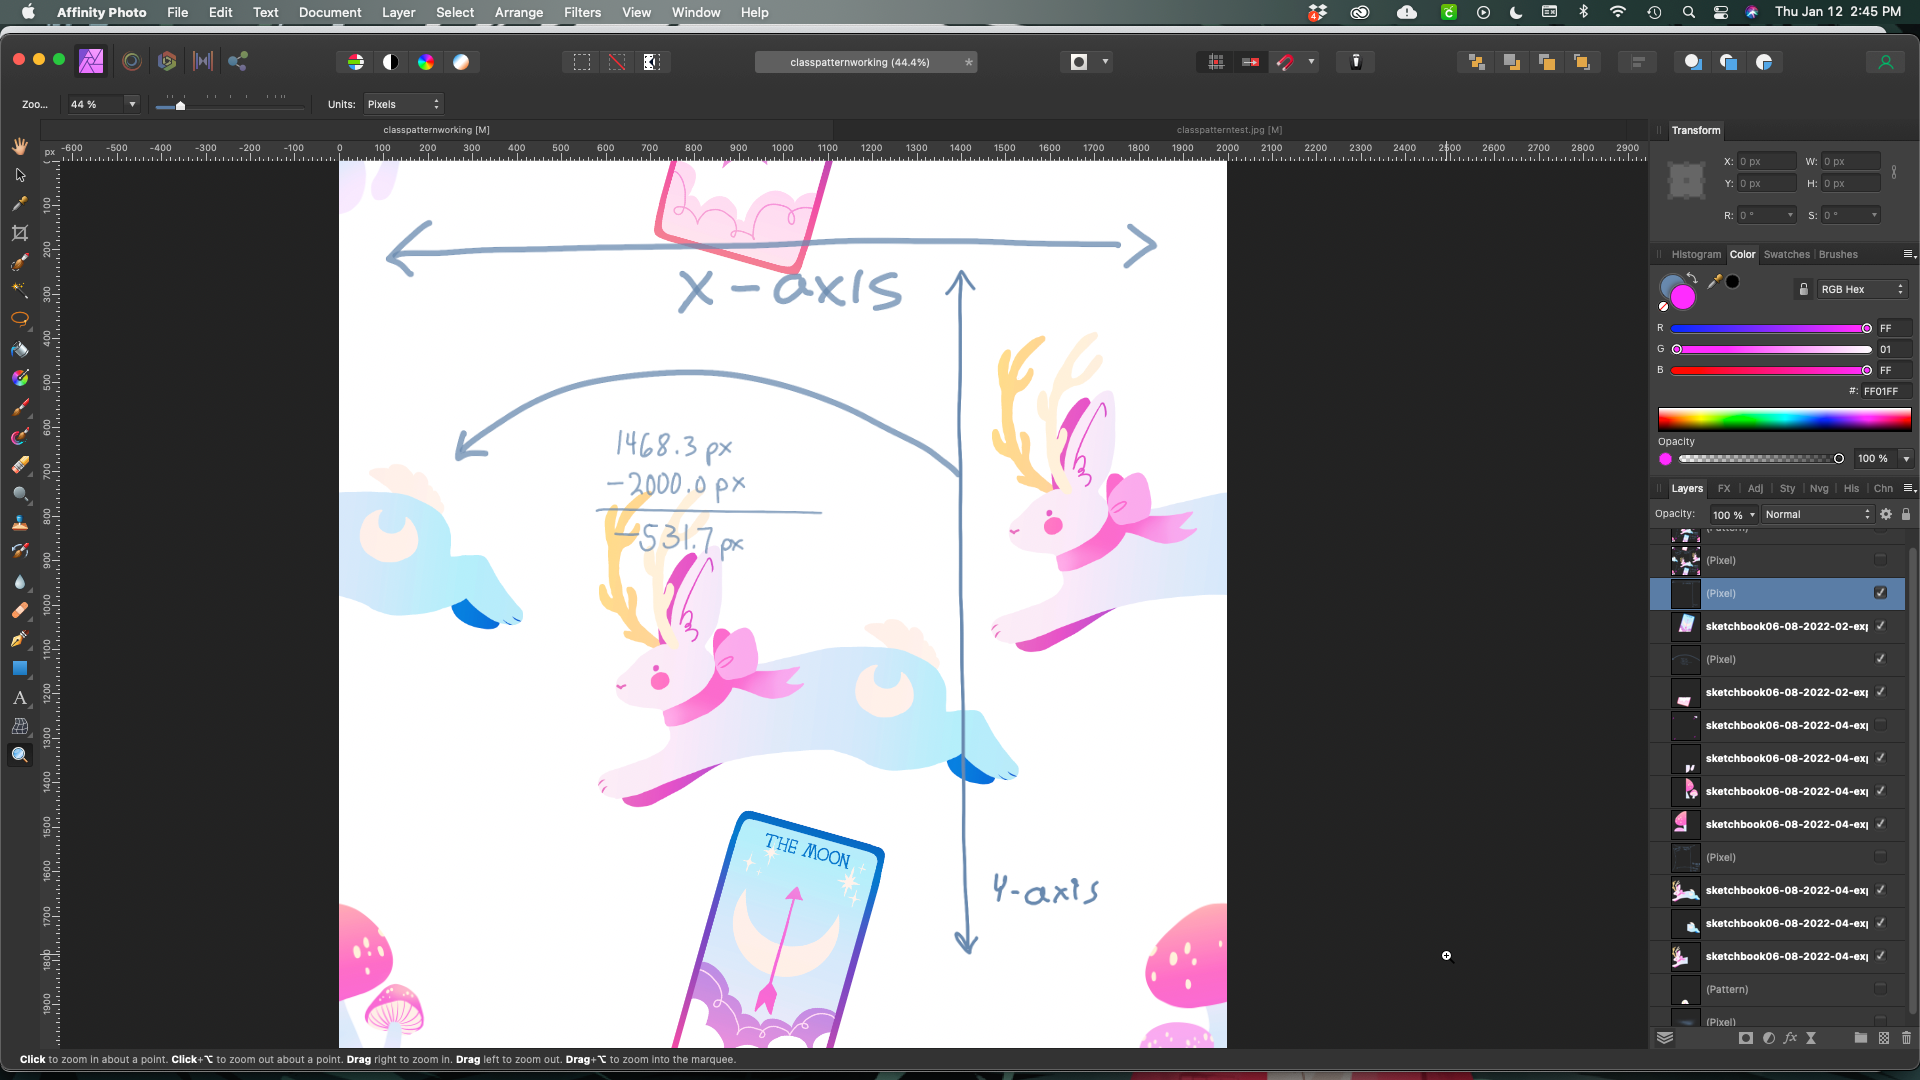
who might be unaware, the x-axis runs horizontally
across your piece. Alright, so the next thing
I'm gonna do is just to paste in one of my
pieces of artwork. And I am going to go ahead and slide it off the page here. You can place yours anywhere. It doesn't matter. What the key is, is
going to be finding out your measurements
and adjusting later. Now up here in the upper
right-hand corner, you're going to see
measurements for the x and y and the width and
height of your piece. If you do not see a
transform palette up there. And any measurements,
check, double-check, and make sure that
there's a bounding box around your pasted artwork, like mine has a
little box around it. You'll get that if you activate
it using the arrow tool. Once you have found your little Transform palette
with the measurements, you're going to want
to go ahead and write down or just
record it somewhere. The measurement,
the x measurement of your piece because we're
focusing on the x-axis. This particular piece
is 1,468.3 pixels. Now, do be sure that you include any decimals
in your measurements. Otherwise, it's going to be off. And just even like a 0.3 is
going to have a difference. So make note of your measurement for where
it is on the x-axis. Alright, so in order to have this be a seamless
repeating pattern, what we're going to want
to do is get our bunnies, but on the other
side of the page. Or for you, it'll be whatever artwork
you're working with, not necessarily a
bunny's behind. So to start to do this, what we're gonna do
is we're going to go to our layer with
our artwork on it, and we're going to go
ahead and duplicate it. This is going to create a whole, another layer, exactly the same, in the exact same space. Nothing should
have moved at all. Then we're gonna go
up here on the x. And we're going to
subtract 2000 from whatever number you had
originally in your X slot. So for me, this is going to
wind up being negative 531.7. And I'll go ahead and
write this down here. But basically what
you've done is you've just shifted the piece of artwork on the x-axis by
the unit measurement, your square, which for this
example was 2000 pixels. So if we subtract
that, we get 531.7. And that is the
measurement to get. For me. The bunnies behind perfectly seamlessly on the other
side of the x-axis. So when I use the
paint bucket tool and drop this in somewhere, it will flow nice
and be seamless. So to recap here, you are basically duplicating your layers and adjusting
your art work along the x-axis by subtracting or adding the unit measurement
of your entire square. And for this example
it was 2000. So when you want to
move something left, you're going to subtract 2000s when you want to
move something, right? You're going to add 2000. This should work for placing
anything along the x axis. Now, I also wanted
to mention here that if you want to pop any
additional artworks in here, and you want them to be in
the middle of the artwork and they're not flowing
off the end of the page. That's totally fine. You can just plop them
wherever you feel like. And it doesn't matter. You don't have to keep track of your measurements or
anything like that. It's only when you start going off the page do you need to concern yourself
with your measurements? One more thing I want to mention here is if you want to make any adjustments to your
artwork that you're having, go off the page into
a seamless pattern. Don't move them individually because they will
get misaligned. What you are going to need to
do is to select the both of them and then move them in
concert around the page. This way, they will always be linked and you
will never have to go back and redo the math and all that fun stuff
or not fun stuff. Let's say. That is pretty much it for our little x-axis
seamless pattern lesson. And in the next lesson we're
going to pick up and we're going to repeat the same
thing with the y axis. And then we're going to throw
it all together at the end. So thank you for joining us and I hope to see you
in the next class. See you later. Bye-bye.
3. Lesson 2 - Spanning Patterns Across the Y-axis: Hello everyone and
welcome to lesson two on creating seamless
patterns and Affinity photo. In the last class, we went over the
x-axis and how to get our patterns to tile
across that x axis. For this lesson, we're gonna be returning to the same example, but we're are going
to be exploring using a y-axis with using
measurements along the y-axis, we can then add in
new artwork pieces and have them go off the top
or the bottom of the tile. So to show you how to do this, I'm going to take
it the new piece of artwork that I popped
in here, the moon card. And I'm going to make it go off the top of the square panel. Now, again, as with
the x-axis example, you can see that there's a bounding box
around my artwork, which means that's active. And that also means that in
the upper right-hand corner, I can access where the x and y coordinates are for that specific
piece of artwork. And just as in the last example, I'm gonna go ahead and mark down my coordinate measurement, which in my case
is negative 274.2. Then when your artwork is going
off the top of the panel, you are going to add the measurement for your
whole square panel. And in this case,
it's 2000 pixels, so I'm going to add that. So this should give me 1,725.8. And that is the number
that's gonna get me for my duplicate layer to appear in the right
place along the y-axis. So it repeats seamlessly. So I'm gonna go ahead and
duplicate the original layer. Once that layer is created, I'm going to go in and up in the little menu up at the
top there in the right. I'm going to put
in the 1,725.8 and that is automatically
going to shift the second artwork to the
bottom of the square. And there you can
see it has moved. So now this would
all perfectly tile on both the x and the y-axis. And just a little reminder, if the bounding box
doesn't show up around the piece of artwork
that you're trying to move. That means you need to
get the arrow tool out and activated before you can go in and adjust where it
is along the y-axis. Alright? So just as with the example
before, with the x-axis, if you select both layers that have your matching
artwork on it, you can move the whole
thing in concert and you can make adjustments on where you would
like to put it. Now you may be wondering, what if I want to put something in one of the
corners of my panel? Well, you can do that. It's a bit trixie
and we're going to save that for the next lesson. So that is it for this lesson. And I hope I will see you
in the next lesson where we will go over putting
things in the corner. But don't put baby there,
you'll get in trouble. So thank you for watching and I'll see
you in the next lesson. Bye bye.
4. Lesson 3 - Placing Designs in the Tile Corners: Hello everyone and welcome
to lesson three on turning your artwork into
seamless repeating patterns. In the last lesson, we went over adjusting your
art work along the y-axis. In this lesson, we are going to go over putting a piece of your artwork down into one of the corners
of your tile square. Here you can see, put it in the lower
right-hand corner. And I think I'm going to
focus on the x-axis first because both axises will come
into play in placing these. So it perfectly tiles. So with that said, I'm gonna go ahead
and write down my x axis measurements first. So in my example here, the x-axis is 1,747.6 and the y-axis location is 1,640 point for whatever
your measurements are, you are going to want to
mark down both of those. The next step then
is to activate and duplicate your artwork layer. Then go ahead and do the math to move your art work
along the x-axis first. And here you can see
I have done that. It has moved the mushrooms all the way to the
right so they go off the edge of the page and it will tile them along the x-axis. But it's going to mess
up along the y-axis. Here I've written down
my math basically to get your artwork to
move along the x-axis. As we already discussed, you're going to subtract
the width of your tile, which for me was 2000 pixels, and that resulted
in negative 252.4. Well, let's pause and look at this with a little
better visual. So we're basically taking our artwork and we're
going to move it along the x-axis first to move it to the lower
left-hand corner. And again, before you move it, you're going to want to
duplicate the layer and then go ahead and adjust, do your math and
do the adjustments to move it along
the x-axis. Here. I have done that. Now, the next step, we are going to be
focusing on that layer, the lower left hand corner. And we're going to move it along the y-axis to the upper
left-hand corner. So you're going to duplicate
that layer and then figure out your measurements and then do your math to adjust
it along the y-axis. Now, here is probably a
little difficult to see, but my little mushroom bottoms, they showed up up there. I can visually see that this
is all coming together. And now for the final step, we're going to move it
back along the x-axis. But we are going to be using, making a duplicate of
that layer that is in the upper top left corner. We're not messing around with any of the other
layers right now. We're basically playing
Ring Around the Rosie. Alright, so I will duplicate
and paste that layer now. And it should show up
in, Yes, there it is, in the perfect area in the
upper right-hand corner. Here I'm going to
mark each corner with a hot pink star just so my little examples show
up a little bit better. And then the next step is to turn this into a pattern and do a test tiling to see if
everything turned out okay. Alright, so the first thing
we're going to need to do to create a
test tile is we're going to need to select all of our artwork layers,
excluding the background. Don't bring the
background into this. And you're going to want to
merge them all together. And they should show up on a new layer up here,
all merged together. And next, you will select
everything on that new layer. And you are going to go up
to the Layer menu up here. And you're going to scroll down to new pattern layer
from selection. And you're going to want to go ahead and give that
a little click. Once you do that, you will see that a new pattern
layer has emerged above the old layer where you merged all your
art work together. The next step is
to create a new, larger document that
we can tile into. Then we're going to go back into our original document with the pattern layer selected. We're going to copy that. And then we're gonna go back to our very large
white blank page. And we're going to copy
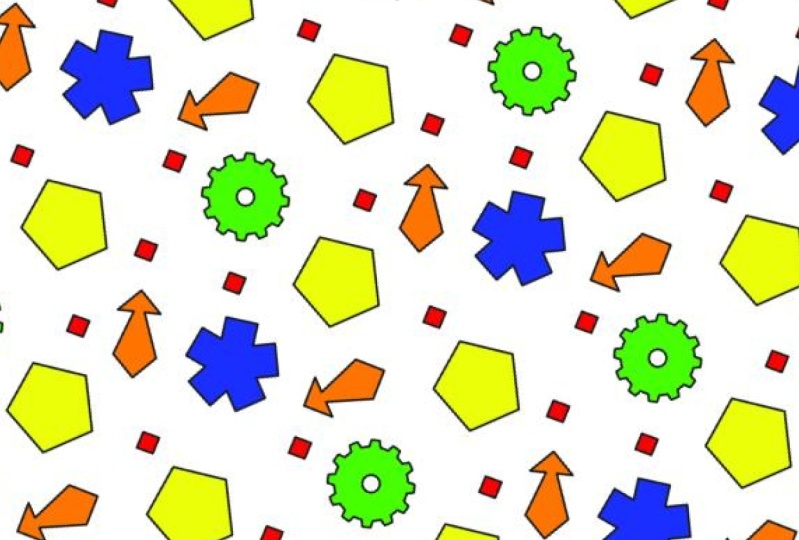
the pattern into here. Now. It looks gigantic right now. But let's zoom out
and re-size it. And I think we're going to
find that it has perfectly tiled and made a very
ugly example pattern, but it's necessary
in order to learn. So I will zoom back in here a little bit and I'm
just going to circle a couple of the mushrooms with their little ugly
hot pink stars. So you can see it
did tile perfectly. And it is a little bit tricky, but you can do things in the
corner of your tile squares. So there you have it. So that is it for this lesson. And in the next lesson
we're going to finish up. We're going to make
a pretty pattern. And I'm going to show you
how to export it and use it on merchandise or your
own personal projects. So thank you for joining us and I hope to see you
in the next lesson. Bye bye.
5. Lesson 4 - Exporting and Using your Patterns: Hello everyone, Welcome
to lesson four on creating seamless repeating
patterns in Affinity Photo. And this will be the last
lesson of this course. The last lesson, we
went over placing artwork in the corners
of the tiles and using both the x and y-axis in order to get the
artwork to repeat. At this point in the lesson, you should have all the
tools you need to finally create your very own
seamless repeating pattern. So at this point, it is mostly going to be you importing your artwork
into the square tile. Keeping in mind, of course, the x and y axis's. And you're just going to want to fill up the whole page or the whole tile with a nice repeating pattern
that feels good to you. I will now share with
you a little sped up, time lapsed version, my process just so you can see
how I work a little bit. And then after this, we will export
your pattern files and start using
them in a project. The example we're going to
use is a notebook cover. Also, this time-lapse
is about 59 s long. So if you just wanted to skip through it and go
onto the next one, that's also awesome too. Alright, so once you have your artwork about where you
think you'd like to have it, then it's time to
save your work. And after you save your work, you're going to want
to go ahead and export your tile as a JPEG. This is just one way to do this. Other way we did it was in
the last lesson where we selected all of our
pieces of artwork. And we merged all
those pieces of artwork and they showed
up on a new layer. And then we turned
that into a pattern. But this way, you can save your design as a JPEG
and then open up this design anytime
without having to worry about your base document,
the origin document. Basically doing it this way is just an added safety measure. The next thing we're going
to do is to go ahead and open up that jpeg document
that we just saved. We're going to select
the background layer. And we're going to go back
up into the Layer menu and select the make a pattern
from selection, I believe. Or you can choose a new pattern from
layer if you want to. If you haven't selected the
layer, it doesn't matter. Both things are
going to turn up. You're going to end up
with another layer on top called the Pattern layer. Now this pattern layer is the basic repeating pattern
that you just made. So if you take the arrow tool and you move around
this pattern layer, you're going to see
that a whole image just keeps on repeating
itself as you move it around. So the next step then is to
copy your pattern layer, the width command C or
whatever your computer uses. Then I'm gonna go ahead and open up a notebook cover file, which for me is an
eight-and-a-half by 11 sheet. And then I just fold
those over and make little kind of nice size pocket notebooks,
travel notebooks. And then you're going
to want to go ahead and just paste your
tile pattern in there. And it should
automatically repeat everywhere and be
completely seamless. Now here's the tricky part. If you notice anything you
don't like about your pattern. Now is the time that you'll
end up going back to your original file and
make some adjustments. For me. I felt that the black
cat was a little too big and a little to notice. Noticeably repeating.
I mean, they all do, but that's pretty
glaring for me. So I'm just going to go back and do some edits and keep on repeating the process
of creating new jpegs. And then I'm pouring the
pattern into the file. So here I am back in my original document and I'm
going to see if I can't make just a very easy
tweak to that cat by just shrinking
down the files. So what I'm gonna do is I
have both of them selected, so they'll still be
in concert together. And I'm just going to
shrink them together. These are little quick
tips that you can do to make things
easier on yourself. And then, well, the adjustment
isn't going as planned. So I'm probably going to have to remeasure and do the math again and adjust
the top black cat again. So I will just focus on getting the cat on the
bottom where I want it. And then I'm just going
to go ahead and delete that other layer up top that
has the other cat on it. Then I'm going to read duplicate the layer with
the cat on the bottom. Then I am going to
go back in and do my little mathematical
adjustments on the y-axis to get the
cat to show up nicely. And the new cat layer should
go ahead and there it is, it'll pop right in there. Now, this doesn't look
quite so perfect to me. So I am going to
add another small bow up there and just
play around with it. And this is what you'll be doing to just until you get it. So it looks visually appealing to you and
you're happy with it. The most important thing
I believe in making a pattern is to make sure
that you are happy with it. I mean, I think that goes for
any artwork you make ever. So, yeah, just be happy
with what you make. Alright, so after you've made
all of your adjustments, just go ahead and save it and then paste it into
your new document. And here the cats are smaller. And I like this, repeat
quite a lot better. Now you may be thinking
to yourself, Well, this is great and all, but I don't want a
white background. Well, go back to your
original document and start a little background layer underneath all of your
pattern files, all of them. And you can just pop in different colors
and sample things. This blue is not
working because it's too close to the
blue in the images. So I will be changing
it to purple. Here. I fast
forwarded and I went ahead and made it purple. This is looking at a
heck of a lot better. Now, once you have one
of these files done, you're gonna do the exact
same thing that you did before with
the original file. You're gonna go ahead
and save it as a JPEG. And that is going to
be your pattern file. You can make as many different
backgrounds as you want. Just export them all as your
little square J peg tiles. And then just lather rinse, repeat everything that
you've learned so far. So this pretty much wraps up this lesson and the whole class. So if you have any
other questions, if I didn't cover something, please feel free to ask me that. I believe there's a
section where you can ask me and I hope to see you in my future classes or in any of my previous classes
that I've made. So thank you all for
joining me and I hope you learned something useful and I hope you will
enjoy yourselves. Have a great day. Bye.
 Amy Stoddard, Amy Illustrates