Create Your Own Stickers on Cricut Joy and Procreate | Elaine Vitikainen | Skillshare
Search

Playback Speed


1.0x


  • 0.5x
  • 0.75x
  • 1x (Normal)
  • 1.25x
  • 1.5x
  • 1.75x
  • 2x

Create Your Own Stickers on Cricut Joy and Procreate

teacher avatar Elaine Vitikainen, Illustrator from Helsinki

Watch this class and thousands more

Get unlimited access to every class
Taught by industry leaders & working professionals
Topics include illustration, design, photography, and more

Watch this class and thousands more

Get unlimited access to every class
Taught by industry leaders & working professionals
Topics include illustration, design, photography, and more

Lessons in This Class

    • 1.

      Introduction

      1:36

    • 2.

      Class Project

      0:48

    • 3.

      Preparing the Stickers

      2:04

    • 4.

      Preparing the Sticker Sheet

      3:21

    • 5.

      Drawing the Template

      2:23

    • 6.

      Printing the Sticker Sheet

      3:16

    • 7.

      Cutting the Stickers

      2:42

    • 8.

      Thank You

      0:28

  • --
  • Beginner level
  • Intermediate level
  • Advanced level
  • All levels

Community Generated

The level is determined by a majority opinion of students who have reviewed this class. The teacher's recommendation is shown until at least 5 student responses are collected.

1,340

Students

2

Projects

About This Class

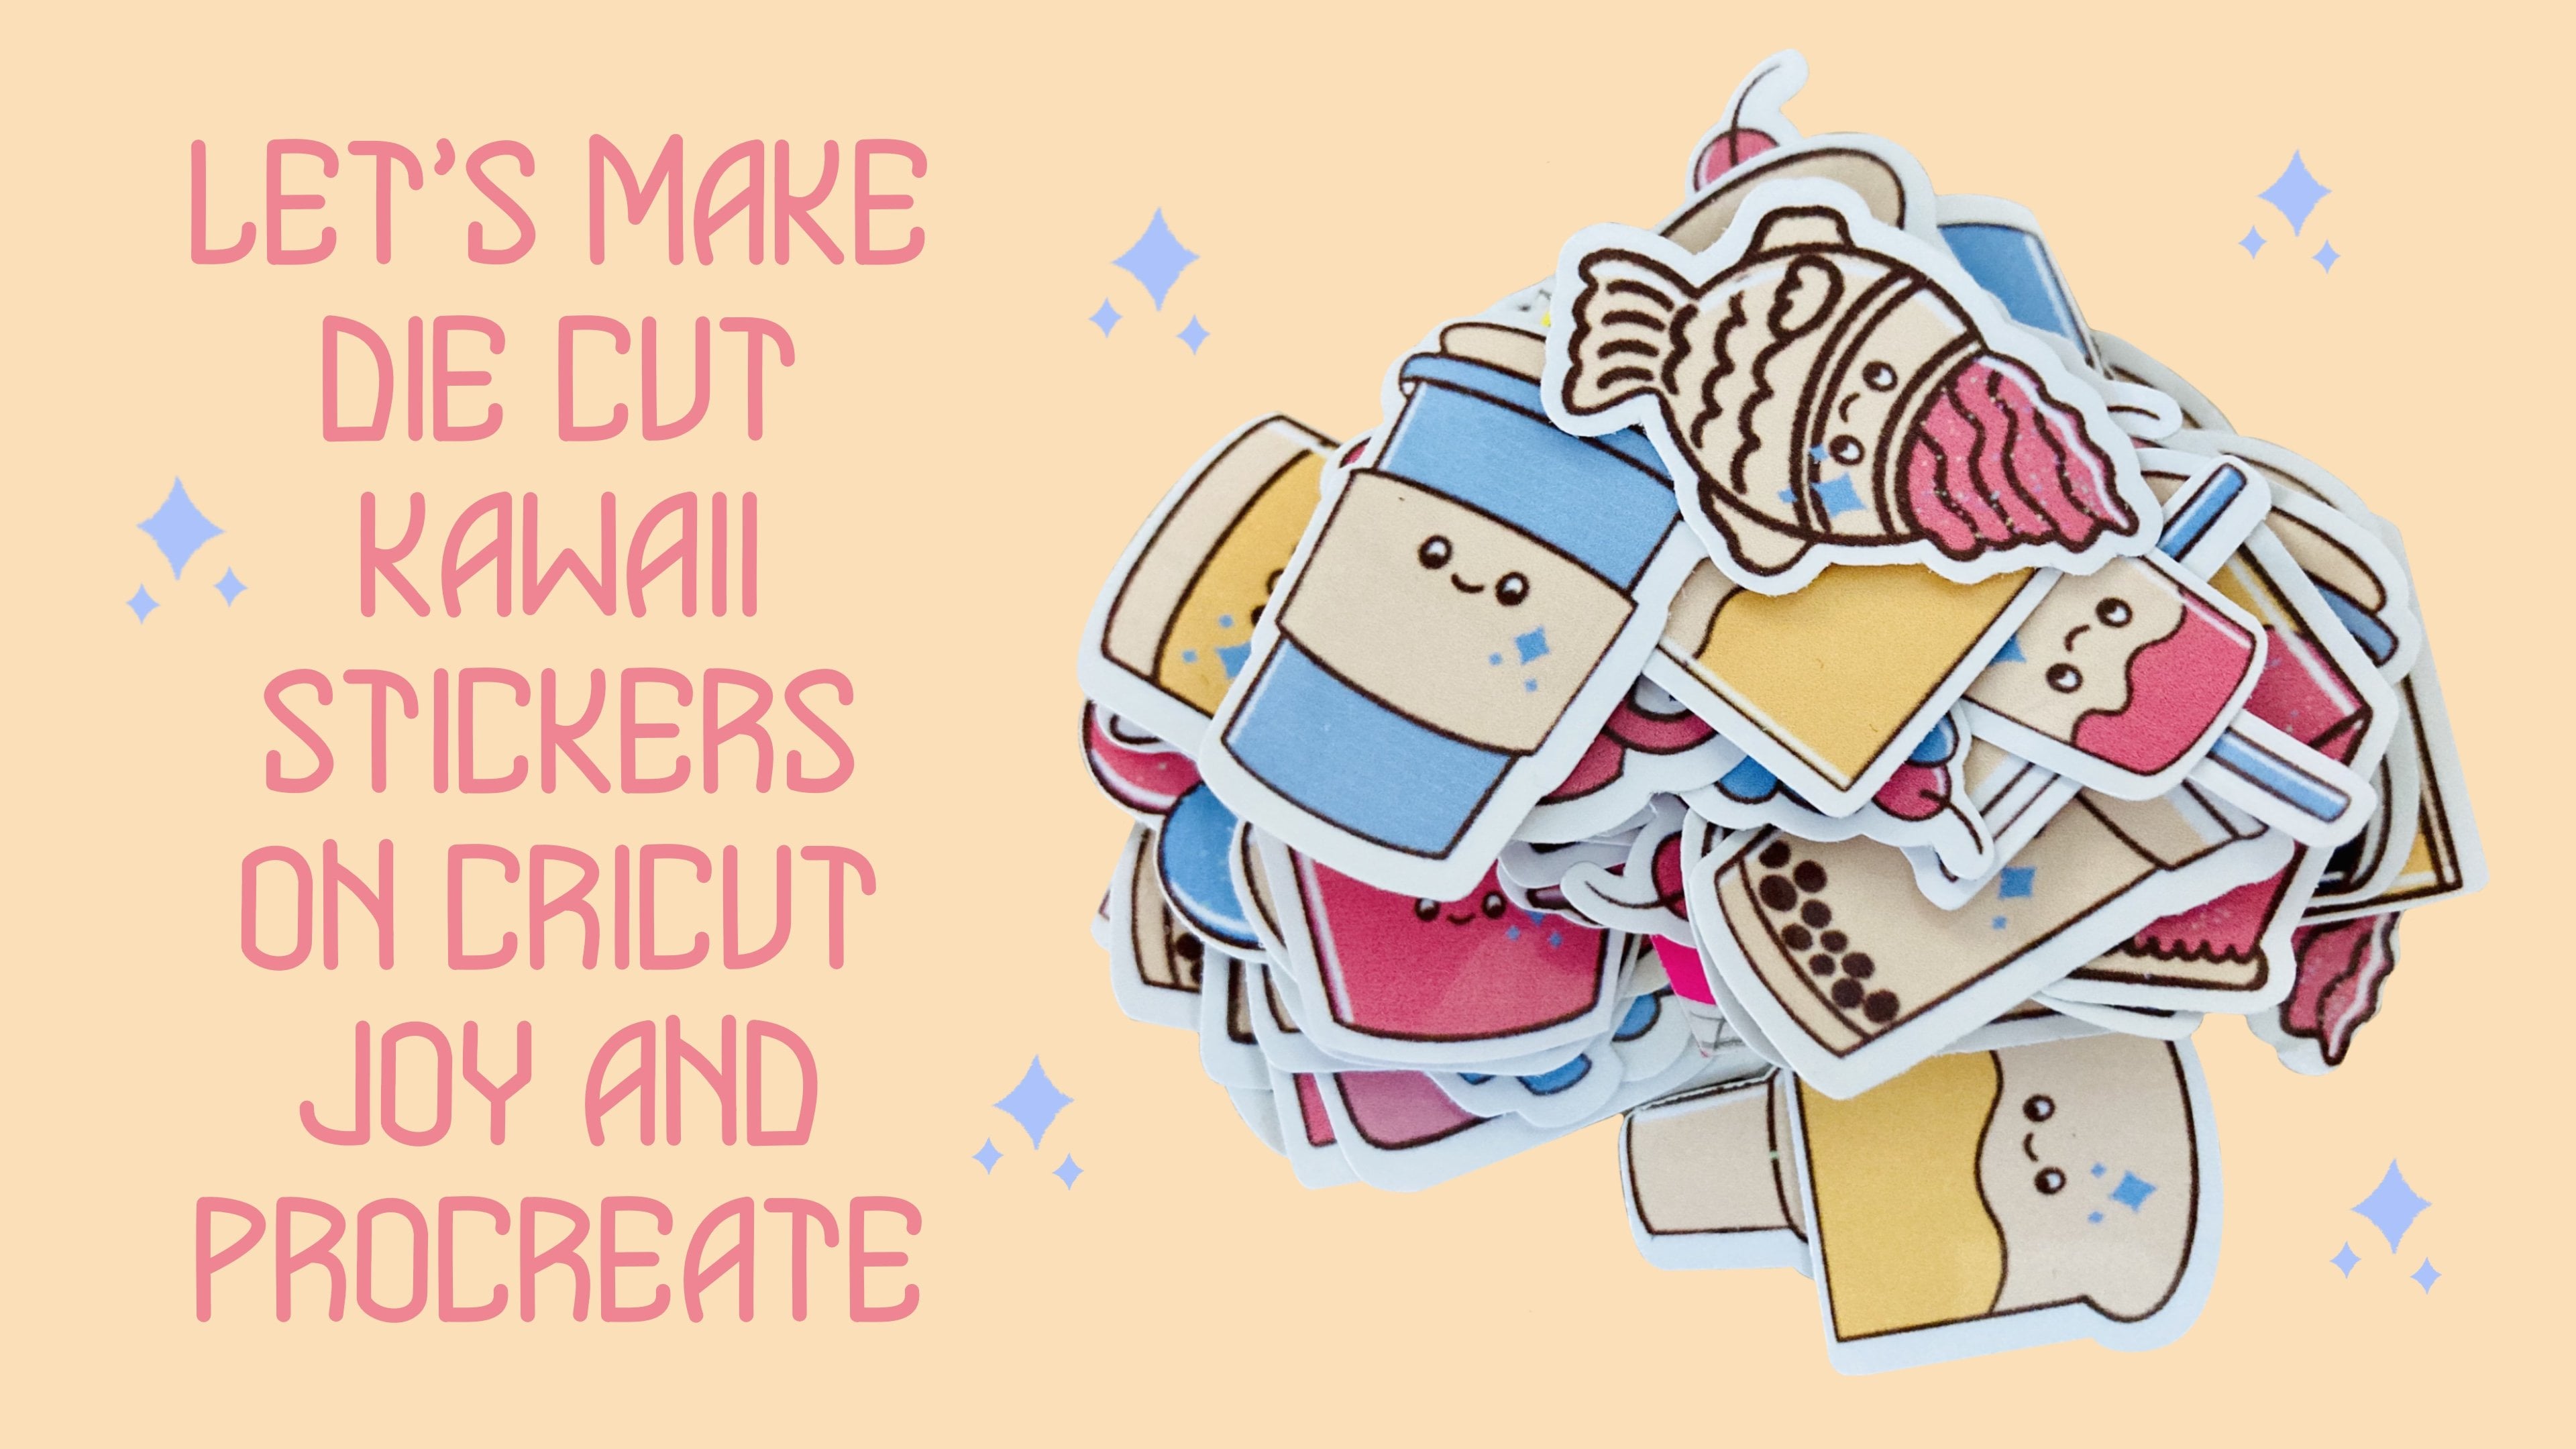
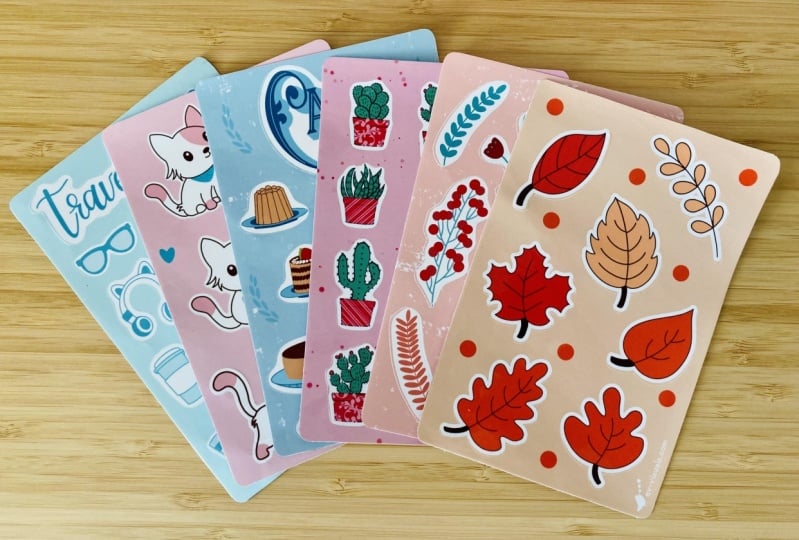
Do you want to create stickers for your own use, to share with friends or even to sell?

I’ve been making stickers for as long as I remember. At one point, I was drawing on an A4 label paper, then cutting these drawings into squares to make easy stickers. Then I started illustrating my stickers on an iPad using the Procreate app. I print them out on a vinyl sticker paper. Then I cut them by hand. But now, I have a Cricut Joy that makes sticker making even more fun, addicting and somehow relaxing. I’m really enjoying the process. So why Cricut Joy? I have a small working space so the size of the Cricut Joy just works well for me.

In this class, I will be sharing with you how to set up your sticker sheets on an iPad using the Procreate app. Then we will upload our sticker sheet on the Cricut Design Space to have them printed on a printer and then cutting them on the Cricut Joy.

By the end of this class, you will have a sticker sheet that you've created yourself! I hope to see you in class.

UPDATE ON CRICUT JOY

Hello there! I've now published my latest (and final) sticker class on Skillshare - Let's Make Stickers on Cricut Joy and Procreate. Please have a check here: https://skl.sh/48Ixv0A

If you have read my post before, I wrote about the Cricut Design Space being updated. It is now asking to register your machine. So I cannot anymore change my Cricut Joy to Maker to print my stickers. If you have joined my sticker classes, you know this step. So my latest class is a small update to my sticker classes where we learn a new method of creating our stickers so that we can continue to make stickers on Cricut Joy. This doesn't mean that my previous classes are outdated. I’m just adding a simple step to the process. Please check it out. Thanks!

Meet Your Teacher

Teacher Profile Image

Elaine Vitikainen

Illustrator from Helsinki

Teacher

Hi! I'm Elaine Vitikainen. I'm an illustrator and an entrepreneur from Helsinki. While others may say that they have been drawing since the first time they held a pen (which I think we all did), I can honestly say I learned to draw later in life. It was in 2019 that I established myself as an entrepreneur and made visualisation and illustrating as my main work. I've conducted creative facilitation that incorporates the practical and effective use of visuals. With my Masters degree in Communication, I've supported organisations' communication processes by placing organisational communication into visual context. I've illustrated for the Non-Profit organisations and for the development filed. I've also conducted Visualisation workshops to those who desire to be more visua... See full profile

Level: All Levels

Class Ratings

Expectations Met?
    Exceeded!
  • 0%
  • Yes
  • 0%
  • Somewhat
  • 0%
  • Not really
  • 0%

Why Join Skillshare?

Take award-winning Skillshare Original Classes

Each class has short lessons, hands-on projects

Your membership supports Skillshare teachers

Learn From Anywhere

Take classes on the go with the Skillshare app. Stream or download to watch on the plane, the subway, or wherever you learn best.

Transcripts

1. Introduction: Hi, I'm Elaine Vitikainen. I'm an illustrator and an entrepreneur from Helsinki. I've been making stickers for as long as I remember. At one point, I was drawing on an A4 label paper, cutting them up into squares to make easy stickers. Then I started illustrating my stickers on an iPad using the Procreate app, printing them out on a vinyl sticker paper then cutting them by hand. But now I have a Cricut Joy which makes sticker making even more fun, relaxing, and even addicting. So why Cricut Joy? I have a very small working space which makes Cricut Joy really works well for me. In this class, I'll be sharing with you how to prepare your sticker sheet on an iPad using the Procreate app. Then sending our sticker sheet to the Cricut design space to have it printed on a printer, then cutting them out using the Cricut Joy. By the end of this class, you will have a sticker sheet that you've created yourself. I really hope to see you in class. 2. Class Project: For the class project, we will be creating a 4 X 6 inches sticker sheet. We will be using an iPad and Apple pen or any stylus that you have and the Procreate app. We will also be needing the Cricut design space, a printer and a printable sticker paper. And of course, we will be using the Cricut Joy and the 4.5 X 6.5 inches mat. We will also be needing a cutter or scissors. I'll be providing the template that will serve as a guide when we cut our stickers on Cricut Joy. And also the Procreate canvas where we will be designing our sticker sheet. You will find these resources in the class resources section. 3. Preparing the Stickers: Now it's time to draw stickers on Procreate. Let's open Procreate. Hit the plus sign and let's create our canvas. I will set it at 15 X 15 inches and 300 DPI for good quality printing. Hit Create. And now we can start drawing our stickers. I suggest to have six to eight drawings depending on the size that you're going for. I also suggest to draw a sticker on separate layers. When you have done all your drawings, Let's name this file stickers. Now let's download the two files. One is the template that we will use to position our sticker sheet. And the other one is the sticker sheet where we will be placing our stickers. I've also prepared a color palette for my sticker sheet. Your sticker sheet is so much according to what you like. For example, you can add a border on the one side or both sides of your sticker sheet where you can put information. For example, the name of the sticker sheet and information about yourself, like your website. You can also add your logo or maybe your signature. But for me, I wanted to have a minimalistic style where I can use as much space as possible to have more stickers in my sticker sheet. So I'm just placing these small information on the corner. 4. Preparing the Sticker Sheet: Now we will upload all the stickers from the sticker file to the sticker sheet. It's a copy and paste process. Copy the layer, then paste it by swiping three fingers. Continue doing this until you have all your stickers uploaded to the sticker sheet. I will then arrange the stickers in a way until I'm happy about how it looks. Be sure to have enough space between the stickers. And also consider the space around your stickers as we will be putting the offset around them later. I'll drop a color to my sticker sheet and put some design on the sheet to make it more attractive. I'm just adding some random dots just to give another dimension. When I'm happy about it, I'll put all the stickers in one layer by pinching them together. Then I'll save all three files as PNG. I will send them to the Cricut design space. 5. Drawing the Template: So here we are on the Cricut design space. Let's start a new project. First, we upload the template. Follow me in this process. Be sure that the template is 4 X 6 inches in size. Select the template and put it to draw. Then pen then take the 4.5 by 6.5 inches mat. Be sure to change the blade to pen. Follow me in this process. So now we have a guide where we will put our sticker sheet later for cutting. 6. Printing the Sticker Sheet: So now we will upload the two other files, the sticker sheet and the stickers. It is the same process of uploading the template. Be sure that the sticker sheet is 4.5 inches. Select both, then choose align, then center. Let's send the sticker sheet to back so that we can see our template. Now let's upload the stickers. First, let's add the offset. Select, then choose offset, then adjust to the desired thickness. Change to the color of your choice. Select both layers, then attach, place the stickers on the sticker sheet. Select all attach, then duplicate so that we can print two sheets on an A4 printable sticker paper. Select all, then position to 0. Select all, then attach. Be sure that this is set to print then cut. Since the Cricut Joy doesn't have the ability to print and cut, I will change Joy to Maker. Then click make it. Be sure that your printer has the right setting. For example, if you're printing on a glossy sticker paper, then set the printer to print glossy paper. Also be sure to unselect the add bleed before printing. So now we have two sticker sheets. Let's cut it. Place it on the mat exactly where the template was drawn. 7. Cutting the Stickers: Now it's time to cut our stickers. Let's go back by clicking Cancel. Select all, then detach. Let's remove the other sticker sheet as we can only cut one sheet at a time. Uncheck the sticker sheet as we don't want the Cricut Joy to cut the design on the sheet. Uncheck also the stickers. But keep the template so that the Cricut Joy will cut on the right places. Select both. Then change the operation to basic cut. Now we can change back to Cricut Joy. Then make it. To set the base materials, browse all the settings. Then material setting, add new material. I'll name mine sticker. Save and adjust the multicut to 85. This is because my sticker paper is quite thin. You have to adjust this according to the thickness of your paper. Now let's change the pen to blade. Load the math with the sticker sheet on, then go. Since I don't need the Cricut Joy to cut the edge of my sticker sheet, I will cancel the cut once all the stickers are cut and I can see the blade moving towards the side. Unload and now it's ready. I also cut out the template using the cutter. There we go. We have created a beautiful sticker sheet. 8. Thank You: Thank you for joining me in this class. I hope you have learned something about sticker making, using Procreate and Cricut Joy. I also hope that you enjoyed the process and are inspired to create more stickers. Please don't forget to snap a photo of your sticker sheet and post them in the project gallery section. Bye for now, and I hope to see you again soon.