Transcripts
1. Welcome: After Effects is notorious
for being intimidating. If you've been thinking
about learning motion design and After Effects, but have no idea
how it even works, this mini class is for you. First, I'll break down
the process of creating any animation into
five simple steps. This way, you'll have an
overview of the process. So once you open After Effects, it won't feel so overwhelming. Then I'll walk you
through creating your first animation using the
five steps as a framework. By the end of class, you'll have a finished animation and the
confidence to keep learning. So if you're ready
to create your first After Effects animation, then let's get started.
2. Overview of the 5 Steps: Projects and resources
section of this class, you'll find the project
files that you can download. We'll start working on
that in the next video. Also in the downloads,
there's a cheat sheet and poster to help you remember the five steps to
create any animation. That's what we'll talk
about in this video. You don't need to do anything in After Effects in this video. Just watch to get an
overview of the process. The first step to
creating an animation in After Effects is to
create a composition. Every animation in After Effects lives inside of something
called a composition. Think of it as the container for your animation, your Canvas. Step two is to import
or create your assets. What you're going to animate. You can import files like artwork created in
Illustrator or Photoshop. Or image files like
PNGs and JPEGs. If you want to be able to
move something independently, it needs to be its own layer. This one idea alone clears up a lot of confusion
for beginners. You can also import
video and audio files to incorporate into
your animation. Just drag your assets
into your composition. Another option is to
create the graphics or text for your animation
right in After Effects. Do this using the shape tools, the Pen tool, and the text tool. Step three is to set keyframes
to make things move. In the timeline, layers
have properties like this. Any property with a stopwatch can be animated with keyframes. Keyframes tell After Effects, I want this thing to be
here now and here later. You can and eventually should adjust the motion of your
keyframes in the graph editor. Now instead of a boring
linear animation, it shoots in then
eases to a stop, which is much more interesting. The majority of
your time spent in After Effects will be
setting keyframes. Step four is optional, and that's to add additional
properties to your layers, either to change
their appearance or to give them more
animable properties. There are a few ways to do this, including shape operators,
text animators, layer styles, and effects. You can also use
masks and mats to animate parts of layers
being hidden and revealed. This is where a lot of
beginners try to start on the things that make an
animation look cool or advanced, but this is a mistake. Here's the most
important mindset shift. Learning After Effects isn't
about memorizing tools. It's about understanding motion. So focus on the basics and understand why you're
doing what you're doing. The final step is to export
or in After Effects terms, render your animation
as a video file. Depending on how long or
complex an animation is, you may go back
and forth between these steps multiple times. But once you understand
these steps, After Effects stops
feeling unknown and starts feeling like a
repeatable set of actions.
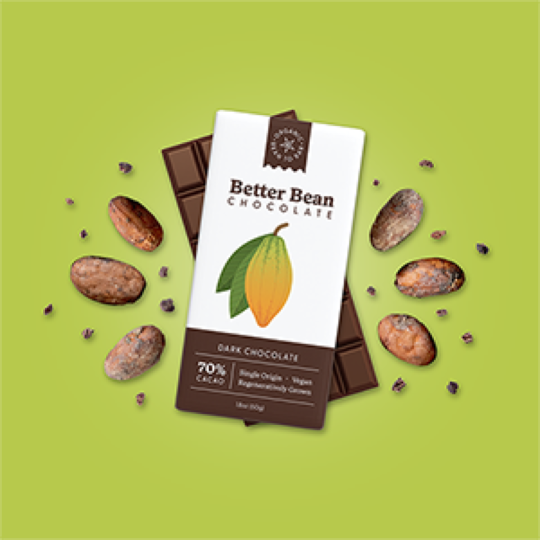
3. Step 1: Create a Composition: Let's practice the five steps
by creating this animation. Once you have downloaded
the project files, open up After Effects. If you see this screen,
click New Project. And if you already
see this screen, this is a new project. From here, we need a container
to hold our animation. That's called a composition. So you can click this
New composition button right here. Let's
give it a name. I'm going to use a
width and height of 1920 by 1080 because
this is standard HD. Also, square pixels
makes a lot of sense. And then for the
frame rate, I'm going to use 30 frames per second. For animation, it's nice
to work in whole numbers. That way, your timeline
is nice and neat. But if you're working
to specifically put animation on top of a video, you might want to match the
frame rate of the video, which might be
something like 29.97. I'm going to make my
composition 4 seconds, so this is going to be hours, minutes, seconds,
and then frames. Then let's hit Okay. You'll see the new composition in
the project panel here. This is where everything
that you import into After Effects and all of your
composition lives. It's like a media library. Then down here, you should see a tab that shows your
open composition, but there's nothing in
the composition yet, which is also why
the composition viewer just looks black. You can have multiple
compositions in an After Effects
project file, but now that that
button is gone, to make a composition,
you either need to go to composition new composition, or you can click on this
little button down here. If you need to get back to
the composition settings, you can change those
later even after you've created your composition
and added some animation, you can go to composition
composition settings. Before we go any further, it's important to know
some best practices, which is file organization. I'm going to save
this project file. You can do Command or Control S or go to the file menu to find Save and then navigate to the folder on your computer where you have the
project files. Already in that
folder, I created you an AE folder where you can store your After
Effects project files, and so we just need
to give this a name. It's important to keep
all of your project files organized because if
you move a file later, even if it's the After
Effects project file, or it could be something that you've imported
into After Effects, After Effects won't
know where that file went because it's just creating a link to its current location. So that's why it's important to stay organized from the start. So you're not
accidentally moving files around and having
things go missing. From here, just hit safe.
4. Step 2: Create or Import Assets: Next step is to gather
all of the assets, the things that we
want to animate. So let's start by importing those Photoshop files
that I've provided you. So you can go up
to File, Import, file, and then navigate to
those files on your computer. You can import one
file at a time, or you can do
multiple at a time. I'm going to hold down Shift to select all three of
these Photoshop files. Then this part is
really important. Make sure that you
have Import as set to composition
retain layer sizes. If you don't see that option, click this Show Options button. So again, composition
retain layer sizes is very important.
Then hit Open. Now in the project panel, we have three new compositions, one for each of the
Photoshop files, and there's also a folder of all the layers that were
in that Photoshop file. It's good to get
in the practice of staying organized in
your project panel, and I like to try to
mirror as much as possible the folder
structure on my computer. So to create a folder, you can just hit this little button, and then I'm just going to
name this something like Photoshop or assets or
something like that, and then just drag in all those Photoshop files and
their folders into that. To open a composition,
just double click on it, and then it'll open
up in the timeline. I'm going to switch
back over into the orientation composition. You can also create assets
right inside of After Effects. Let's create a background. I like to use a shape
layer for the background. So if you go up here,
this is the shape tool. If you click and hold, there's
other tools underneath it, but I want to just use
the rectangle tool. Once you select a tool,
you can click and drag out a shape in your
composition viewer. But if you want the shape
to fill the entire screen, a shortcut is just to
double click on the tool, and I can go up here to
fill to change the color. So I'm just going to paste in
a hex code for this screen. Feel free to copy this exact code if you want the same color. Then it's always a good
idea to label your layers. So I'm going to go down to the Shape layer one, select it, and then hit Return
and then give it a name and then hit Return
again to save that name. Let's also create a text layer. I'm going to go up
to the text tool and then just click
to start typing. When you're finished typing,
you can go back up to the selection tool
by clicking it here. Depending on what type of
layer you have selected, the Properties panel will
display different properties. By default, the properties panel for you is probably over here. But if you want to
move things around and customize your workspace, all you have to do
is click on the panel name and then just drag the panel into one of
these highlighted areas. From the Properties panel,
you can change the font, and you can install this font if you want
the same font as me by clicking on this button
and going to Adobe fonts, and you can change the size and other properties
of the text. To perfectly center this,
you can use the align panel, which is over here,
and I'm just going to center it horizontally
and vertically. If you ever don't see one of
the panels that you need, you can find it underneath
the Window menu. Now let's add the Photoshop
files to our composition. So I'm going to go back over
to the project panel here, and then I'll double click on the chocolate bar composition to open it in the timeline. We can copy and
paste these layers into our orientation
composition. So just select
them both and then hit Commander Control C to copy, switch back over into the
orientation composition, and hit Commander
Control V to paste. Then we can just drag
these into place or use the align
tools to center them. You'll notice that the layer order and the timeline matters. So right now, the chocolate bar is
underneath the package, but if I drag it above, now it's visible. I'm
just going to undo that. Another way that you
can add your assets to your composition is to open
up the folder of layers from Photoshop and then just
select all the layers and drag them and drop them into the composition viewer
or into the timeline. Now, these are all on
top of each other, so I'm going to need to drag
them out and space them out. But I'll do that step later.
Let's just close this up. Then I'm going to double
click on the cacao beans and just copy and
paste six that I like. I'm not going to use them
all. Wherever there's a bar for your layer
on the timeline, that's where that layer
is going to be visible. Let's say we don't want the
cocoa beans, the cocoa nibs, the chocolate package or the
chocolate bar to come in and tell 1 second and 15
frames right here. We can drag the start of all
these layers back so that now they're not visible for this first 1 second
and 15 frames, and then they become
visible here. Let's also trim the
text layer so that it ends right when
these layers start. You can scrub through
your timeline by just dragging the playhead around or you can actually
play back your animation, not that we really
have an animation right now by hitting
the space bar. Step three is to set keyframes
to make things move. But before we do
that, let's arrange these layers in the final state that we want to
animate them into. If you open up a layer by toggling the little
triangle here, you'll see these
transform properties. I'm going to rotate
the chocolate bar so we can see it behind the package and
then I'll go into the package and rotate
this the other direction. Then I'm going to move these
cocoa beans into place. And also rotate them. So if you have a
layer selected and you have lots of layers
in your timeline, a quick way to scroll to that
layer is to hit the X key. And then if you want to quickly get to a certain property, you can use keyboard
shortcuts for that, too. So to get to the
rotation property, the keyboard shortcut
is R. Scale is S, position is P, and opacity, like the transparency
of the layer is T. So I'm going to
hit R and then dis rotate this and move them into an arrangement
that looks good. If you have properties and a bunch of different
layers open, you can close them all by having nothing selected
and hitting you. Hitting you also shows
keyframed properties, but we don't need to
worry about that yet. Now, let's arrange these
little cocoa nibs. I'm just going to
select them all and move them over so I
can see them better. Once you're happy with how
your arrangement looks, let's start setting some
keyframes to make things move.
5. Step 3: Set Keyframes: Start by animating
the chocolate bar and package so that they start off screen and
animate into place. I'm going to move my
playhead over to 2 seconds and 15 frames and then open
up the chocolate package. Any property that has a
little stopwatch icon next to it can be keyframed. To start setting
keyframes on a property, you want to just
click the stopwatch. That's going to set a keyframe
wherever your playhead is. So keyframes tell After Effects. I want this layer to be in
this position at this time. Then I'm going to
move my playhead over to the start of this layer. So 1 second, 15 frames, and I'm going to set
another keyframe. Once you've set an
initial keyframe, there's a few ways that you
can set additional keyframes. So the first way is
that I could just take this layer
and drag it down. And if you hold down
Shift, it'll make sure you only drag
it vertically, and you can see that
that's automatically created another keyframe. So if I hit Space Ware,
we have an animation. I'm just going to delete this
keyframe and show you that another way to set keyframes
is to adjust these values. So you can just
click and drag over them to adjust them,
kind of like a slider. So I can also set a
keyframe like that. I'm going to delete
that keyframe and show you that another
way that you can set keyframes is by clicking on these numbers so that you
can actually edit the value. And again, that creates a keyframe wherever
your playhead is. So now the package
is animating up. Let's also animate the rotation. So at 2 seconds, 15 frames, I want it to be
rotated like this, so I'll click the Stofwatch
to set a keyframe. Then when this layer starts, let's have it just start
from a rotation of zero. So I'm just going
to type in zero. Now this animation
looks like that. I'm going to close
up this layer and basically do the same thing
for the chocolate bar. So now both the bar and the packaging animate
up and rotate. Sometimes you may want to adjust keyframes that
you've already set. If I wanted this
animation to go faster, what I would need to do is drag the keyframes so that
they're closer together, less distance between
them on the timeline. I'm going to undo that.
You also might want to adjust your keyframes by
changing the values of them. To do that, just put
your playhead over the keyframe and then you can adjust the value in any
way that you wanted. You could pick up that layer on the composition viewer
and move it over, or you could drag the numbers here or click to
type in numbers. I'm going to select
the chocolate package and the
chocolate bar and hit U on the
keyboard to bring up all the properties that
have keyframes set. Right now, this animation is really boring
because it's linear. It moves at the same
speed the entire time. But most things in real
life don't move linearly. They accelerate and decelerate. Let's add a bit of that
to this animation. I'm going to click
and drag over all of these keyframes to select
them all and then right click on any one of
the keyframes and then go to keyframe
assistant and then Easy Es. Notice how the keyframes have switched to this
hourglass shape, whereas before, I'll undo
that, they were diamonds. Another way to apply Ess is
with the keyboard shortcut, which is F nine. Remember, on a Mac,
you have to press the F N key and F nine. Let's play back the animation. You can see that the
animation starts out slow and then moves more quickly in the
center and then ends slow. If you want to see a visual of this with your
keyframe selected, you can click this little button here to go into
the graph editor. What we're looking at
now is the speed graph, and this shows the
speed over time, the purple is position, and the cyan is the rotation. Let's just focus on the
position property right now. You can also look
at a value graph. If you click this
menu right here, you can change to
the value graph. This shows you a separated out X and Y value for the
position property. This is going to be the Y value, and this is the X value, which isn't changing,
so it's a flat line. For this particular property, in this particular animation, it's going to be easier to
look at the speed graph, but it's just good
to know that there's two different graphs there in
case you're ever confused. Why yours doesn't look
like mine or something. For now, if you want to,
you can adjust this graph. Let's just select all
of these properties again and we can adjust the graph for all of
them all at once. I'm going to click and drag to select all of these handles. They're all on top
of each other, but I need to select them all. Then I'm going to grab this
little yellow handle and pull this all the way so that
the graph looks like this. This means it's
going to start off slow, quickly increase speed, reach a peak speed here, and then start decelerating and slowing down until
it reaches the end. This will make the bars
come to a nice smooth stop. Now instead of a boring
linear animation, it shoots in then
eases to a stop, which is much more interesting. Learning how to adjust
motion in the graph editor is key to making your
animations look professional. I'm going to close
up these layers by hitting you on the keyboard, and now let's animate all
the cacao nibs and beans. I'm going to move my
playhead to 2 seconds, 15 frames, and then select all of the beans and
all of the nibs. I'm going to show you a shortcut to animate a bunch
of things at once. I know that I want the position
of all of these layers to be here at 2 seconds, 15 frames, so I'm going to hit the
P key and then just click the stopwatch on
any one of these layers, and it will create a keyframe for all of the selected layers. Then I'm going to
move my playhead to the start of these layers, and I want them all to start in the center of the screen
and then animate out, kind of like a little explosion. So what I'm going to do with all of these cocoa
nibs and beans still selected is I'm going to use the align tools to align
them to the composition. So I'll just vertically and
horizontally align them. You can see these little lines
represent the motion path, so the position property mapped visually in
the composition w. There's a couple
issues with this. The first is that I
don't want the beans and the nibs to be on
top of the bars. So I'm going to select
all of those layers. And then I'll bring them below the chocolate package
and chocolate bar. So now they're coming out from behind the bar and
the chocolate. I also want to make their
animation a little bit more interesting like I did
for the bar and the package. So I'm going to select all
of these layers again, hit to bring up all
of the keyframes, and then I'm just going
to click and drag over all of these keyframes
to select them all. Then right click on any one
of the selected keyframes, go to keyframe assistant
and then Easy Ease. So now this will give
them a slow, fast, slow animation, but to make
this even more interesting, I'm going to go into
the graph editor, select all of the handles
on the right side here, and then drag this handle. All the way over, so the
graphs look like this. Now if I play this back, it looks a lot more interesting
than it did before. But I don't like how you can see this big cluster of things
starting in the middle. I'm going to offset
my keyframes. Let's just hit to close
up all the layers. I'm going to select
the first bean and then hold down
Shift and select the last nib and then let's start these a
little bit later. So maybe at 2 seconds. In order to drag
the entire layer, make sure that
you're dragging from somewhere in the
middle and that you see the regular mouse
icon as your cursor. If you drag from the start, you're going to be
trimming the layer. If we trim the layer, it's
going to mess up the keyframe, so we will only see
part of that animation. Make sure that you're dragging the entire layer like this, and then the keyframes still sir at the start of the layer, and that's just
now at 2 seconds. Let's see what this looks like.
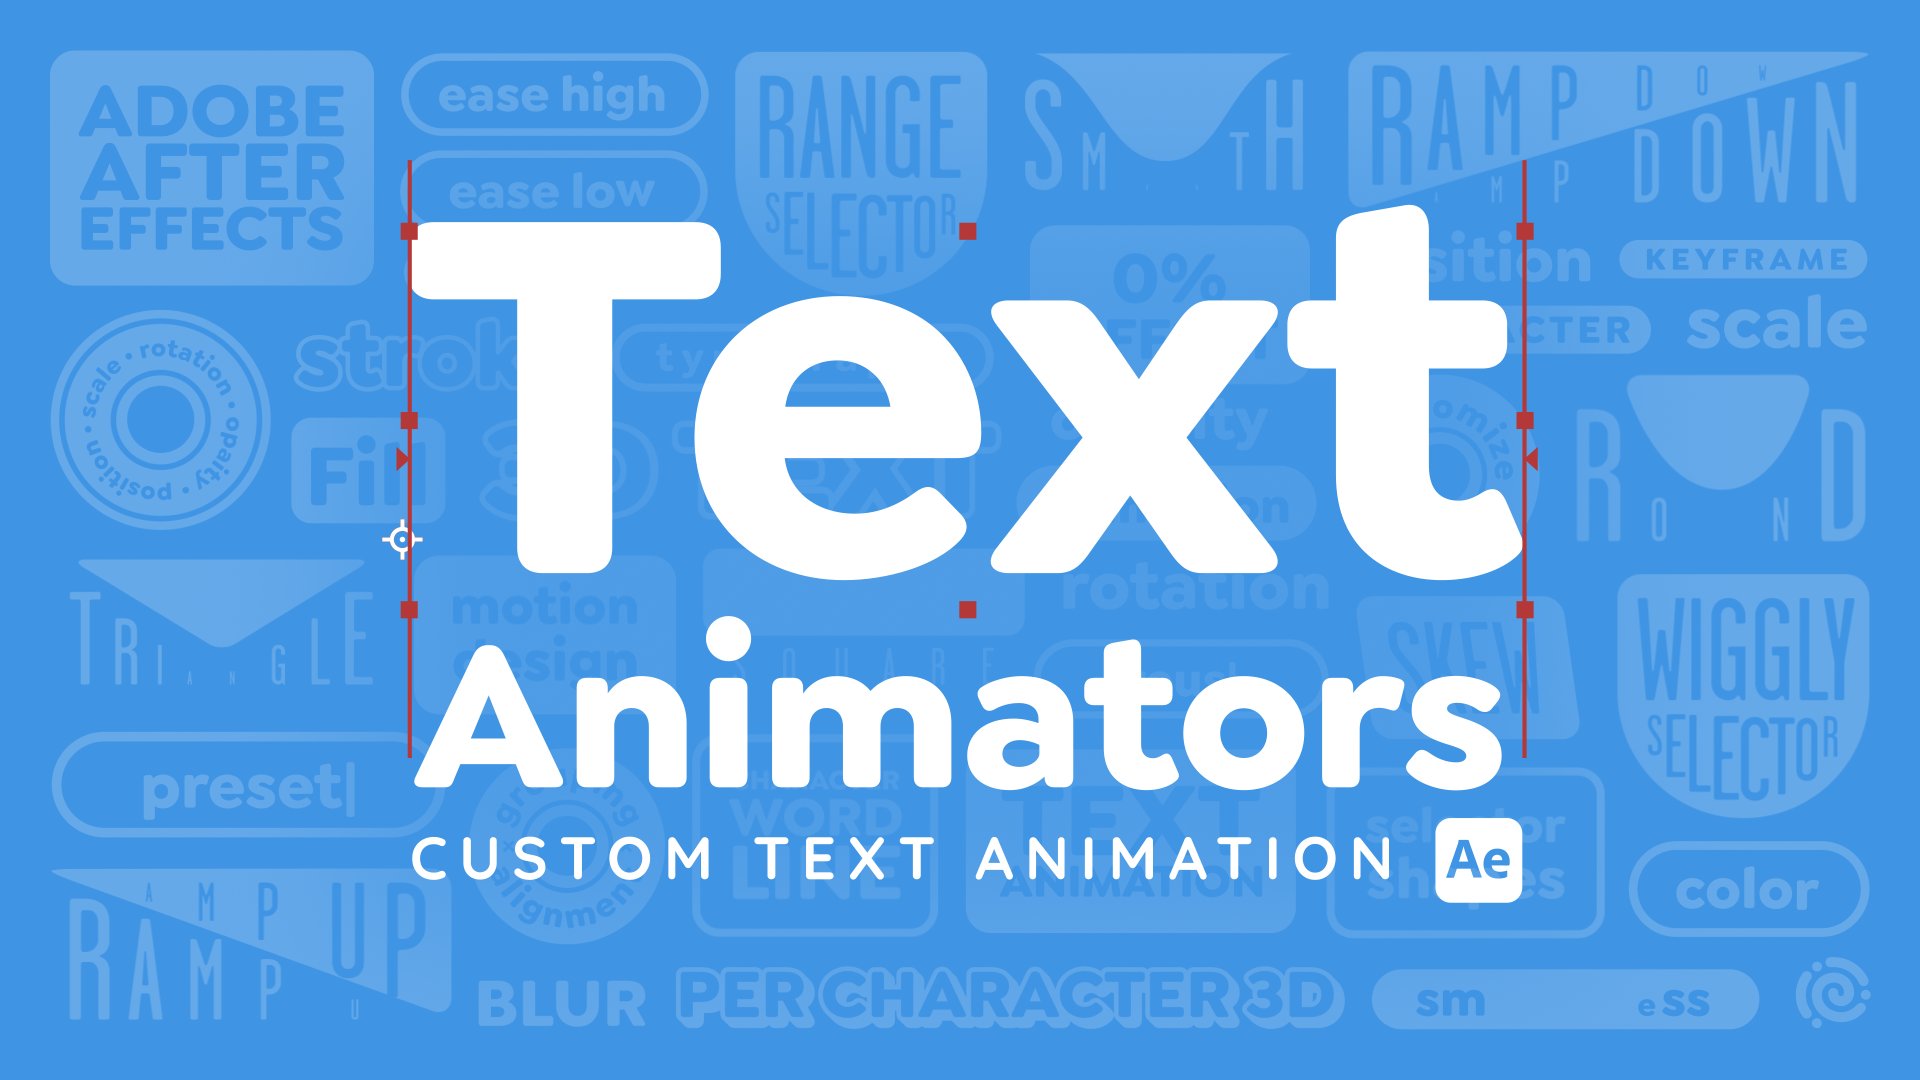
6. Step 4: Add Additional Properties: Four, the optional step is to add additional properties to your layers to change their appearance or add
properties that can be animated. There's a couple ways
you can do this. For this text layer, let's add a text animator preset that
will animate the text in. So I'm going to go down
to the text layer, and then I'm going to go to
the Effects and Presets panel and underneath animation
presets and then presets. And then text and
then animate in, there's going to be a
bunch of different options that you can use to
animate your text in. To be honest, a lot of these
presets look a bit outdated, but there's some good ones and they tend to be the
more simple ones. I'm going to use this preset called Slide Down by character. I'll just drag that
onto my text layer. Then if I hit on the keyboard, you can see that
that preset has set some keyframes and the
animation looks like this. I'm going to make the animation
go a little bit faster, so I'll just take
this second keyframe and drag it backward. You can also add
effects to layers. Say I want to make
a little bit of a glow behind the
chocolate bars. I'm first going to need a shape layer to add the effect too. I'm going to go up
to the shape tool, click and hold and
grab the Ellipse tool. I'm going back to
step two here to create another asset, but
this is totally normal. When I'm creating an animation, I'm often jumping
between these steps, not always doing them in order. I'm just going to click and drag to create a circle
and I'm going to hold down Shift
to make sure that it maintains a perfect circle. Then I'm going to go up to the fill color and
change this to white. Then let's just move this
circle into the center. I'm going to switch back to my selection tool by hitting V, and then let's close up Effects and Presets and use the align tools
to center the circle. I'll just rename
this and bring it behind all of my other layers except for in front
of the background. Then let's go over to
Effects and Presets and let's search for an effect. There are over 200 effects, so it's not a great use of
time to try to learn them all. I only consistently
use a handful. I'm going to search for blur, and I'll use the Fast box blur. Since the circle layer
is already selected, I can just double click to apply the effect or you can drag and drop the
effect. That works too. Notice how that's
added the effect to the layer in the timeline. If I toggle this
open, you can see fast box blur and all
of its properties. Or the effect Control
panel usually pops up when you add an effect
and you can adjust it here. This and this are the
same exact things. I'm going to increase
the blur radius. Then if you want to tone
down this entire layer, you could use the
opacity property. I'm just going to hit T to bring up the opacity and then
just bring this down a bit. Another way that you can add additional properties to either change the appearance or add animation to your layers
is with layer styles. I'm going to select one
of the cacao beans. Then I'll right
click on the layer, go to layer styles, and then I'm going to
add a drop shadow. If I toggle open Drop Shadow, I have a bunch of
new properties that I can adjust or animate. I'm going to increase
the distance, maybe let's do ten, and then the size, and then I'm going to change the opacity to make
this more subtle. Now the cacao bean pops off
the page a little bit more. Once you're happy
with how it looks, you can easily apply the same layer style
to other layers. I'll just select where
it says drop shadow, hit Command C to copy
this drop shadow, and then I'm going to go into all of my
other cacao beans, and then I'll just paste
that layer styles. Let's do the same thing
on the cacao nibs. We can even add that to the chocolate package and
the chocolate bar. Now everything just has a little bit more dimensionality to it. Here's the final animation. A,
7. Step 5: Render Your Animation: The final step is to export or render in After Effects
terms your animation. So to do that, go up to
composition, add to render Q. If you don't have
specific settings that you know you
need to export as, then the default settings
are probably good. This is going to create
an MP four file. If you do need to change the
file type that it exports, then click this blue text
here to get all the settings. You also are going
to want to choose where you want to
export the video too, so click here, and then you can navigate to where on your computer you
want to save this. I like to create a new folder
called OF A of My Exports. And then just hit
render. And then here's the video file
that I rendered.
8. What's Next: That's it. If you've
followed along and created your first
animation, congrats. If you want to keep learning,
click on my name next to this video to check out the other classes that I'm teaching. Make sure you're
following me here on Skillshare and sign up for my email newsletter
for monthly tips and tutorials and to hear when
I have a new class for you. Thanks so much for being here, and until next time,
Happy Animating.
 Megan Friesth, Motion Designer