Transcripts
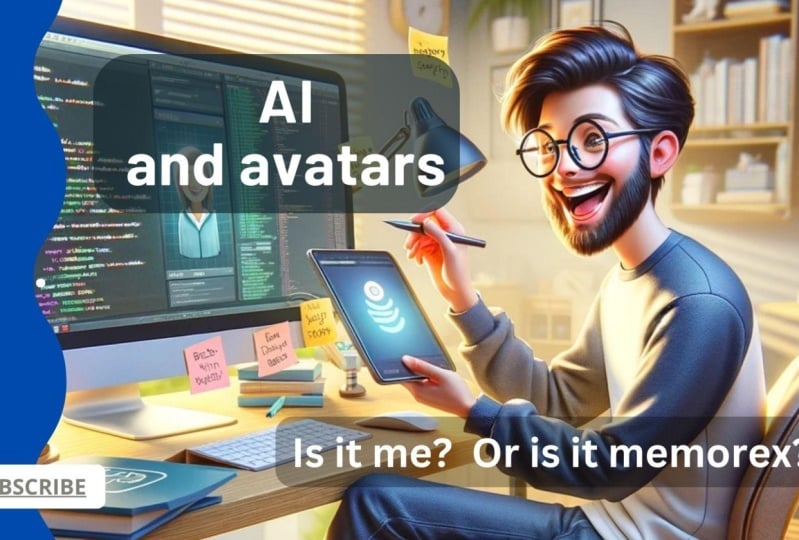
1. AI Avatar Class Overview: Step into the future and
meet your AI Avatar. Believe it or not,
that wasn't me. I used AI to create a
digital clone of myself. Using AI has saved
me so much time, and the game has changed
for content creation. Whether you're making
social media videos, custom client videos or
employee onboarding videos, you're missing out if you're not using AI in the process. Hi. I'm Jamie Dougherty, and together with the team
at Future Skills, we have taught over 300,000 students globally how to use AI. Including custom
corporate trainings for companies like Samsung. In this course, you will be creating your very
own AI avatar. I will walk you through
every single step to help create an automated
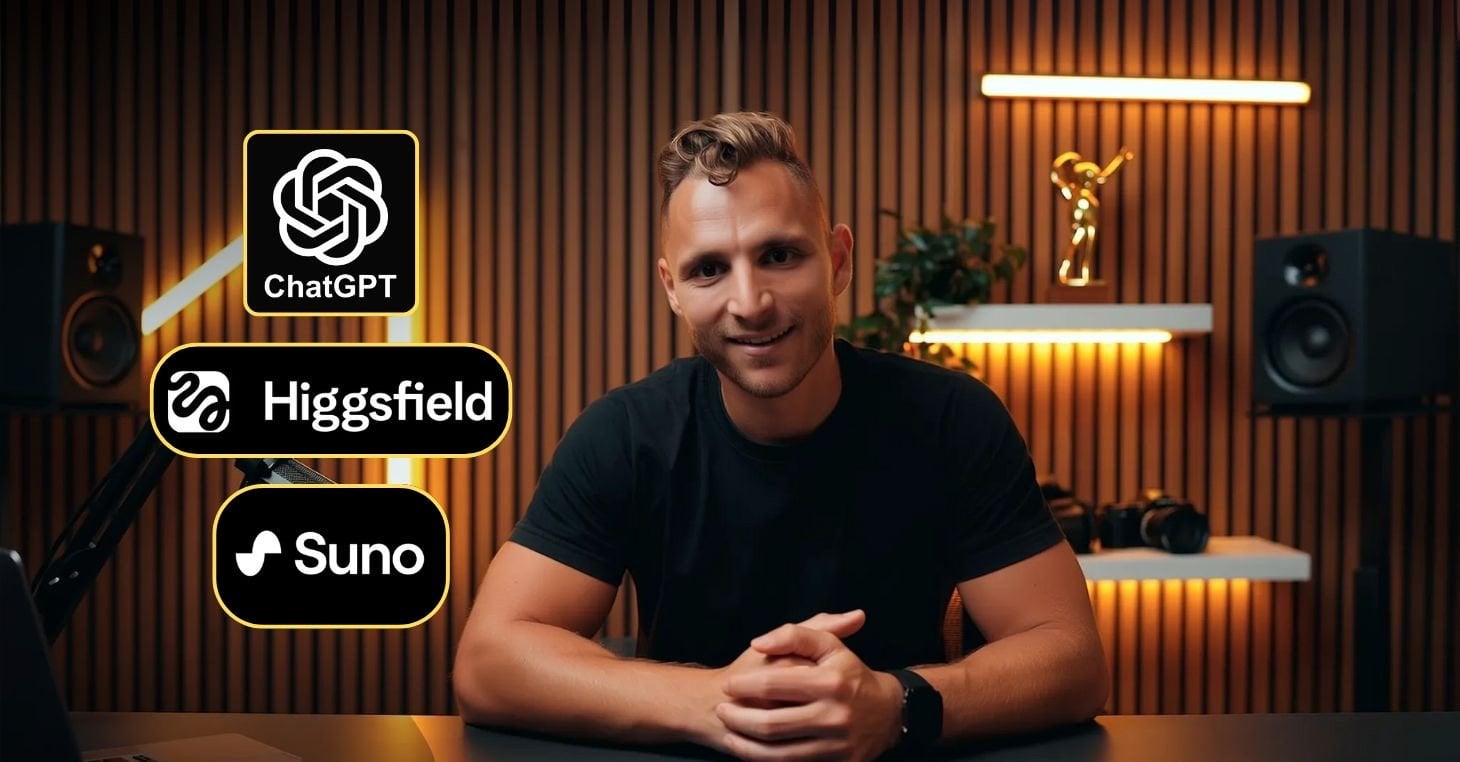
content machine. We will use Chachi
PT to write scripts, 11 labs to clone your voice and Hagen to make your
AI video avatar. So if you're ready to
step into the future, let's dive right in
and get started.
2. Class Project: Guys, I'm so excited
for this class. I cannot believe that AI is capable of making
AI avatars already. This is really some mind
blowing technology, and I cannot wait to
dive in with you. Before we jump into the course, I want to go over the
class project real quick. You are going to be making
your own AI Avatar. We will be using ChachiBT
to write scripts, 11 labs to clone your voice, and hey gen to make
your AI video avatar. This is great for
social media videos, employee onboarding, making custom client
videos, and more. By the end of this course, you're going to have a fully automated AI content machine. So without further ado,
let's jump right in.
3. ChatGPT for AI Script Writing: Hey, guys, in this lesson, we're going to use
HHIPT to write scripts. And by the way, while we are using HHIPT to write scripts, this is not necessarily
a HachiBT deep dive. And if you want to learn
hachPT in more detail, please check out
my other courses. This is the basic layout, and you will click
on the drop down to view the list of
the different models. If you're a paying member, you'll have more
models to choose from. That being said, the free models are getting better and better, so don't worry if you
are not yet a paid user. This class, I'll be
using the latest model. You can access your
custom GPTs on the left and your chat
history beneath it. There's lots of
different use cases for creating an AI avatar, including custom
videos for customers, onboarding for employees,
and social media videos. For this example, we're going to make a
social media video. But you can apply these tips and techniques for whatever
your use cases. So I just wrote a
prompt, which was, please write me a script
for a social media video, and let's take a look
at the answer below. Here we have a pretty
good example script of a daily routine. This script is pretty generic
because I didn't give ChachiPT any context
about me or my business. So let's try again giving
ChachiPT some more information. Now I've given CahiPT more
context about who I am, my business, and my audience. I am a graphic designer with ten years of experience
in graphic design. I run my own agency where I take on clients for various
different projects. I have a degree in
computer science. I know Python and have worked
for several tech startups. I have a social media
following where I teach people how
to use Photoshop. My audience ranges from
beginner to advanced. Please write me a script for a viral social media
video in my niche. Now let's see how ChachiPT
does with more context. Quick hack is to give ChachiPT a lot of
information on who you are, what your business is, and
what you're looking for, so that ChachiPT can give you a much more tailored response. And as you can see here, this is a much better response
that is a lot more tailored to me since I gave ChachiPT so much more context about what
I was looking for. Alternatively, you can
make a custom GPT, which remembers the information that you put into it so that you don't have to keep putting similar information
every single time. This is a custom GPT that
I made with my coworker. This Custom GPT is
trained on how to make a viral video from everything to opening hooks to
calls to action. If we click here, we can
see the instructions. So we talk about
target audience, opening hooks, the body. And if you wanted to add your own contacts
about your history, your business, and your
projects, you could do so here. And I'll leave a link to these instructions in case you wanted to make your own GPT, trained on your contacts as well as these viral video
best practices. So let's give viral GPT some context and see the
script that it writes. Here you can see that
it wrote a script for Instagram and Tik Tok, and also different options
for opening hooks. This is a great script
for a viral video. That's it for Chat GPT. In the next lesson, we
will jump into 11 labs.
4. Eleven Labs for AI Voice Cloning: This lesson, we're
going to be using 11 labs to clone your voice. Go to levelabs.com and you can sign up for
free to get started. Okay, now we're going to go over to voices on the left hand side, and then you'll move over to
click on Add a New Voice. You're going to want to use
professional voice cloning for the highest quality. This does require
a subscription, but for me, it's
totally worth it. You'll need a creator account to use the professional
voice cloning. Once you sign up, you
can hit Create Project. Now let's go back to
voices on the left here. Now we're going to go
over to add a new voice. We're going to click on
professional Voice cloning. This just explains that you want to upload high quality audio. For me, I'm using the audio from this
microphone right here. Now I'm going to
drag in some samples from some past lessons
I've recorded. You can click right here and
drop in your recordings. For Best results, they explain to provide at least 30 minutes, but 3 hours is optimal. So the better quality
of your microphone, the better quality you're going to get your voice clone to be. However, you can
start with audios from your cellphone and you can re clonee your voice later. So now you can add labels, for example, accent,
American, et cetera. Now in the description below, you can type in how
your voice sounds. I wrote a 29-year-old American
female from California. Let's go ahead and
clone our voice. It's going to take
some time to upload, but once it's ready, you can hit Start verification. Can only make a professional
voice clone of your voice, and this is how
they make sure it's really you. Click
Start recording. After you've
uploaded your voice, you're going to go through
a verification process. I went through this
process off camera, but I'm going to talk you through what
you're going to do. Basically, Elevenabs is going to give you a little script, and then you're going to
read that script back to 11. Pro tip use the same
microphone tone of voice as the
recordings you uploaded. After the verification process, you're going to need
to wait 12-24 hours. It's possible that it will be ready sooner, but
there's no guarantee. If you have troubles
with getting verified, you may need to upload
more training data. Now you can go over to text to speech, and
try out your voice. Now you can go ahead and type in whatever you want and
let the AI do its magic. Just make sure that your voice is selected on the bottom left. I just typed in a
quick example saying, Hi, welcome to your AI voice. I can help you with
any creative project. We're going to go ahead
and click Generate speech, and then we're
going to hit Play. Hi, welcome to your AI voice. I can help you with
any creative project. So here is where you're going to paste in your script
from Chat GPT. Then you'll go ahead and
click Generate speech. And if you're happy
with the results, you can go ahead and click the Download button on the right hand side
of your screen. That's a 411 Labs. In the next video, we will make an AI avatar with Hey Gen.
5. HeyGen for AI Video Cloning: Now we're going to make
our AI Avatar with Hagen. So you're going
to go tohgen.com. We're going to click
on sign Up for free, and then I'm going
to start an account. It'll ask you some questions, and then it'll take
you to this page. Click on Create
Your Digital Twin. Click on Get Started. So now we can choose an avatar style. How do you want your avatar
to appear in your videos? Do you want them
to appear still? Which means the person
in the video has little movement and is in
front of a single background? This is recommended
for announcements, training, customer
communications, and outreach. Or do you want your Avatar
style to be motion? The person in this
video is moving and may be in front of
different backgrounds, which is recommended for
external marketing, like ads. For me, I'm going to be
using the still Avatar style because I'm going
to be filming for social media with
the same background. Do you prefer video instructions
or text instructions? I'm going to click on
Video Instruction. Watch this tutorial to learn the best practices and then
continue on to the next step. In a nutshell, it
tells you to get good quality footage
with good lighting, a simple background, and
pauses between your sentences. Obviously, the best
quality footage would be working
with a film camera, but if you're working only with your cell phone,
that's okay, too. Now you'll go ahead and record your footage so that
you can upload. Once you've recorded
your sample footage, you're going to click here
and upload your footage. So here we have the
uploaded footage. For an optimal, more
realistic avatar, it says to please confirm your video meets
the requirements. Your face is visible
at all times. You're looking directly
into the camera. There are pauses
between sentences, and the environment is
well lit and quiet. Then you're going to click
on My footage Looks good. Now you're one step away. Next, they're going
to confirm that the person in the video
is in fact yourself. Next, we're going to record a quick video reading
the following script. I'm going to hit
Allow, and next, I'm going to start the recording while
reading the script. Now they are validating consent, and this will take
ten to 20 seconds. And once your video is
done and validated, you're going to click on Submit and wait for it to upload. Once your video has
been uploaded, it says, You Instant avatar is being created and will be ready
in just a few minutes. We will notify you by
email when it's ready. If you have any questions
regarding your Instant Avatar, please feel free to contact custom avatar athgen.com. Now
we're going to click Done. We're going to wait for
the avatar to be ready. So now the avatar that I just made is uploaded, and we're
going to check it out. Congrats. Your Avatar is ready. Click next. How do other
companies utilize Avatars? A quick overview is
scale marketing content, personalized video messages, and learning and
development videos. Pro tips for Instant Avatar. There's 150 plus languages, and you can also redo your Instant Avatar up
to five times a month. So now that my
video is uploaded, I'm going to click
Play and watch it. Hey, Jamie, your Instant
avatar is ready. Try creating videos with it. Also, click the
feedback button to share what you think.
Hope you enjoy. Now you just made
your video Avatar. Next, we're going to click
on Create with AI Studio. Since this is specifically
for Instagram, I'm going to click on Portrait. Even though Hagen gave me an
avatar with a cloned voice, I'm going to use the voice
cloning from 11 labs instead. Now you're going to want
to go over to script. Here you can type a script
and use the voice from Hagen, or you can upload your
voice from 11 Labs. Click on Upload and click
Upload Local Audio. Click on the 11 Labs Graphic
Design Audio and hit Open. Now I have uploaded my audio. Welcome to the new era
of video creation with Hagen stop making this
graphic design mistake. Now I'm going to delete
the welcome audio so that I just have the
audio of the script. You're going to click
on the three dots on the right hand side
and click Delete. And I have just the
uploaded audio. So now we're going to look at the audio file and the video file and make
sure that they match up. So I'm going to click
the video file, and I'm just going to drag it to the extent of the audio so that they match
each other. Submit. So after completing
the questions, we're going to click
on Submit video. Click on recent creations. Wait to let it load. Now that the video is done uploading,
let's go ahead and watch it. Stop making this
graphic design mistake. Let me show you how to fix
it in under 30 seconds. Wow, that was wild. I'm not going to play
the whole video, but you get the idea. And remember, you can always redo your avatar if you want to. Sometimes the avatar is more
convincing than others. But if you pair this with a screen cap tutorial or B roll, most people can never tell. For example, this account
has grown to almost 300,000 followers using
this exact technique. Is me. And here's an image
of me wearing a suit. Now, you can try
on your favorite clothes with just a click. So, this is what it
looks like when you do the split screen
with a clone. Most people are focused
on the other half of the video and don't notice
that it's an AI avatar. Congratulations on making
your AI avatar with Hagen. In the next lesson, we're going to put together Chachi PT, 11 labs and Hagen to show you what it
looks like altogether.
6. Create Your Own AI Avatar: Hey, guys. So in this lesson, we're going to run through Chachi BT 11 labs and
Hey Jen one more time. This time for some
variety in the examples, we're going to do a
custom client video. So this is the
prompt that I wrote. Hi. I am a spiritual live coach. I have clients that go
through a four week program, and at the end of the program, they have gone through a
profound transformation clearing their limiting beliefs. Please write the script for a custom welcome video for
my new client named Lily. She's hoping to get rid of her limiting belief that
she's not worthy of finding Great. Here's the script
that Chachi BT wrote. Let's go ahead and copy and
paste this into 11 Labs. Go to 11 Labs. Hit text to speech and paste
in your script. Hit Generate, go ahead and download it on
the bottom right. Now we're going to
jump over to Hagen. Hit Create Video. Avatar video. We'll do Landscape this time. We're going to go over to script and we're going to hit Upload. Go to Upload Local Audio. We're going to go to Downloads, select your audio and hit Open. I uploaded the script. Click on the Avatar
and hit Submit. Now we're going to click
on the Welcome video to hit play. Hello, Lily. Welcome to the beginning
of an incredible journey. I'm so thrilled that
you've decided to join this four week
transformational program. Amazing. And that's
our AI video. You can hit Download on
the right hand side. And there you go. There's
your custom client video. If you don't want
the watermark on the bottom right hand
side of the video, you can pay for a
higher tier of Hagen, and it'll let you
remove the watermark. Alternatively, you can
take a screenshot, pull it into Photoshop, use the generative fill to
get rid of the watermark, and then upload your still image to the video editing
software and crop the image so that it's covering the bottom right
hand side of the video. Because none of the movement in the video will make it to the
bottom right hand corner. I won't be going into detail on those steps in this course, but that's another
way to work around the watermark. So there you go. We just went through every
step of the process. I hope you can see how straightforward and
easy this really is. I use this all the time, and I'm so excited to
see what you do with it. Alright. I'll see you
in the final lesson.
7. Congratulations! And Welcome to the Future!: That's it, guys.
Congratulations on making your AI Avatar. Oh, my goodness. I'm
so excited for you. Please upload your avatars to the class project so that we can all see what you've created. If you enjoyed this course, it means the world to me if
you could leave a review. Thank you so much
and be sure to check out my other AI
courses on Skillshare. Congratulations again on
completing this course, and I cannot wait to see
what you create next.
 Future Skills, Uplevel Your Future Self