Transcripts
1. Welcome!: Have you ever created
a pattern and thought, I wish I could see
this on a product. In this class, I'm going
to show you how to take a simple AI generated
image and turn it into a realistic mockup using Photoshop. Hi, I'm
Silvia Ospina. I'm a multi disciplinary artist and designer living
in Barcelona. I've been working in the surface pattern design industry
for many years. I've designed
patterns for fashion, stationery, homework,
and personal projects. More recently, I
spent a few months collaborating with a Texxl
studio in Barcelona. Being able to
visualize a pattern over a product has
a lot of benefits. This helps us
understand how design works before anything
is physically produced. And even if we're not
producing the product, mocaps are a great way
to share our work, build a portfolio, and
visualize our ideas as we continue developing
our design skills. This class, you will
need a computer with Photoshop installed, and ideally you will have
a pattern to work with. But don't worry if
you don't have any, as I'm going to provide
one for this class. You don't need to
be an AI expert and you don't need to know
every tool in Photoshop. I'm going to keep the
process very simple, guide you step by step, and focus on the
things that actually matter for creating
a convincing mockup. So think about a product
and see you in class.
2. Your Class Project: Now let's talk about
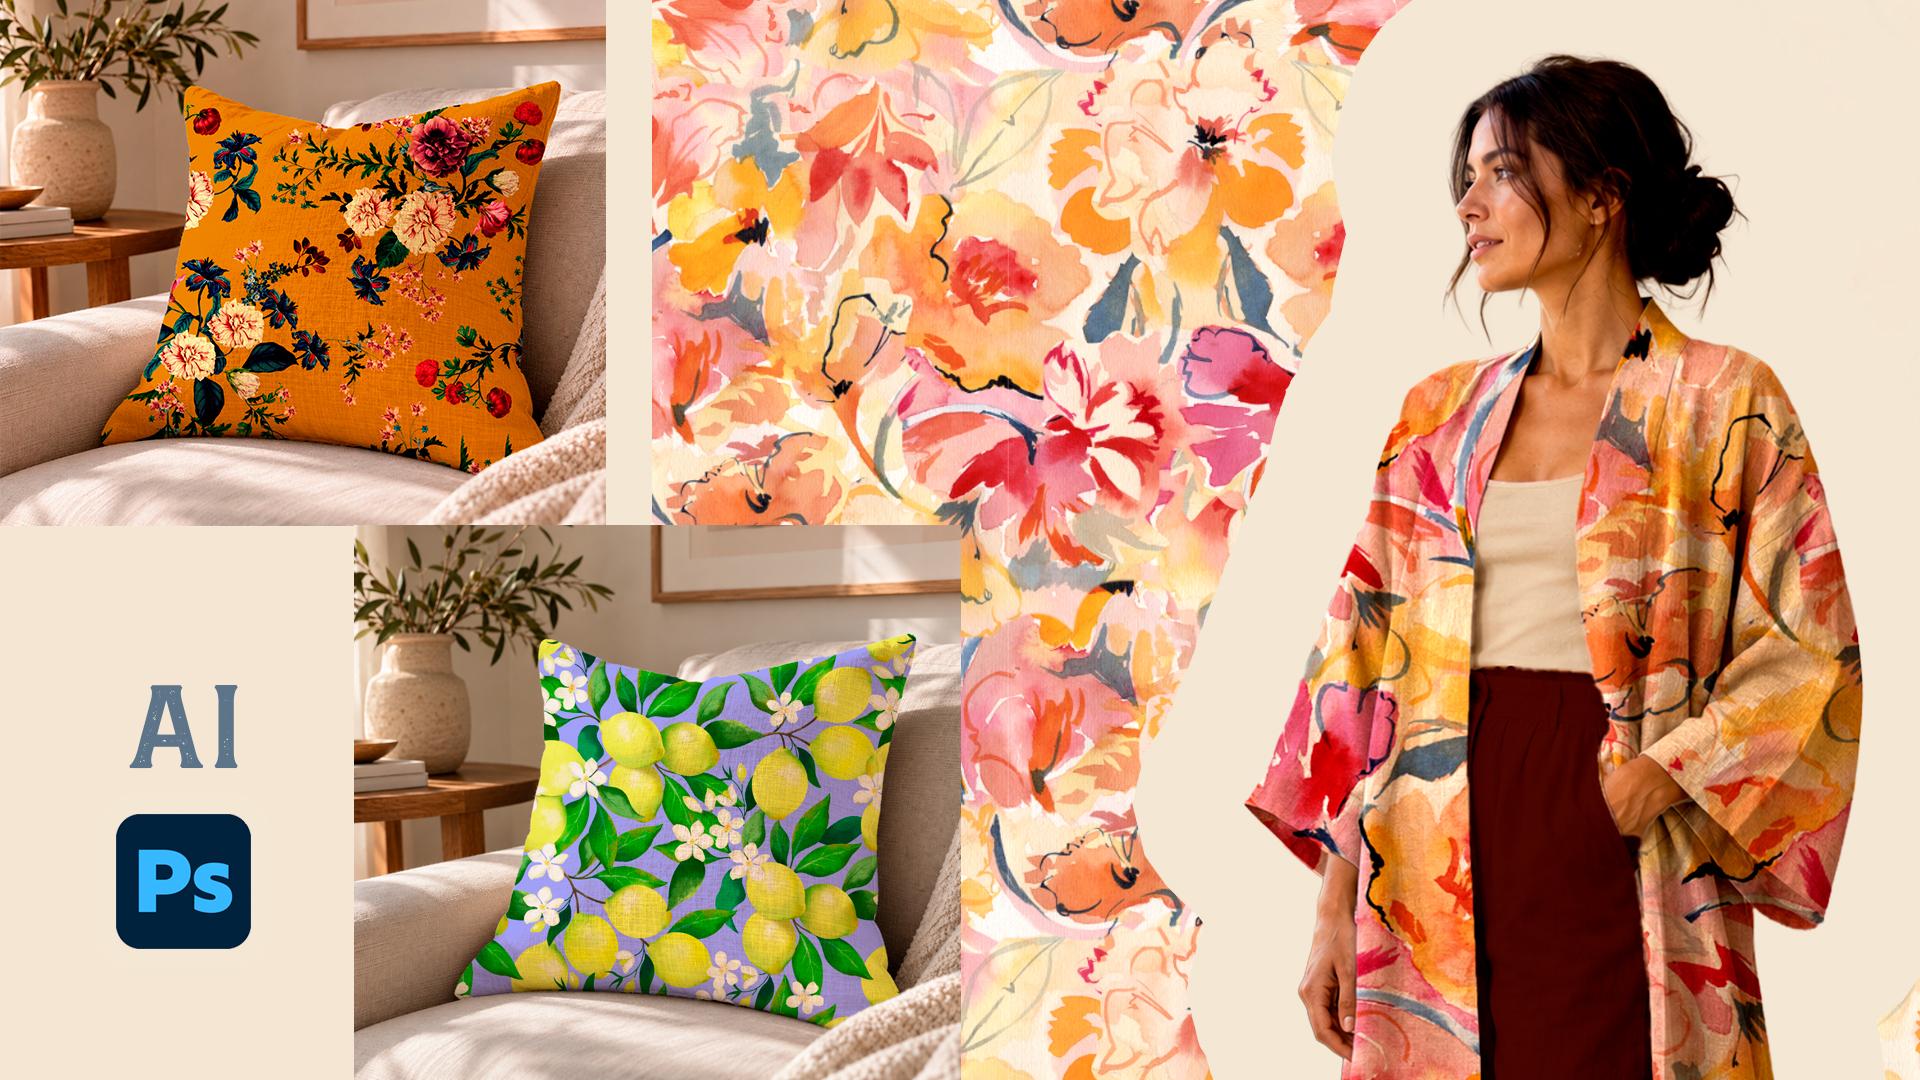
your class project. The idea is really simple. You're going to take an image of a product and turn it
into a realistic mockup. And then you're going to use it to visualize one
of your patterns. Don't worry if you
don't have any pattern, as I'm going to provide
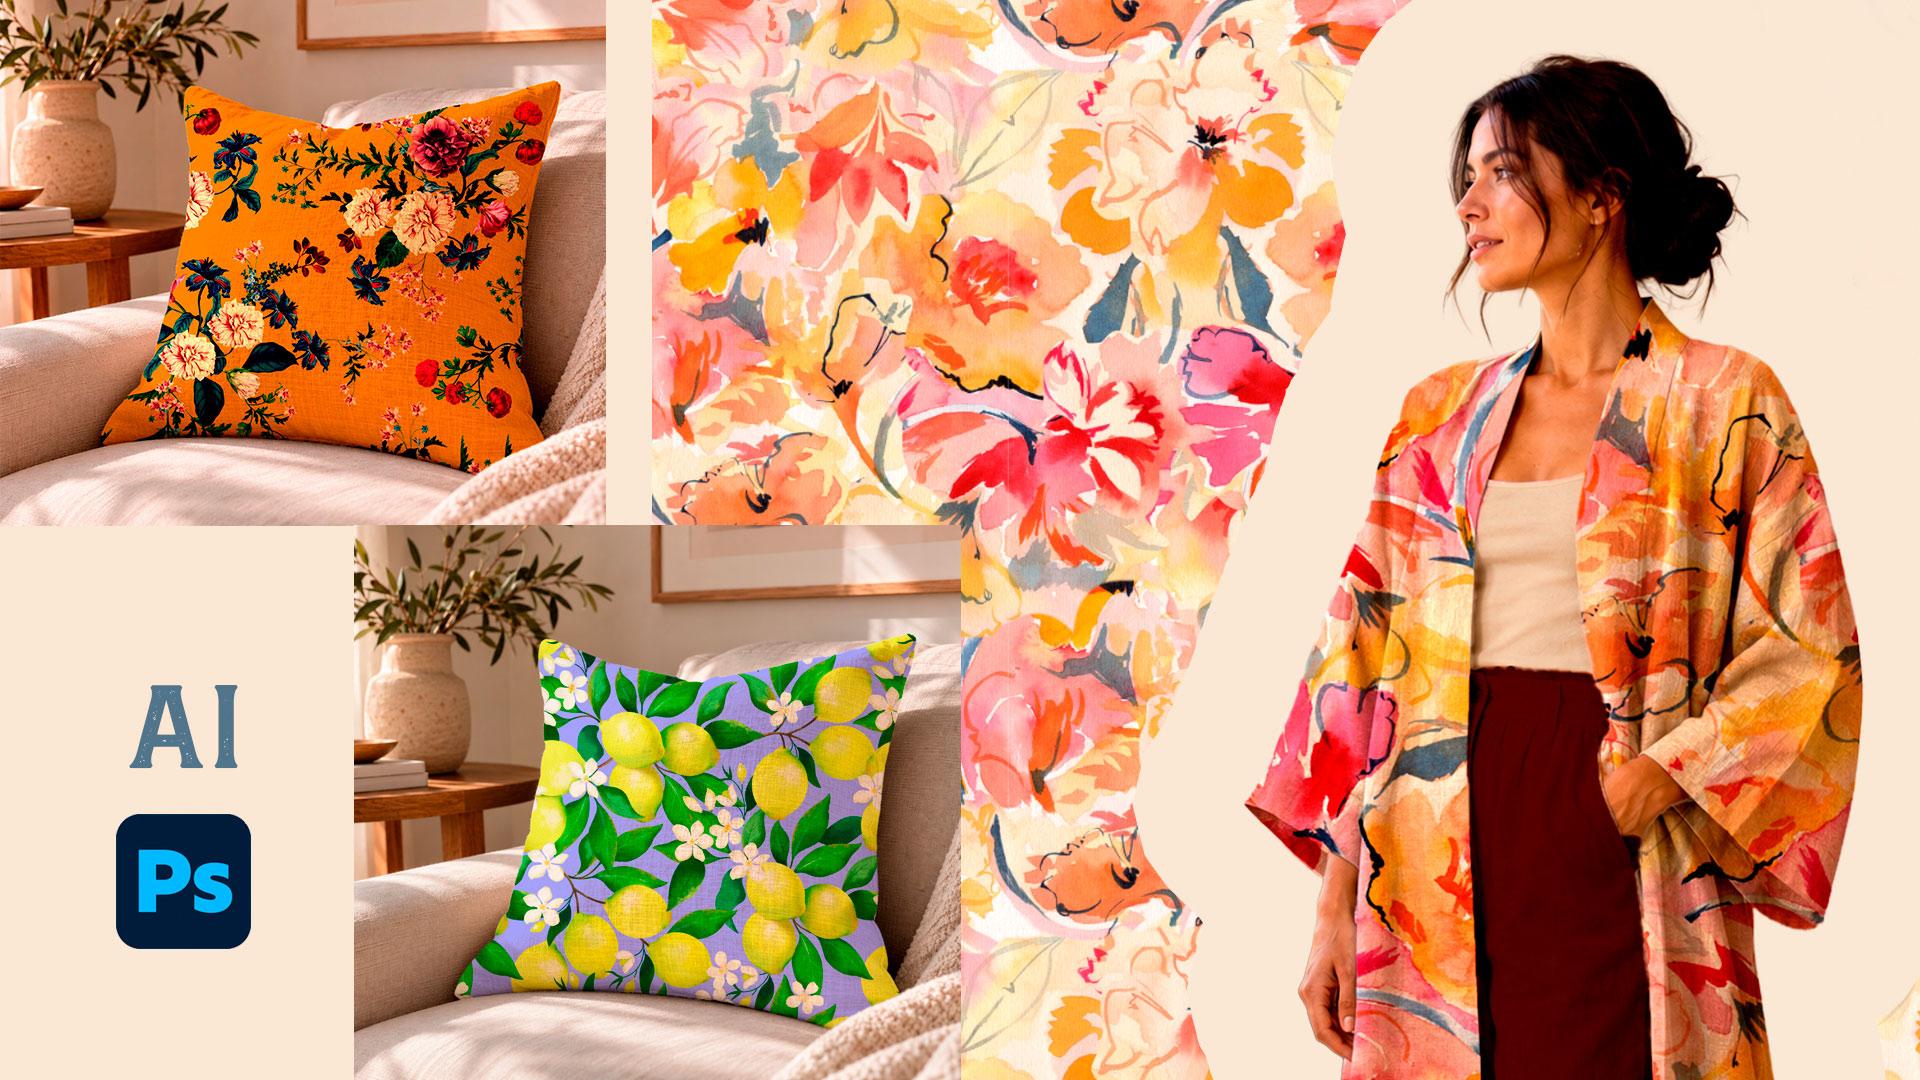
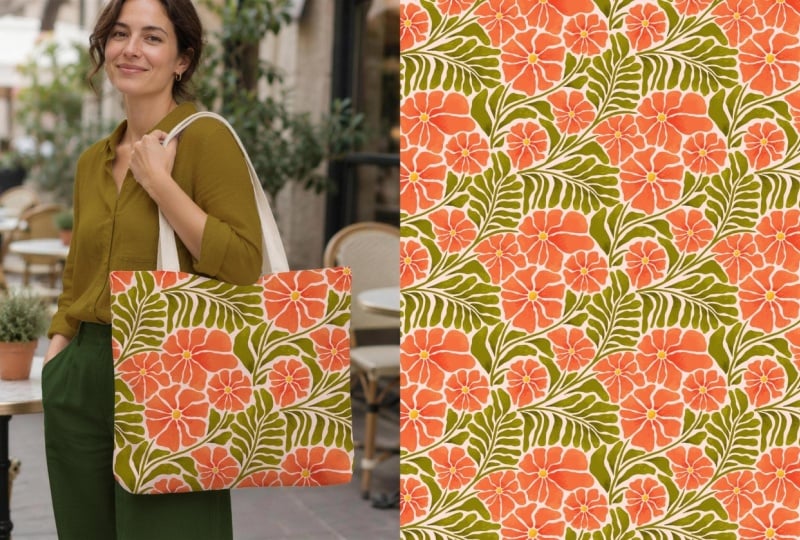
one for this class. You can choose whatever you want to create a piece of clothing, homework like a cushion,
stationery, an accessory. Think about what you want to visualize your patterns
on and work with that. The first part of the class, we're going to create our
product image using AI. You don't need to have a paid
account to use these tools, but the resolution might
be a bit better if you do. I'm going to provide the image that I create
during the class as a resource so that you
can download it and use as your starting point if you want to follow
along with me. Now, if you don't want
to use AI, don't worry. You can also use a photograph that you have taken yourself. In fact, that could be
a really fun project. You might have a
photo of an object, garment or product that you have always wanted to see with
one of your patterns on it. So there are a few
different ways you can approach the project. You have created your mocap, publish it in the
gallery of this class. I would love to see the
original image that you started with and
your final version with the pattern applied.
3. Download Your Class Resources: Before we start
creating our mockup, I want to quickly show you the resources I have
prepared for this class. The main resource is
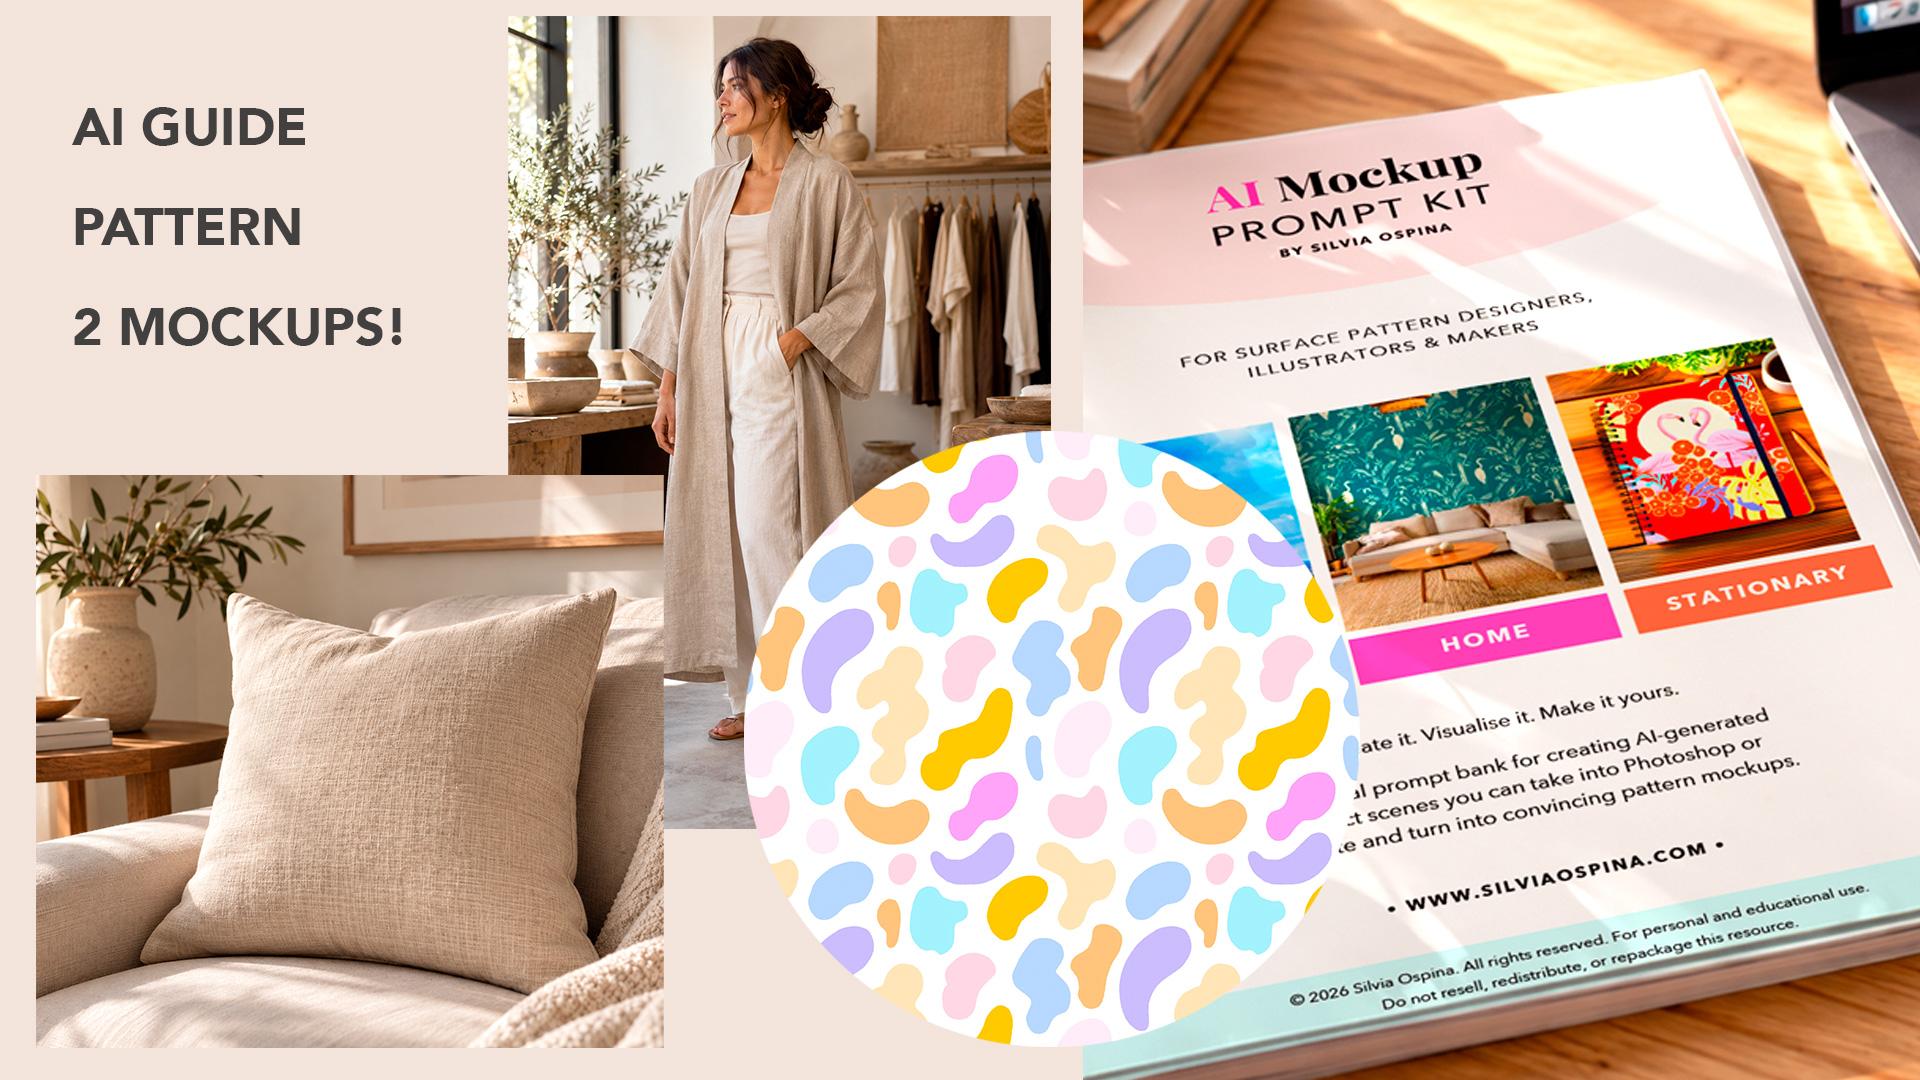
the AI Mup prompt kit, which you can download
from the class resources. I created it to make the AI image generation part of the process a little easier. At the beginning, you will find a prompt example with
the different elements clearly marked so you know exactly which words
you can replace. Then you can have fun building your own prompt using the different options
in the word banks. You will find options for the object material and
color viewing composition. Person, setting, lighting,
and photography style. If you keep scrolling,
you will also find a page where you can start
writing down your ideas. This gives you a chance to really think about
what you want before generating your image and designing your own
prompt with intention. Once you have filled
everything in, you can give it a try and see
what your prompt creates. Will also find some ready to use prompts that you
can simply copy, paste and customize if you'd rather start with something
that's already prepared. For this class, I'm also providing the
starting image that I create so that you can
follow along without having to generate your own
image if you don't want to. And I've included one
of my patterns that you can also use to practice
the Photoshop Wlow. Of course, you're welcome to use one of your own
patterns instead. And if you'd like
me to make a class about creating beautiful
patterns in Photoshop, just leave a comment in the discussion panel
of this class. Now that you know
what's included, let's start building our image. One thing that I'm
quite excited about is the possibility of sharing our starting images
with each other. Imagine someone creates a
beautiful cushion image, another creates a
beautiful dress and other Kimono. That's gonna be me. And then we can all use those images to test
our own patterns. That means that we don't
all have to waste resources generating the same kind of images with AI again and again. We can share, reuse
and get more out of our images that we
have already created. Okay, so now it's time to
think about an object, download the resources
for this class, and choose one of your patterns. I can't wait to see
what you create.
4. From Promt to Image: I'm going to have my AI
prompt kit in one screen, and I'm going to open
ChatGPT on another screen. So I'm going to scroll
down to the second page. And then I'm going to copy
the starting template. So I'm going to
copy all the text, come and see, and I'm going to open a new chat and
just paste it here. Now, before I send it, I'm going to start
replacing these words with the word bank that
comes with this PDF. So you can see that you can
create a lot of things, fashion accessories,
homework, stationery. And the fun thing is that
many of these images would make a great starting
image for our mockup. So just to see what happens, I'm going to grab
this word kimono, and I'm going to paste
it where it's object. Then made from, I'm going to go down to material and color. Since the kimono is
made out of textile, I'm going to choose
one from this list. So let's see what happens if I choose cotton with
a soft texture. So I'm going to copy that
and replace it in material. Then color, there's
no list for color, but I'm going to choose
in a natural linen color, kind of creamy color. Shown in A, I'm going
to scroll down to view, and I'm going to choose
the three quarters view. And I'm going to
choose the product clearly visible to
see what happens. Then the object, which
in my case is a kimono. Copy that word again, paste it here should be
the clear focal point with its main surface clearly
visible and unobstructed. Now, I want to have a
person wearing my kimono. So I'm going to choose
a woman in her 30s. I'm going to erase it no person. And she's going to
be looking away from the camera and
standing naturally. Then I'm going to
scroll down to setting, and I'm going to choose
an indoor setting. I'm going to choose
the boutique interior. And then move down to lighting and choose
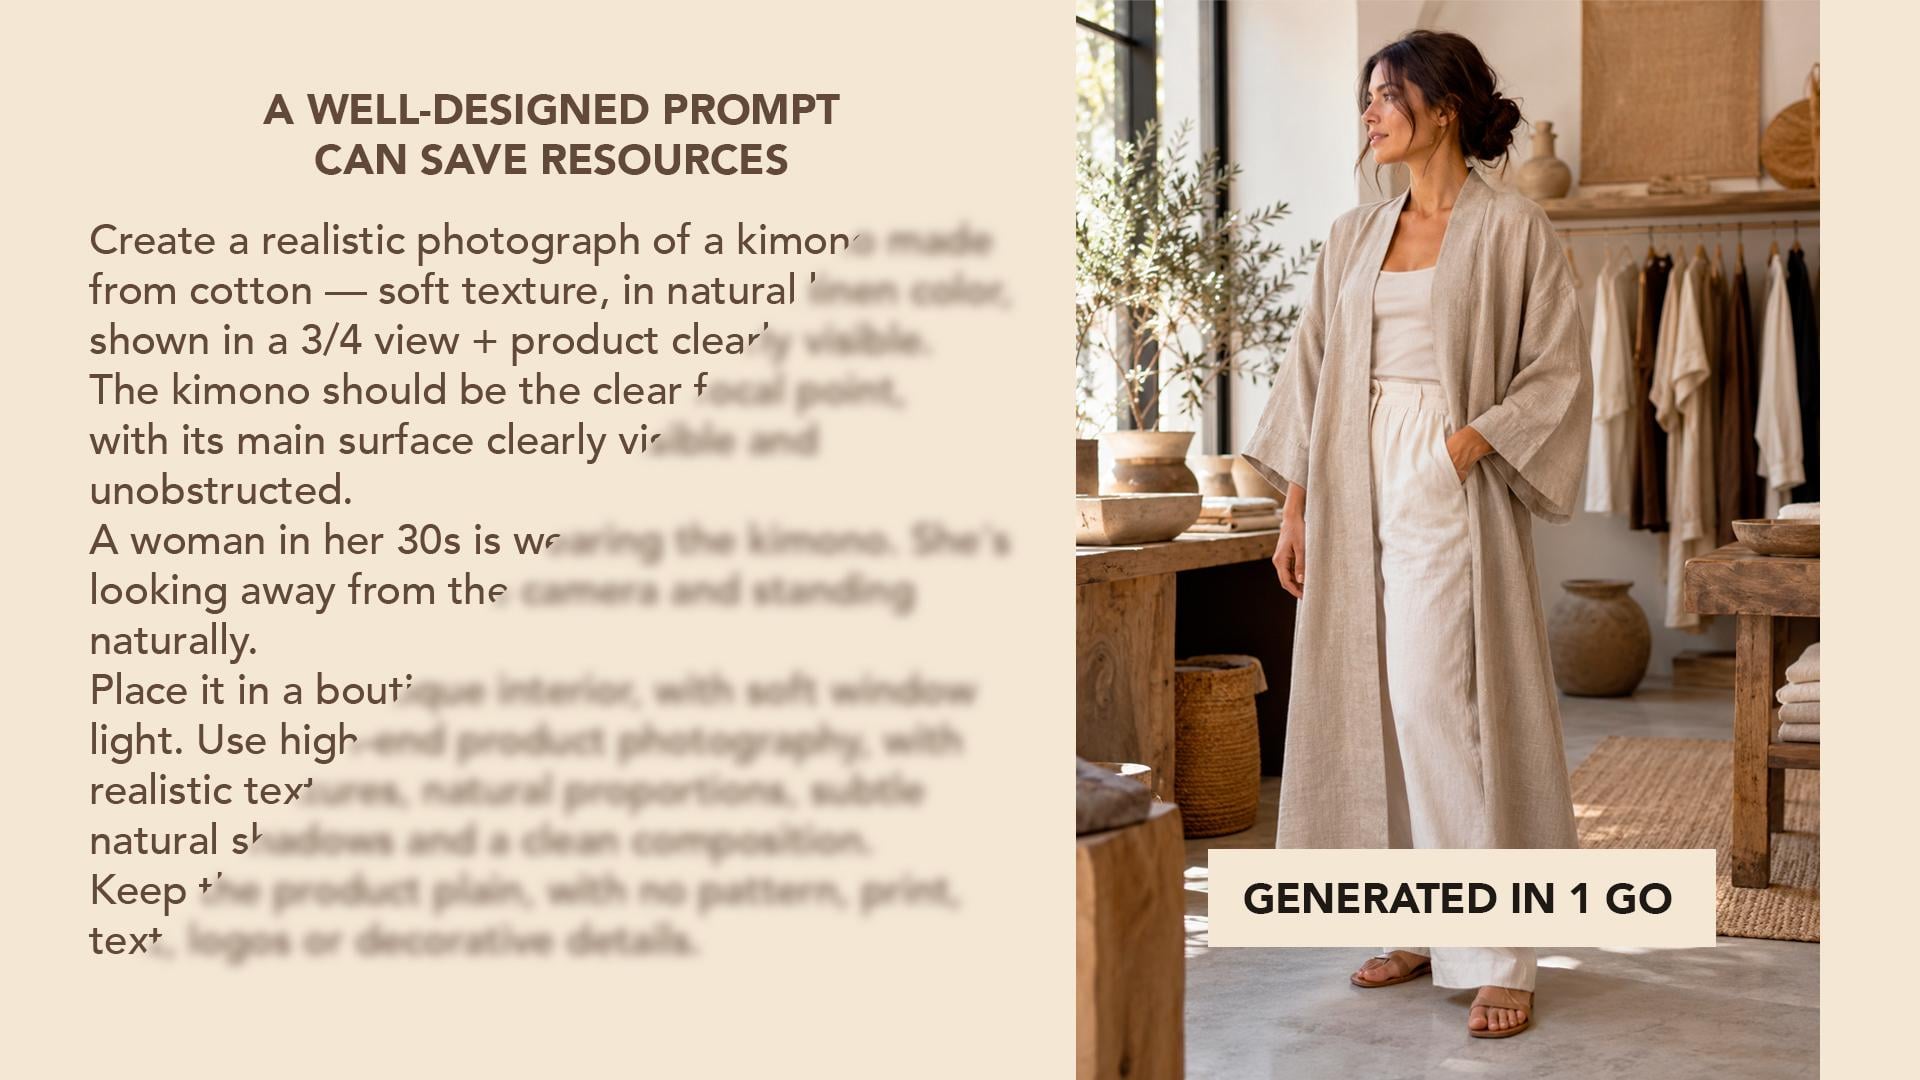
a soft window light. So a woman in her 30s
is wearing the kimono. She's looking away she's looking away from the camera
and standing naturally. Place it in a boutique interior
with soft window light. Now let's move down
to photography style, and I'm going to choose a
high end product photography. Use high end product photography
with realistic textures, natural proportions,
subtle, natural hats, and a clean composition. And this is very important. Keep the product plain with
no pattern, print, text, logo, or decorative details because that's what I'm
going to add to my scene. So I'm going to send this
prompt and see what happens. This might take a
while depending on the complexity of the image and your connection to Internet. Okay, this is interesting. I wasn't expecting her to have her hand in her pocket,
but that's okay. I'm actually going to
challenge myself and use this image to create my mockup without the need
of generating a new one. I'd rather test it first, show you the process
and show you how from just one prompt, I'm going to create
an amazing mockup. Now it's your turn.
Adapt this prompt to the object you would like to test your pattern on and share it as part
of your final project.
5. Turn Your Image into a Mockup: Now I'm going to turn
this image into a mockup. So I'm going to start by opening
this image in Photoshop, and I currently have
the 2025 version installed on my computer. I think this is
important to mention because these things
are going so fast lately with technology that you might find that the
same tool has changed at I think that the logic behind this workflow
will remain the same. So the first thing
I'm going to do is to duplicate my
background there. You can do this either by
dragging your layer to this icon that looks like a box with a plus
symbol in the middle, or you can right click on your image and tap
on duplicate layer. Now, you're going
to be amazed at how incredibly easy
selecting subjects has become with these AI tools. Or you're going to search for
the Object Selection tool that looks like a square
surrounded by a dotted line. If you keep your
mouse on top of it, you will see that
this menu appears and it says Object
Selection tool, and it also gives
you the shortcut, which in this case, is W.
So I'm going to select it. And before I select the kimono, I want to show you something. On the top menu, you will find this
select subject which finds humans on your photographs and select them,
which is amazing. Before you used to spend ages using the La Zoo tool
and stuff like that, and now with just one click, we can go ahead and
select the present. Now, in this case, I'm not interested in selecting
the whole woman, but the objects, the
kimono in this case. So I'm going to discard my selection by
tapping on Command D, Control D, if you're in
a Windows interface, and go ahead and click on the Object
Selection tool again. You can see that if I hover
my mouse over the image, Photoshop instantly
starts recognizing the different objects
that are within it. I'm going to select the kimono and then I'm going to
isolate this kimono on its own layer by right
clicking on top of the image and searching for layer via
CAT or using the command, which is always much
better and much quicker, which is Command Shift J. You can see if I make my
background layer invisible, that this has cut the
kimono on a new layer. Now, just for fun,
I'm going to go back. I'm going to select the
initial image again, and I'm going to
cut these trousers onto another layer as well. So command shift J, and now the trousers
are on its own layer. And why not? I'm
going to go back to the background image and
select the t shirt as well. So I was not
intending to do this, but since ChatGPT
created this image, then I thought that it's
actually fun to show you a more advanced way of turning these images into
usable mockups. Once you have separated your objects onto
different layers, meet me in the next lesson, where I'm going to show you how to start testing your patterns.
6. Visualize Your Pattern: For this lesson, you're
going to need a pattern. If you don't have
one, don't worry. Remember that I
left one for you in the downloadable
resources of this class. I found this pattern
I made a while ago, so I'm going to open it in Photoshop and keep it
in my pattern library. I'm going to go to the Edit tab and search for Define Pattern. So I'm going to click on it. You can give it a name
and click on Okay. Now, there is this icon here
that looks like textile, but if you can't find it, you can go to Window and
search for patterns. This will open your
pattern library where all the images that you turn into patterns are
going to be saved. Now I can go back to my
mockup and visualize my pattern within the Kimon making sure that I'm on
the background image. I'm going to tap and create
a new field layer or adjustment layer by clicking on this icon that looks like a
circle, split it into two. And from this menu, I'm
going to select pattern. Now, at the moment, I cannot see the pattern because
this layer is opaque. So I'm going to select Okay, and I'm going to select the Kimono layer and set
the blending mode multiply. You can do this by clicking on this normal box and selecting multiply from
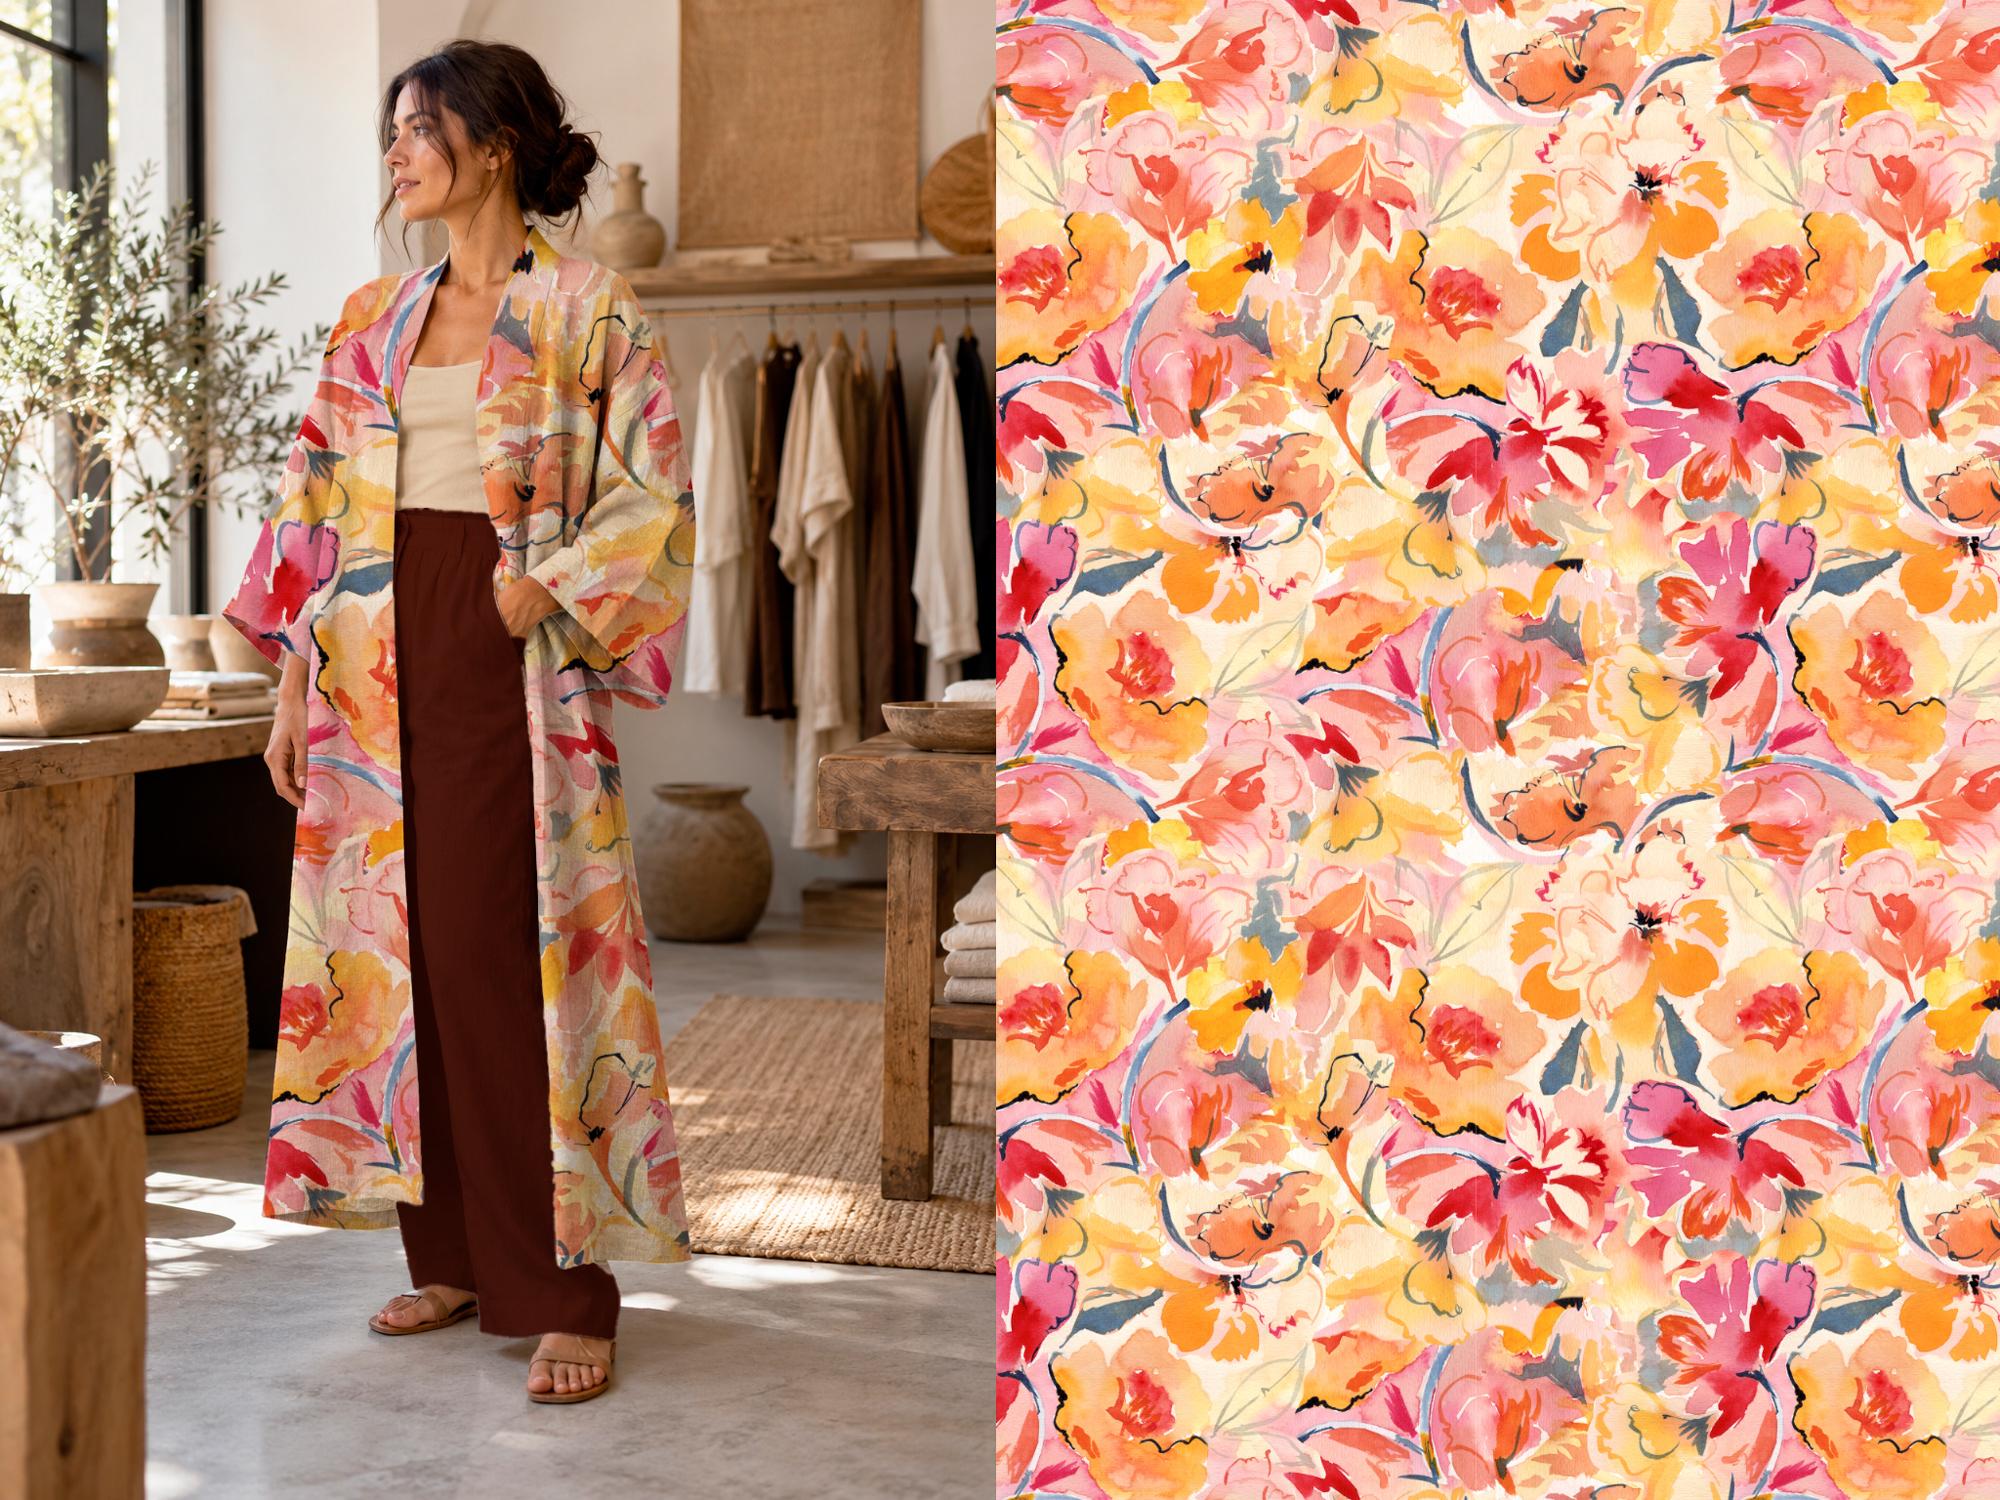
the drop down menu. And this is so cool. I absolutely love this process. I mean, I actually do want
a kimono with this pattern. This image is really small in resolution because
it's made with AI. Its resolution is 72, and my original pattern
is 300, so it's very big. And that's why the
scale looks like this. But this has just given
me an idea for maybe making an oversized painterly
pattern for a linen kimono. So you start seeing how this method can start
sparking some ideas. Now, I'm going to adapt the scale of this pattern because at the
moment, it's too big. To do it, you have to double
click on the pattern layer and either change the scale
number to a smaller one, let's say 50%. So cool. 30%. Or you can use this
bar to change the scale. The cool thing about having various patterns in
Photoshop's library is that if you double click the pattern thumbnail
and expand this menu, you can test different patterns that you have previously
imported into Photoshop. Have fun playing
with your pattern. In the next lesson, I'm going to be teaching you a few tricks to change the colors of your
trousers and the t shirt. See you in the next lesson.
7. Changing Colours with Masks: Uh, in this lesson, I want to show you
a few extra ways to customize your mockup, including changing colors and adjusting different
parts of the product. I know layer masks
can be confusing, especially when you're
just starting out. So I will explain what I'm
doing and why as we go. I'm going to use the trousers as an example and go through the
masking process in detail. The same logic can be applied to any object or area
of your image. Once we finish this
detailed explanation, we will go back to the
normal pace of this class. If you find the next
steps difficult, I recommend coming back to
this lesson and practicing the mask logic until it starts to feel natural.
Let's get started. So that we're all
on the same page, let's make sure these colors on our tool bar are set
to black and white. Let me just select
two random colors to show you how to
do this easily. To set them to pure
black and white, you have to click on this
icon that says default, foreground and
background colors. So click on that and your color should be set to
black and white. Now, make sure that the
white is on the top. You can invert these
colors by tapping on this arrow here or pressing
the X key on your keyboard. So white should be on the
top and black on the bottom. Let's start by creating
a color fill layer. To create it, you have to use the same method that we used to create the
pattern fill layer. You have to click on this
icon at the bottom of your layer stack and select solid color from
the drop down menu. Let's select a random color. Make sure that your layer is
on top of the layer stack. We're going to use it to change the color
of the trousers. You can see that this
color fill layer comes with a mask by default. The mask is this thumbnail that appears on the side of
the colored thumbnail. At the moment, it is white and
it is revealing the color. Let's invert our mask. Search for the image, tab on the top menu, go to Adjustments and
search for invert. Or use the command command
I if you're on a mac, control I, if you're on windows. Now the mask is black
and is hiding the color. So if I invert it to white, it reveals, if I set
it to black, it hides. Now that you
understand this logic, let's go ahead and
erase this mask. You do it by clicking on the mask thumbnail and select delete layer mask
from the dropdown menu. Now this color is covering
the whole canvas. So we're going to use a layer
mask to tell Photoshop. I only want you to show this
color inside the trousers. So let's go ahead
and create the mask. Let's start by
selecting the object. In my case, the trousers. You can either right click on the object layer thumbnail and click Select pixels from the dropdown menu or use
the command which I prefer, which is pressing and holding down the command key
on your keyboard. Control if you're using the
Windows interface and see how this hand surrounded by this
dotted squared appears, and now you can click
on the thumbnail. See how the trousers
have been selected. With this selection, we're going to create a
mask on the color layer. So start by selecting
your color layer. There are a few
ways of doing so. First, I will
explain the one that will help you understand
the logic behind it. Go to layer on the top menu, search for layer mask, and you're going to tap
on reveal selection. You can see that the mask has appeared on the color layer, and the trousers
are now revealed. If you cannot see the trousers, it's because your mask
is probably inverted. Remember, black
hides white reveals. So if this is happening to you, you need to invert the mask. Remember that you
can do this by going to image adjustments Invert, or just press Command
I on your keyboard. Now, at the moment,
our color fill layer is sitting on top of the object, so it is covering all of
the original details. We want to keep those
details, the shadows, highlights and textures, while using our new
color underneath. So I'm going to move
the color fill layer below the trousers there. Then just as we did
with the kimono, I'm going to select
the trousers or your object layer and change its blending mode to multiple. This allows the color underneath
to show through whilst preserving the darker details and shadows of the
original garment. And now we have our trousers or whatever your object is in a new color while keeping the original details.
Change the color. This is one of my
favorite things about working with
color fill layers. If I double click
the color thumbnail, I can open the color
beaker and try out completely different colors and see the changes life
on the garment. And because the color
is on a separate layer, I'm not changing the
original image itself. So I can experiment freely, try different color ways, and simply discard or change
the color whenever I want, which can be very helpful when it comes to
choosing a color, making combinations, or
playing to be a stylist. Now just to practice
this process, I'm going to change the
color of the t shirt. This time, I'm going
to go a little faster. Remember, if you feel lost
or I'm going too fast, just replay this
lesson until you feel familiar with the steps
and the logic behind them. So first of all,
I'm going to start by creating another layer
with a solid color. So click on the second, select solid color, and I'm going to select a random color. For example, this yellow. I'm going to place this
layer on top of the t shirt. That is the area I want
to change the color of. As we did with the
trousers layer, I'm going to start by
selecting the mask thumbnail and tapping on the lit
layer mask to discard it. Now I'm going to place
my mouse on top of the tis shirt thumbnail and pressing down my command
key on my keyboard, I'm going to click on it so that the tis
shirt is selected. Now, making sure that my
color fill layer is active, I'm going to create a mask. And this time, instead of
going to the top menu, I'm going to click
on the mask icon, this one, located at the
bottom of my layer stack. So if I click on it, you
will see the mask appear. Once more, if you
cannot see your mask, just invert the color of it by tapping on Command
I on your keyboard. Lastly, I'm going to place the
color layer on the bottom, and I'm going to set
the blending mode of the object layer to
multiply, and there you go. Lastly, I can change this color
to whatever color I want. If you still feel lost, go ahead and repeat this
lesson as many times as you need to understand
the logic behind masks. In the next lesson, we're going
to adjust some aspects of our mockup to make your patterns
and colors really shine.
8. Enhance Your Mockup & Test Different Colourways: Now that we have
our basic mockup, let's see how we can
tweak both the product and the pattern to explore different looks and colourways. When I first show you how
to test your pattern, I placed the pattern field
layer at the bottom of the layer stack underneath
the original image. I did this simply to keep
things easy to follow. Now that we have already
learned how to create masks, I'm going to move
that pattern layer up underneath the kimono. I'm going to repeat
the same process we used in the previous lesson. First, I will select the
pixels of the kimono, and then I will
use that selection to create a mask on
my pattern layer. Now my pattern only appears within the
shape of the kimono. Before I start experimenting, I want to make sure I can always come back to the version
that I already have. So I'm going to group my layers together and
duplicate the group. You do this by selecting
them all and dragging them onto this folder icon located at the bottom
of your layer stack. Then you can right click and
search for duplicate group. I'll call this new group demo. That way, I can
experiment as much as I want without worrying about
changing my original mockup. Before we start changing the characteristics
of the kimono, I want to show you
a really useful way to visualize your pattern
alongside the product. This can be helpful when
you're presenting your work, but also when you're making decisions about color and scale. To do this, you have to
go to image, Canvas Size. So you can click on this menu, select percentage. And write 100%. You can also decide if you
want to expand your canvas to the right or to the left by clicking the middle
square of either side. Now I have an empty area
next to my product. At the moment, the mask is only revealing the pattern
inside the kimono, and I want it to be displayed
on this empty area as well. So I'm going to tap on the
square selection tool, select this empty area. Now, making sure that my
layer mask thumbnail is selected and that
the white color is on top of my toolbar. If it's not, you
can either press X on your keyboard to change
the black for the white or double click on the active color to select the white using
the color picker. I'm going to press the
delete key on my keyboard, and now you should see this area with the
pattern as well. If you have followed until here, you now should see your pattern both on the
product and on its own. Now let's look at how the characteristics of the original product
affect our pattern. I'm going to hide my
pattern for a moment. You can see that this kimono has a warm creamy color
and a mid tone. So it's not too dark, but it's also not very bright. When I bring the original
image back into view, you can see that these
colors and tones are also affecting the appearance
of the pattern underneath. My pattern is much brighter, so I want to explore
what happens when I change the
characteristics of the kimono. I'm going to create
a second version of the kimono to compare
different options. Let's start by adjusting the
brightness and contrast. There are several ways
to do this in Photoshop, but I'm going to
keep things simple and use image on the top menu, search for adjustments, and then search for
brightness contrast. As I increase the brightness, you can immediately see more of the pattern
coming through. I can also adjust the
contrast depending on how soft or defined I want
the final image to look. So with just these
two adjustments, I can take the
kimono from looking like this to looking like this. Now let's look at color. The original kimono has quite
a strong warm yellow tone, and you can see that this is also influencing the
color in my pattern. So I'm going to go to
image adjustments, and this time, I'm going to
search for hue saturation. If I increase saturation, you can really see that
warm color coming through. I could completely desaturate
the kimono by bringing this bar to the left to
create a more neutral vase. I could change the
hue and create a completely different
color of the product. If you want, you can apply these adjustments to individual elements of the image too. For example, I can
select the trousers and adjust their brightness
and contrast separately. This gives you much
more control over the overall color
balance of your mockup. Now let's do the opposite and play with the
pattern itself. This is one of my
favorite things about working with
mocaps because you can quickly explore
different colourways without changing your
original artwork. At the moment, my
pattern is a fill layer, which means that I
can't edit its pixels. I need to convert this pattern
layer into a normal layer. To do this, I'm going to right
click on top of the layer, not the thumbnail, the layer, and choose rasterized layer
from the drop down menu. This converts the fill
layer into pixels, which means that I can now
edit it like a regular image. I'm going to go back to image. Adjustments and select
hue saturation. And now by moving
the hues lighter, I can start exploring completely different colourways,
which is a lot of fun. If I find something
that I really like, I can go back to
my pattern and use that idea to create a
version of the design. It is also fun to
experiment with invert, which can produce some really
unexpected combinations. And because we've kept our
original version intact, I can keep experimenting freely
without losing anything. If you want to explore
different colourways for the rest of the outfit, you can also organize your
elements into separate groups. That way, each
group can represent a different colorway or
a product combination. This way of working
is really useful because you can test ideas
before committing to them. You can see how a
pattern behaves on different colors
and materials, compare different colourways and make decisions about
scale and combinations. And these mockups aren't just
useful for experimenting. You can use them to
present ideas to a client create
portfolio images, share your work on social media, or even test which
colourways people respond to before deciding which products you might actually
want to produce. You're essentially
using the mockup as a visual tool to help you make better design decisions before anything needs
to be produced. In the next lesson, I'm going
to show you how to export your images so that you can share them in your
project of this class.
9. Export and Share Your Project: Let me show you how
you can properly save your project to share in
the gallery of this class. And then I will show
you how to save your Photoshop file and start growing a library of
your own mockups. I'm going to start by saving some flat JPEx of each of my
colourways to share online. You can go to File, Export, and then save for web. This window will
appear, and in here, you can choose a few
things to save your image. You can select the quality. You can choose the
quality that you want your image to be saved in. I will leave my number
around 90, and down here, you can specify a number if you want to export it
at a certain size. Then simply tap Save and make a folder to
save your mockups. Tap safe and then repeat the process for
all the colourways. Now let's see how
to properly save this Photoshop file so that you can keep using
it in the future. I recommend creating a
dedicated folder for your mockups and keeping it somewhere you will
easily remember. This way, you can start building your own library of
reusable mockups. So I'm going to start
by saving the one that contains my
patterns and colourways. I'm going to go to
File save us and save this file as
Kimono mockup pattern. This way, I know that contains the patterns
and colourways. I'm going to start by erasing
the colourways folders. You do this by selecting
the folders and clicking on the pin icon at the
bottom of the layer stack. And I'm going to erase
the pattern as well. You can keep it if you
don't want to repeat the process of selecting and
creating the mask of that. But for me, it's a very
simple step to do, and my file will be less heavy if I save it
without the pattern. So now I'm going to
go back to file, save us, and save it as
mockup kimono template. I'm going to move the template
into a folder that I've created and named mockup
template library. So here is where I
can start saving all the mockups
in these formats. And whenever I have a pattern to test or share with the world, I can just open one of
these templates and test them in a very
quick and fun way.
10. Final Thoughts : Thank you so much for joining me in this class and for
making it until the end. I hope that you
enjoy the process, learn something new, and take these skills onto
future projects. If you have a moment,
I would really appreciate if you can
review this class. Reviews help me learn and
get better as a teacher. They help my class
gain more visibility, and it always makes me so
happy to read your reviews. I would love to see
what you create, so don't forget to
publish your project. And if you share it
on social media, you can tag me at
Sylvispina dot so as I would absolutely love to see
your patterns on products. If you would like
to learn more about creating patterns in
Photoshop and in Procreate, I invite you to check
my profile where I have several classes to help you get started and
develop your skills. And if there is
something else that you really want to learn
or see me teach, let me know in the
class discussion, as I would love to
know your ideas. You can also follow me here on Skillshare to be notified about my new classes and check out my YouTube channel and
Instagram channel. For more resources, tutorials
and creative projects. Remember not to be
generating images endlessly, but create really good ones and then use them for
future projects. I hope you enjoyed the process and that you're feeling
confident creating your own realistic
mockups and enjoying seeing your patterns
on real life products. I absolutely love doing that. A good mockup can be a really useful tool
for experimenting, presenting your work,
building your portfolio, and sharing your patterns
on social media. Thank you so much for
being here, for watching. Keep enjoying your creativity and see you in my
next class. Bye.