Transcripts
1. Introduction: You might think that greeting
cards only come one way, but I'm going to take you
to another dimension. Hi, I'm Lillian, paper crafter, pattern designer,
and craft teacher. In this class, you'll
learn how to up your card making game with
the pinwheel tower card. This card shape is
already pretty Wow. But after you've
learned the basics, I'm going to show you how to
amplify the WOW even more. So if you're ready to add another dimension to
your card making, join me in class. A
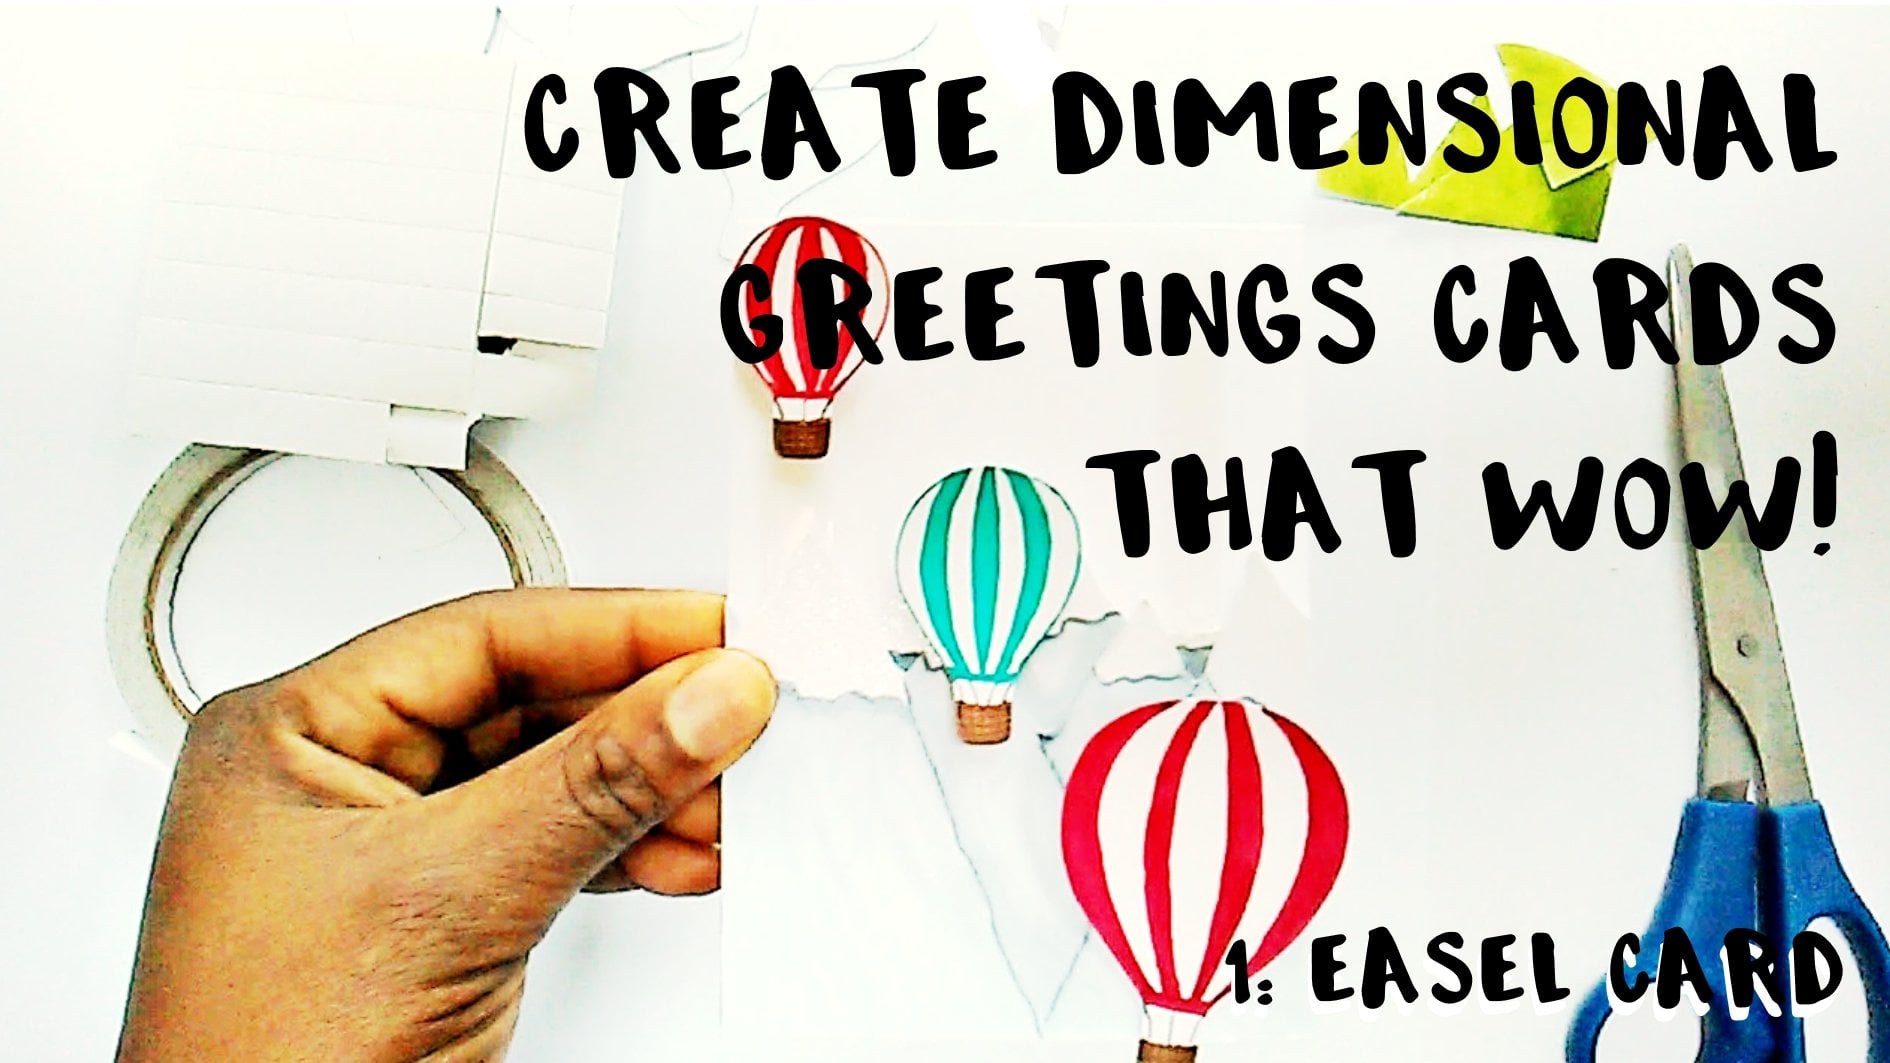
2. Tools and materials: In order to make your cards, you're going to need
some basic supplies. So you'll need some card stock. I recommend using a weight of at least 240 GSM as your base. It can be white,
it can be colored. It can be patterned. If you have the ability
to print onto card stock, then you can do that
directly as well. To decorate your cards, you'll need some
patterned papers, and then you'll
need embellishments to sort of decorate
and enhance your card. These could be in the form of decorative panels or die cuts if you have a die
cutting machine, stickers and fussy cuts and sentiments and also things
like buttons, bows, beads. You'll need some glue or
some kind of adhesive. Scissors would be useful. A paper trimmer would be ideal if you can get
your hands on one. If not, a ruler and
scissors will do fine. And finally, a scoring board. This is a board that
comes with grooves etched into it and measurements
as well along the top. It has a tool that you can use to put hold lines into paper. Mine has inches and centimeters. I find that that's most useful because I tend to dip in in
and out between the two. I use a scoreboard, you just place your paper in the top corner top left corner. And then you can add lines depending on the
measurements that you want to use. I'll be using this
later in the class. Again, a scoreboard
is not essential, but it does make life easier. If you don't have
a scoring board, you can use a ruler. You'll have to mark your measurements according
to whatever it is that you're making and
then you'll need a blunt implement a table knife or something with
not a sharp edge, and then you just line up your ruler, according
to your measurements, run your implement down the paper to create
your fold lines. I recommend using scoring, whether it's using a scoring
tool or just using a ruler, just because it makes the folds more crisp and the overall
result look a lot neater, a lot more polished.
3. Basic Construction: To construct the card, I'm going to start
with A four paper, and I'm going to cut
it down to size. So we're going to need two
sheets of A four paper. For ease of measurement, I'm going to trim my A four
piece down to 29 centimeters, take off that rogue seven. If you're using letter
paper, essentially, what you want to do is
divide your paper into four. Now we've got this
at 29 and I'm going to cut this down to 14.5. That's basically cut it in half. Then I'm going to rotate it
and cut this in half as well. F A four, that would
be 10.5 centimeters. Now we've got four
panels that are 14.5 by 10.5 centimeters, a quarter essentially of a four. If you're using letter paper, that would be a
quarter of letter. Then I'm going to
get one more panel, which is going to
be for the spine. Cut that down to 14.5 by 10.5. So with this fifth
piece of paper, I'm going to score
at 2.5 centimeters, 5 centimeters, 7.5 centimeters
and 10 centimeters. We'll have four sections. The 2.5, which is about an inch and then
a little bit leftover. If you're using a slightly
different measurement for your project, just what you'll need to
remember is that you'll need four equal panels
about an inch wide, and then a little bit
extra to create a tab. Then fold along
the crease elines And then what we're
trying to do is to create this square tube. So I'm going to add
glue to this section here and create the tube. Then you can just glue this press this down
and glue it to paper. Now we've got our tube. In order to make the cart, take your four panels and
glue them onto your spine. Now, it's important that all of the panels face the same way. Don't glue one like
this and one like this. They all must glue
face the same way. A good way to do it is
just to start like this. Put glue all the way across. Try and get close to the edges. Then attach your panel. Here. And then here, these two are facing
the same way. Just, you know, try and
encourage it to stick like this, and then you'll see
if you continue. We want this to
also face this way. If you put this
down, turn it over, and then do the same again,
these two will face this way. And that is essentially your pinwheel tower
card completed. So you can see why it's called a pinwheel tower. It's a tower. And if you look
at it from above, it kind of resembles a pinwheel. And then you will have
all these panels, you can decorate how you like, and then you can still have it flat and it will
fit in an envelope. So using A six cards, your envelope that
you would require is, like, about 21.5 by 15. And I believe that's a
standard A C five envelope. You'll see in the later examples that changing this format will have an effect on
this dimension, which will have a knock on effect on your
envelope selection. But I do mention that later on. So this card as it stands, this card shape as it stands
is already pretty wow. But in the next lesson,
I will give you some examples about how you can amplify the WOW
factor even further.
4. Amplify the wow!: Okay, so now that
you've mastered the basic construction of
the pinwheel tower cart, I'm just going to
show you a few ways that you can maximize. You can really amplify
the WOW factor by your embellishment
and decorating choices. So here is a card that I made. I would say that it's I
haven't done anything different to the
sort of structure. It's a basic pinwheel tower. But I have tried to
add some interest by so I've printed on
double sided card. I've printed double sided
directly onto card stock, so I haven't not gluing any layers onto the
base card stock. Then I've taken these panels
from a digital graphics kit that I have and these
panels come ready made. I've printed them twice and then cut out various elements, then use dimensional tape to pop them up from
the background. So three d decoupage just to
give it a bit more interest. There's areas that
you can write on. By adding a bit of extra
dimension to dimensional cut, you can make the Pino tower a little bit more interesting. Now in this example,
I have again, not made any changes to
the basic pinwheel tower, but I've achieved the WOW, I guess, by adding drama. I've used the same background
all the way through, and then I've used
black silhouette that I've accentuated
glitter in places. I don't know if you can
see that very well, and in some places I've
used metallic accents. They've got glitter
on the background. And then I've just interspersed
sentiments in there. Then here, I made a little
pocket so that I can fit in a secondary greetings
card in case there's no way because
there isn't really much many areas
to write on here. Another thing that you can do is to do what I've done here is to add a little pocket
and then you can have a little supplementary
greetings card in. Plenty of space to
write the message. One thing that I
didn't do, which if I was going to make
this card again, I would is that I would make this core the same
color as the cards. Because when you stand
it up, you can see it's quite a stark difference. The white is quite stark. I think I would do that
either with black or with the same blue green background. But this is really
striking and I haven't done anything apart
from I chose the theme. I've used the sort of
added drama by using the whole silhouette idea. That's another way that
you can increase the wow. So in this case, all
I've done here is, um, I've changed
the orientation. That's where I've
gone from vertical to portrait to landscape,
vertical to horizontal. And now, um, I wanted to make quite a few samples to
show you so that you could get quite a lot of ideas and inspiration about
how you could really, um, jazz up your own card. But I was the problem is that whenever I
finish making one, I think of a different idea. So, um, as soon as I finished making this,
though, Oh, you know what? I should I should have
made these into postcards. That would have been so
good because it's got a travel theme and, um, you know, different
places around the world. Anyway, that's
just another idea. So what I really wanted to show you was just how it looks in landscape with the orientation of the panels in landscape
rather than portrait. Oh, incidentally, in all of
these cases, whatever you do, don't forget it will
have an effect on the final flat profile of the
flattened greetings card. So there will be an impact on your envelope choices based on what you do with
your pinwheel tower. Then another thing that you can do is to change the shape. So I've been using
rectangles thus far, but look, you can use
heart shapes or any shape. You can make this
semicircle or a triangle or uh you know, an oval. You can change the
shape of your panels. I love this card. It's so sweet. Again, you're
sticking to a theme, but you can add
elements as well. Interactive elements.
I've got a little sort of card within a card. I've cut out these florals and, you know, left only glued
them around the edges, and then left a gap at the
top so that I can put in these little tags or
sort of message tags, I can write a message
or it could even be a coupon or whatever you wanted. Here I've got this
little tiny envelope, which you could put
a little surprise in as well if you wanted to, and then another pocket
here where I've just taken some of this floral paper and glued it around three sides, left a gap at the
top, and again, made some of these little tags. You could put photos on them, you could write messages, and it makes it a little bit
more interesting as well. So you've got the double wow of the shape plus all the interactive bits
and pieces as well. But you can see it's
the same core Okay, another way to add some interest and drama
is to use negative space. So this is like a prototype
of an idea that I had. I wanted to I just thought
what it look like if I took out basically all of the inside and just
left the outside. Then I've taken the
core and just cut it into two bits and
then glued them, attach them to the
top and the bottom. And you get this
really open effect. I've used clear tape down the middle to attach
these frames. So it looks like
they're floating, so I've used frames, but it could be anything really. So from a distance, it looks
like everything's floating, and I love that. So
it's not finished. I just wanted to
really demonstrate, I wanted to show
you the concept. So of course, you could decorate these frames more. You
could add pictures. These could be flowers or people or really
whatever you wanted. But there's another way of using the pinwheel tower to create a really effective
greetings card. Although I've demonstrated
the card with a spine, a four sided spine, as long as you use
an even number, you can create any number
of sides that you want. So here is an octagon. This is a prototype of an idea I had where I wanted to
make a birthday card. So what I've done is create eight panels each panel has
a different letter on it. It spells out birthday. So in order to do that, I needed to make an eight sided core. Now, like I said,
it's a prototype, so it was just really
to try it out. If you're going to add
extra sides so that you can create a hexagon
or an octagon or whatever, my recommendation would be
to the more sides you add, the narrower you make
each of these sides. Because as you can
see, mine's quite large in the middle and
it's a bit ungainly. So a tighter core would
have been better. I think this is
really effective. So I've got my B, I, so each side is
a different letter. Then I've used a different embellishment
for each of the panels. It's not finished by any
means because like I said, I was just really
testing out this idea. I would put pattern
papers on and all sorts if I was going to
actually make this again. But I think it works really
well. So there you go. So you're not restricted to
your four sided pinwheel, you can make a multi
sided pinwheel. As well, just
remember, it has to be an even number so that
it still falls flat. Don't be restricted. Go
beyond the greetings card. This is actually a
junk journal kit that I have purchased and downloaded. But rather than putting it
together as a notebook, I've attached it to
my pinwheel tower. So you can see from
the profile here, I've taken, each one
of these panels. I've, made a double sided, and then folded it
in half and then stuck one side to the spine. And then I've just
gone ahead and made up the junk journal kit, the junk journal using the
elements from the kit. So you've got pockets
with tags and stickers, and some other bits and pieces of ephemera,
which keep falling out. So you can go beyond
the greetings card and start thinking
about gifting. This would be a really
nice way to present, like a mini album or a
junk journal or some kind of heapsake for your recipient. Still folds flat. And if you were mindful,
you could, you know, decorate it in a way so
that you had a cover and a back so that when
the person opened it, they knew where it started
and where it ended. But I like this
because you've got these extra arms now
sort of radiating. So it adds an extra sort of
decorative look to the tower. And then finally, I
just want to show you this last example where I've taken several of these concepts and combine them into one card. I've used the change
the orientation. I've used the rectangles
in landscape. I'm making use of the
negative space by having these areas popping
up over the sides. I've got these little dangly
bits for the baubles, I've attached them with a
string and so they dangle. And I've used the shapes. I've used triangles, and I've alternated the orientation of the triangles for a
little bit of extra Wow. I think I can say I've never seen a greetings card
that looks like this. So you can really create
something unique.
5. Class Project and Final Thoughts: Okay, so now you know how
to construct the card, and I've given you
a few examples of how you can really
amplify your Wow. So the next step is
for you to go off and make your own
pinwheel tower card. That's the class project. So use the ideas that
I've presented here. Feel free to replicate any of these, you know, if you want to, you'll be surprised once you
start thinking about it, you'll be surprised how many
ideas you come up with. I've got lots of ideas
that I haven't shown you here because every
time I tried, you know, to create a sample,
I would think, Oh, I could do I wonder if I could try that. I wonder if that would work. So on that note, if you would like to see how some of these
things have gone together because I obviously
have just shown you the finished examples
and not the process. So if you'd like process videos for some of these ideas and even some of the ideas
that I haven't had time to present here, let me know and maybe I'll
put together a separate class where each lesson is a
different version of the card. Let me know if that's something
that you'd like to see. So thank you so much
for taking the class. I hope that you have been engaged and entertained
and fascinated. I hope that you've learned
something new and exciting. I hope that you feel inspired to make your
own pinwheel tower card. Please do post your
class projects. I would love to see
any interpretations of what we've learned. You can find me on Instagram
at Mary McWawmaks. Please consider leaving a review if you've
enjoyed the class. It helps the class to get found, and it helps other students to decide whether or
not to take the class. So on that note, happy creating, and I'll see you
in the next class.
 Lilian Barker, Papercrafter & Surface Pattern Designer