Transcripts
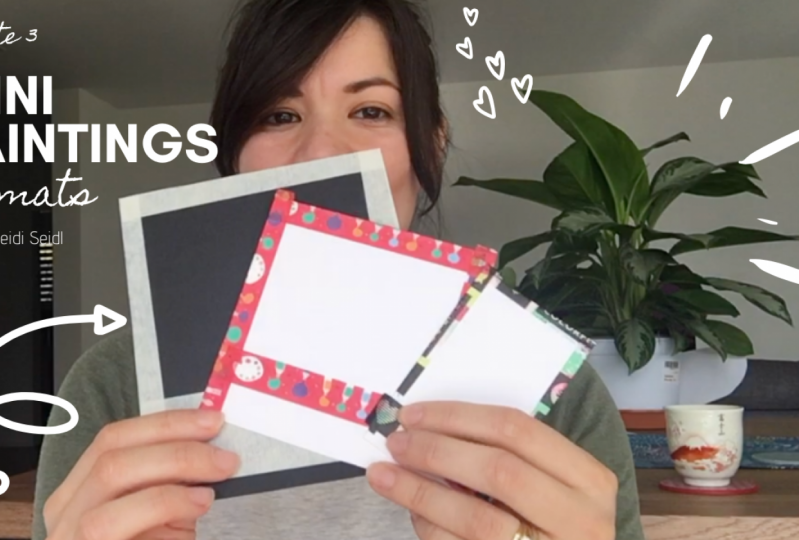
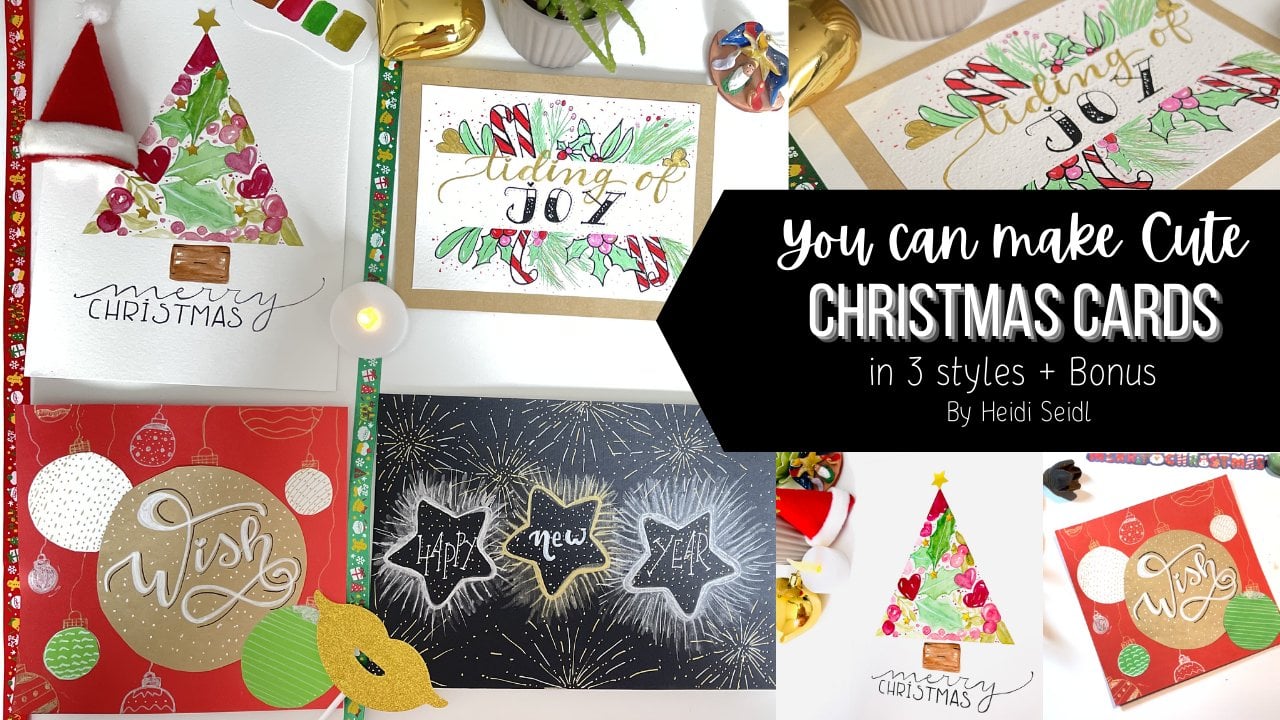
1. Intro: Hello and welcome to this class. I'm hiding today. I'm telling with you how to create cute many painting in three different formats this morning. One like these. The median size like this and the big many painting. For months I have Teoh join me for this class and I promised you were going to have so much fun. So place, captain Coffee, dirty water Whatever you want to drink to smoothing. Let's start with this for fun and basically free doing the next.
2. The Supplies: welcome to this class. So glad you're here, my lovely in this be via were discussing the supplies that you will need to make the best off this off this class. And if you have taken my other classes to know that I love to use watercolor paper good quality called press and breath, that even 300 grams or 100 forties is okay because it can absorb the water. Marcia, bed in the diesels. The finally sold will be much likeable in the amazing part off this class is we're going to use also there. Black watercolor paper. This is so fascinating to use and you will love it if you have it. If you don't have it than please stay with what you have at home. You don't need to buy anything new or if you don't want to. Next, we're going to use us always two glasses with clean water. This is to clean the brush and toe. Help to dilute the watercolors if you need it paper or a sling tower to change the color on the brush or to remove excess off. What if needed for the purpose off this class, I will be using mostly watercolor, so I need a brush paint. But if you have another meeting that your would like to use, you are very welcome to adjust them. You can use markers, your watercolor pencils, order colored pants, sales order marker Sergey, whatever you like washed, whether coolers, anything you like or even digital Rowan, if you like. And we are going to use. If you use whether corners do need a mixing pan, I use whatever they have at home. I used mostly a ceramics because they don't stay and really easy to wash. You will also need washing tapes to make the frame ings. I have to ask you which state I was in Japan a last November when they went there. But you also can use a masking tape because it doesn't damage the paper. Do we need a paper cutter or an exact to make the cut on the paper? To get there right size a ruler to make the right sizing a pen or a watercolor pencil and a eraser? This little pen holders I did it myself. You can ask me if you want to know more about them, they execute to get the paper in the different sizes. We're going to work today or in this class. You will need the cutting mat because it is flexible and doesn't damage the surface world you are working on. Or you can use a car work. I used this one from my left over a paper a blocks, and I don't throw them away. I just use them and last but not least, and this is optional. A easily toe. Put your beautiful little many paintings on them and showcased in your home or to give away to France or us a gig, or to sell them in your job if you have one. Now is the time toe. Get up in the Unite all term Adidas your supplies that you will be using and take a picture of them post in the gallery off the products off for this class. And let's see then in the next video in which we are starting to cut the format for these many paintings that we're making in this class, I hope to save your picture after materials say, doing the next video
3. Cutting the Mini Formats 1: Welcome back. Before we start with the cutting off the many paintings for months I want to share with you the story behind in these many paintings. Why? I started painting these little cute many paintings. We went in Japan working through the cherry blossoms. It is a coda Trees and a photographer came close to us and asked if he could take a photo from us near the tree and we accept. Then we came back home and I bought this picture in a mini easily on my desk and I was looking at it every every day. Then one day I was thinking, Oh, what could I paint today? And then I saw this picture and I thought, Why not? I would paint a meaning a meaning for my painting and thus is study behind this mini paint . Discuss. We are working with three difference. Many paintings for much the small, the medium and the biggest size. So you can choose Which ever do you like best? Before we start with, the many paintings were scented with this more one. I want to Splain you this sizing The season is very easy. The long off the mini paint is a 0.5 centimeters. The white is to senti matters and the distance between the border and the center are see the point fine from the left from the top and for under a right side and down, down and the distances are a little bit longer to senti matters, I recommend you to download the pdf. I just put in the resources off this class to make it easier for you because to explain necessarily to be complicated for me for that I did the PDS. So you can easily make your for months a quick you need your paper and your A paper card and rule and a pin to make it. Is it for you Please look at the pdf in the D source off this class and or just follow me as I am doing in the the cuts I just took my pre made for mud meaningful mud and I just trace these exact a sizes on my white paper. This is the weather color paper and then I just tracer line and then and I just got to conceive. This is really no much science on this, but this is best if you can make the meaning format before you start doing the last piece and then you have just them. Okay, The the former to cut it into do it easy for you. I just got a long line and then I took my pre cut and many pains and I just place it on the on the paper and then I mark this size is normally from one paper from one normal a four paper. I got two meaning paintings and then I got that like this to make it more efficient. And then I have many for months to paint later. All right. To make things more, more easy for you do can cremate do your M Central a size. The sizing for this central rectangle is six second sentimental long and 4.5 senti matter white Your rectangle. This is like a rectangle with the correct sizing, and they would say it will make it. You're a creation off the mini paint is so much easier. So let's go to the next four months. The medium size sees you in the next video
4. Cutting the Mini Formats 2: Welcome back. Let's continue with the media size four months for the cute and many paintings for months class In this class, we are a cutting the median size off the many paintings. So just us the previous video, I would do the same jokes in another size and please download the pdf with all the science is required to make your beautiful and cute many paint enjoy the process. - Uh , for this size off many painting I answered, Did the Central Peace, which will make my work easier, injures two in this big guy and showing you how I do the size is to get it right and following in there distance in the mini painting for months from the PBS. Please check it out and download because this will help you make it your four months marsh harmonic and beautiful to look at because the sizes are M or the nice, in which you can see the same Asai metric in and they painting. Here I am cotton in the final centerpiece and you will see that it fits perfectly inside my many painting. - Now I will take note off the dimensions off this central piece toe have it handy when I am doing my paintings on my mini painting for months for another occasion, and I recommend it to do to do it so and to keep aside because it made really much easier or work and more effective. And really, all the pieces look alike. - Now that we have a baby or medium size, we will continue in the next video with the last four months. That is the big meaning format I would see during the next video.
5. Cutting the Mini Formats 3: Welcome back. Now it's time to cut the last format. The big one. And as we did in the previous video we're taking our brie views made him many big for months. And we're placing in honor paper tracing and cutting. And I will show doing this video how I did at the center peace so you can have another idea how you can made it by yourself. And please, I remembered you that in the pdf off on the resources off thes class. And you can download the pdf with the exact dimensions for your perfect beautiful mini A painting for months, the way I love the most off this many paintings and thus is one off the listen. Why do so many off them is because it is so relaxing and you can let your creativity flows when you were doing social. Many painting. But you want to introduce a different mediums or different are expressions I really love how the finish many painting looks like and it says it can be used also us a demonstration off a bigger picture or a bigger painting that you want to create later on. You can try here, Kohler Sin different textures and different techniques with their mediums social with colors or markers or stumps and things or whatever you want. I create many things with this. A mini painting such us and dramatic sky. This is my last class. You can take a look. I dio my 100 innings using this formats I E. O M. Some drawings and or just I do backgrounds. And then I used that for quotes or something that I went to spread. It is really a very great deal, a way to express yourself in a kid way. I hope to enjoy doing as many as you want. We're almost finished with the big, many painting format. I am. I am taking the notes off the dimensions. Please, I think I should do to now take the pictures off your many formats, cutting and publish them in your gallery off brides. So now we have a baby we have or three M four months for or many paintings. And now in the next Fabia, we will be doing the framing off this many painting for months, I said you in the next video
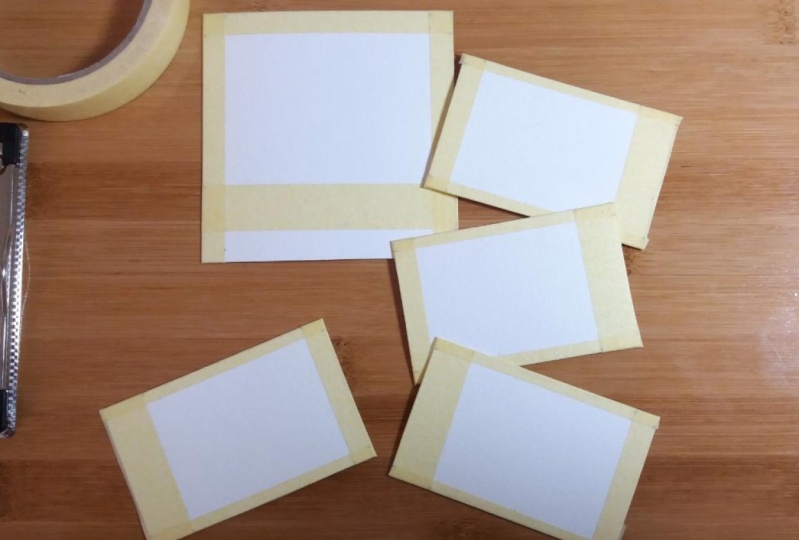
6. Framing The Mini Formats 1: Welcome back. Let's do they're framing so or many paintings. Take that. A beautiful kids Look for this. You will need your meaning small for much, the cutting with it in the bravest videos and the centerpiece, and you would place it in the center, in the center off the many painting cutting, and you will need the jury washi tape or do masking tape. There isn't with it was used me a masking tape or where she tape is because this type of tape doesn't damage the paper. So I try to keep up with the dimensions in the as to see in the in the pdf that do hopefully hot down know that and place the centerpiece in there, right? I mentioned in the center off your paper, not in the center, but we did. I mentioned, you know, for on the upside and the left and the right side. Thus is almost the same. Always in these cases Cedar 0.5 senti matter and the distance and in the downside dose NT members and then place they worship tape around the centerpiece and just do as I am doing here. You can follow me, and it would be super easy to do and though as many as you like look how many I did already . Now that we're ready with the fierce framing, let's do the 2nd 1 for them. Median size, many painting for months. See doing the next media.
7. Framing The Mini Formats 2: Welcome back. Time to do the framing off the median size, many painting format. And do we not this that you will need Do your masking tape or Jew where she tape to make this framing ask me anything? Did previous preview and is it? It's much easier when you have all the tools, all the right tools and as I do when I have my previous cutting off the center peas when all this ice is a that I need, do we need the do work flow will be much easier in motion driven Do can't relax doing this , Please follow me. And don't forget to download the pdf that it isn't there. A resource is for this class, way, - way we're lady framing or a meeting size many for month painting in. You will see that it is important that the washing tape or the masking tape is really, really add to the paper. So when you're painting the paint or the color doesn't get inside the frame and the mission your beautiful painting no, we will continue in the next video framing the bigger, many painting format, I said you in the next baby
8. Framing The Mini Formats 3: Welcome back. Now we are ready to frame old last size. It is the big, many painting for months size. And let's do this, as you know, A for the previous week. Did you know do needed Do what she tape and your A cutting off the framing and the centerpiece and we will do us We're way we have done in the previous be views with the previous four months Enjoy the process. If you have any questions, please And let me know in the comments section below In this class, I will gladly responded to your answer to your questions or the suggestions. And if you have any idea for for nucleus that do you want me to teach place, let me know. I will love to hear from you and to connect with you. So let's finish or last am frame the big one and this is very fun to use because it's more a space where you can paint anything. You will enjoy this one, but my very most favorite is the 1st 1 That's more one. And I have done so many paintings in this many format because I love I love, love, love How it looks. Do you have any favorite now by now or just deciding which one you will prefer, let me know in the comments way. - Okay , Now we had the week or three many former sizes. And in the next video, I am showing you how I do this with the black paper and to show you all the three meaning many painting for months. See you in the next video.
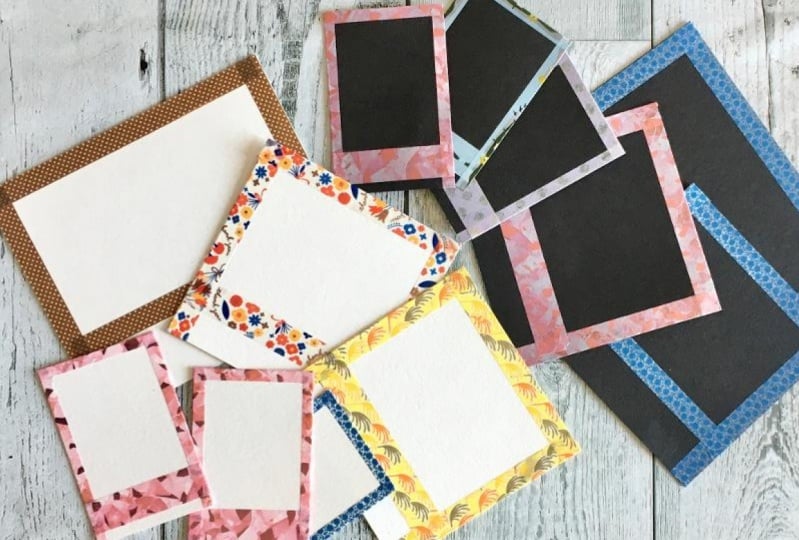
9. Black paper and All the Mini Formats: Welcome back in this devier we I'm going to show you how I do the cutting in the framing for the black watercolor paper. Assume a nose is the same process as pleaded with a white paper. I just wanted to show you how I did it. So you have a another view off these favours? A process to make the meaning. Painting frames with me. Enjoy the presses. - When I am working on black watercolor paper, I love to use colors, name coolers and white collars and silver and gold. They show up so much on this paper that do We looked us. I do. I also use my prayer colors and they don't know pretty pretty beautiful. So that's my quick tip for working on black or the color paper way. - Oh , I think this are all of the many frames sizes. In the next video, I will be explaining Do what did your product for this class. It will be. See you in the next review
10. Your Class Project: Congress relation. Do Did you finish this whole class? And I'm just so proud off you. Thank you so much for that. For your craft project A Your transpiration is to create one to probably off these meaning for months. I can't wait to see what you create place. It carried with me in the glass project section off this class because I want to see what? Your favorite off piece. Three and four months. Teddy with me says you in the next.
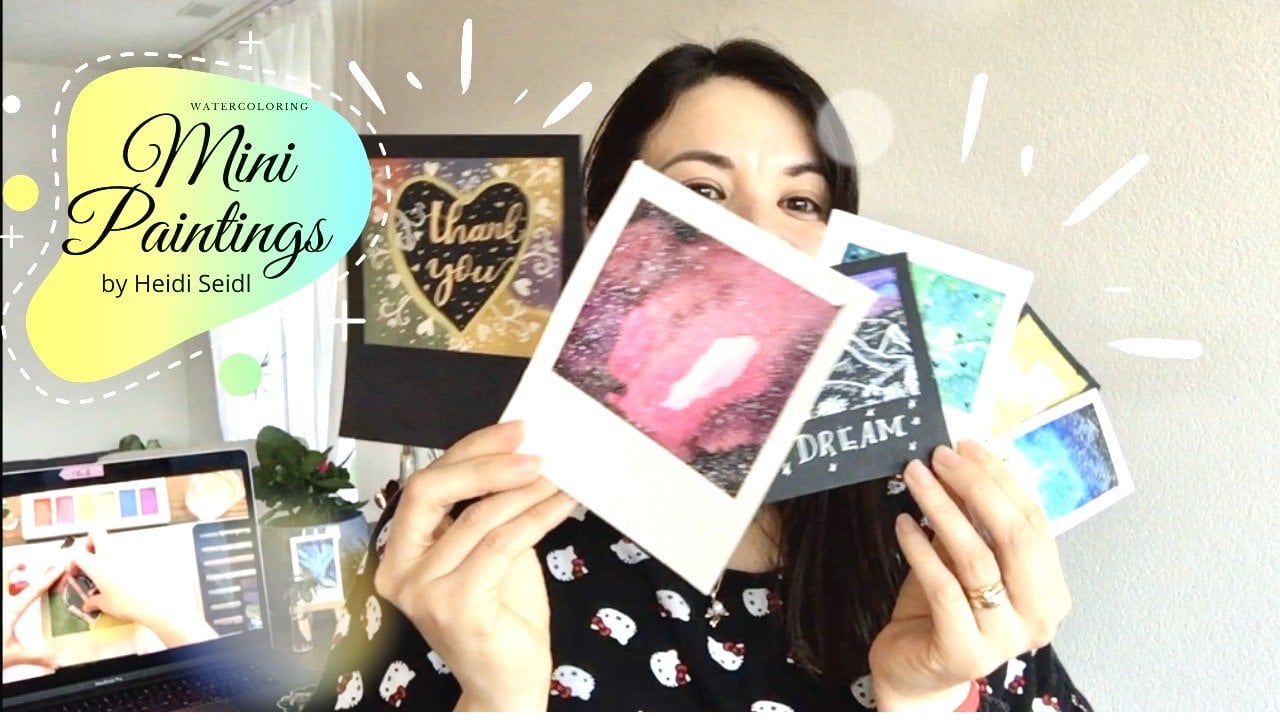
11. Thank You and My next Class: once again. Thank you so much for taking my glass. And I need by due to take my all other classes where I share the basic of watercolor. The technique we use mostly with other colors. And my next class. We are going to be painting on this leader babies that we did today. So I hope the city that so you can see how you can create the most beautiful and cute Many painting with me. Thank you so much. You can check if your creations in your instagram account and that me please to see what to create and to express their love. Thank you so much again. And I wish to the best time creating and keep creating and keep sharing your creations. See you next time by
 Artjourneywithme Heidi, ARTIST AND FACILITATOR