Transcripts
1. Introduction: Hi, I'm feeling some
surface pattern designer and educator from Italy. At the moment you
can find my artwork on Spoonflower and
Creative Market platforms. I also tell my own line of
postcards, greeting cards, and watercolor illustrations at arts and craft
markets in Helsinki. Plus, since 2022,
I have been also teaching and giving a workshop about surface pattern design. In this class, I will
teach you how to take your watercolor
sketches and experiments like this and transform them into
beautiful repeating pattern. You will also learn my
favorite methods to digitize, analog and preserve at the
same time the hand painted. This class is important because we go through
the process of taking advantage of our own
scribbles and do those to create those
more simple factors that are so essential. E.g. in a pattern collection, such more simple
patterns are called coordinate or blenders and
their role is very important. They have to unify the
path in a collection, especially the
most complex ones. These can be easy see
in the fabric used for these are basic to
intermediate class level. However, if this is the first
time for you working with a graphic software and
creating repeating patterns. I suggest you first watch my
previous Skillshare class, surface pattern design basics. In there, I explain more
thoroughly escapes tools and commands and the
basics of surface by now that I introduce
you to the class here, ready to dive into the
collective practices.
2. Class Project: For this class project, I invite you to choose one
or more of your watercolor, do those, vectorize them, and create a repeating pattern. Later, you can share
your pattern in the project section
of this class. If you have anything, you would like to ask
me about this class, surface pattern
design or escape. Remember that you
can always ask me any question in the discussion
section of this class.
3. Pattern 1: Vectorize: Hello and welcome to
the first lesson. Here, I will show you how to bring your watercolor
paintings in, Enscape, vectorize them, and prepare them in order to
create your first pattern. For the first step,
let's open Enscape. When he's kept open, usually, it automatically gives
you work in area. It's called page or art board. And mine usually
is in the A4 size. To check, we can go to
File Document Properties. And you will see
that in my case, this page is an A4 page for me. It's okay. So will not change it and I'll
leave it like that. First of all, I suggest
you to save this file. Go into File, Save As, and we call it one, and click on save. Later on, I suggest you
to always remember to save now and then once
we start working, alright, for the next step, we will import the picture of our painting or this
kind of our painting. To do so we go to File Import and we go finding the illustration
in the folder where we, where we previously saved it. We selected and
then click on Open. In the window that will appear. We choose Image Import Type, Embed Image DPI from file, image rendering mode, none, and then select, Okay. Here we have our first
watercolor illustration. This is what I chose
for the first exercise. For now, as suggested to
just look at my process. I will reduce the size and hold Control on my keyboard
to keep the proportions. And then I zoom in, pressing Plus on my keyboard. Save. Okay, at this point I want to start vectorizing
my illustration. To do so, I have to be
sure that I selected my illustration and I go
to Path Trace Bitmap. Let's see, let's try to see a preview with
these settings. This is too bright. Let's change the settings. They're still too bright. Okay, once you have found is
that things that work for you, click on Okay. And escape will create
a vector S copy exactly on top of the
original illustration. What we can do is to move the
vectorized copy away from the big sale illustration. Alright. I will start by deleting the elements
that I don't need. I'm using now my drawing
tablet because I find it easier to work with this when doing this
kind of action, but sometimes I do the same. Also using my mouse. I select my vector illustration and I choose the tool eraser. And I start erasing the
price that I don't want. As you can see, this is the
size of my eraser tool. I think it's quite small, especially for all that. I will have to delete. So I will increase it a bit. Let's try this much. This vector image is
reached in notes, in lines, and that's why it's requiring a lot of effort from the program and it's a bit slow. But once they will have deleted all the elements
that I don't need, probably Enscape
will run faster. Let's say I want to
use only this part. You might take a while. So maybe I will
speed up the action. Remember to always
save now and then. So mean right now, these should help escape
plan a little faster. Okay, very good. So mean, I would
like to simplify the shapes of these
half circles. To do that, I go to
path and simplify. Let's see. Maybe I prefer you before, so we'll leave it like this. Next. I want to eliminate all these
pieces that I don't need. There are many ways to do that. I think I will
proceed in this way. I will try to separate
all of them because now there is a one only piece. I want to separate them. So go to Path, break apart. Now I deselect every fear and I will select only
the half circles that I want to work with. Now we leave behind all these small bits
that I don't need. This was also help
Enscape to reduce the amount of nodes and
lines and maybe work better. Alright, Next, I will move them our way so that I can select all that is left
behind and delete. To do that, I pressed Delete
on my keyboard or you can use the right-click
and select its late. Okay, Great, great, and save. For the next step. I think we can start
coloring our elements. I previously created these
little color palette. We'll pull the colors
from here and use them. On my new elements. I select the elements
I want to color. I take the color picker
tool and give them a color. Then with the
selection tool, again, I select what I want to change and give
them another color. Let's do this and do the same for all of them. So here we have the original
watercolor painting, watercolor do dose it, we vectorized, and
here they are. Now we are ready to continue working on our
repeating pattern.
4. Pattern 1: Repeating Tile: In this lesson, we are going to create the
repeating pattern. Usually I start by creating
the repeating tile. To do that, I take
the rectangles and squares to create a rectangle. Here on the top bar menu, I can put a specific value,
a specific measures. I like to work with centimeters because I'm more
familiar with it, but you can choose
the units you prefer. Okay? I will put five for
height and ten for width, and then give a color
to our background. Okay? So my repeating tile now is
5 cm psi and 10 cm wide. I usually like to lock it so that I don't move
it accidentally. Do that. You can go to Object,
Object properties. This window will open. You thick, block and set. And now you can see you
cannot move it anymore. To unlock it. At the end, you can
go to Object a local, but I don't do it for now. After this, I create a copy
of my vectorized elements, Right-click duplicate, and
then move the duplicate aside. I position it on my rectangle
and I make it bigger. I hold control to
keep the proportions. And save. Next step. I want them to be all in line to object and find a Window,
Align and Distribute. Okay, I want them
all centered on horizontal x, like that. Perfect. And I do the same with
every row like this. Then we can try to do the
same also vertically. It's important to do these
because it will help you when creating the repeat. That is the next thing
we are going to do. So it might feel
like as low action, but you will thank
yourself for doing it. As you probably know when
we create a pattern, every element that goes
outside the top side of the repeating tile needs to be also on the bottom side, the same with every
element on the left side needs to go and be also
on the right side. I will start with
the top elements. I select them, I duplicate them. And I want to move
them exactly 5 cm down because I remember my
repeating tile is five by ten. To move them exactly 5 cm down, I will go to object, transform and sit tell escaped to move my
elements 5 cm down. So minus five, I hit apply. And they were moved
exactly 5 cm down. Now, I will fill the
space between them. To do that, I can select
a couple of rows, duplicate them, and
move them down. I hold control to
keep them aligned. Now I have to move all the elements that
are on the left side, also on the right side. So I will select
them, duplicate them, and move them exactly 10 cm to the right and 0 cm
up and down Apply. And here also I have to
distribute them again vertically. Like this. Remember always to save
now and then now I will unlock my
repeating tile object. Unlock all, select my repeating
tile and duplicate it. Right-click duplicate. Escaped, created, duplicate,
exactly on top of the, of the first one. Before continuing, I want
to create a copy of this, this part of the process. So I will select it, right-click duplicate and put it aside just in case later, I will need to come back
and modify something. E.g. if we want to change
some color or move some of the half circles
in skipped created a copy and I just
move it up there. Then I continue
working with this. What I want to do is to
go to object clipping and set it clipped everything that is outside the repeating tile. Now, if I select it, you can see that every
element is still alone. It's not all grouped together. And to avoid mistakes, I suggest you select everything
and group it together. So you go to Object
and click on Group. At this point, we are ready to transform these repeating
tile in a pattern. We're ready to tell Enscape that this is the title of a pattern. We select it, we go to object, pattern, object to patterns. And now escaped, saved. These are these two
the list of patterns. To see how it works repeated. We can create a shape and
fill it with our new pattern. So I take again the
rectangle tool. I create a shape and I want to fill it not with our color, but with a pattern. I opened the window
fill and stroke and the fill section instead
of a flat color I select. And here I can see my pattern
repeated, zooming in. I can see all the
details of my path. So me now I can
check how it repeats and I'm quite happy with
it also with the colors. I think I will
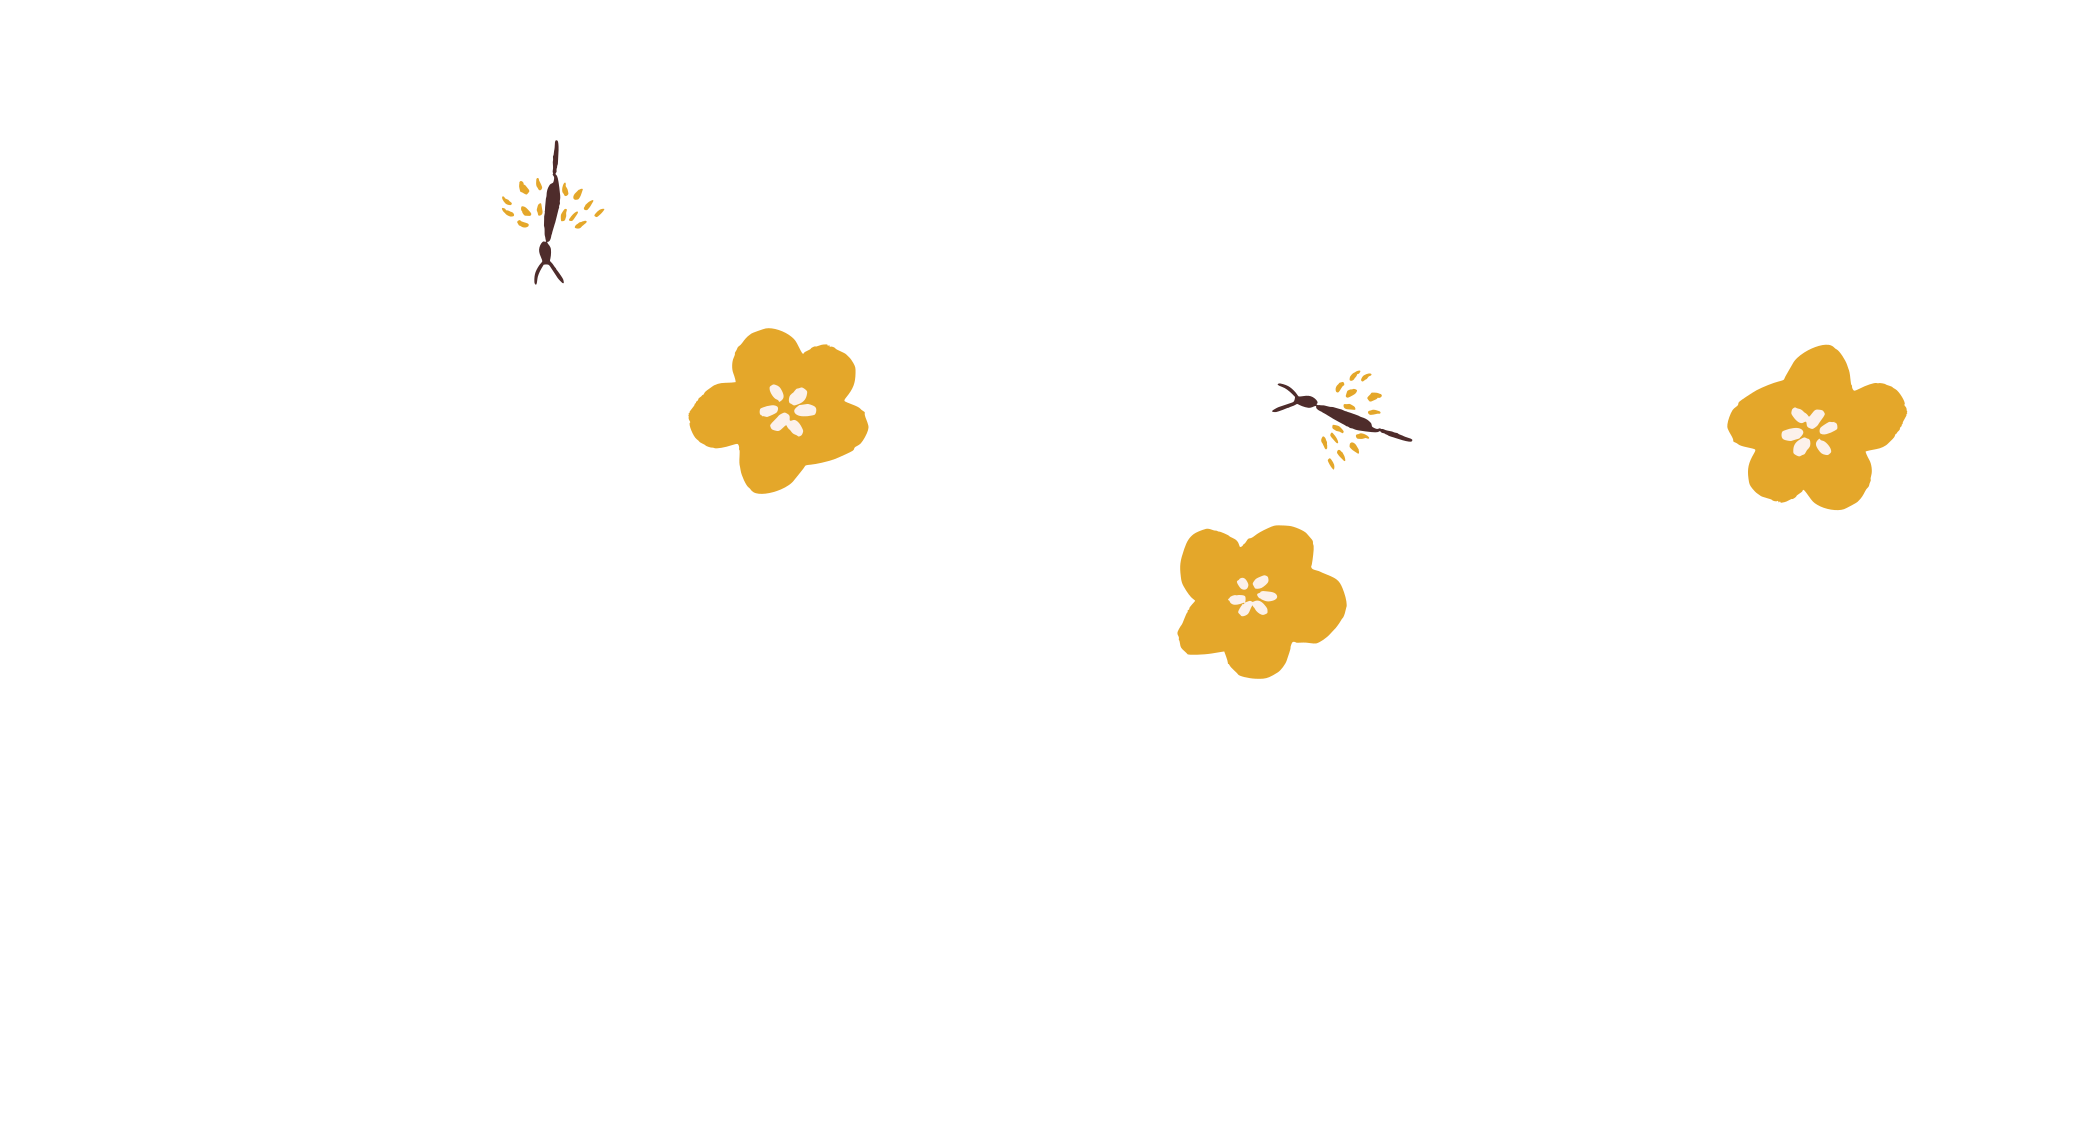
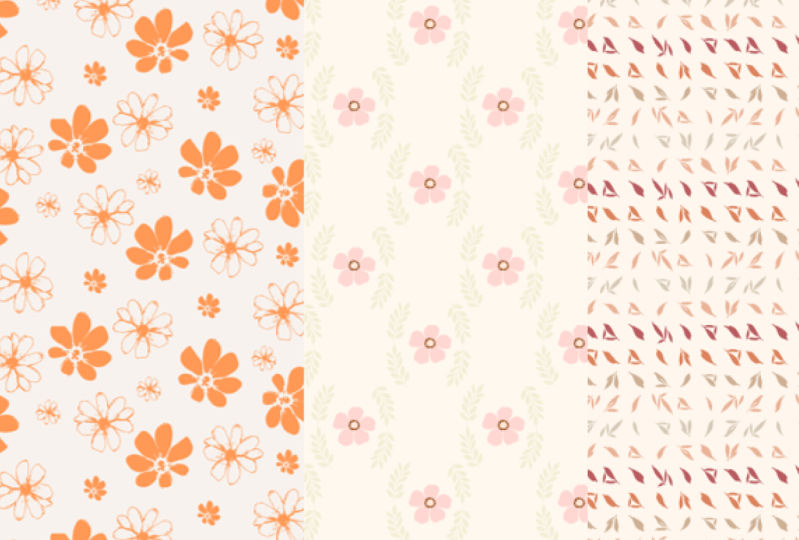
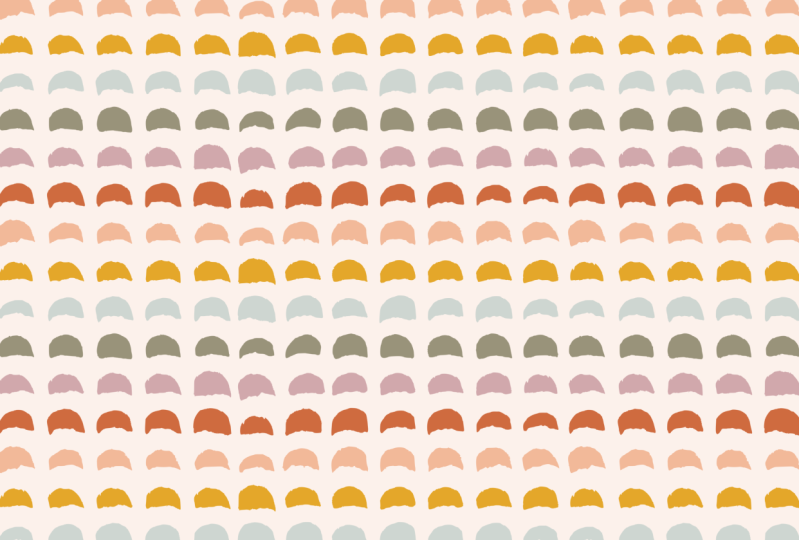
leave it like this. Save. Here we have the first button starting from these watercolor. Do those. We created this nice
simple patterns that can work very
well as a coordinate.
5. Pattern 2: Vectorize: Hi, In this lesson
I will show you how to create another
repeating pattern. This time, a little
bit more difficult. As usual. We start by creating a new file on Enscape,
and we save it. Find the folder where
you want to save it, give it a name,
and click on Save. Next. I will import the scanned image of my watercolor
painting and click OK. This time I will be
creating a floral pattern. At this point, I stacked
vectorizing my illustration. I select the image and
go to Path Trace Bitmap. Click on Update,
and start adjusting these settings until I'm
happy with the result. This could be good. Let's try. I think this result is pretty
good. I'm happy with it. I close the Trace Bitmap window. I will be working with
the same color palette I used in the previous pattern. So first of all, I want to give to my flowers a color that I
like and it inspires me. Okay. I think it will
be creating a flower. Repeat using these
two big elements. I will proceed by doing
paths and break apart. All the elements are
separated. Great. We, them Selection tool. I select the flowers, Control D and I make a copy. And then I move the flowers are my working around my page. I give them a color. Let's see. Then I have to find the elements to use for
the center of the flower. And I keep this color. Now it's behind the
yellow flowers, so I will bring it on
the top with this tool. Great. The next step is to create the repeating tile
and the repeating pattern.
6. Pattern 2: Repeating Tile: We will start by creating
our repeating tile. Is always, I start with
a rectangle, 8 cm high. And let's do 14 cm
wide and change color. For practicality, I like to block or lock the
repeating tile. To do that, I go to Object. Object properties, lock set. Okay, so now I cannot
move it anymore. At this point I start filling the space. In repeating tile. I will use only
these two elements. So first I will group
them and I will position them inside
my repeating tile. I will speed up this process. See you at the end. Okay? Now that I feel the space, my repeating tile, I can check if the repeat works
well and flows well. So I will clean the space. I like to have my workspace
as nice as possible. We'll unlock my repeating tie that produces previously locked. And I go to Object Unlock call. So first I create a
duplicate and I move it aside in case I need to go
back and edit something. Then I select my repeating tile. Create a duplicate, right-click, duplicate or Control D.
I select everything. Object, clip, set, and
then right-click group. Always remember to save
now and then save. Now I'm ready to tell
escape the disease, my repeating tile
for a new pattern. So go to object, path, objects to pattern. Now, what I always do to
see how many repeats works, I create a shape, in this case a big
rectangle and fill it with my pattern object,
Fill and Stroke. And instead of flat color, I want to fill my
shape with a pattern. And it's automatically filled with the last pattern I created. I think it works quite well. I could feel the space and moving this
flower to the right, maybe I will do that. And then I think this pattern
is going to be ready. This is why I created a copy
of my tile because now e.g. I want to go back and edit it. So I have it and I can do it. Alright, so now, so my
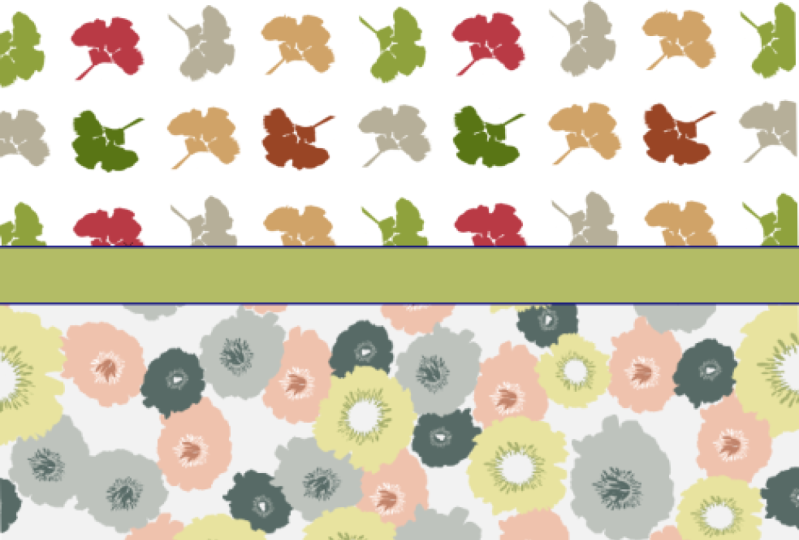
second pattern is ready. So this pattern we've created from these watercolor do those. And I created the flowers overlapping these
different marks I made. And I think this
gives the factoring a bit more details than something more
interesting to look at. Thank you for watching me while I design it, this pattern. See you in the next lesson, where we will create
something even more elaborate and rich in it.
7. Pattern 3: Vectorize: We are ready to start creating
pattern number three. First, I copy my color palette with Control C and then
create a new file. I save it. But then three. And then I paste my color
palette and I keep it here. Then I will import the scan
of my watercolor doodle. Here it is. And hit. Okay. So I will start by
creating a shape for the wings. This time I will use the Bezier tool if you know
how to use these to grade. But if you don't, I
suggest you watch this passage a few
times and practice. However, you can use any of the other drawing
tools to do these. You can use the one that
you are more familiar with. So I will click and
drag to create a curve. Click and drag. Click and drag. Okay. Now created the shape and I
want the color as fillers. I go to the window,
fill and stroke, stroke paint, non,
feel, full color. And now that I'm here, I can use a color from my color palette.
Let's use this one. Remember always to
save now and then. Alright. So I have the shape of my wings. Next I want the shape
of the center of the butterfly and of these dots, declarative dots on the wings. To do that, I will try to
use the Trace Bitmap tool. I will select this kind of my image and go to
Path Trace Bitmap, user value around 450. Hit Update. This is quite okay. Maybe a little bit more. Let's see, 500. Go higher. Okay, great. And
we'll hit, Okay, move the vectorized version
and see if I like it. I will bring it to
the front first layer and put it on top of my wings. Could be like that. Okay. What is left to do next is to delete the part of the leg
details that I don't need. So I will go and take the
eraser tool and erase them. Maybe with a bigger size eraser. Yes, this is better. And if needed, I can
reduce the size again, zoom in and go to
fix those details. I'm using a mouse. If you have a drawing
pad even better, I think this passage
will be easier. Always be sure to have the
correct object selected. So we take them Nodes tool and delete some of the extra
nodes that we don't need. What I want to do
next is to separate the center of the butterfly
from the declarative dots. So go to path and break apart. Perfect. So we'll select the declarative dots
and group them. Control G on my
keyboard and change the color using one of the
colors from my color palette. Controlled as to see a
select my butterfly and I'll group it and bring
it on my page. Next, I want to vectorize another element
that we'll use in my pattern. So I will have to bring
in another image, and this time is going to
be these little branch. I will turn it holding
Control on my keyboard. Okay? This time I will use the Trace Bitmap tool to select the object
and then click Update. It's pretty good. Ready. Let's see, Okay, and see
if it's good for us. Or right. Then again, I will change
color to the branch, then delay the parts
that I don't need. So eraser tool, I will use the path and Nodes tool to see if there are pieces
that I can delete. So e.g. there are
these two elements that I need and I
will try to delete. Let's see if they
are still there. Okay. Perfect. File Save. Now I've vectorized
my elements and I'm ready to start working
on the repeating tile.
8. Pattern 3: Repeating Tile: Alright, now we're
ready to start working on the repeating tile. I will move aside
my fixer image. You can also delete them. We don't need them anymore. I will create a copy of my vectorized elements
and leave them there. This time I will not start by creating
the repeating tile. But first I want to
sketch the repeat itself. I think I will have the
most at the center. I will reduce the
branch, duplicate it, and then duplicate
them on this side and flip them vertically. Let's see who they are aligned. Yes, quite okay. Okay. Now I created a module, I will repeat, and I will group it for practicality,
duplicate it, Control. Let's see if this could
work and couldn't be here. Debit will be
something like this. To help myself. I will use these guidelines to have approximately
assess with the repeat. So here it tells me the squares is 12 by
12, more or less. Okay? Now I'm ready to create the pattern starting
from the repeating tile. So I will move this square
here and make it 12 by 12. And click enter and
give a color tweet. I will choose this light pink. Let's see. Maybe I can make
it even lighter. So we go to my fill
and stroke window. And this until I'm
happy with the color. Okay, this is good. Perfect. Save. And now I'm ready. I will delete these guidelines. I don't need them anymore. Okay, So it created my
square and I want it to be centered to the page
vertically and horizontally. And I will lock it. Okay. Now I can start
building my repeat, like we did before. Everything that is on
the left side need to be also on the right side. So when this month to be
aligned horizontally, I create a copy and align
it vertically to the page. Okay. I like how the branches
are almost meeting them, but I would like it to be there. Maybe a little bit more
space, just a little bit. So we'll reduce this slightly. Okay. Control S, align
it horizontally, control the align it
vertically and bring it up, beat up, and then Control
D movie 12 cm down. There, too close there. What I can do is I can select, select both and move them down. Ok, select these control D
and movie 12 cm to the right. Apply. Okay? Now I think it's
working much better. Control S, I unlock the
repeating tile as before, I create a duplicate
in case I need to go back to this phase
and edit some. Select the repeating tile
control D is kept duplicates. A repeating tile
exactly on the top. I select every field
object clips set, control group object, but
then objects to pass. And now in scapes created a repeating pattern
with my tile. I can delete this. And as before, I create a shape and I fill it
with my new pattern, zooming and I can
check my repeat work. I'm quite happy with it. I think it called Like
if I wanted a cool out, details, maybe a background. But also simple as this. I think it's quite effective. Here we have our third repeats.
9. Bonus Lesson: How to Reduce the Scale of a Pattern and Export it as a PNG file: I will show you how to reduce the size of the repeat, e.g. in this case, I select the shapes that are
filled with my pattern. I will take the
edit path by nodes to take the square
and start dragging. As you see, it changes the size. But if you don't pay attention, it will also skew your image. To keep the proportional rights hold control when
changing the size. I think this is okay. I released control and my mouth. I go back to the selection tool. I move my shape on my
page because now I want to export a PNG image of
this page with my pattern. So I went to File
Export PNG image. Here I select the Export area
page and then I click on Export As I gave it a
name as part three, I hit Save and then
remember to hit Export. If now I go to my folder, I will see the PNG
version of my path. Here I have the PNG version
of factor number two. But the number one. Number two, I exploited to
different sizes of the same. I think this bigger
one works better. So here I have the
three-part tests we created together
using our watercolor. Do those.
10. Conclusions: Thank you for
watching this class. I hope you found
useful tools and tips to make new beautiful art. I will really appreciate it. If you will take a few moments to leave a review on this class. These important for me to know if my classes
are helping you in your growth and how I can improve them to
serve you better. Remember to share your
project for this class, because trust me,
the best way to learn a new skill and improve
it is to practice it. So go ahead, share your project and do not worry
about it being perfect. We are here to learn and any
step forward, a success. One last thing, to stay updated on any new class,
I'm going to publish. Follow me here on Skillshare or on Instagram at future
in summary, design. Thank you again and
see you soon. Bye.
 Fiorenza Marani, Surface Pattern Designer