Transcripts
1. Welcome and Course Overview: Creating beautiful
digital stickers doesn't have to be complicated. In this beginner
friendly course, you will learn how
to design clean, well organized sticker sheets
that look professional and are ready for digital
use or selling online. Hi, I'm Ashudi ikubar. I'm an artist and
digital creator with experience
selling printables across multiple
online marketplaces like ETS creative
fabrica, et cetera. In this course, I will
help you understand how AI can support and simplify
your creative workflow. We'll start with
symbol layouts and spacing so your
stickers feel balanced, polished and easy to use. You will see how to arrange stickers neatly on
a white canvas, prepare them for export, and save them correctly
for different uses. No design experience is needed. Everything is explained step by step using simple tools
and clear examples. By the end of this course, you will feel confident creating sticker sheets that
look organized, modern, and ready
to share or sell. Start turning your ideas
into digital stickers today.
2. Getting Started: Welcome to create and sell a sticker sheet using Canva AI. This course is designed for
beginners who want to create a simple digital product without drawing skills
or complicated software. In this course, you will learn
what a sticker sheet is, how Canva AI helps
you create stickers, how to choose the right
size and resolution, and how to prepare your
sticker sheet for selling. You don't need prior
design experience. Everything is explained step by step in a simple and calm way. By the end of this course, you will have a complete
sticker sheet and a clear understanding
of how to create more. Let us begin by understanding what a sticker
sheet actually is.
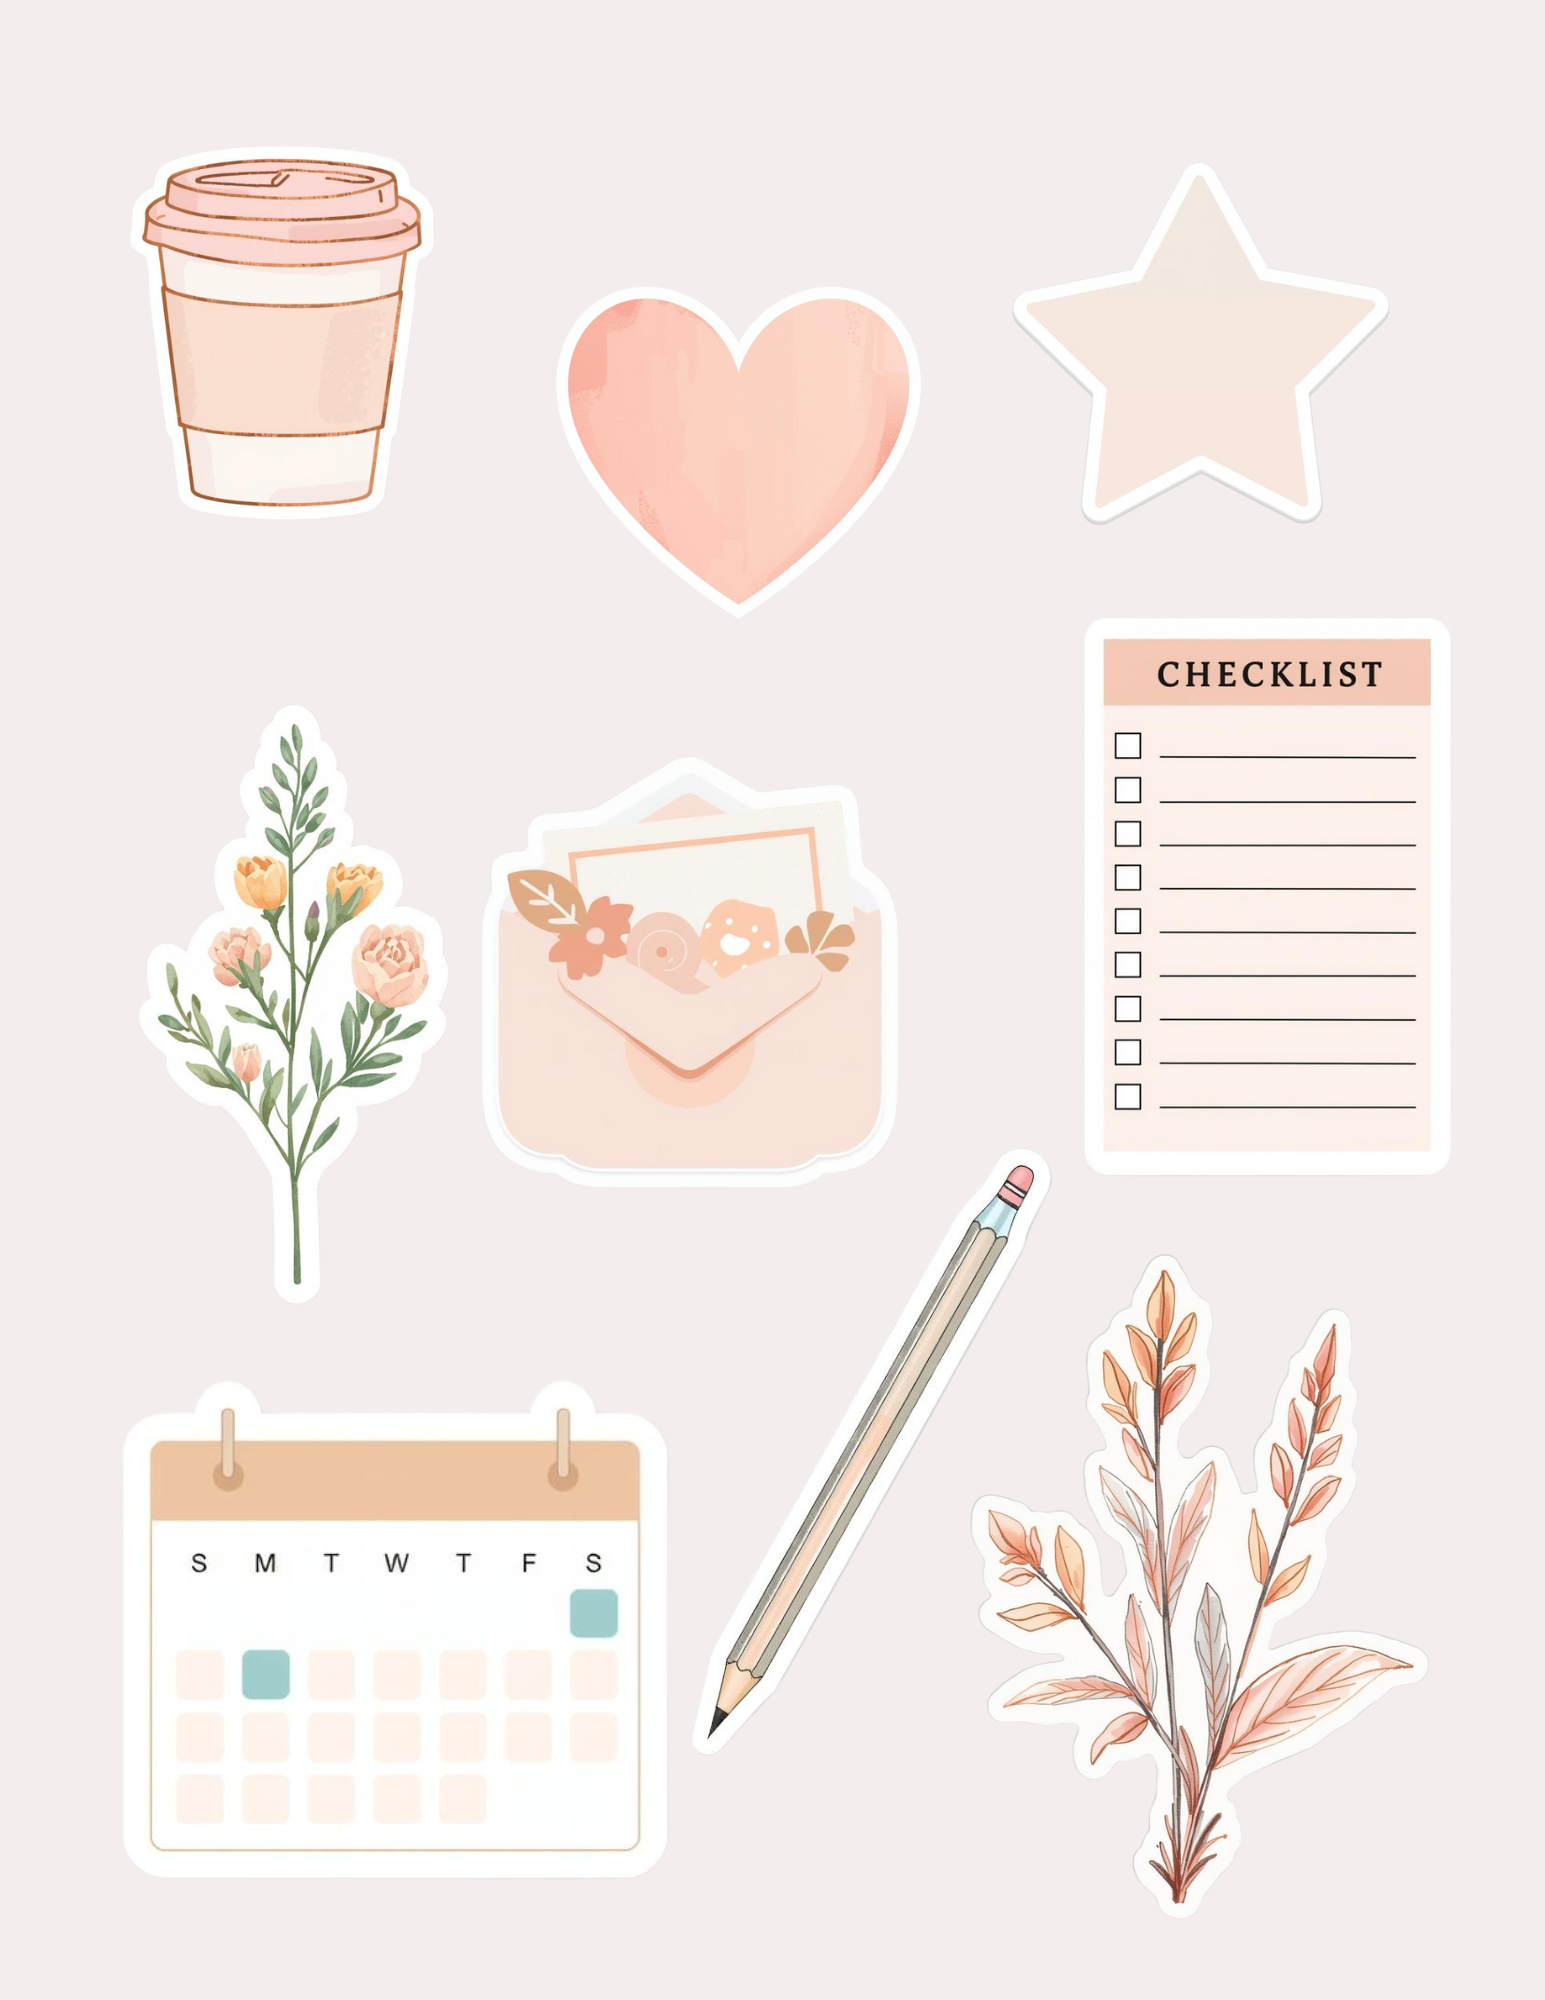
3. Stickersheet Basics: A sticker sheet is
a single page that contains multiple
small sticker designs arranged neatly together. Sticker sheets can
be used digitally, such as in planners and journals or printed and cut
for physical use. Simple sticker sheets often perform better
than complex ones. Clean designs are easier to use and more
appealing to buyers. Popular sticker
ideas include codes, affirmations, planner icons, simple illustrations,
and seasonal themes. The most important
thing is consistency. All stickers on a sheet should feel like they
belong together. In the next lesson,
we will look at the Canva AI tools that make sticker creation
easy for beginners.
4. Canva ai tools: Canva offers AI
tools that help you create designs using
symbol text descriptions. The main tool we will
use is text to image, which generates images
based on what you type. We will also use Canvas
background remover and basic resize tools to
prepare stickers properly. You don't need to learn
every Canva feature. We will focus only on the tools needed
for sticker sheets. Next, we will move into creating actual stickers using Canva AI.
5. Stickersheet Size and layout: Choosing the right size for
your sticker sheet is symbol. The most commonly used sizes
are A four and USletter. Both are beginner friendly
and easy to print. A four is commonly
used internationally, while USletter is standard
in the United States. Once you select a size, arrange your stickers
evenly on the page. Leave enough space
between stickers, so they are easy to
cut or use digitally. Clean spacing and balance make your sticker sheet
look professional. Next, we will talk about
DPI and export settings.
6. Dpi & Export Settings: DPI stands for dots per inch and affects how clear your
design looks when printed. For printable sticker sheets, 300 DPI is the standard and
recommended resolution. Canva automatically exports
designs at high quality, so you don't need to
adjust technical settings. For printable sticker sheets, export your file as PDF print. For digital stickers,
PNG format works best, especially if you want a
transparent background. Always preview your files before selling to ensure they
look clear and sharp. Next, let us look at where and how you can sell
your sticker sheet.
7. Where and How to Sell: Once your sticker
sheet is steady, you can sell it as
a digital product. Sticker sheets are
commonly sold as downloadable files
for digital planners or printing at home. You don't need to start
on multiple platforms. One platform is enough
when you are beginning. Keep your pricing
simple and reasonable. Your first product is about learning and
gaining confidence. Clear preview images and simple descriptions matter
more than complex branding. In the final lesson, we will cover common beginner
mistakes and next steps.
8. Creating individual stickers: I'm starting inside Canva and
opening a new band design. For individual stickers,
I like to begin with a square canvas so I have
enough space to work cleanly. A 2000 into 2000 pixel canvas
is ideal for sticker work. This makes it
easier to generate, resize and reuse
each sticker later. Before we start
generating any stickers, we first need to create
a simple prompt set. This step is
important because it helps keep all our
stickers consistent. To begin, I start by writing a single instruction
for Canva AI. I type create a cohesive set of prompts for generating individual
planner sticker images. Then I add clear style guidance, so Canva understands
the look I want. For example, I specify
clean minimal design, ted blush and beach colors, flat Illustration style, white
background, and no text. By giving Canva these
details upfront, it can generate a set of proms that follow the
same visual style. In the next lesson, we will use this prom set to generate
individual stickers, which we will later arrange into a complete
sticker sheet. Now that we have created a
prompt set for our stickers, let us move into Canva and start generating
our first sticker. I'm going to the Canva homepage, and from here, I will
click C Canva A. Once Canva AA opens, I select image from the options. Next, I'll choose the
size and style options available in the prompt box. This helps to guide Canva toward the type of image
we want to create. Now, I will copy and paste the first prompt from the
prompt set we created earlier. This prompt already includes
the style details we want. Clean, minimal design, muted
blush and beach colors, flat illustration tie, white
background, and not text. Once the prompt is pasted, I generate the image. CanvaI now creates
a sticker image that follows the exact
style we've specified. Because we used a
cohesive prompt set, this sticker will
automatically match the rest of the stickers
we create later. In the next step, we'll continue generating
more stickers using the remaining proms and start building our
full sticker sheet.
9. Creating a Sticker Sheet : Once the first sticker is ready, I repeat the SANE process to create the rest of the
stickers for this set. And now copying and pasting the remaining prompts from the prompt set we
created earlier. I'm fast forwarding
this part of the video since the steps are exactly
the same each time. The important thing to
remember is that I'm using the same style
guidance for every prompt, so all of the stickers
stay visually consistent. By the end of this step, I have a full set of individual sticker images ready to use. Once the images are generated, I take a moment to
review the options. I'm not looking for
perfection, clean shapes, soft colors, and a style that matches the
rest of the set. If something feels too
detailed or inconsistent, I skip it and choose
the simplest version. And selecting one sticker
and adding it to the canvas. This will become one individual
sticker in the final set. Now I am removing
the background. This step is important
because it allows the sticker to work both
digitally and in print. Next, I resize the sticker to
a comfortable working size. I usually keep
individual stickers 1000-2 thousand pixels. This size range works well for both printable sheets and
digital sticker packs. For each image, I choose a clean result and
add it to the canvas, remove background and
resize as needed. Now that all the individual
stickers are ready, I create a new canvas
for the sticker sheet. For printable sticker sheets, I usually choose either A
four or US letter size. Next, I start arranging
the stickers on the sheet. I copy the stickers and paste it on the sticker sheet
canvas one by one. As I place each sticker, I leave enough
space between them so the design feels
clean and breathable. While pasting, try to
avoid overcrowding. Whitespace helps
each sticker stand out and gives the sheet
a more premium look. Yes at the top of the page, I add a symbol title
for the sticker sheet. This could be the theming
or a short description. At the bottom, I add a small created by line followed
by my brand name. You can add your name
or your brand name. This is optional, but it adds
a protonal branding touch, especially for printable
sticker sheets. For the bathground, I
keep things very subtle, a light pastel shade. Such as soft beach
or blush works well. Now our sticker sheet is ready. Before exporting, I take a
moment to review the layout. I check the spacing, alignment, and overall
balance of the page. Once everything looks good, I export the sticker sheet
as a PDF print file. This format preserves quality and works well for
printable sticker sheets. Canva exports PDF in 300 DPA
resolution automatically, so there is no need to adjust
any DPA settings manually. Finally, I export the
individual stickers as transparent PNG files. These files are perfect for digital planners
and no taking apps. Having both printable and
digital versions makes your sticker set more versatile and ready
to share of sell. And that completes
the full process from generating sticker prompts to creating individual stickers, arranging them into a sheet, and exporting the final files. You can upload these files
as a IP folder to sell. Once you understand
this workflow, you can repeat it for
any theme you like and create new sticker
sets with confidence.
10. Common Beginner Mistakes: Welcome back. In this lesson, we are going to look at some of the most common
mistakes beginners make when creating
sticker sheets. Even experienced
designers sometimes fall into these
straps, don't worry. This is completely normal. By understanding
these mistakes now, you will save
yourselves a lot of time and frustration later. Let us walk through them together and learn
how to avoid them. One of the biggest
early struggles is overthinking technical settings
like DPI and dimensions. Many beginners spend
hours worrying about exact numbers instead of
focusing on the actual design. The truth is most
sticker products don't need extreme precision. A few simple rules will
cover everything you need. Don't let technical
details slow you down. Here is the only
guideline you need. Use 300 DPI for printable products to get
crisp proportional results. Use 72 DPI for digital
planners or screens. That is perfectly fine
and completely standard. Once you understand this, you can stop obsessing over
technical settings and spend your energy on what actually matters, creating
beautiful stickers. Instead of worrying
about numbers, follow these Easy size rules
that were 99% of the time. Use a four or US letter
for printable sheets. Design individual stickers
at 1,000 2000 pixels. This works beautifully for
both print and digital use and avoid resizing your
designs too many times. Each resize reduces quality, so it is best to start with the right size from
the beginning. Remember, DPI matters far less than clean,
consistent design. Focus on creating
stickers that look great, not perfecting technical
specifications. Another very common
mistake is inconsistency. This happens when stickers in a set look like they were
designed by different artists. Maybe the colors clash or the illustration style changes from one sticker to the next. This makes the sheet feel disconnected and
less proportional. Take a look at these examples. On the left, the stickers
mix too many styles, different outlines, different
palettes, different modes. On the right, everything feels harmonious because the colors, shapes, and style match. Cohesion is what makes a sticker sheet feel
polished and intentional. To maintain consistency, choose a palette of three to five
colors and stick to it. Use consistent shape language, rounded corners, sharp corners
or soft organic shapes. Keep the same line thickness and illustration style
throughout, and finally, create a simple style
guide so you can reference your decisions
as your collection grows. A helpful way to think about sticker sheet is like a family. Each sticker sheet has
its own personality, but they should all feel
like they belong together. The next big mistake
is overcrowding. Beginners often try to fit
too many stickers into one sheet or cram too many
elements into one design. This makes the sheet visually overwhelming and each
sticker loses its impact. Too many elements create
competition for attention, reduce clarity, and
eliminate breathing room. When stickers sit
too close together, it becomes hard to appreciate
each individual piece. There is no space for the eye to rest and everything
feels cluttered. White space is essential. It is part of the design. The solution is simple. Embrace white space. Give each sticker room to shine. Proper spacing immediately
creates a premium look and makes your stickers feel more intentional
and provisional. Here are three quick
improvements you can make. Use fewer stickers and choose
your strongest designs. Leave clean spacing
and generous margins.
11. Building Your Creative Confidence: Building creative confidence
doesn't happen overnight. It grows slowly through
small, consistent steps. In this lesson, we
are going to talk about how confidence is built, not through perfection,
but through practice, patience and simply
showing up to create. Confidence doesn't come
first. Practice does. Every time you create something,
even something simple, you are teaching yourselves
how your tools work, how your style feels, and what you enjoy creating. The more you repeat a process, the more comfortable it becomes. Repetition removes
hesitation and replaces it with familiarity. And that familiarity is what slowly turns
into confidence. It is very easy to get stuck trying to make
everything perfect. But progress matters much
more than perfection, especially when
you are learning. Each small step
forward is a win, even if it doesn't
feel perfected. It is very easy to get stuck trying to make
everything perfect, but progress matters much
more than perfection, especially when
you are learning. Each small step
forward is a win, even if it doesn't
feel perfect yet. One of the best ways to build confidence is to start small. Simple designs allow you
to focus on learning without feeling overwhelmed by too many decisions at once. Instead of thinking about
an entire sticker sheet, focus on creating
just one sticker. Finishing one small
piece builds confidence faster than planning something big that never gets completed. With each project, aim
for just one improvement. Maybe it is cleaner spacing, maybe better color balance or simply feeling more
comfortable with the tools. Mistakes are not a sign that you are doing
something wrong. They are part of the
creative process. Every designer you admire
has learned through trial and error and you are
doing the exact same thing. Your creative journey doesn't need to look like anyone else's. Go at your own pace, trust your process and give yourself permission
to learn as you go. You already have everything
you need to begin. What matters most is
in being perfect. It is being willing to
start and keep creating. Each time you create, your confidence grows natural. So keep practicing, keep experimenting and allow
yourself to improve over time. In the next lesson, we will
look at how you can expand your skills and continue growing
creatively step by step.
12. Expanding your skills : Now that you have created
your first sticker sheet, let us talk about
what comes next. As a sticker designer, diversifying your
product line is one of the best ways to
grow sustainably. It helps you stay inspired, reach new audiences, and create more creative
opportunities over time. There are three main
directions you can explore as you grow your
sticker collection, planner stickers, cord
stickers, and seasonal themes. Each of these serves
a different purpose and appeals to a slightly
different audience. And together, they help create a more balanced and
resilient sticker business. Planner stickers are one of the most popular and
practical categories. They are designed to help users organize their days,
weeks, and routines. Task reminders, habit trackers, priority labels,
and simple icons. These stickers are functional, easy to use, and
always in demand. Cord stickers focus more
on emotion and motivation. They are perfect for
adding encouragement, positivity, and personality
to planners and journals. Daily affirmations, motivational phrases,
mindfulness reminders, these types of stickers create
an emotional connection, which is why they tend
to perform very well. Seasonal stickers are tied to specific times of the year
holidays or cultural moments. They are great for adding variety and excitement
to your show. Think autumn, winter holidays, spring florals, or
cozy seasonal vibes. These collections feel
timely and special, which often encourages
impulse purchases. Each of these categories
offers unique advantages. By diversifying across planners codes and
seasonal designs, you are not relying on
just one type of product. This helps your shop
feel fresh year round while giving customers
more reasons to come back. Planer stickers are considered
an evergreen product. That means they sell consistently
throughout the year. Because planners are used daily, customers often
return to buy more, making this a reliable foundation for your
sticker business. The planning community is
vibrant and passionate. Planner users now collecting stickers that match their
style and workflow. This creates repeat purchases
and strong engagement, especially when your designs feel cohesive and easy to use. Cord stickers also open up
many creative opportunities. You can design daily headers, weekly prompts,
encouragement labels, or reflection moments. They work beautifully alongside planner stickers and often complement existing collections. Cord stickers also open up
many creative opportunities. You can design daily headers, weekly prompts,
encouragement labels or reflection moments. They work beautifully alongside planner stickers and often complement existing collections. Here is an important tip. Instead of creating random
standalone stickers, think in terms of collections. When stickers are
designed to work together visually
and thematically, they feel more valuable
and intentional to buyers. Timing is especially important
with seasonal designs. Planning ahead allows
you to release your stickers when customers are actively searching for them. For example, holiday
stickers tend to sell best when launched weeks
before the actual holiday. Don't have to limit seasonal
designs to major holidays. Consider cosy themes
back to school sets, self care seasons, or cultural moments that
resonate with your audience. These themes can be just as powerful and sometimes
even less competitive. As you move forward, remember this growth doesn't mean doing everything at once. Start with one category, build confidence, then
expand naturally. In the next lesson, we
will talk about how to keep moving forward with
clarity and confidence.
13. Going forward: As we come to the
end of this class, I want you to pause for a moment and reflect on
how far you have come. You have learned
the fundamentals of creating sticker sheets using Canva AI from proms and design choices to layout,
exporting and presentation. Most importantly, you have built a workflow you can return
to again and again, and that is something you
can continue to grow with. The path to becoming a confident designer
isn't about perception. It is about consistent
practice and iteration. As you move forward,
remember that every project you create is
part of the learning process. The key is to build momentum, one small sticker
sheet at a time. Focus on the creative
journey, not the outcome. Practice regularly. Keep your designs simple and stay consistent
with your style. Growth comes from showing up, even on days when
things feel imperfect. Get aside dedicated time
each week to design, even if it is just
a short session. You don't need to finish a
full project every time. Small experiments
and simple exercises are more than enough
to keep improving. Consistency matters
more than intensity. The Bamba simple designs
often perform better. Clear shapes, limited colors, and intentional spacing
create stickers that feel calm, usable,
and provisional. Simplicity is in
boring. It is powerful. Develop a recognizable style by maintaining
consistent colors, shapes, typography and
illustration techniques. When your stickers look
like they belong together, your work feels more
polished and more confident. Once you are comfortable, consider sharing your work. You can upload your sticker
sheets to platforms like EC, Creative Market, or
creative fabrica or even share them on social
media or with friends. Putting your work
out there builds confidence faster than
keeping it hidden. Sharing a free locos
ticker sheet is a great way to build
visibility and trust. It helps you get feedback, understand what people enjoy and gain confidence
as a creator. Think of it as panting sets, not giving something away. Confidence grows every time you complete and
share something. Each project teaches
you what works, what doesn't what you
want to try next. Progress isn't instant, but
it is always happening. There is no rush. Grow at a pace that feels comfortable
and sustainable for you. Whether you are creating one sticker sheet a
month or one a week, consistency is what counts. Engage with other creators, share ideas, support each other. Creativity thrives in community, and learning alongside others makes the journey
more rewarding. You now have the tools, knowledge, and confidence
to continue creating. Remember, every
sticker sheet you design makes the
next one easier. Trust your process, enjoy experimenting
and keep creating. Don't be afraid to try new
themes, styles, and ideas. Experimentation is
where creativity grows and where your unique
voice starts to shine. Thank you so much for
taking this class with me. I can wait to see
what you create next.
14. Project and Thankyou: For the class project, I would love for you to choose
a theme you truly enjoy. It could be something
soft and minimal, seasonal, cozy, or playful,
whatever inspires you. Using Canva AI, create a sticker sheet in
your chosen style. Focus on keeping your
designs consistent, clean, and intentional, just like we practice throughout
this class. Once your sticker
sheet is complete, upload your final design to
the class project section. Sharing your work is a great way to reflect on
what you have learned, and it also helps inspire
other students in the class. There is no pressure
to be perfect here. This project is about practice, exploration, and
building confidence in your creative process. Thank you so much
for joining me on this journey through sticker
design fundamentals. I hope this class helped you
feel more confident using KanvaA and more excited about turning your ideas
into finished designs. Remember, keep learning,
keep practicing, and most importantly,
keep designing. Your creative voice
truly matters, and the world needs
what only you can make. I can't wait to see
what you create next. Thank you for being here.
 Aswathy Sreekumar, Creative Designer & Illustrator