Transcripts
1. Class Introduction: Welcome to my class where I'm
going to teach you how to create your own
YouTube desk setup, like you're seeing right now. But why do you need one
in the first place? Establishing a reliable spot to quickly shoot your
talking head videos, streamlines the process,
making it really fast, and it also gives you a
consistent look and style. Hi, my name is Scott Luu, and I'm a video
creator on YouTube, and I've probably filmed at this specific desk
over 100 times at this point, probably more, but it did take some time to refine the whole background
desk setup what goes in it until I felt like I was
satisfied with the aesthetic and that it matched what I was going for in terms of my brand. So in this class, I'm
going to help you get there much
faster than I did. Here's the rundown of what
you're going to learn. Number one, firstly,
the video elements. I'll be talking about
what camera I use, where to place it, and why certain angles work
better than others. Next, I'll talk about
the audio elements. This includes the microphones and microphone choices
that you have, as well as an audio
interface and how I position them
to get clean sound. After that, we'll
cover lighting. I'll go over the lights that
I use and how I set them up in the scene to make it
look alive and aesthetic. From there, we'll talk about
the desk itself and how I arrange the space on top of it so it looks clean on camera. And lastly, I'll talk
about how everything fits together and
some editing tips. For your class project,
you'll be building or refining your own
YouTube desk setup, based on the lesson. Sure to also download
the class worksheet to check out the equipment list
and the lesson summaries. A solid desk setup solidifies
your visuals and style, establishing a consistent
feel for your content. And also, I do really find it very helpful that you
can just sit here. You have the setup already, and you just hit record
and start talking. It just makes things
a lot faster. So if you're ready to build
your own YouTube desk setup, I'll see you in
the first lesson.
2. Video Elements: Lesson, we're going to talk
about the visual elements, primarily the camera,
where to place it, which lens to use, and so on. So let's jump right into it. Personally, right now,
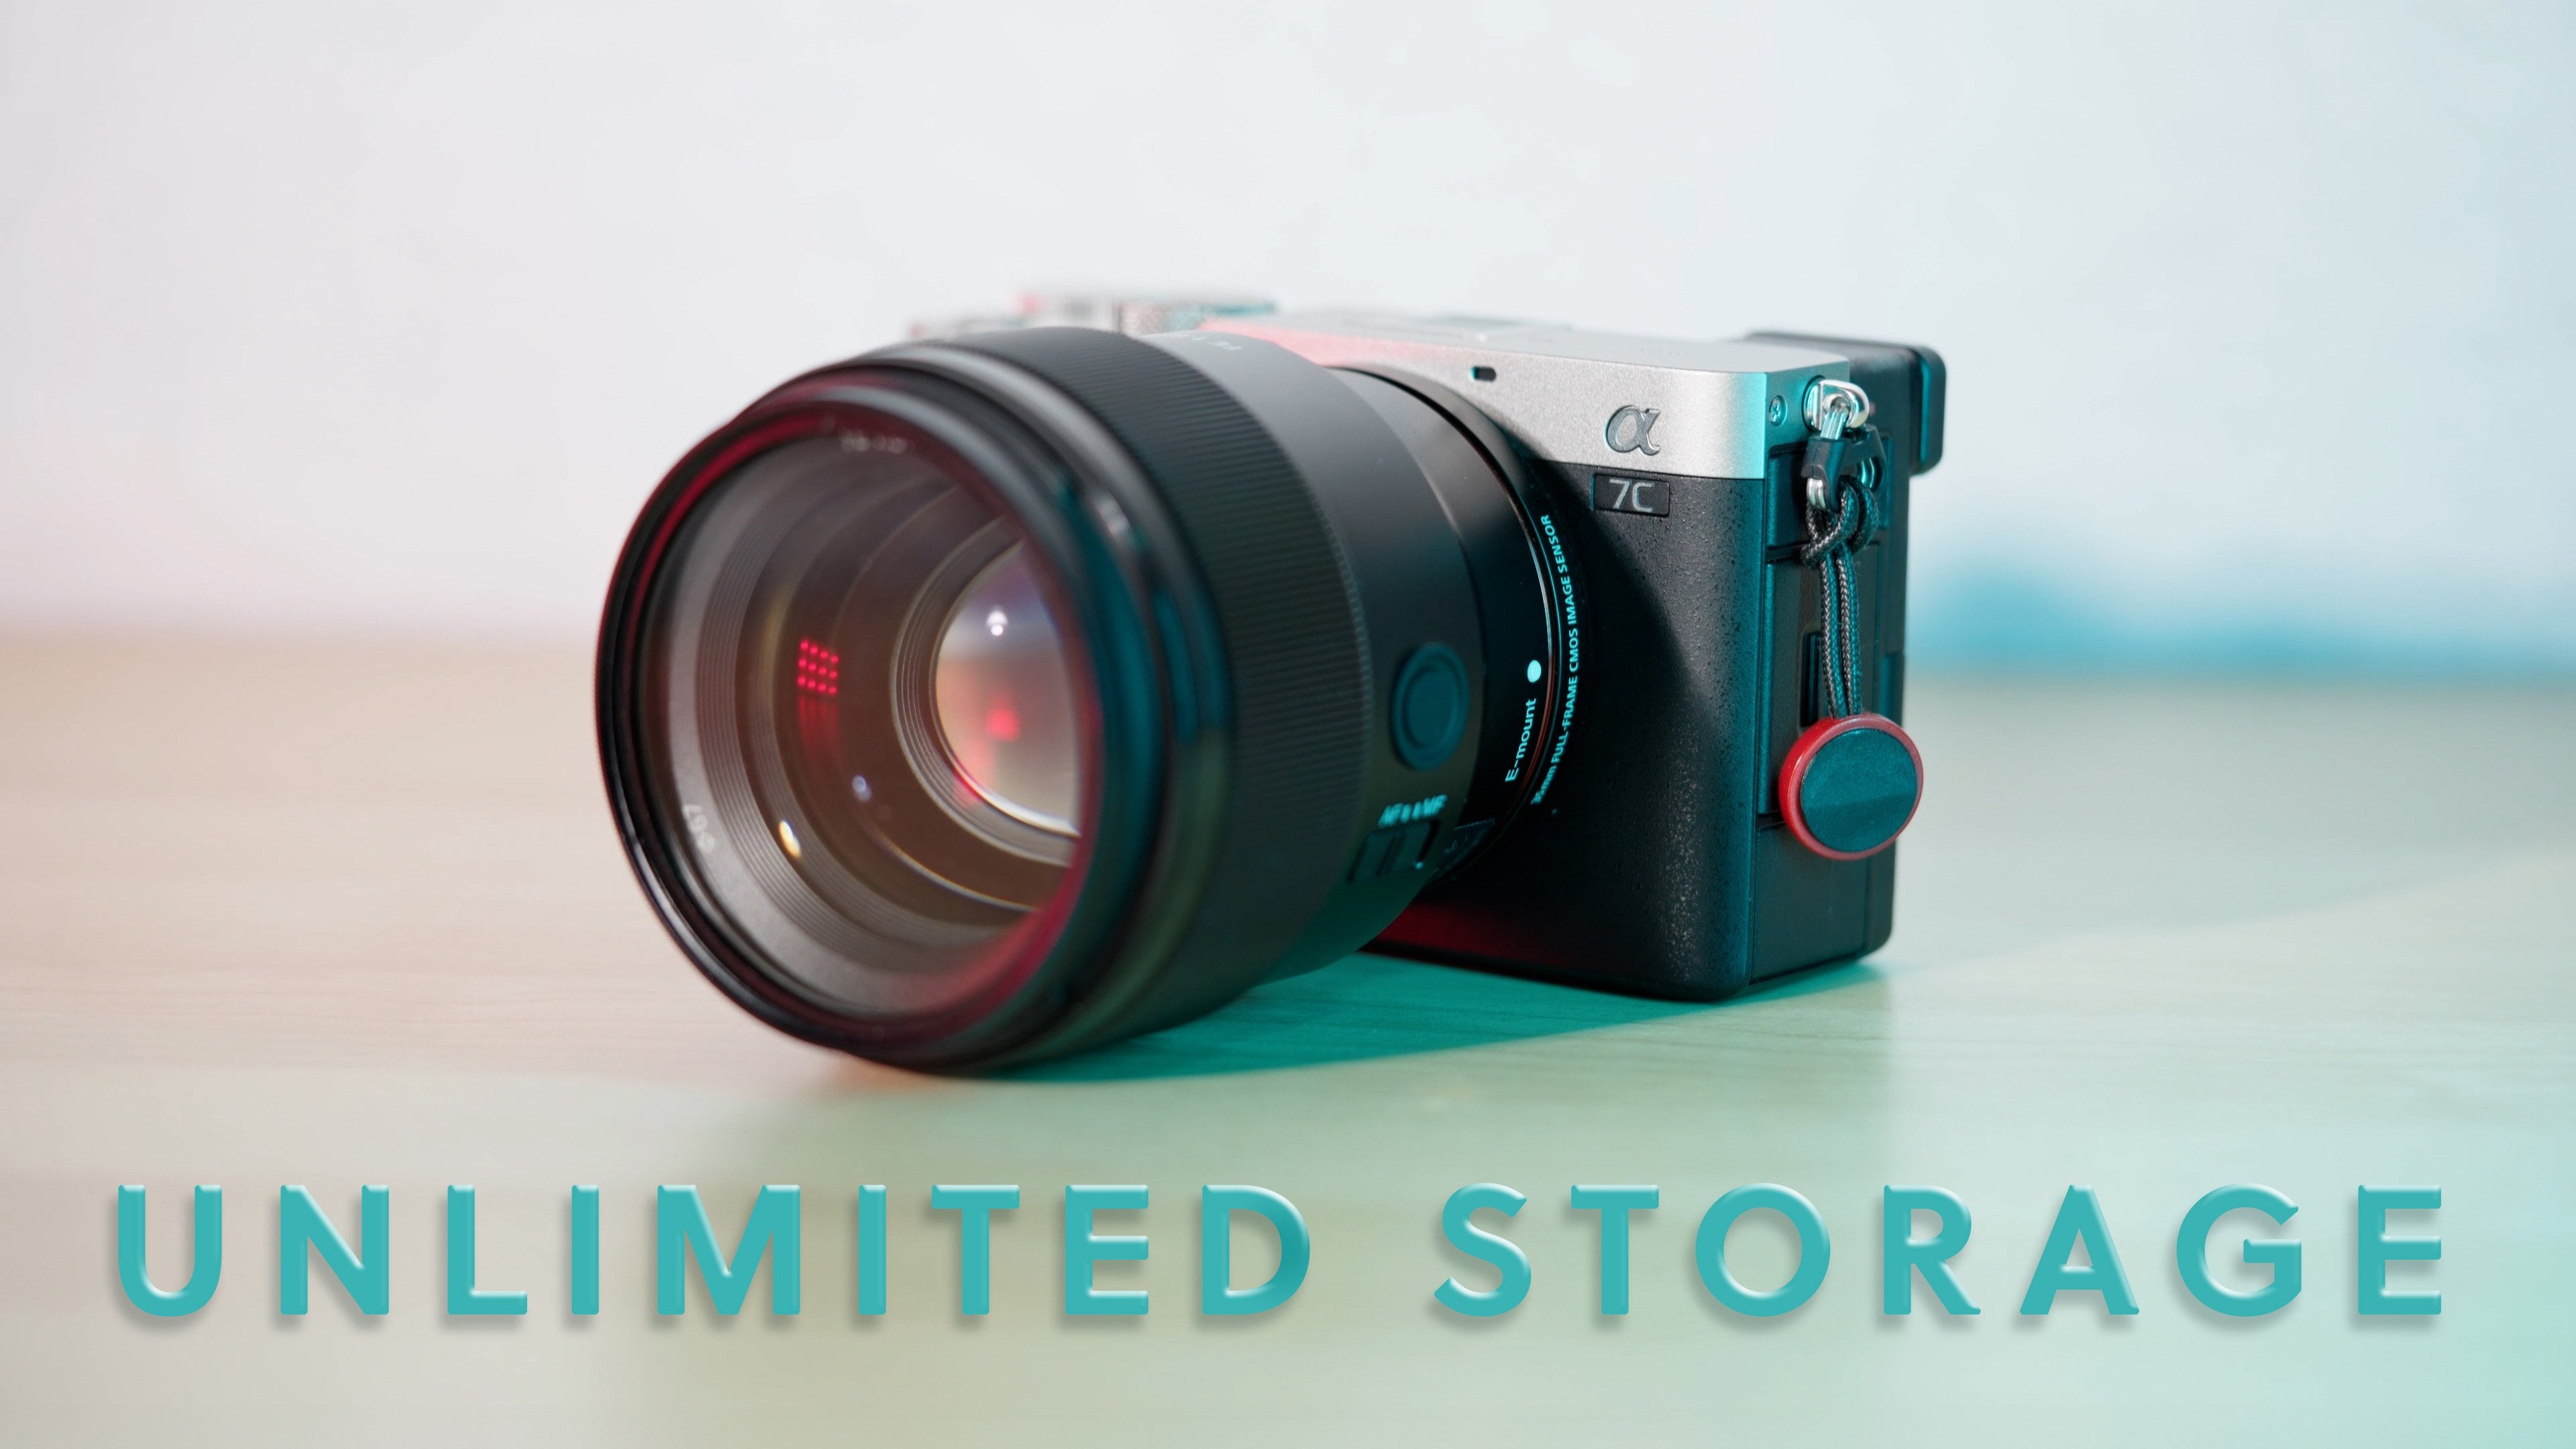
I use the Sony A 74. But honestly, these
days, any mirror less camera is great. I'll include this in
the class worksheet, but essentially anything
in the past few years, if you buy a new
camera, you're solid. But for my Sony A 74, I set it to four K 30 FPS, and I shoot in Slog three. I actually do think that
shooting in a log mode and then grading it afterwards overall
leads to a better image. It's just the best image
quality you can get. So I prefer to shoot that
way instead with no color. This class is a bit more of a broad overview of everything for the desk setup instead of a specific Sony a 74 tutorial. So let's move on
from there. I'd say the next most important element is the lens that you're using. I specifically use a 35
millimeter lens that is F 1.8, and I really, really like
the look of it overall. With that focal
length, I'll go ahead and show you guys how far I am. So if I were to reach
out with my hand, I'm not close whatsoever, so I probably need two arm's length away
just to reach my camera. To be a bit more specific, it's about four feet
away from my eyes, my eyes to the lens. And I think this is
probably the easiest way to measure how to
place your camera. So right now, my eyes right
here are at this level, and then the lens is right
around my mouth to my chin. So this is where
the lens is if I were to just draw a straight
line to the camera, and then my eyes
are above the lens. Is what I found is the best
composition for myself, according to my face. But it's also pretty standard
for most faces in general. But the reason that
it's this far away also is because it's
better to place your camera somewhere
where you can crop in just slightly in post, just in case you set up
something slightly off, like, let's say, the rotation needs to move by a degree or so to
make it fully straight. So whatever your frame is, make sure you push it
back just slightly. The reason you want to lens
with a fast aperture is because it helps with blurring the background quite a bit. And normally for
talking head videos, it just looks nicer. Now let's talk a little
bit about camera angle. In terms of the angle, I have it tilting just
slightly upwards, probably about one or two
degrees. Not very much. Of course, this is also
an aesthetic choice if you prefer that your audience feels more powerful and
stronger and you want to basically be talking from a more humble position in a way, you want your camera
to actually be higher than you and angle downwards on. If you want to come across as someone with more authority, then you can lower the camera and angle it more
upwards towards you. For me, I prefer to keep it
leveled and neutral that way, it's sort of like
you're on equal grounds with your audience, whoever's watching the video. As for the tripod, I actually use
something that's like a monopod that I
bought off of Amazon. It's a little unstable at times, but honestly, it
works fine for me, and it just makes it cleaner overall because I don't
like a messy setup. So in terms of the video
elements, that's pretty much it. Just to reiterate it, I
shoot with a Sony A 74 with a lens that's 35
millimeters and F 1.8. While keeping a neutral
composition of having the lens be more or less straightforward
with a slight tilt, where the lens is
around my mouth level. Of course, it's
totally up to you in terms of what angle
you want to use, how far you want
to be, and so on. But this is just what I personally do and the
result that you can see so that you're
better informed and how to make your own decisions
with your setup. Let's move on to audio.
3. Audio Elements: In this lesson, we're going
to cover the audio elements of your desk setup,
starting with microphones. So the microphone that
you see me using right now is called the Shure
SM seven B, very, very common, very
popular microphone, and it's currently on something
called the Road PSA one. It's mounted on my
desk at the edge. And it's very, very secure. It's been there for at
this point, I think, two, three years, and I've never had to touch
it ever since then. But if you are using
the Shure SM seven B, you will need an
audio interface. In my case, I use
the Apollo twin X, which is a very, very
expensive audio interface, and you don't need
to use the same one. I do think that you
should invest in a good audio interface
overall, though. So I'll go ahead and
list other ones that are cheaper in my
class worksheet. Especially if you plan on
using the SR SM seven B, you do need an interface that actually has enough gain for it. Otherwise, you need something
called a Cloudlifter or you can buy the newest
version of the Sure SM seven B. However, that's a
lot more expensive. The reason I use
this microphone is because it's a
dynamic microphone, so it cancels out a lot of
background noise around me, making it ideal for a space
that's kind of untreated. However, if you
don't like the look of this arm being
in your desk setup, which I'm sure some
people might not, you can also use a wireless microphone attached
to your camera. This way, you don't have
to sync up audio and post. So the one I have
on me right now is called the Holy Land MTS. It's pretty inexpensive
at around $100, but it definitely is
not as good quality as something like
the Sur seven B with an audio interface. I'll be changing
around the audio so that you can hear
what I'm talking about. So there is another option, which is using a
boom microphone. As you can see right here,
I have the Senhiser MKH 50, and I'm going to raise it up just so that
it sounds better. It's pointing at my chest
downwards at an angle. And it's connected
to the Zoom F six, which is 32 bit float. Personally, if you're
going to buy an interface, definitely go for
something that has 32 bit float because it makes
your life a lot easier. You don't have to adjust levels. You can do it in
post. And even if you were to incorrectly
set the levels, whether it's too
high or too low, nothing changes in terms of
the quality of the audio. It's still solid and good. So Zoom F six, very, very solid. Zoom F three is also
another good choice where if you're recording
solo most of the time, it also has 32 bit float
and it's less expensive. But I have the Zoom F six, since sometimes I do podcast
stuff with other friends, and I've actually
used nearly all six of the XLR inputs before. Regardless, for me, I don't mind the look of having this
microphone out like this, and I find it a lot
easier to just turn on the audio interface that's below my laptop and then just
record right here, record on my camera,
sync it and post. It's pretty quick to do in
any modern editing program. That's pretty much it for audio. If you're curious to learn more, I also have a dedicated
Skillshare class on how to edit audio, as well as all the
different types of microphones that you can use. That's how I work with audio
for my YouTube desk setup. Again, all of these things will be listed in the
class worksheet, so don't be overwhelmed. Next, let's talk about lights.
4. Lighting: This lesson, we're going
to cover lighting. And as you can tell
from my desk setup, since it is nighttime now, lighting is super
important and very, very prevalent in my own setup. But before we talk about
the colored lights, let's actually talk about the light that's in front of me. My premary light is the
aperture 120 D Mark two. It's a pretty old light that's not really on sale anymore, but I also have
another light called the Godox VL 150 that pretty much does
exactly the same thing. And I have the light
dome mini along with a slightly golden
tinted gel inside. I think this is probably one of the most important elements to the desk setup is having a light that's your key
light in front of you. I like placing it basically
right next to the camera. The distance between
the light and the lens is almost like nothing, just so there's
more even lighting on my face and
nothing too dramatic. If I wanted it to be just a
little bit more dramatic, now I have it off to
my side right here. I'm touching it. So
there are more shadows casted on the right side of my face. But let's go
ahead and move it back. Standard rules for
lighting is that you want it to be as close
to you as possible, and you want to also
make sure that you have some sort of diffusion process. The light dome mini two is
what acts as a diffuser. You don't want the harsh light to be shining on your face. But anything really, really big and white will help
out with that. You don't necessarily need
the light dome mini two. And the intensity depends on how far away the light
is from your face. But for me, right now, in
this setup, it's around 50%. The light that I use, the
color temperature is fixed at around 5,500 Kelvin. But again, this depends
on what you're going for. I like a more neutral look, and I do have the
golden slight gel there to make it a
warmer color overall, because I do think
it looks better on skin tones if it's
slightly warmer. But I do have to
repeat, it depends on your skin tone overall. I have pretty fair skin, so unless I want to
look super pale, having a warmer
light helps for me. Now we can talk about
the more fun lights. If you look in this direction, where I have the
diamond decoration, I have a newer tube
light that's 24 " there are a lot of
different controls for it, but I basically just use two, which is changing the hue of the light and also changing
the intensity of it. Oftentimes, I keep it
at a lower intensity around 10% so that it's not
too blown out in the camera, and the hue is around 180. It's a color that I
really, really like. If you can't tell, my
favorite color is blue. And then if you look
to this direction, I have another tube light
that's only 12 " this time. That's from NNlight. It's pretty much set to the
same hue and intensity. However, there are
a few more lights that you're actually not seeing. They're actually above me. So I have four ceiling lights that are connected
to the aperture b7c. So they are indeed colored
lights that work very, very well for cameras because sometimes if you buy a
normal colored light, they might have a
flickering effect depending on what frame
rightight you're using, and that's not good. So I went ahead and invested in actual video production lights that won't flicker
even at higher frame. Those are basically the
lights that are making up all the color behind me while the aperture light
in front of me with the light domini keeps my
skin tones normal colored. Otherwise, I'd probably
be blue right now. And finally, there is
actually one more light, which is my desk lamp right
here that also shines a little bit on my
face and creates a little bit of bloom
here because on my lens, I do have a black mist filter that blooms the
highlights somewhat. But overall, as long as
you have one key light and just a little bit of lights behind you for added interest, I'd say you're on
your way to making a very good and
interesting desk setup. Now let's move on
to the desk itself.
5. The Desk: This lesson, we're going
to cover what's on my desk and why it's
placed where it's placed. So firstly, what's on my desk? It's actually not too much, my laptop and then
the microphone, as well as two speakers that you cannot see in my main view. However, I do want to cover
this because sometimes other people's YouTube
setups feature their desk a bit more
than how I do it. So the color of your desk, as well as what's on top of it might matter if you angle
your camera a different way. So do find it important that there's some
room for my laptop, and it's not blocking any
views because sometimes I stream or record in this setup while
working with my laptop. So that's definitely something that you should keep in mind. If you're going to
be on a laptop or doing something while
you're on your desk, make sure it's
comfortable for yourself to actually work on
things while recording, while also having it look good. For the specific desk that I'm
using, it's called uplift. That's the company, and
it is a standing desk, which makes it nice because I can sometimes stand and also raise the camera at the same or basically a slightly
different shot, but it's nice because
I don't have to sit the entire time if I'm recording things,
if I don't want to. In terms of the laptop
stand that I'm using, it also connects to the edge of the desk and acts
as like an arm, which makes the laptop
kind of floating, which I really, really like. As for the two speakers, they are called the
Yamaha GH fives, and they are studio monitors, and they're meant for editing
audio, usually for music. Of course, they are
completely optional, but I thought I
might as well cover everything that's on my desk. Also have a normal Apple
keyboard that's Bluetooth, since the laptop is kind of floating and I'm not going to
have my hands up like this. And then I have a MX
Master three as my mouse. That's pretty much
everything on my desk. What you're seeing in
the background are acoustic sound absorbing foams. Personally, for me,
they're more of a decoration than they are
actually helping the sound. Again, there will
be links to all of these things in the worksheet. Next, let's move on
to desk placement. So out of all the
places in this room, that's pretty spacious, why
did I put the desk here? I have free range to rearrange
everything and anything. So the reason why I
decided to place it here was because
of a few factors. Number one, during
the daytime hours, there is a nice back light
that hits over there, as well as some light
that hits in front of me. Here's an example of
the daytime desk setup. As you can see, everything is pretty much exactly the same, except the lighting is different because there's light coming
through the windows now. Which in my opinion, it makes it look better overall. But the nighttime
has a different type of feel that can add some
variety to the shot, depending on what I'm
going for in the video. I'd say that I film equally
during nighttime and daytime, so it's good to keep in mind what natural light
does for your setup. Next, I chose a place
that's kind of close to the corner but with
some space for the camera. So the camera is almost at
the corner of this room. What that means is my desk is pretty far away from
the wall over there, which gives the image
a lot of depth, especially since I'm recording
with F 1.8 for the A and having depth in your
image definitely makes for a more
aesthetic look overall. Do not underestimate this point because your image might
end up looking very, very flat if you have no
separation from the background. And I'd say that's primarily it. Those are the rules
that I sort of follow. You want to achieve some sort of background separation
as much as possible, and you want a comfortable
setup where you can do your thing on your desk while recording yourself while
also making it look good. Next, we'll talk just a
little bit about the editing.
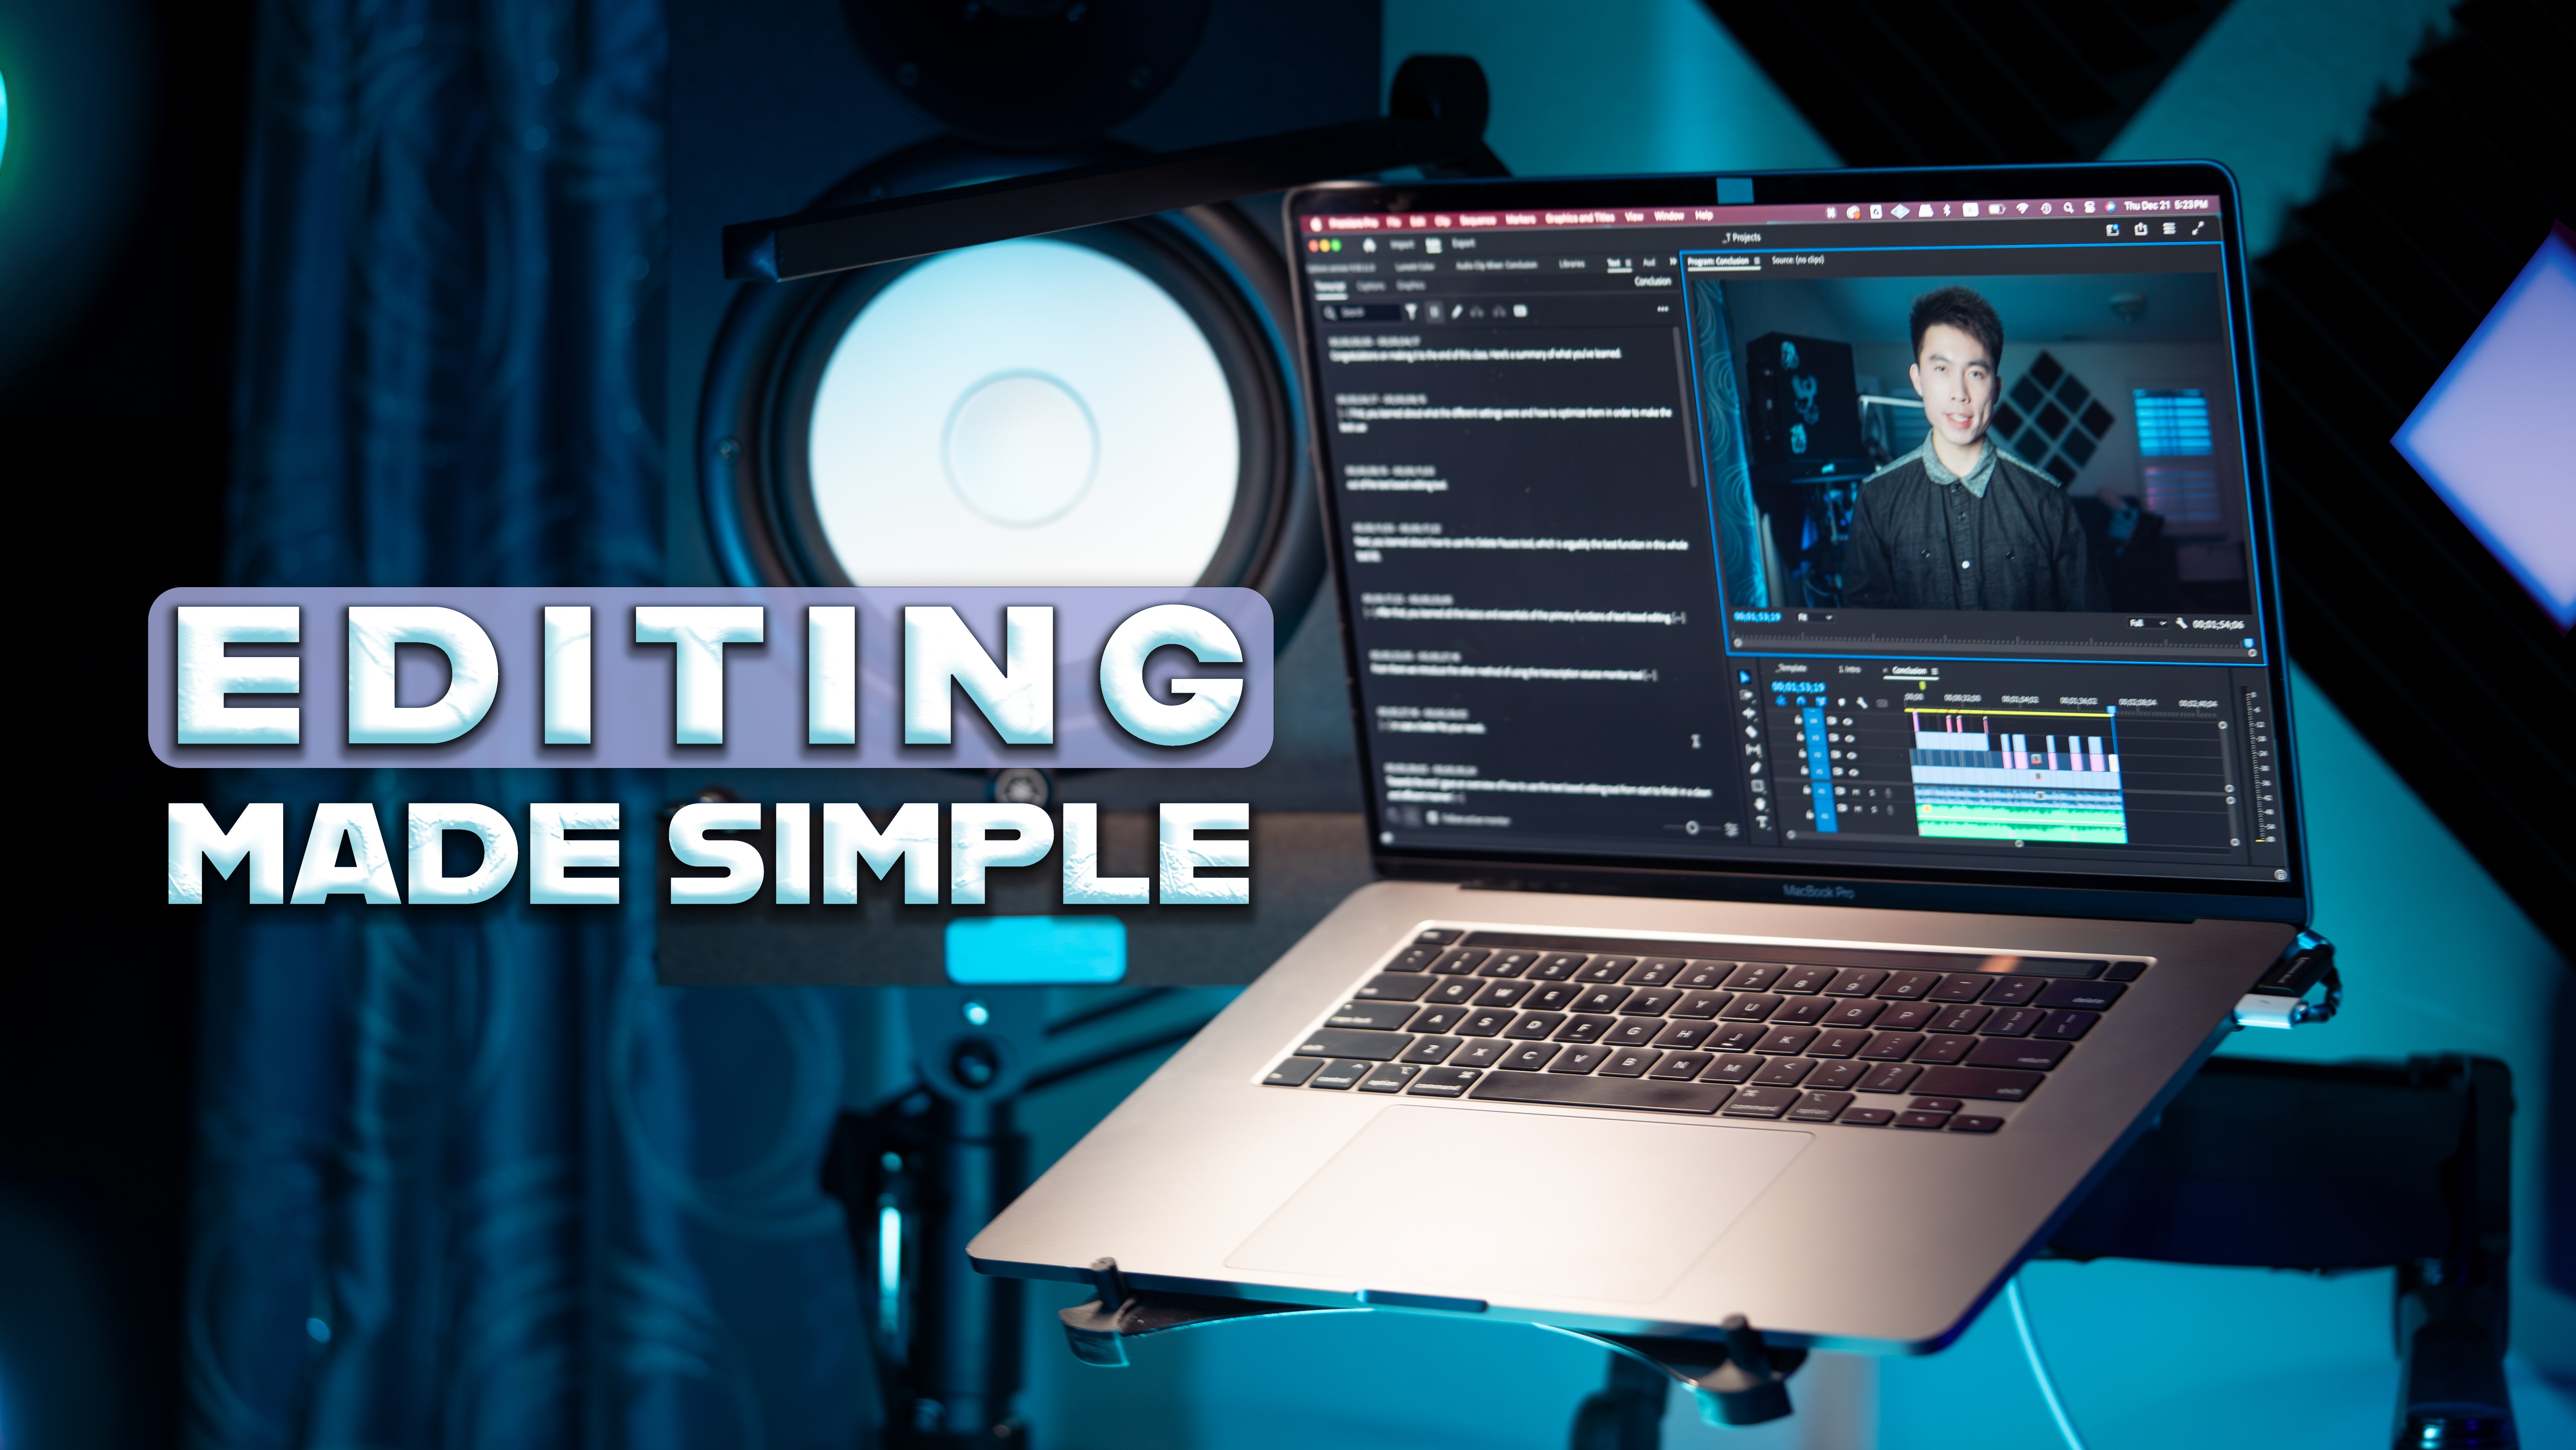
6. Editing: This lesson, I'm
going to cover how I edit my desk setup videos. I'm going to be
using Premiere Pro, but the concepts are
going to be shared across all editing platforms.
Let's get into it. Alright, so we're going
to start a new project from scratch in Premiere Pro, just so you can see
the entire process. I already have imported
all the footage, as well as the audio since I did record audio using
my Sure SMsven B, connected to an audio interface that was connected to my laptop. I'm going to go ahead and
just highlight all of these and drag them
in Premiere Pro, and then just drop
them in like that. The first thing that I'm
going to do is actually create a sequence from
this clip right here, I find it to be the easiest
way to create a sequence, right here, new
sequence from clip. After that, what I like to do is pretty much import
everything at once. Highlight everything
at once by clicking A and then clicking
on the leftmost clip. And then what I do
from there is I apply my presets because we are
we did shoot in Slog three. So you can see that it
looks very flat right now. The colors still need some work. But I created a
preset where I just drag and drop this and it
looks pretty good from here. If I needed to make any
further adjustments, then I could do that in
the Lumetri color panel. But again, we're not going
to dive too deep into this. If you're curious
about how to make presets and edit really fast, I have made a Skillshare class
dedicated to this topic. So because we have
a few audio files, we can do it kind of easily
by just looking at clearly, these are the ones that
I recorded at my desk, and some of these
might actually just be B roll of my desk. So let's go ahead and move the ones that are actually part of us talking because
what we need to do first is sync up the audio. So I know that these
two are paired up because they're
around the same length, so I'm going to
synchronize the clips. I'm very, very used to
using keyboard shortcuts, so I might accidentally be using them without
thinking about it, but you can find most things
by just right clicking, and then here is synchronize. So I'll cut off the beginning
since we don't need that, and we'll just do a quick listen to make sure that everything is indeed correct.
And it sounds good. So what I like to do is I
just completely replace it because this one right here is not the
audio that we need, although there is a sample
that I gave later on, so let's keep it for now. Okay, so these two
match up in length, so I'm going to go ahead
and synchronize these two. So what I'm going to
do is I'm going to disable this clip
right here at the top, since we might use it later, and I'm going to just make it
smaller so it's easier to. Go ahead and work
with this clip first. It's actually a combination
of multiple videos because sometimes I record
multiple videos at once, since it makes the
whole editing process actually more efficient. So what I'm actually
going to do from here is create a new sequence. I'll just call it
example, and from here, I'm going to copy over what
we have synced up already. Find out the easiest
way to edit is to simply use the text
window right here. You can find it in
the Window section, and here are the settings for my transcription view options. I kind of make the minimum pause length to be quite short. This is actually recent, but now it can be 0.01
seconds right here. But let's go ahead and
try out 0.01 seconds. Click Save, and then you can
see the pauses right here. That's what this was indicating. Minimum pause length. And your transcription
is right here. So you can edit this by simply making sure that fellow
active monitor is checked. And I'm going to go
ahead and just delete this first section right here because you can
see that later on, I repeat the same lines since I didn't like the way I
did the first two lines. And you want to make sure that
you also have this checked right here automatically
set in and out points. Now I'll hit Delete,
and as you can see, it's basically
editing it for me. But first, let's go ahead and do what I was going
to do earlier, which was delete all the pauses. You can click this filter
looking symbol right here, hit pauses, and then hit Delete. It's going to ask
for extract or Lift, but we're going to go ahead
and use extract and delete. Now, as you can see, most of the silences
have been deleted, not all of it because
sometimes there are some buggy
things that happen. But overall, things are now much easier to edit because you don't have a bunch
of silences in between the clips that
you have to cut out. And it's still good idea to
have this text editor here. It's easy to see that I
repeat the same lines again. So let's go ahead and
delete that like that. And from here, you
can just keep doing it until you have
the final result. Other important element
to pay attention to when it comes to the desk
setup is composition. The way I like to
work with composition is to use the rule of thirds, and the easiest
way to do that in Premiere Pro is to go to
view and then add Guide. First, we'll start with
the vertical ones. So since we shot in four K, it's 3,840 by 2160 pixels, which means the vertical
guide should go at 12 80. Now let's add another
one, and then at 560. Now let's add the
horizontal ones. Change it to horizontal
for orientation, and the numbers
are 720 and 14 40. You can see the rule of
Thirds very clearly, and you can also set this
as a guide template. Save guides as template
rule of thirds. And from here, if you
want to remove the guide, you can also just
click the checkmark. Now, it doesn't
show show guides. If you want to use different guides like
let's say you're making shortfrom video and you want
to also create safe zones, then you can clear the
guide, set up a new one. And if you ever want to go
back to the rule of Thirds, you can click Guide
Templates, Rule of Thirds. So one thing I like to do for composition is make sure that my eye levels are
either on this line, the top third, or
slightly above it. So right now, it's
not quite there. Ideally, I would
have changed this earlier before I cut things. But since I've already cut, an easy way to manipulate the transform for
everything that's on this file right here is to
go into the Effects panel, type in Transform, make sure you have effect
controls right here, hit source, and then
drop in transform. There, we're going to need
to scale up a little bit. I think one oh four
probably should be enough. And what I'm going to
do with position is go as high as possible before
seeing black on the bottom. Now let's go ahead and
see the final result. As you can see, now my
eyes are slightly higher, which I think is better
composition overall. So another big thing
in the editing process is optimizing the audio. One easy way to do
this is to simply just go into the audio track
mixer right here, which you can also
find in Window. Since my audio is
on Audio Track two, going to go ahead and
add the dynamics effect. I'll double click it, hit the compressor,
hit the expander, change the threshold for the
expander to negative 55, ratio to two, that makes the
quieter sounds even quieter. Change the threshold
for the compressor to around negative 24 and
the ratio to around 2.5. And then I'll make the
makeup 12 decibels. These are the settings
that I personally use for my SR SM seven B with the
setup that I have at my desk. The levels are adjusted to
match with these settings. If you want to understand
these things further, I have a dedicated class for audio editing in Adobe edition. From here, all you need to do is add some Vroll so
you can drag and drop from the video icon to edit at the spot where
you're talking about it. That's how I do my editing in Premiere Pro for my
desk setup videos. Again, if you want to deeper
dive into how I edit, check out my
dedicated Skillshare class where I talk
about Editing.
7. Class Conclusion: Congratulations. You've made
it to the end of this class. This class was meant to be just a quick overview to give you some ideas on how to set up your very own
YouTube desk setup. We covered the video elements,
audio elements, lighting, the desk itself,
and what's on it, as well as a little
bit of editing. A lot of my other
Skillshare classes also cover these things
in greater depth. So definitely check
out those classes. But if you have any other
questions that I can help with, feel free to drop it down below, and I'll do my best to answer. If you enjoyed the
class overall, I would appreciate
it a lot if you gave it a review and hit
that follow button. You can also find
me on YouTube by just typing in my
name, Scott Luu. Thanks again for
taking this class, and I'll catch you
guys in the next.
 Scott Luu, Video Creator