Transcripts
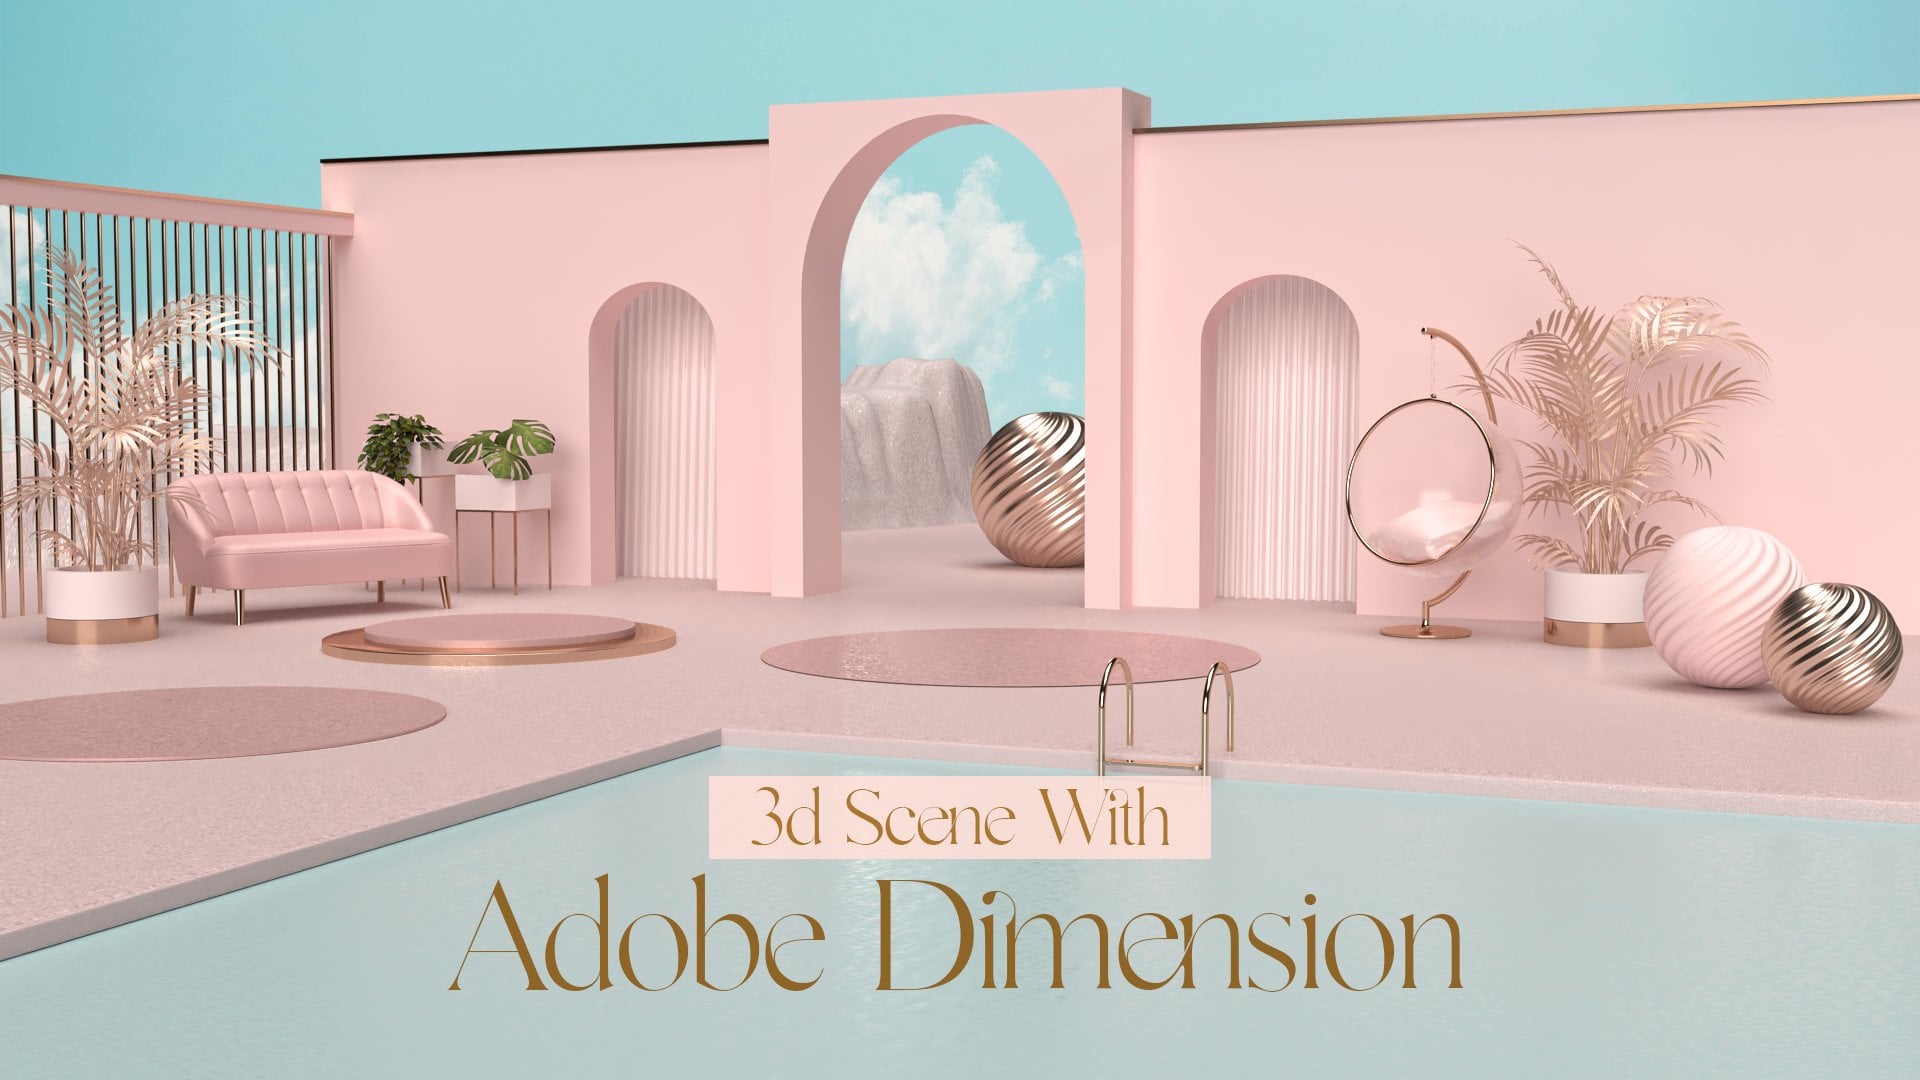
1. What you're going to learn: Oh boy.
2. Software : so thank you for joining in. If you already have blender with opting or another three D software with boxing as well as Js placement, feel free to go through. The next lesson, if not you condone, would blend the read off thing from authorize websites. There's a version called Crime Free Tire. It's completely free, including for commercial use. You have to don't know that installed blender, often with the addition and often several crime for Js placement, you can download it on Windmill Art website. Just have no mood installer and solid. When you have these two Softwares in your computer, you can go to the next lesson. It's you that
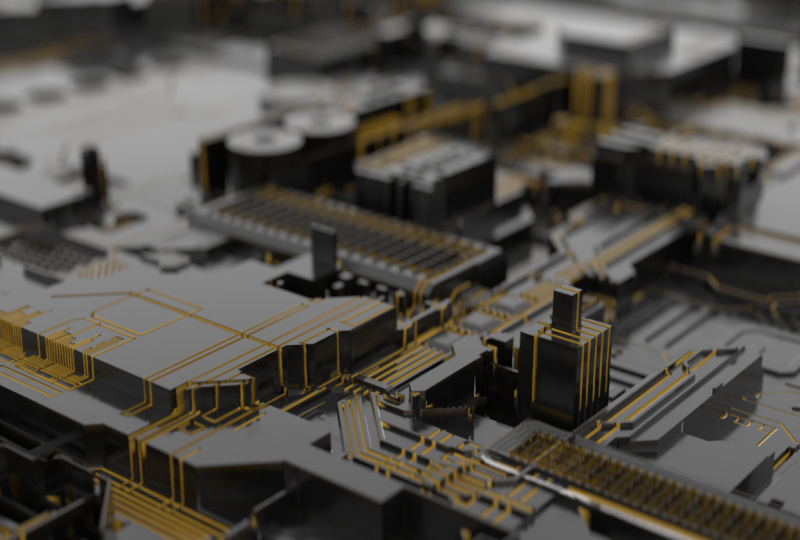
3. Generating the board: Now that you have the two Softwares in your computer, we can start working. Don't forget to start talking server before starting blender. It will show Well, I can in your desk birth. Then we can start blender. If it's your first time using blender, you have to go to wedded references. Adan's in Search for OKC thing and excavate. Then you can go to the settings on the scene and changed Render engine to work thing. We're going to be working with bed race. I'm going toe check, opting out off court as well and change the view. Transform on color management. That way, we know that what we're seeing in View Port is the same as our final Reysol's. Now we can delete our cube in delight and let's add a plane. Now I'm going to open a new death and change it to Shader editor. Select the plane and add a new material. I'm going to delete the diffuse material in there. A glossy material. Now let's get a texter displacement note in link IDs To do these placements. Now we have to generate our height map wedded to the Dexter Displacements to show on a plane So let's open Js placement. No heating Js placements. We're going to be using Js placement toe in de cryptic. Personally, I think the Great Beck is the closest to a mother board or secret board. You can always play with it in three different settings. Israelis. You can play with great back and change the little bit. Now let's savings and we can close the Js placement. Now we have power. Dexter. In our folder, it's an eight K. Dexter. We can open blender and taken dragon work to the Shader editor and link its the text through these placements. Now we have to start seeing the shading you ports. It seems that nothing happened. But if we increase the height then we'll start to see something. I will increase them. Use level is little. Now If we get closer, you see that the quality is not the best. That's because we have one k in here in our texter is an eight cake texture. So we have to change it to hate gay. How everything is better. We have our mother board generated. You can always play with the height with chief. What you think is the best result. So let's jump to the next listen. So so we can start working on our motherboards on shading the motherboards in some white techniques. See there.
4. Texturing - Details matter: So we have the motherboards and rated, but it's not looking realistic. We can, for example, change the diffuse collard something darker, and it will look a little bit better. But it's not realistic. One secret to make the three D stuff look a little bit more realistic. It's great as many elements from the real world as possible. In this case, we're going to be using a dexter off plastic In a HDR R, you can download the texter from cco textures that come. It's called plastic 001 and it's completely free as well as the age here are from H. There are Evan called Air Artist Workshop. It's completely free to after long loaded. Just grab the roughness from our texture to our scene and linkage to the roughness. It's It's starting to look a little bit better, but maybe too big, so we have toe, make it a little bit smaller. What's every scale, transform notes and making the little bits lower. Something like that. Now it's It's definitely looking better, but we don't have that yellow or orange color in developed off the this tiny squares wherever, so we have to wet a mix texter note and link it to the defuse. No, let's it a Archie V Spectrum text. In duplicate IDs, you have the short goods in the bottom here. If you need any hell, so on texters do. Let's make it a little bit darker and non texter. One. It's the secondary caller, so let's make it like an orange or yellow something like that. Now it's just mixing the two colors, so we have to wear the dirt note and linkage to the amount. Now it's looking a little bit better, but very weird. So first off all we have to get rid off the spreads and it will start looking a little bit better. We can increase the details and decrease the radios, so we totally effects a few tiny areas. I just want thesis on Derrick Caller to be on the certain details, but as always, you can play. We did to achieve the resolute that you're looking for in my case. Just a few details something, something like that. Maybe a little bit more, but not much. Yeah, something like that. So after you play with all these values to achieve the look that you're looking for, you can go to the next lesson where we're going to learn out toe white, the scene and outwards a moods to the scene. So it looks a little bit better. See you there.
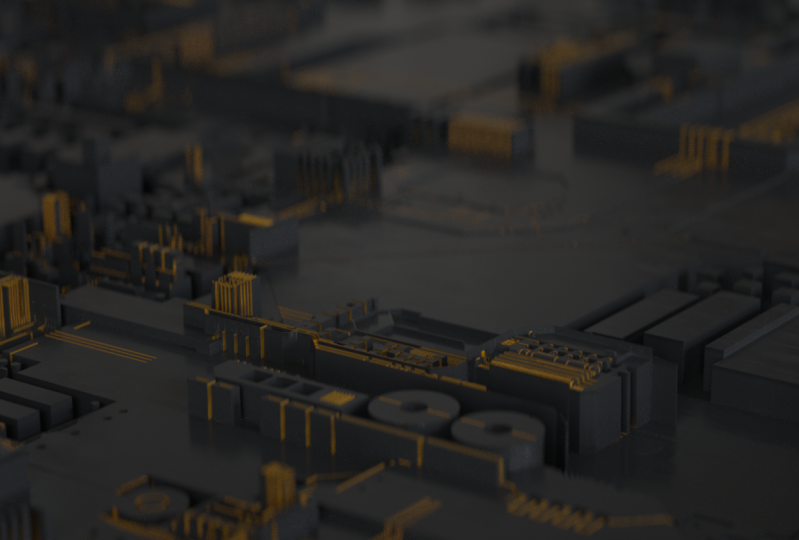
5. Atmosphere and lightening - Getting the mood: So now that you have the look that you're looking for, let's change our sky. Do something, really. In this case, you have to go to the world settings and then changed the day light environment to texture environments In long did Dexter select Image Texter and open that folder where you have the artist workshop Age dear are just open the image now that we have our HDR R is looking a little bit better, but maybe too extreme. So we have to lower the gamma toe one, and it's starting to look realistic. If you want. You can ads if you artificial lights by Eddie gave a plane scaling, get a little bit down and then adding gay material to it and then a mission. Black body emission. Note to the emission and you have the lights. Something like that. You We can have a feel white and they key lights on the other sites. Something like that, we can achieve a more SciFi look. Let's, let's say, but in this case, I'm going to use just the agent here are and mess around with some camera's settings and yang gal's itself. But you can always at some lights after you said you're seen or your lights. Depending on what you want to do, you can go to the next lesson where we will start to grab the camera and see some angles and some tricks to make it look realistic. See you there.
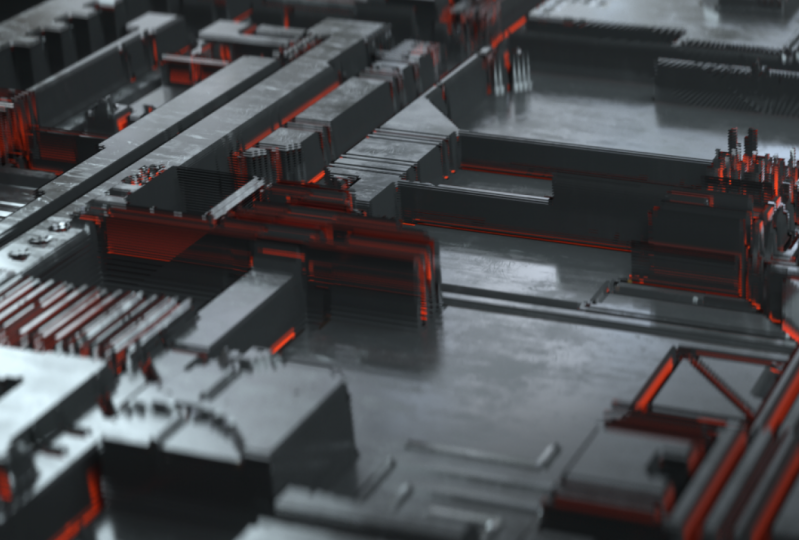
6. Camera - Tips on realistic close-ups: So now that you have your scene whites, wherever the way you want, we have to start toe, really work on our realistic sites, and that's with our camera. You can position your view port toe certain part that you like off a scene. Let's say these one and its control all zero on your number and you have your camera view. You can move it if you click on the sides off the camera and then the leather G. One important tip is to have your camera in the opposite side off your light. In this case, just these two winners. Now you can go to your camera settings, and we're going to be airing a empty Let's, say, a rose, not just move your empty to a part that you like to focus. Let's say these one and again in our camera. Let's change from out of focus to our empty and start to increase the opportunity. Now you see that he's looking much better. I like through increased the Apertura aspect by one because I think it's more realistic. You can also change your focal length, something whiter. Also, let's turn on the Oakton camera images and in response. Let's change it. Tool is RGB. You can you can always use these kind off. Let's let's say like that or you can just change the color on boasts with for a shop or something like that. For now, I'm going to stay with us RCB and you can start messing around with your exposure in Dammam . In the few more assets to make. It's how you how you like. I'm going to enable denies ing as well and on octane for processing. I'm going to increase the bloom power so we start to catch the refraction off the lights on that speculum motherboards. I'm going to increase the spectacle intensity, but just a little bit and maybe decrease the EPA. True, you can always be creative and try different settings like the opposites. Now, after you mess around with these, you can go to the next lesson where I'm going to talk about the render settings out toe properly. Render these seven and some ideas like a challenge that you can make to improve your sin. See you there
7. Rendering - Denoiser and a challenge: So now that you've then messing around with your camera's settings, we have to exports these image. Don't forget to enable the denies er on the camera settings. And then let's go to the U Layer. Bess is denies. Er in beauty here on your scene, you have to change the out, but I'm going to tow choose our folder, and now you just have to go to the compositing tab and check. Use notes, eat off a and a out, but file out. But note. It's the same bet as you choose here in your outputs. So we have doing out. Stockton denies her beauty, your five outputs, you know, because this lesson is only about achieving this result and not optimizing the scene. I'm not going to go through these, but in our gaze I'm going to just increase the samples a little bits and g i. Klim a little bits lower, so now we just have to wait to render. So after you render your scene, you'll have your tea moist seen in your folder just for you to see the difference between using the denies er or not. It's huge, for example, in these little details and by using denies we can decrease the symbols in safe sometime. So this was our course out to make these kind off motherboards in a realistic way. I hope you you like it and learn some some stuff. But I would like to challenge you to be more creative than me toe. Try not to replicate me, but try to use thes motherboards on another three D seen or at some three D elements to it . The creative. I would like to see a few projects that are a little bit different from mine. So if you have some questions, you can always send your project to me. And I will answer your questions as soon as possible. I hope you like it. Thank you very much.
 André P., VFX/CG Artist