Transcripts
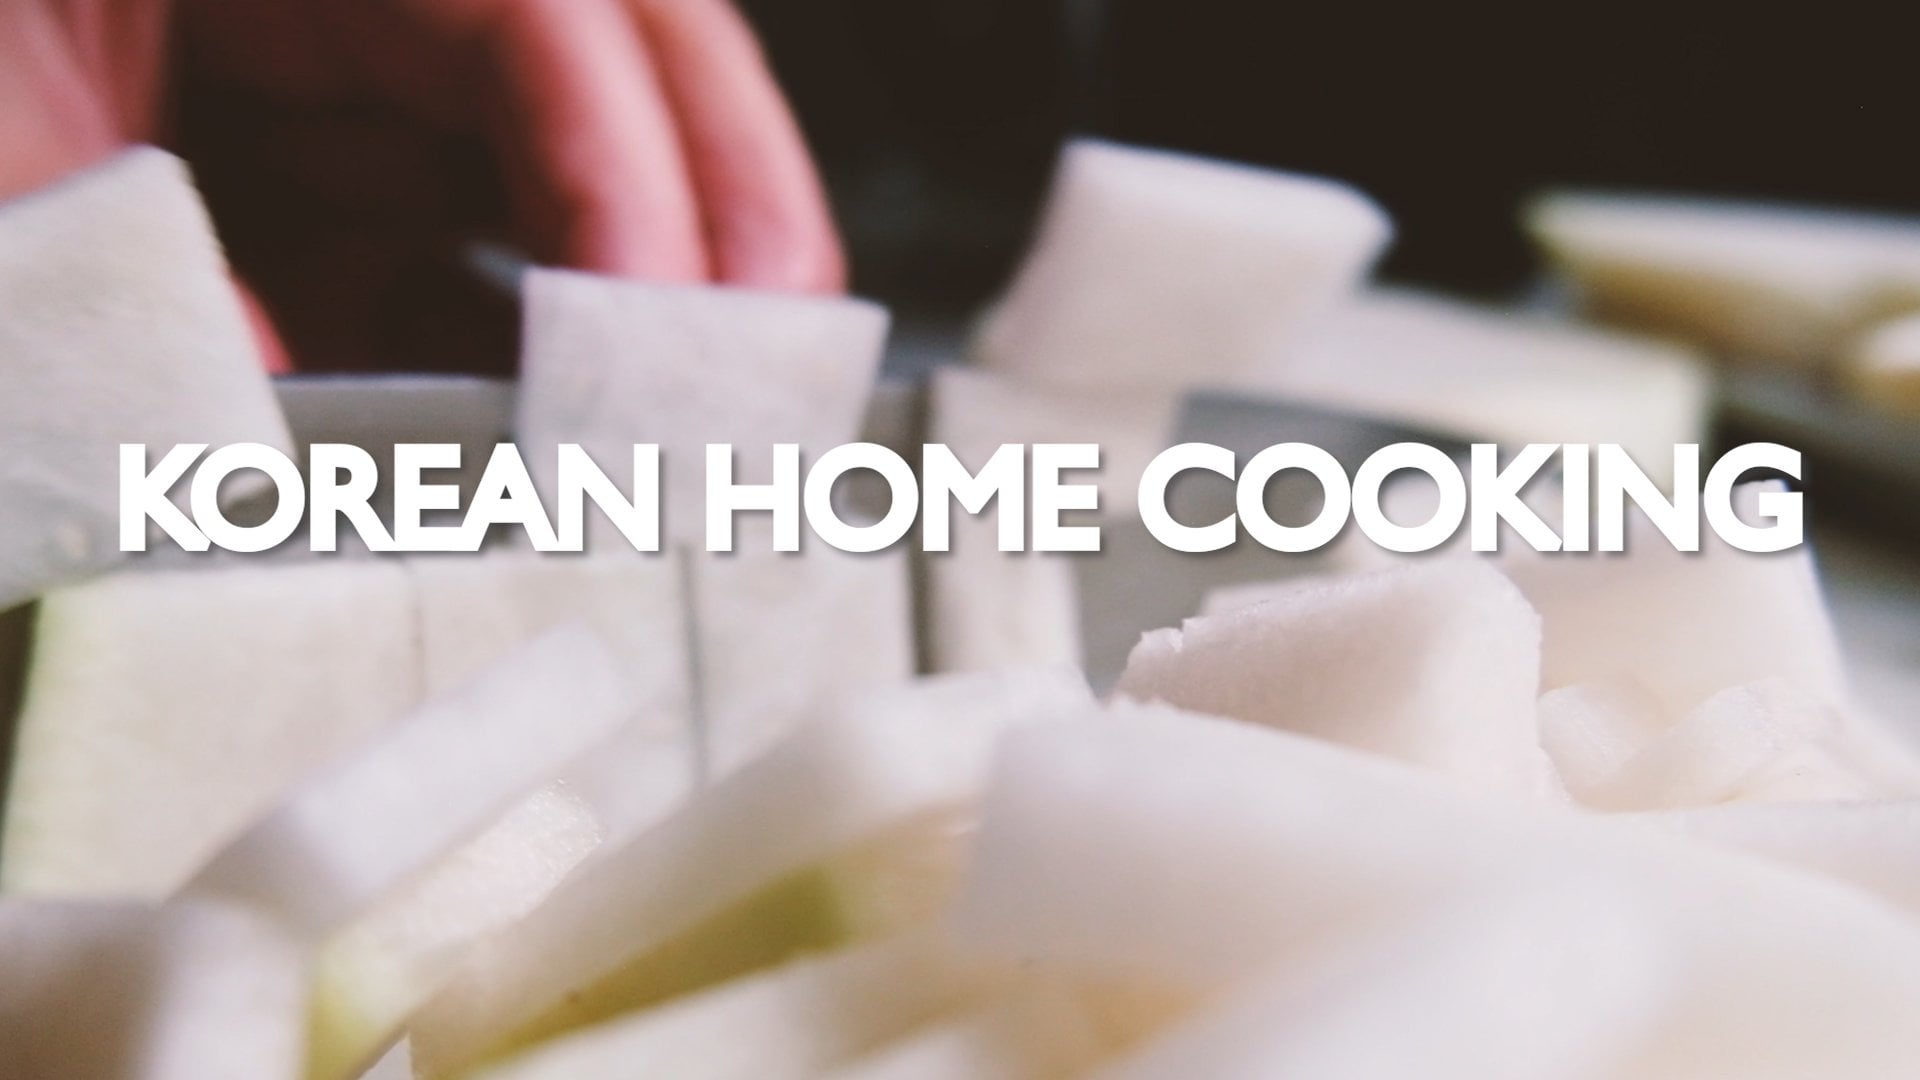
1. Introduction Chicken Pho: Hi everyone, Welcome to my kitchen! I'm Luna, I'm from Vietnam, and I'm fortunate to have my dad, who is the professional chef. He taught me how to cook many traditional dishes and I cannot wait to share them with you. Today, I'm going to show you how to cook the Vietnamese famous dish, phở gà, which is Vietnamese chicken noodle (pho noodle). So are you excited? Let's get it started. I grew up in the North of Vietnam where pho is originated and I've learned how to cook pho in the most traditional way. There are two famous kinds of Vietnamese pho which are beef pho and chicken pho. Although beef pho is internationally a little more popular than chicken pho, it doesn't mean to chicken pho is anything less tasty or special. Both of these dishes often being served for breakfast in Vietnam. They are super healthy and flavorful. Pho is written as P H O and it's pronounced as F U H (phở). In this class, I will guide you through each seven simple steps. You will learn to cook chicken pho from start to finish, using the most authentic recipe how we know it best from its origin. I will teach you how to cook a delicious bow of chicken pho that you can enjoy with your family and friends from the corner of your kitchen, at your convenience. Everything is possible with a proper guidance and a made simple recipe. So when you are ready, let's cook our chicken pho together.
2. Cooking Ingredients: I've been living abroad for the last nine years. So I know how difficult it is when it comes to looking for the right ingredients, but nothing can stop us from making an authentic Vietnamese dish when we know-how. I break down the ingredients into two groups, which are dried products and fresh products, so that you can find them easily in the local supermarket or Asian market. You can download a PDF file that I have attached in this lecture for the list of ingredients. You don't have to note them down unless that is what you want to do. Hot chilli sauce is optional. If you want, you can also use fresh chilli cut into thin slices for replacement. We will be using a whole chicken in this cooking class. You can get the fresh one or frozen one of your choice. Just remember to unfroze the chicken from the night before so that we can begin cooking without waiting. See you in the next lesson, where we will learn to cook this dish together.
3. Preparation of the chicken: One of the secret ingredients yet so easy to find, is salt. We use it a lot in Vietnam for fermented products from different kinds of pickled vegetables to other types of seafood in order to keep them stay good for years. And to make traditional fish sauce or shrimp paste, which some people would say irreplaceable in Vietnamese cuisine. Beside from that, salt can be used as a great cleaning method before cooking for many different kinds of meat or fish. And for this fresh chicken, we will also use salt to do the same. You can use any type of salt that you may already have at home, I prefer sea salt. I normally put on a pair of disposable gloves for this cleaning step for hygiene purposes. Three tablespoons of salt is needed. One tablespoon is mixed into a cup of 100 milliliter of room temperature water. And the other two tablespoons of salt is used to rub on the chicken skin for at least three minutes. We pour the liquid inside the chicken and give it a good shake to make sure we get rid of on the unwanted fowl poultry smell or blood clot. This chicken is 1.2 kilogram. You can use the same weigh as I do, or bigger up to 2 kilogram, which ever you can find in your local market. Use a knife to cut off the chicken's pygostyle, also known as Parson's nose, and rinse the chicken again with water. By cleaning the chicken thoroughly, we have ensured the first step to making a successful chicken broth. Check around the cavity, if there is any fat, you can remove it and keep it for later use. We will fry shallots with this chicken fat. My chicken is quite small and it has no fat, so I will be using vegetable oil in replacement. Once you are done cleaning, put the chicken inside a big pot with the chest downward. Clean your hands and other tools immediately with soap. Then add 4 liters of room temperature water into the pot. Turn your stove at medium heat, close the lid and set an alarm for 20 minutes.
4. Grill the herbs and vegetables: When the chicken is under slow cook, we're going to grill the herbs and vegetables. We start with dry herbs. One stick of cinnamon, two star anise two cardamom, three cloves. One teaspoon of coriander seeds, and one teaspoon of fennel seeds. By grilling them in high heat, for five minutes, we will bring out even more aromatic flavors that these wonderful herbs have to offer. Move them into a cup once done and let cool down. Then using the same pan, we are going to grill the fresh vegetables included onion, shallots and slices of ginger. We do this also in high heat for seven minutes. Transfer the grilled herbs into a tea strainer and close it. This is to keep the herbs stay in one place. My strainer cannot contain all the herbs, so the remaining ones we'll drop into the broth directly. But it's not a problem because they are not too small. Don't forget to turn the vegetables so they can be grilled evenly. When they are ready, you can see the juice coming out and we can remove them from the pan and let cool down. Remove the skin of the onions and shallots, then wash them again with water. Be careful while doing this because the onion may still be hot and it may burn your hands. At this point, you can really smell the aroma coming out from the onion skins. You don't have to remove all the burned black spots because they are what giving a nice color to the broth later on.
5. Making a flavorful broth: Earlier, we set an alarm of 20 minutes for the chicken broth. When the alarm goes off, we increase the stove to high heat and open the lid, you will see the white foam floating on top of the broth. This is the excess fat of the chicken, which we need to remove. Use a bowl of 300 milliliter of water and a skimmer spoon to pick up all the foam like so. We will continue doing this repeatedly until there is no foam left inside the pot. It may take five to seven times, and once that is done add one tablespoon of salt and then change to low heat at level one or two. Now we can add our grilled vegetables and let cook for 20 minutes with a closed lid. When the time is up, add the grilled herbs into the pot and close the lid, then continue cooking in low heat for another 20 minutes. After that, check and taste the broth. Some people may add fish sauce at this point, but I don't do that because I want to avoid the strong smell as well as if you cook fish sauce for too long, it may make the broth become sour instead. Now we can turn off the stove, close the lid, and let the chicken absorbed all the flavors accumulating inside the pot.
6. Cutting vegetables: So we have done making the chicken broth in the previous lessons. Now I will teach you how to cut and prepare the vegetables in combination with this dish. We cut a medium size of onion into thin slices and keep it inside a bowl of cold water. This is to take away the spiciness of the fresh onion. Only sweetness remain and making the onion become crunchy at the same time. Next, we move shallot's skin, then also cut them into thin slices. Five or six pieces of shallots are enough. We will fry two-third and keep one-third for serving fresh with the noodle. I'm using one tablespoon of vegetable oil to fry the shallots. But you can use chicken fat if your chicken has it. Continue to fry until the shallots become light browny color and smelling good. Move it to a bowl and use a skimmer spoon to separate the oil and the shallots. Add one teaspoon of turmeric powder into this oil, stir it well, and leave it for later use. Now we cut the green onions and corianders. Another names for them are scallions and cilantros. We cut the green leaves into thin slices like so. And keep them on a plate ready for serving. The green onion stems, we slice them into thin slices vertically. We do this to distribute its flavor evenly. And the white part of the onion will be semi cooked in the broth later. Then cut 2 pieces of lime like so. You can also use lemon in replacement if you cannot find lime. Corianders or cilantros to be cut into fine pieces as well. Last but not least are lime leaves. First we remove the midribs and then lay them up together. Keep the smaller leaves inside the bigger ones and roll them tight together. Now we can cut them fine easily. All the vegetable are cut and we are now ready for the next step, which is cutting the chicken.
7. Simple way of cutting the chicken: The chicken has been cooked for at least 60 minutes plus 20 minutes we let it soaked inside the broth, making the cooking time of 80 minutes in total. To know if the chicken is cooked enough, use a toothpick or a skewer to punch a hole on the chicken thigh like so. If you don't see blood coming out, that means it has been cooked enough. Now, we can pick up the chicken from the broth for painting and cutting. I pick up two tablespoons of chicken broth and add it to the mixture of oil and turmeric that we've made before, stir it well and use a brush to paint on the chicken skin all around its body. Please note that you should not use this brush for any purposes rather than cooking. We do this not only to create a nice color presentation for the chicken, but also making the skin become more firm, crunchy and tasty. Normally, if I don't do this painting step, the chicken skin is very soft and I often dispose it. You can do your own experiment, and I'm sure you find out that I was right about this. After painting, let the chicken cool down for at least 5 minutes. Then covering it with food plastic wrap and keep it in the fridge to cool off faster. This will help us cutting the chicken easier. Otherwise it may be too hot. Take the chicken out after 10 or 15 minutes, and I will show you how to cut it in the most simple way. First, we remove the chicken wings and then the legs. Remember you don't need to cut through the bones, just break the joints. After being well-done cooked the joints are very easy to break like so. I don't even need to use any strength to do this. There is some broth inside the chicken thigh area, so I pour it into the bowl to keep the cutting board dry. Use the knife to gently tear the chicken thigh apart and turn the chicken around to cut the skin easily. To remove the chicken breast, don't cut deep inside the chicken. Only cut the skin open and use your hands to remove the whole chicken breast at once. Just cut around the chicken breast to disconnect the skin like so. And now use your strong hand to hold the top part of the chicken breast and pull it away from the bone in one direction. Do the same with the other side of the chicken breast. You see how easy it can be done? Now I will shred the chicken breast by hands along with its grain in order to keep even pieces and texture. I cut the skin off and I'll cut it separately into thin slices. Also, if you don't want to eat the skin, then you are more than welcome to do so. You don't have to do the oil turmeric painting step if that is the case. You can also use a knife to cut the chicken if you want. But I'm showing you our Vietnamese traditional way. So now you have learned how to paint and cut the chicken. We are moving on to the final step of serving this dish. See you in the next lesson.
8. Boiling pho noodle to perfection: I'm using a medium pot that contain 1.5 liter of water to boil 100 grams of dried pho noodle. I would say 50 grams of dried noodle is good enough for one person. So depends on how many people that you are cooking for, you can adjust the amount accordingly. Set at high heat and wait until the water is boiled to add the noodle inside. After a minute or two, when the water is boiling again, change to medium heat and cook for another 5 to 7 minutes, that is depending on the brand of noodle that you choose. Don't forget to see the instructions on the package label. Stir gently and frequently, to avoid the noodles getting stick together. You will notice its color changes from light transparent gray, to white. When it becomes soft and easy to break, that is when it's ready to be taken out. Use a big skimmer spoon to pick up the noodle and divide it into each bowl equally. You don't need to wash the noodle again with water. And you should cook the noodle only when everything else is done and ready to be served. Another tip for you, if you find boiling pho noodle is time-consuming. When you visit your local Asian market, check for fresh banh pho. It may come in a package that look like what you see in this picture.
9. Serving delicious chicken pho: Everything is ready. Let's display them onto the bowl. Underneath I keep the boiled pho noodle. Then I'm going to add chicken and vegetables on top. There are three types of chicken meat: chicken breast white color, chicken thigh light brown color, and chicken skin yellow color. I will add some of each for different taste and texture. When you think that you have enough chicken meat, you can carry on and add vegetables. Starting with the slices of onion, which we soaked in cold water earlier. Don't forget to get rid of that water and rinse it again with water. Then I'm adding green onion slices and corianders. Some slices of shallots as well, but not much because they are quite strong. Also green onion stems to be added. Now we are adding another secret ingredient of Vietnamese food. It is fish sauce, one tablespoon for each bowl and spreading it evenly everywhere and not in one place. Some people add sugar into the broth while cooking but I don't do this because inside the fish sauce, most probably, it already has some amount of sugar. Even though some brands may use sweetener instead. Then I add black pepper, fried shallots and lime leaves at the end. The broth should be boiling hot before we pour it into the bowls. And we also need to remove the herbs and vegetables as well. Put the white part of the green onion to cook for only 30 seconds or so. Then use a big spoon to pick up the broth and pour it gently onto your bowl. The tip is, you can add the water the same level with the food. The last two spoons, you can get some fat on top of the broth to give more flavor, this is optional. I decorated 2 bowls differently, but you can do it how you prefer and add more, less meat or vegetables to your liking. So we are all set. Here you have it. Our chicken pho is ready and waiting for us to enjoy. Thank you very much for taking my cooking class! And I will see you in my next one. Goodbye for now and enjoy the food. Oh, I forget one thing. In Vietnamese, we say :"Chúc ngon miệng" for Bon Appétit.
 Luna Nguyen, Artist, Art Teacher, Cooking Instructor