Transcripts
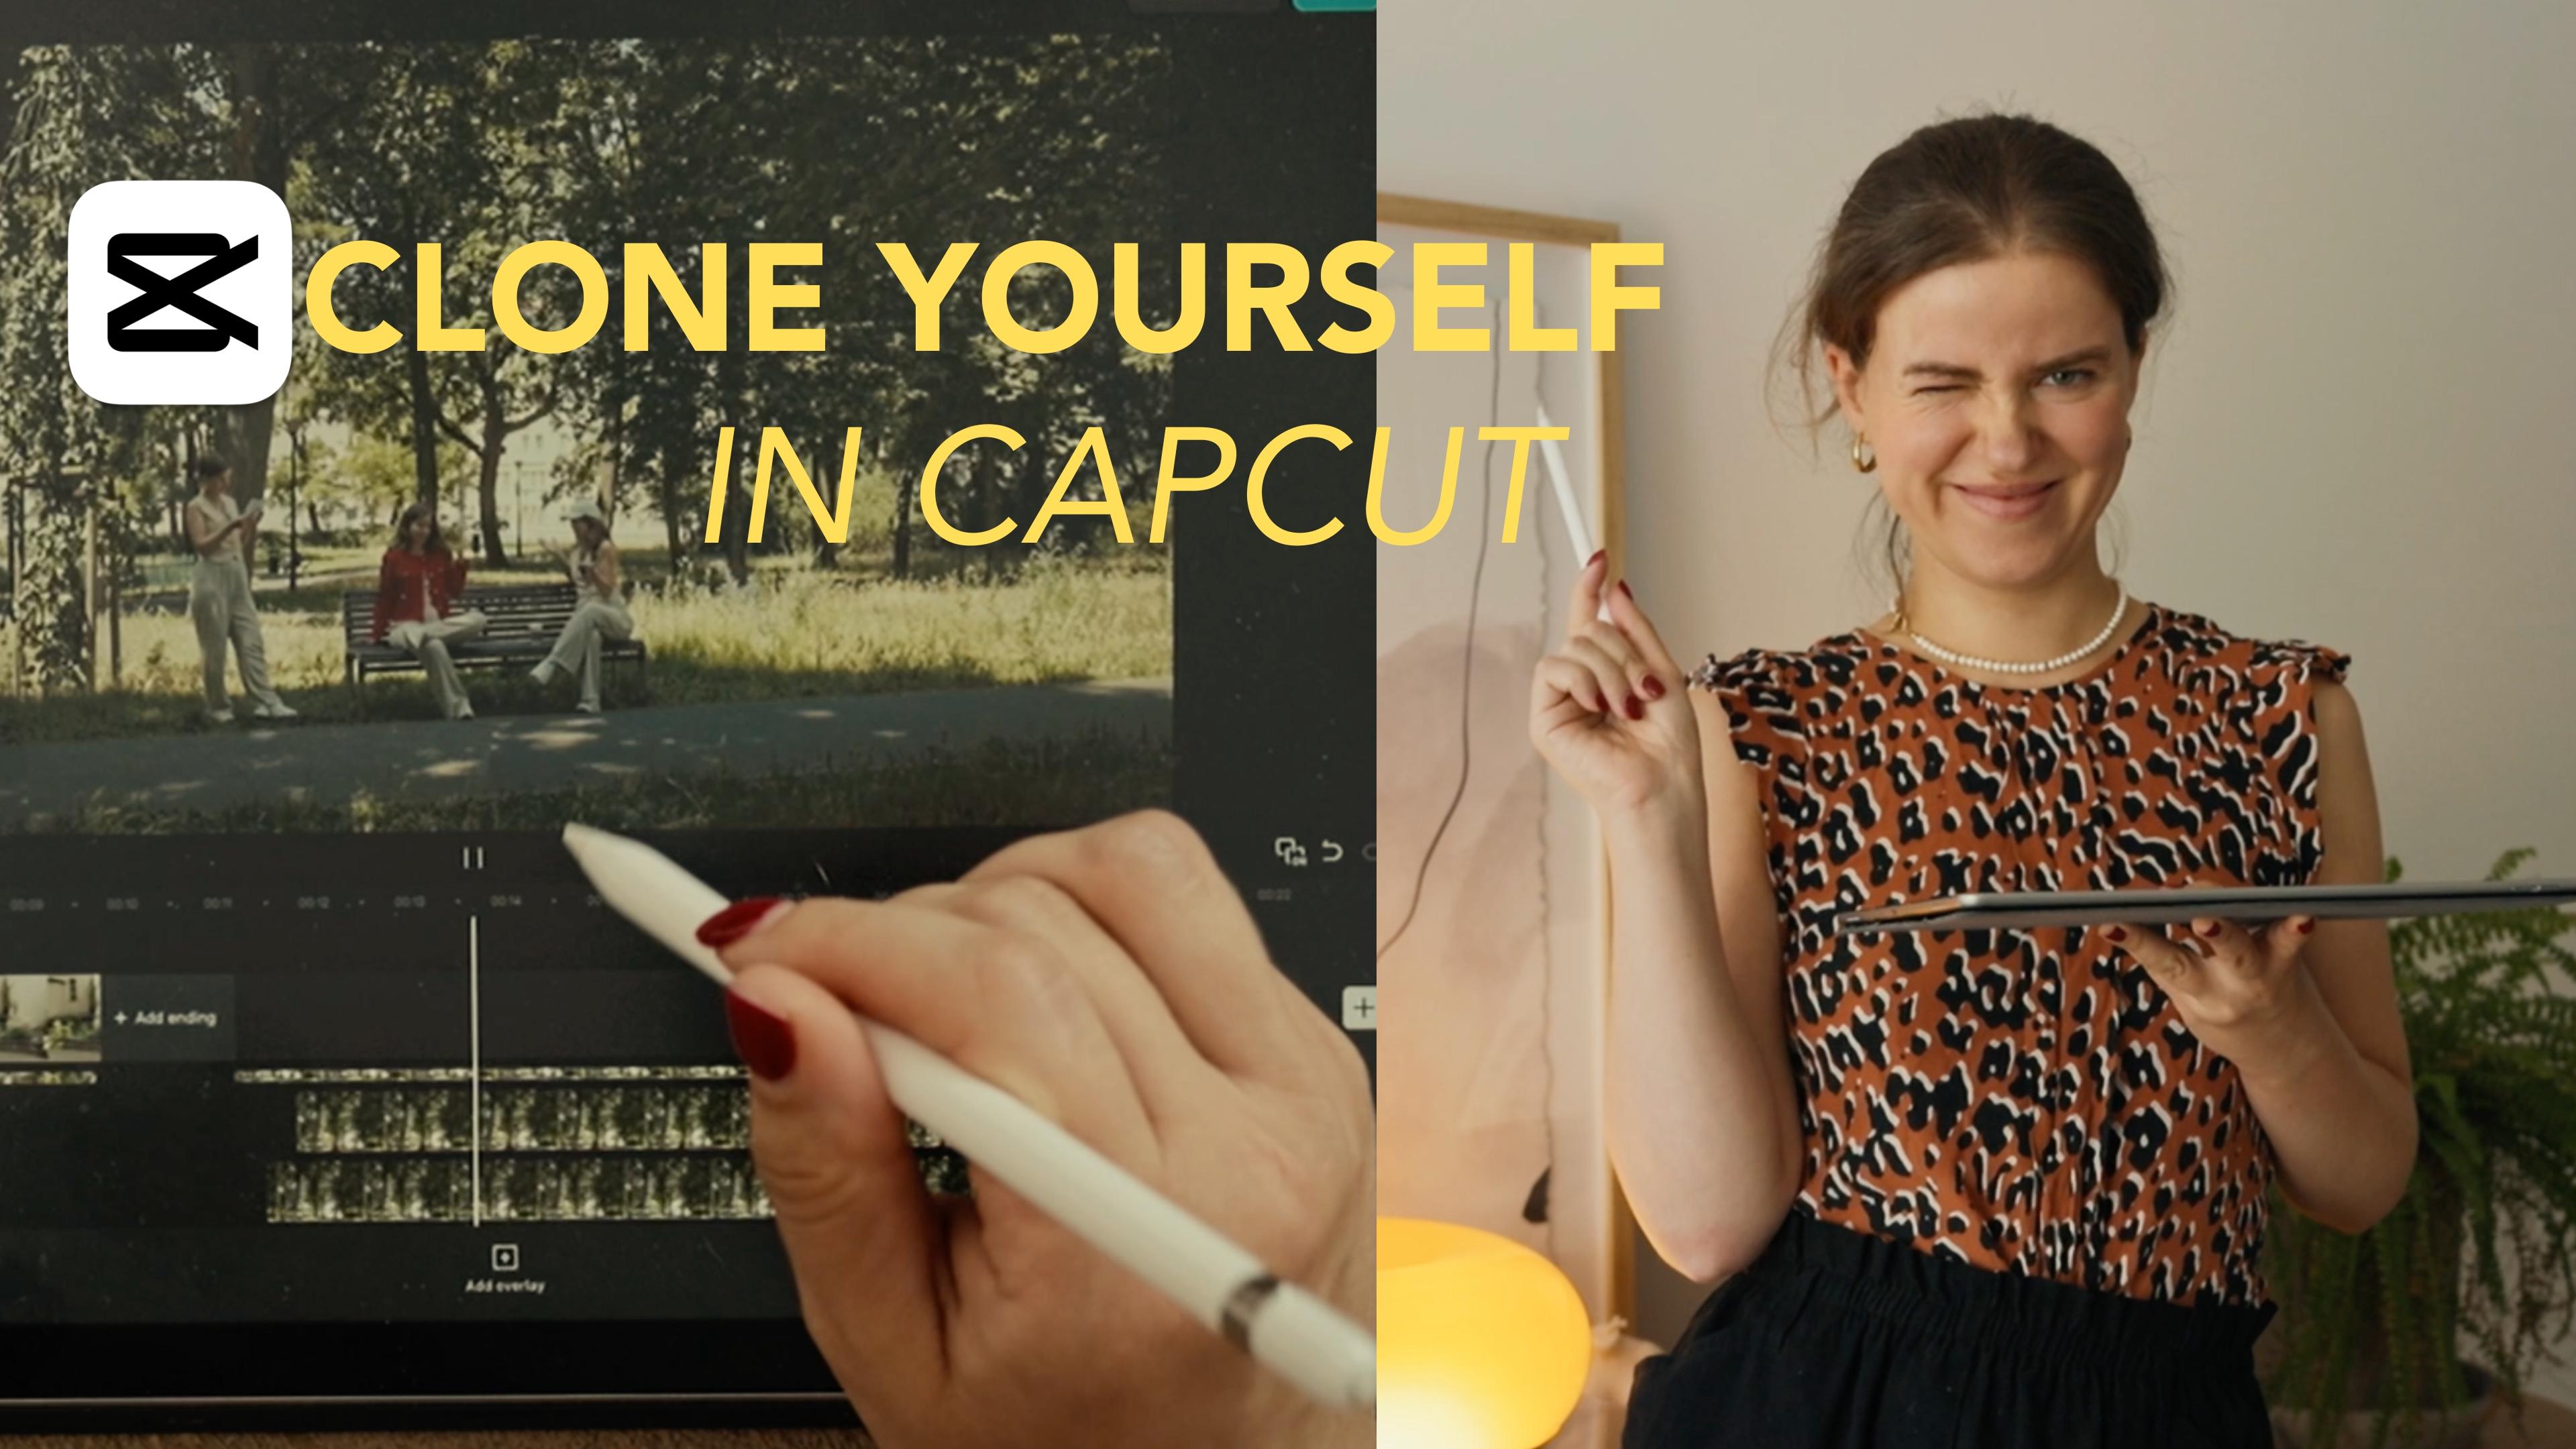
1. Trailer: This is the course where I. I mean, we teach you how to put multiple versions
of yourself. Into into What do. You don't need any fancy gear. You don't need a film degree. You barely need a plan. So in this course, we will teach you how to script, plan, and shoot a clone scene, how to edit it in Copcad on
your iPad or on your phone, how to use masking, and we will make it look
like you have a full cast, even when it's just
you. Who outfit. We are keeping it short. We are keeping it smart, and we are keeping it
slightly unhinged. So let's go clone
something creative. Join me now. Before
we make more of us. By
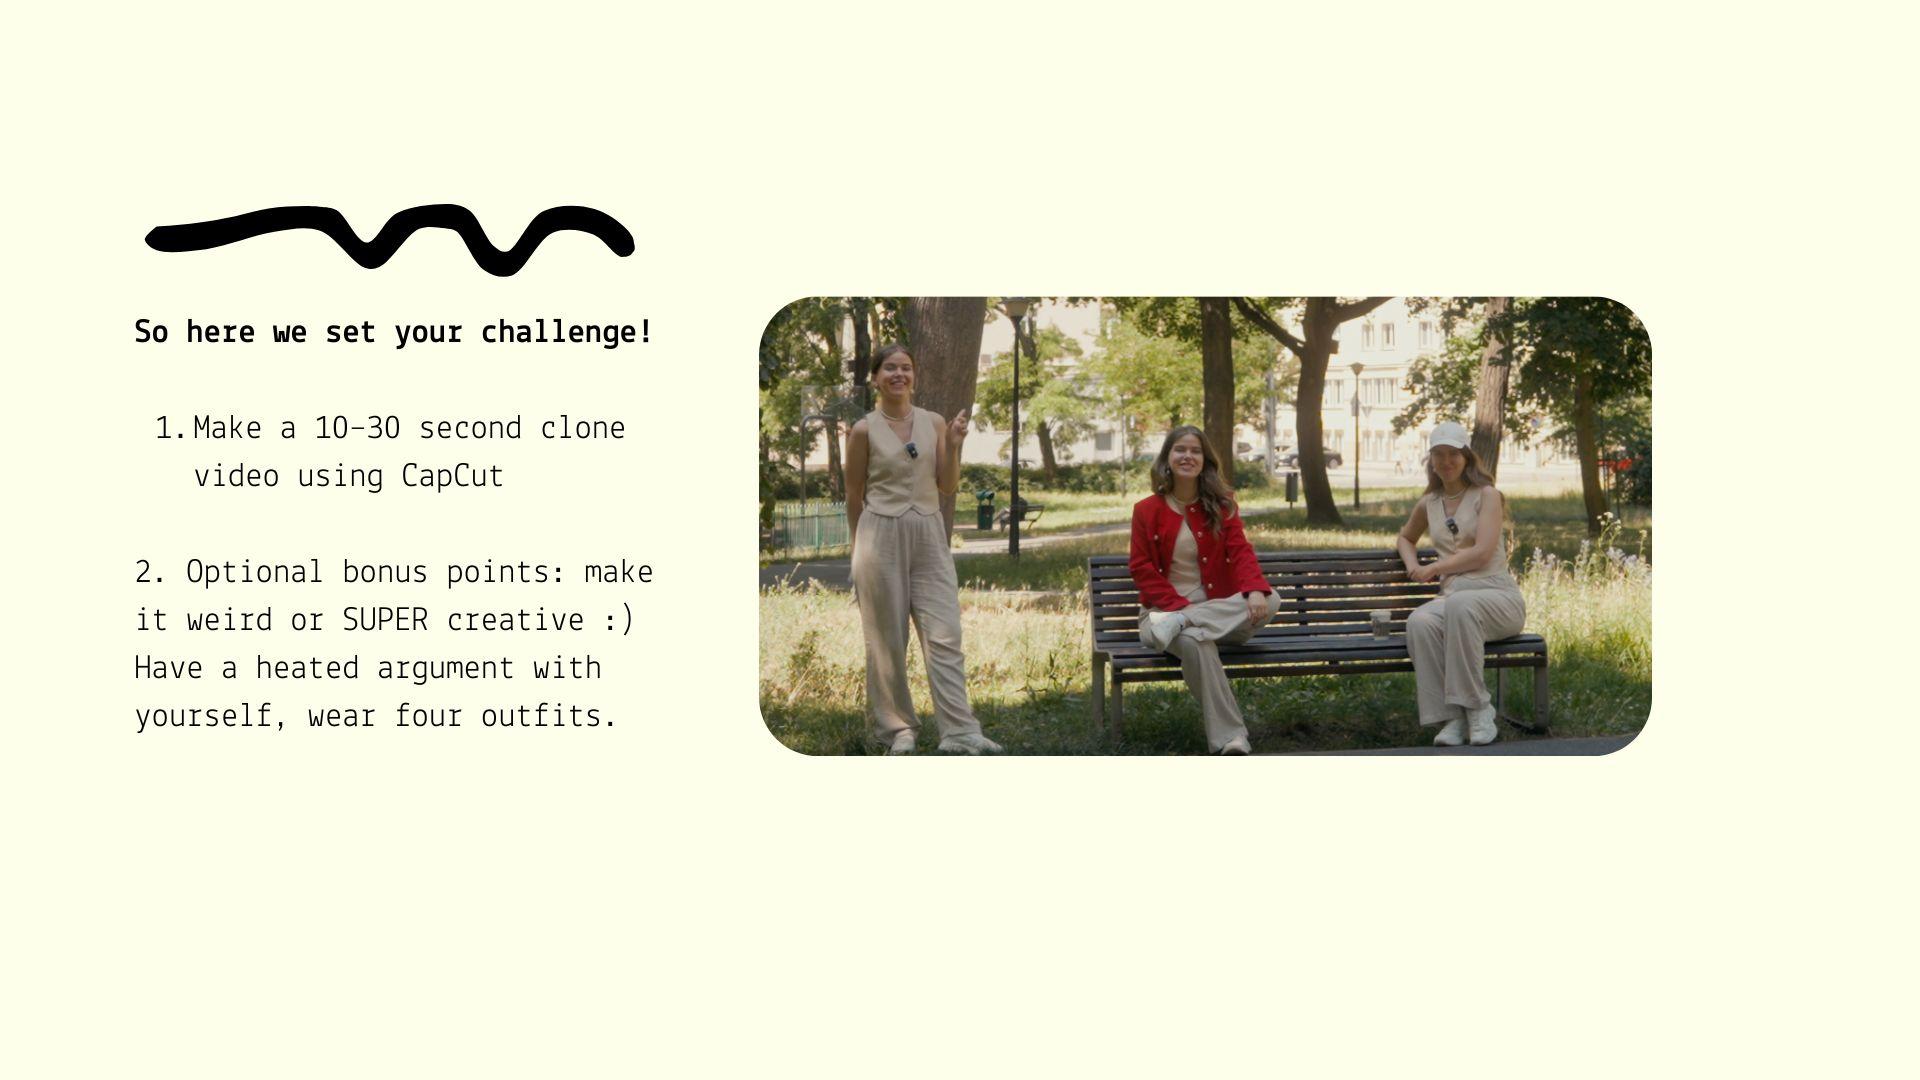
2. The Class Project & Cure for Creative Paralysis: Is it a short film
if nothing happens? If you give it a title
like Association, then yes, a class project and cure for
creative paralysis. Okay, so today, your project, your homework is very simple. Clone yourself. At least once. Your job in this course
is to create a ten, 32nd video where you appear
on screen more than once. That's it. That's
the whole breath. So you basically must have at least two versions
of yourself in one shot. Make them do something. It can be conversation,
a dance routine. An existential crisis, a debate whether oat milk
is actually good for you, maybe one version of you
silently judging the other while sipping your
favorite beverage or maybe two completely different moods reacting to
the same situation, the drama, it's
totally up to you. Bonus pins if you add
more than two clones. You change outfits or the
hair or energy between them. And I have to tell you and
I can't stress this enough. This doesn't need to be perfect. It just needs to exist. And then we can
build from there. The point is create something, pick something simple,
create something simple, and do it now, not when
you have more time, when you have more free time. So here is a reminder. And as I've said before, optional bonus points if you
make it a little bit weird, a little bit creative, the goal, nail the basics, then
get experimental.
3. Planning Your Clone Scene: Footage Planning: Hey, we should probably
script something, you know, script
what we will say. Mm. What if we just
improvise instead? Planning, Yok do scene,
footage planning. Okay, so before
we start filming, we need to take
some time to plan. What are the clones doing? Where will they be
standing, sitting? Will they be talking, reacting, ignoring each other? We also need to physically
block out the space because you need a
clean visual divide between two clones
to make it happen, and this space can be
even just a few feet. So the masking technique
will work later. And it's solely up to you. You don't need a full
script to do it. You don't need to make
it very complicated. I think the best advice for
you is to start simple. Then you can get more
experimental and experiment with longer scripts with a lot more interaction
between the clones, but start simple so you
don't get overwhelmed. Okay? So the first
step is that you have to know what each version of
you is meant to be doing. So you don't spend
minutes staring into the middle distance forgetting what your own face was doing, and then you will have trouble
when editing the footage. So here I my practical
planning tips. Choose your location. Choose somewhere
you can control, at least a bit, because you will need a background that
won't change much. In a perfect world, that means no people
walking behind you. But as you can see, for example, when creating this scene, I used a bench in the park, and, yeah, there were so many people, and of course they
were walking behind me because why wouldn't
they but I just had to practice my patients
and wait for the moments where there was no people behind me or there were only very, very little part of them. So, yeah, that's very, very good practice for your
patients, I have to tell you. What you also need is similar lighting
throughout both takes. This is very, very important. You also need
enough space to put some visual distance
between your clones. So don't sit right next to where your other self was because
then in the post production, it will make masking
a nightmare. To make it all easier for your imagination to
see it in your head, you can sketch your blocking. That's just a fancy word
for who stands where. You can literally drawsti figures just like
I did because you want your two selves
or three selves to be separate separated
in the frame, like left side of the
sofa versus right side. Not shoulder to shoulder because
when you will, you know, make different gestures
with your hands, they will enter
each other's space, and the masking, the post
production will be a nightmare. The first step, write or
note your clone interaction. As I've already told you, it
doesn't have to be script, but give yourself a line or two of what you
will say Or mime, if silent, plan rough pauses in between so the second
you can reply later. Hey, we should probably
script something. You know, script
what we will say. Oh. What if we just
improvise and stach? This is very, very
difficult in practice, especially at the beginning, because when you
are, for example, outside the house and
you are filming it, it can get a little bit overwhelming or
embarrassing at first, and you want to film it
quickly and then run home. And during filming,
you can very, very easily forget that you meant to put
those pauses here. Those rough pauses in between. So the second, you can reply and the dialogue can
sound very naturally. So that's the goal, and
you have to remember about it because when
you skip the pauses, you will have to reflm it or you will have a very
hard time editing it, because, yes, we
can fix it later, but prevention is much better. Also have to script
something to react to. Even just a facial expression to make your whole scene a
little bit more, you know, a little bit better, a little
bit more fun to watch, a little bit more impressive. The first step,
pick your outfits. Yes, even if it's
just a hoodie versus a blazer because it will help your audience
track who is who. You don't want your clones to look exactly the
same, and don't worry. You don't need wigs or
full makeup changes. Just one visual clue. This is clone A, and
this is clone B, so your audience can easily, easily distinguish that those are two clones and
not the same one. And if you are feeling stuck
with this planning phase and you don't have any idea what you can create
at this point, let's do a fast
few prompt ideas. You can try one of
these the Clone debate. One version of you wants to quit your job and start
a pottery business. But the other one is trying to be financially responsible, and the debate is very heated. The outfit struggle. Three versions of you appear, each representing
a different vibe. Cool, Cathy could be arrested. The tutorial within a tutorial. One version of you is trying to explain how to do something. The other is interrupting
every 5 seconds. So as a spark and inspiration, write down your idea now. Literally pass me whenever
you need to the goal. The end of this
chapter, I would love you to have a simple plan for your video with the clones of you a rough idea where
you will shoot it. It can be indoors,
it can be outdoor. It can be your favorite park. It can be somewhere
you know that during, for example, afternoon hours, there are barely any people because you need to
remember that you want to choose a very comfortable place where it will be
really comfy for you to film the scene and you won't get nervous
or stressed easily. That's the goal, especially if you are doing it
for the first time. Notes or lines for what each
clone is doing or saying. And if you have that, you basically have your
first shot ready to film. And remember that
you don't have to plan everything because
you're allowed to improvise. Remember that it's meant
to be fun for you. So you're completely
allowed to make it a little bit dump or very deep, very emotional, very, very
personal. It's up to you. You can also do both. Yeah, it's the best idea to do both. But you have to start. You
have to create something. And this little clone format
is the perfect blend of structure and freedom because you know you have
to clone yourself, but you have this
complete freedom to choose what the clones of you
will be doing in the video. So I will see you in the next chapter where
we talk camera setup, filming order, and what to definitely not forget
while you are filming.
4. How to Film Your Clones (and Filming Setup): Do I say my line now or do I wait for the future
me to speak first? Oh, literally just talk like you are talking to someone
to someone cooler. Like you are talking to me. How to film your clothes
without wanting to cry. And we also discuss
filming setup. Okay, let's talk about
filming because and yes, I'm saying this as
someone who wants filmed an entire sequence then accidentally notched the
camera, ruined everything. So, yes, the way you set up your camera and o phone matters, especially when you are
cloning yourself because masking will be the very
important part of the process. Here is what we are
covering in this chapter. Where you put your camera, or your phone, what
to film first, how to make the conversation
between your clones, feel natural and how to not
mess up your own eyeline. And what to do if you need to record one side,
but not the other. And the one thing no one
tells you about exposure that will genuinely save you
from heartbreak later. The first step lock
the camera down. I'm not exaggerating. If the camera moves even slightly between
the clone shots, your footage can become
completely unusable. Yes, there are some ways
that you can fix it, but you can't easily mask over. You cannot very easily fix
it in the post production, so you will get frustrated. You have to be very careful. So use a tripod if you have one. If you don't stack books or
a shelf or a plant pot or literally balance your
phone on a jar of peanut butter wedged
between two cereal boxes. You know that sometimes
when you don't have a tripod by your side, you can get very creative Butch, make sure it won't wobble. And also make sure it's not
somewhere you will knock it while switching outfits or changing clone
positions, okay? The second step, turn off all the automatic
camera settings because whether you are
using a phone or a camera, the key here is consistency. So you must lock your exposure. On iPhone, tap and
hold on your face, then drag the brightness
slider if needed. Also, make sure the
focus will be in the right place because you
don't want your phone or your camera randomly
deciding that the posture or garbage
can behind you. Is actually more interesting
than your actual face. This is also very important. Avoid harsh lighting changes. If you are filming near a window and the sun comes
out halfway through, it will be a nightmare the
in the post production. So either use a soft
artificial light or film at the time of the day when lighting won't change drastically
in 15 minutes. Why it matters because if clone A is filmed slightly
darker than clone B, the masking effect later
will look insanely obvious, like a bad green screen of this. We don't want that.
The first step, live room for your
future selves. I have already told
you about that, but this one is so important, I have to tell you
twice even more. So, this one is vital, and almost everyone
forgets it the first time. Visual separation is
equal to explain masking. Is equal to save time
and no frustration. So when you are
planning the shot, sit or stand at one side
of the frame for clone A. Then make sure you leave enough space on the
other side for Clone B. Don't cross the
invisible masking line. If your hand crosses
into your clone space, it's going to glitch
like an A webcom. And if you are
standing and walking, leave at least one, two foot gap between clone pups. Imagine a vertical line down
the middle of the screen. Both we can get close,
but not cross it. You can't cross it. You want clos to interact or
to touch each other. That's, of course, possible. But I advise you, and I encourage you
to start simple because this kind of interaction is a little
bit more complex. The first step. Film the easier version
of yourself first. Okay, here's a trick you will thank me
for later, I think. Film the version of you
with more screen time, more dialogue or movement first or the one who
initiates the scene, asks a question, walks in, delivers bad or or good
news, you get the point. Why? It will let you
control the pace. It will help you react
better in your second take. And psychologically,
it's just easier to reply than it is to improvise a whole
conversation with a ghost. Oh, what if we just
improvise and stach? So pick your more active clone. Film that version with pauses. You can count down beats in your head like one, two, three, or you can tell the other
clones dialogue in your head, so you have a clear idea
how long it will take. React naturally,
talk to sin air and pretend you're on this weird
first date with yourself, and someone really sitting next to you or
standing next to you. Okay, so in a nutshell, you want to record
the full version of the more active characters part with natural pauses
between lines. So future you has
something to respond to, and it's for editing, of course. And with eyeline place where
your future self will be. So you have to imagine you are looking at your future self, your second clone. Okay? Okay, so maybe let's pause
on that last bit for a second because it's
very easy to get it run. I line and don't stare
directly into the voids. If you are pretending
to talk to your clone, you need to look where
their face would be. So if you are recording indoors, you can put a postage
note, sticker, piece of tape, whatever, where your future clone
will exist in the frame. And then look slightly above that if you're acting
like the standing. And look slightly below if they are sitting and
you are standing. Remember, don't
look at the camera. Your clone is not the camera. Cra tive, you can record
a three second test clip. Lay it back quickly. If it looks like you
are talking to a ghost, hovering above your
house may plant adjust, adjust and reflm it and have
a clearer idea how to act. The second step act like a normal person who
happens to be alone. Yeah, I know. It feels very, very weird to talk to yourself out loud
when nobody's there. Yes, you will feel like you are a little bit crazy,
and that's fine. But try to keep your
tone natural like you are really talking to
someone, to someone you like. And always remember to leave space for the other
version of you to talk. Also, avoid full monologues. Unless that's part of the joke because it
will get really hard if the one clone is acting a full monologue
that takes a long time, and the other one is
trying to react to that because you will have a hard time trying to
get the timing right. So rather focus on shorter interactions so you
can easily adjust the pacing. And avoid very long monologues because it really gets harder. And remember about
your reactions. Try to react to what the
other clone will be saying. Keep that in your
mind and repeat what they will be saying
during the scene in your mind. So you can raise
eyebrows, pause, shift in your seat, look a little bit surprised, look like you are very, very upset or happy because those little details make the final clone feel
like a real interaction. You ruined the take.
You ruin the take. And if you are unsure
about timing and you're not quite sure if you are leaving
the right pauses, if the pauses are long enough, say the full line and count two or 3 seconds after each one. Because thinking about
timing and about tone and about your natural
reactions will make the editing and synchronizing the clones and cap cut
later 100 times easier. The first step change something, anything for your next self. Okay, now it's time
to film Clow B. But before you do,
change outfit, change your hair a little bit. Change your posture,
change your shoes, change your accessories, because this will help your brain and the
viewer's brain, as well. Register that this is
a different person. And as I've already told you, it doesn't have to be extreme. Even hair up versus hair down
sitting versus standing, different sneakers can work. But remember, you're
not moving the camera. You're not touching the camera. You have to use the exact same camera angle and framing and exactly the same lighting and keep everything in the
background untouched. No moving pillows, no changing
no lighting changing, open laptops, use exactly
the same conditions. The first step, matching
reactions and timing. If you really want your
scene to feel natural, rewash the first take. Literally copy the pacing. When did you pause?
When did you smile? When did you look down? When did you sigh? Record your second clone, so it flows with that, like a proper scene
partner, just yourself. And if you want to do
a high effort version, you can play back your original
audio on a second device, put in headphones, and
listen as you act, so your responses
actually line up. What if you mess something up? Oh, it happens. Welcome to the world of
Do it Yourself Video. If Clones B line was off or
rushed or a little bit weird, rewash your original clone A, and then do another
take of Clone B only. Just keep everything else exactly the same camera
lighting spacing. You accidentally move something Clone A and Clone B now live in separate timelines of
the multi universe. If the change is visible and you can't very easily recreate
exactly the same conditions, you will need to reflm
both. Yeah, I'm sorry. It's just the law of masking
and the law of cap cut. So here is a little reminder
so you can easily avoid it. What not to do? If you film with your
camera, not your phone, don't film with your camera
in to everything mode. Don't zoom in or move the
camera between clones. Yes, even slightly. No touching the camera, no changing the settings. Don't sit too close to
where your other self was. Your arm will end up facing
through your own shoulder, like a bad science
fiction glitch. Want to add a third
version of you? Oh, yes, you can have
three claims of five. The limage does not
exist, technically. Just remember each
additional clone needs their own
space in the frame. Masking will become
more complex because it will split the
frame multiple ways. So keep the interactions
simple or it will become a pain to
edit, unfortunately. Okay. What you should have now
two or more versions of your film separately. Each version has
consistent lighting, camera position, and eyeline. You've left enough space
between them for masking. You've matched tone, timing,
and somewhat energy. And you feel like you've done a school play with only
yourself as the cast, and you are weirdly proud of it.
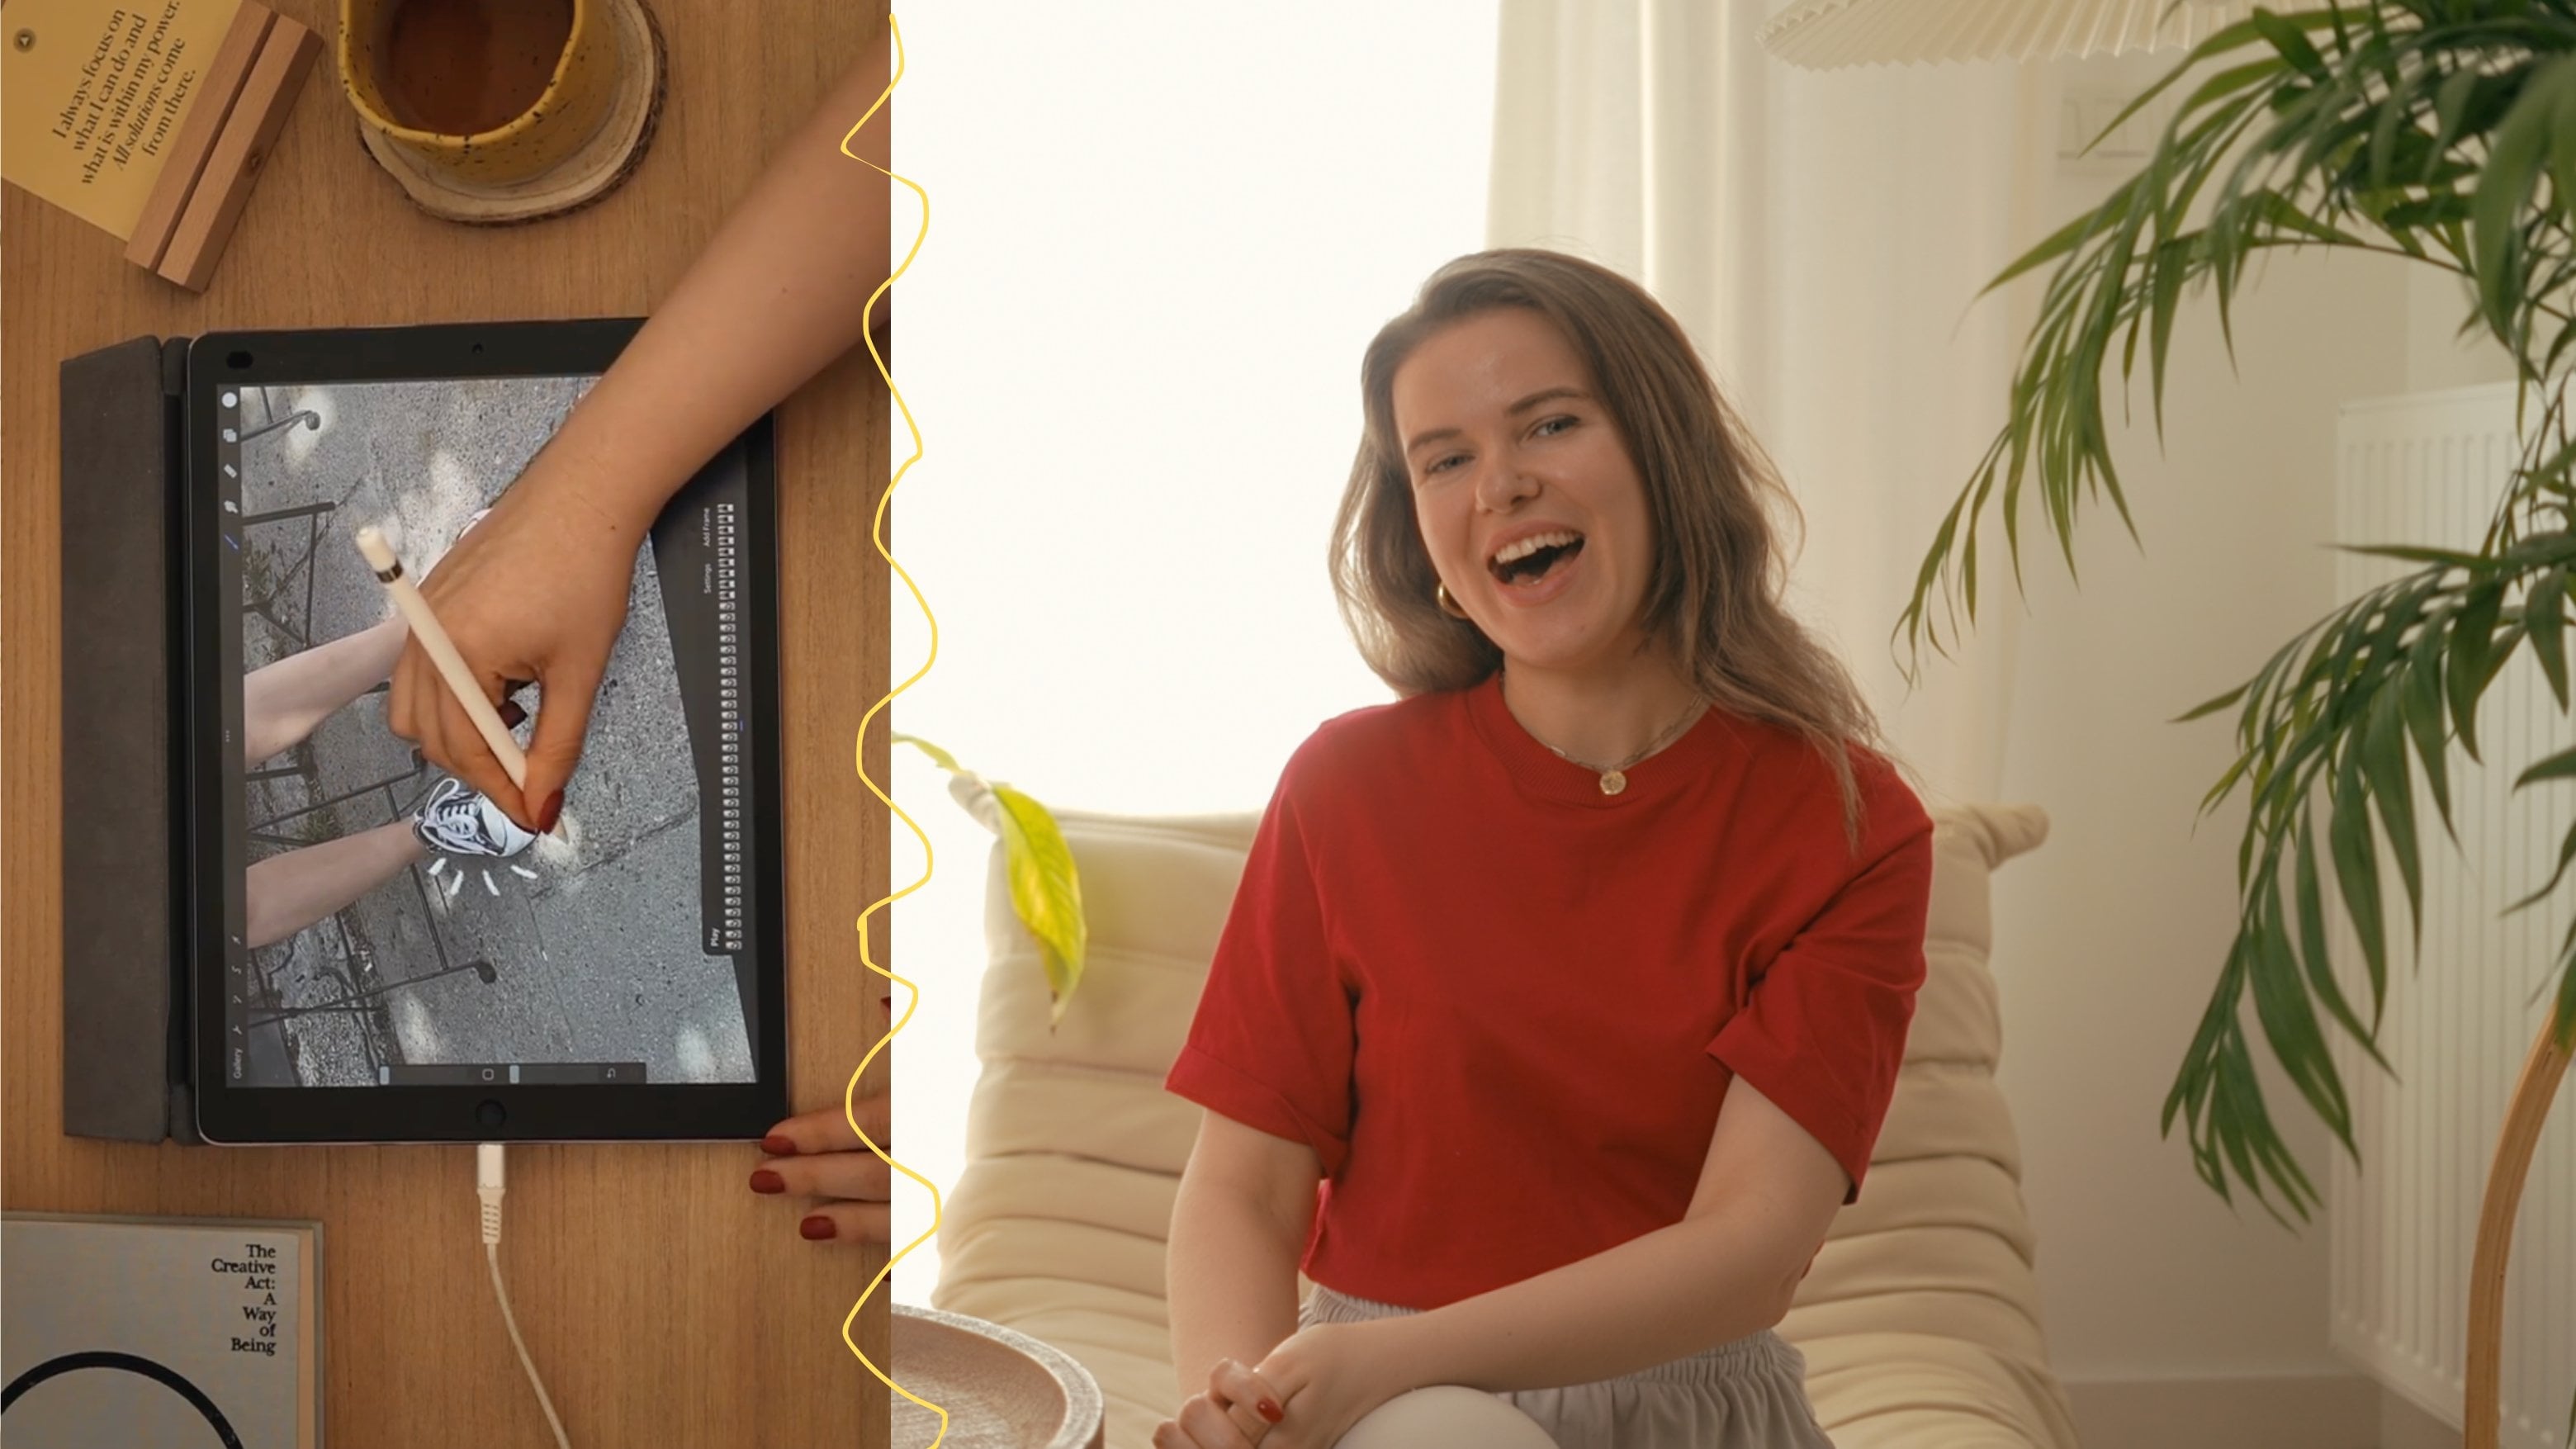
5. Importing Footage into CapCut: You ruined the take.
I was the take. Importing footage into Cupcat. Okay, I think this
is the part of the creative process
that no one puts on their Instagram
stories because it's the least sexy bit
moving files around. So the first step, if you want to
edit on your iPad, not your phone, you have to transfer footage
to your iPad. A second step, open Cop cat
and create a new project. As you can see, Cop cats I put up is really fine,
and it really works. I find it a little
bit easier to edit my videos there than
it is on the phone. As you can see, it looks
slightly like a children's game. There are a lot of options, but under the surface, it's really
surprisingly powerful. It's really powerful. I will show you so as I've already told you
to start open Cop cup, top new project, select
your clips from photos, files or recently dit. If you have clips don't show up, top albums and tap
reasons or top input from files and navigate
to wherever you dumped the hootage
and also hot tip. If you want to input
clips in the right order, select them in the
order you want them to be because cop CAT, ask them to the timeline based
on the order you tap them, not the actual file names. At least that's how it is now. The cop cat is
changing all the time. They are adjusting so
many things each week, so it might change. And also don't put any bloopers on your timeline now. You don't need them now. Also, you can zoom
in on the timeline using Pinch using
pinch gestures. That's also very helpful
for audio synching later. And Cup cat lets you do a lot, but it also lets you make a
huge mess, so start clean. It will make masking and synchronizing it thousand
times easier later. Optional power moves. Duplicate your
project immediately. So you have a backup
before you start masking. Just in case you decide
to try something experimental and
break everything, this will give you
this peace of mind. So it's better to duplicate the project before
you start editing.
6. Timeline Editing: Why is editing so much
harder than it seems to be? I think cat cut has too. It's too easy. And why is
my timeline doing that? Basic timeline
editing. Okay, right. You've got your footage. You've got your project
opened in cap cut. Now it's time to
start shaping it. Trimming, synchronizing,
lining things up. So it looks like your clothes actually belong
in the same scene instead of floating awardly
in parallel dimensions. So in this chapter, we'll discuss how to trim your clips down
without chopping off the good bits and how to line up both version of you so
the rhythm makes sense. And how to avoid
the classic clone tox the fast reples
the slow issue. What to fix now before
you get into masking? The first step is
very important. Trim each clip to
the important bit. So we will start with
a very quick cleanup. Your imported clips probably include you walking
into the frame. You clapping or saying, Okay. Okay, I messed up. This is take number three
or 8 seconds of you staring blankly at nothing
before remembering your line. So you need to trim all of that out and how to
trim in cup cut. So top the clip in
the timeline and drag the white handles inward to set your new start
and end points. Or you can also use
the split tool. This is the sizers icon to chop out all the
unnecessary moments. And don't chop out everything. Keep the moment before and
moment after each scene. Because, trust me,
these seconds of breathing space you
will save you later. Also, of course, don't
cut it too tight. We need some overlap to make the reactions feel
real and feel natural. The second step, stack your
clips and line them up. You should now have two clips, Clone A and Clone B, and now you need to
create an overlay layer. How to do it in cop cat? You need to tap on the clone A footage and then
tap the overlay top. And now you can add
your second clone clip. And they need to be directly
above the first one, so they align horizontally
in the timeline. And now you will see
both versions stocked. And in the next step, we'll focus on masking. Right now, when you
have those layers, when you have the second
clone as the overlay, you can synchronize the
audio with your ears. Just check how does it sound
and how the timing sounds. So you can actually
try to adjust it right now even
before masking. If you, for example,
hear that the reply comes too quick or too slow, play both clips together
and listen and you can rack the clip left or right
to line up the responses. If there is audio overlap
or very weak rhythm, shift the second clip
slightly and test again. Test again until it
fills and sounds right. I You can also separate the audio
right here and zoom in on the waveform because Cop cat doesn't show
audio levels in detail, but you can see where each line starts if you look closely. You can also use
that as your guide. And listen if deposits feel natural and if the
pacing is right. And never cut yourself
off mid sentence. And if you listen to it and it feels and
sounds a little bit off extend the beginning
or end of a clip. Trim one version slightly
so the bit matches better because believable
timing will make the clone effect feels legit.
7. How to Split a Frame in CapCut Using the Masking Feature: What if I made ten
clothes of myself and turn it into a gears band. Okay, but only if none
of them tries to sing. Masking to clothe yourself. Okay, this is it
the moment you've been waiting for
probably masking. This is how we actually put two or more version of
yourself into one frame, and you make it
look like they are just vibing together, chatting, judging each other, or arguing about what it
is, or any other topic. You are not familiar with
the masking tiling cop cut, it's not hard, fortunately, but it is very particular. One wrong swipe and suddenly Clone's leg
disappears into the void. We are going to avoid that. What masking actually does? Okay, let's get technical
for 10 seconds. Masking is basically how you draw a line across
your top clip to say, only show this part of it and let the rest of the shot come
from the clip underneath. So Clone A is
sitting on the left. Clone B is sitting on the right. You will mask off the left
side of the top clip, which reveals the right
side of the bottom clip. Result, both clones visible. Scene looks seamless.
Your brain goes. We did it. Step by step, how to mask in cap cut. Okay, so the first step, tap your main clip. Then tap mask right here. You will see a menu
with different options. And most of the time, horizontal mirror
and circle will be the most useful masking modes. They are most useful
90% of the time. So use mirror or circle
are horizontal to start. And now dig the mask candle to the divining line
between your clones. Usually strain down the
middle or slightly off center depending on where
you stood or such. Now we can click here to adjust the masking effect and tap feather and increase
it slightly. You can start with
20, for example. This will soften the
edge so you don't get discouraged obvious line between where the two clips meet. And now, review and
adjust, play through. If anything's glitching, like a disappearing food,
a disappearing shoe, weird shadow flicker
or flickering face, you definitely need to adjust the angle or position
of the mask. Golden masking tips. Your clones must not
cross the masking line. If Clone A walks into Clone
B half of the screen, you're going to see a
weird half body flicker. So don't do it. Don't do it yet. Until you are using multiple
masks or keyframes, keep each clone in their
own half of the shot. Don't put the mask
directly between them. Calfs cut feathering is
very good, but not magic. If you split right down
the middle of the sofa, you will get a weird
phantom coat line. So move it slightly
left or right, so the line falls in
a low detail area, like the space between the couch and the arm
rest, for example. I'm masking problems
and how to save them. Problem, Mlones are
glitching of lick ring. The fix, adjust the fed ring, reposition the mask
line away from high contrast area like
shadows, wells or stripes. Problem. I can see a weird
seam down the middle. The fix, increase
feathering slightly. Also make sure lighting and exposure match on
both clips. Problem. My clone is disappearing
when they move. Okay, you probably cut too
close to the mask line. Rblock your scene with more physical space between
clones. I know. It sucks. Okay, but back to the good news. What you should have by now, your clone clips
stuck in cuff cut, mask applied cleanly
between them, feathering adjusted so
the seam isn't obvious. And you should be able to
watch the scene and go. That looks like two humans
having a conversation, even if they are both
me as they are both me. Even if one of them is
clearly the funny one.
8. Adding Enhancements: Look, I added footsteps. I don't know why,
but it made me. Emotional, you know? That's called sound design. Okay. That's actually
weirdly satisfying. That's why we do this. Adding enhancement. Okay, your clothes are now
on the screen together. They are talking. They
are leach the same. The mask isn't glitching.
You are thriving. So now let's talk
about the extras, if you want to add them. The little things that can push, edit from cool
experiments to weight. You made this yourself. But I have to tell you,
honestly, that myself, I am not a huge fan of overdoing the enhancement
process, the enhancement part. But I think it's very
subjective and it really depends on your style and on the effect you
want to achieve. But as I'm a minimalist myself, and I try to be a minimalist, I will always encourage you
to not overdo this part. So add music only if
it helps the scene. If you are going for comedy, sarcasm cows, a little background music
might work wonders. But if you are doing something
much more subtle, skip it. But if you do add music, lower it to around
ten, 15% volume. Also, fade it in and out using keyframes or the
fade in out tools. Keep it in the background. You're the focus, not the bit. The next optional step
captions and text. That's totally optional, but if one clone is
silently reacting, or you want to add, for example, enter monologue or
highlight something visual. For example, Clone B
clearly forgot the script, then yes, add the text. In a cop cal, it's
very, very easy. Just top text and auch
text and type it out. You can also use keyframes if you want
it to move or fade. But remember to keep it rather simple white text,
battery yellow text, subtle shadow, no
wild animations unless you are going
for this mem style. Proti captions are
also very helpful. If your audio is, for
example, a little bit fuzzy, or if you are posting your
video on social media where so many people scroll
silently, and that's it. Now it's time to export what
you created and be toy, totly extremely proud of it. So how to export what you
created without breaking it? CopcasEport defaults are fine, but tweak them a little bit
to avoid weird compression. Tap export in the
top right corner and set resolution.
Here it's up to you. You can choose high
definition or free k. Frame rate, most of the
times 30 FPS is great, but if you were
recording in 60 FPS, then match your sauce footage. Bit rate high. If you want to keep
visual quality, especially if there is
fine detail of movement, then hit Export and
save it to your device. Of course, double check
if it plays smoothly, doesn't glitch anywhere,
and looks really crisp. And now you should have a final version exporting
in good quality, ready to be posted. To be shared over analyze
with your friends. So your clones now live
in the same timeline. They are same change,
they are ready.
9. Wrap-Up & Where to Take This Next: Okay. Okay, look, I'm slightly
obsessed with the result. Took you long enough. Rob up and go be unhinged. Okay, okay. That's it. We did it. And I hope you also did it. You cloned yourself in cop cat. So you now have
to use this skill and create new really
creative short films, TikToks, Instagram
reels and remember that your creativity is totally allowed to be
a little bit weird. Let it be weird. I think most successful
creators let them just let themselves
be a little bit weird. Remember, you are trying to
make people feel something. You are trying to make others on the Internet feel something. So go create something
that's totally yourself. Go clone yourself and
where to take this next? Because you've learned
the technique, and now you can use
it whenever you can. And here is a little inspiration
where I would take it. Clone reactions,
react to yourself like a TikTok split
screen, but better. For example, clone
A gives an opinion, Clone B reacts in silence. Sip team, roll ice. And I think that idea is great
for observational humor, row away, thoughts or just dragging your own past
self porting clones. Let me know I can also create
a separate tutorial or a separate mini course for you
to explain that in detail. But I can show you the
idea in a nutshell. So have one version
of you blink or Snap. And then another
version of you appears. To do that, you need
to use a cat in a quick fade or blur transition, and make it junky on purpose. I think that's the vibe. Multiclone calves. Three or four versions
of you sitting in a circle arguing about
something ridiculous. Each with a slightly
different personality, pired you, confident you, chaotic, neutral
you, you with a hat, role play or storytelling. That's my favorite one, to be honest. Build a story. It doesn't have to
be very complex. It doesn't have to
be very serious. It's totally up to you. For example, one version of you is trying
to go on a date, and the others are a little bit skeptical about
the boy or a girl. Play with your creativity and
experiment with your ideas. This is the only way to go. This is the only way
to get really good at this because what you are
actually practicing there, this isn't just a
fun editing trick, what you are learning,
composition timing, performance rhythm,
visual, storytelling, and how to make something exist
when no one asked you to, which is frankly an
essential creative skill. This year, and beyond. And the best part, you don't need anyone's
permission to keep making these clones videos. You don't need a budget. You just need to try fail, laugh, post, week, get
better, keep going. And the last thing from me, if you created something
because of this course, tag me, let me know. Share the link to it in the class project section
or in your review. I need to see it.
I really need to see it because
here is the thing. This kind of creating
is deeply human. So if you enjoy the
course or if you just liked watching me,
arguing with myself. I'd love it if you
left a quick review. It can be one sentence. Let me know what you
enjoyed about the course, what you would like
to see more from me, what you would like to see next. It helps me more than you think. And I read every single
sentence from you, every single discussion
post, every single review. So thank you so much for
being today with me. You are the best, and I keep my fingers crossed for you and for your creativity. And now go create
something, Cloone yourself. Clonal weirdest spots
Colonial daily breakdowns. And if one of you, one of the clones makes something a little bit
better than others, just remember that technically, you still get the credit. See you in the next one.
 Kasia Pilch, Online Strategist & Marketing Specialist