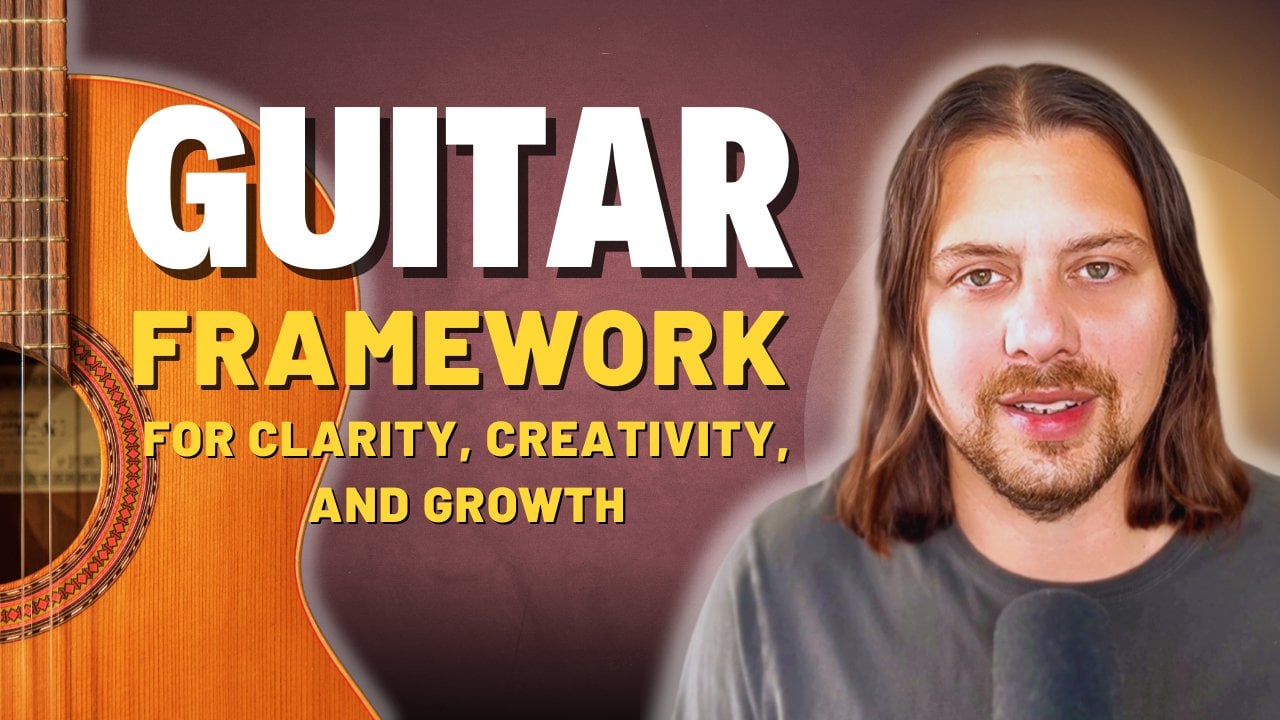
Clawhammer for Ukulele: Revolutionize your Rhythm
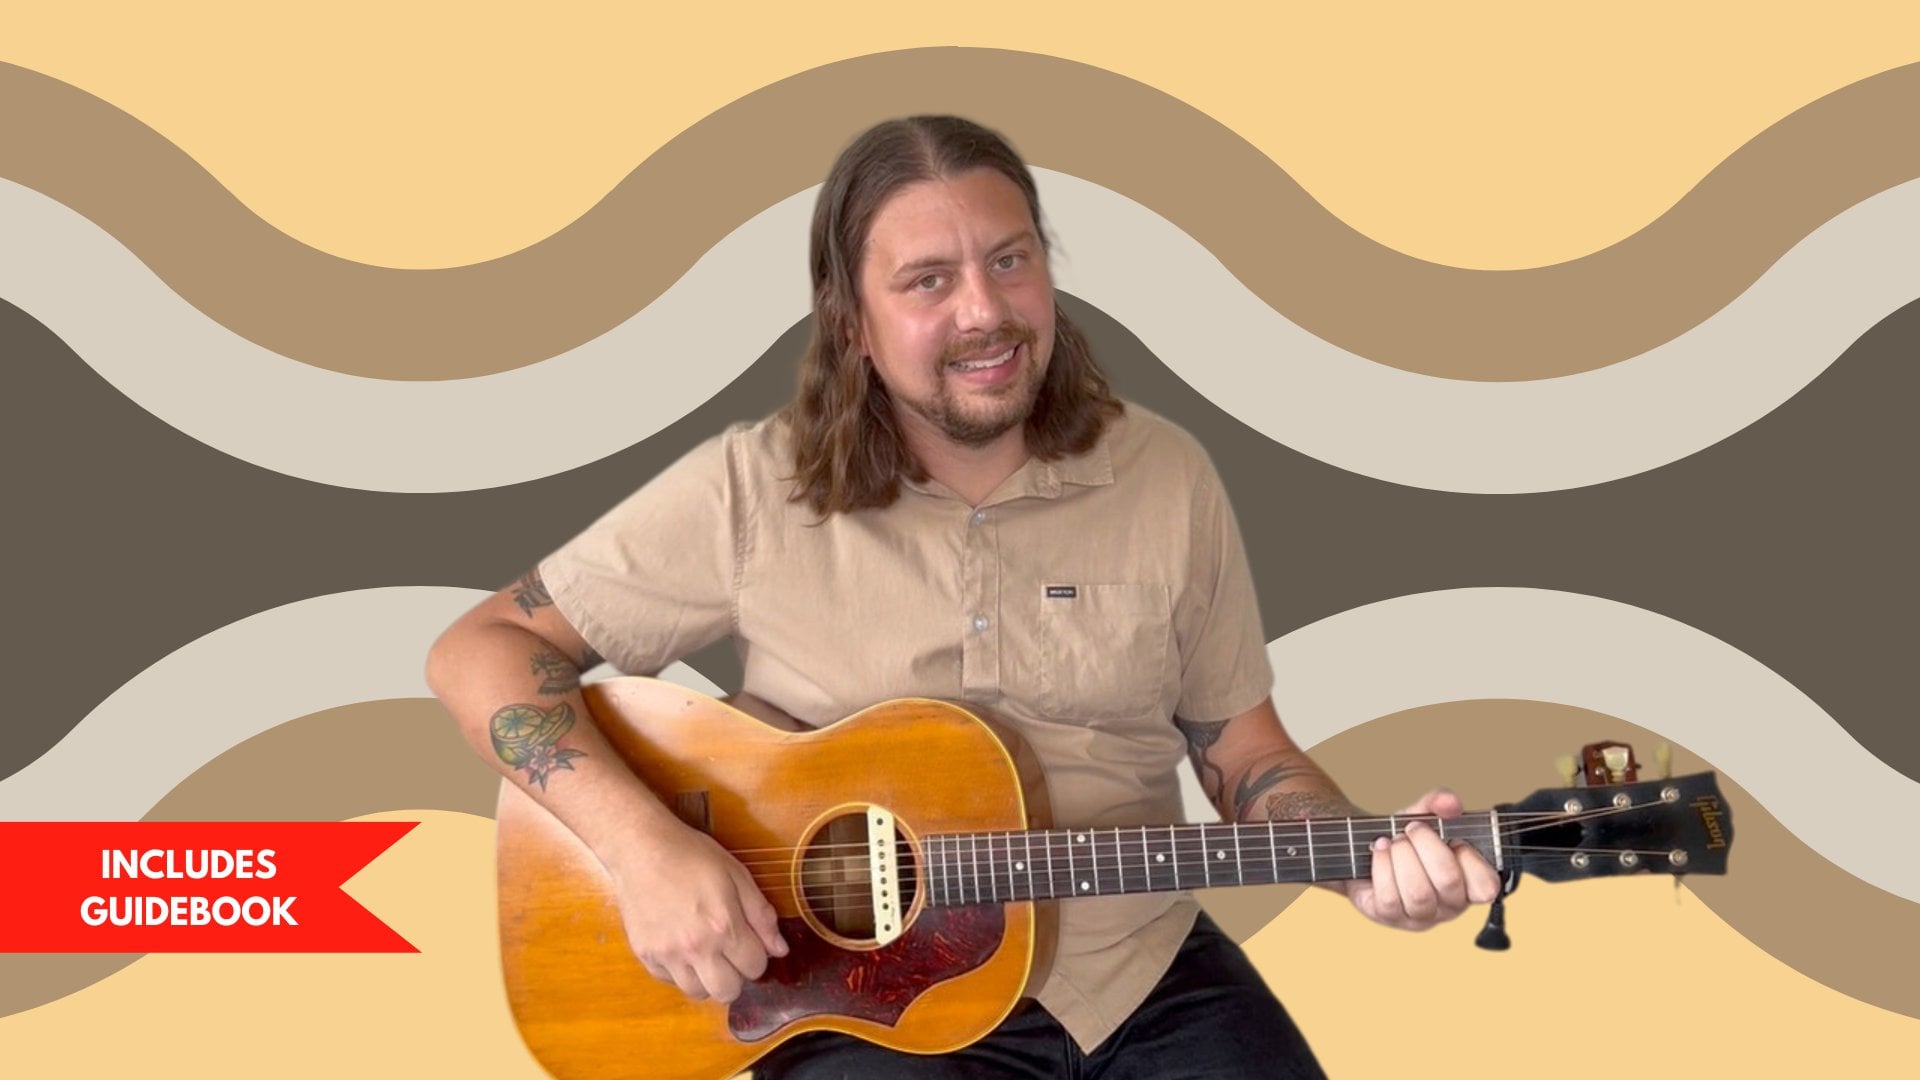
 Lancelot Hueston, Musician - Producer
Watch this class and thousands more
Watch this class and thousands more
Lessons in This Class
-
-
1.
Clawhammer Intro
0:43
-
2.
Clawhammer Class Orientation
0:54
-
3.
Foundation What is Clawhammer
3:00
-
4.
Foundation Uke Navigation Basics
1:26
-
5.
The Hit
2:47
-
6.
The Brush
2:11
-
7.
The Pluck
1:35
-
8.
Clawhammer Put it all together
4:52
-
9.
Clawhammer Class Project
2:25
-
10.
Clawhammer Conclusion
1:07
-
-
- --
- Beginner level
- Intermediate level
- Advanced level
- All levels
Community Generated
The level is determined by a majority opinion of students who have reviewed this class. The teacher's recommendation is shown until at least 5 student responses are collected.
54
Students
1
Project
About This Class
Have you ever wanted to add a distinct and rhythmic flair to your ukulele playing? Clawhammer, a traditional technique originally used in banjo playing, offers a fresh and dynamic way to strum and pick your ukulele. This class is perfect for ukulele enthusiasts of all skill levels who are looking to explore new musical horizons and revolutionize their rhythm.
What You Will Learn
- Introduction to Clawhammer: Understand the basics of the clawhammer technique, its origins in banjo playing, and how it can be adapted for the ukulele.
- Fundamental Techniques: Master the core elements of clawhammer, including the "bum-ditty" pattern, drop-thumb, and basic strumming techniques.
- Advanced Rhythms and Patterns: Learn to incorporate complex rhythms and patterns into your playing, enhancing your musical versatility.
- Practical Application: Apply clawhammer techniques to a variety of songs and styles, from folk and bluegrass to contemporary music.
- Performance Tips: Gain valuable tips on how to seamlessly integrate clawhammer into your ukulele performances and impress your audience.
By the end of this course, you'll have a solid grasp of the clawhammer technique and the confidence to incorporate it into your ukulele repertoire.
This class is ideal for:
- Ukulele players of all levels, from beginners to advanced.
- Musicians looking to diversify their playing techniques.
- Anyone interested in exploring the rich history and versatility of clawhammer.
Join me in "Clawhammer for Ukulele: Revolutionize Your Rhythm" and unlock a new world of musical possibilities. Let's transform your ukulele playing together!

Hands-on Class Project
For your class project, you will play clawhammer on the ukulele.
I will show you how to play each element of the clawhammer rhythm and how to incorporate this technique into your playing!
Here is how you will complete your final project:
- You will be able to play each element of the clawhammer rhythm
- You'll create an original composition using the clawhammer technique
- You'll use chord shapes in conjunction with clawhammer
- You'll incorporate other patterns and different rhythms
- You'll have the provided Class Guide Book as a resource to complete your project (you can download it in the Resources section to the side).
- Turn in your final project by recording yourself on your phone, computer, or other device and uploading it to Dropbox, Vimeo, or YouTube as 'unlisted' and posting the link in the project gallery for feedback. Feel free to submit as many projects as you like as you improve over time.
Don't hesitate to post any questions in the Discussions section. I look forward to seeing what you’ve come up with!
Class Ratings
Why Join Skillshare?
Take award-winning Skillshare Original Classes
Each class has short lessons, hands-on projects
Your membership supports Skillshare teachers
Learn From Anywhere
Take classes on the go with the Skillshare app. Stream or download to watch on the plane, the subway, or wherever you learn best.