Transcripts
1. Introduction: Hey guys, my name is
and get the idea. And I am a child filmmaker, also a YouTuber, working in this industry from
last five years. Welcome to the new class. And today I'm going to share a real-world example
of how to create the best crazy cinematic
intros for the YouTube videos. So that when somebody see that, it's going to be really blew their mind for the
first 30 to 40 s. Those kinds of
interests I'm going to talk about in this class. And the main topic of this
class is editing break down. I'll be showing you
the entire timeline how to edit in Premier Pro. And then we will move
on to the next thing. Show you everything
clip by clip, like the all effects
and the transitions. How to create time-lapse, how to create hyper laps, how to do different
sort of masking effects where the speed ramp transition. And then we will move on to the color grading section
and Africa creating. We'll talk about
side-effects, music. So basically we will
cover everything in this class for your project. I have also added all the
raw file for you so that you can download those videos and practice in the premium pro. Do all of those
editing what I have shown you in this class. So without any further
ado, let's get started.
2. Different Types of INTROs: So I'm going to show you
the before and after. I show you the raw clips. And then we will start breaking down everything one by one, like transitions and effects, color grading, sound effects, music, basically what I've
used in the timeline. So it's going to be a
great learning video. Let's see the raw clips first
and then the final one. And after that, I'll see you in a bit intro that you just saw. It's just one type of the intro. There could be different types, like it could be more visually appealing or could be
more story-driven. Maybe fast pace,
maybe slow-paced, maybe with lot of
effects and transitions. Basically, you want to show
the best clips in the intro. These are all the
different methods you can approach any of it
according to your query. This is just one type
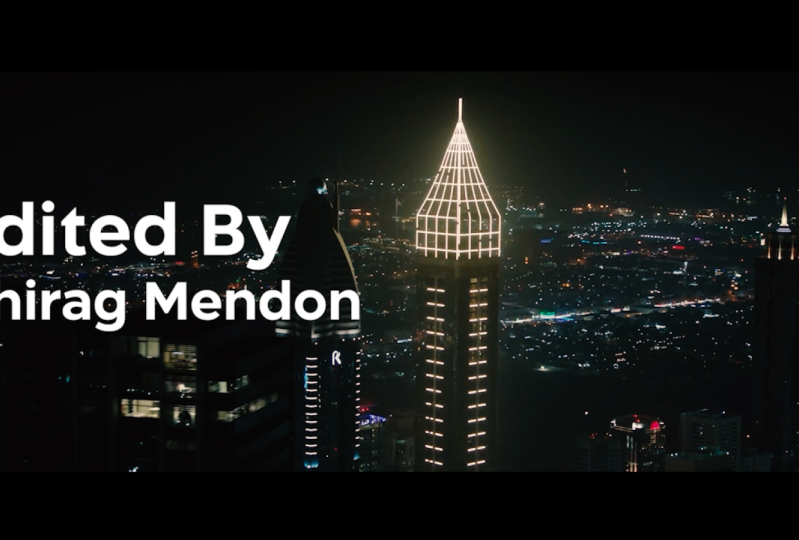
that I just showed you. Like for this Dubai video, I wanted to show something
really fast pace with lot of crazy breathtaking visuals to showcase Dubai in the
best possible way. Like I wanted to
give the feeling if anybody is seeing the video, there should be like, wow, what did I
see? What a place? What did video or
something like that. So it totally depends what
do you want to create and if you're talking
about creating an intro, I also wanna say that I always
create intro videos after I'm done editing the entire
blog or entire video. Never create intro before
you start the video. Because you are getting of law. You don't know what kind
of clips you will need. And when you're done
editing the entire video, you know the best
possible clips. And you also get visuals in
your mind that what kind of intro could be
interesting for this one because you've
edited the entire video. So I always do that. I always edit my
intro is once I am done with the entire video.
3. Let's see the RAW Footages: Hey guys, my name is Ankit body. I hope you're doing well. And today I'm going to do the breakdown of the
best intro I have ever created for any of my
child video is from the y. So I'm going to show you the before and after I show
you the raw clips. And then we will start breaking down everything one by one, like transitions and effects, calibrating sound
effects, music, basically what I've
used in the timeline. So it's going to be a
great learning video. And let's see, the raw clips. Definitely.
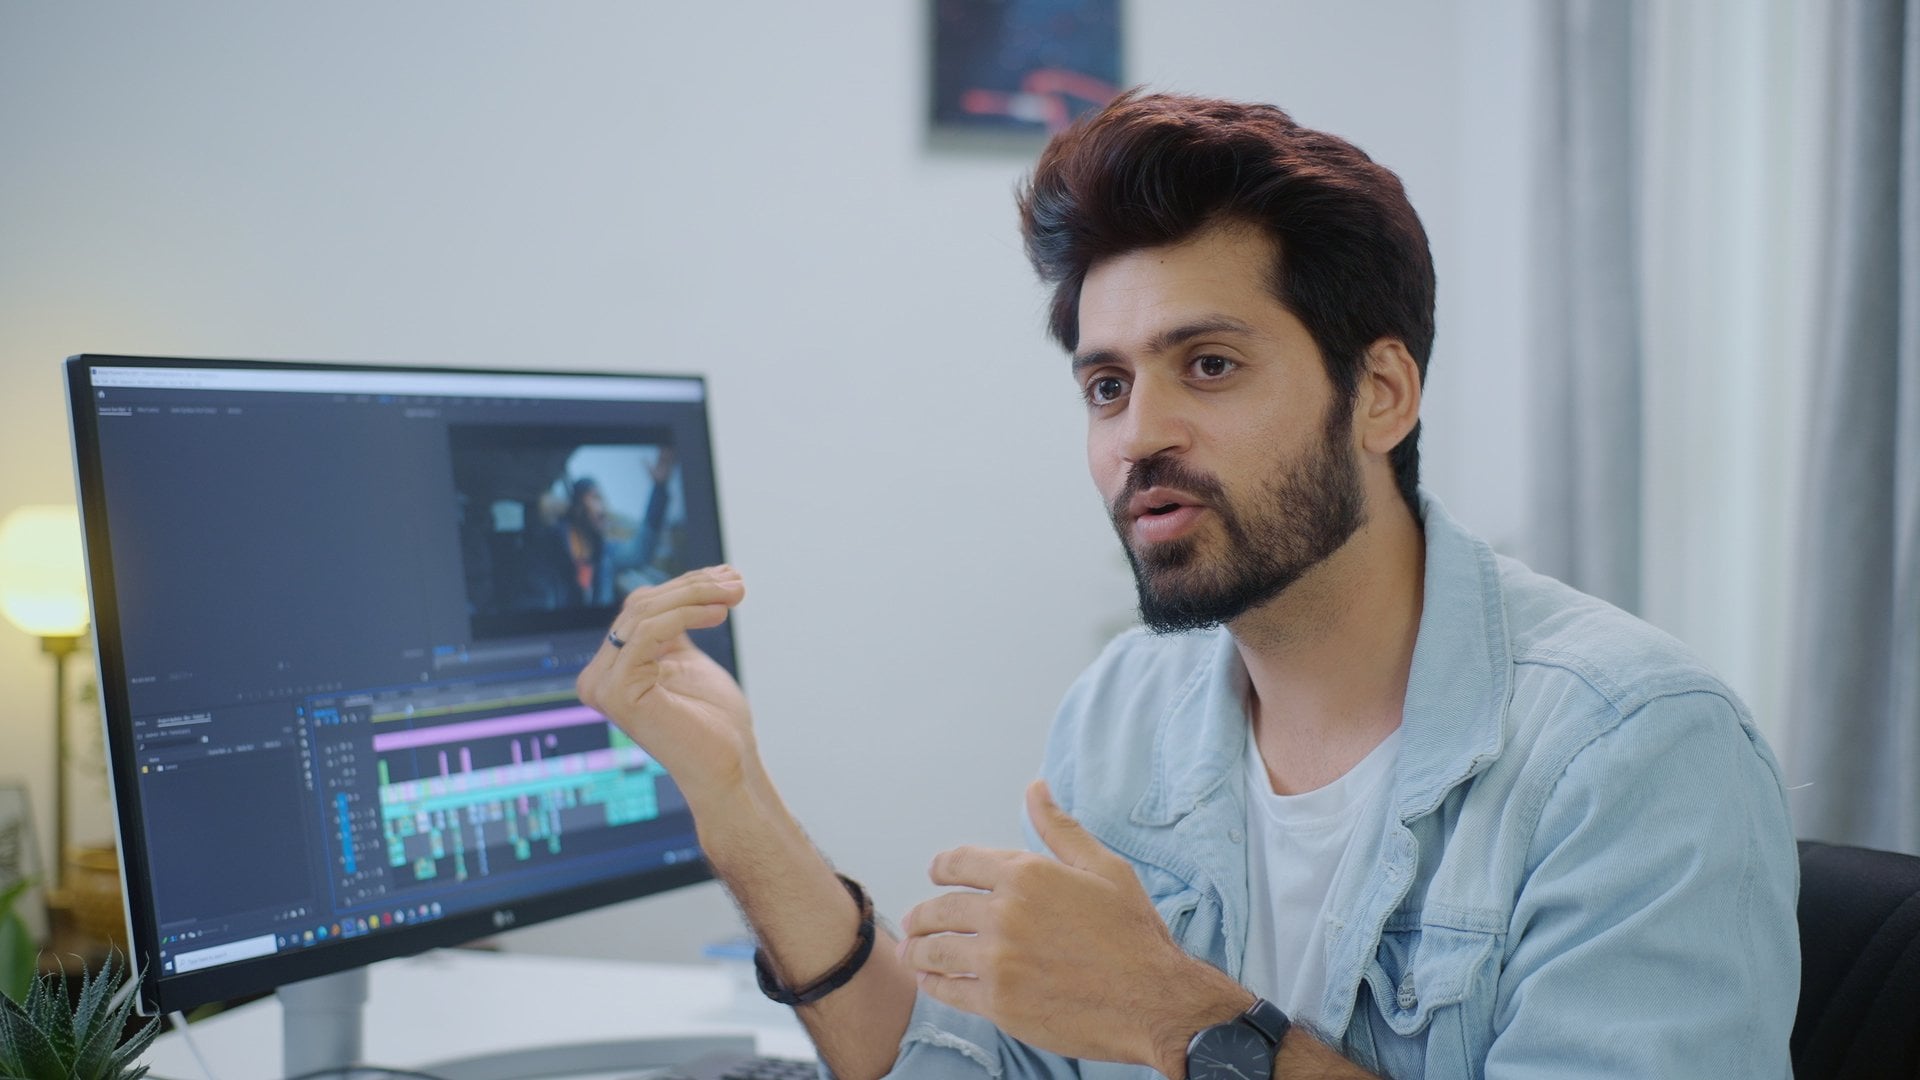
4. Editing Breakdown: Now let me show
you the timeline. And so this is the
entire timeline. I've added this intro
in the Premier Pro. So these are all
the video clips, as you can see, V1, V2, V3. And this is the music. And these are all
the sound effects, and this is the
adjustment layer. So you can see before and after. And now we're going to do
the breakdown of the clips. But before that, let me show you the music which I have
used. Let's go here. I've used only this
part from the song. So if you listen to this one, you'll feel like something
is going really fast pace. So that's why I've used only this portion because
I really liked it.
5. Title in After affects: Let's now break down all
the clips one-by-one. I'll show you that
transitioning effects, whatever I have used. So this is the first clip, and I created this
clip in After Effects, like writing dubai title. Now let's go to After Effects and let me
show you the title. Let's see this. I've just used here 3D tracker to track it and then put
the title on this one. So if I just remove
this and you can see I've just done the
3D title and using this, I have used the mask here. I've just masked the Dubai here. If you want to see
how I have done the 3D tracking in After
Effects, it's pretty easy. I'm not going to
explain it here. So I'll just mentioned the
link in the description. You can go and I'll
explain it there. How to do this? Exactly.
6. All the effects and Transitions I used: Now let's go back
to Premier Pro. And the second clip
is just me skydiving. And then this is the third clip. And here I have
used the masking. You can see that I'm just masking and revealing
a new video. If I go to the Effects Control and if we go to
opacity in the mosque, we can see that I have
just masked this clip. So let's go to the
original clip here. See, I have just done
the speed ramping also in the end to
increase the speed. So let's go to the
original clip. This was done. In this clip, we
were actually in the left going to the top of Burj Khalifa and we were seeing a lot of
different backgrounds. So that's why I use this clip. It's looking really amazing. Let me tell you, I pretty
much used masking, speed ramp, the dolly zoom, and for hyper laps
and for time-lapse, I've used frame blending. So these are all the different
effects that I've used and I almost use
it all the time. And I'm going to
explain it one-by-one where I have used it.
7. A simple use of Position and Scaling: For this clip, I've just
speeded up to almost 3,000. See, this was the original clip. Now let's go to the next
clip. This is simple one. Again, a simple did
nothing here. Simple clip. Here for this one, just let me show you in the
effects control, I've used the position to
move it from down to top. If I can just remove the adjustment layer,
you will see that. See, I've just adjusted
using the position. You will see me a lot using position and scaling from
the Effects Control Tab.
8. Where to use Dolly zoom effect: Here I've used dolly zoom. If you go to the
scale, how to do that? So you just need to scale it and then just
drop it down to 100. So if you have any clip, Let's say you have
a straight on shot, then if you scale
it first to 150, something around 15150 and
then go down from 15200. So it will give you a dolly zoom kind of effects
either original clip. So we're going in a
straight direction, right? Like it's pretty easy
to visualize it, how it can happen. So you can apply to any clip, just scale it from 15200.
9. Easiest Way to create Hyperlapse: And yeah, here are
the crazy hyper laps. Lot of frame blending. Frame blending
means like you are creating a motion
blur on the clips. Let me show you, okay. So these are the two clips. So if you go here, let me show you the
original one, C. So this was the clip I
recorded with 72 200 mm lens. And I just must this
clip in the end. So if we go here,
show the masking, see frame-by-frame, I'm just revealing a new clip
and this is the hyper laps. So let me show you
the hyper laps also. Let's go to the Nested Sequence. See this crazy hyper lapse. So how I generally
shoot the hyper lapses, I put the camera on gimbal and I was in metro in this scene
and just put it like that. And later on speeded
up in the editing. You can see that I've speeded
up to 1,000 per cent. If you go to the original clip. You'll see for this clip, I have used actually
as enqueue mode. So it's going very fast. And again, I've speeded
up to thousand per cent. And here I applied the frame blending if
you go ahead and speed. And if you apply
the frame blending, if we apply the frame sample, by default, it's going
to look like this. And if you want to
give the motion blur, then you go to the
speed and set it to frame blend and you will
see a nice motion blur. And again also here
I have used masking. So if you go to the Effects
Control and click the mask, you'll see the mask here. This is the mask. I'm revealing a new hyper laps. And again, this hyper laps in
the city how I've taken it. I always just usually walking on the gimbal with the camera, just recording a normal video and spirit up later
in the editing. So let me show you the
original one here. See here I'm walking,
just walking, walking, walking in Spirit up to
almost 2,500 per cent. If you see that here. Then I have just
combine multiple clips, same for this as well. And also after speeding up, I've applied the frame blending. So we go from here to
masking to new location. And then here, that's
the final club. It's pretty easy. Just frame blending, use a hyper lapse feature and do the masking later in editing. That's what I have done here. We go by frame-by-frame. You see I'm revealing
our location and then a new location, and then a new location. And again here with the
same thing I've done here, speeded up, speed it up, and just mask it here. In the end I must. If you go to the
nested sequence c. Let me show you
the original clip. I was just pretty much just
walking like this. I did. And again, in the end, you can apply the
speed ramp if you want to learn how to
apply the speed RAM, how to do the masking. There is a different video
link in the description. You can find it from there.
10. Night to Day Transition: And this is just a drone shot. Again, normal video. This is a time-lapse. So if you see this,
I've speeded up almost 2000 per cent
from night to day. There's simple time-lapse. And this is again, normal clip. Normal clip. Oh yeah, this is really crazy. I want to explain
this effect also. We could be going
from night to day. Here. Let's go in this clip. This is a different
shot I've taken at nighttime and then this is a different shot I've
taken in the daytime. So I've combined it together. So it looks seamless
like your phone going from night to day. So let me show you
the original clip. This is the night, and let me show you
this clip as well. So this is the this is the
clip I took in the daytime. See, from here we're
going under a bridge and then simply coming
out from the bridge. And so I've combined it
together using the masking. Obviously, if I let me show
you again, see simple mask. Here. I've done the masking
and revealed a new clip. So just mashed it
perfectly and see this. This is crazy. I love it.
11. Moving timelapse: Now here, this is a
very simple clip. No need to explain. Simple clip. Know transitional effects. Simple clips. Just speed it up here. If I zoom in, you will see that I've speeded up to
almost 800 per cent. If we go to the original clip. This was the original.
And I'll speed it up.
12. The best use of Masking Transition: Oh, this was again, we took in the lift. See the shot. It's
really crazy shot. See how the background
is changing. And again, this is a very
simple clip, simple time-lapse. So for this time less
we actually went at 04:00 A.M. to this top of the building and we
were standing here and just shooting a time-lapse. It came out really amazing. And I'll use this time-lapse
at another place also. So I've zoomed in almost
thousand per cent and then took a very close-up shot and then using another area,
another time-lapse. I'll show you later
on. This again, simple clip, simple clip. Simple speeded up. Simple clipped.
Simple, nothing much. Oh, yeah. Again, let me explain
this clip also. So I've done the same way. This is a simple clip. I've speeded up to
almost 500 per cent. If you go check
the original one, you will see that
I just put it on a gimbal and I'm
recording it from the car and then I speed it up to
almost 500 per cent and then applied framed lending. So you can see that
it's all blurry here. And then again
after like in here, I've done the masking. So if you go to
the Control Panel, if you can see that I've
applied the masking here. See revealing a new video. For this masking. Just use the feather from 200, almost zero to 200, So that I wanted to
give a soft look here. And then even this drone shot.
13. Why you should use Gimbal: So what I've done here in
this clip is if you go here, you will see that I'm
just spinning up in the end to figure the original. I'm just recording a gimbal and taking it down and
then speeding it up. So when you shoot videos
with the Kimball, it becomes easier to speed it up and it still looks smooth. So that's why I tried to use
gimbal most of the time and I'm vlogging and shooting
professional videos.
14. Trick to Create Multiple Timelapse from One Timelapse: The simple shot again, simple shot here, again,
use the dolly zoom. You see that this is dolly zoom. If you go to the
Effects Control, I'll just scale it from 142
back to 101, 14 back 200. And this again, time-lapse
or this really amazing shot. Yeah, this is simple. We combined to match cuts. So it looks exactly
the same here. And then again, same
way, again, hyper laps. And this is again dolly zoom. So if you go here, we'll
see that C from 12200. Dolly zoom again. Here are, this is a really amazing shot. This is the time-lapse shot. If you go to the
revealing project, if you see the
original time-lapse, this is the same time-lapse
and I'm just using this area. So if you go to the
Effects Control, you will see that as I
have just zoomed in. If I zoom out, you will see that this is the
original time-lapse. So if you shoot time-lapse
with taking photos, you have the
flexibility because he will afford your photos. Resolution will be
really high and it's been six scared list. And then you can really
zoom into the videos. They should time-lapse
with taking photos.
15. Let's Rewind All the effects and Transitions: Oh, this is just a
random shot I combine. Show you this one. This this is the shot. I was just using here, 72, 200 MM lens. And I would just
taking shots like this. This is the shot. And then it looks
really crazier. Again. I'm scaling it here. This is simple time-lapse,
and that's it. So yeah, these are all
the clips what I used. I used speed ramp transition. I use frame blending for hyper lapse so that we
get the motion blur. I use the dolly zoom effect and I used the masking
for few of the clips. And that's pretty much it. Covering up transitions
and effects.
16. Color Grading a DSLR Footage: Now let's move on
to the next one, which is color grading. I'll show you a few clips
how I have colored grid and how I usually collected
all of my videos. This is the same
method that apply. So let me quickly show you. So for color grading, Let's just choose this clip. So this is the one I
took from Sony camera. So what I'll do is I'll
use one zoning clip, one GoPro clip, fun drone clip. That's how you will get to know. So this is the raw clip I showed this video
and as log two. So let's take this
and let's just make a copy and just remove
the color grading. So you can see that
here, I have used my own preset AB outdoor three. This is the P set
from as log two. This is basically where you can apply in all the
different kinds of clubs. So the p set back consist
of the P set for GoPro, for phone, for drone. But I'm today I'm going to show you if I don't use the preset, I use just my Lutz to apply
so that if you're using any software for like the Premier Pro and I've
introduced all Final Cut Pro. Any software can apply
these less anywhere. Let's do that. You can see
that the color grading one. So what I'll do is
I'll just go to the Effects Control and apply Lumetri color here. And then as I've showed
this in the log format, I'll just go to the
Creative tab and I'll apply the outdoor lot. So this will basically convert into rax seven or nine
video, normal video. You can apply it anywhere. If I short this video
from the drone, GoPro can just simply
apply this lead. It will convert. And you can see this
effect immediately. And then I'll apply
the second light. Basically main three, Let's outdoor baseline and the final, based on the final and
I'll apply basically will change the colors and
the outdoor outlet, I'll apply for only
converting from log to normal if you've already showed
in the normal format like seminar and then you don't
need to apply this outdoor. You can directly apply
the base and the final. So here for this clip, I'm just going to apply
only the baseline. Here. You can find out AB
masturbate slit. And I can just change
the intensity. And here I'll just, what I'll do is I'll just
increase the exposure. And I think I'm
pretty much done. So that's how I calibrated. It's pretty easy, right? And I've saved this as a preset so you can easily
apply on the clubs.
17. Color Grading a Gopro Footage: This is the one I took on GoPro. This is the raw clip. So let's calibrate this clip as well. Let's go to the Lumetri color. And I think this is I
shot in the law format, so I'm just going to apply the outdoor toilet
or this is too much. So just maybe change
to 20 per cent. Okay. That's it. And then apply the base, let maybe 80, 80 per cent and then
apply the final length. This is too much, let's
just minimum to it. And then I'll go
to the first one, go to the Basic Correction. And then just maybe
increase the exposure, increase the shadows a bit, and I think increase
the temperature. That's it. So we
can see this one. This is the original video
which I have collected in and now this is what I'll grade it now so you
can apply also vignette. I think I've applied
the vignette here. So go to the vignette
and just do that. These are my settings
for vignette. And now if you go and check, Let's see, these
are almost same. And I think in my
head creating clip. But I see that here. You can see the blues, right? So what I can do is
I can just go to the curves and decrease
the saturation. So decrease the saturation. I think this is a little
bit of saturation. And in the shadows area, just maybe you do this. I see that this is almost seem. So that's how you can color great GoPro clip and just
let me just delete this.
18. Color Grading a Drone Footage: Now let's edit one drone clip. Maybe let's calculate this one. So this is the row. Let's just take it from here. This is to crop it. Okay? And let me just disable this. This is our raw clip. This is the final
edited version. Okay, now let's go
to this raw clip. What I'll do is simply, again, go to Lumetri, drag it and go to Create
air, go to outdoor. That's it. Can wet it first
and then go here, apply the bracelet. That's it. Okay. Now what I'll do is I'll
go to the Lumetri again, basic correction increase
the temperature and boom. In Greece, a little
bit of exposure. Contrast highlights. Just a bit. I think this is. So you
can see that this is the video I have graded before back in 2020 and this is
now I've just created. You see that if we
increase the tint, we will see that reddish look. So if we increase the
red just a bit by tint, and then you will see that
it's almost matching. What I can do is I can just go here and decrease
the temperature. You want to make it more yellow than increase the temperature or
maybe decrease that. I'm Rachel. It's pretty easy. So yeah, that's how I
graded the drone footage. So if you want to use
these lots are presets. These all the lights
are included in the abs log to preset back. So you just go to the link in
the description and can get all the presets along with the lats you can apply
in any software.
19. Color Grading Technique Temperature & Tint: And one more last is, let's say this is another clip. So this is really
interesting clip. Let me show you. If we just disable
the color grading. You will see that like
it's not that saturated. It's very, it's not that tinted. So if we apply this, you see a great change. See how to achieve
this kind of look. You can see that only highlight is getting effected, right? And this is the final look. So what I'll do is I'll just
go to the Lumetri Color. And then first obviously
Word using the outdoor, This is too much so I'll
just decrease a bit. I'll just apply only 20 per
cent and then apply again. Apply the bracelet same way. And just go to the
Basic Correction. And I think increase it a bit, increase it a bit. And that's it. If you see the difference, you will see that C, again, highlight is getting
affected a lot. So just using the temperature
and tint I have changed. You can even increase it a bit. Let me just disable this and see the original
one. This is the origin. And if you want to change
a little bit of shadows, let's say these are, this is our clip. If you want to add something in the shadows than maybe you
just move the shadow tint. You will see more blue and
highlights smooth debt side. So you will see the
effect even more now, like this or this looks
really crazy to this. Before, after, before. After. Just simply play
with the highlights, play with the shadows, apply the alert and
change the temperature, change that tend, you will achieve any kind
of look with this. It's pretty easy, right?
20. How to use Sound effects: Now let's move on to
the sound effects. So I wanted to show
you this video, this intro, only with
the sound effects, without any music and listen
to this one how it sounds, because it plays a big
role in making the video. Like next level,
sound effects is like a bridge between
video and music. So when you add
the sound effects, it looks like this song is
just made for this video. And you just like,
how should I explain? Just see this video
and you'll feel it. Whole CSV. This sounds really
amazing to me. How to apply sound effects. Well, it's pretty easy. These are all the
different layers. Wherever you listen to, maybe apply a lot of bushes to when you're just
doing a speed RAM. You can apply Lucius. If you are in the jungle, you can apply the
general tone effect. If you're close to a
river, you can apply. There were sound effect. If
you're using a drone shot, maybe use any wind bush. So these are all the different wishes you can use
according to what you feel. Sounds good. So if we go here, let's say listened only one. So you just masking it from one clip to
another, Zoom like that. So how do I apply
the sound effects or use the constant power? And if I delete this, so you can apply shift command and you'll get the
constant dissolved. So it will start slowly 0-100. Or you can just create
a point using Command and click and just
slide it down to zero. So minus thousand
DB back to zero. So that's how you can do that. So here I used the
original sound. One last thing is to make
it even more cinematic. I use the adjustment layer. Here. I have created a
new adjustment layer and I've applied
the crop effect. If you will see
that if you apply the crop here with the
top and bottom is 12.5, you can use it even 13 value.
21. Summary of this Editing Breakdown: That's the complete breakdown
of dire Dubai intro video. And now I think you can apply these techniques in your
videos also take some time. Just go through this video
again from start to end. I know that I explained
it pretty fast, but if you will see
that video again, you will understand it better. Like how I've used
it and then see my original video and then go frame-by-frame and
then see this tutorial. You will understand a lot. And then that's how
I have learned it. Watching other people videos from the time of
practiced a lot. And that's like after a
certain amount of time, you get your own ideas
that how you can, you don't create these
effects and transition, how you can come up with
different techniques. Yeah, that's all I wanted
to cover in this video. Let me know if I
missed anything. In this one, we can talk more in the comments and Lepanto anymore topics you
want me to cover. If you have any specific videos you want me to break
down, I'll do that. I'll see you in the
next one till then. Take care. Bye bye.
 Ankit Bhatia, Travel Filmmaker