Transcripts
1. Welcome to the Class: Have you ever come home
after flying your drone, watched your footage
and thought, Hmm, it looks nice, but a bit boring.
You're not alone. A lot of drone footage
looks flat or random, even when the location is
beautiful. Hi, I'm Clara. And in this class, I'll
teach you how to combine different drone movements
to create cinematic shots. I travel a lot and shoot
short documentaries, and I wanted to take
my shots further and show landscapes
from a new perspective. That's why I started
using a drone, but it took me some time
to understand how to make those shots feel
creative and cinematic. At the beginning, I was stressed.
With the drone high up. I didn't really think
about movement, so I just kept flying forward. It's not a mistake,
but honestly, that kind of footage
rarely impresses anyone. Over time, I started to
understand movement and how to combine different motions
to create better shots. And that's exactly what
I want to share with you so you can make
progress much faster. First, we'll talk about
why drone footage often looks amateur and what
makes it feel cinematic. Then we'll go through the basic camera
movement one by one. After that, I'll show
you how to combine them, how to use more than one
movement at the same time. For example, flying forward
while tilting the gimbal, because when the drone and
the camera move together, the shot feels
much more dynamic. You'll learn how to
reveal landscapes, show scale, and compose your
shots around the subject. You'll learn how to create shots that work well together and how to turn them into a short video that tells a simple story. This class is for anyone who already knows the
basics of flying. We won't focus on
technical settings. We'll focus on simple movements and combinations that
work well together. You don't need an advanced drone or automatic tracking mode. Everything in this class is done manually and works
with almost any drone. For the class project, you'll film a short
cinematic sequence using different types of shots and combine them into a simple visual story using any editing
software you like. By the end of this
class, you won't just know a few drone tricks. You'll understand how to design your own cinematic
shots anywhere you fly. I'm excited to show you how it all works, so let's get started.
2. Project Instructions: Your class project,
you'll create a short cinematic
drone sequence using the movements from this
class, but don't worry. It doesn't have to be
long or complicated. Your goal is to film
a simple sequence using at least four
different types of moves. Before you start,
choose a location. It can be any open landscape
where you can fly safely. To make things easier while
flying and editing later, you can follow this
simple structure. Start with a reveal
shot to introduce the location Then explore the space to show more
of the environment. After that, move into a
more detailed shot by focusing on a subject or following a line
in the landscape. Next, film a scale shot
to show the size of the surroundings and finally finish with an ending shot
to close the sequence. After filming, put the
clips together into a short sequence using any
editing software you like. You can keep it very simple and just place the clips
one after another, or you can turn it into a more polished
cinematic edit with music and calibrading
if you want to. You can complete this entire
project in one afternoon. The goal here is not
perfect editing. This project is really
about practicing movement, learning how to think about
your shots before flying, and combining them into a sequence that
feels intentional. And most importantly, don't forget to share your project in the project section
so everyone can see your work and get
inspired by each other. I hope this project helps you see drone filming differently. I'm excited to see your project.
3. How to Make Your Drone Footage Cinematic: Before we learn any
specific movements, we need to fix something
more important your mindset. Most drone footage looks amateur for a few
simple reasons, and the good news is once
you understand them, they're very easy to fix. In this class, we'll focus
on four key principles. Each one will help you improve
your footage immediately. Rule number one, keep your movement smooth
and intentional. Cinematic drone movement should
feel calm and consistent. That means no sudden
acceleration, no quick stops, and
no aggressive turns. If your drone has
cinemde use it, it reduces speed
and sensitivity, which helps you create smoother,
more controlled motion. That means no jerky movements, no fast direction changes or stopping and
starting suddenly. And also just hovering
in one place and spinning the drone around
that rarely looks cinematic. When using the joystick, don't go to extremes. Small gentle inputs
work much better. Otherwise, the movement can feel too fast and uncontrolled. Rule number two,
combine movements. Another common mistake is using only one type of movement, usually just flying forward. Flying only forward is one of the most common beginner habits and one of the biggest
reasons footage feels repetitive and boring. Cinematic shots usually combine
at least two movements. For example, flying
backward while tilting the gimbal or rising
while slowly rotating. When the drone and the
camera move together, the shot becomes much more
dynamic and interesting. Later in this class,
I'll show you how to combine these
movements to look good. Rule number three, give the
viewer something to focus on. A big reason drone
shots feel flat is that there's nothing
for the eye to follow. If your frame is just
an empty landscape, especially from very high up, it can feel flat
and hard to read. Everything looks distant and the movement becomes
hard to see. Instead, try to include
something in the frame, a road, a tree, a ridge line, a rock, or any visible shape
in the landscape. It doesn't have to
be a main subject. It just needs to give the
viewer a reference point. When the camera moves in
relation to something, the shot becomes
much easier to read. That relationship
between elements near and far creates depth, and depth is what makes drone
footage feel cinematic. Rule number four,
use good light. Even a great movement can
look average in bad lighting. Strong overhead sun flattens the scene and removes detail. Cinematic footage
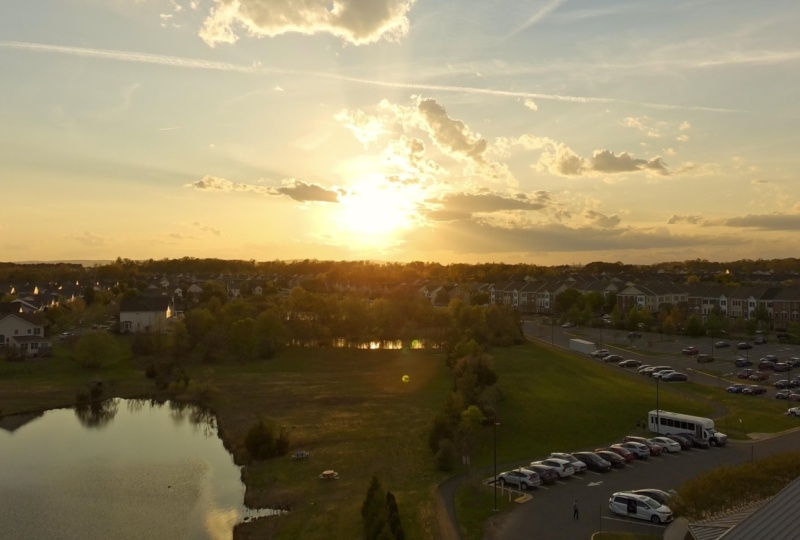
often comes from early morning or late
afternoon shoots. During golden hour,
the light is warmer, shadows are longer, and the landscape has
much more depth. But that doesn't mean you
should avoid midday completely. Midday light can actually work well in certain situations. Colors can appear
more saturated, especially in places
like coastlines, deserts, or tropical water. It also works well for more minimal scenes where
you focus on shapes, patterns, colors, or
textures rather than depth. So instead of thinking
midday is bad, think about how to
use it differently. And one more thing that
ties all of this together. Avoid random exploration. If you just fly around
without a plan, you'll usually end
up with clips that don't work together
later in editing. Try to think about what kind of shot you want before
you move the drone. So to summarize, keep your movements smooth
and intentional. Combine multiple movements. Give the viewer something to
focus on and use good light. If you keep these
four things in mind, your footage will already
look much more cinematic. In the next lesson
we'll break down how every cinematic
drone shot is built so you can confidently
start designing your own movements instead
of just copying them.
4. The Building Blocks of Cinematic Drone Movement: Now that we've talked about the rules of cinematic movement, let's look at something
that will make learning drone
shots much easier. Instead of memorizing
ten different movements, I want you to understand how every cinematic drone
shot is actually built. A. Almost every drone movement is just a combination of a
few basic building blocks. Once you know these
building blocks, you can start designing your
own shots anywhere you fly. There are five main types of
motion your drone can do. The first one is forward
and backward movement. This creates the feeling
of moving through space. It's what gives the viewer
the sense of traveling into the landscape or
pulling away from it. Second motion is
sideways movement. This is what creates
the parallax effect. When you move the
drone sideways, things that are close to the camera slide
across the frame quickly while mountains or objects far away move
much more slowly. This difference in speed
creates a sense of depth and makes the shot
feel more cinematic. The third motion is
up and down movement. Rising or descending changes the viewer's perspective and helps show the scale
of a landscape. The fourth motion is
rotation, also called Yaw. This means turning
the drone left or right while it stays
roughly in the same place. Rotation changes the
perspective of the shot. As the drone turns, the
composition gradually shifts, and new parts of the landscape
appear in the frame. This can be used to
reveal the scene or guide the viewer's
eye through the image. And the fifth motion
is gimbal tilt. This is when the camera
tilts up or down. Gimbal movement is especially powerful because it allows
you to reveal information, for example, starting with the ground and slowly
revealing the horizon. Now, here's the key idea. Most cinematic drone shots don't use just one
of these motions. They combine two or sometimes even three
at the same time. For example, you might move forward while tilting
the gamble up. Or move sideways while
slowly rotating the drone. Or rise up while the
camera tilts down. So if a shot ever
feels a bit boring, try adding one more
axis of motion. When multiple movements
work together, the shot becomes much
more interesting. In the next lesson, we'll start applying these
building blocks to real camera movements you can use in travel and
landscape filming.
5. Reveal Shots: Introducing the Location: That we understand the building
blocks of drone movement, let's start applying
them to real shots. Instead of learning
movements in a random order, we'll group them by their
purpose in a story. The first group is reveal shot. Reveal shots are perfect
for introducing a location. The idea is simple. First, you hide
part of the scene, and then you slowly reveal it. This creates curiosity and helps the viewer
understand where they are. In travel and landscape, films reveal shots often
work well as opening shots. Let's look at three common
ways to create a reveal. The first one is
a tilt up reveal. You start with the
camera pointing down, then you slowly move the drone forward while tilting
the gimbal up. As the camera lifts, the landscape gradually appears and the viewer
discovers the location. Here you are already
combining two movements, the drone moving forward
and the camera tilting up. The second type is
a flyover reveal. In this shot, something in
the landscape hides the view. Maybe a ridge, trees, a building, or a hill. You fly forward and pass
over that obstacle. Often, the drone also
rises slightly or tilts the camera down as it crosses the edge to show
what's behind it. The third reveal is
the pullback reveal. This works almost like the
opposite of a push in shot. You start close to something, some small detail
in the landscape, and then slowly
fly backward while tilting the camera
slightly upward. As the drone moves away, more and more of the
environment becomes visible. As you can see, all
three reveal shots combine at least two movements, the drone motion and
the gimbal tilt. That combination is what makes the shot feel more interesting. For practice, try filming the same location using all
three reveal techniques. You'll quickly see how
different movements can change the way a
place feels on screen. In the next lesson, we'll
look at movements that help show scale and
epic landscapes.
6. Show Scale & Epic Landscapes: In this lesson, we'll look
at movements that work especially well for showing
scale in landscapes. These shots use vertical
movement to reveal more of the environment and make the location feel bigger
and more dramatic. The first movement
is the rise up shot. Start with the
drone fairly low to the ground with the camera
facing toward the landscape, then slowly push
the drone upward. As the drone rises, more of the landscape
becomes visible and the viewer starts to understand the size of the environment. To make your shot more dynamic, try using more than one
movement at the same time. When you rise, you
have many options. You can tilt the gimbal down. Move forward while slowly
rising or fly backward. Just experiment and
see what works best. H the second movement is
the rocket with a twist. The main difference from the first movement is that
the camera is pointing down. In this shot, position the drone directly above
something interesting, a rock, a person, a tree, or any visual anchor. Point the camera straight down, then push the drone upward
so it rises vertically, almost like a rocket taking off. While the drone rises slowly
rotated left or right, this rotation adds
motion to the frame and reveals the surrounding
landscape in a dynamic way. If you want even more motion and a more dynamic shot,
add another movement. For example, you can rise while rotating and tilting the
gimbal at the same time. The third movement
is the rising orbit. This is a combination
of several movements. The drone moves sideways
to orbit around the subject while slowly
rising at the same time. You may also tilt the
gimbal slightly down as you gain altitude to keep
the subject framed. Because the drone is both
circling and gaining height, the viewer gradually
sees more of the environment
around the subject. For practice, try
filming a small hill, rock formation, or landscape feature using these movements. Your goal is to make something
relatively small look much bigger and more dramatic by revealing the
surrounding landscape. In the next lesson, we'll
focus on movements that draw attention to details
in the landscape.
7. Exploring Details in the Landscape: Far we've looked at
movements that introduce a location and movements that show the scale
of a landscape. In this lesson, we'll
focus on movements that guide the viewers
attention to a specific detail. In many scenes, there is something you want
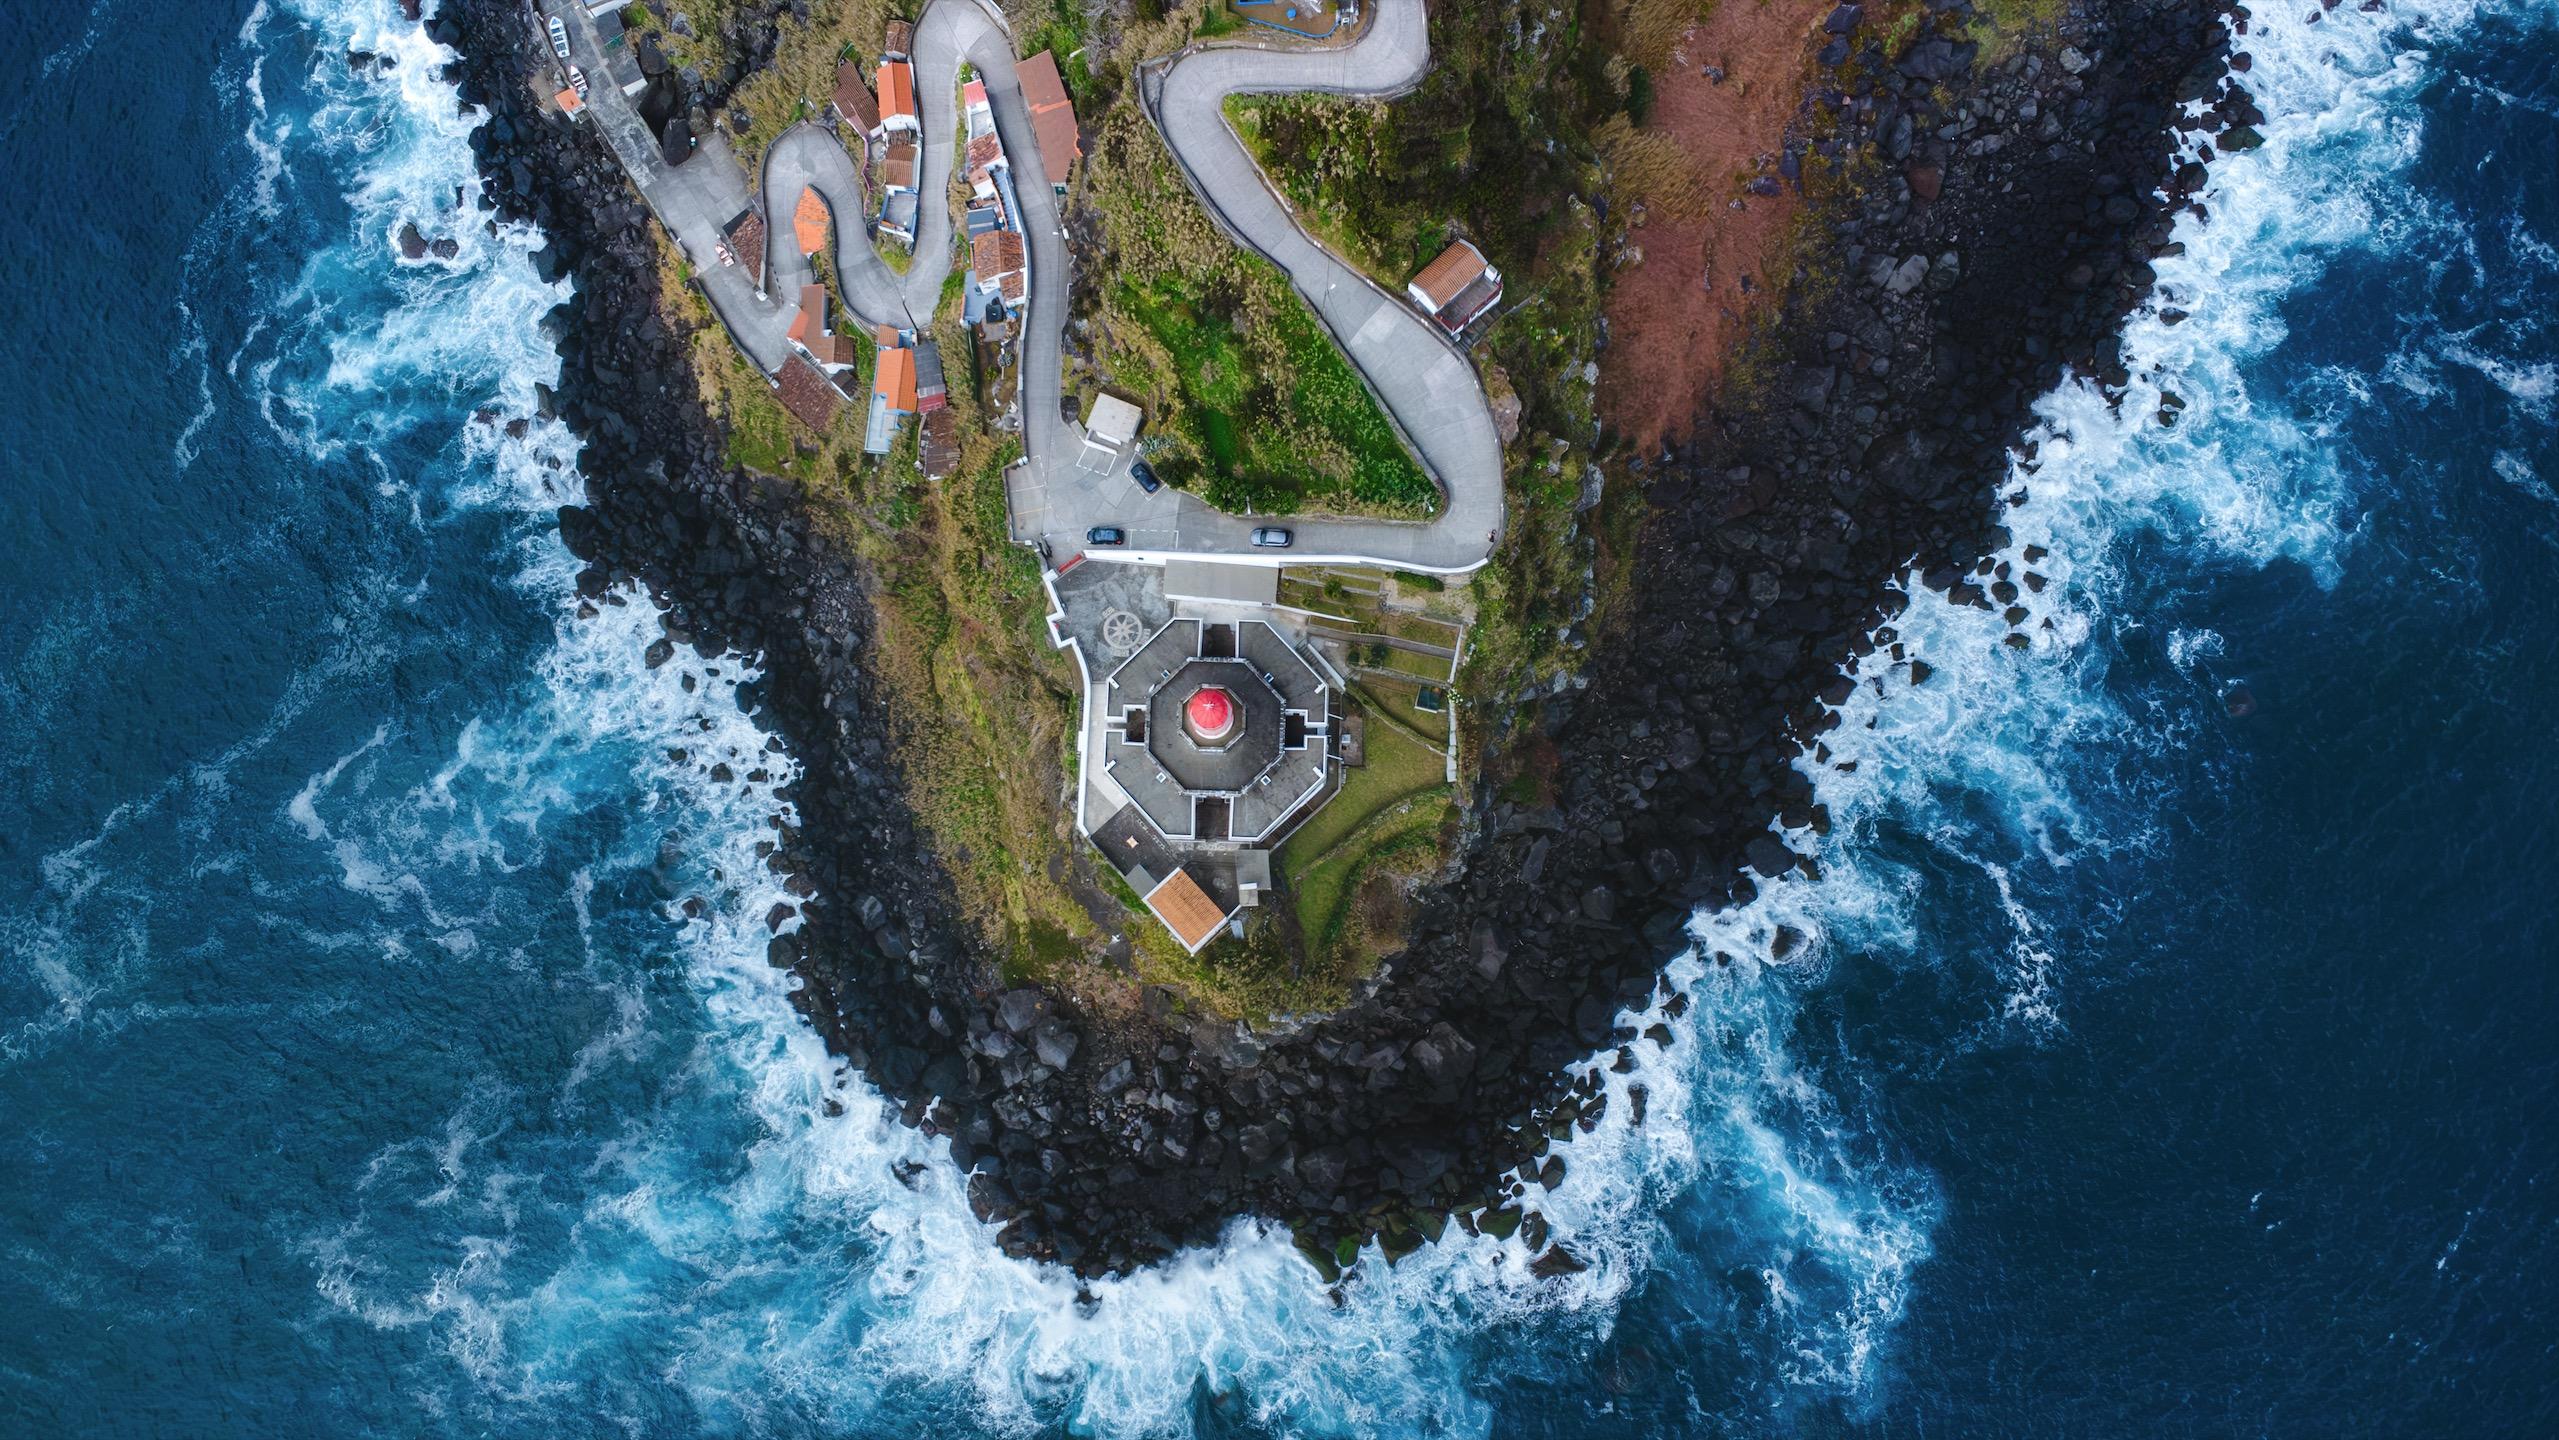
the viewer to notice, maybe a rock formation, a lighthouse, a person
or a mountain peak. Let's look at movements
that help guide the viewer toward your subject and
keep their attention on it. The first movement
is the push in. This is one of the most
natural drone shots. The drone simply flies
forward toward a subject. As the drone gets closer, the subject becomes
larger in the frame and the viewers attention
naturally focuses on it. Even this very simple
movement can look cinematic when it's slow,
smooth, and intentional. You can also adjust
the gimbal slightly during the movement to keep
the subject well framed. A variation of this movement
is the push and turn. Here, the drone
still moves forward, but it also slowly orbits
around the subject. This adds another
excess of motion and gradually reveals more of the landscape
around the subject. This small change
makes the movement feel more dynamic and cinematic. Another useful technique is following a line
in the landscape. Instead of flying randomly, you use natural lines in the environment to
guide the shot. These lines could be a road, a river, a coast
line, a rich line. You can simply fly along
these shapes while keeping the line nicely
framed in the composition. Sometimes you might also combine this with another movement, for example, flying forward and slightly up or down,
depending on the terrain. If there is movement in
the scene like a car on a road or waves crashing
along a coastline, following that line can create an even stronger
sense of motion. These types of lines naturally guide the viewer's eye through the image and help create a
very smooth, cinematic shot. And finally, you can also use an orbit to focus
attention on a subject. Earlier, we used
the rising orbit to reveal the scale
of a landscape, but orbiting can
also work very well when you want to explore
a specific subject. In this case, the
drone moves sideways around the subject while
keeping it in the frame. The subject stays relatively stable while the environment
moves around it, which helps the viewer clearly focus on that element
in the scene. For practice, try finding a clear subject
in the landscape, something that stands out. Film it using at least two
of these movements and see how each one changes the way
the subject feels on screen. In the next lesson, we'll
look at how to combine the different shots
you've learned into a simple
cinematic sequence.
8. Final Thoughts: On finishing the class. I hope this class helped you see drone movement differently. Instead of just
memorizing shots, you now understand the
building blocks behind cinematic movement and
how different shots can be used to
reveal a location, show scale, or guide
the viewers attention. The more you practice thinking intentionally before flying, the faster your
footage will improve. Now, I would really
encourage you to complete the class project and upload
it to the project gallery. Even if it's just a
simple sequence of clips, it doesn't have to be perfect. This class is about
practicing movement, experimenting, and building confidence
every time you fly. And honestly, the best way to improve is simply
to keep filming. If you'd like to
continue practicing composition and
visual storytelling, you can also check
out my landscape photography class
here on Skillshare, where we explore many of
the same ideas like depth, leading lines and guiding the viewers attention
through the frame. Thank you so much for
taking this class, and I'm looking
forward to seeing your shots in the
project gallery.
 Klara Zamourilova, Photographer/Videographer