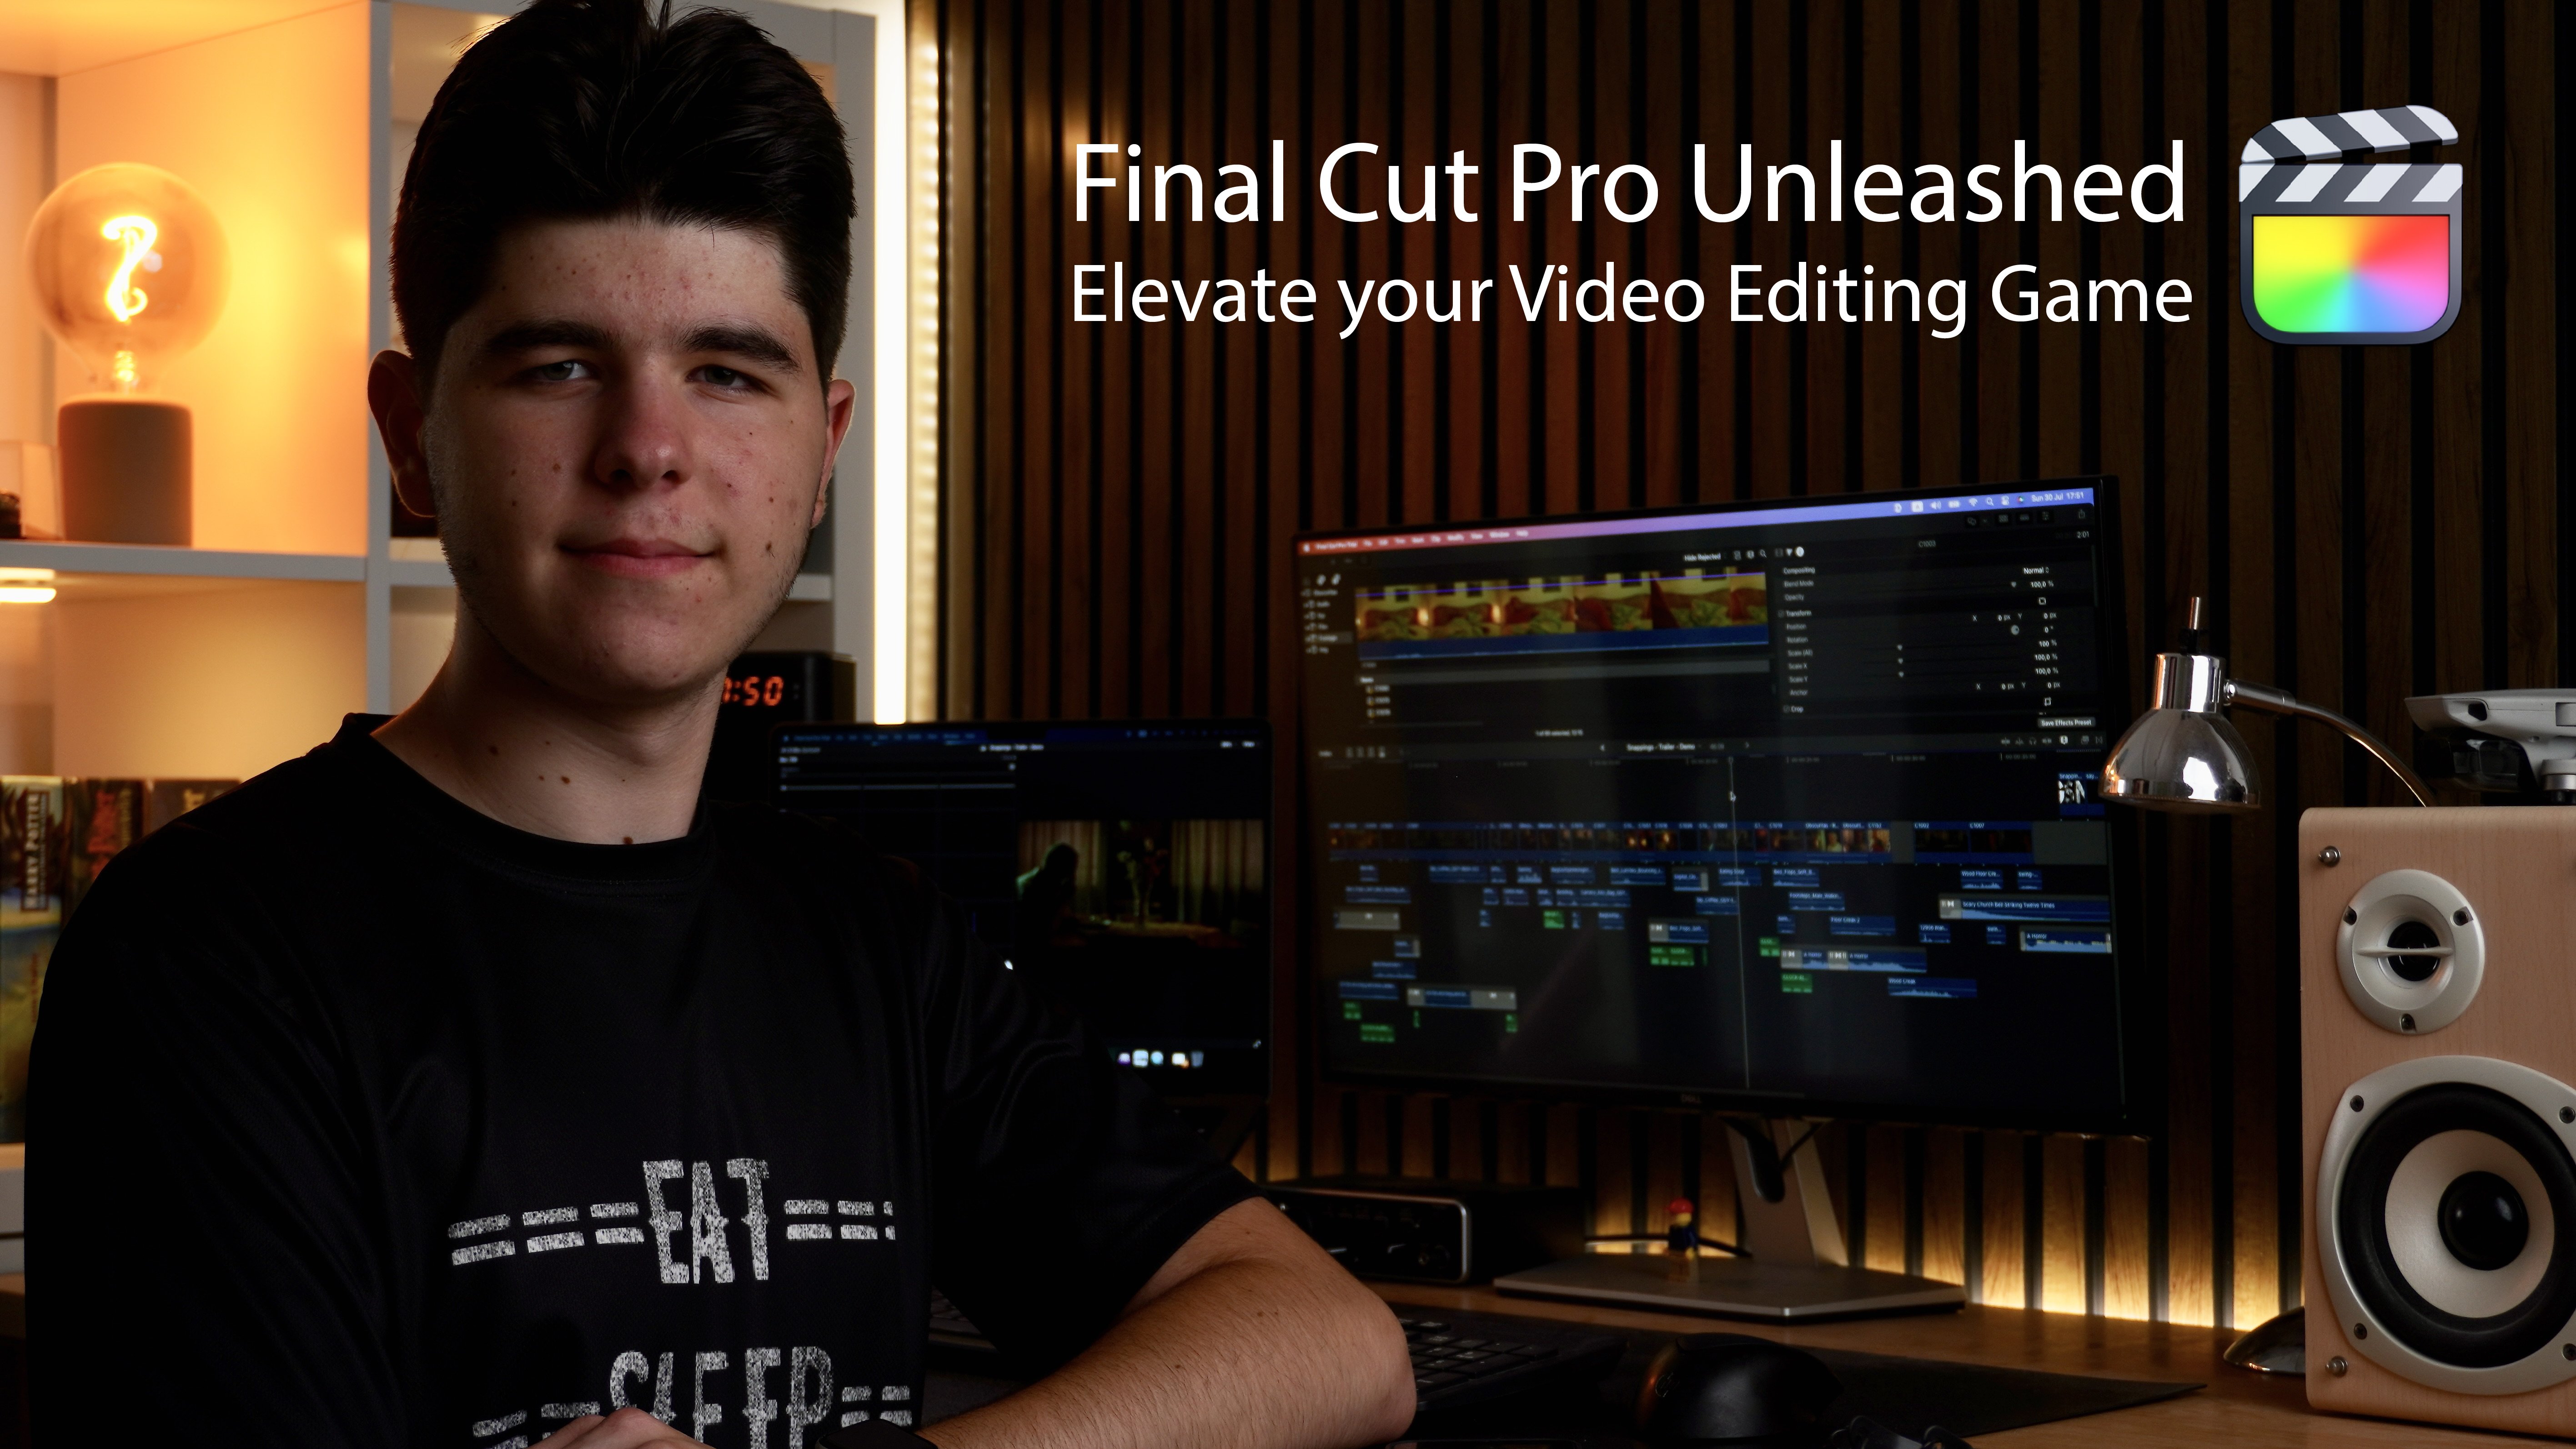
Transcripts
1. Introduction: You're a filmmaker, you've got your next big theme idea
already in the script is done. But now, how do you achieve those wonderful
symmetric compositions full of visual storytelling like you see on the big screen. You've come to the right place. Hello, I'm Alex. Them, a filmmaker
with over six years of experience in this domain. I've done a bunch of
fields commercial. And from my experience I learned that tomato graphene
video storytelling to make the difference
between beginners. And I learned this case with a combination of a bunch of tutorials and a lot of practice. I wish I had this class vector. So we are going to first discuss
what the competition is. Then going to teach you the fundamental rules
of compositing, like the rule of
thirds, the golden ratio of leading
lines and minima. We're going to take
a look at colors creating depths and camera
angles and move them. In the end, we're going to see a bunch of examples of how to create asymmetric
composition and also tell a story through them. So join me in the
most complete and beginner friendly
cinematography class.
2. What are compositions and visual storytelling?: Before creating asymmetric
shot like in a film, we must understand what
the composition is. You want to capture something, a subject, an object,
or a landscape. There are hundreds of
ways to fill that. Composition is the way you align the elements inside your
shots using different rules. The rule of thirds,
golden ratio, 180 degree of rules, leading lines and many more. It also refers to how the
shot is being captured, e.g. the camera angle, focal length, and other camera
settings about all of them we're going to
talk in the next lesson. Visual storytelling is also a huge part of cinematography. The film is the visual
art to tell a story. The story in film is not only told by the actors
in the script, but also visually
visual storytelling. The way you combine the composition with the
motions the story should tell.
3. Rule of Thirds: A fundamental rule
of film-making, one that everyone probably
knows is the rule of thirds. The rule of thirds
is a grid line built by two horizontal lines
and two vertical, which helps you align elements in subjects in your composition. You can overlay it in most cameras and even
smartphones can do that. An example for its use is with the horizon
in a landscape. If you have more important
elements in the Skype, place the horizon,
the bottom line. For instance, if you have
some interesting clouds. Otherwise if the action
happens on the ground, the horizon should be
aligned with the top line. If there is a prominent object
like a tree or a mountain, You must balance out
your composition by aligning it to one
of the vertical lines. Another example for its use
is aligning the subject. It's I should be on the
top horizontal line. This will institute creating more symmetric and
professional shot just because it leaves the
perfect room for the head, called Headspace, but
also for the body, and creates an
overall neutral shot. If the subjects should sit
in the middle of the frame, you should place it
between the two lines. But when looking to the side, the subjects should
be placed on one of the vertical lines opposite to the direction
they're looking at. Another way of using this rule is when
having two subjects, you can place one on all the vertical lines while the other one is between lines. This will draw all the
attention to the first-person, while the other one
is not so prominent. If two objects must be in
the center of attention, both can be placed on
the two vertical lines. This will create a
balanced composition. And if the objects are
similar or even the same, they will create a
symmetric composition. Coming back to the
center composition, you can see that the
entire attention of the viewer is being
directed to the subject, leaving no other room
for anything else. This is good for
presentation like this. But to tell a story, multiple elements
must be involved. But for this to work, you must guide the viewer's side with the golden ratio
or leading lines.
4. Golden Ratio: The golden ratio is the
mathematical equation that device the
screening two parts 11.6 times bigger than the other for infinity forming
an infant inspired, defined by the
Fibonacci numbers. You might ask yourself, why do we need met? Even in filmmaking, this God, the number 1.618 appears
everywhere in the world. The lower part of the forearm, arm is 1.6 times bigger than the hand needs in our
DNA and many more. The golden ratio is
the natural way how our eyes are guided
through the shot. You need to add guiding
objects through the ratio to have a
guide for the eyes. And at its ends, there
should be the main subject. The golden ratio can be
everywhere in the frame, unlike the rule of thirds, aligning to the rule of thirds can be easy and
after some practice, you will be able to memorize it. The golden ratio,
on the other hand, is a more symmetric
way of compositing. In this shot, the starting point of the ratio is the place where the subject stays in the
end, his destination.
5. Leading lines: As I said in the lesson
with the rule of thirds estimate the composition must guide the eyes of the viewer through the
shot to the subject. We can use the golden
ratio for this, but there is one more thing that can help us, leading lines. These lines are
formed by objects. You feel, for instance, a road, the horizon, a fence, or anything that
forms our sort of line. Leading lines are often
using long establishing shot to guide the eyes of the
viewer to a certain point. I cinematic shot is beard. When combining the
previous rules with the leading
lines in this shot, we have the subject on
the rule of thirds, but there are some lines
in the beggar formed by the forest margins that guide
the eyes to the subject. The same happens in this shot. The margins of the
road guide the path of the subject and also the end of the path is on the vertical
line of the rule of thirds. With these techniques,
you've made your sudden much more interesting and it can stay longer on screen
without getting boring.
6. Depth of field: Another important aspect of cinematography is
creating depth. You hear this word depth in every cinematography
tutorial. What is that actually we refer
to as the third dimension? No, we're not
creating a 3D movie, but now to the shot, we need to make the viewer see the 3D environment
we filmed. This means that we need
to create three layers, foreground subject and bigger. The subject is the
main focus point, while the other two layers
are both autofocus, these separate the subject
from the other layers, bringing first of all, the interpretation to him, but also creating depth, making the overall
shot much more symmetric to fully separate the subject and other
lists from each other. You could also add camera
move on about that. We're going to talk
later in this class. In this shot, we can clearly
see the three layers. The subject is in focus, bringing all the tension to him, while the background
and foreground are both out of focus, with the camera moving sideways. Is Chris, the parallax effect. When the subjects tastier in the other layers slightly move. This creation of depth allowed me in the edit to live
longer and skinnier.
7. Colors: Cinematography also plays
around with colors. One example I like to take is with our good old
friend, the color wheel. To separate the subject
from the background, you can choose different colors on opposite sides
of the calories. For instance, blue with yellow, green with one
gender, and so on. In this shot, the subject has some dark clothing and the
light at the slight blue tint. In the meanwhile, the
background is orange. Also, these ad creates
color contrast. The subject is dress blue, and nature has a
yellowish color. Color can also be used to draw attention to a certain
subject or object. In this shot, the subject is in contrast with the scene
while the other ones dressed in dark colors draw the tension being different
from the environment. The same drugs called draws the attention to the subject
again, in this shot. Colors can also tell a story. An example for this
is creating a state for the characters in film
through this dress code. In this scene, we have
one character dressed in brighter colors and the
second one in dark, without even knowing
what the film is about or who the characters are. Immediately understand
the dawn is a bad character and 18 Good. Another example from my film, the two phases of
Furman spoiler alert. The main character interacts
with him in the past. So there are two
characters, the color, they're dressed and being Lytton show how
their personalities, one character, the pastel, is dressed, why
enlightened bright? This shows a good person,
a good character. In the meanwhile, the
present character is dressed in dark colors, elite and less, showing the exact opposite in
changing character.
8. 180º Rule: There is one more rule when
it comes to filmmaking, the 180 degree rule. This rule is used when filming with two subjects from
different angles. You must imagine your environment
as a bird's eye view, indirect an imaginary lines
through the two subjects. If you have a point between the two subjects
at equal distance, there is a 180 degree angle. Then you drag another line between the camera
and that point. The camera can spin around, but you're never allowed to
cross that 180 degree angle. This rule helps you not
to confuse the viewer. A dialogue with the 180
degree rule clearly establish the position
of the two subjects. But by crossing this line, you will not understand anymore
where is subjects seats?
9. Camera movement & angles: You can have the perfect
alignment of elements in your composition and still
not have asymmetric shot. If you don't use the right camera angle and
move the camera right. There are four important
camera angles. The low angle, high level, high angle, and bird's-eye view. Besides those, there are also the POV over the shoulder
shot in Dutch angle. The angle you're filming from should be decided
depending on the story. A low angle gives us a
subject confidence while a high angle makes him
small and not so powerful, that shows the something
is not alright, also the distance of
the camera meters. You can have an extreme
close-up, close-up, medium shot, wide or long shot, and also extremely long time. These were just some
reminders about now, let's talk about the
movement of the camera. First, we divide it into
smooth and handheld movement. Both of them telling
different stories. Smooth movements show there's
nothing's wrong and gives the viewer a feeling what
handheld shows the opposite. But the bus story thing
we're going to dive deeper into later in this class.
10. Composition types: Before diving into
visual storytelling, Let's talk about some
different compositions applying the rules
we just learned. First, let's take a look
at the center composition. This type of composition utilizes the rule of
thirds by placing the subject in the middle in the line with the
horizontal line. When doing this,
all the attention is directed to the subject. Another composition type is
a symmetric composition. This is often used when
showing something perfect. This shot starts with one
subject and normal composition, but after painting,
the second subject isn't a centered and
symmetric composition. This shows that the second
person is more worth it probably poor
compositions are also formed by the angles in types
of shots you're using.
11. Looking point of the viewer: Now it's time to dive into the world of visual
storytelling. We talked a bit about the different scenarios
of visual storytelling. But besides showing the
motions of the character, we can control how the
viewer is impacted by them. This is done by placing
the viewer further away or closer to the action you filming on a wide lens and being closest object meets the
viewer feels emotion. A slight movement if the caterer struggles with
something can also be added. Doing the opposite by filming on a telephoto lens in a loan or extreme long shot
places that we're far away from the excellent
leaving the character alone. This can be done also
using the foreground. The trick here to keep the viewer most thing
is to bring him closer to the subject in a moment the
character struggles. But before I really important moment we should give him are released by bringing
the camera far away. If you hold the
viewer always tied to the character or the
figure will become boring. But by releasing him
from time to time, you add more engagement.
12. Visual Storytelling: Now in the last lesson, let's go over some examples
of visual storytelling. In this scene. At the beginning,
we're not so close to the subject because
we've just met him. But right at the end, the viewer is brought closer to him right before
the character dies, making his dad much
more impactful. In this shot, the camera
pushes ignore the subject, making the viewer more
interested in the case. Also, this is a common
effect infamy indeed, I'd like to call
the progress bar. This portion is just
like a progress bar before the character
needs to make a decision. Here's to do something
in the same scene. The viewer stays steady
and close the character. At the end, he struggles and to make the viewer
feel his feelings, we move the camera
together with the subject, even adding some
Hinton movement. This dialogue scene also has some dig, deep
visual storytelling. The state of the
character can be easily shown through
angles and movements. The first character is he feel handcuffed and
from a high angle, the second character is feeling steady and also from
a slight low angle, showing confidence and
power over the other. Also the way they are
placed their story. One stains in one seat, throwing, one being more
comfortable in the other. Now, The same happens
in these dialogues into the more
confident character is again fin from a tripod, while the other one hand here, also the elements in their placement inside the
shot can tell a story. We have here an unbalanced
shot between a three, and they mean the main struggles and the tree is
a symbol of protection, something that domain needs. Also because the
shot is starting, it shows a big release. There are also the
composition route present, the golden ratio that
takes from the main to the tree and leading
lines to a three. In this shot, one character
has an emotional speech. This is enhanced by the low angles you think
FIN from The Movement. For this example, I chose
again a progress bar. This progress bar brings
them closer to the subject. This time not because
of the struggles, but towards the processing, approaching him as
a good character and anticipating the
end of the film. These are just some examples, but the way are
going to implement visual storytelling
in your film is the unique style
that you're going to develop with a lot of practice.
13. Conclusion & Class Project: Congratulations on
completing this class. Now you have everything you need to start creating your own fear. It's time for you
to go out and shoot your own field, but be patient. Before mastering
these techniques, you'll need a lot of
practice at first, take out your notes
and work with them. But after time, you're
going to not need them anymore as much as you can in for the class project
sending a short film, I'll be happy to give
you feedback on it. I hope that you learn
something new and as always, don't hesitate to contact me
with any further questions. Have a great day.
 Alex Sofonea, Filmmaker & Full-Stack Developer