Transcripts
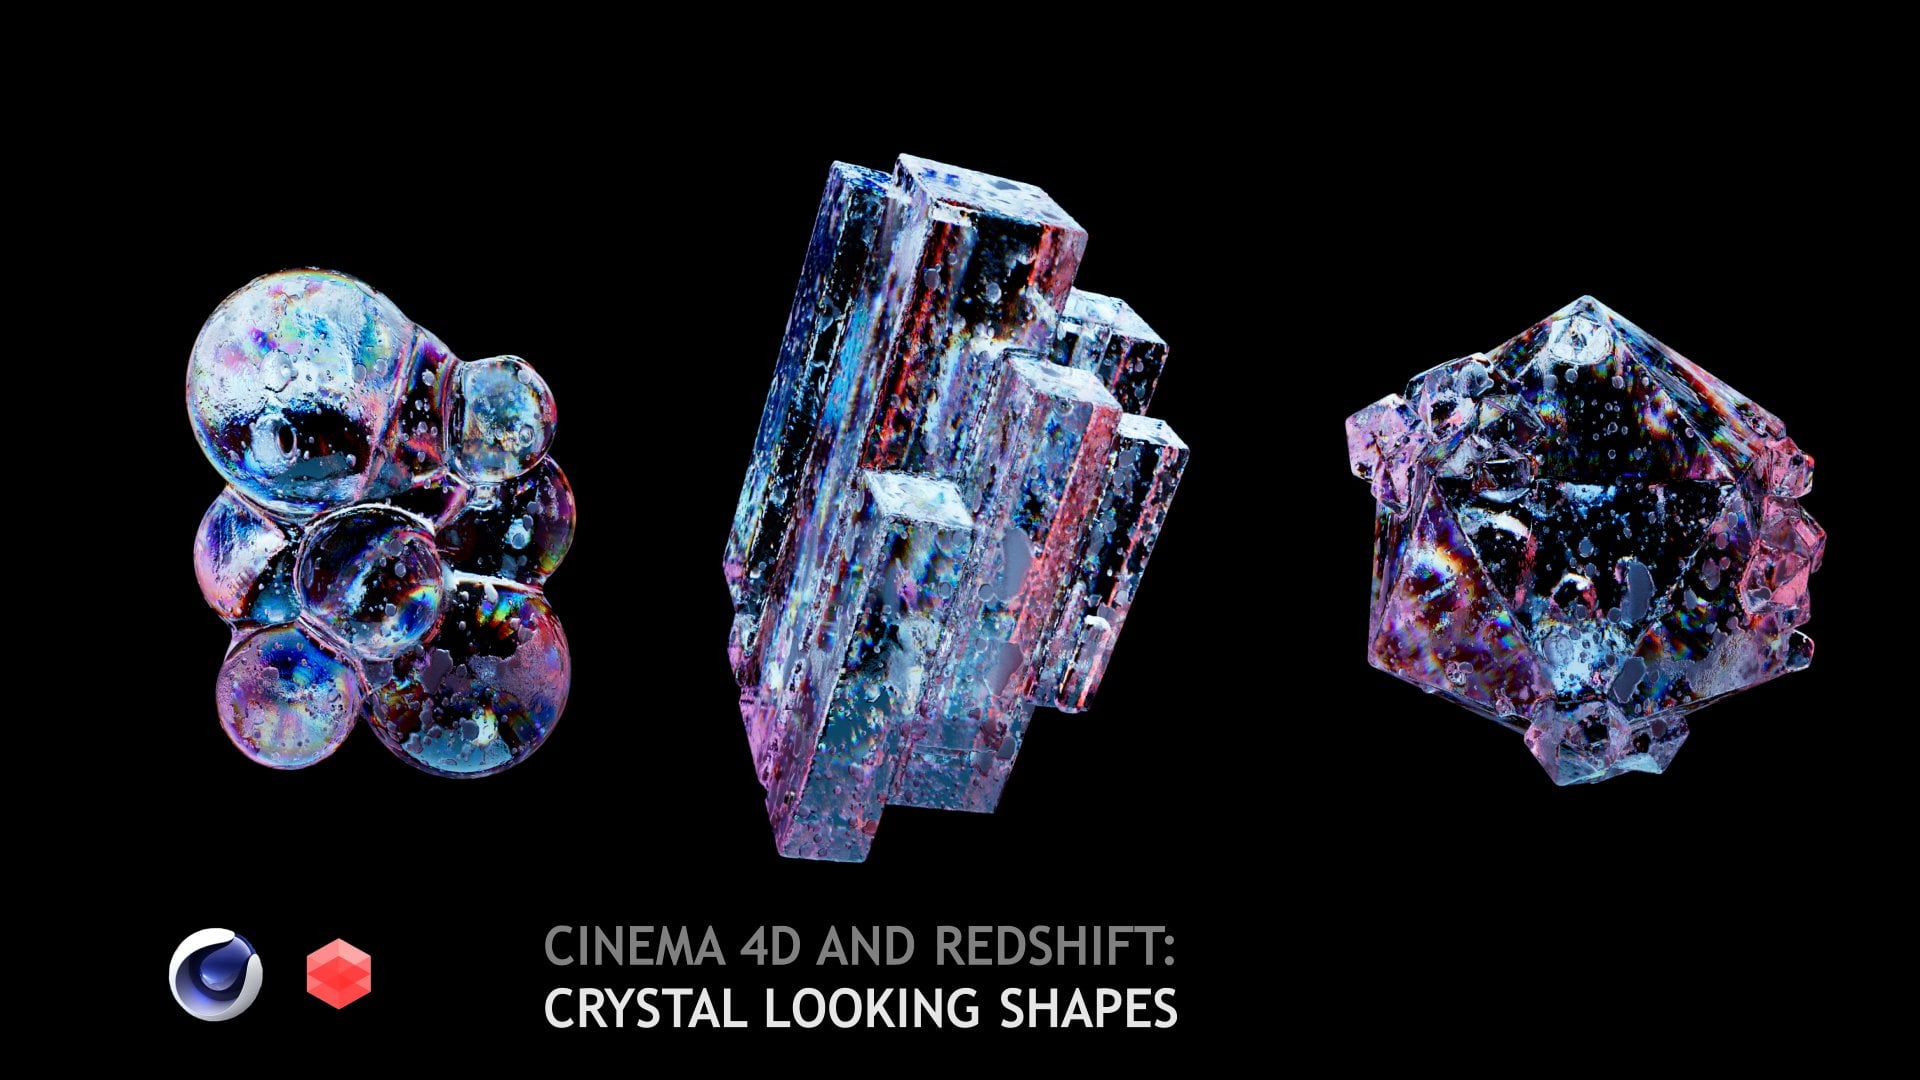
1. Overview: in this class, I'll show you all stages of building bacteria or virus. Scene will explore how to build the model, the animation, and then we'll use red shift, great, complex organic material for our mesh on screen. You see the result of this class. If you like it, let's explore how the scene was created.
2. Base Geometry: Let's start building our set up. First of all we need that will be the body off. Our virus will greet a camera going to camera heat this black. Now it's White Cross going to coordinates heat 0000 said Square, who are well rendering, I think at some focal and maybe even 80 and now will pick up this fear. And Gluant Kloner decrease maybe 15 much to India and greed Kelowna around our means. Here, I ed push apart, Defector. Instead of push apart, we will use scale apart and we have radios in 20. I'd like to use maybe 25. Just always fears can be near but not cross. You'll see that if I extend this radios, our series begins to become smaller and you can find their proper value. I'll keep about 30 a beat bigger than our Raiders. Instead, off using Sears, I will use this kind off set up. I'll disable the sphere, its body a great and put CIA inside. The new is created Ian 000 I up my CIA in tow, maybe half off its radius and I'll create something like these. So my sphere will be looking 1/2 may be bigger than the half from CIA and Sam. What in it now? I ed no graph. She defector in stent, maybe 21 81 180 frames. We start from zero. So we need one frame in the end of this tunnel. Name Shader going toe noise. Going to animation speed even to look, period, we have said if Pierce so we'll period six. And let's check what we have here. I think these looks nice. This is not interesting looking. So I disabled cloner disable Shia and I had one most fear. Maybe a big one. One atmosphere at the top and holding out. I'm picking the Bullen and I have top sphere bottoms here and medals here and ice obstruct from my medios fear the bigger one. Maybe decrease it. Put it here. It's like they speed quality single object. Tiny Rijs, No going back toe. I was here. I have to rotate, I think minus 90 degrees. And now we have kind off scaling our elements. Now I go into perimeter said Teoh minus one, decrease. Awful strength. Disable color mode, extent the scale off our elements. So maybe a we used to in cloner in transform kind off, going to Shada and decrease the speed. Maybe 21 So it's look more organic now I play with seed. So to get maybe add more elements and play with distribution, I think we can find something that looks good. Yes, we have small one B one and other. So it's pumping from the bottom and this is our base it up. Nothing very complex. In next video, we're gonna work with it to create more organic look.
3. Organic Shape: Now we need to create volume builder and volume measure. We put our woolen builder in volume measure in boarding and clone O What did get to us? It's like metal ball creates single shape with these organic Look, now we have to at some works for digitalization. I think extent number off signals, maybe a walks all size to maybe three add smooth there, we'll pick up maybe medium, because the logic is that Garson has their best smoothing and the pleasure and flow try to smooth. But stay with based form. I need some in between maybe a mean curvature. Maybe to reiteration that now we have our elements pushing up and in and that's we have our growing effect. I add new no, drop everything there and add a bit small thing modifier with high stiffness, I'd like to smooth these Koran going to display hidden line. I think this is pretty dense going back to negotiating lines, and I think these looks pretty organic and we can play with materials and writing
4. Setting Mask and Texture for Materials: before we start to play with materials and all other elements, we need to use some misc. Nike created basic material. Just get it, window. All right, shift rent of you. And first of all, I'll greet and low cold santo and put it at the top. So first mask that we need He is dividing our German tree into two part this grounds and the body. And we can use this center global position in classic cinema for Do you, Brenda, we can use proximal shader and calculate the distance between our elements away can creates fear and make that mask. But we can't use proximal should here. But we have note called ST. And here we have these ray position. This is director. Now you have Teoh, mate some mathematics so we can subdivide force obstruct one victim from another at the top should be center. Then we have Teoh calculate this vector length and will create a mask backing away. But it's not in our scale. So we have to change the range with change the range note that mutilate all this inputs. You remember that greed sphere with radius off 100 and I think we can use 100 billion range , max. And you'll see that we have these full off. Let me increase. Range me in and we have strong fellow. I put center to the center of ours. Fear continued to find their proper solution and value. Maybe 140. Maybe. I think 200 and something here. Too much maybe. Yes. We started getting our fell off. 100 to decrease. So we have this white in our crowns. Maybe 100 20. Yes, we have a small follow here. White. The crown. I think this is what we're looking for. Maybe 181 more mask for our further work is not mask. It's like a texture. So we use nice one will be a changed to turbulence. The big one and another should be smaller one. So I extended maybe Teoh A small amount decrease or, I mean increase of the value. Maybe to certain. And just using composite note with overlaying blending moat. Overly. Yes. It's like a lot of details. Small one big ones. This is our pre made masks in texture that will use one will think we're ed red shift object for the right German three decrease edge length decrease, Maxim Subdivision and first on tests factor and at some displacement for further work. Why we used these low values because low edge length will bring us a lot of details in displacement so we don't have broken edges. We don't need a lot of subdivision for now because we have a very dense mesh and maybe we can greet Yeah, light it relate like this at the top, where a huge scale, maybe up a bit and degrees. It's destiny explaining. So the next video we'll start to build our materials.
5. Starting Material Work: now we're made almost everything we need for further work with our materials, and we'll start with It is simple material and this place I see that we don't have you now . Maybe a light at the bottom. So I put it may being minus 500 90 extended or degrees in this multi plan head Some roughness for now, stevia like this and still would have not much details here. I think we can play. Where's Roland Builder? And maybe add one more subdivision doesn't affect much. So we can keep with two at some small thing by decree sings difference, maybe 16. I'll keep with these settings. And now I'd like to add bump mapping over Oh, bomp input and I'll pick one of our noise, but make it much smaller. So it's like small details. Maybe toe is okay and I decrease the hate. Maybe 2.5. Now, I'd like to use, uh, texture for displacement. Let me connect it. I like the factor I get here, but I dislike that our extrusion is affected with our displays. So I'd like to use our mask and use Kolia to build and you mask for our displaced So I pick up their base color maybe to save face for now. Bump here. Yeah, and our victim maybe to this I d they disabled this letter now and we have to end to hear the black so displacement will not be affected to the zone. I think we can use ramp note, general input layer one enabled. And well said Teoh, multi play and invert our MISC. One more thing that we need to add here agree value That means Zabel These lame ask So where to Ed? I read in that here. I think because Gray is showing that here we will have no displacement, a total and I put it into their base in put off our displacement. And would it? Of course not to save face, but in the displacement out we'll have our material. But I will create one new material material maybe Yes, for now. Why us material and Matura Brenda base color their second color. And we have, uh, a mask for blending and you'll see Let me color this thing, Maybe to read that we have no displacement, tell crowns and separate collars with our pre made misc and of course, we can have bump and all that details. So now all we have to do is to build materials for our body and our extrude crowns.
6. Finishing Material: Now we have to build them organic material, and I will use s s s for it. I add, of course, our bump mapping replace the base color. And I think I need to decrease the scale. But for now, I'll try in peak, some preset. Maybe like these. It's already the collar I like. You have to This smallest que they're more details will get, but less light will be scattered. So it's, like depth. Everything. Oh, in between me between 25 and I would like to have oh, uh, noise blending maybe a to a multi play with, uh, with these columns. So agreed Color constant help peak, these one. So I remember that we can copy of this hex going here. Hex. Right click based color composite and maybe it ramp Note blending input. And these subsurface kept color rearrange that includes and, ah, use multiply value. And now we have these dark element. I think we can invert this radiant right black, not maybe two left. So yeah, we have these dark zones. Oh, I think these looks pretty organic. Now we're going into recess in reflection and I'll add their affection because I like these kind off quoting here, going to glossy nous. And this is the opposite thing to roughness. So 100 grossness has no roughness and zero closeness. Totally rough surface. So I would like to keep some these kind off liquid element and maybe increase. I are a bit toe too much. Maybe 2 to 5. Yes, that's where looking for maybe decree is a bit glossing is so like this and we build the material for our buddy and I'll duplicated without these Carl or composite. I replace their second material later, Qala and maybe I ed more scale to rid so they'll be more transparent and maybe change a bit color. But maybe I will keep the basic Oh, I think these looks like not very healthy. And this is what I want t o do with this thing. I'll try to ah use not retrace, but point based algorithm for S s s And this should work and calculate faster
7. Final Tweaks: after agreed of the base mesh and some of animation. I want to show you one more streak for these technique and that we have I select my no with these corona element control. See new Project Control V I disable render view fell and I want to change the shape I will pick up the top element and rotated. I put it up a bit size down. I'm using t for the scale duplicate holding control and move on the excess. And now I'd like to shrink down in tow Texas in X and Z So that makes you mean to zoom something. You can hit this blue arrow s key so maybe extend. It's like mushroom extent inside CEO and a control C control w control of you and put it to the cloner. And now we have these, like mushroom element rented and you see dis elect will a measure and ed original animation toe our body with displace of the former. I had noise shadow and set small animation speed Let me disable the I Pierre Luc period with six crepes. So we have these kind off animation extend the scale and I think these looks pretty nice. Sometimes you can find some problems with push apart. A factor that let me show you In some case, elements can hide will scale because the intersect each other radius. But now I have no problems. That meat bring down maybe two, 20 maybe 2 50 just to show you so these two can interfere each other. And to fight these you have to said proper value for radius and maybe rearrange clones. Let me set it back to said to and find proper values. Let me investigate This year I think these to can disappear. But they But they don't just one to tell you that these could happen. And don't panic if you face it now, I would like to a shrink down. The scale may be a bit because too much elements these elements are very huge. Maybe one point six and maybe zoom out. And now this is what am I was looking for. We have different elements. They're blending. Let me on the full measure and I think this is the great result. So I surrender before render I would like Teoh remember that we have these sample smote and let me shrink down the back, it says. And you have to know that. Is there more white you have on your screen there more noisy? It will be. Let me show you if I lowering the simple smacks. We have very white element, so up symbols to find maybe a these kind of settings. I think this looks nice and I am going to simple overwrites, maybe for light, high value, pretty great for me and maybe up some samples in sub surface scattering. But we turned the point beast algorithm so it doesn't affect much. That's why I think these settings were the lowering off max samples and higher light samples. We can get radio much clean result off our rendering. Then we have animation and we have to calculate it. Now we get something to be rendered, and there are some issues that we have too much more fun of edges. I think these should looks more organic and know these jagged I think we can handle it. First of wall. I think these could be affected by a small thing and you see that if we put it to the game , we have sounding and instead of rendering on disabling thes elimination preview. Instead of rendering, we can disable I was more thing and make a preview. I think we'll use Hardware Orender and maybe from 0 to 60 frames because I said, this is much faster than rendering That may play and it doesn't show good, but the recent from here that could be improved. We're going to violent builder that me show their structure. Maybe add Brooksville size. I mean at density to book. So going to smooth Les MME beset alteration to three years. And now I'm going Teoh Fring down the scale up these three years old to have faster preview surrender and he trend of a few frames to be rendered. Let's check. And I think the decreasing off broke so size improve the situation. Of course we have some jelly effect and further playing with density and smoothing. I think I can handle it. But for this lesson I'll keep these settings and Renda in full size. And let's chick what we get and what Ah, their results. So she trend him
 Alexey Brin, Motion designer