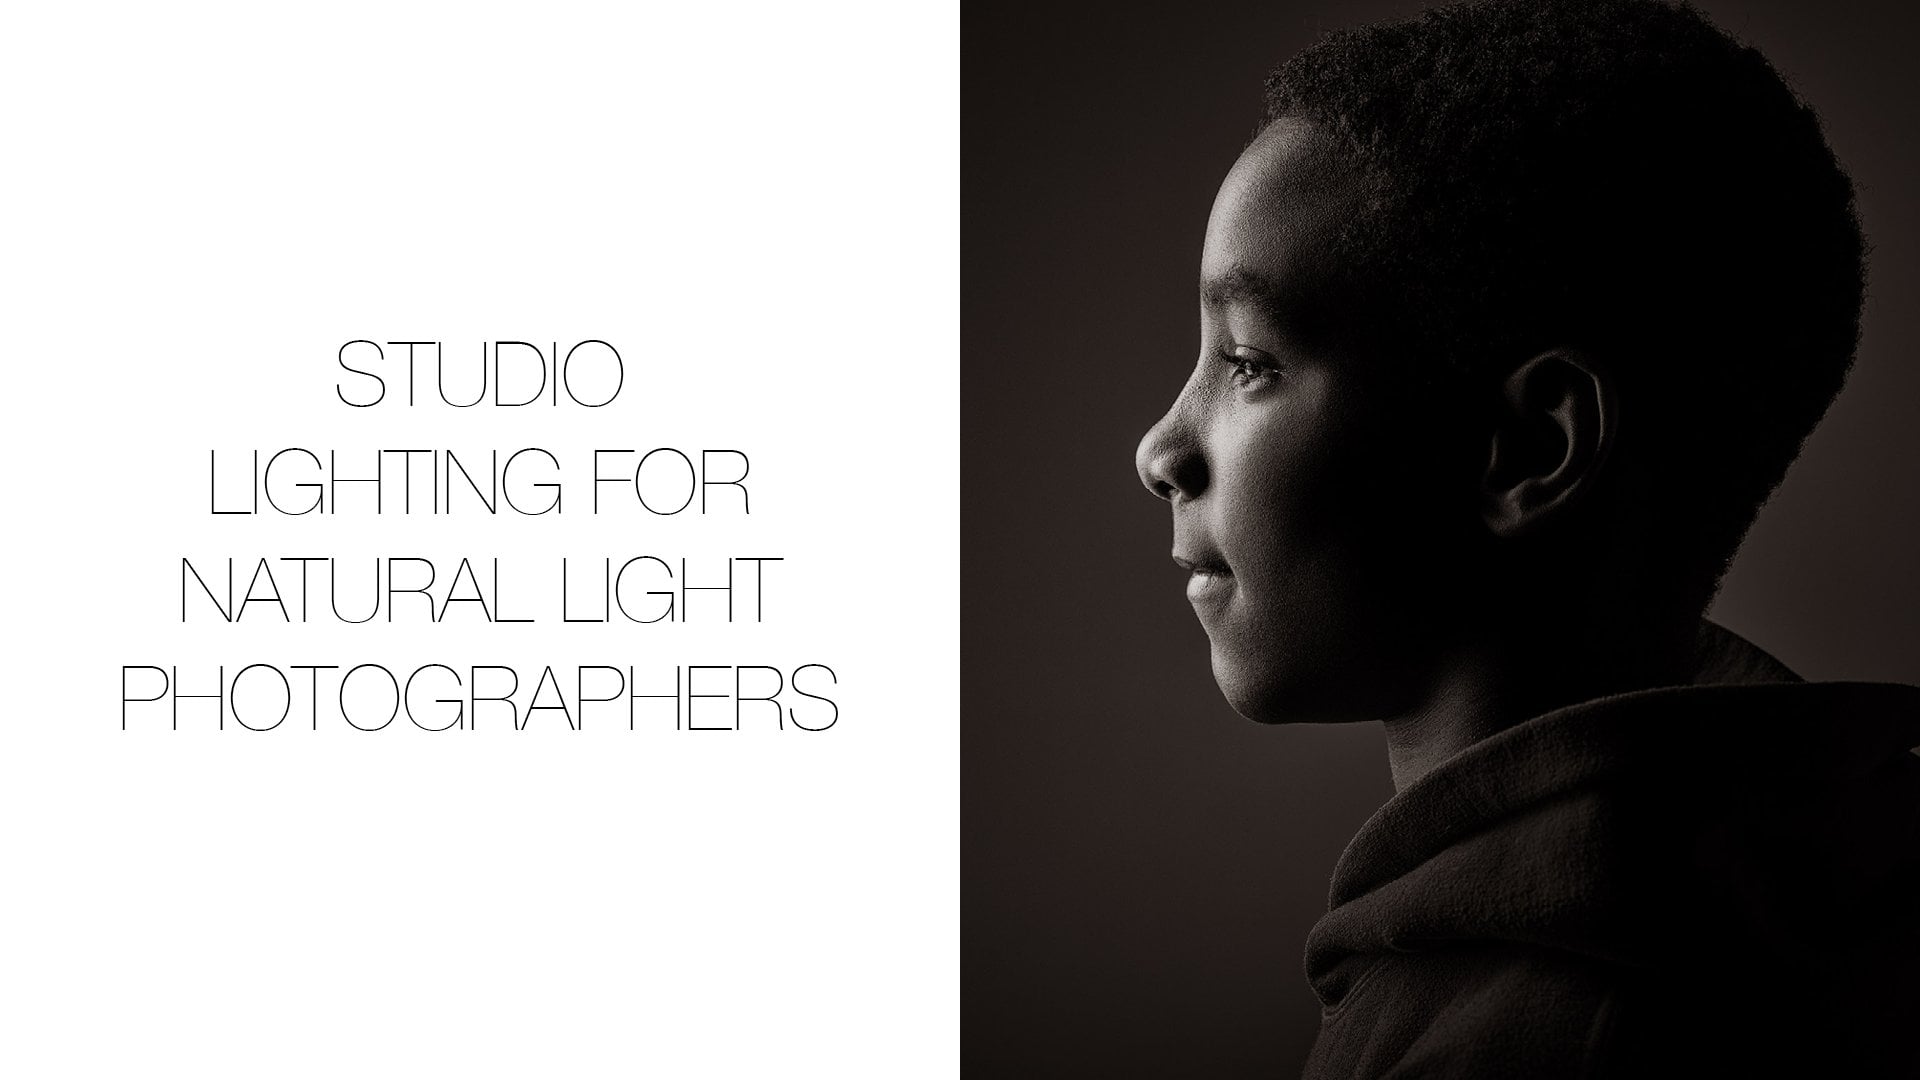
Transcripts
1. Introduction | The Props Challenge: So in this video, Ben has turned up his four years old on. The challenge the team have set me today is to create some images with the props he's brought. Which abstentia ble are a toy car, a toy camera and a desire to be photographed with our studio dog. So there you have it. We're gonna have three different ideas using props, whether they're living or whether they're in animate on. We're gonna create some really beautiful images we get on. I'm Paul Wilkinson. This this?
2. How to avoid flat studio lighting: So the first lighting set up I've shown you is a kind of lighting I will see in 1000 images . There's two key lights at the front, one on either side to both set to the same. There's two key lights onto the onto the background on what that creates actually is a really flat image with no dimensionality whatsoever on. On top of that, it creates double cat sites in the eye, something I've always had a real dislike of its not particularly natural. It's certainly not particularly exciting or attractive. And so all I've done in manipulating that I've done the very, very simple thing of just turning this one light off. So now I'm using a three light set up, which is a cheaper on Be. The picture looks so much better because now I'm starting to introduce dimensionality. It's really simple. I've done it in about two minutes, flat on. Really. The point I'm trying to make is you need to think about the energy on the styling of the picture, your carrot, your capturing Don't just go for the obvious. Don't just go for the boring Don't just say well, Children move around so I've had to have lights around the studio. That's not a good reason to take a lower quality picture than you can. Instead, look for shape. Look for ways of persuading kids to have a good time. We just Martin a little take spot in the middle of the floor, but equally I've given him a huge white floor to play this radio control us today. I had no idea what Ben was going to turn up with nothing, and he's turned up with these cars. So to give a child space in which to play means he's gonna laugh is gonna enjoy it. It's gonna get excited about it, and that is simply all I've done. I've changed the dynamic of the shoot from being flat and lifeless to being exciting and interesting on full of life. And guess what, folks? If you're gonna try and persuade apparent to buy a picture, it better be the latter because they're not gonna buy the former
3. Prop 1: Toy Car | High Key Studio Portrait: So when I was set, the challenge of photographing Ben was lying on the floor with his toys, fighting, having with his toys. I thought I'd start with something that I'm not particularly keen on, which is just a child. Stood there flat lighting, both sides. Toys held on all of them very quickly to one of the lights off. Turn into side. Make him off a little bit on already. The shot is improving. I'm looking for contrast. I'm looking for shape, but that's not the whole story. That's not where we're gonna end up. What I now need to do in between shots fluff in a bed is to get the shot where I think will have the real character of a small boy with his toys. So in the final shots, what I was looking for with this idea that the cars accelerating towards May the photographer and a happy by product of that, Of course, if you ask a child, go on, drive it towards me. What, you think I'm going to give them, then that's a bit boring. No, they're not. They're going to drive it towards you. And in fact the only casualty was the video camera rather than mine. It kept skipping past me, but it seemed to be drawn towards Sarah's cannon. It must be something in the canon Nick on debate there. But what? I was looking forward, the placement of the cars to show both cars. And if you look in the final image, the gray car, What's the name of the great Carbon? What's the name of that car? Jackson Storm. If you look a apparently Jackson Storm, he's got two little led lights on the front. One of the reasons I wanted to use that car, but it's hurtling towards May. I've got just enough of a hint of the light in there that in postproduction Aiken bring those up and make them bright. So I got this beautiful high key shot that's got lots of energy but also has the lights coming towards the camera, the low camera angle and drama and theater nearly tricky bit. It was time in the shot so that the car is quite big in the frame, but I've still got then I've asked him to push the remote control down so it's not obscuring his face, and I asked him to look at the camera rather than the toy. And that way I've got this really engaging very simple. Photograph the vinyl. This final isn't pure Matt, which is a shame. I'd rather it waas, but it's the vinyl that we have at the moment in the studio on the by. Products of that is, I guess you get a semi reflection in the floor and as you bring the camera really low onto the onto the surface of the studio floor, that really exaggerates that reflection. So I've got these reflections, part reflection, part shadow underneath Ben underneath the toys and again that just adds some character to the image. The retouch is really simple. You have to retain some of that shadow and that reflection or else everything looks like it's floating on. I really don't like those kinds of shots. You know when it's whites will weigh around, including under the feet or under their arms. Because, of course, it never would be like that. So you keep some shadow, you keep the reflections, and then you have at sea quite a cool little shop
4. Prop 2: Toy Camera | High & Low Key Studio Portraits: what I've done for this next shot again. I had no idea what Ben was gonna bring with him, but he's brought within this really cool camera. Men commit. Show the camera. Your camera. Look at that later. Went on. That is a cool camera. And that's one of his favorite toys. So what I've decided to do is to try to create really high key but still really beautifully lit picture. I still have two lights, lights in the background. I still have my semi shiny vital. But now we've done is we've built Ben a dent. And these are just door split your doors, their lights. They're easy. They're 20 quid ago. Some chippy stands on the bottom to hold him upright. Some very cheap black material have no idea what kind of material is the kind of stuff we have, like stick or things to, You know, when your Children you know, those little felt things you stick it to, don't you? It's a bit like that, isn't it? On these give outline because I'm gonna focus Ben in a white shirt and what I don't want to do is lose the shirt into the white background. So I'm using these two black sidekicks to create a little bit of shadow around the edges, then placed this like this is just my key light set a little bit brighter than the two back lights because, of course, there to back lights. So this could be set that little bit brighter to balance out against them. You do by trial and error. You start by lighting the background if you want to, and then work out the front light. Or you can start with front light and then turn that off from work at the back like it doesn't really matter how you do it. What's important is you think that way. So you like the child with this, like this, like is doing that on you like the backgrounds with the other lights on their independent, and that's how to think of it. Think of it in terms of lighting to parts of the image. I've pushed these up quite high. They're quite strong. And the reason is I wanted the light to bounce forwards off the background and create those beautiful kiss lights around the cheeks around the edges of his face. Then all I have to do, then commit. Grab the camera. Where's your camera? Go, boy! Go! Whoa! Look at him Run! I think he's going to stand on that patch. They're looking and go by. And he stood there and he's gonna turn a little bit. Just turns a little bit. I said, turn on your feet. Just a little bit Shop around on your feet. Perfect. Then when I say so, I'm gonna grab my camera. I'm gonna pointed at that little boy there who's gonna grab his camera. He's gonna pointed at me, and then he's gonna look at the back of his camera and he's gonna look at me again. He's gonna come back of his camera, he's gonna get me again on and then he's gonna stop and smile And I've got my fighter, Megan, it's in person. One of the cool things that happens sometimes is even though Ben has brought props with him . Of course, I've noticed he's curious about cameras And what do we have in the studio? Well, of course I've got load of all cameras. That's what I thought I do is pair the previous high key, very modern looking shot that were taken of Ben with his own camera with. It's just wanting off with the shot where, actually, this is my dad's camera now that holds a great deal of sentiment for May. But what I like about it is that with this outfit with Ben, he looks like a photographer in the sixties. This is a camera that is completely off that era of the sixties and the seventies. It's the first comer my dad let me play with when I was growing up. I've changed the lighting completely after up to black background down. We're still just using a single umbrella, umbrella soft box. They're not particularly expensive. I've moved the light around so that it's casting light on. Ben is casting light on the background. A quick tip. If you're organizing your studio, is you should notice here that I still have the vinyl floor out and take down. So how can I have a black background down? Well, I always make sure that if I have a vinyl background in my studio rig, it's on the further most role so that I can leave this out. I could bring it out and tape it. I can have it all stretched out and I can keep it where it is. And I could do the whole shoot, bringing different backgrounds down. Only once I finished the session on I'm clearing the studio down. Do I bother? Take removing all of the tape on rolling it back up because actually, rolling vinyl in and out is a little bit slower than rolling paper in and out. And at no time did I want my client. I have to wait while I funny around with a whole load of plastic. One thing to note that as a low. The two back lights, The two rim lights are still in their situation. They're not being used there. Actually, both power down this shot is a single image, which means you could do with one single strobe one umbrella or umbrella soft box, which we have here in one piece of black paper. Simple
5. Prop 3: Rufus the Dog | Outdoor Natural Light Portrait: so the team set me a challenge. They primed. Ben asked him what his props were going to be, what his favorite things were on in the middle of that list. A dog that's not your everyday prop. However, we happen to have a dog kicking around the studio, So fair enough, let's try it. So I've come outside. Well, then do it in the studio where the dogs probably gonna get stressed. It's always easier to photograph animals outside than inside, and I found this location here in the foot of a very large course chestnut Big old tree here. The reason why I'm using this is because you get the shape of the of the trunk and then it rolls out onto the floor and it's a natural position to seat someone. If I put a very low camera angle and shoot across, then it creates quite a pleasing set of lines. I've lined it up so essentially it's greenery in the background, and that should be pretty much out of focus. The lights. Well, it's really important, of course, and I haven't picked this shot by this place by accident. The leaf canopy goes so far and Then there's sky, and that sky translates into beautiful light on Ben and subsequently the dog's face. We've had to supplemented a little bit because there's little bit gloomy. We've got reflected in the corner here. I don't if you better see that whether I confined lights were just bouncing the smallest amount in just to fill in some shadows. It's not having a major effect. You certainly wouldn't be other telling the final picture as such. But trust me, when you're here, it's just that bit noticeable. If I know, get Harriet to bring the dog into that shot, you'll notice she's leading him with food by the nose. Dogs will follow food, so you always lead a dog in by the nose, which everywhere you want, the doctor said. If you want a dog to sit towards the camera, you draw them in, all right, using food. Okay, now I'm gonna do how it's gonna hold him on a weight. Both Ben and the dog are going to look at me how it's going to put the food, tip it on the front of my lens, and that will be enough to get eye contact with a camera. Go on rewarding Negga. It's the simplest
6. Now it's your turn! | Outtakes: So in this video, we've shown you just how easy it can be to create really interesting pictures, even off a brief. As challenging as I've got a small boy, he's brought some props and some ideas. See what you can do. We've shown you high key pictures we've shown you Loki. Pictures on. We've shown you how to create a picture where the boy is that next to something. Well, a dog. All beautifully done. So why don't you grab a camera, grab someone, grab some props ago. Experiment, but always always be driven by the light. If you get the light right, as we've shown you, so much more can be achieved. When you do create your pictures, please upload them to your projects. Tab down below. We love to see them. We always have a look. We always comment. We always critique if you wish is to. But more often than not, all we actually do is love your work. If you enjoyed this video, why not help across to mastering portrait photography dot com which is where this video and many others are stored, kept created. Call it forever. You will. Across there there are videos there are articles, there are podcasts. There's a forum with Q and A's, and there are plenty off image critiques. You never know. We might just be able to entice you to becoming one of our valued members. But until next time, be kind yourself. Take care that see what? Amazing loving your work. I love you. I have been drilled just They were just up that after you're going to speak Dutch for the final bit played, he's gonna do that, help him.
 Paul Wilkinson, Portrait Photographer