Transcripts
1. Welcome + Intro!: Painting grass is all
about seeing the beauty of the every day from
lush forest to MS-DOS, to farms, to the city backyard. We're really
surrounded by grass. And as painters,
we want to be able to capture all of its elements. Painting grass is one of those quintessential
basic skills that every painter
needs to learn, no matter if you're
a landscape portrait or even abstract artist. And if you're anything like me, painting grass is but
challenging at first. Well, I've got you covered today because it
actually created a seven step guide to show you exactly
how to paint grass. These seven steps
are very clear, very simple, and very easy. Join me in this class and
you'll be walking away in no time with a beautiful
grass painting that just comes to life. And you'll have new knowledge to carry you forward on your
painting journey ahead. In this class, we'll
go over things like how to create depth and
your grass painting. And also how to make sure
your grass isn't upside down. You don't need any
experience for this class. You're welcome as a beginner or an advanced painter as well. By the end of this class, you'll not only have a great appreciation for
all the grass around us, but also the tools
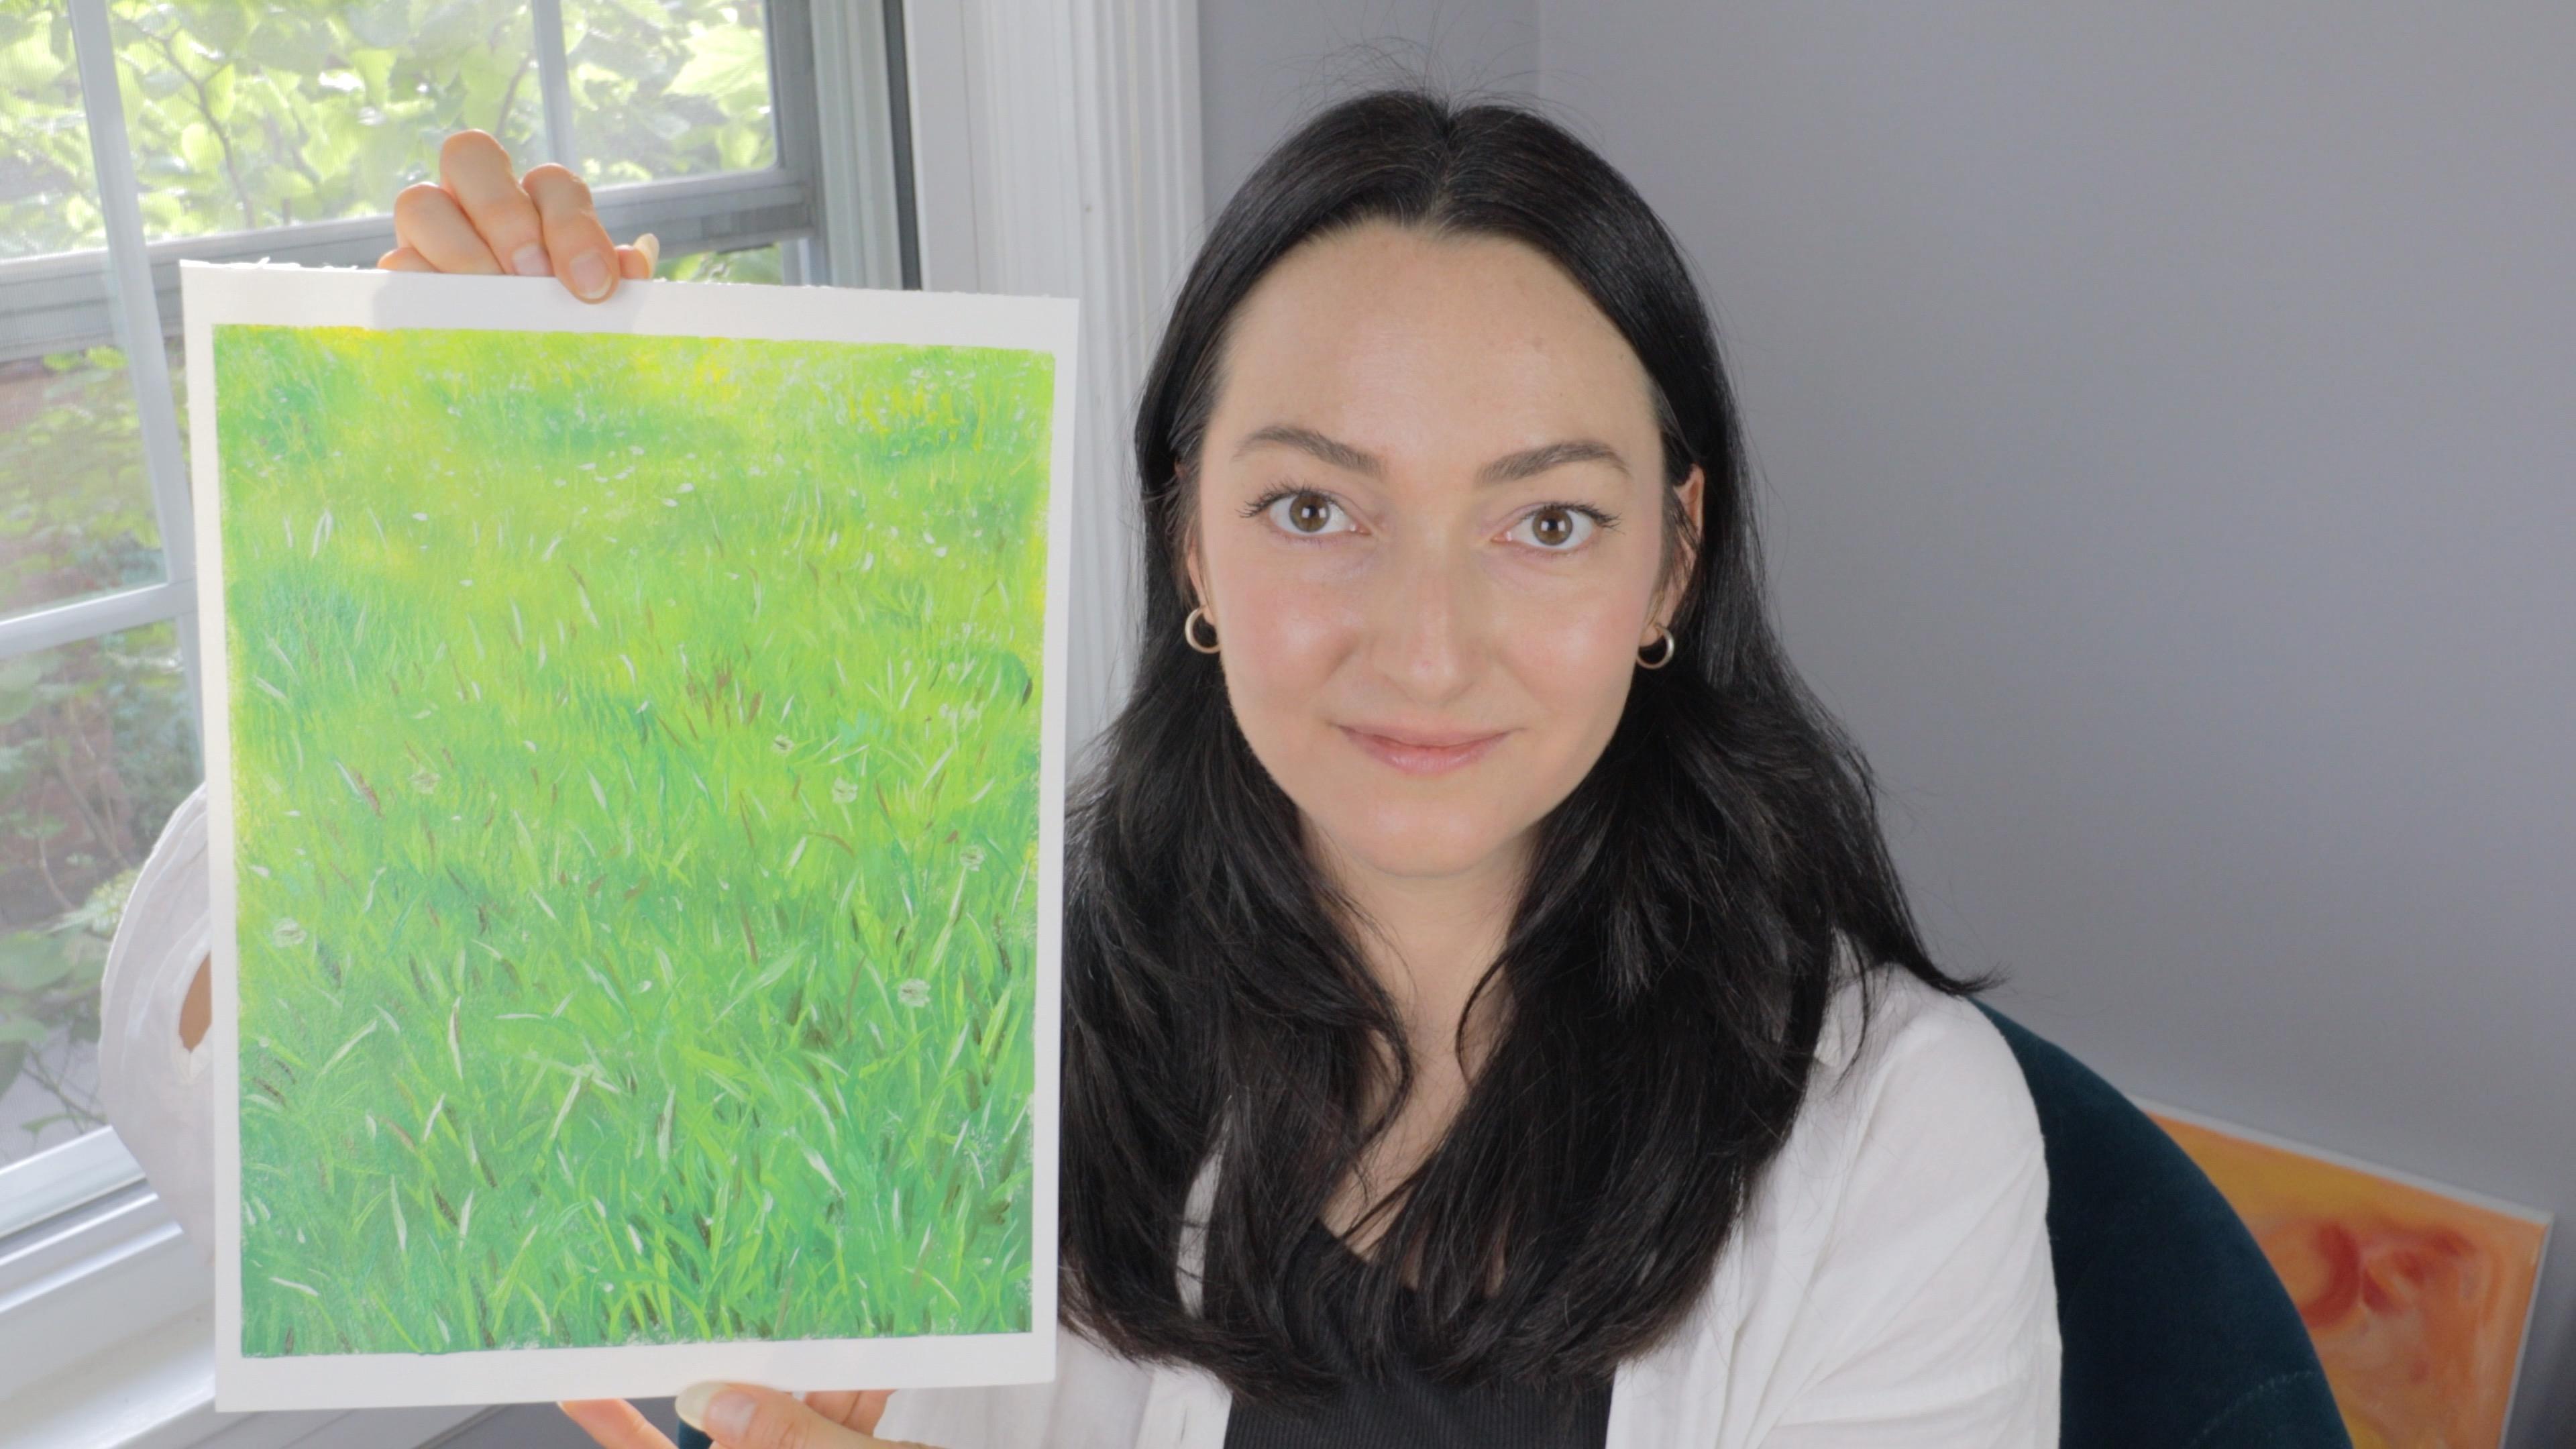
to go and paint beautiful grassy landscapes that will captivate your viewers. Once again, welcome, I'm
so glad you're here. I'm Haley. I'll be
your instructor. And I've been an oil painter
for over 15 years now. And I'm just so excited
to share what I've learned and grow and connect
with you guys as well. So if you're ready, grab your
brushes, grab your canvas, and let's dive into the
green and beautiful, vibrant world of painting grass
2. Materials Needed: Here are the materials that
you'll need for this class. So first off, you
want some paint. Here are the colors
that I'll be using. Now. I'm using oil paint, but you can honestly use
any type of paint you have. Just follow the steps
and adjust accordingly. You want some brushes. So I have three here. I have a skinny
thin tipped brush, I have a flat brush, and then I have a fan brush. Now the fan brush is optional, but it is really helpful
if you do have one. And then of course,
something to paint on, canvas or canvas paper, a pallet to squeeze your paint onto and to mix your paint on. And then paper towels or rags
are really helpful as well.
3. Step 1 - Cover Your Canvas: Hello. Today I'm going to show
you exactly how to paint grass the
easy, simple way. Okay, So we're on step one. So I'm going to have a
really bright yellowy green and then like a mid green, a darker green, and then
a dark teal type green. But again, use whatever
you have available. Now the first step is to simply cover your entire
canvas with color. We want to create depth. So we're going to make
the top of our Canvas, the background, then the
bottom of our Canvas, the foreground, meaning
the top of our Canvas, will have less
defined details and shorter brushstrokes showing
that they're far away. And then the bottom of our
Canvas will be in-focus. It'll be like right
in front of us. So longer brushstrokes, more defined details and it will seem like it's right
in front of our eye. I am using a photo that
I took in my backyard. And I see there's a lot of
yellow in the background in more tails and dark
greens in the foreground. During this step, you
want to think about moving your brush in
various directions. Think of the grass as
swaying in the wind. So to create that
sense of movement, you want to tilt your brush to the left a little bit
and then to the right, you want to move around in a curved direction, up and down. It's kinda like a dance. If you just moved your
brush up and down in perfect uniform lines you're painting might
look a bit static or manufactured and
not very realistic. So we're just working on
covering the page and blending so that the values
seep into each other. But don't over blend or
you will completely lose the interesting shades and values and your colors
will muddy up too much. Also, you may notice
that I'm leaving a little bit of the white
canvas showing through, which is actually encouraged
to do and completely okay. You don't want to leave
too much obviously, but a tiny bit kinda helps it look more
realistic because there is a lot of white in the grass
reflecting from the Sun. So I think it looks
nice to leave some rough edges that show
the white coming through
4. Step 2 - Background Light: For step two, we're going
to switch gears and grab our fan brush and some titanium white or any white
that you have will do. And we're going to just dip the side of the fan
brush into the white. And basically we're just going to move our brush around in random directions at
the top of our Canvas. The graph at the top
is really far away and the sun is reflecting
these white flecks. So it just kinda looks like
sparkles and the distance. Just kinda move your
fan brush around. You can use the point as
well as the fan part. Just make sure you don't do like uniform fan lines in a row or that will
look a little bit odd. You want it to be random. And keep your Sparkles
at tiny as well. You don't want like
big dots for example. And we'll just stick
to this top portion of the canvas and that's it. And then we'll move
on to step three.
5. Step 3 - Fan Brush Grass All Over: Ok, and for the third step, we're going to keep
the fan brush, but we're going to dip it in the lightest screen
that we have. And we're also going to get a good amount of
safflower oil so that the brushstrokes are liquidy
and they go on smoothly. So just move all
around the canvas, sweeping up and you're going to create little blades
of grass everywhere. And the movement here
is top to bottom, meaning you're
sweeping your brush up or else your grass
will look upside down. Make sure you're not doing a
brush stroke that goes down. You're going up. Instead. Remember smaller brushstrokes at the top which are farther away. And then towards the
bottom you can do longer, more defined
brushstrokes. And as before, you can move to the left a little bit
and move to the right, you want your grass
to be dancing in the wind and really just
creating a sense of movement. Don't go just up
and down straight. That won't look very good. So just make sure
to move your brush around and kinda let
it be free and wild
6. Step 4 - Individual Grass Blades: Okay, step four, this
one is really fun. We're going to grab our
skinny thin tipped brush and we will carve out
individual grass blades. So we're using that bright, light green color again
with a lot of yellow and a good amount of safflower oil so that it's liquidy
and easy to paint on. And again, we're moving in
all sorts of directions, sweeping up with the brush, same thing as before. I'm keeping the brush
strokes shorter at the top. I really like to have the grass crisscrossing on top of
each other going sideways. Just kinda like going
wild because this is not a perfectly manicured
lawn or anything like that. It just looks more
realistic when the grass is kinda afraid out in
various directions. One tip that really
helped me is to paint more grass blades
than I think I need. When I first started
painting grass, I had these sparse blades and my painting looked
quite cartoony. So the more graph, the better. Just make sure
you're not overdoing it obviously because then your blades will disappear and you'll just have like
mud and no details. So you want to still
see the details, but you wanna make sure
you have enough as well. And then towards the bottom
we can add the longer graph. And I also do like to
add some short blades at the bottom as well
to make it look more realistic because there are going to be a
variety of links of grass in a real line unless it's perfectly
manicured again, but like most of the time, you will see different
links next to each other. And also just helps blend
the whole painting together when you have some little
ones at the bottom. I just like how it
looks altogether. Then before we move on, I'd like to kinda step
a few feet away from my painting and just kinda
see the image as a whole. And look around and see, are there blades missing? Does anywhere needs
to be filled in? Does anywhere look uneven? So just take a few steps back, squint your eyes a little
bit and just check if anywhere needs more
blades or needs editing. And then you can fix
it at that point.
7. Step 5 - White Highlights: Okay, in step five, we're almost done, guys. This is exciting. So
I'm keeping the thin, skinny tip brush
and I wiped it off. And now I'm just grabbing some titanium white and
some safflower oil. And this step is
all about adding those white highlights
to your grass blades. We aren't going to
do every blade. We're just adding these
white sparkles all over. So when I look at my photo, I see all kinds of
highlights from the sun. And the grass does look
white in a lot of areas. It's very interesting. I never would have
known that if I hadn't gone by the photo, they always say paint what
you see, not what you think. So normally I wouldn't think
to paint white on grass, but when you paint
what you see in the photo, there
is a lot of white. So this is a very
important step. You can add thin
lines as well as dots moving all over the canvas. Smaller sparkles
and the distance. More defined highlights
in the foreground. Don't go too crazy.
Just do a little bit all over and you can
always add more. You don't want to do like
every blade of grass at all. It's more just like a
touch here and there. And again, move in
different directions, have some sideways ones, that kind of thing as usual. And now our graph
is really popping. This is when it gets fun
because you're like, ooh, it's starting
to look realistic. And we just have a couple
more small steps to do
8. Step 6 - Brown Sticks + Dirt: Step six, we are keeping the skinny brush and I'm just
grabbing some burnt sienna, a tiny bit of phthalo
blue and some white for just a rusty,
earthy brown color, any brown that you have will do and similar to the
white highlights, we're now just going to
add some brown highlights. This symbolizes sticks or dirt or just kinda dark
areas in the grass. No grass is perfectly
green or yellow. The brown really adds a nice
realistic touch and it just kinda brings a different
color and value add. I'm not going to add
as much as the white. I'm really just
adding a few little details around the canvas. I also added some darker shading
behind some blades here. Basically you can
see areas in-between the blades and you can
kinda fill those in. And it makes the blades
pop a little bit more. So it looks kind of
like a dirt patches behind them or something. When in doubt,
look at your photo and step away to see
the whole image. And you can ask yourself, in my photo, where are
the darkest areas, where the lightest areas? For those darker areas, you can add some brown shading behind the blades
in those spots.
9. Step 7 - Flowers + Weeds (Final Touches!): Okay, and finally our last
step is we're just going to add a couple of little
flowers slash weeds. I see these everywhere. They're not dandelions
but they look similar. I think they're just kinda
some small white flour that pops up in the graph. But I see them everywhere. Maybe someone can tell
me what they're called. But I just grabbed
a little bit of white with my skinny brush. And I'm just kinda stamping
out these little flowers. I added some brown as well
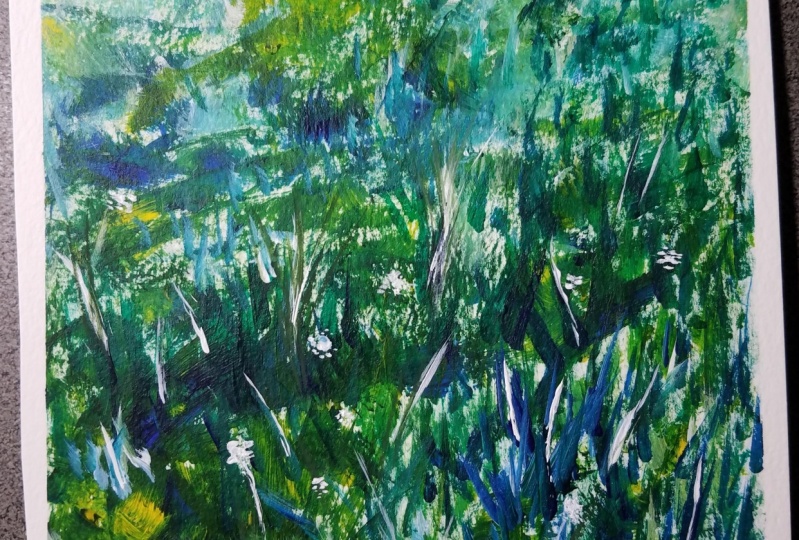
to give it some value. And we are officially done. Yeah, I'm so excited. This is the best part
and now we can peel off the tape and see our
finished grass painting.
10. Project: Alright, well, the project
for this class is of course, you guessed it, make
a grass painting. So I want you to follow
along the steps that I've outlined in this class and
create your own painting. And you can use the photo that I provided or your
own grasp photo. And then once you're done, please take a photo and upload it to the project
gallery of this class. I cannot wait to see
what you create. I know it's going to
be so amazing and I just can't wait to share
and learn with all of you. I also want to ask you if
you've enjoyed this class, to please take a moment
and leave a review. It is so incredibly helpful for small craters like
myself to create more classes and get
the word out and just share and learn with
all of the students. And again, I just
hope you enjoyed this class and learned a lot. And just thank you for going on this journey with me
and painting with me today. I hope to see you
in another class soon and happy painting
 Hayley Hawkins