Transcripts
1. Introduction: How do you ready to bring
Garrity imaginations for life? Hello, my name is Jackie, I'll count, and I
am a 3D artist. In this class, you will
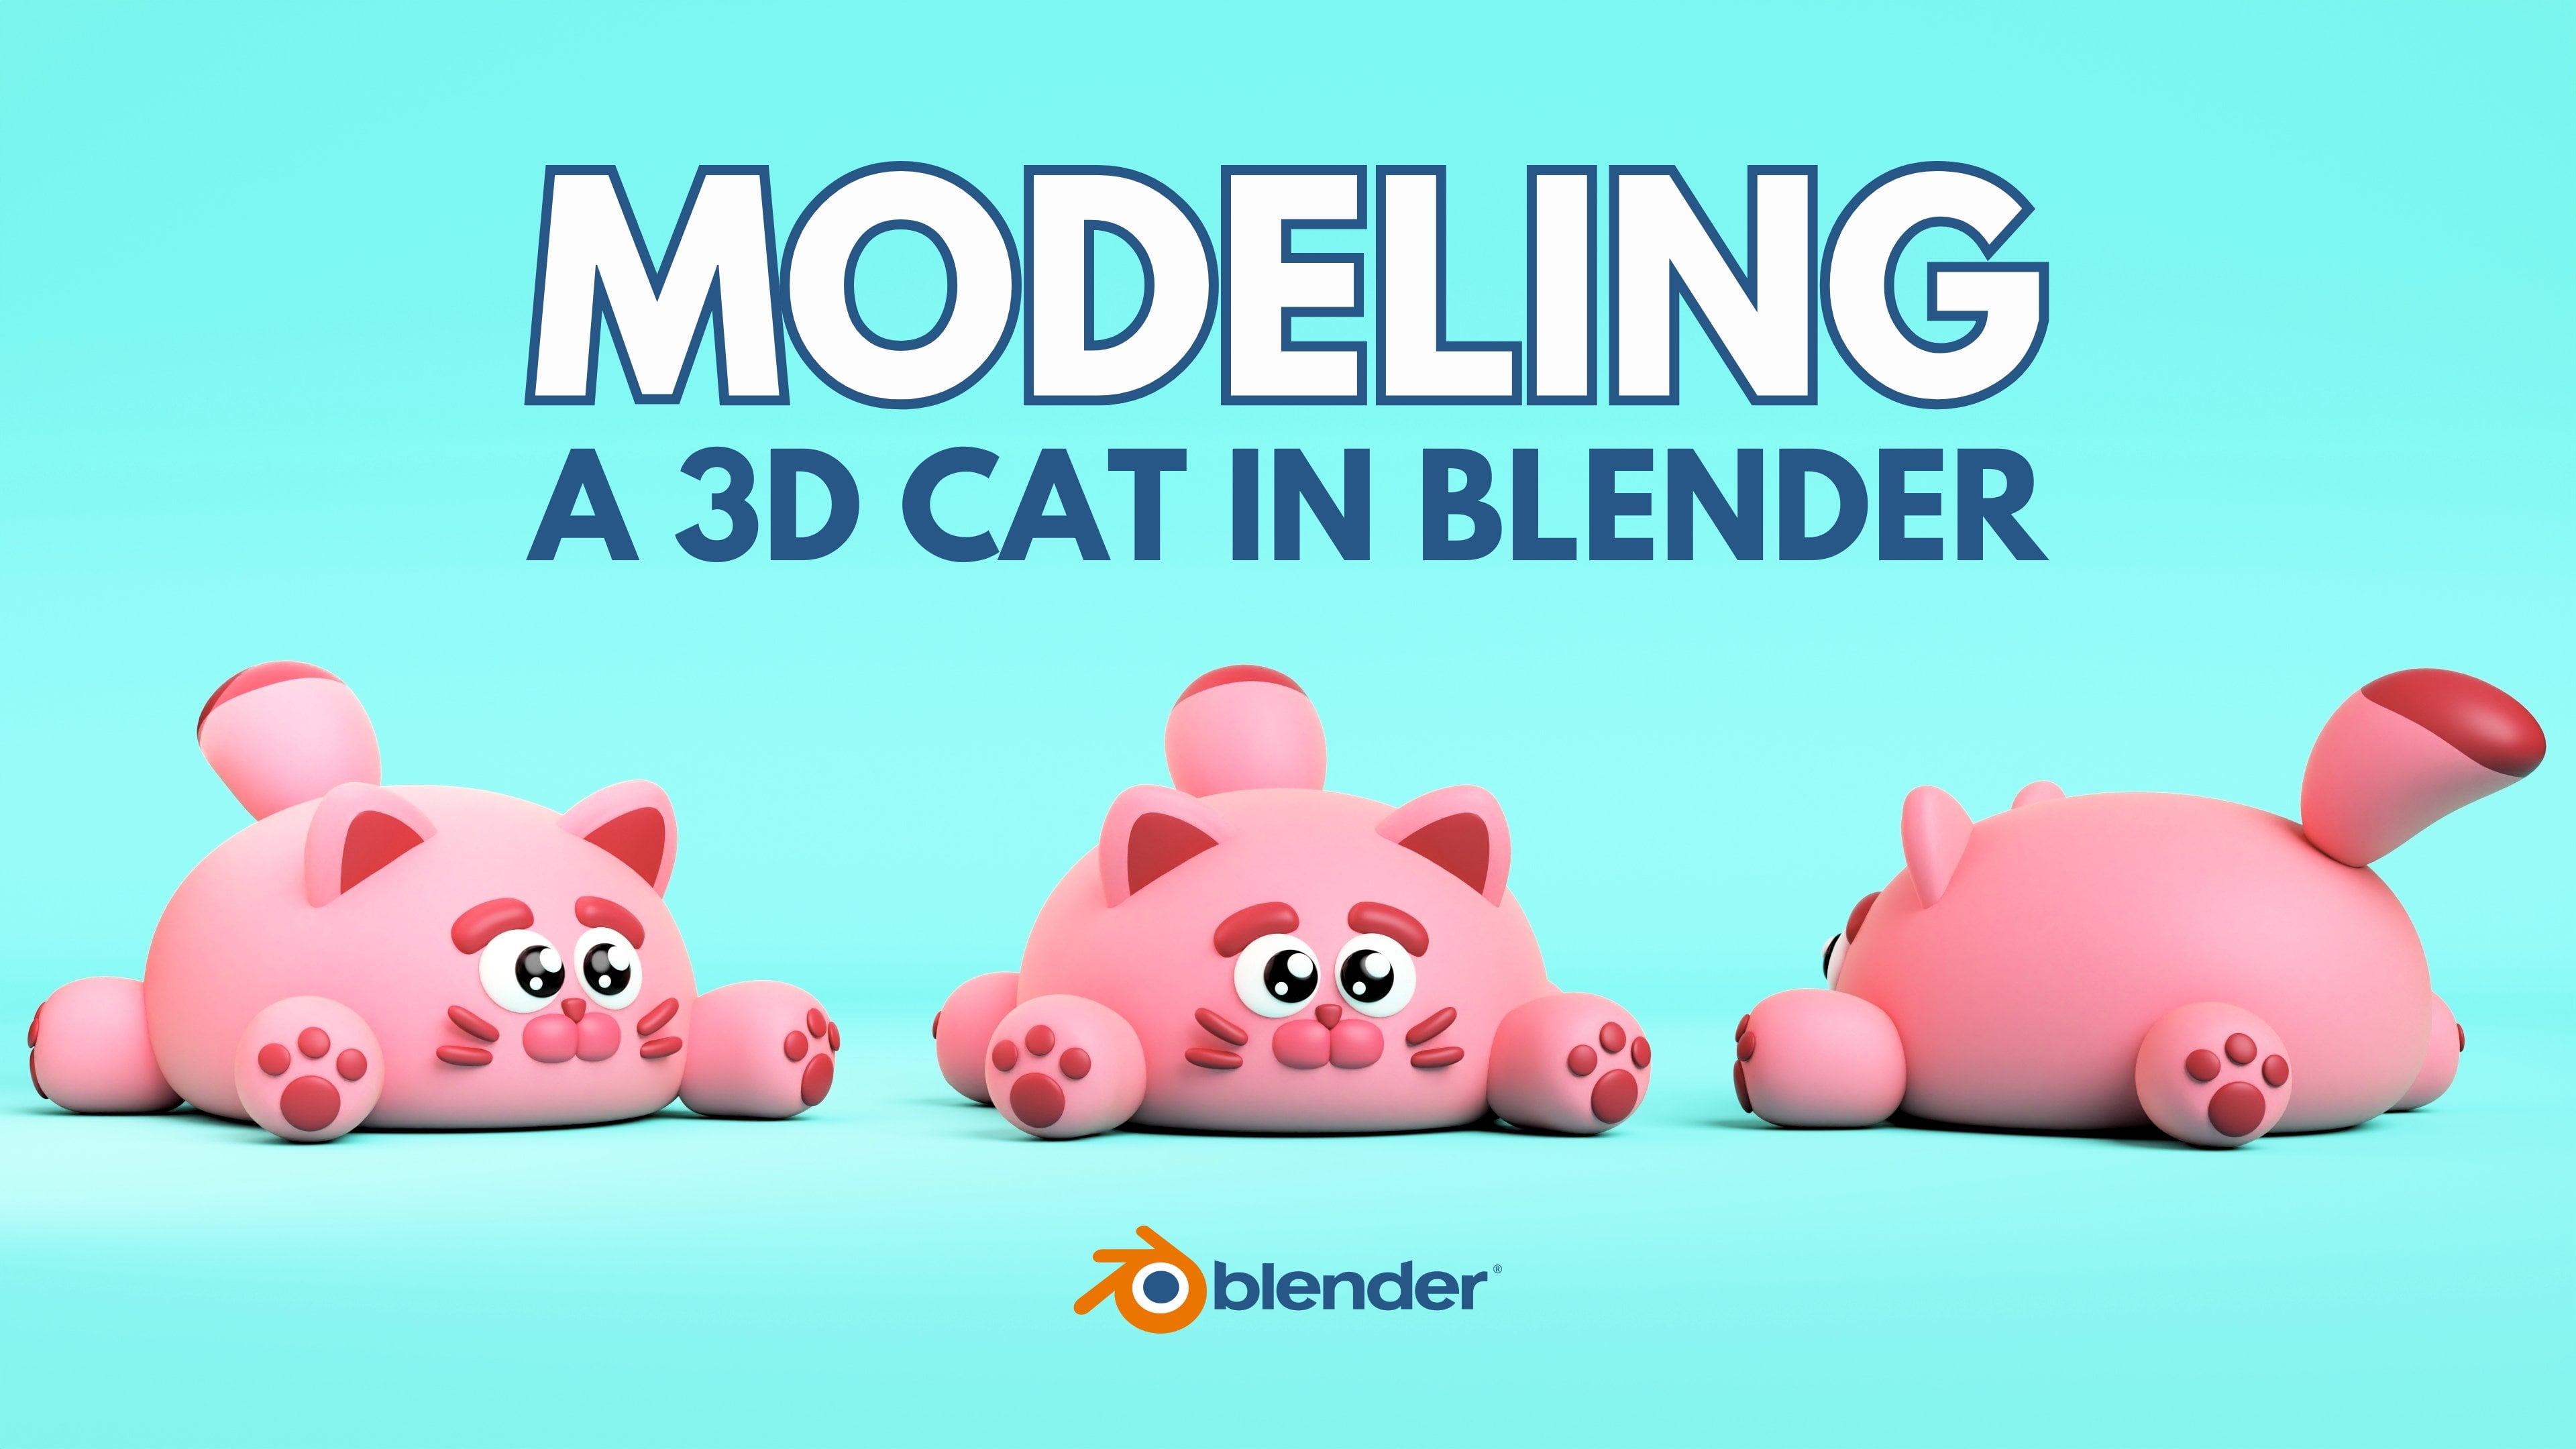
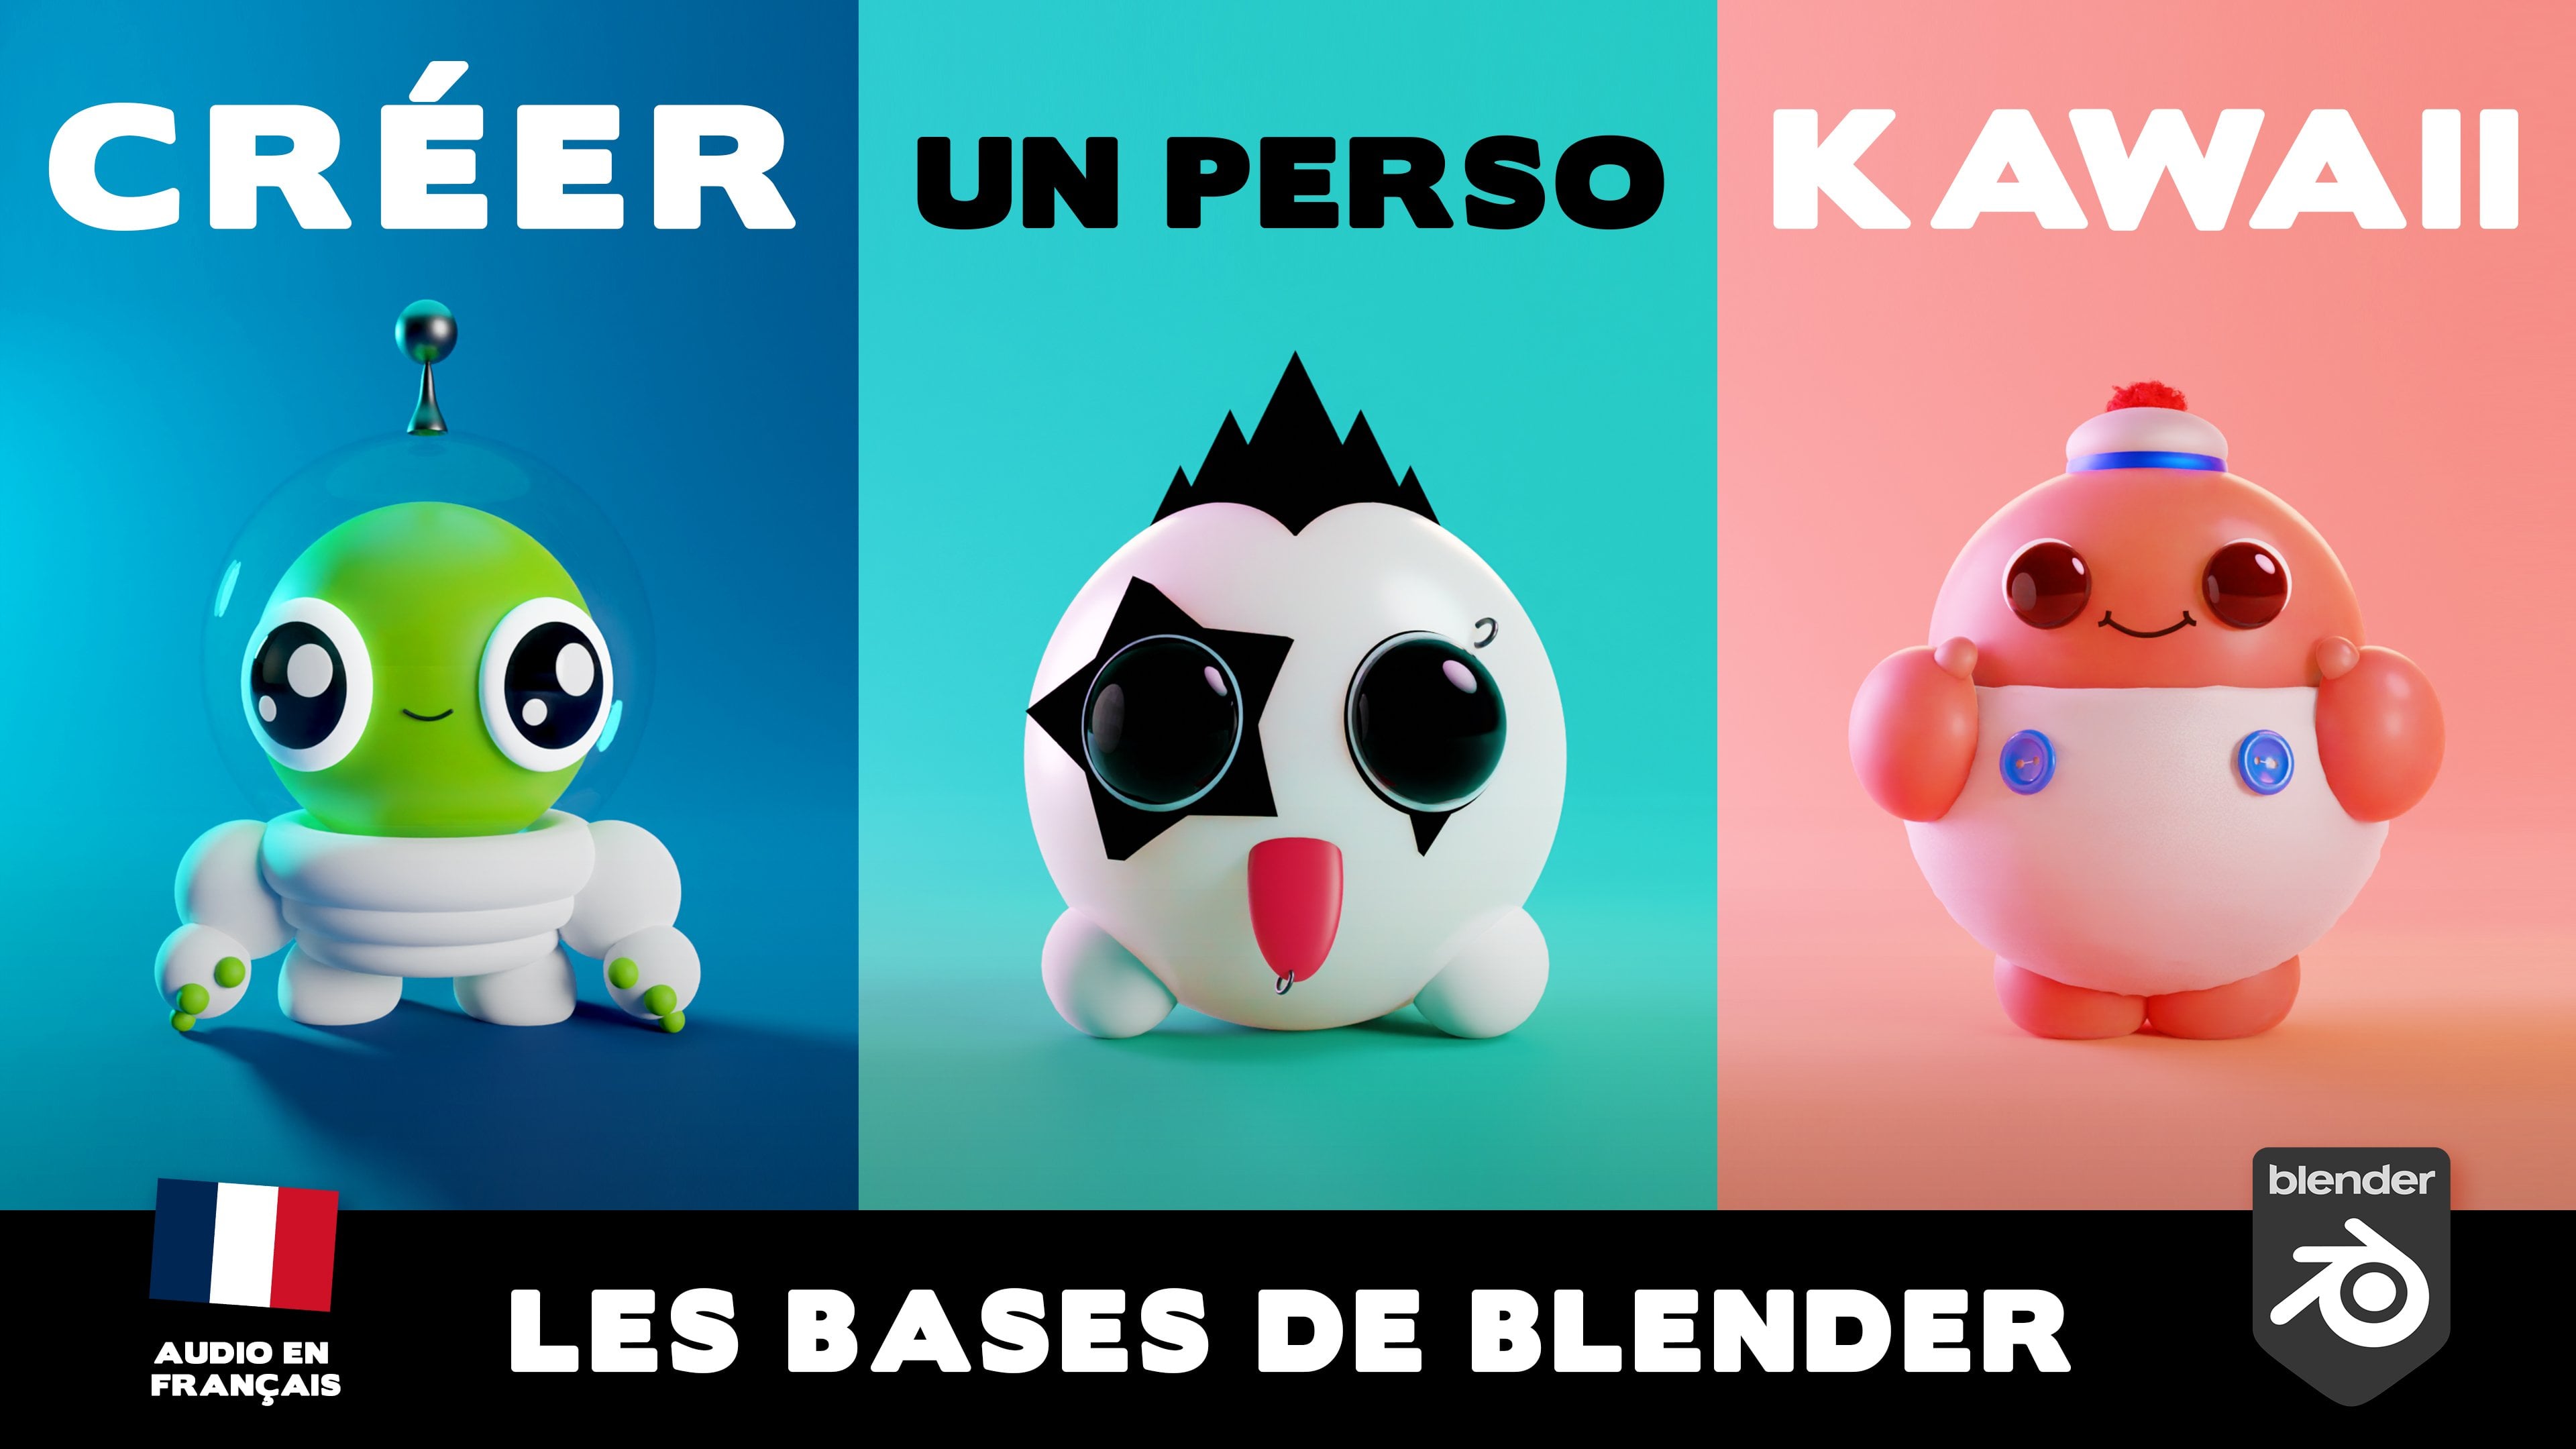
learn how to create your very own cow or a
character using Blender, a free open source software. Whether you are a
beginner or have some experience
with 3D modeling. This class, we will guide you through the basics of Blender. Provide you with the
tools you need to create a cute and logo
character to start. And you use the journey I powerful AI tool to help us find inspiration for
our character design. From there, we'll dive into Blender and covert essential
modelling techniques, as well as some texture
and geometry know. You will learn how to use
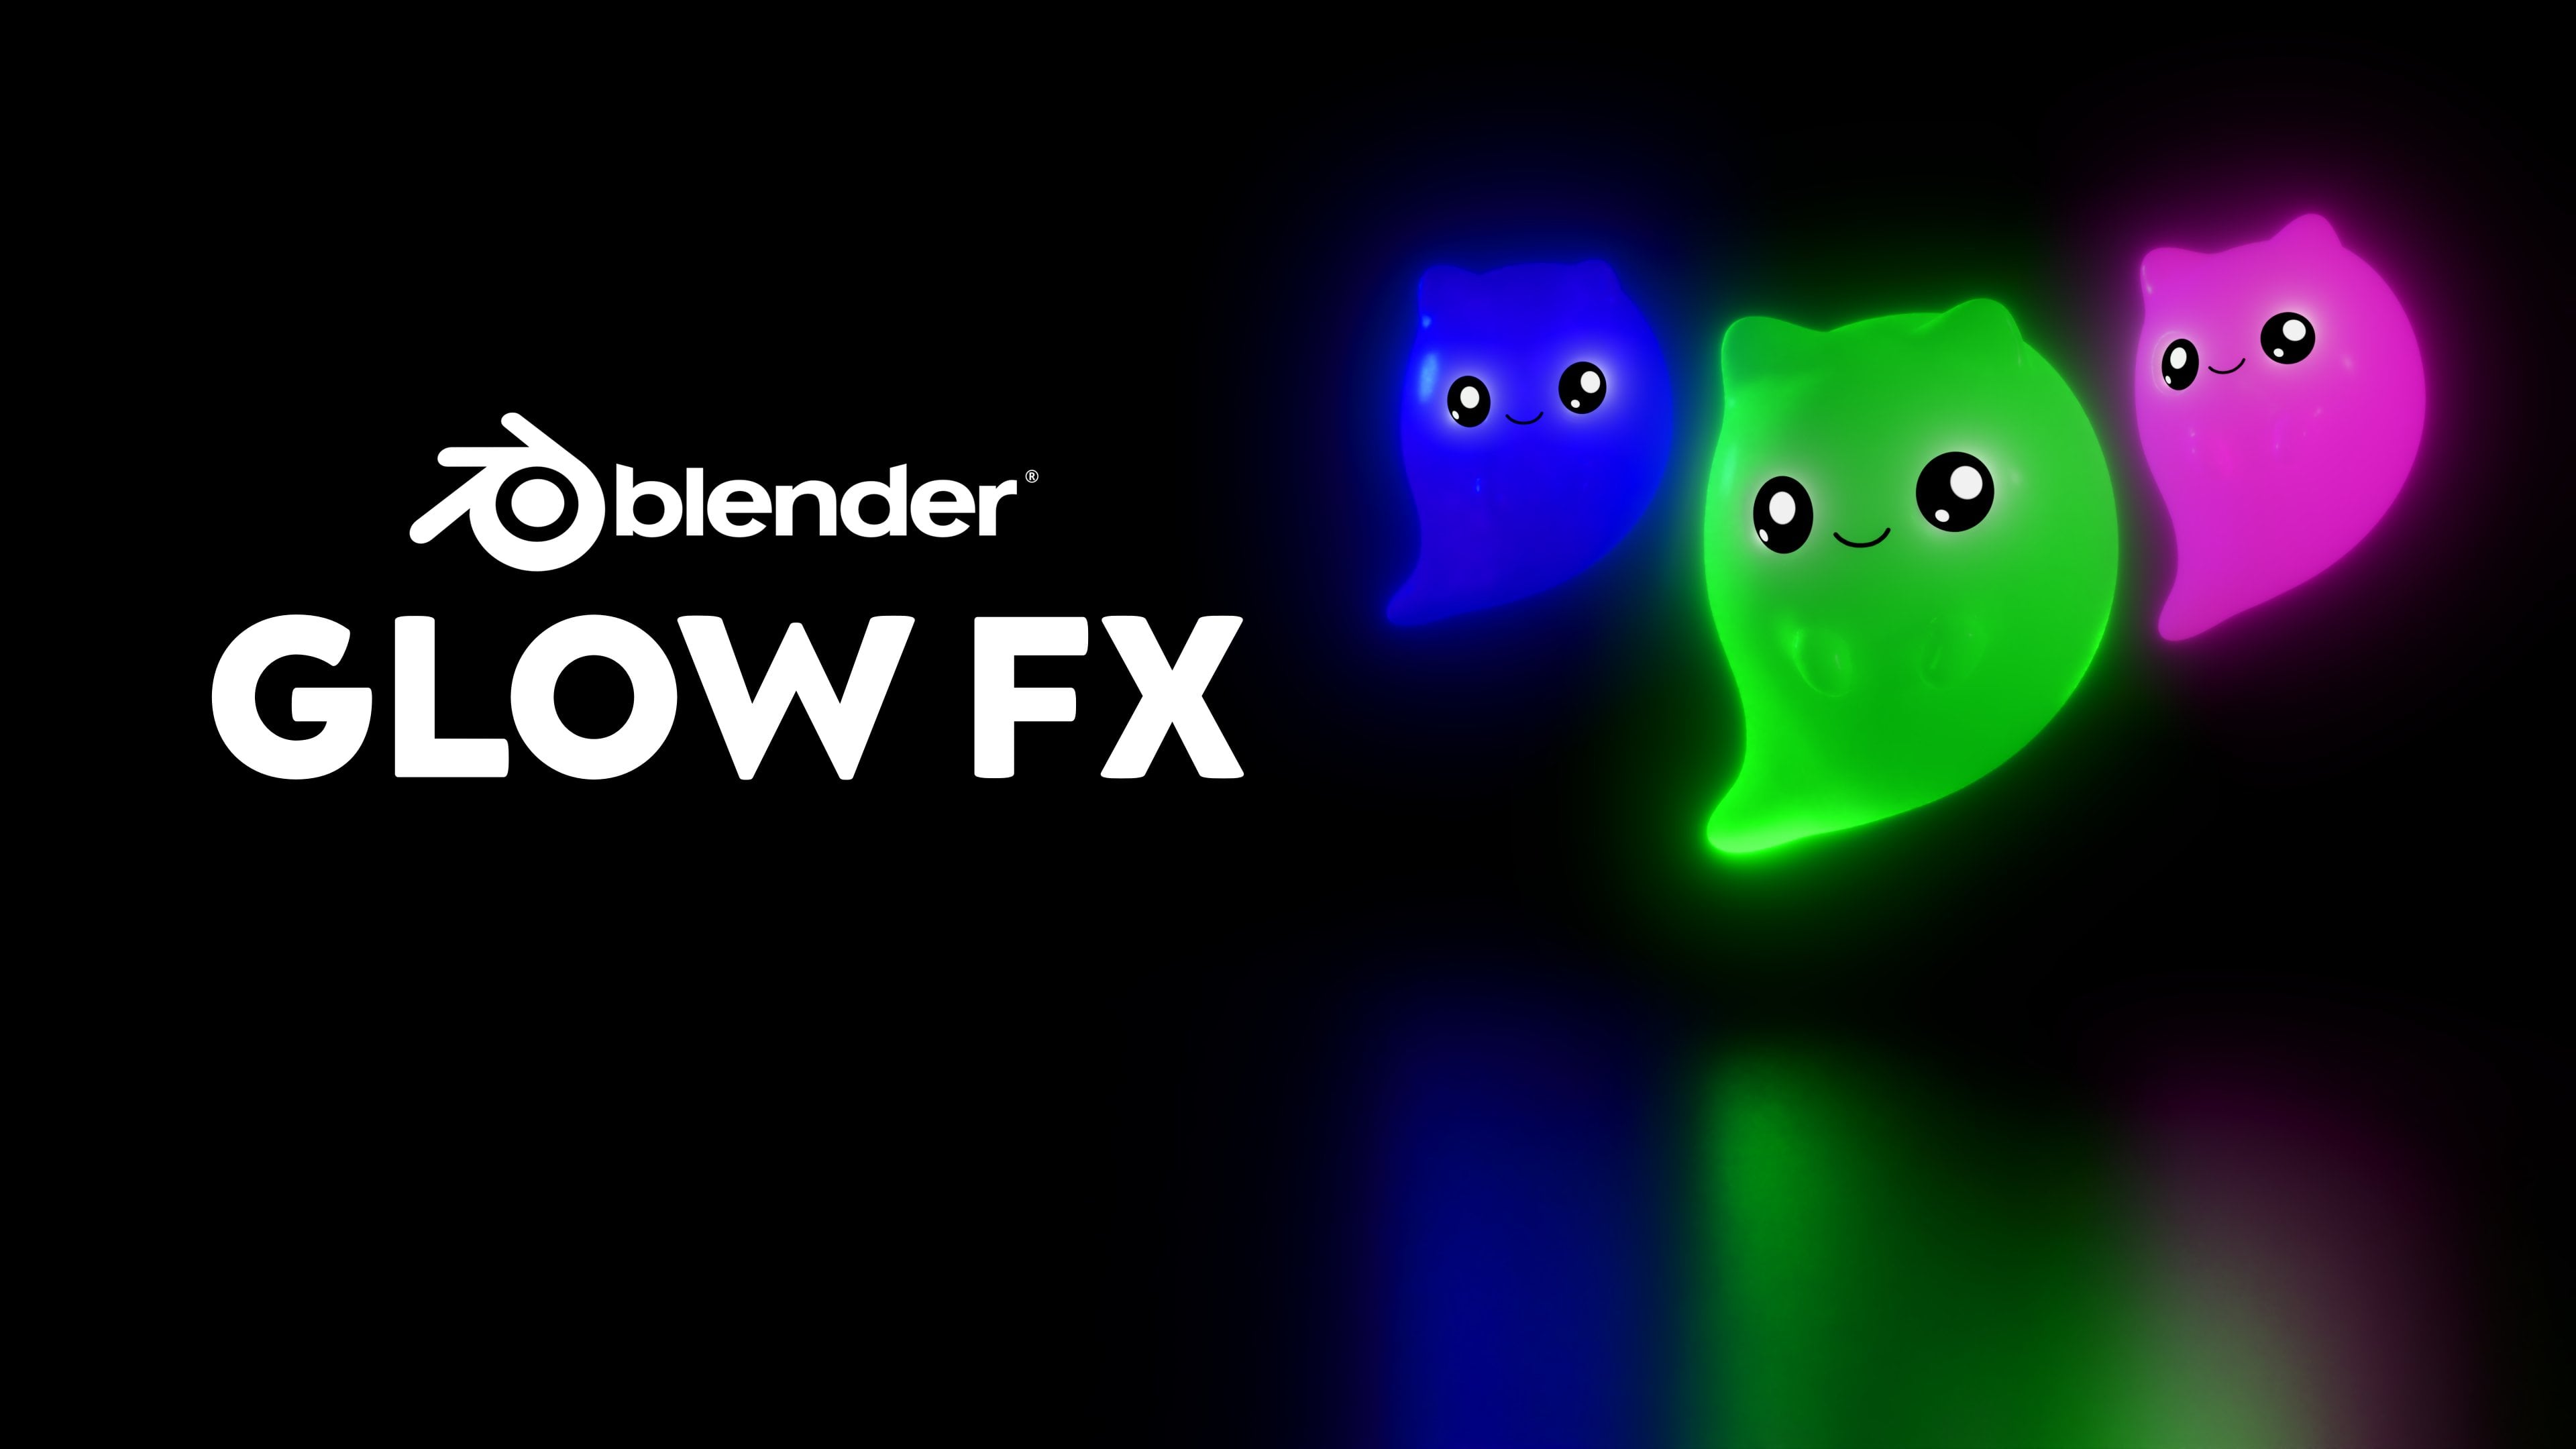
lighting and rendering to bring your character
to life in a vibrancy. No prior knowledge of 3D software is required
for this course, making it the perfect starting
point for aspiring 3D art. All you need is a PC and
the free software blender. Join me on this creative journey and discovered the
world of 3D art.
2. Using Midjourney for Inspiration: Welcome to this lesson
where you're going to create our new
journey as account. If d squared, it
should be really fast. So join me journey. You may discard this in French. Have to prove that
I am not a robot. Okay. Okay. It's open. Now I have to ask to
answer some questions. Preference. Okay, wearing. So tip slash, imagine, click on prompt, then you can type your keywords. So we're going to look at
carefully kept on an ice cream. So I'm going to
type some keywords. I have something
on this version of this first verse or I want
something more cartoony. We are going to look
something more 3D. And then on the second try. By the way, this is the free
version of new journey. Once you can pay for the the
full version on this one, you have to use carefully because you
have only 25 images. So this is the final
result I'm going to open on my browser so that
you can save that image. So it's good, It's nice. It's a good starting point. By the way, it's really
just a starting point. Are going to use my journey
as a starting point for modelling our final work. So again, slash
imagined prompts, you type your keywords. So on this one, I'm going to add some 3D render. Realistic. Okay, So this is more like the
result we're going to have on blender with Cycles render. You can go for
your own ideas and try to reproduce them
on Blender later on. Okay, so it's rendering. Okay, I'm liking what I see. Should be a nice starting point. There are going to add our one, creativity later on, Blender. Ok, good concept. So let's start. Let's move to the next lesson.
3. Viewport Navigation: Hello and welcome to Blender. When learning as software
like Blender did, first thing to know is how
to move in the view port. So in Blender, the
upper right corner, we have the tools to control
the viewport is this one. We can rotate around our object. With this one, the
magnifying glass, you can zoom in and
zoom out with the hand. We can move the view. But better than using
these tools is to know the shortcuts to
work easier and faster. So shift middle mouse
click is to move the view. Only middle mouse-click
is to rotate the view. With the mouse wheel. You can zoom in and zoom out. Let's move to the next lesson.
4. Move Rotate Scale: Okay, Now that the
two know how to move, zoom in and out and rotate
on Blender, the view part. We're going to
learn how to move, rotate, and scale objects. Let's get rid of the camera and the light that's on Blender. By default, we're going
to keep this cube. So when we opened Blender, we have this selected
to select it. We're going to use
the Move tool. The shortcut is g. I click on it on the tool, we can move the object
on all UN axis, like the z axis or the
x-axis or the y-axis. If we select this square, we can move on two
axes at the same time. The z axis is hidden by
default on Blender interface. I'm going to activate
it so you can see the rotate tool shortcut our words more or
less the same way. So you have these circles. The blue circle rotates
around the z axis, the red around x axis, and the green around the y-axis. You can rotate on several
axis to the scale tool. The same thing we can do, or scale on only one axis onto wax is on the whole object. Is the same logic that it's always faster
than select the tools. It's faster to use
the shortcuts. Are going to learn
the shortcuts here, G, R, and S. We can select the object and
tap G to move the object. If we want to construct
constrain it on only one axis, we can tap G and the
letter of the axis, g, z, g, y, d, x. And we want to move on to
wax is at the same time with that G Shift Z to move on x
and y axis at the same time. The same shape, the same
thing for the two other axis. For the rotate tool. The shortcut is our and
it works the same way. Our Z to rotate
around the z-axis. Why around y-axis
and x around x axis. Scale to is S. I can scale
it on only one axis. Or into waxes. We've shifted, Shift and
the letter of the axis. I don't want to scale it. So as Shift Z to scale, scale the object on
the x and y axis.
5. Create Objects: Okay, Now that you
know how to move, rotate, zoom in and
out of the viewport, and how to move rotate
and scale objects. We're going to learn how to create new
objects in Blender. To start, you get
rid of this cube. So in Blender to add a new
objects, we can go here, add a mesh, but we
can add also cameras, lights, all sorts of objects. And if you want to work faster, the shortcut is shift a, shift a to create anything. So I will create a plane to
be the ground of our scene. With S and Z. I will scale
it on the x and y axes. Okay, that's nice. Then shift a to create
another object that you move it up a bit so we can
be to be above the ground. So I will go to an article, an orthographic view and g, z to move it up. I came back to the perspective. I have these two objects
on my scene. Now. I press Shift a again
and they create a light. The light will be at the center of the scene and it's hidden. It's below the box. In blender, you have several
ways to see your objects. So you can go to wireframe mode. Now, we can see the light. We move it on the
x and the z axis. You can go back to the shade, shade, shade, and bold. Then we have the GPU, The GPU engine to render, and the cycles engine
is the last one. Here, we can have a better
results for our render. I bumped the intensity
of the light. So now you can see the
light is lighting the scene and creating some
shadows behind the box. I can tint the light as I want. You can do all sorts
of creative things with these tools in Blender. So I can move the lights and the shadows move in real time. Now, going to play a
little bit of materials, I select the box. I create a new material. It's always a good habit to name your objects in your materials. So in here I can
give the box color. We will do the same
thing to the plane. This you in the materials tab, I create a new material
for the plane. They name it, and they
change the column. Then we can keep
working on the light, can change the color,
change then density. For now, I think I'll
just keep it white. Okay, Let's move to
the next lesson. We are going to see
how to edit objects.
6. Edit Objects: Okay, let's keep moving. Now we're going to learn how to edit the objects we create it. We're going to select this box. Let's move back to
shaded, shaded mode. With the box selected, you can press Tab or go, go here and go to Edit Mode. In edit mode, you can edit
the points, the vertex, or the edges, or the phases. We're going to play a little
bit with the three of them. So I select this to vertex. And we can use the
same tools we learned, like the Move Tool, G, Z. Select this other vertex. With S, x. I can scale
the scale them down. I can select the faces and leave our x. I can rotate
this face around the x axis. I can move back to Edge
and select this edge. I can scale it on the x-axis, also can move it in the z axis. Then I can select
these two edges and scale the scale
on the y-axis. Creating this kind of a pyramid. I can select only
these two vertex, can do whatever you want. In modelling in Blender. I can select this
face and moving down. So once you're done, you can come back
to the object mode. And you can see the changes
we did updated here. And you can see the
results on the lighting.
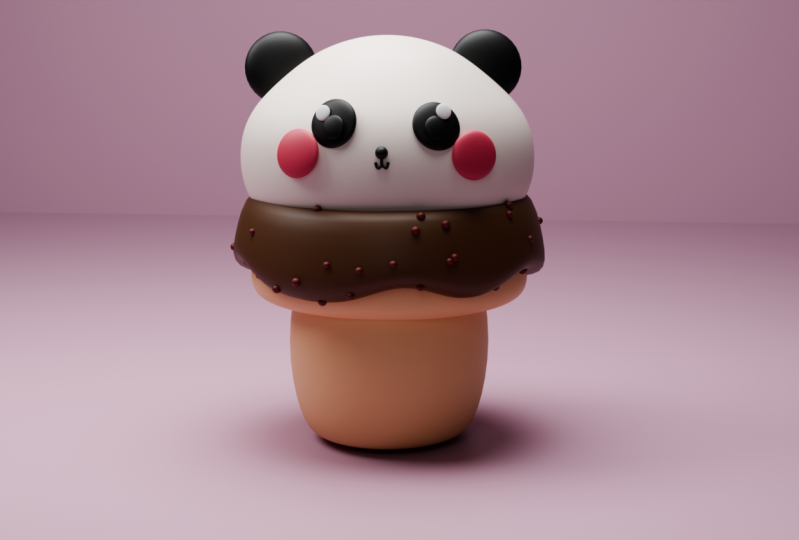
7. The Ice Cream Cone: Okay, Let's start our modelling that gets rid of
all these objects. And we're creating simple,
simple shape cylinder. We are going to go to
a orthographic view, turn on the snap and raise the cylinder so e to be
at the base of her or grid. Just a simple
measure to show you the size of this
cylinder to meters. Let's go to Edit mode. Select these two faces, and you will get a read
of them. Kick week. Add a subdivision surface
geometry modifiers, sorry. And let's turn on
the Shade Smooth. So do you see our
cylinder reuse moose? I raised the subdivision
surface for the viewports also. Okay, let's select
this edge, loop. Shift Alt, left-click. And we do an extrusion. So the shortcut is e. Then we s, we will
scale all these edges. The center of the
cylinder will do this. Sometimes. We could take, take care of this hole, but we'll just let as
it is. We won't see it. So there's no problem. With Control R. I'll do a edge loop in the
middle of the cylinder. So we can shape it a bit more. And now it's just a matter
of trying to find the acute, acute shape for this
ice cream cone. Alright, going to work a bit on these edge loops and trying to shape the best,
the best we can. Select an edge loops
if it's Shift Alt, left-click, add a bevel here. The shortcut is Control
V or this burden. So this edge will be more around I scaled on two
directions, x and y. So it's s and Shift Z to scale on the
other two directions. Shift to z. Also here
is to see through the shape transparent so we can select all the edges of the
other vertex and the edge is starting to take
some good shape. We are getting closer
and scale it again. So as shifts z, scale it on x and y, and select this edge loop
and take it down and beat. I'm just trying some stuff
to see if I can find the best the best shape they can. Should z again, she scaled
down this edge here. Mr. around your object
to see if it's working. Now, if Shift D, I make a copy of this cone and we're going to
model the upper part. So S z to scale it down
Only on the z-axis. And now S Shift Z, so I can scale it up
on the x and y-axis. It will be faster here. Z. To see through the object, I select this vertex and
skeletal, skeleton app. Kelvin scale up all
the, the shape. Again, S, to scale
up on x and y. I will take only
the middle vertex. And they raised in just a bit and scale
them up upon X and Y. Have this round shape here. I think we're getting really
close to the finished shape. Let's rename the objects. So we can have a lot of
objects on these models, so it's better to
keep organized. I M is to create a group, like create a group ice cream. And I put these
two shapes in it.
8. Modeling the Ice Cream: Okay, Let's start modelling the most tasty part of
this model, the ice cream. So we're going to do a copy, Shift D, this part of the cone. So we move it up with z. Then we scale on the
x and the y-axis. It's bigger than
the part below it. And now you're going to work on this vertex here on the border. So Shift Alt, click to select it and I'll
select the loop. We move them up
with G and Z. E to extrude, scale them down. Again to extrude them again. And g, z to move them down. We're just playing
with the vertex to find a nicer shape on the
border has moved shaped. I think we, we're done here. I will select to some
vertex here and you activate the proportional
editing editing tool. So we, for the Mao's view, this circle, it's affected. It affects the vertex around
the vertex I selected. So I can do as moose
transformation. So we're good here. I would turn around the
object to move other vertex. You can place it, place your, your view on the autograph view, also with the number pad. The shortcuts are when 37. So I just keep doing
this and to finish the ice cream vertex to G, z and move them up. Just move this part, the desert. Here, the map. So this circle is the area affected by my selection by
the proportional editing. I forget this part. Let's finish here. G and Z. Just keep turning around the object and see if
it's okay for you. In the next lesson, we are
going to see Geometry notes.
9. Geometry Nodes with Chocolate: Okay, Welcome to
your Geometry notes. So before starting, we're going to lift up just a tiny
bit to this vertex. Here. They want the ice
cream to be higher. Okay? I think that's enough. We are going also to apply all the transforms
on the geometry. Otherwise you're going
to have some issues, some issues on the
geometry nodes. You can do Control a or you can go here to Object,
Apply all transforms. Everything is on zero. And this k yoga isn't one. So that's nice too, is to begin. Let's open a new window and
go to Geometry node editor. To see something, we have
to add an amplifier. You have between nodes.
And click on New. Now, the geometry is reflected
on the geometry nodes. And if I tap control, right-click and I kept
the disconnection, we don't see the
geometry anymore. So we're going to
search for our nodes. We're going to use the
distributed points on phases, connects
the geometry. Should it mesh, impute input. We searched for
instance, on points. Second node we are going to use. You connect two
points, two points. We have to have an
Eastern instance. The instance is the
objects that will be duplicated on the surface. So we're going to create the
chocolate balls to be just as here. As here. Let's name it. Let's come
back to the ice-cream. So we have to call this heater here with an object info node. Okay? And the geometry output of this node should be connected
to the instance input, the instance and points. We select the geometry
if the peaker. And now we can
connect the output of the instance on points to
the output of the group. If you click can ask instance here we can see
that our geometry, our instance duplicated
several times on the geometry. This cable is too big, we have to control it here. We can use a random value. So this could be from 0082009. That's better. We have a lot of balls. I want to have less than that. So I go to the density 1.5. And we need to also join geometry nodes to connect both of the geometry's
at the same time. Joint geometry. I connect the
chocolate balls and I connect the ice cream so
we can see both of them. And that's it. It's a
really simple setup. If you want to know more
about geometry nodes, lets me know in the comments. And let's move to
the next lesson.
10. Modeling the Cat Head: Okay, This is by far the
easiest class of discourse. So you're going to do the head. It's really only a
sphere. Nothing else. It's just a matter of
placing it in scaling it. Let's put it in around
here. Give it a name. With M. I can create a new layer here. Then the group, call it KitKat. Right-click Shade
Smooth. You already did. We already know all
that we're doing. We're doing all the time. So subdivision surface,
let's kill it a bit. It must touch the,
the ice cream. Let's just find tuning
these a little bit. G and Z to move it down or up. I want to see a bit of the ice cream in the border
between the ice cream in the head. And that's it.
11. Modeling the Eyes: Okay, Welcome to this class. Let's start modelling the eyes. So we're going to hide
the rest of the geometry. It to be easier for the eyes. I'm just, I would just
create this here. Shades moves at the
subdivision surface modifier. You already know how to do this. So I am going to discretize it. I want to be like a capsule. So this is the domain, domain I. And we're going to model
the reflection upon it. We could do the reflection there directly on the lighting, creating like area lights and try to place them to
have a good reflection. But it's just easier
to do in geometry and to have this
reflection effect. So it's easier and faster to
do so, let's do like that. I duplicate this
the first capsule, and I reduce this size to
create the reflection. So this will be the
big reflection are going to do to have two of them, a big one and a smaller one. So it's just a matter
of trying to place it, place them on the right spot. One will be smaller. On the top view, I will try to replace them. Whether they are now
they are flying, you have to bring them
closer to the day. I rotate it, rotate them a bit. G to move on the z-axis. Okay, that's nice. Just fine tuning a bit. So I selected both
reflection and Leslie and I bet
Control P to parents, their reflections to the ISO. Now the eye control the
transform of the reflections. If I move the eye, the rest we follow. So place the eye in here. I will show the other
objects be too high. Bring it back. It's way
bigger. League also. So we're going to address
this in a minute. I bring it in front of
the character with G and X and rotate 90
degrees with air are. And why dated on the x-axis to the bigger
reflections would be on top. And now I'm going to scale it
down with S and place it or less at the place I want it to be smaller. Okay. Now we have to bring it close to the surface
of the head. The top view I rotated the eye. If you tap twice x, z, or y, you can do the
transformations on a local axis. So I will rotate the eye
on the why local axis. Sometimes it's very convenient to do the trans form like that. So the first slide,
it's well-placed. Now. We can duplicate it. Select the three objects. And I tap D De Shi
Da, make a copy. I'm going to rename. This is the left eye. And those are the
left reflections. So it's nice to stay organized. So I will rotate the left eye, but not on his X is. I'm going to use
the 3D cursor as the pivot for the rotation. So it should be
easier to place the, the I on the other side. So I'll tap on r and z. And I rotate the
eyes and wallah, we have our left eye
well placed on the head. Okay, I think it's nice. Yeah. Let's move to
the next lesson.
12. Mouth and Mustache: Okay, this lesson are
going to change the tools that we were doing,
polygonal modeling. Now are you going to do
with some curve modeling or creating a busier
curve, curve here. So we go to Edit Mode. If I can delete these points, it's created by default. And with this tool selected row, we are going to draw our mouth. Can draw it very
approximately Tivoli. It's created on the
center of the object. They're going to move it
in front of our head. Let's come back to your
auto graphical view. Now I going to shape the mouth. Can select the I have the
proportional editing selected. I'm going to deselect
this. It should be easier. So you can select the tangent and I'm going to
delete, and I don't, I only need two to
vertex this vertex here. To find this one, I put it in the
center of the face. So that's why zero 0 m. The tangents try to find the best shape
possible to the mouth. In the curve parameters. I'm going to give it some depth. So we get E to be, to have some volume. We use a mirror modifier
and use the head as the center of the symmetry
and select the y axis. So now we'd have the mouth, the eyes. The eyes are just entering B2B. I select the Local
pivots so they stay scalar individually.
That's fine. Tune this a bit more
beautiful curves. I'm going to rename
some objects in here. Let me get ahead. Yeah, it's better. All the objects have the same beginning teaser
to find them in a list. Let's create the mustache. The same process and
create the desert curve. We can delete this first vertex. And let's, let's
draw the moustache. Let's place it. Moving to the front of the face so
you can see it better. It's a flat line,
but we can move the points individually so
it can have more of a 3D, 3D shape when it's just
trying to place it correctly. This vertex here. Next axis. I'll delete this vertex. We don't need it. We can do the curve
is tangent to here. Moving in. The last vertex we
have the easier is to model to find the
Deputy good shape, good habit to have. Let's hope this vertex app. And also the x axis. Let's give it some depth. Also here in the curve
that are meters. Using services to you. Right-click and click shades
moves on both objects. Let's do a mirror would hire, I'm here to the head as
the center and the y-axis. Now it's just a matter of doing some copies of this new stash
and placing it correctly. They have to differentiate
the the other two. So it's more natural. This one and I moved
the x, y-axis. And I move this is
very thick cell. So you can have fun with this bar to try to, to have different
shapes than mine. You can do more. Marbles dashed if you want. It's really up to you. So I didn't send to eat
something different. I create a third one. This vertex down. Crying in a nice curve here. Where almost okay, here. We're going to do
it one less thing, eventual close the caps in the mustache and
in the mouth too. So here you can find
this option, feel caps. Just click on it. And
if you close the caps, have to close the, close the shape for
these two geometries. Let's move on.
13. Modeling the Nose: Let's come back to the
polygonal modeling here. So we're going to do the nose
and we're going to start with a mesh called
the round cube. So it's a cube with the ads
rounded, already rounded. So we're going to tweak, tweak a bit the initial
shape of this round cube to have more rounded edge. Question on this axis. I think where I could just
start here. Let's move it up. When we change the tools, the, the initial box for the creation of the
object disappears. So we can use it on the beginning and after you
can not access it anymore. We're going to place
the box More or less. Next, we're going
to have our loops. Just move into beaten egg x. Move it up also. Okay. Let's go to Edit Mode. Artery going to do what
are we going to get? This, this shaping the needle
and we are going to apply the mirror modifier
so we can model just one side of the object. It's easier like that. Pie, a mirror modifier. We use the head as the
center of the symmetry. As usual. Replay a
subdivision surface, you go right-click Shade Smooth. Now we have just this
vertex to work on and they order the other side the
vertex are going to follow. In the auto graphical view. I Shift Z to see
through the object. So you can select
only this vertex. You can rotate it. Let's try to bring them together to the middle of the nose. The app. Let's rotate. This
is vertex also starts creating the upper shape. To sit, sit through
the geometry. It's fine tuning the shape. Control R to treat an edge loop. Here, I want you to
give them more of a rounded shape to
this side of the nose? Almost like a heart-shaped. Okay, Let's just place
it better in here, the x-axis and
rotate it on y-axis. Okay, Thank you. Actually,
it should be fine now. Okay, let's move on.
14. Modeling the Ears: To finally finish, our model
are going to do the years. We're starting also with
the round cube here. So we're going to use the same same parameters we
used for the, for the nose. Are going to put the Eurozone
just round curve in here. And put more or less, where are you going to wear? Respect to C, the years? For an hour, we place
it roughly in here. I'm going to edit mode to
move tiny beat the vertex. So again, you can do
different than the mean. Then you can do different ears. If you want. Use
your creativity and just showing the
techniques and how I go through my process. I going to do Control R
to create an edge loop in here to do more
of a round shape. It is Kelly character, so around shapes
are always welcome. I do the same thing here. It should be, should
be cubed years. Right-click Shade Smooth. And are you going to do our modifier that we
use all the time? The mirror in y, X is using the head as the symmetry center and a
subdivision surface modifier, which is moves the ears. Just fine tuning here the g, z to be down. And I scale them
down on the x axis. So S, x. That's it. Our model is finished. Let's move to the Render.
15. Camera and Background: Okay, Now that our
model is finished, we're going to start setting
up things for the render. I will create a plane. This is, this will be our
background for the scene. Like to do background. So we leave, I'm
just scaling it up. But you need to write here, I will select this edge and
I can extrude it and z, I can constrain, constrain
it to the z axis. Then we've come through B. I can bevel this edge so we can have a rounded corner in here. Right-click Shade Smooth. I click here to create
a second viewport. In the left, we're
going to keep working. And the right one will
be for the 4D render. I create the camera
and move it here. And we're going to
place it to turn it. And so it could be right
in front of the model. I tried to find the right, the right angle here. Turn it on the z axis. On the z-axis. So we directions
90 on the z. Okay? So in here I click, it will push the
zero button to show the camera N and T to hide
the windows on the retina, right and left side. The tools and the menus. Our image we will have, it will be a square image, so 1,000 peaks as
biofouling pieces. Move the camera a bit. I will change the
focal length, 8 mm. The subject, it's
more like a toy. It gives the impression that
the subject is smaller. And let's move on to the
materials and lighting.
16. Lighting the Character: Let's do the lighting. The lighting, It's really a very important
part of the work. In this window. I'm going to deactivate all the help we have to see
to work with the model. So we don't need it anymore. You use it this window just
to see the final result. You also, everything
is empty and the left window keeps started to keep working on our scene. So I create an area light with their relate to can
have soft shadows. So they go for illustration. So let's play a bit
with the values here. The power, the shape. Start changing the
shape of the light. I use it at this area light. So the bigger the light, the software, the shadows. So this is maybe too much. Let's try 15 m. Here. We can have the EV GPU based
the render and cycles. So let's use cycles. It's the best option. By bursts, the
intensity of my light. Foreign always T1, the EV
soloing it render in angina, we have to change the cycles. And if you can change it to
device, to GPGPU compute. And then we have this, the settings for the
viewport and the render. The Render are okay or just to change the settings for the viewport so you
can have best quality. Let's use the deniers also. Let's set a time limit for the
final render, one minutes. It depends on your
machine that you immediately think you
should be nice for mine. Here. Let's rename this one
would be the top light. Let's keep it to duplicate, duplicate this area light. That's great. The main, the main light. So this is the main one where the light should be
stronger than the others. That's like the character. More or less 45 degrees from
the angle, the camera angle. It's nice to avoid to be two
frontal on the lighting. Otherwise the
subject, it is flat. The goal is to try to accentuate the volume
on the subject. This one will be stronger. We'll keep working
on this slide. So when we are going
to do the materials, so for now it's
just a first test. Light. Light it
down. Take it up. Okay. So you can see where the main light lighting
is coming from. So these ones we build a
fee will be the fill light. In this kind of illustration, I tried to avoid having
too much dark shadows. The shadows will be soft, softer, and not too strong. So I can see the different
lights acting on our own. Our characters without
character is initialized. She'll let alone
main light alone. And the top lights. We keep reworking later when we're
going to do the materials. But for now I think we're good.
17. Materials Part One: Okay, Let's do the materials. You can see that
this bar to be very, very easy, it's very
straightforward. I'm not going to create
a complex materials. So let's start with
the account base. To do this kind of work, always try to keep
images side of your work to look at reference
and try to approach. To match this the reference. I use a software
called pure reference. It's a free software.
If you want me to make a class to
explain how I use it. You can see the comments in
here tied to find orange, this saturated,
desaturated color. And not look too dark. Right, going to
apply a texture on this one on the next lesson. So it's all the texture we're
going to use. This one. We can use the same material. You can go here in this drop-down menu and select
the material just created. Let's do the cream materials. So same thing, we
create a new material, we name it correctly. It's good to fight the, fight them, find the
materials later. An empty object to, I forgot to do this. On the first lesson. Here, we're going to
create a cream color that the challenge is to have something that's a bit different from the cold color. So we can contrast
the two objects. We need to look at
the render and see that right away that there
are two different objects. The color can be too close
when foreigners from another. So a bright yellow
creamy color like that. So we can play with the specular roughness and metallic parameters
are the most, these three are the
most important ones. So we can have specular
is the reflection, the quantity of
reflection metallic. It's self explained. If an object is metallic or not, the roughness lower the value, more sharp will be
the reflection. So for the cone, I don't want too much
sharp reflections. Well, let's, let's keep,
keep it like this. For the shadow color, we start
to correct the spelling. Chocolate instance. I create a chocolate
material is one. We are going to use
some reflection. So almost the only
one that we will do that, right, right. Try to find the right
color for this one. Darker, dark brown. And further reflection. I'm going to use sharper
reflection here. Too bright more than the
harassed of the model. The rest, I'll try to keep them almost without reflection. So it'd be keeping
more of these 2D look. Even if it's a 3D render. We want to keep the volumes, but I don't want to a
lot of reflection on the on the objects. For the head, it should
eat to be white, but not completely white. I give it lightly as light tint of pink, right? Right. Being very
desaturated, almost white. For now, I take
down the specular. Let's start. Let's do the material
for the nose. So this one, so it will
be easier to just black. We could left some
summary reflection. Let's see. Not too much. Yeah, we can always come back
later and this one. So I will use the
same material for the mustache and the mouth. Okay. Yeah, I think I take
down the reflection. Should be really to the 2D look. Are these facial features, the eye, the same
material, black. And we are going to
create a white material, further reflection on the eyes. As I said before, we could have done this in with light reflection or an image
reflected on the eyes. That's a bit harder to do. So I prefer to do like that. It keeps more of these 2D look. We ended. We can control exactly
where the reflection, the sphere are
placed on the eyes. I think it's nice for
a cowboy character. So, yeah, we applied this white material
on the reflections and let's move to the
next material section.
18. Materials Part Two: For the middle part. This part do you have I think I have given some
some reflection. I will select this part and
assign a different material. Is a blue material. Reflection on this one. Material here. And create them a
lot of material. I would call these one VG, pink reflection, specular in here. Neither forgot to
assign, assign. So now we have three
different colors. As always, we can
come back later and work on these,
on these materials. Why you want it more
orange than violet? So I bring it more
on the red side. You can, of course, try to find your own color, color scheme. In my anyways, you don't, you don't need to do exactly the same
thing I'm doing here. If it's even better if you
do something different. So you can have your
own personal project to present at the
end of this course. So I will try to give more
reflection on the ground. I think this is nice. The, the model reflect, reflected on the ground
in front of him. Let's work again on our lights. But then on their own group. So n I create a new group
and put the lights inside. The fuel light. I give
us light as light. Pink tint to it. The shadows, the shadows
are tinted with this color. This right? Let's work on the intensity of the main light. Should be, I want it to
be as bright as I can without blowing up the
whites on the image. Telling the the shaded
side of the, of the CNA. I think you can see the shadows are light, lightly tinted, pink. I did the same with
the top lights. So you have this warm and color it look on the characters
or the character.
19. Texturing the Cone: Welcome to this lesson. We are going to do some
texturing so you can download the same texture I used on this side, textures.com. So I will put the reference from the file or in
the resource page. Here. You have normal
tissues, occlusion, height. So once you have
downloaded them the maps, you can come back to Blender. I speak this view in the upper view or you
show the UV editor. And this one are going to work on the shader,
shader editor. Select that, select our code. So I use a function that's not available by default on blender. You have to activate it. You go to Edit Preferences, and you go to the
add-ons section. You can search for node. You activate the Node Wrangler. These will activate
some extra functions on the shader editor. You will tap Control
Shift T on the keyboard. You select you all your maps. And those are for Angular, you automatically organize
the shader editor for you. So for this model, I think we are going to
need only the displays, the displacement map control, right-click to get
disconnection. Now I have only the displays. I would turn them up for 45 degrees and then
we scale it up. So you repeat more.
Have a good size. Looking at good starting point. You reduce the height
of the displacement. And I will work a
bit on the color. Now it's too pale. I'm going to reduce the value and increase
the saturation. And this two yellow, something a bit more red. We've shift the Became can
move the you very slowly. So yeah, this, this
isn't a nice color. And now we will come
back to the UV editor to move the points
and have a good, a good wrap of our our model. Select all the muzzle if a, and go to the UV editor. So in here I can scale
the vertex of the V's. I can scale on the y-axis. It's the same shortcuts
as the 3D view port as y. The title sizes are going to find journey
just a little bit more. And I will select only
this vertex to move them up and try to reduce the deformations
at the bottom of the curl it up a bit more. Okay, Let's do the upper part. I will select, go to Edit
Mode, select all phases. Go to the UV editor and do
the same thing here, S, Y. So we can have square tiles. And now we're going to
scalar all the UVs to have more or less the same size as the bottom part of the cone. K. Just fine tune it a little more. And I think we're good to go. Let's move to the next
lesson and the final render.
20. Final Render: Okay, This is the best
part, the final render. So we're going to
use, as always, this window to see the results. And we're going to apply
filmic filter to our re-image. Go to the Render Settings. In filmic you have
several datasets. Very high contrast, the
image is very contrasted. Can use something in the middle, like a museum, high-quality
dress, or high-contrast. That when do we
use these filters, we have to adapt our lights. Otherwise, the EQ, we
can burn our characters. I'll just correct
the details here. I think I can do
better than that. They could be more square. It's just a more fine
tuning for the texturing. Okay, let's keep
high contrast and I'm going to bring down the
power of the main light. Otherwise the right side
of our cats a bit, a bit. We're already okay. You don't want to
overexpose are kept. So over here in the output tool, we can set the file name, the file formats,
all these functions. In the camera. We can use depth of field. For instance. I'm going to activate it. And the focal point to
be the nose of the cat. And the f-stop is to set the quantity of blurry
we are going to have. So the lower this value, more blur we have
on the background. So I try to up this valuable
a little bit to maybe 03. Yes, there I don't
want to blur the cat. They get rendered by here, the shortcut is F2 L. I said the limits of
the render for 1 min. So e to stop at one minutes into equity noise or 4,096 samples. So if he goes to 4,096 samples before
when they're randomly stop. And if he goes to 1 min to
the rendering stops also. So let's just wait. You can see this in real time. The time you take to render to get to
have a good quality. Quality with no no noise
or almost no noise. It depends on your PC
power on your GPU, TPU. So it depends for mine. 1 min is nice, It's okay then even less, but I keep it 1
min. And that's it. Our final image is red and it can save it and post
on your social media. Don't forget to tag me.
21. Conclusion: Thank you for finishing
this blender class. You now have the
skills to create your own cute and
lovable 3D characters. Don't hesitate to share your projects even if
they are not perfect yet. I'm excited to see where to pH. Keep learning and having
fun with Blender. I wish you best of luck
in your adventures.
 Jean Cavalcante, Compositing Supervisor, Teacher