Transcripts
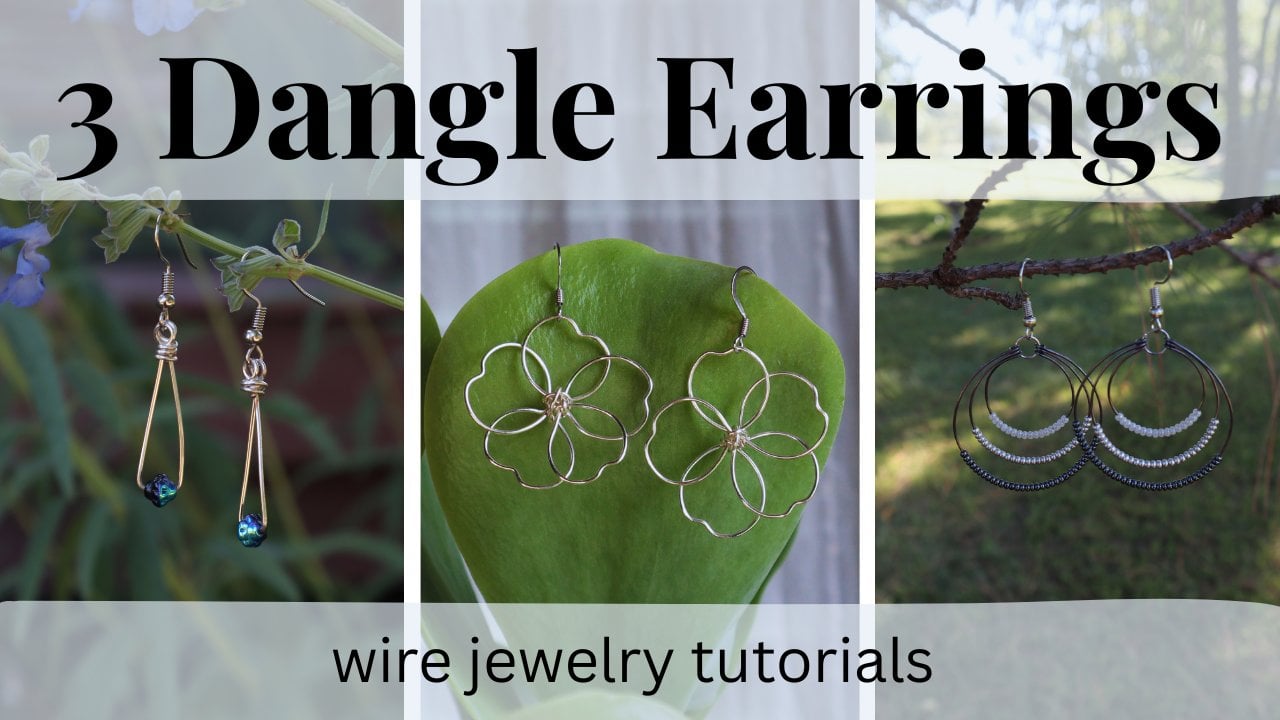
1. Introduction: Hello, folks, Katrina here, and welcome back
to another class. Here, I will be
showing you how to create two braided
and beaded rings. The overall design of
these rings is the same, but the placement of
the beads is different. I would recommend watching
each video all the way through before going back to
begin creating your jewelry. As you are creating
your piece of jewelry, feel free to pause the video
or go back if you need to. If you enjoy this class,
which I hope you do, please rate it and if
you create the rings, upload a picture
of your project, I would love to see the
beautiful jewelry that you make. Also check out the rest
of my videos where I have many more wire
jewelry tutorials for you. Let's jump into the
video and start creating these braided
and baited rings.
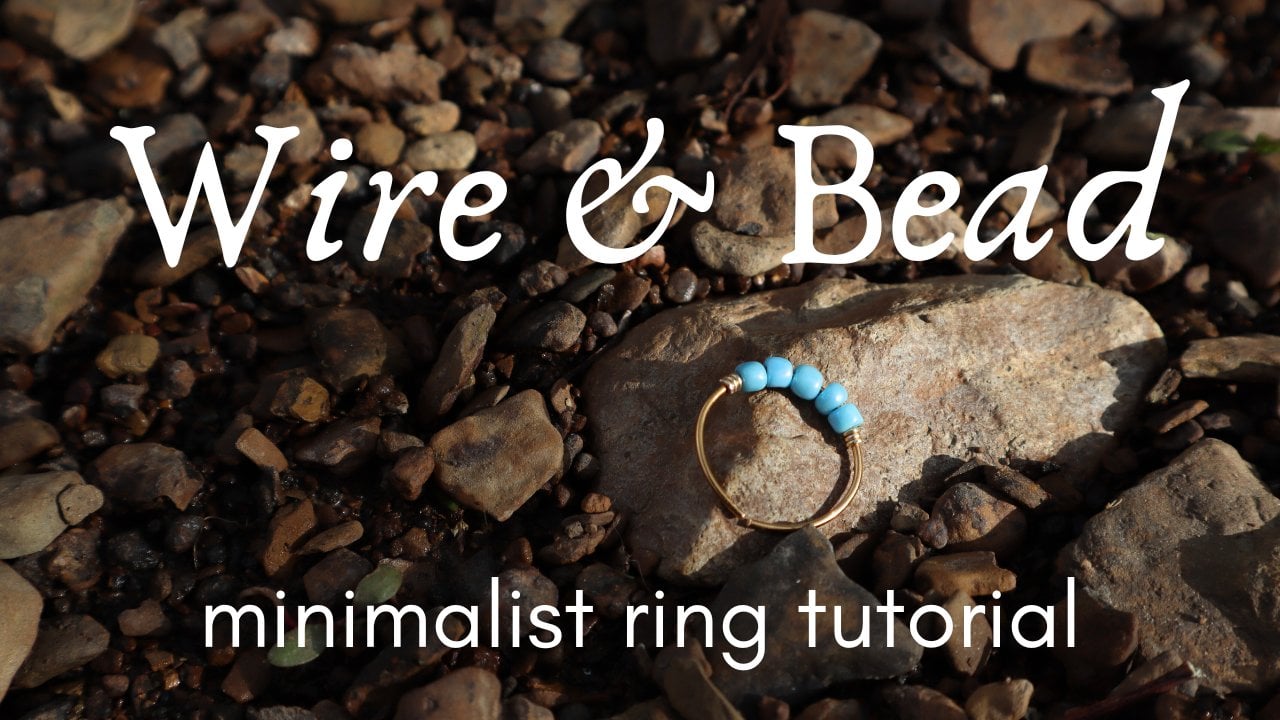
2. Braided Ring: centered bead design: Let's begin creating this
braided and beaded ring. For this ring, I chose a silver plated copper
wire in 20 gauge. Next, we have a ring mandle
and I chose a size seven. We will also use a
file and a ruler. Then we have our two
millimeter seed beads. Pliers, we have
plastic coated pliers, flush cutters, chain nopliers, and round nose pliers. After straightening out a length of wire with our
plastic coated players, we're going to place it
onto a ruler at 5.5 ". This is about how
much wire I will be using for size seven ring. Holding the wire at
that 5.5 inch mark, I'm going to bend it over
and crease the wire. Draw on our fingers down the
wire, so it is straightened, we will take our
wire cutters and snip off the wire flush
to that first end. Taking out another
length of wire, we're going to place
it on the ruler and measure to that 5.5 inch mark. We're going to bein this wire in the same manner
as the first one. But this time for the long end of wire that is
attached to our spool, we're going to trim it short to about inch
and a half long. We are now going to take both
ends of the wire and pull them apart to tighten up
that bend in the wire. We are going to do this
with both pieces of wire. Placing our wire into
the round nose pliers, we're going to pull
the ends apart to tighten up that
loop and then bring the long ends of the
wire down so that they are more aligned
underneath that loop. Place both wires onto
your roundnse pliers with the wire that has the short tail on
top of the other. We are going to
use this short end of the wire to wrap
the other three. Draw the short end
of the wire up close to the round
noose pliers to create a tight loop and then begin wrapping the other three
wires with this short end. Wrapping the wire
with our fingers, we are going to go around
about two or three times. When we come towards
the end of the wire, we're going to grab
our flat nose players to finish securing
the end of the wire. Holding the wire in our
round nose players helps us keep a secure grip while we tighten it down with
the other hand. Tighten this wrap securely, not only pressing
the wrap together, but squeezing the spiral as well so that
there are no gaps. With this loop secured, we can now begin braiding
by crossing the right side, outside strand, into the center, then taking the opposite left outside strand into the center. Then again, taking the
right outside strand, crossing it over into
the center of the braid. This wire that it is
now in the center of our braid is what we will
be adding our beads to. After adding the bead,
we are going to take the left outside piece and cross it over into the
center of the braid. Then we are going to take
the right outside piece and cross it over into
the center of the braid. This outside piece
has become the piece, and this is what we will
be adding our bead onto. The way I'm holding
the wire here, the bottom outside piece
crosses into the center, and this is what we add
the bead onto every time. After adding the bead,
we cross that top wire that's on the outside
down over to the center, and then bring the
bottom outside piece up to the where we add our bead. Continuing this simple
pattern all the way until the ring is as long as you need for the size
that you are making. When the braid is as long as you need it and you have
added your last bead, we're going to cross
the wires once more just to keep that bead
from sliding off. If you need to, you can use your flat nose pliers to adjust the wire so that they are
center underneath the braid. Choose one of the
wires that looks like it will best wrap
around the other two. You're going to wrap this wire all the way around one time. These two center wires
we are now going to draw down through the loop that we created at the very beginning. This is going to bend our
ring all out of shape, but don't worry about that
because we're going to fix it at the end
with the ring madule. After placing both
wires through the loop, we are going to draw each end out opposite sides of the ring. Work the wire into the loop
until it is all the way through and both ends of the
ring are meeting each other. Place the ring on the mandle
to not only fix the shape, but to pull the
ends of the wire to make sure that the ring
is the size we want. Having drawn the ends of the wire up to
create a small loop, we're then going to
tram the excess wire. Using our flat nose pliers, we're going to
pinch those ends of wire together
underneath the ring. Having turned the
ring to the side, we are going to use the
flat nose pliers to tighten down and press those
ends against the ring. With these secured, we will
now take this last length of wire and wrap it tightly
around those ends of wire. As you wrap the wire ad, use your flat noose pliers to tighten it so that
the wrap is secure. Once this wrap has reached the loop on the other
side of the ring, we will snip off
the excess wire. Grabbing our flattens pliers, we are going to secure that end of the
wire into the ring, making sure that
it is well hidden. Switching to our
plastic coat of pliers, we're going to tighten
down the ring overall. Lastly, we're going to
pop the ring back onto the ring mandrole to make sure that it has that circular shape. That's it. You
finished the ring. Thanks for watching and I hope to see you in the next video.
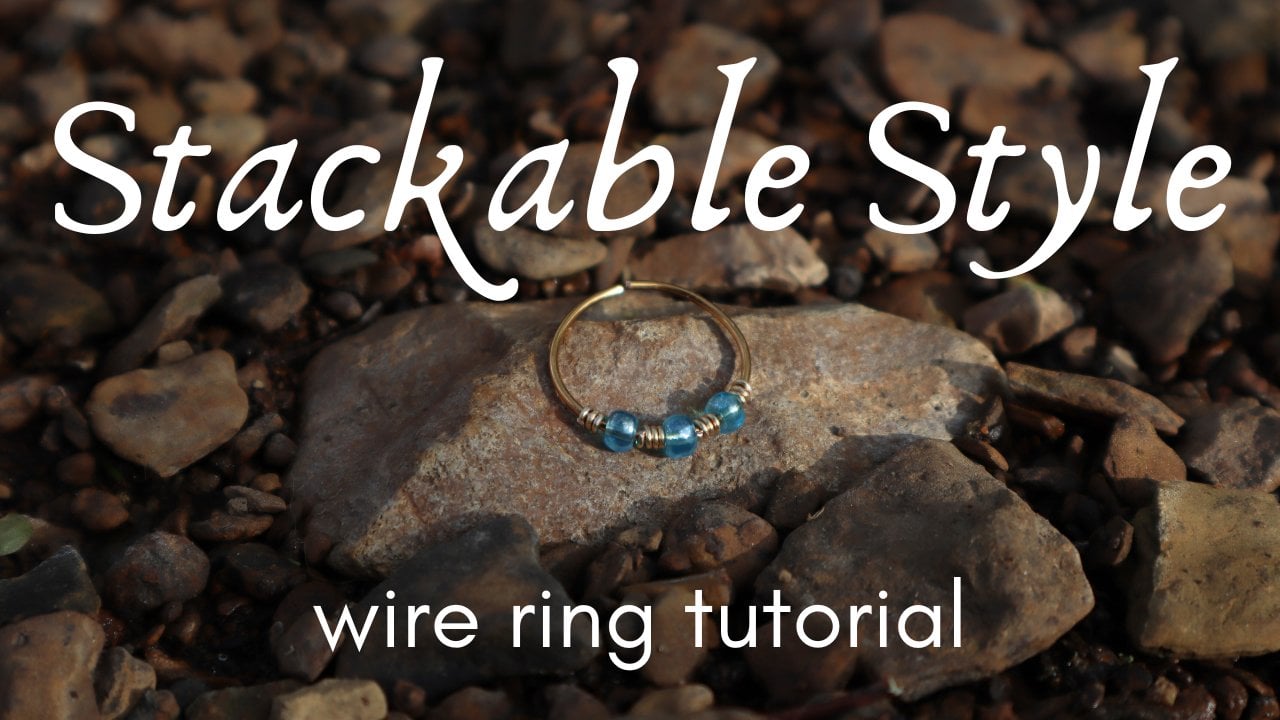
3. Braided Ring: crown design: Will break this ring
in the same manner, but add the beads to
a different wire. We're going to be using a 20 gauge silver
plated copper wire. Next, we need a ring
mandrel of some sort, and I chose this one
in a size seven. We also have a file and a ruler. Of course, two millimeter seat beads in the color
of your choice. We have our plastic
coated pliers, flush cutters,
chain nose pliers, and round nose pliers. Now let's hop into
making the ring itself. Holding the length of
wire, we are going to straighten it with our
plastic coated pliers. You will need more or
less wire depending on what size you want
the final ring to be. For the size seven
ring that I'm making, I'm using about 5.5 " of wire. Holding my thumb tightly
at the 5.5 inch mark, I'm going to bend the wire, creating a crease in the wire. Folding the wire down, I'm going to grab
my wire cutters and trim off the length of wire, so that is even with the first. Point out another
length of wire. You're going to line the tips
up with the wire that we just cut and then
bring the long end of the wire down to the crease
or bend in the wire that we just created and
line up the wire there. You're just going to imitate and copy that crease by pinching the wire with our fingers
and bending the wire down and around to match
that first crease. Don't stress over making this
bin perfect because we will come back and adjust it slightly with our pliers in a moment. Checking the ends of the wire to make sure that they
are all lined up. You're going to take
the long end of the wire that's still
attached to the spool, and we're going to trim it
to about an inch and a half. Using our wire cutters,
we're going to trim this to about an inch and a half
or 2 " at the most. Using our roundness pliers, we're going to place the wire into the pliers to
begin creating a loop. Holding it securely
in the pyres, we're going to
separate the ends of the wire so as to tighten
it against the pyres. I place the wire that has the short tail on
top of the other. Now we can tighten
down the second wire, the one with a short tail so that it matches
the first wire. Now we are going to take
that short end of the wire and begin wrapping it around
the other three wires. This doesn't need
to be very long. I only went around
about three times, but you do want
to make sure that you wrap it tightly as it will hold the rest of
the wires securely when we begin braiding it later. Once we have finished the wrap, we are going to snip off the excess wire with
the wire cutters. Using the flats piers, we are going to
tighten that end down, making sure that it
doesn't stack out. Now we are going to
begin braiding the wire. This is just a basic
three strand braid, where we take the outside wire and place it in between
the other two wires, and then take the
opposite outside wire and place it between
the other two. Following this
pattern, we can now begin adding beads
onto the wire. Find your outside wire
and add a bead onto it. Having added the
bead, we will bring that wire into the
center of the other two, and then take our
opposite outside wire and cross it over to
create a stitch of braid. Now we're going to
take another bead and add it to the outside wire. After adding the bead, we are then going to
braid the wire, crossing it up into the center, and then bringing the opposite
wire from the top down. Repeating this pattern, we are going to only add beads onto the outside wire in the position that I'm holding
it here is the bottom wire. Now, we're just going to
continue this braiding pattern, adding the beads only
to the bottom wire, and then braiding the wire, adding another bead,
braiding the wire. Continue this until
the ring is as long as we need for the size
that we are making. Once our braided wire
is the length we need to wrap all the way
around our ring mandle, we can then begin to secure
the end of the wire. Holding the wire tightly
onto the ring mandul, you can see if you
need to braid more or maybe undo some of the
braid like I do here. I need to remove this
bead so that it's not in the way so I can
finish off the ring. Next step, we are
going to prepare the wires so that we
can close off the ring. First, we need to
find the center wire and pull that down
out of the way. Because I had to unbrad
some of the wire, I now need to straighten it and flatten it back down using either my needle
nose pliers or I could also use the
plastic coated pliers. With the wire all straight, we will take the center wire that one that we bent
down out of the way, and we're going to use it to wrap it around the
other two wires. Holding the two wires
closely together, we will wrap them
with the third wire. Then using our flattens players, we are going to tighten
the wrap as we go. Tightening the wire
with our pliers, and then wrapping it again and then tightening
it with the pliers. Turning the ring, we want
to tighten that spiral from the side so that there
are no gaps in the wire. Using our wire snips
or wire cutters, we're going to trim
off the excess wire. Switching back to
the flattens pliers, we're going to
crimp down the end. Now we're going to read
these other two wires down through the loop that we created at the
very beginning. This may make your ring
bend way out of shape, but don't worry
about that because we'll go back and place it on the ring mande when we
are done securing the wire. Continue working the wire into the loop until you have
it all the way through. Once we have all of the
wire through the loop, we're going to take one wire and thread it back through to the opposite side
of the ring so that we have a wire on each
side of the ring. Taking one end of the wire, we are going to pull
it back over itself, bending it tightly
to create a loop. Repeat this with the wire on
the other side of the ring. With these wires bent up, creating that loop that secures both ends of the ring together, we'll place the ring
back onto the ring made. Using a pair of pliers, I press the ring
back into shape. Crossing each end of the
wire back through the ring, we are then going to grab our wire cutters and trim off
the wire close to the ring. After we've trimmed the wire, we're going to switch back to our flat nose pliers and flatten down and tighten
the ends of wire. Take care to make sure both ends of the wire are
pressed tightly up into the wrap of
the ring so that nothing catches on your
finger when you wear it. Now that the ring is secure, we can go back and
correct the shape. I also like to take the
plastic coated pliers and press the ring just all around in general to make sure that everything
is tightened together. Next, we're going to
grab the file and test if there's any ends of
wire that are sticking out, we're going to just
smooth those down to make sure everything
is rounded over, and nothing will
snag on our skin. As a final check, we
can place the ring back onto a ring madule and make
sure that it is circular. Well done on creating this
braided and beaded ring. Thanks for watching and I'll
catch you in the next video.
 Katrina Anderson, DIY wire jewelry and craft tutorials