Transcripts
1. Calla Lily Introduction: Thanks so much for joining me for
alla Lily drawing. I'm Tammy, a Texas based artist, and I do multimedia art. I use lots of different
types of paint, brushes and pens to create warm, vivid and colorful drawings. In this class, you're
going to learn how to draw a calla lily with black
ink on just regular paper. This is what I would call a botanical drawing
class one oh one. You're going to learn how to do a very simple flower and feel like at the end of
this class that you've got the basics down packed
and you can move on to the more complex flowers
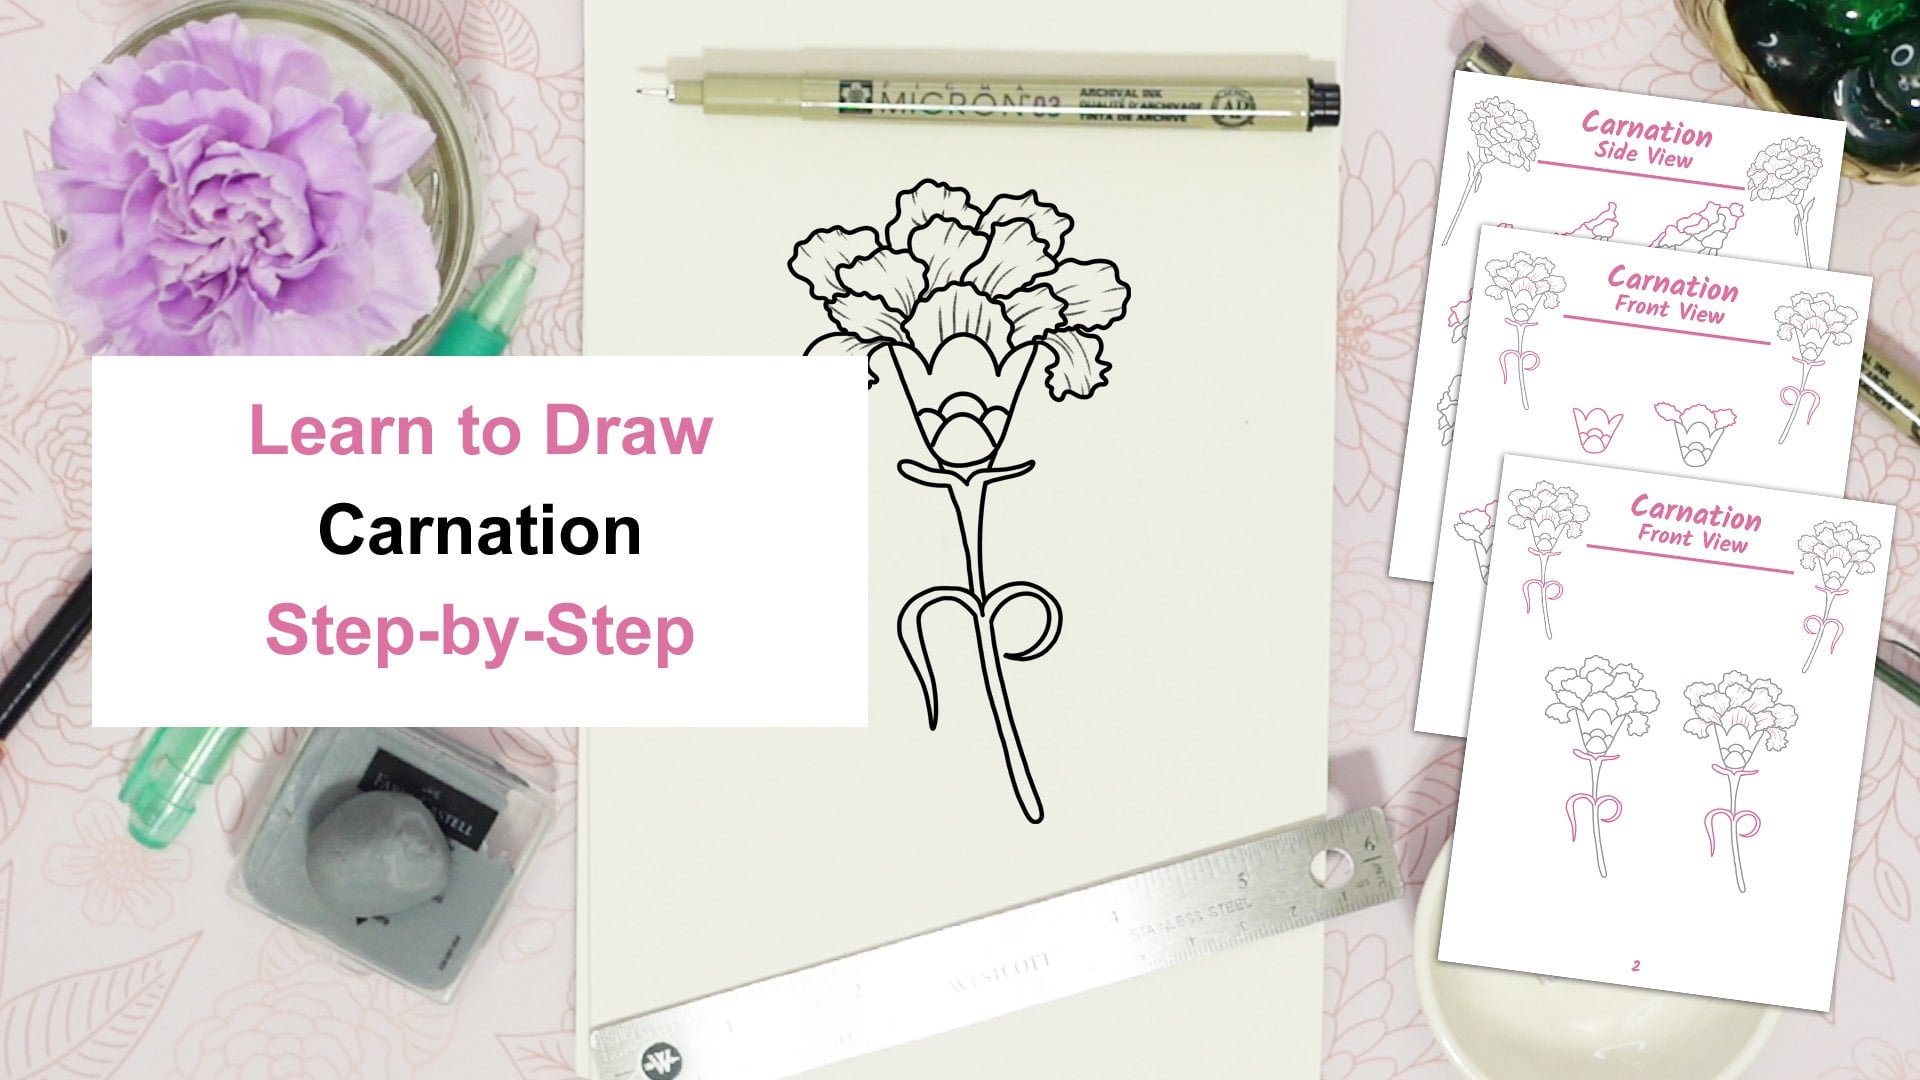
like wild blue irises, carnations, Gerber
daisies and sunflowers. I've got some classes on
those for you as well. So first off, you're
going to be learning how to do the calla lilies and I'm going to be providing you with different documentation
to show you how to draw the call from the
front and from the side. You'll have all that information on how to draw them
and you'll be able to draw calles in lots of different views when you're
done with this class. Kali is just so beautiful. It's simple, it's graceful, and it's a beautiful
flower to add to a bouquet or for weddings, Butaneers and that type thing. So let's get started. First off, I'm going to show you all the different
things that you'll need for this class
when it comes to supplies, including a black pen, some paper and so forth. I'll see you in the supply video in the next class.
I'll see you there.
2. Supplies: You'll need a basic
number two pencil, some copy paper or sketch paper. An eraser, you can use any
eraser that you have at home. I have a few here at my desk. A black pen, I have
these Pigma microns. I have a number
three and a number five, that's the nib size. But if you have just
a regular black pen that will work for
this class as well. A sharpener for your pencil, if you happen to have
some pens at home, you can bring them
in and use them for different colors and
some colored pencils if you want to decorate
your flower as well. You don't need any of
these particular items. They're just extra little
things that you can use. I use this white pen for
adding in some highlights. Next up, let's go over
the flowers anatomy.
3. Anatomy: Here's the Kelly sheet. You can download it in the
projects and resources area along with all the
other sheets I have for you. So you can see the
spaith is right there. That's that whole upper top, and it comes around and basically it's integrated.
It's almost woven. Kalis symbolize
purity and elegance. They're great in bouquets and decorations and you can find
them native to South Africa. Next up, let's draw the
front view of the alli.
4. Draw the Front View: You can download the
allay front view in the projects and resources
area of the website. I'm going to go over how
to draw it with you, and this is just your
step by step sheet. Once we're done
drawing it in pencil, we're going to do it in pen, and those are just a couple of
the pens that I have here. You're going to create
a backwards and tall D. W some curves in it. Create this little curvy object, and then you're going
to do a line down. Feel free to pause the video at any time so that you can
do this at your own pace. Step two. On top, add an arch with a little hook. That's a little bit of
an angle there too. Then do a little arch
over and it gives it some movement there
with those little curves. Let's add in a stem. It's pretty much straight. Les have very flimsy stems. If you put it into
a vase or a vase, as some people say,
it's going to droop. Step three. On top, create a little
curve on the left, and then a big
curve on the right. Let me show you here.
That's your little curve. And then give it
this little hook, sort of like a little
curl to the side. And then a big curve
over here on the right. H. Step four, let's finish this off with some curved
texture lines. This is one of the
simplest flowers to draw because it's just
some basic shapes and there's not a huge
amount of texture. I think lilies of this type
really showcase themselves based on their strong structure and their beautiful colors. Then there's these
little texture lines that show the angle. Give it as much or as little as you like
based on your style. Let's lightly erase the flower. Then we can start in
with our black pen. I'm going to start off with
my number five for inking, but use whatever
black pen you have. When you're doing
these types of shapes, try to do as much of this
shape as you can all in one. It creates that conformity
and you get a nice line. I did that whole upper
area as one and I'm creating a little bit
of flow in the pieces. Some lines are really
strong and straight, others have much
more of a curve. When doing the base here, the stem do nice
long sweeping lines. I'm going to change over to
my smaller nib of 03 for these last bits and I'm
pulling and then I'd say, how do I explain it, I
pull up really quickly. It creates this nice endpoint that's sharper than
the beginning point. Go along with the flower petals. This is creating shape. As I said, this is
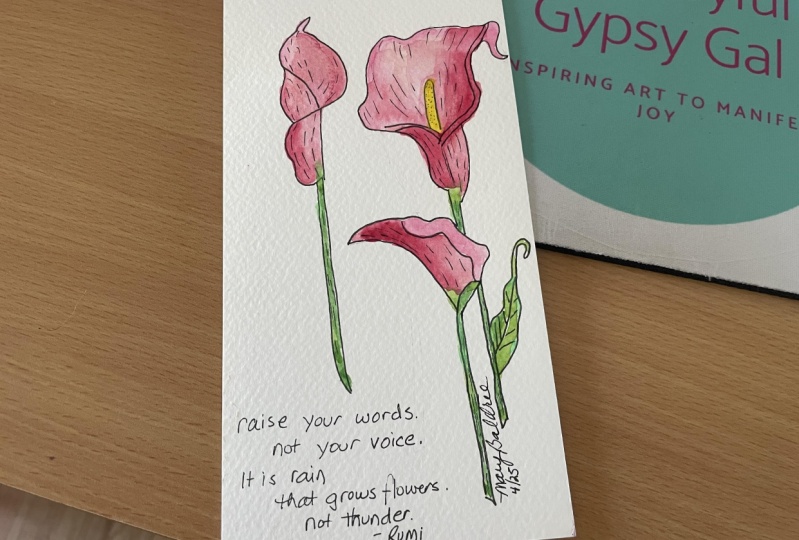
a simple flower, but delicate and beautiful. That's where it gets
its elegance from. I spotted a bouquet of these in Trader Joe's and I just had to have them
and then draw them. That's how we ended
up with this class. Now let's move on to doing
the allay from the side view.
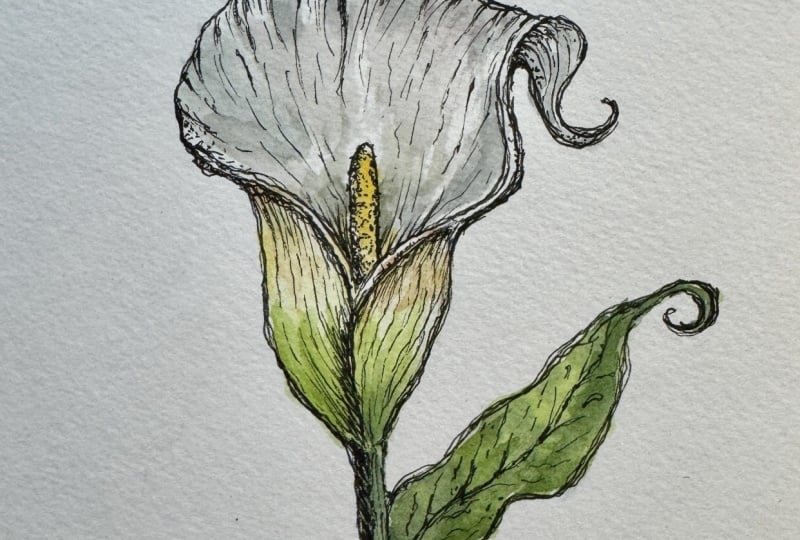
5. Draw the Side View: And Make sure you get your sheet in
the projects and resources area here
for the side view. I've provided one for
each of your drawings. I've got some simple shapes in this and some basic shading. Step one, like the
first drawing, you're going to
create a backwards D, but this one is much
smaller and it's at a little bit more of an angle, angle it more to the right. Step two. Now we're going
to add in the stem. You're going to create
a curvature down, and then you're going
to create a curve all the way down that goes
right in parallel to that. It's very graceful. And
then we're going to pull it up just a little
bit more at an angle there. Step three, we're going to add a scythe shaped point here, create a little bit of a
circular movement angle. So step four. Now we're
going to add in some waves. Add in this little wave. You're pulling down and
then you're pulling up, and then you can come
back on the other side. You want it just a tad in, and now we're going to
repeat that wave going along the back and then attaching it there at the top.
That's as simple as that. Step five. Let's add
in some texture now. We're using those wispy lines
going down and pulling up. Put as many lines and
texture as you like. Just basically going down. Let's lightly erase now because
I use that darker pencil. It's going to take me a little bit of time to get this off. So I'm going to
forward this for you. So just go at your own pace, pause the video if you need to. H Let's do some inking. Get out your black
pen. I'm going to start with my
number five micron. I'm going to do all
the outer areas and just those little squiggles
and lines in the center, I'm going to do
with the finer nib. One full line all the way down. I'm going to try to do that here too, keeping those curves. Nice and curved and attach. Then just finish
with that back wave. I'm going to go on to my
smaller nib here with my size three and do those
more fine lines, making sure to start and then
pull up right at the end. It creates that feathering
look. That's about it. It's as simple as just doing those little lines
there and you have a beautiful calla lily that can go in a bouquet
or into a pattern. Do you add a signature
if you like. I'll see you in the next lesson, we're going to do that
calily from the front view, but this time is going
to be a much more open one where you're
going to see the spatix.
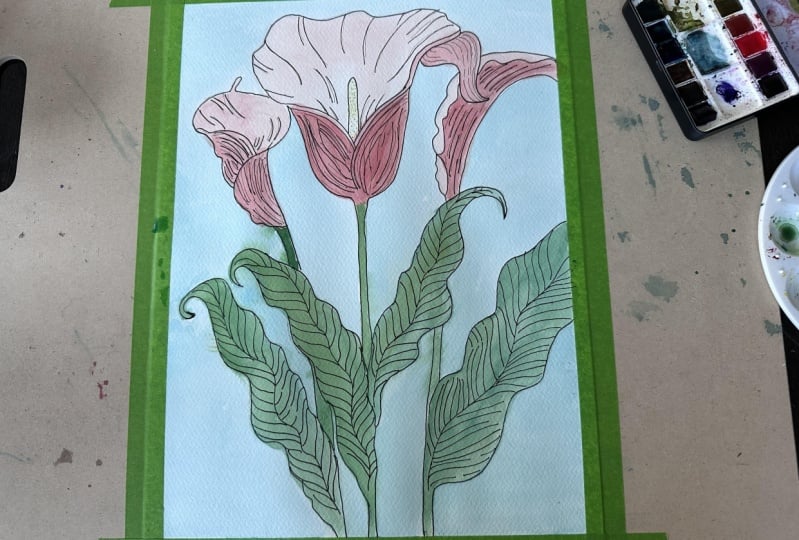
6. Draw the Open Front View: Et's sketch a C from
a more open view. Get your sheet in the projects and resources area
where I'm going to go over all the different
pieces and the different steps. I'm just showing
here a little bit on what we're going to be doing and how we're going to add in some texture and
pieces at the end. This is a little bit more
complex than the first two, and we have some
more curly shapes. We're even going to
add in a leaf this time and some extra
texture on it. Step one, draw two
pointy leaf like curves. Here I'll show you right
here how to do it. It's a little bit of a wave, and then you're going to
do that pointy top there, and then come back and
create the second leaf. In this case, it's
not really a leaf. It's the petal, but
it looks like a leaf. We're going to do
this curvy, wavy top. I you want to make it so that it's over quite a bit to the right there and
then you're going to bring it back and make sure you have quite a
few little curves in there. It shouldn't look exactly like mine because no two
flowers are the same, but just the general
shape is there. You want that really
strong top curve. Then let's add in a stem. You're just going to
go straight down. Step three, we're going to add a line here on
the intersection. You're going to actually going
to be seeing the edge of the flower and bring
it all the way down to that top part. We're actually going to
extend it even further down, bring it down a little bit
more and attach it and then we're going to erase that
little bit there later on. Now we're going to do
the same thing here on the other side,
just a little bit up. You don't want it
on the petal edge. So step four, finish the step off with
a back curvy shape to show the back hanging down. Add a curl at the end here. Now we're going to
add in the leaf. We're going to go up and we're
going to attach up here, making sure that there's
lots of little bump outs. Add a little curl here as well, and just attach it
underneath there. It's a little round.
It's looking beautiful. Now, let's add in the
oval shape up here, go straight up and
then do a little arch. Try to get it as
straight as you can. Step five adding in some little
dots there in the center. Let's add in some texture and we're going to go with
the shape of the flower. Then we're just going to add in lots of little lines here. They look really good in
threes, sometimes fours, but it's going to bring that life to the flower
as it looks like it's moving and it has texture and it's not just
flat on the paper. We're using that drag
and lift texture. Let's also do it on the
exterior and on that back area. Adding in loads of lines. I'm adding in loads of texture, but you can add in
as many lines or as limited amount of
lines as you like. That's part of each
person's style. Now let's do the leaf. We're making an angled
line and then we're doing some little angles off of
that, giving those veins. We'll define those a little
bit more when we do the pen. So let's lightly erase. Do feel free to pause
the video now and take your time erasing so that you're getting just
a little bit of eraser. I'm having to use a lot because I'm using that darker pencil. M. Let's get into some inking now. I'm going to use my
number five micron, and I'm going to do
all the outsides like I did with
the other flowers. To give this one a little
bit more of a style, I'm going to leave some
spaces in between my lines. It's just another way that
you can develop your style. Some people really strong lines, some people broken up ones. As you do your flowers, you're going to find
out which you like. Some people like lots of detail, other people like
limited details. This is a good learning
tool to just get in there, try your pen, see what you feel comfortable with and
what you like the best. Just detail all the outside
parts. With your pen. And then if you have
a finer nib pen, you can join me in doing the inner pieces
with a finer one. If you just have one black pen, stick with that and do
everything the same. So let's move on to a smaller
nib, if you have that. Here's my number
three. I'm doing the little dots with
that in the center. And then I'm just going to
do all those little pieces inside with the dragon pole. Make sure you get all your
little lines in there, bringing in all that
lovely texture. This is a good time for
you to define that leaf. I really like these
really dark lines and then that little
pole. That's it. For this class, when it comes
to the drawing and inking, do give your signature
if you like. Next up, we're going to go
over your class project.
7. Class Project: Hello. I'm so happy that
you're taking this ally class, and I think you're
going to be empowered now that you've drawn the calli in a few
different viewpoints to do more drawings. I want you for your
project to draw the cali in one of
those three views, the side, the front or
the more front open view, and then give it your own
twist, give it some color. Give it just some extra flicks, some extra types of shading
and make this your own. I want you to feel like
when you're done that this isn't a copy of my flower, but it's all your flowers. So feel free to add in
some color if you like, or you can just stay with the black and white.
That's beautiful, too. Once you're done, you're going
to take out your camera, do a little image clip, and then you're going to
upload it to the class. Let me show you how to
upload it to the class. You're going to go
to the projects and resources section
of the website. Then you're going to
click Submit Project. Once you're there, you're
going to upload your image. You're going to give it a
title and a description, and then you're going
to click Publish. Once your image is published,
I'll be able to see it. The rest of the class
will be able to see it. I'll be able to give
you some feedback, and the class will
give you some love. Thank you so much and I'll
see you in the next lesson.
8. Thank You: Thanks so much for taking
this alla lily drawing class. I hope now that you're
fully done with the three drawings
that you're feeling empowered to take on
more advanced flowers, say as the Wild Blue
iris, carnations, sunflowers and other
beautiful botanicals. In this class, I wanted you to feel like you got the basics, and now that you've
got the basics, you can do so much more and
draw so many more flowers. So if you want to connect
with me on the Internet, I would love to
connect with you. I'm on X, Instagram, and on YouTube, you can
find those links below. So keep sketching,
keep exploring, and most importantly,
enjoy your success. Each time that you do a
flower or you do a drawing, you're building on your skills, and that means you can
do more and more things when it comes to drawing. Learning these basic
shapes like in this class, will prepare you for
drawing many more items, be it botanicals or other
things, even people. So thank you so much
for taking this class, and I hope to see you in
more classes in the future. So take care and bye bye.
 Tammie Ann Creative, Artist & Crafter