Transcripts
1. Intro: Welcome to the
second installment of Blender Geometry
Nodes from scratch. Now, if it's your
first time seeing me, my name is Ken, and I'm
a Blender instructor. Now, in this class, we'll
continue strengthening your Geometry node skills
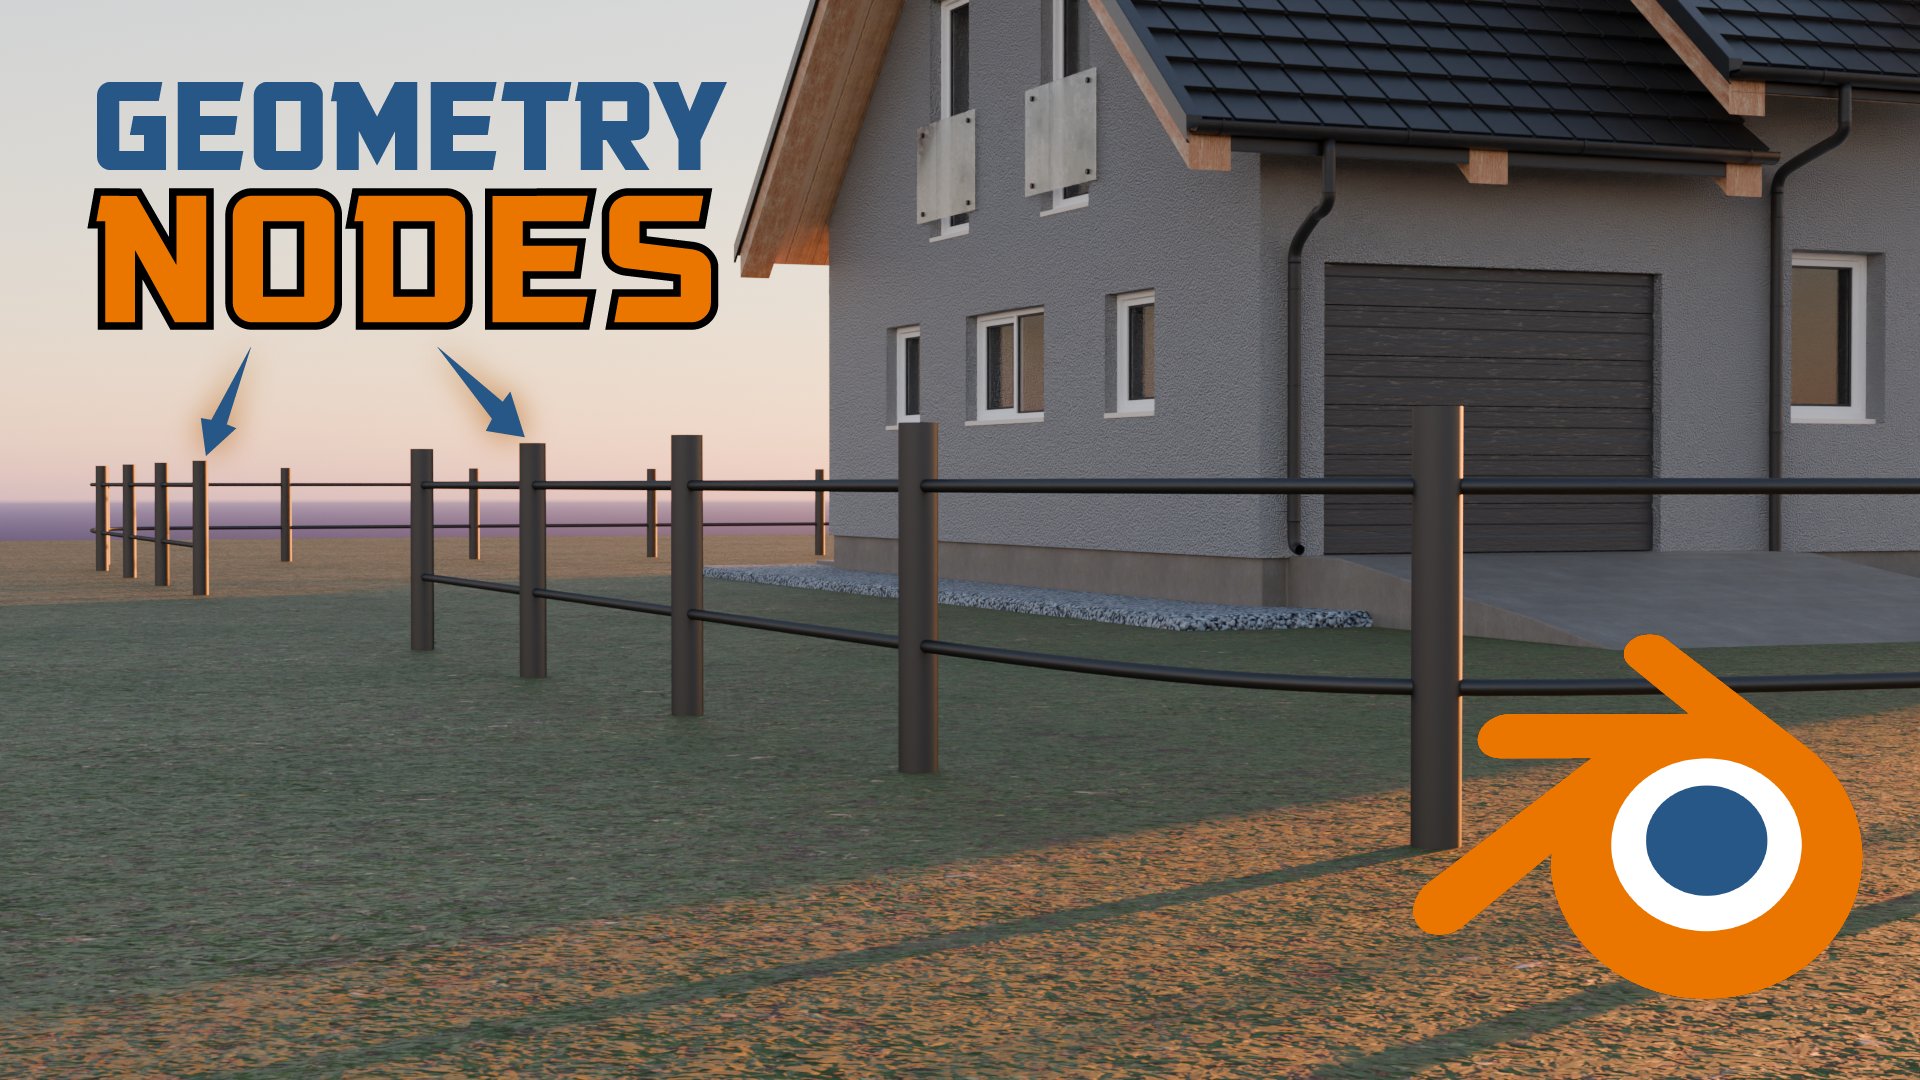
by building a procedural, reusable chain link
fence that can be controlled with and drawn
with any curve in Blender. As with the first class, you won't just be blindly copying what I'm
doing on my screen. Instead, I'll walk you
through the setup node by node while I explain
why we're using each node, what it does, and
how you can apply the same techniques to your own geometry nodes
projects in the future. My goal is to help you develop an understanding of the
building blocks behind procedural modeling so you
can build the brain muscle to create your own reusable
geometry nodes assets. We'll cover how to add a Geometry nodes
modifier to a curve. See how to instance fence
posts along the curve. We'll see how to
control the number and spacing of posts with
the resample curve node. We'll see how to align the posts to the
direction of the curve. We'll see how to instance the chain link wires
that form the mesh, how to align the
wires to the curve. And finally, we'll
see how to add the horizontal support cables. The end of this
class, you will have a reusable procedural chain link fence generator
that you can import into your future
Blender projects and draw using any
curve in Blender. You will also have a
better understanding of several Geometry nodes
techniques that you will encounter over and
over again as you use and as you build
geometry nodes setups. You don't need any
prior Geometry nodes experience
to follow along. However, if you're new
to Geometry Nodes, I recommend starting
with class one, where we covered
the fundamentals by building a procedural
wooden picket fence. After that, you can come back
to this class and continue. If you're ready to build
another useful procedural asset and add a few more tools to your Blender tool kit,
let's get started. See you in the next lesson.
2. Add a Curve: Welcome. So here we
are inside Blender, and this is a brand new project. So I'm just going to say Control
O to open a new project. And I want to open
this project file. You're going to find
this before and after. So I'm going to open this after because it's what we're
going to work with here, but you are going to
open the before file, which is going to be raw. So if I open this, the before file is also
going to have these wires. As you can see, I
already created the wires that we're
going to instance, and we also have the posts. Those are the only
two things we need. So switching to geometry nodes, I'm going to hide
the two of them. The wires and the posts, and I'm going to shift
A to add a curve. This time, I'm going
to add a Bezier curve. And what we want to do is apply a Geometry Nodes modifier
to this Bezier curve. So I'll switch to the modifiers tab and say,
modifier Geometry Nodes. And I'll click New. This will create a new
Geometry node setup for the Bezier curve. We already covered
why Geometry Nodes is a modifier in class one. If you haven't watched it, go ahead and check it
out, then come back. In the next lesson,
let's go ahead and instance the posts
on this curve. I'll see you shortly.
3. Add The Posts: Now we want to instance post
on this Bezier curve and we do that with
instance on points, Shift A, instance on points. This node just says, let's place instances of
a specific geometry or object on the points of
this incoming geometry. The incoming geometry, if I just remove this
holding down out, this incoming data is the underlying data
of this Bezier curve. If I switch to edit mode, as you can see, it
has two points. And so on those two points, we can say, let's
place another object. How by using the
instance on points, let's place instances of a specific object on these
points of the incoming data. So let me attach
that. So this node now expects us to tell it what object because
you said we want to place instances of a specific
object, which object. In this case, we can say, we want to place the
post, this post. So I'm going to expand it
and drag the solid in here. So this is the object we want to instance on the points
of this incoming data. So I'll send the geometry
into the instance here, and now we've placed them on those two points because this basic curve has
two points by default. If I extrude in the X, if I select one of these points, extrude with E X,
as you can see, each new point is going
to have a new post because we're instancing
this post on each new point. So if I select that and
extrude in X, another point. But now, this makes
it very difficult to control how many
posts we have and the distance between
them because it's very hard for me to manually extrude and make
sure the distance between these two is the
same as this and this. So to control the number
of these instances that are placed on the curve or on the underlying geometry, we can use what we call
the resample curve node. So Shift A. Resample curve node. And when I drop it in there, watch what happens because let me just place
it on the side. Right now the default is set to count and the count is ten. So we're saying when
we connect this here, we want to sort the
number of posts by count. And what count is that ten? So we can make this five
And if I drop it here, now there will be five posts, and they will be
equally spaced out. If I increase these to six, there will be six
equally spaced out, seven, eight, nine, ten. If I switch to the front view, as you can see, they
are equally spaced out. We can also change and
say we don't want to resample these
posts by the count, but we want to do
it by the length. So what should be the
length between each post? And the length is what will determine the number of posts. So if we have a
spacing of 1 meter, then we will have
that number of posts. So each post will have a distance of 1 meter
between it and the next post. So we can say we want
a distance of 1.5, and that will mean fewer posts because the distance between
each post is bigger, but the length of the Bezier
curve is fixed right now. But if we select with A and
say S for scale in the X, as we increase the size
of the Bezier curve, to maintain the 1.5 meter
distance between each post, the number of posts increase to make sure the distance
between them is 1.5. Now that we have that,
in the next lesson, let's solve a small problem, I think we should solve
4. Align Post Rotation to Vector: Now there is something
I want to show you that a lot of beginners
tend to be confused by, and that is now, as you can see, these posts
right here have these holes, and there are cables that
will go through them. But notice what
happens if we select this end point and
extrude in the Y axis. If we zoom in on each
individual post here, you will notice these holes are still aligned in the X
axis along the X axis. They should turn around and face the direction of the curve. Whatever direction the
curve is heading in, they should also twist
in the Z axis, right? And so how do we solve that? We use this rotation here. If I zoom in on this, we're going to be looking
at these few bots here. Now, let me drag and
put this on the side, and we want to use
this rotation. So I'll say Shift A, align rotation, align
rotation to vector. This is the node we need, and I'm going to
connect it to rotation. But nothing happens immediately, and that's because we need
to tell this node which vector to align the rotation
of these instances too. That's why we have this
vector field here, and we want to tell it to align in the direction
of the curve. In Blender geometry nodes, that's called the curve tangent. So I'm going to say
Shift A, curve tangent. It's the first option here. If I place it there, if
I connect it to this, just look at what happens here. But first of all, they're
going to completely break. Like that. And then
I need to tell it which axis to align
the vector to. So you can go ahead and play
around with any of these, but I know it's X. So now, when you look at
these holes, as you can see, they are rotating according
to how the curve is rotated.
5. Instance the Wires on the Curve: Of course, just like
we did down here, we want to instance the wires. We already instanced the post. So what we want to do is
create a parallel timeline. I've always used the analogy of parallel timelines to
explain geometry nodes. Let's assume right now we just started our
geometry nodes, and we don't have the posts. So if I cut those
and connect this, we have our curve,
our Bezier curve. This is the underlying
incoming data, geometry. And if we want to instance these wires on the curve itself, what we need to do is create
an instance on points, just like we did earlier. So let me cut that instance on points and then send
it to the future. But now this instance on points needs to know what are
we trying to instance? And we're trying to
instance the wires. So I'm going to select these
two wires, or in fact, I'm going to drop this collection in
there and instance it. So we're using the
collection called wires. Now, in here, as you can see, they are too far apart, and that's because
we've not introduced a way to control
how many we have. And remember, we do that
with resample curve. So Shift A, resample curve. So if I drop that there
and increase the count, we can increase the number, and if I zoom in, I
want to say length because we want to maintain the same distance
between them always. So let's reduce it like that. Maybe 0.03, just eyeball it and make sure you have
a nice proximity. So now that we have this and we're sending it
into the future, and we also need to send these into the future so
we can see the posts. These are like two
parallel timelines. So if we want both of them to
exist on our three D world, we have to send them
both to the future. So if I go and
connect that there, we need a way to combine
this parallel timeline to this parallel timeline and show them together
in the future. So we use a joint geometry node, and combine the two. Because this group output
only accepts one input. You either send the
post to the future or send this other alternative parallel
timeline to the future. But if you want to send
them both into the future, that's why you first join the two parallel
timelines and then send them both to the future
so they can be visible. There we go. And now, if we go here to the corner
and look at these holes, as you can see,
they're looking good. But there's a problem here
that we already solved and we need to solve
for these meshes. As you can see, if I switch to the top they are not aligned in the
direction of the curve. Right here, they
are not aligned. They want to stay aligned along the X axis. So
how do we solve that? We already saw how to do that, and we do that with align
rotation to vector. So align rotation to vector is my first option. What vector? The curve tangent. So we want to say curve tangent. Let me place it right there. And let's go ahead and
choose the X axis. Now, if you get close to
this, as you can see, regardless of where you are, they look properly aligned. In the next lesson, let's
add the horizontal cables. I'll see you shortly.
6. Add Horizontal Cables: We want to do is reuse
the incoming cable. Remember, if we cut
these two and just connect the cable directly
to the front to the future, this is just connected to
the future directly for now. As you can see, we have
what looks like a cable. This is our Bezier curve. And so if I select it and go to the very last point
and extrude in the X, we can create our tables using this underlying
Bezier curve. And how do we do that?
So what we want to do is first of all,
duplicate this. So how do we duplicate in
geometry nodes by just simply setting a new
position for the new copy? Remember, every time you pull
out a new cable from here, you're creating a new
parallel timeline. We already have these
two parallel timelines. We can create a third
parallel timeline. And now we've duplicated
the underlying cable. So set position. We can set the position of this cable in the Z
axis by pushing it up. And if we want to
create another cable, we can shift D this. This is another timeline
we're going to create. So we pull out a third
parallel timeline and send it to the future. And then in the Z
axis, push it up. Now, this is disconnected from the fiture because remember
we need a joint geometry. So I'm just going to
select this for now. Shift D, put it there,
connect it there. And now we have
these two futures. In one timeline, the cable
is at 1.9 meters in height. In this other timeline, it's at 3.7 meters high. So we've created. So we've created additional
parallel timelines. Now, what we need to do is combine all these
parallel timelines. So I'm just going to delete
that take these two, connect this timeline into that and this other
timeline into that. So now we have
everything we need. But remember, this
is a Bezier curve. So what we need to do is
convert it into a mesh. So this is a curve.
This is a curve. So Shift A, curve to mesh. This converts it into a mesh. I'll connect it there,
but nothing happens. And that's because
this node needs to know what profile we
want to use. What profile? Is it a squared tube or is
it a circular pipe tube? So we want to say curve
circle is our profile. Curve circle. There we go. But now it's too thick. So I want to reduce the radius, holding down shift to
move in small increments. And we want to
pull it downwards. So pull it down in the Z axis. And what we want to do is
Make it with this hole. So hold down shift on the radius and start
reducing it further. If you can't get it by dragging, just go to manually
typing it 0.005. Let's say 0.003. Yeah, I think
that's a good spot. And then let's increase this
to 1.1 0.45. Okay, 1.46. 1.46. 1.453. Yeah, 1.453. Now, you're going to
have to play around with this number 1.452. No, 1.454. 454. Right there. So it's going
through these holes right here at the corner, there is a problem, but that's something we can correct later. But if we're going in this
direction, as you can see, the holes are still well aligned because they
are aligned to vector. So I'm going to do the
same for the other cables, but I'm going to fast
forward this part because I'm just repeating exactly
what we've done here. So I'm going to duplicate
this and place it here, duplicate this and place it here and connect
it to the profile. And now we have a second cable. And to create two more cables, all I have to do is duplicate the Shift D and
place them there. Connect these to the
curve right there, just like we already did
here and another one here, then send them into the future. 02. But now these need to
move down as you can see, And this one as well. So I'm just going
to take a moment to make sure they are all aligned to the various holes. I have four holes vertically. I think four or five. I'm going to do
that very quickly. I'm trying to keep this class
short, and I'll be back. So just move them in the Z
axis and you'll be okay. Alright, so it's done. I've positioned them perfectly
on their respective holes. And now, as you can see, we
have too many nodes in here. We need to do some cleanup. So what I'm going to do is
select everything here, Control G to group it. We're immediately going to be taken to the group
inside the group. If we want to go back,
we can hit Control Tab. Will be taken back to the main GN setup,
geometry node setup. But as you can see, this group is giving us four geometries. And if I double click that, now we have the same
thing we were creating. We just grouped it all together. So I want to organize these
slightly, just like that. And you can just control and right click
to cut all those. I want to arrange them from
the top most to the bottom. We're just organizing
everything. So we're inside the group. If I want to exit
it, as I mentioned, I hit Control tab, go back out. So here we are going to
drag these around slightly. And now we have a more
organized Geometry nodes setup. Now, if I select this and hit
tab to go into Edit mode, I want to select these
vertices and delete them, select these and delete them. And now we're left with just a simple chain link
Geometry nodes setup. So now I can even hide this. And now if I say Shift A
curve, let's say path, we've added a path here, I can go to the modifier tab and add a Geometry
Nodes modifier. And we already have that
Geometry Nodes setup here. So say Geometry Nodes,
and here we are. Now, we should have
given it a name. So here it is, it's pinned here. So I'm going to unpin it first
and call it ChaininkFens. Now, dropping down
this dropdown menu, as you can see, it's
called chain link fence. So anytime I draw a new
curve, Bezier curve, GY, I can apply a new Geometry Nodes
modifier chain link fence. There we go. And I can go
into edit mode for scale, X, and there we go. We have a fully editable
chain link fence. So this is following the same principles we
learned in class one. If you did not take class one and you feel that we've
rushed through this class, you can go and watch class one
and understand the basics.
7. Next Steps: Just want to say a big
thank you for joining me and sticking with me all the way to the
end of this class. If you're right here
and watching this, it means you're very serious about learning geometry nodes. And I want to say thank you and congratulations
for finishing. You started with a simple
Bezier curve and slowly turned it into a reusable
procedural chain link fence. That's a huge milestone, and you should be
proud of yourself. You now have additional tools
in your Blender toolkit. Remember, this isn't just
a fence for this project. Since you now have it, you
can save it as an asset in Blenders Asset Browser so you can reuse it in
future projects. We already covered how
to do that in class one, so make sure you watch
class one to see how to turn this into a reusable asset. As you continue
through this series, you'll build more procedural
assets and expand your personal Geometry Nodes tool box one project at a time. And as always, I'd love to see what you create
with your fence. So don't forget to share your finished projects in
the class project gallery. Just go to the Projects and Resources tab below
this video player and upload your project there and let everyone see what
you've been able to create. And if you enjoy this
class, as always, please take a few seconds to
rate it. Give it a rating. Go down to the reviews tab and share your
thoughts about it. Did you enjoy it? What
did you like about it? What could be improved? That goes a long way and really helps me know how to prepare my next class and also helps other students know if this is a good class
they should take. One more time, I
want to say thank you for joining
me in this class, and now it's time for
you to take a break before we meet in the
next class. See you soon.
 Ken Mbesa, Web Designer | 3D Artist