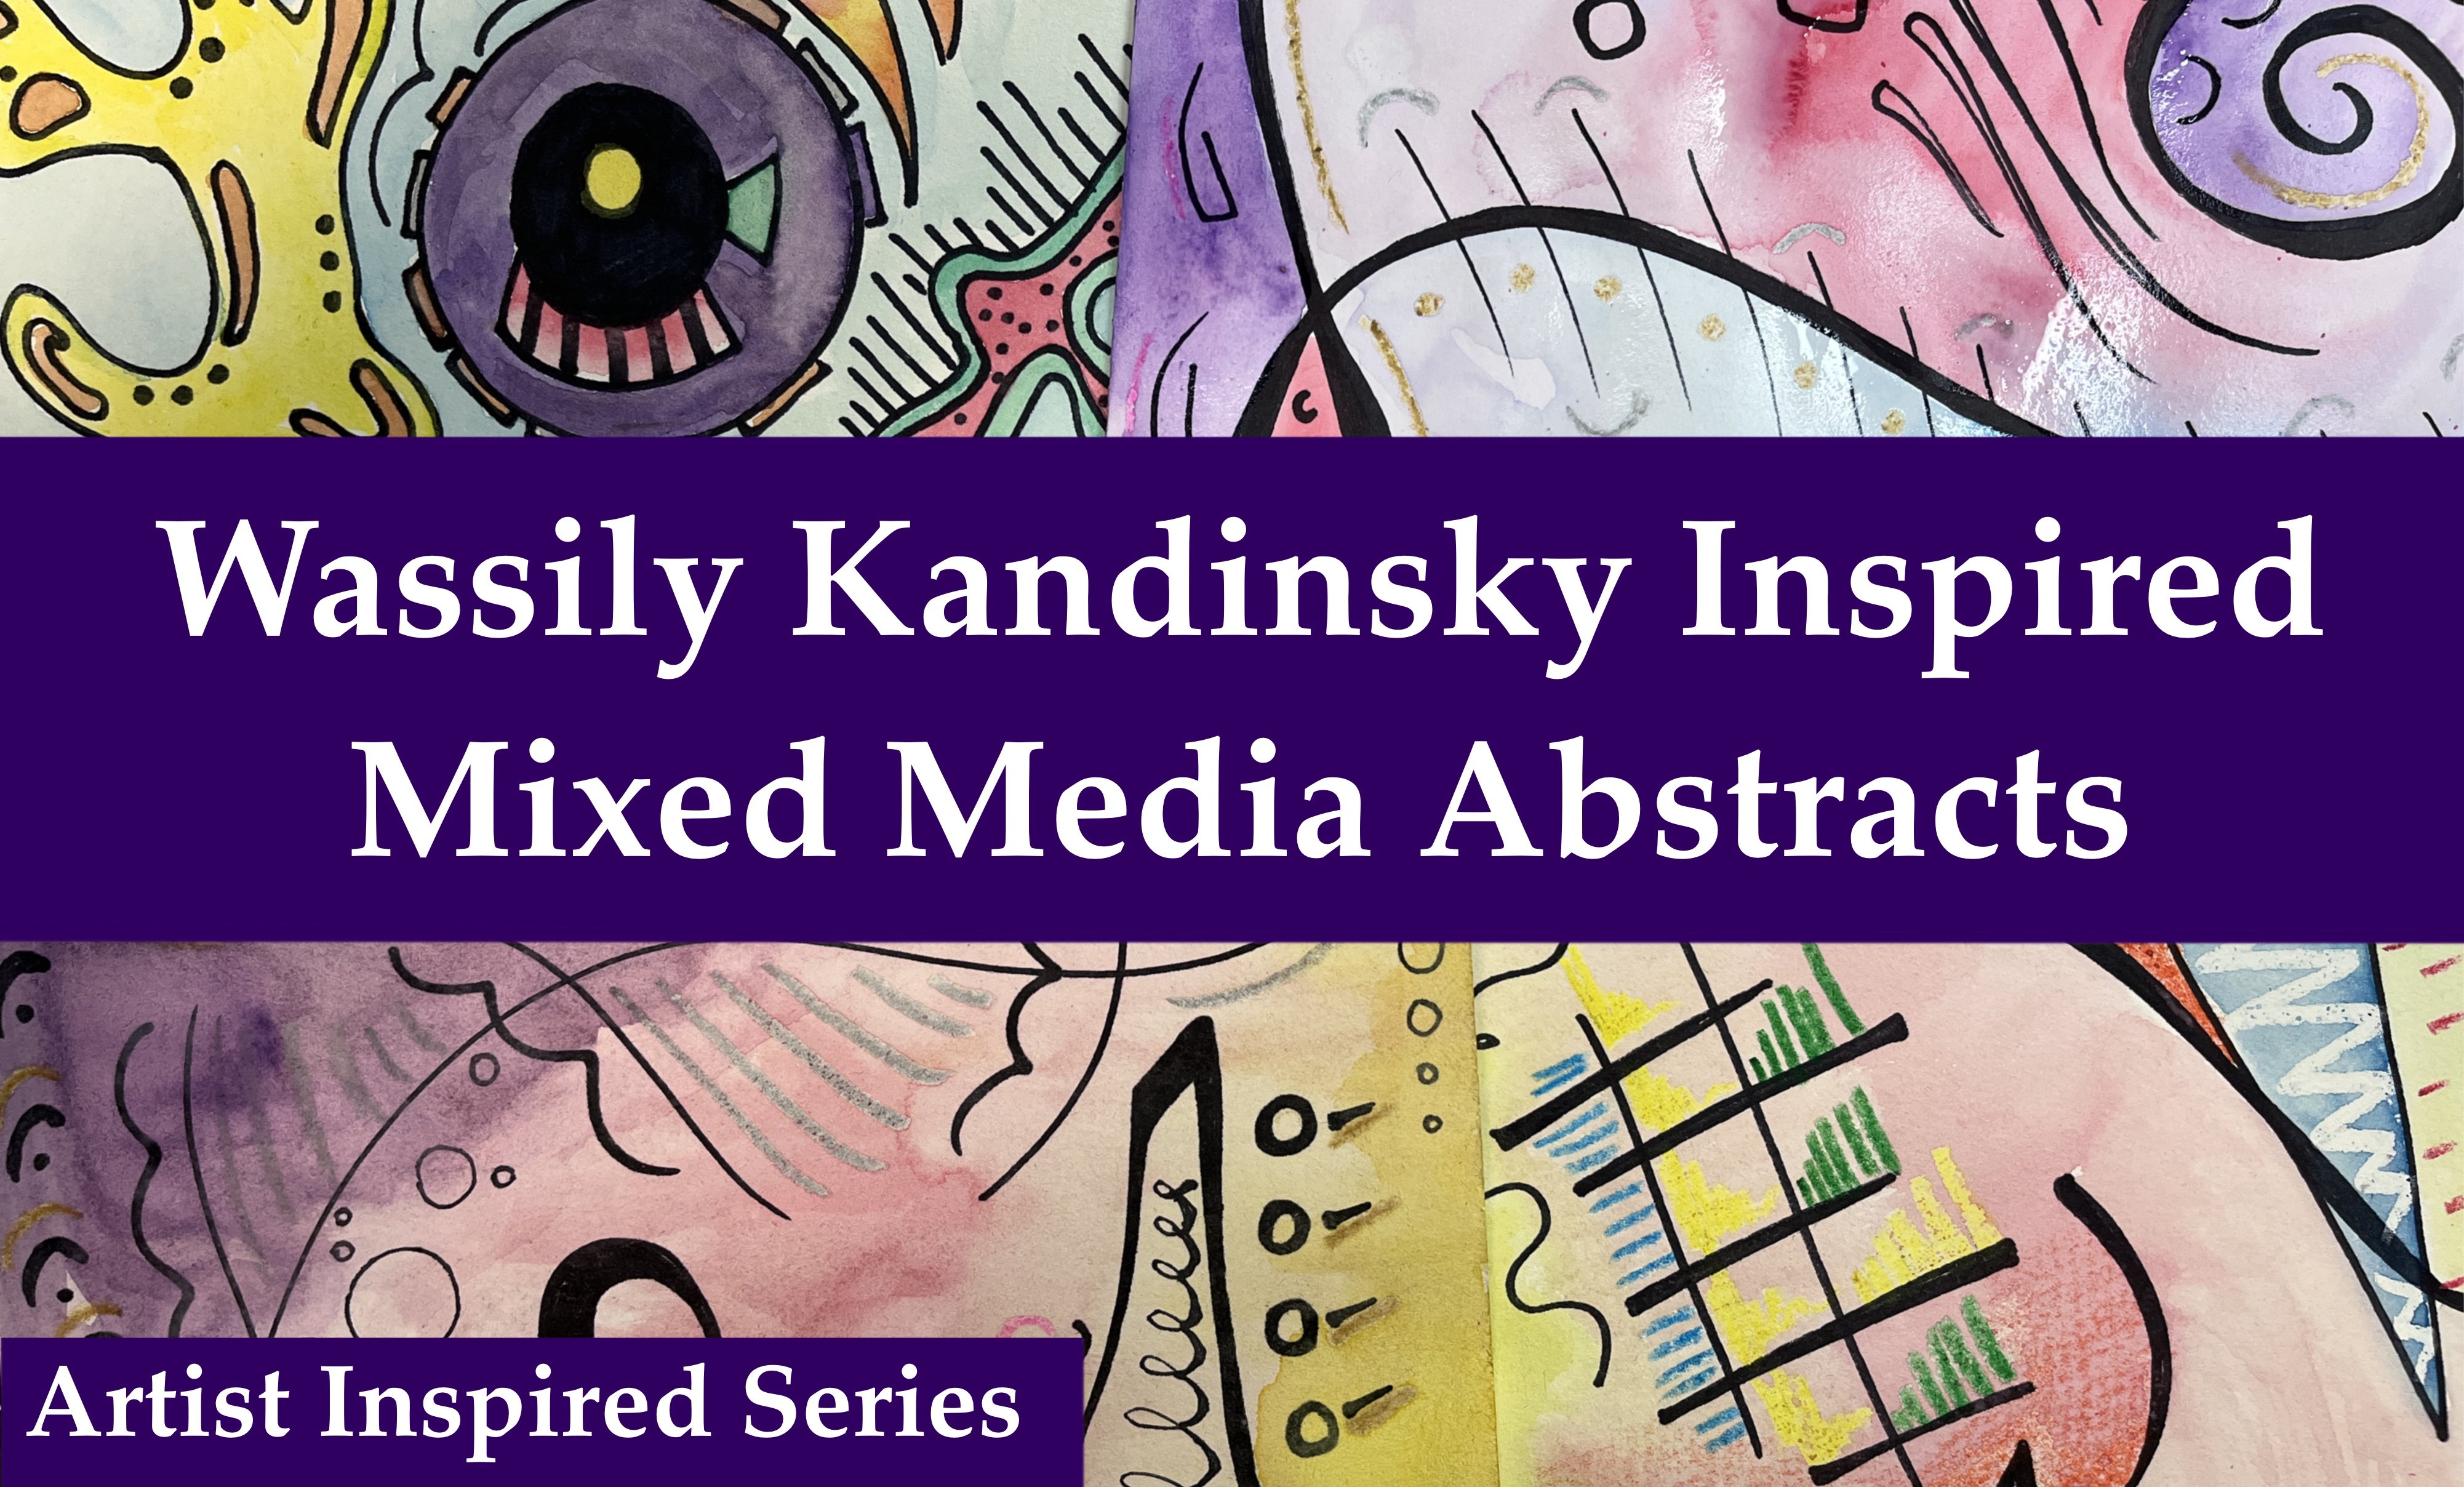
Transcripts
1. Introduction: Hi. I'm Elizabeth and welcome
to my bite sized class, Introduction to No tans. I am a professionally trained
artist and art educator, as well as a published
author illustrator. In 2020, I began
teaching for Skillshare, developing classes that explore a wide range of
materials, techniques, and art making approaches, as I share my creative journey and artistic practices
with my students. This class, we'll
learn about the basics of the Japanese
art form No tans, where we explore
light and dark values to create interesting
compositions through collage. This class is intended as an introduction to this concept, but I'll also share in
bonus videos ways that you can take this art practice even further and personalize
it for yourself. So join me in this quick
bite size skill share class.
2. Notans SK bite sized: No tans are a Japanese
art form that involves focusing on the light and the dark harmony
of something. It's also a way to explore
composition and to kind of focus on creating balance
between those lights and darks. So in this class, I wanted to share the basic process of
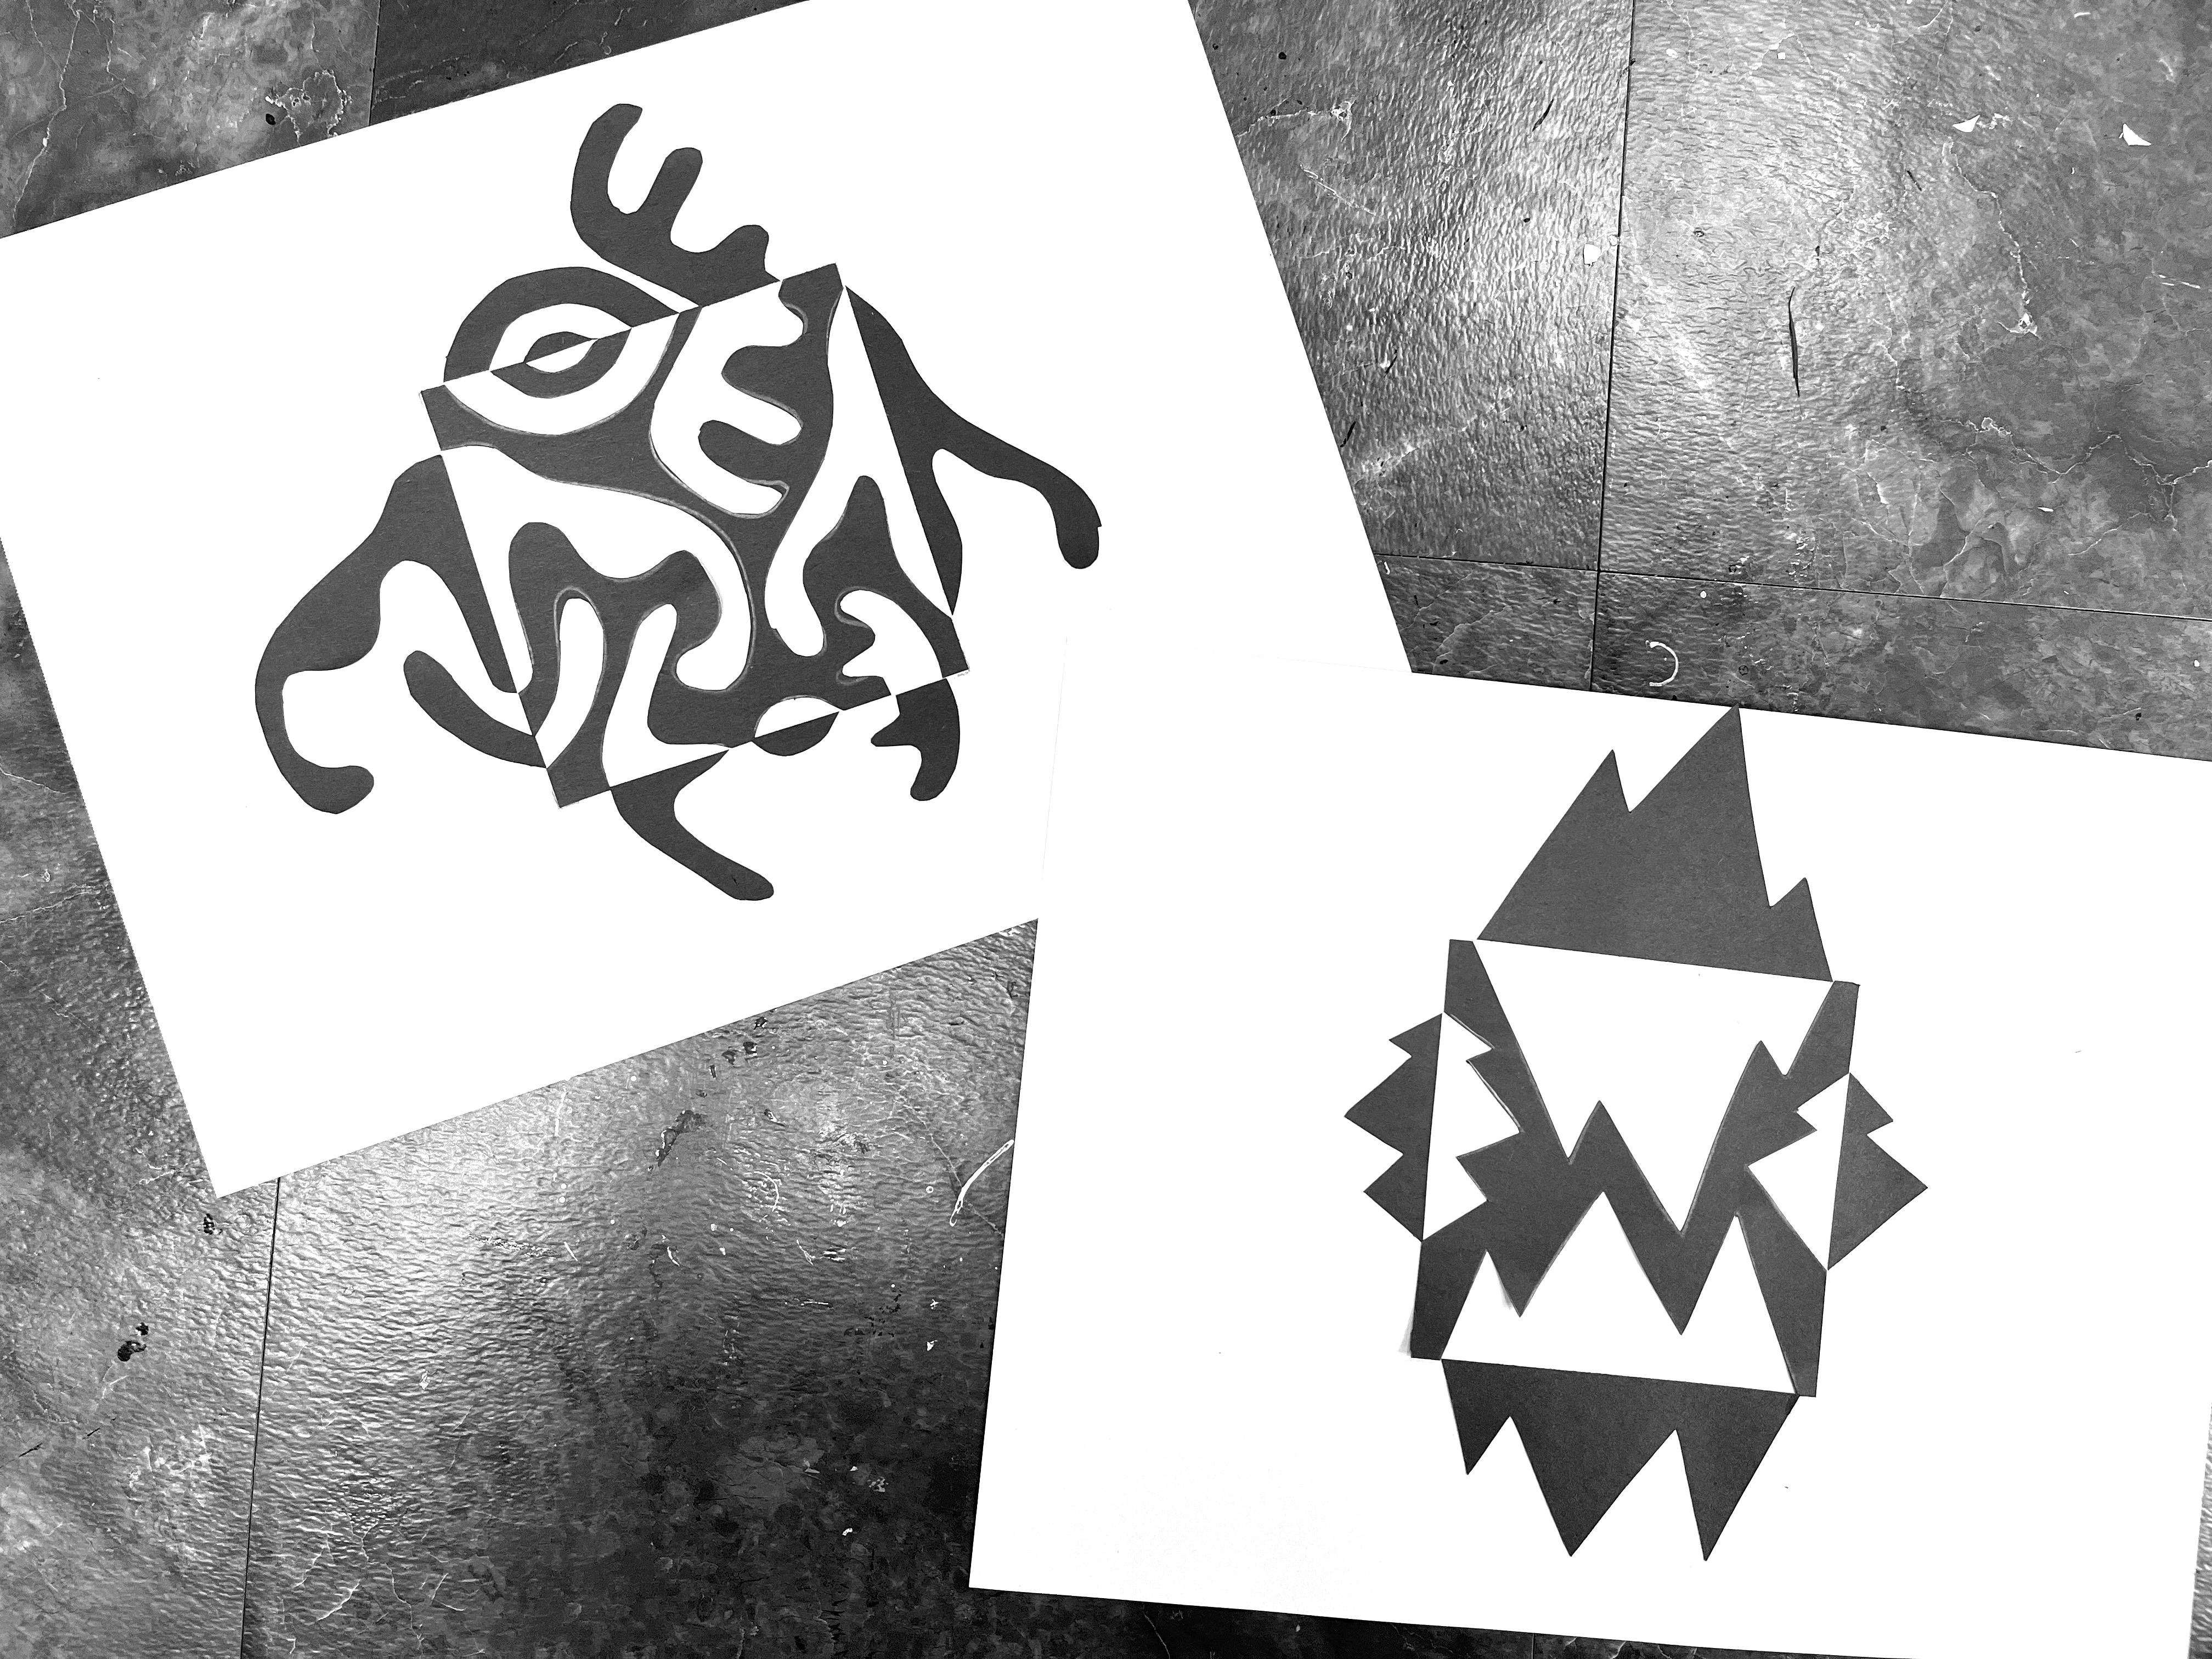
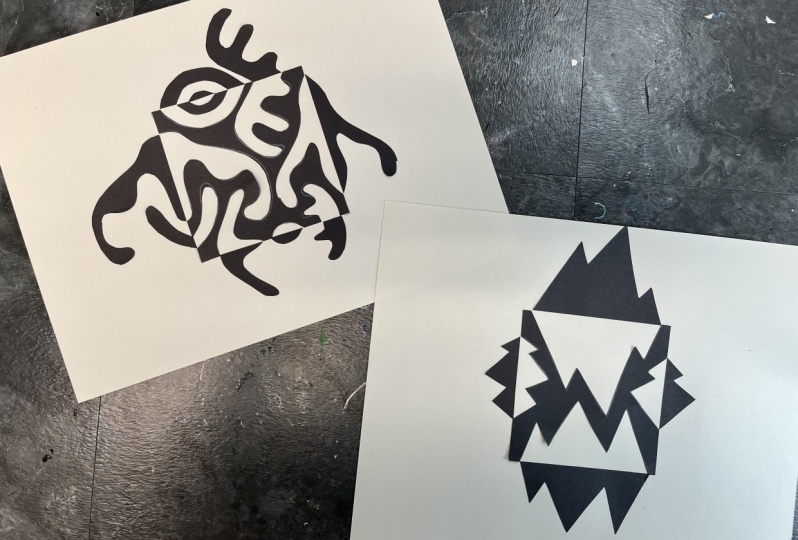
setting up your not tan. So the first thing
you want to do is cut a four by four
inch black square, and then you want to
have about a nine by 12 inch background paper, and you're going to
put register marks on the corners of your
black square so that it's easy to put
your black square back where it goes to
fine up your notan. Then what you want to do is with a pencil or a white pencil, you're going to draw
in your shapes. It can be whatever you want to, but they need to come
in from the outside. Then slowly, you're going to cut out
each individual shape. I found that it's best to cut one shape at a time
and then glue it down. But the glue, we're going
to be using blue sticks. So I'm cutting out
my first shape along the right
side of my paper. And then I'm going to make sure that I've got it
oriented the right way. And then I'm going
to put the glue on the front side of
the cutout shape, and then I'm going to line up my square with its
register marks. And then once I
have that in place, then I can line up and
glue down the piece that is going to flip to its mirror
side on the outside edge. So now I have a positive and negative of that cutout shape. Then I'm going to go
ahead and continue on to the next side, and I'm going to cut
out the next shape. You can cut out more at
once, but in the end, we're going to use
every piece of our blacks paper to glue down. I like to double
check that I've got the right orientation before I flip it to put the
glue down because it's very easy to
kind of get mixed up, especially once you
get further into the process of
assembling your no tan. It takes a little
bit of, you know, wiggling to get things
in the right place. But then you just
keep continuing on, cutting out the next shape
that you have along your edge. This was a pretty small one, but the smaller ones are almost, it's easier to potentially
get those mixed up. So putting the glue on and then making sure that
everything is lined up with my register marks and
then getting that glue down and continuing
around the square. So no tans are something
that can be very simplistic, but you can also get
very complicated. The more you get used to the basic construction
process of creating a no tan. There's some really
fabulous artists out there who have done some
pretty complex no tans. So I highly encourage you to Google no tan artists and
kind of see what else is happening to get even
more inspiration as you build on
this practice and kind of explore ways that you can further advance
your no tan skills. So here I am again, I
cut out the next side. And then the nice thing about
using a colored pencil, a white colored pencil or the graphite pencil
is that's going to be the side that you put the glue on for the pieces
that you cut out. And then those pieces are always going to show up on
your center square. And then you can
erase them. If you're using a graphite pencil, you can erase them once you
glue down your center square. But you just keep going
all the way around. I'm kind of jumping from
one side to the other for this section just to kind
of get things lined up. But it is kind of nice to work one side, then
the next side, then the next side as
you go around the piece. I did find that it
was easier to cut of the larger shapes first
when I was starting with a new edge because the more you cut into
your original square, The chances are greater that
something could go awry. So kind of getting those
big pieces out of the way first makes it a little easier than to go in and focus
on the other pieces. I did also get into a
really good rhythm of kind of placing my
center square back down first before I put
the glue on the piece that I had cut out just to kind of have that
already lined up, to make it a little easier then to ensure that I was
lining things up correctly for the
pieces I was gluing down that flip to the
outside of the square. So I did. It took me a little bit of time to kind
of find my rhythm, and I think you'll find the same when you start
creating your no tans. But once you get
that rhythm down, this becomes a really
nice smooth process. Now, my last section, I
decided to do a triple cut. So what that means is,
I'm going to have a piece that flips to the outside
like we've been doing, and then I'm going to also
have another inner piece that flips to the inside. So I ended up cutting both of
those out at the same time. And then because of the
complexity of this cut, I wanted to glue
down the s f. So I'm going to go
ahead and get glue all over the back side of that. And then I'm going to
position it carefully. With where I want it, kind
of double checking things. And I've cut a lot
into my square. So I've got a lot of
moving pieces here. But if I just the
great thing about glue stick is once you
kind of get it down, you can kind of slide
it a little bit to get everything to line
up where you want it, and then just press it down
nice so that everything is attaching where you want
it and really well, so that nothing's
going to pop off the page later after
the glue dries. And then I'm going
to go ahead and glue down my triple cut. So I'm going to start
with the bigger section that's going to be my flip
to the outside piece. And I'm going to get
that set up just like we did every other part
of the notan design. And now I've got a piece that
flips back to the inside. So now the glue needs to go
on the non drawn on side, and then I line that one up. And then I've got my last cut where I can glue it the way we've been
gluing everything else. And then that is my first
completed notan design. I just kind of go over and make sure everything's lined up. Now I'm going to repeat
the process again, just doing it with much
more simplistic designs, just to kind of have a more
bold graphic in the end. So this one I'm doing
my register again, and then I'm just doing some jagged mountain shapes
kind of going in from all four sides and
plan of playing with some nice balance there and a little bit of eluted symmetry. Then once I have
everything drawn on, I'm going to go ahead and
cut those shapes out. Again, I'm going to
go one at a time just to make sure that I can be in complete control of
the process and have everything lined up exactly
where it's supposed to go. I'm lining up my square
with my registers, and then flipping my page
over to get the glue on, and then ensuring that
I get everything laid out correctly on my white
paper before attaching it. I repeat the same process
on all four sides. H. So I can't wait to see what kind of not tan designs you come up with. If you make more
than one, please share all of those in the
class project section. It's really fun to go
to the student gallery and get inspiration
from each other. Feel free to add text sharing how the process
worked for you. If you found a good
rhythm to it and any tips or tricks that
you can share with others. And stay tuned for
a bonus video that I'm going to be adding
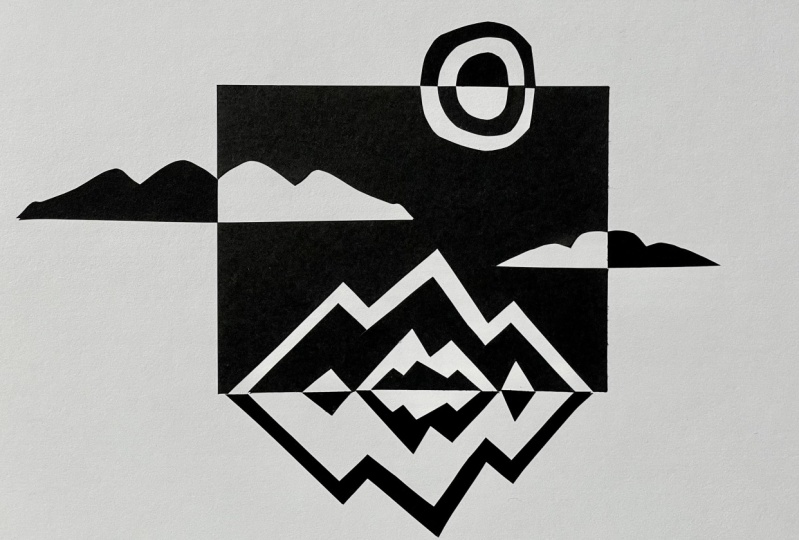
that shows how you can take your no tan designs beyond the bold black and white
composition and add other colors and patterns and other
mixed media materials into them to even further personalize them and put
your own twist on it. If you have any questions,
don't forget to post those to the discussion
section of class. I'm always available to provide support and
guidance along the way. If you like the class, don't
forget to leave a review, kind of sharing
your experience so that others who might
be checking out class options can
find it and join us on our no ten explorations, and I'll see you next time.
 Elisabeth Wellfare, Artist, Art Educator