Transcripts
1. 1. Hello and welcome to this course: But Hello, everyone. My name is Vida. I'm an artist from Lithuania based in Spain. I'm a professional bookbinder
teacher in Waldorf School, and the founder of Book
Bindersbody Web Application. Welcome to my Home Studio. Today, we are going to make
a book with a text inside. I chose Hamlet by
William Shakespeare, but you can choose any
other book you like. You just need to have a
text file on your computer. The end result and the main task of your course will be
a book which you have printed yourself at home with your regular cheap
one side printer. You bond it yourself. You designed the cover, and who knows maybe even
written yourself. Also, I have to mention
that the content of a book may not
necessarily be text. It also can be illustrations, photographs, a little bit of everything or any other
content you like. This course is for
everyone who is interested in from the very beginner to
a professional bookbinder, everyone will found
something useful. And even if you are going to stay away from expensive tools and materials in order to make
it possible for everyone, professional
bookbinder still learn how to use book Binders by the web application and how to print a text for
a book at home. Also, this course
is excellent for teachers because
all the materials are affordable and
steps are easy enough to be repeated at
school with your students. So let's dive into this project and can't wait to
see a final result.
2. 2. About the project: I'm very happy that
you chose my course. Welcome to extraordinary
world of bookmaking. And I hope from the
bottom of my heart, you will stick to this for many, many years. So let's begin. This course contains
two main parts. Part one is the hard
one technology. Part two is the fun one
making an actual book. For the first part,
you will need your computer, home printer, access to bookbinders
but the web publication, copy paper, and
content for your book. You also can use the same dextop Hamlet I'm
using here today. For the second part, you will need regular things
for bookbinders. Oval ruler, bone folder,
needle and thread, glue, clamps, cardboard, cutter, and some pretty
material for a cover. It might be a fabric
or even a thick paper, but I'm going to use
synthetic leather. This synthetic leather
is called echo leather, and I don't know
why I think there are nothing echo about
this synthetic product. However, this product is
very useful, very flexible. It goes in many different
colors and textures, very easy to work with and never let the glue bleed out to
the surface of the cover, which is very opposite
to fabric or paper. I recommend you to choose synthetic leather for a
book cover of this project. So what exactly you are
going to learn here today? In short, you are
going to learn how to make a book with text inside, but the real answer is
much more complicated. You have to fully
understand the problem. To make a book with
empty pages inside like a sketchbook or notebook
or journal is easy, but it is not easy to make a
book with a content inside. You have to find
a way to lay out pages in correct order
for printing at home, which is hard work. If you have two or 300
pages or more text, it is very likely you will make lots of mistakes
and won't notice that. Also, that will
take you forever. So we will use Book Binders
by the web publication, which will lay out pages
for us in correct order, and we just need to
print it at home. Our cheap, regular one side
printers and bind the book. Let me show you an example. Imagine you have four
sheets of paper, fold it in half, and you'll
have 16 pages of a book. Let's say this is
your first signature. Now we are going to
number these pages. Numbers will represent
content of our book. So we have 16 pages with a content which is going
in correct order 1-16. Now we are going to unfold these pages, and what do we see? 16 and one, 14 and three, 12 and five, ten and seven. On the other side
of these pages, we have two and 15, four and 13, six and
11 and eight and nine. This is the order in
which your text content should be arranged so that the pages are in
order when printed. Now your task is this, find a content for
your book you like. Prepare PDF file for bookbinders
by the web application, which I'm going to show you how. Use application
for proper layout, print your content with your home printer.
And bind the book. One more important
thing to remember, in order not to
violate copyright, I recommend you to
choose a content which is under free
public domain. Free public domain means that the copyrights already expired. The content is not under
copyright anymore, most likely because the author died 100 years ago or more, and public can use
this content for any purpose they want,
even commercial purpose. You can choose anything
from William Shakespeare, like I chose, but you cannot choose books
of Harry Potter. There are tens of thousands
if not millions books available as free public domain. All classic literature
is waiting for you. So now I'm inviting you to
start the lessons and put some effort not only to learn
how to make a pretty book, but also to level
up your skills with the knowledge how this
new web application works and combine the beauty of literature with an
amazing, ancient craft. Good luck and see you
in the next lesson.
3. 3. LESSON 1: Prepair your PDF file properly: Lesson one, prepare
your PDF file properly. I believe there are many
places online where you can get your text file
of your desired book. So now you need to
get it and we will work together to turn this
file into a proper PDF file. At this point, you should have your PDF file with the
content of your future book. If you don't have any, use the same content
I'm using today, Hamlet by William Shakespeare, and you will be perfectly fine. Now, it is important
to make sure that the size of your pages
of PDF file is A five, which is half of A four, which is regular
size for copy paper. Keep in mind that when
you open your book, the first thing you want to see is the page with a
title and author. So make sure that your
PDF file is like that. The first page is the title
and author of the book. The next page is usually blank or contains the
publisher's information. Since you are the
publisher in this case, you can leave it like this or you can write
handmade by you. And make sure this is the
second page on your PDF file. If you want to
dedicate this book to someone or if you
want to give it as a present to someone
you love and want a personal greeting to
appear in this book, the greeting should appear on the third page of your PDF file. If you're doing
this greeting page, then the fourth page on your
PDF file should be blank. If you are not doing
this greeting page, then the content of a book
should start on page three. You always want to
start your content, not on the left
side of the book, but on the right
side of the book. Reminder, all the pages on your PDF file
should be unnumbered. We will number
pages later when we will use web
application. Awesome. Now your PDF file is ready for the web application
and we can move on to the next lesson.
See you there. I
4. 4. LESSON 2: Use BUDDY app like a PRO: Lesson two, use
body a like a pro. In this lesson, we
are going to use Book Binders body
web application and become a
professionals on that. Sounds great, but actually it is very easy to become a pro here because this app has only a few buttons and
is very easy to use. Okay, now you have
your PDF file. So now you need to sign in to the web application
book unders body, and this is how the
application looks like. At the first step, we should choose our book file. In my case, it is Hamlet, A five size PDF file. At the second step, we need to choose paper size. In our case, it
is a four because this is the size of paper
for my printer I have, and most likely it is the same size for
your printer as well. Now we will go to
Advanced Options, and here we have to choose if you want to apply sheet Marden, which I don't want. I recommend to use this if you want to make a tiny
book with a text, but for books which
you need just to fold paper sheets in half, you don't need this option. Unless you want to play
around, of course. I also don't want to add
cutting lines because I'm not going to cut my sheets
of paper after printing. I'm going to fold it in
half, and that's it. But if I would do a tiny
book with text inside, I would add cutting lines. Page numbering here is where we will add
our page numbers, not for every page, only for the pages we want. In this section, we can choose which page we do not
want to be numbered. For sure, it will be
first and second pages. But if you have a
dedication page, you also shouldn't number
third and fourth pages. We have to start
numbering pages from the page where the content
of our book begins. Since I don't have
dedication page and my content of a book
starts at page three, I don't want to number first
and second pages only. Here you have to choose
font size for page numbers. I recommend you to choose slightly smaller font
size than your text size, but that is totally up to you. Since my text size is 12, I chose ten for the
size of my numbers. The last thing in this
section is bottom margin. You need to leave a little bit space at the
bottom under the page numbers, or the page numbers
just won't look nice. Here you can choose what you prefer centimeters or inches. I prefer centimeters
because here in Europe, we have no idea what inches are. Let's click on Preview. The application
generated a preview of all the content we uploaded. We can see we have 12
signatures in total, and we can preview all
of them if you want to. At this point, you should take a look if you like
everything you see, like the size of page numbers and all the
details on your PDF file, if you don't like something on your PDF file or font
size of the numbers, it is time to go back
and change it now. On the left side, you
can see all the pages which will be printed on
one side of a paper sheets, and on the right side, you can see all the
pages which will be printed on the other side
of the same paper sheets. This will become
more clear later. If you want to, you
can take a look at other signatures
too. And submit. When you click on
the Submit button, your existing page credits will be deducted for this book. When you click on Submit button, zip file should come
to your computer. I believe you know how
to extract zip files. After extracting the Z files, you will find free
documents inside. Side one, side two, and
folding instructions. Folding instructions contains all the information
about your signatures. This is the list of
signatures with pages range from which page to which page a certain
signature goes. If you get lost
between the pages, folding instructions
will be very useful. Now side one and side two contains the
content of your book. On side one, all the content goes from the
beginning to the end. On side two, all the content goes from the end
to the beginning. This is required for
printed purposes and is suitable for
most home printers. Okay, we did it. We went through all
the possible steps in book binders by
the web application, and finally, we have PDA
file ready to print. Well done, guys. Now let's go to the next lesson
where we will see what the real magic
of bookmaking is.
5. 5. LESSON 3: TECHNOLOGY or get to know your printer better: Lesson free technology or get to know your printer better. Then I mentioned at
the beginning that the hardest part of this
process is technology. I was talking about what
we are going to do now, printing pages for our book. Let me introduce you my old
cheap one side home printer. Now imagine I'm printing
four sheets of paper. All four sheets are overlaid on each other from the
first to the fourth. So now my first page is at the bottom and my
last page at the top. This is my side one. That's why side two goes from
the last page to the first. I just take these printed
sheets and put them here for printing the other
side from fourth to first. Et's try this with the
first signature of Hamlet. Text is at the bottom. Now I simply move sheets here, and then I'll print side too. That's it. We have fully
prepared first signature. Your printer might be
different than mine, and it might work
differently than mine. That means you might
need to flip over your paper sheets or to rotate your paper sheets
before printing side two. So that's why you need
to know how your printer works in order to put your paper correctly
for a side too. Very likely you will damage
few sheets of paper. At first, you play around only
with the first signature. It is four first pages on side one and four last
pages on side two. Then you have all
four sheets paper with a text correctly in order. That means you find the
right configuration for your printer and you can print the rest of
the text you have. In the end, this is
the process of trying, making mistakes and learning. I'm here to help you. And if you really stuck at
this point, please contact me. I'll try to do my best to
find a solution for you, and we will work together. Now, once this step is over, lots of meditation
are waiting for us, and so do I in the next
lesson, see you there.
6. 6. LESSON 4: Pages to signatures: Lesson four pages to signatures. If you are here,
congratulations. You made it. This lesson is intended to prepare your
signatures for sewing. We will start by folding
all the pages in half. This process is slow
and time consuming. You have to fold each sheet of paper one by one
in the middle as accurately as possible so that the pages of your future
book line up nicely. Form signatures right away. Each signature is made up
of four sheets of paper, which is 16 pages of your book. So form a separate group
every four sheets. If you get confused, check
my folding instructions. And make sure you
put all the pages in the right order by keeping
track of the page numbers. Mm hmm. This is where meditation begins. During this process, I recommend you do not watch any movie. Even if the task is really simple and may even
seem boring at first, it is still possible to make mistakes and mix up the
order of the pages. I suggest you remain attentive and keep your mind
in here and now. And always check the order of the pages after each
signature you make. Oh The last one or two signatures may be shorter depending on how many pages your
book has in total. Sometimes the application
adds extra blank pages if the content of
your existing book doesn't completely fill
the last signature. Follow the folding instructions. Now, when you have your
future book in your hands, it is time to become
a real book binder. We will start by making holes
in each of the signatures. It is very important
that the bending line is the same on every
page and make holes with an all through
all four sheets of paper at the same time
at every 3 centimeters, at e, six, nine, 12, 15, and 18 centimeters. And, of course, repeat
the process until all the signatures you have will be ready for the next step. At the end, you should see all the holes you have
made nicely aligned. That's it. I hope you are more calm than
nervous at the moment. Go and have coffee break, rest your eyes, and I'll see
you in the next lesson. O
7. 7. LESSON 5: Time to stich your signatures: Lesson five, time to
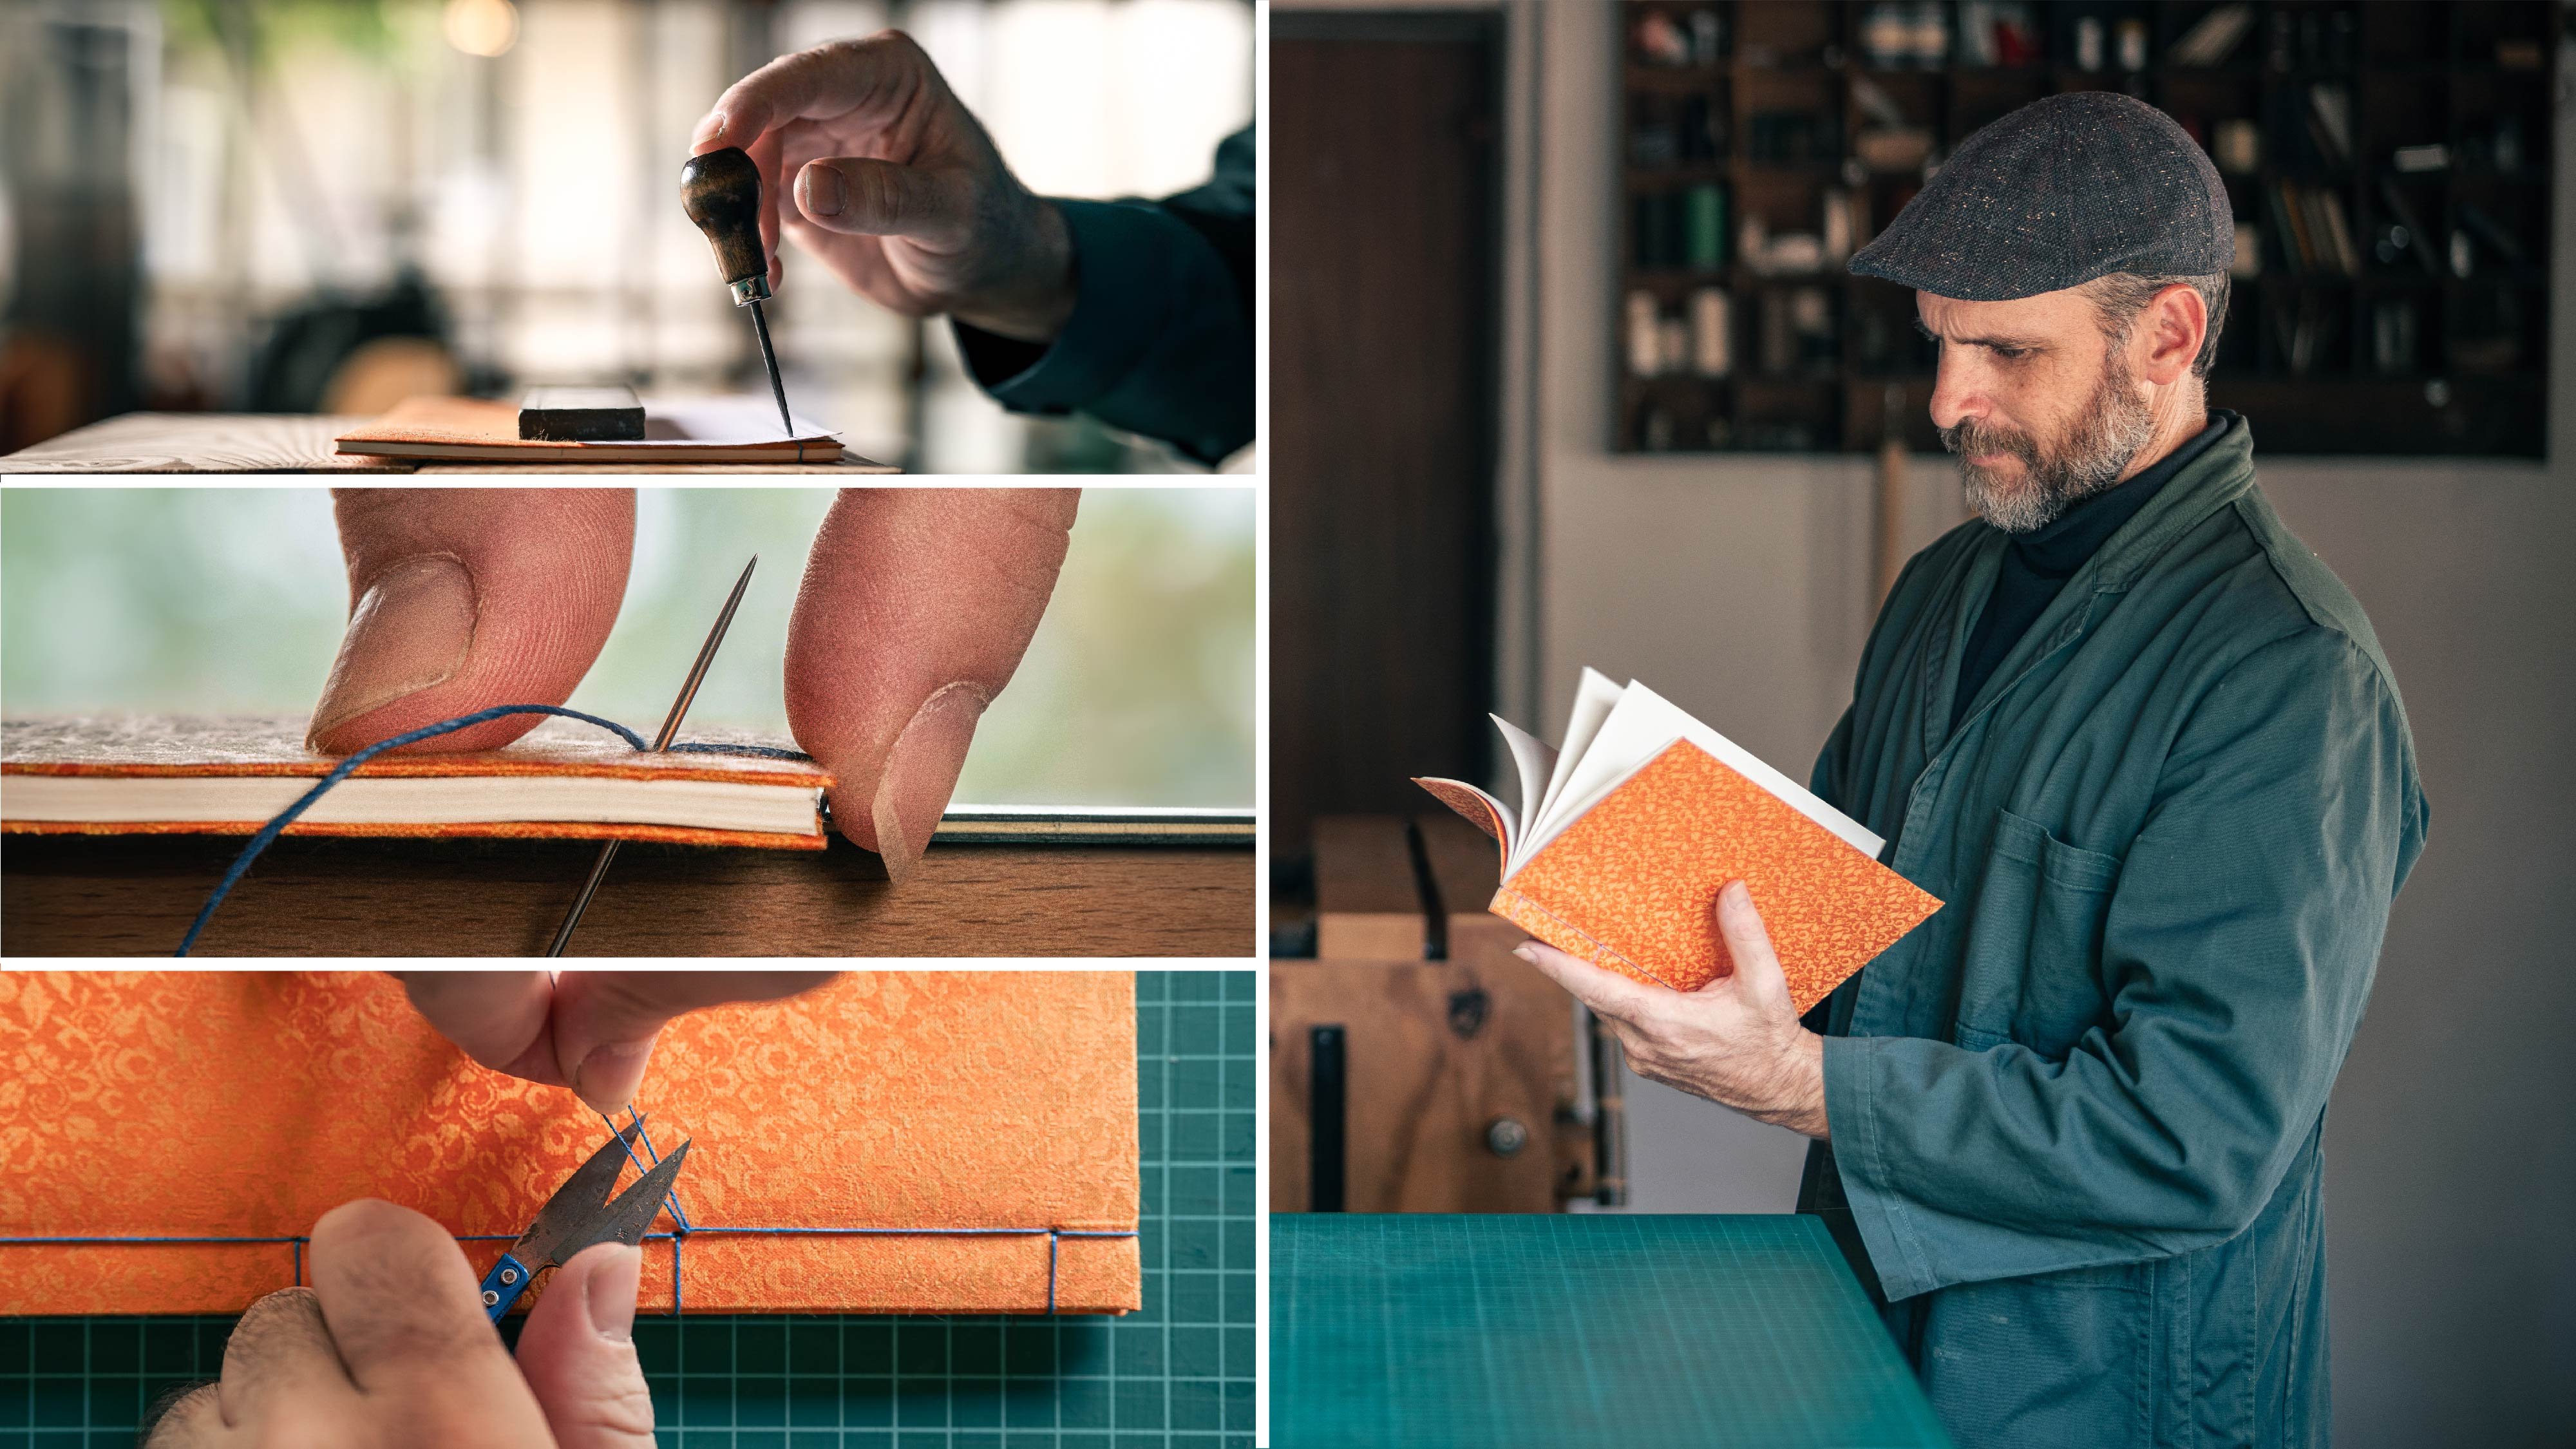
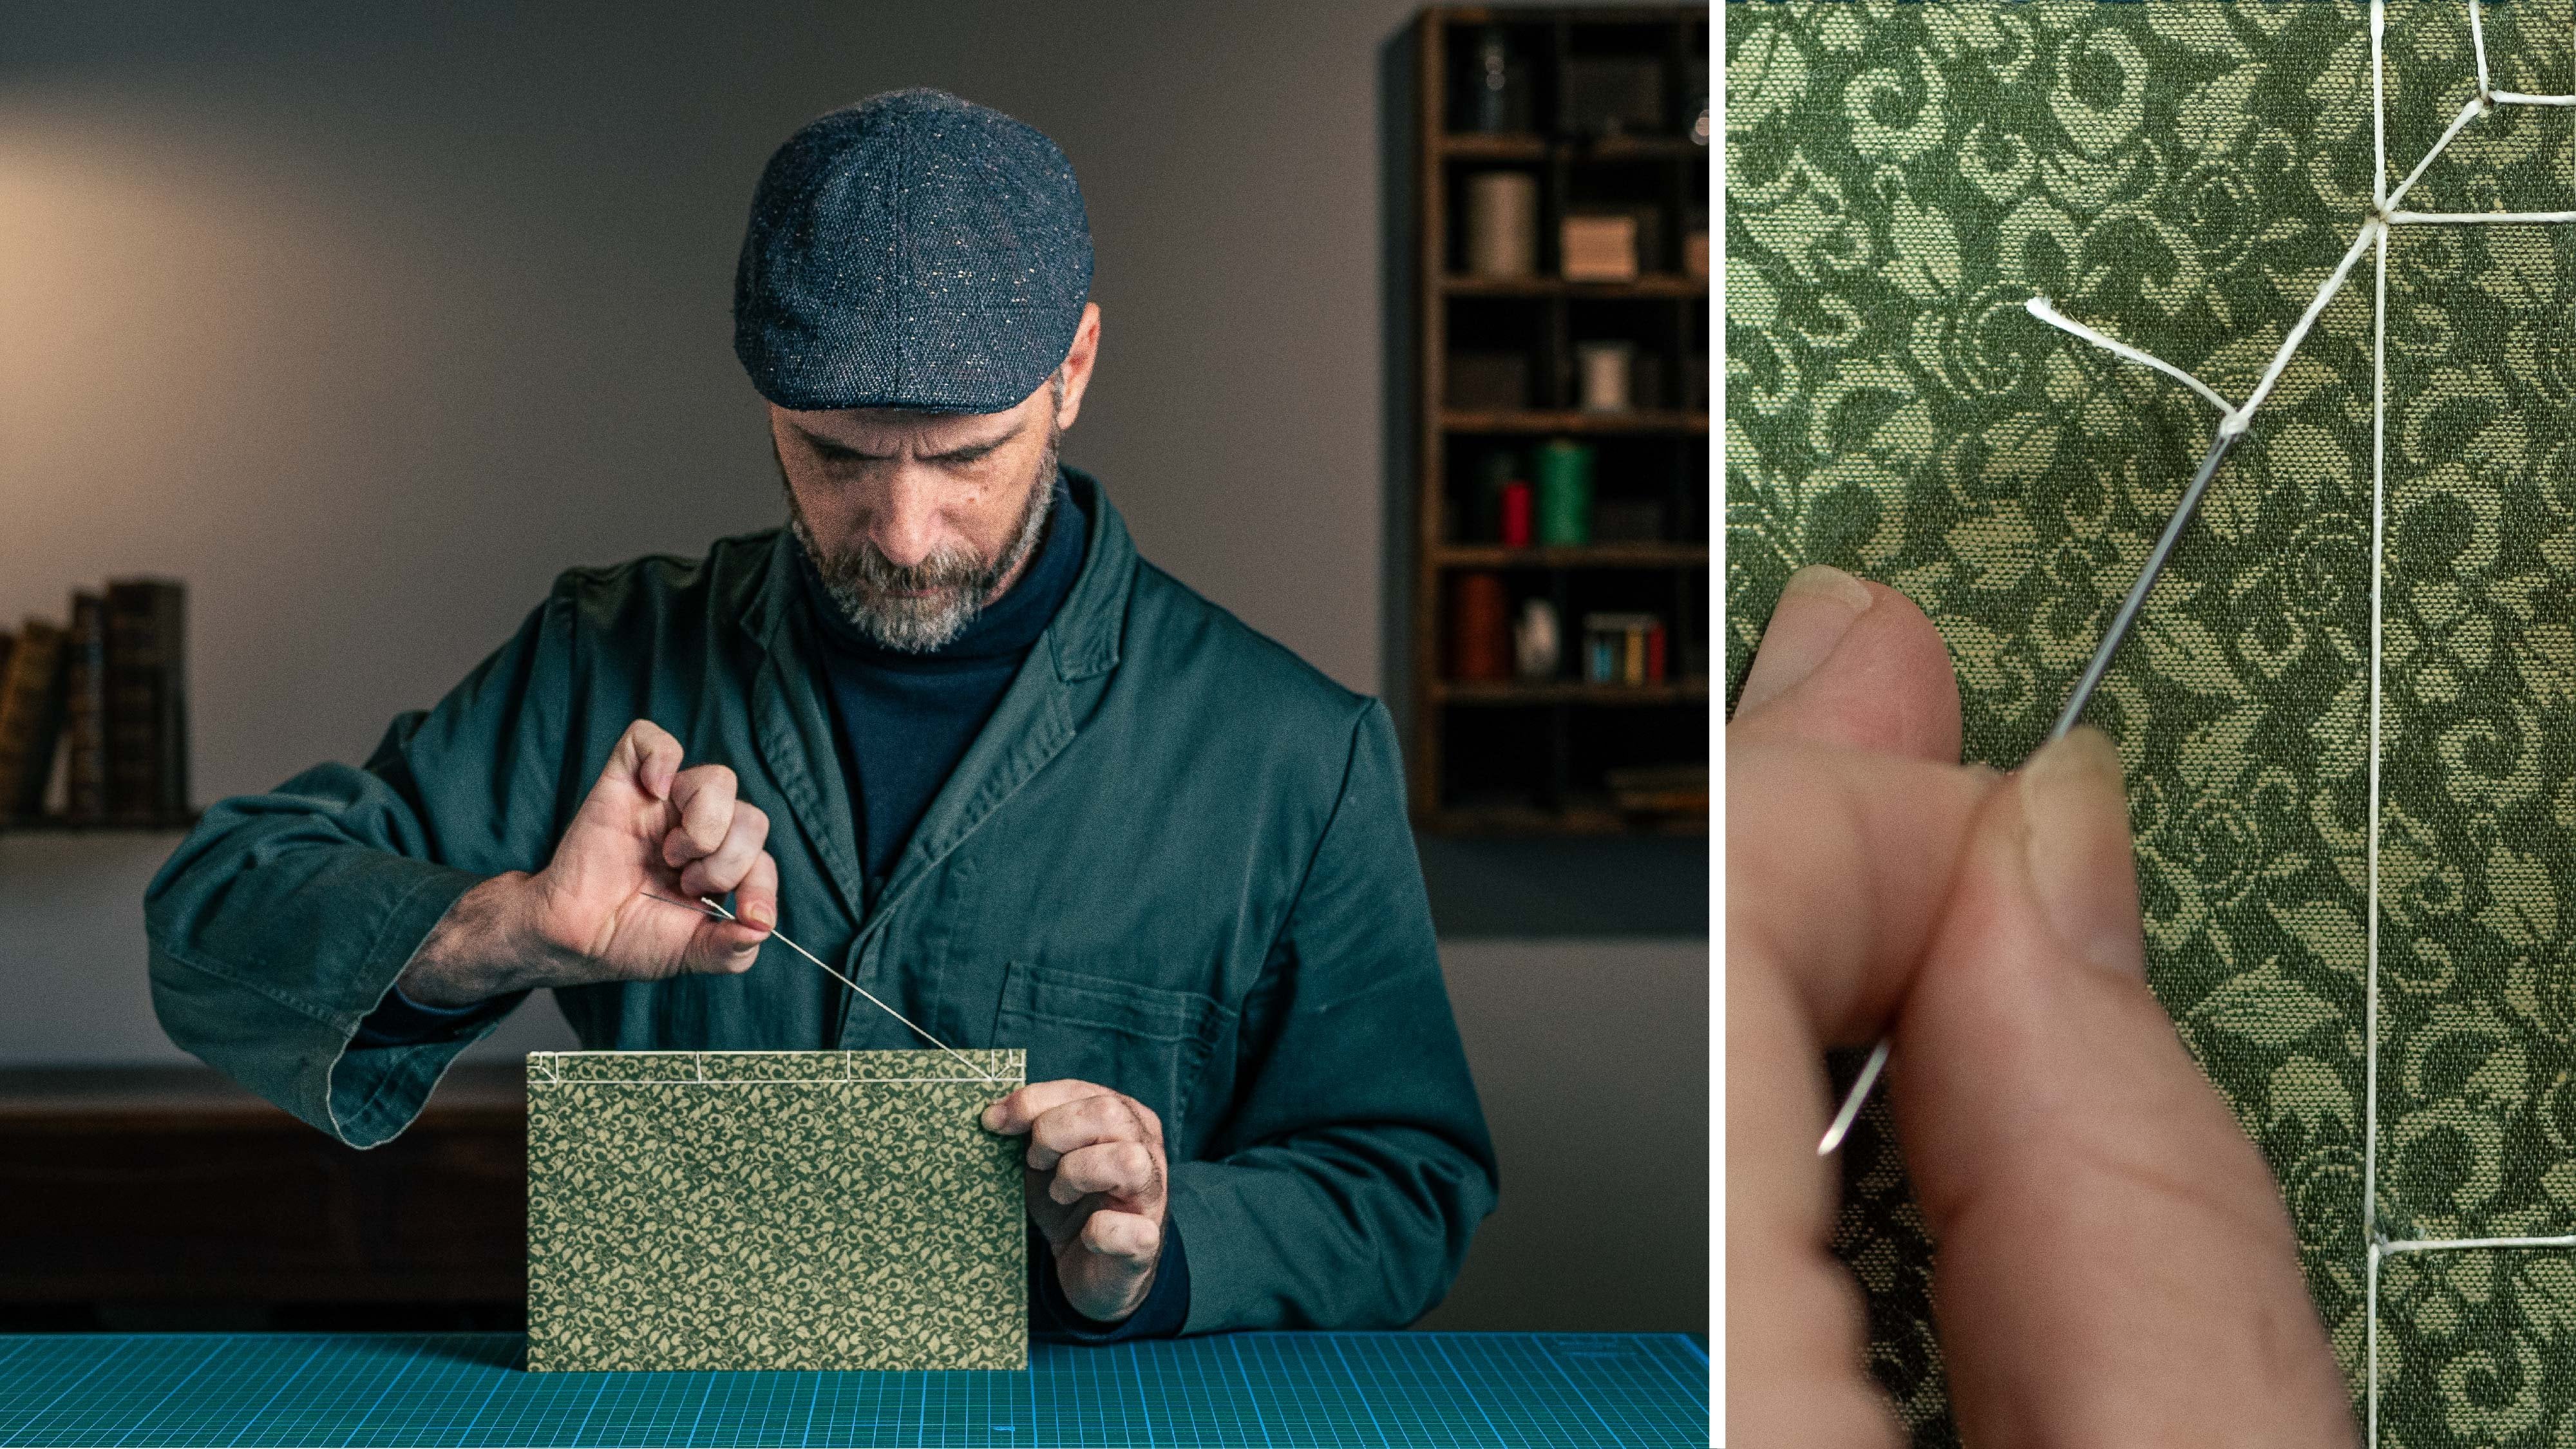
stitch your signatures. There are many different ways in which this could be done, but we will do the simplest way. This is one of the variations
of French stitching. Now it is time to take
care of the end pages. I chose two sheets of textured paper in a
dark green color. I have folded them in half, punched holes in the same
places as the signatures, and this will be my
first and last pages of a book serving as
separate signatures. What Wise sheets of paper were slightly larger
than pages of my book, so I had to cut the
edges a little bit. I should also mention here that the most book binders
prefer gluing the end pages
rather than sewing. But I have found that at school, it is easier for students to understand the process
and technically complete the task by stitching
the end pages together with all the signatures rather than gluing
them separately. It also makes the work last
longer in their hands. So now we have 14
signatures instead of 12. We need to calculate the
length of the thread based on the number of signatures we
have. The rule is like this. The thread length times
the number of signatures. In this case is 14. I like to have a
double thread always. You have one of your
signatures hops. Then with a needle and thread, you go in back out in again, out again, in again,
and out again. In the second signature,
you do the same. Fine. Three, two, one. All open running hip. But then you get to this point, you hook the thread so that the first signature
sticks to the second one. That's how we stitch. Always make a knot at
the top and bottom and continue the process until all the signatures
are sewn together. At first, it is
difficult to work with a very long thread,
but after a while, you get used to it and it's
shorter with each signature, so you just have to be
patient and keep going. Five, three, two, one. When I hold a bound
book in my hands, which still has no cover yet, I believe this is the most beautiful state
of the book because it's kind of the book shows you its own face and only
book binders knows it. Now it is time to glue
the spine of the brick. Left off on. It's one small step per man. But sales I use professional
glue with arival properties, but you can use just
ordinary white glue. So we add pieces of thick
cardboard to the spine of a book to protect the
end pages from glue. Clamp the book with strong clams and apply glue to the spine. It is important that
all the threads are firmly glued and the
pages do not move. Now, your book needs to
rest at least 24 hours. During this time, we
can prepare a cover, which we will do in
the next lesson.
8. 8. LESSON 6: The most creative part of this project: Lesson six, the most creative
part of this project. We are going to decorate
our book cover. Now, it is important
to understand this step is
completely optional. Because even if you want to decorate your book
cover a little bit, you don't need to do
it the same way I did. You can do it your way. I'll tell you a
story. Two years ago, in a second hand shop, I bought a box with a metal
faces inside like a mask, and I have no idea what they
are originally intended for, but I found them charming, and I love to apply those guys on the books
covers. Like this one. At first, I have to prepare two pieces of
thicker cardboard. The pieces of
cardboard should be slightly larger than the
dimensions of a block, about half a centimeter
of a top, right, and bottom sides, or even less, and make sure your
cardboard pieces are the same in size
as much as possible. Mariano. I had two pieces of echo leather in these colors, grayish blue and sandy yellow. I was considering which
of these colors would go better with my metal
decoration, and I chose blue. Now it is time to
cut echo leather. As the echo leather
will be folded inwards on the three
edges of the cover, we need to cut the
pieces so that the leather is approximately 3 centimeters longer on each of these three edges
of our carbon. Now, I'll mark where my
cardboard will have to be glued. As you can see, one piece of
cardboard will be glued on the left side of the leather and the other on the right
side of the leather. So with a metal face mask that looks like a
skull a little bit, which is known as a
symbol of hamlet, I felt that the stitches
in the silk thread would intensify the opposition
between good and bad, soft and sharp, alive and dead. Next, I made holes
in the echo leather on the front cover to make
it easier to sew later. Of course, I had a vision and a small sketch of what I
wanted my cover to look like. It wasn't just a
random sewing holes. First, I sewed the
frame in which all the elements of my
decoration will be placed. Nah. Then I glued the metal mask and sewed it
as well for extra strength. Naya NaNa NaNa. And I filled the rest of a
frame with sewing stitches. On the back cover, I attached five small metal
decorated elements so that both front and back covers have harmonious conceptual link. T. That was my decision to decorate this
book cover that way. You can decorate it
the way you want. The easiest way is just
to cut a small window in the front cover to glue a nice piece of paper
underneath, and that's it. That would be a
great solution, too. You also can soon an object
to a book cover like I did. Of course, then the
book won't be able to go into bookshelf
with other books, but maybe that's not
your goal at all. Let your imagination and
creativity take over here. Don't be afraid of anything. Try until you will be happy with the result and see you
in the next lesson.
9. 9. LESSON 7: The book cover and the spine: Lesson seven, the book
cover, and the spine. In this lesson, we will
fully complete our book. Now I need your attention. We will do our book
cover and the spine a little bit differently from what other book
binders normally do. I don't know if this method is very common or
not, I believe not. But I like to use this
method at school with my students because it is easier for them to work with
the materials that way. Also this method
allows me to use up all the Tinesecrabs and leftovers of eco
leather which I have. Now we have to apply glue to the cardboard and then stick it to the places
we have marked. Press well and cut the
corners of echo leather, but don't cut right
next to the cardboard, leave two or 3
centimeters untouched. Now, it is all very simple. We apply blue, we fold the leather and clam the
corners with a clams, putting some thick scraps
of paper or cardboard underneath to avoid leaving
clams marks on the cover. And this is our front
and back cover. Leave it for 24 hours or more. This is where we can use up our narrow scraps
of echo leather. I had a pretty one
with nice texture, and even if this time
it wasn't a leftover, I decided to use it. I got a strip of 6 centimeters wide and 27 centimeters long. Let's have a pause here. I haven't mentioned yet
one product I used, which is double
sided, sticky tape. This product is not necessary if you are using professional
bookbinding glue. But at school, we sometimes
use plain white glue, which make sheets of
paper a bit wrinkly. The double sided tape acts as
a plastic protective layer, preventing the paper
from wrinkling, which is happening because
of the water in the glue. I also use it as a marker. Here I mark a distance of 2 centimeters from the
edge of the cover. The the spine of the
book will be glued. I do it on both covers. Here is our piece
for a book spine. It needs to be divided
into three parts. The left part is 2.2 centimeters wide and will be
glued to the front cover. The middle part is 1.6 centimeters wide and will
be the spine itself. No glue is applied to it. The right side is also 2.2 centimeters wide and will
be glued to the back cover. And then I have to apply glue to the marked space of the
cover, attach spine, fold over the remaining edges, glue it and clamp it with clams, and, of course, wait
for 24 hours or more. H I should mention here that the spine dimensions depends on your text
block you have. The thicker the block, the wider spine should be. This is where my double
sided sticky tape shines. After 24 hours break, I cover the entire surface of the first and last
page with this tape, apply the glue and
stick it to the cover. I placed the book block as close to the middle part of
the spine as possible. I press the covers, load up with lots of heavy thick books and
encyclopedias and wait at least for 24 hours before I can open my
wonderful book I made. And now we have reached
the point where we can be proud of our
work and ourselves. I believe that the future of humanity will be
built not by robots, but by the crafters, human beings, which are
capable to make beautiful, useful and high quality
things like us today.
10. 10. Thank you for beeing here: This is the last
video in this course. Thank you for being
with me until the end. Now, let's take a brief
look at what we have done. First, we chose and downloaded a file with the content
of a book we wanted. When we prepared an A
five size PDF file by adding blank pages and
dedications where we want it. When we use book panders
buddy.com the publication to number the pages of our book and printed
it out at home. When we folded all
the pages in half, put them in order
and made signatures. We made holes, prepared and
pages and stitched a block. We glued it together and
left it to dry for a day. We cut off pieces of cardboard and echo
leather for a cover, made a decoration and glued the cardboard
pieces to the leather. We also pressed it with clums and left it
to dry for a day. We cut a narrow strip of
leather for the spine of a book and glued the
front and back covers to it. After pressing with clams, we left it to dry for a day. With a good planning and
a little bit of skill, all of this could
be done in one day. The next day, we glued the
book block to the cover. We pressed it with
a heavy weight and left it to dry
until the next day. I hope you have learned
something in this course. Now, I would love to see your projects
and project gallery, and also I would love to know all the problems you
have faced during the process and especially while using Bookbinders
body up application. Thank you for being here
and hope to see you again.
 Vaida Kikute, Let's get our skills back!