Transcripts
1. Introduction and invitation: [MUSIC] Hi. In this introductory class, I invite you to play and experiment with the mood of your photo portraits and talking at video by using daylight and some household objects. The focus of the class is on lighting, the mother of photography. But we'll also look at depth, layers, and background color. The possibilities with lighting are endless, but I'll explain the basic principles so you can build your own lighting schemes from there. I aim to take away the idea that lighting is difficult and intimidating. I want you to experience that it's actually fun and exciting. After you've taken this class, you can put into practice some very useful tips and hacks. You'll feel more confident in your image-making, even if you don't have access to any fancy equipment. Let's grab some materials and get started. [MUSIC]
2. Grab your low tech materials: Besides your camera or phone and your subject, for this class, you'll need a window with indirect light, heavy curtains or large black paper or cardboard, aluminum foil and a large piece of cardboard, some white paper or a newspaper and tape. For some of the lessons, additional materials are needed, and I will list those per lesson. I just love to use low tech materials to get high-tech results. One of the most beautiful effects of working with low tech stuff is that we don't set the bar too high. Don't get me wrong. I don't mean we should aim for mediocracy and not try to make something beautiful. But when you start creating, it's important to feel free and to be able to experiment, and high expectations often suffocate our creative process. So in the learning phase, it's my advice to use the cheapest materials possible and to keep an eye open to the creative possibilities of the stuff that surrounds you in your daily life. Now, let's make and a shape, some light.
3. The very basics of lighting: [MUSIC] Before we start experimenting, I'd like you to understand how light and shadow work. Let's look at the basic principles. I promise, if you understand this, you can make beautiful lighting with next to nothing. When there is light, there is shadow, and the shadow is equally important for the result. It shapes your subject and determines the mood of the surroundings and the whole image. [MUSIC] When the light source is far away or small relative to the person or object, the light and the shadows are harsh. Think about sunlight. Yes, the sun is in fact enormous, but it looks small since it's so far away. On a cloudy day, however, it becomes huge, and the clouds let the light come in from all directions, and the shadows the sun now produces are very soft. The larger the light source, the softer the light, and the smaller the contrast, as it envelops the subject. [MUSIC] There is a downloadable PDF that summarizes what I've explained in this lesson. You can find it under your project. [MUSIC]
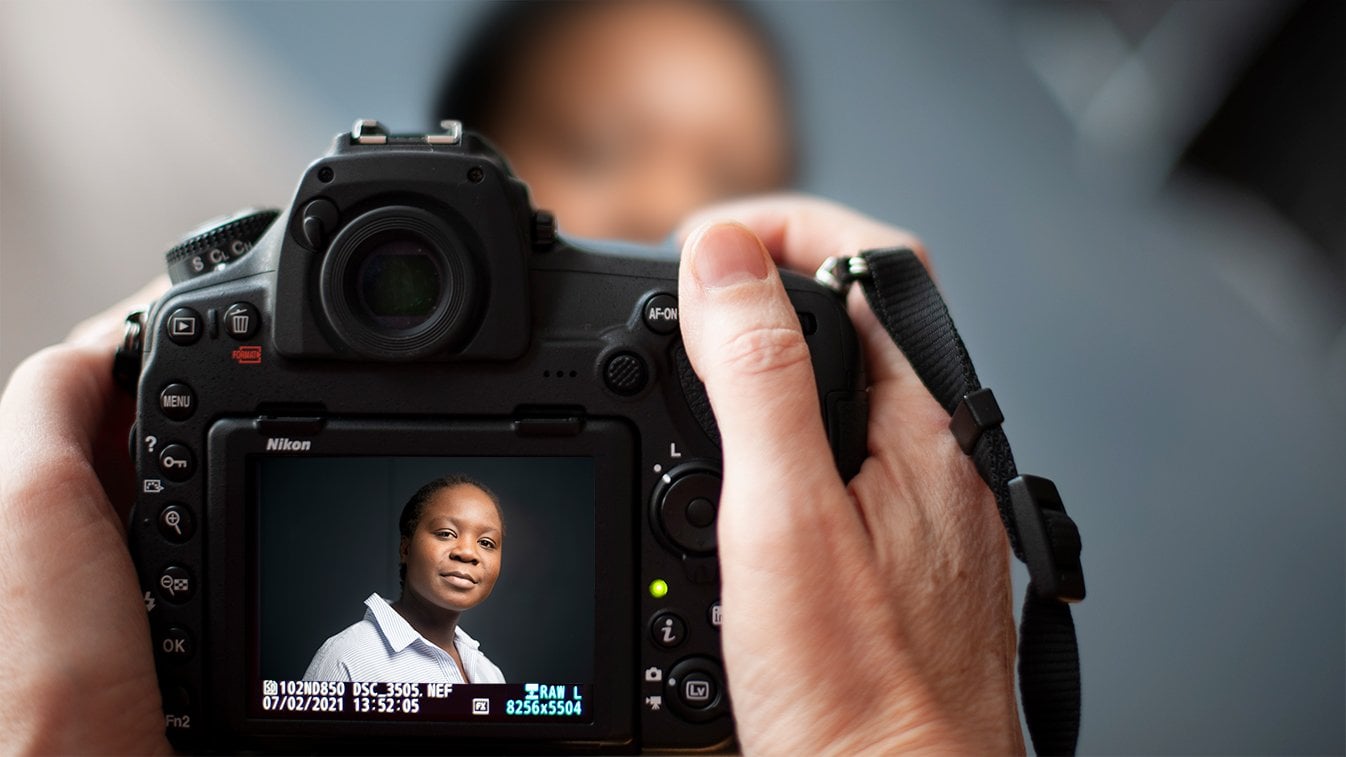
4. Reflect light and sculpt the portrait: For the next lessons, you'll be using a large piece of cardboard wrapped in aluminum foil. For the purpose of this class, I'll be using a smaller piece of reflective material, so you can better see what I'm doing on the second camera, but I recommend you make a larger reflector for your headshots. Look at this portrait, taken by only window light on an overcast day. Although this lighting is nice and soft on one side, you could see the face is split in half diagonally, and it's quite dark on one side. Also, there is hardly any catch light in the eyes. That is a tiny reflection in the eye that makes it pop. The first thing to do is ask the model to turn a tad towards the light, and you can see an instant improvement. The face gets a more sculpted look. The features become more clear, and a lovely catch light has appeared. When the room is dark, like in this example, and not reflecting much light back to the subject's face, the shadow side will be dark and the large contrast feels more dramatic than when the light is reflected back. The second thing we can do is reflect some light back to the face, to soften the contrast, modify the shape and thus change the feel of the portrait. Look at how the shape of the face changes and how the mood becomes friendlier and softer, as I reflect some light into her face. For a natural lighting effect, it is best to hold the reflector high. You won't get strange lighting effects or creepy shadows. Remember how you use the flashlight on your face when you were at camp? Even the catch light in the eye will be more beautiful than when you hold it low. Here's another tip. Always bring along your reflector. So when you want to make a beautiful backlit portrait outdoors, you won't end up with the silhouette. In the next lesson, I'll show you the large effects on the mood of your headshot, by making some other small interventions in your setup.
5. Move the curtains; make the mood: I'm going to demonstrate some different lighting moods with one basic setup that I will modify. I've set the focus and lighting to manual and I recommend you do this too. On a smartphone, you can just touch and hold the spot you want to be in focus until the AEF lock sign appears. You can then move your finger up and down to set the lighting to your liking and then keep it there. The portrait setup you've seen so far has a pretty classic and everyday look. The light source is large relative to my subject. The light and shadow are soft. Let's start with the curtains open and watch what happens when I close the curtain in the back a little. Immediately, there's a huge effect on the background and especially when I close the other curtain and just a stripe of light hits that all, its face becomes more sculpted. This is enhanced by the fact that the room reflects less light back because less light is coming in. On dark skin, this effect is even stronger as dark skin reflects less light in general, the shadows on the face become darker. Now, let me just shuffle the curtains and look at the effect on the face. Which results to you like best? I am baffled every time by how my whole image changes when I simply change the position of the curtains. I hope this inspires you to play and experiment too. Create a simple setup like mine, and start changing one thing at a time. You'll learn so much by doing this. Also, I invite you to play with the background, color, and material. It lets you create a whole different mood. It can either feel happy and friendly, a bit natural and outdoorsy, very smart and classy, or a bit spooky, depending on how much light hits the face and depending on its direction. Let's have a closer look at what a black background does to your image, combined with different lighting. This light is so soft and beautiful. Let's make it a bit more dramatic by closing the curtain a bit. The shadows are dark now and the portrait looks more dramatic. Look at what you can do with your homemade reflector. Now, we fill in the darkest part without losing the contrast and the face. With white paper, the reflected light will be soft. By reflecting the light from behind the rim of light on the shoulders and head lift up the image and separate the subject from the background. Now let me show you an example of how you can shape your light even more precisely. So far we flagged only the sides of the light source. But you can also flag the top and the bottom, and thus creates some spotlight. This is simply done with cardboard, but you might need an extra hand. It's all really a matter of trying out what moods you like. In the next lesson, we'll look at how some other low or no cost Hex can impact the look and feel of your headshot.
6. Depth & layers: We will now look at creating depth and layers, and I'll show you a variety of ideas to get you going. I'll also share a hack to fix a background that is not big enough. When you create more layers in your head shot or any image, it becomes richer and tells a different story. I'll be working with three layers; the background, the subject, and something extra in the foreground or background. To try out my examples, you'll need a white or metal tray with water, a torch, or the light of a smartphone, two twigs with leaves, and some lays or cling film. First we'll set our camera to manual mode or set it to A for aperture, and you will choose the shortest depth of field possible on your device. This means a large aperture for your lens, 1.4 or 2.8. On your phone, you'll need to do the same as in the previous lesson. Fix the AE/AF on the part you want to be in-focus. Check the PDF under your project for some tips and theory on this topic. In the first example, we'll fill our tray with water. I've put up my green curtain for a soft and natural, almost outdoorsy field. I've created a beautiful light setup with my curtains, creating some nice contrast in the face. When I move the water and reflect some light into it, I can create the illusion of being near natural water, especially on video, this effect works great. To add some more freshness to the outdoors experience and more depth, I'm playing with my two twigs and varying the distance to the lens and the subject. I like the leaves to be recognizable in shape, and then they may also have some texture, but they can also be just green blobs. Remember, you can also play with depth and layers outdoors. Another way to add depth is to play with lace curtain. If you put it between the lens and the subject, it gives a romantic feel or a mysterious mood. Just play with it until you get the result you like. To conclude this lesson, I want to share a great hack to fix your background when it is not big enough for the frame you want. When I hold a piece of paper close to the lens, I cover that ugly strip and I create a more interesting image by adding depth and a little color from the paper. Experiment and play with this principle, and hold different objects in front of the lens or repeat something already in the frame, like this dinosaur.
7. Some kitschy romance: [MUSIC] If you're in for a bit of kitschy romance, you can play with Christmas lights. For this, you really need a large aperture on your lens, otherwise, the lights are in focus and will just look like the string of Christmas lights they are. Any light spot that is out of focus strongly will look like soft circles. It falls under the lens effect called bokeh, which refers to the distortion of objects that are out of focus like when you saw in the previous lesson when I put leaves and twigs in front of the lens. You can look for the effect around you. In almost every movie taking place in the city, you can see car lights that are kept out of focus. Light piercing through the crown of trees, the light falling on wet grass, it all works the same and it is free. This light effect can add a romantic or festive touch to your image. Just look [MUSIC] at how the atmosphere of the portrait changes when they add some of the lights in the background. It's really sweet actually and indeed, a bit kitschy. Christmas lights can also be used for a little lighting effect on the subject itself. In that case, you will have to keep them out of the frame for the most beautiful effect. If you don't have access to Christmas lights and want to create this effect at no cost, you can poke small holes in a large piece of cardboard and put a lamp behind it. It works great too.
8. Your turn: class project: [MUSIC] Now it's your turn. I really hope this class makes you want to play. For your project, you can pick one or two of the topics from this class that appeal to you most. You will take pictures or make a short video and experiment, experiment, and experiment. Share your behind-the-scenes shots, or tell the story of how you created your results. Let me know if you discovered anything new. If you liked this class, I'd be so grateful if you could leave me a short review. It will help other students know a little bit more about this class, and it will make me happy too. If you have any remarks or questions, don't hesitate to drop a line in the community below. Thanks so much for watching and have fun creating and experimenting. Bye. [MUSIC]
 Lucy Lambriex, Creative Confidence & Camera Courage