Transcripts
1. Introduction: Hello, everyone. My name is Lucy. And in this course, we're gonna be learning house create your very own embroidered T shirt. I'm gonna be using this example. Throughout the project, I'm gonna be showing you every single step that I took to create this T shirt. This course is 100% picking a friendly with any level of needlework or embroidery. I'm assure your T shirt will still look great. I'm gonna be d sailing every part of the project from the materials you use tower to prepare your T shirt toe, outlining your design, using a back stitch to filling in your design, using a certain stage, adding extra details and finally presenting your T shirt, the's T shirts really trendy at the moment. I'm going to show you how to make your own for a fraction of the price.
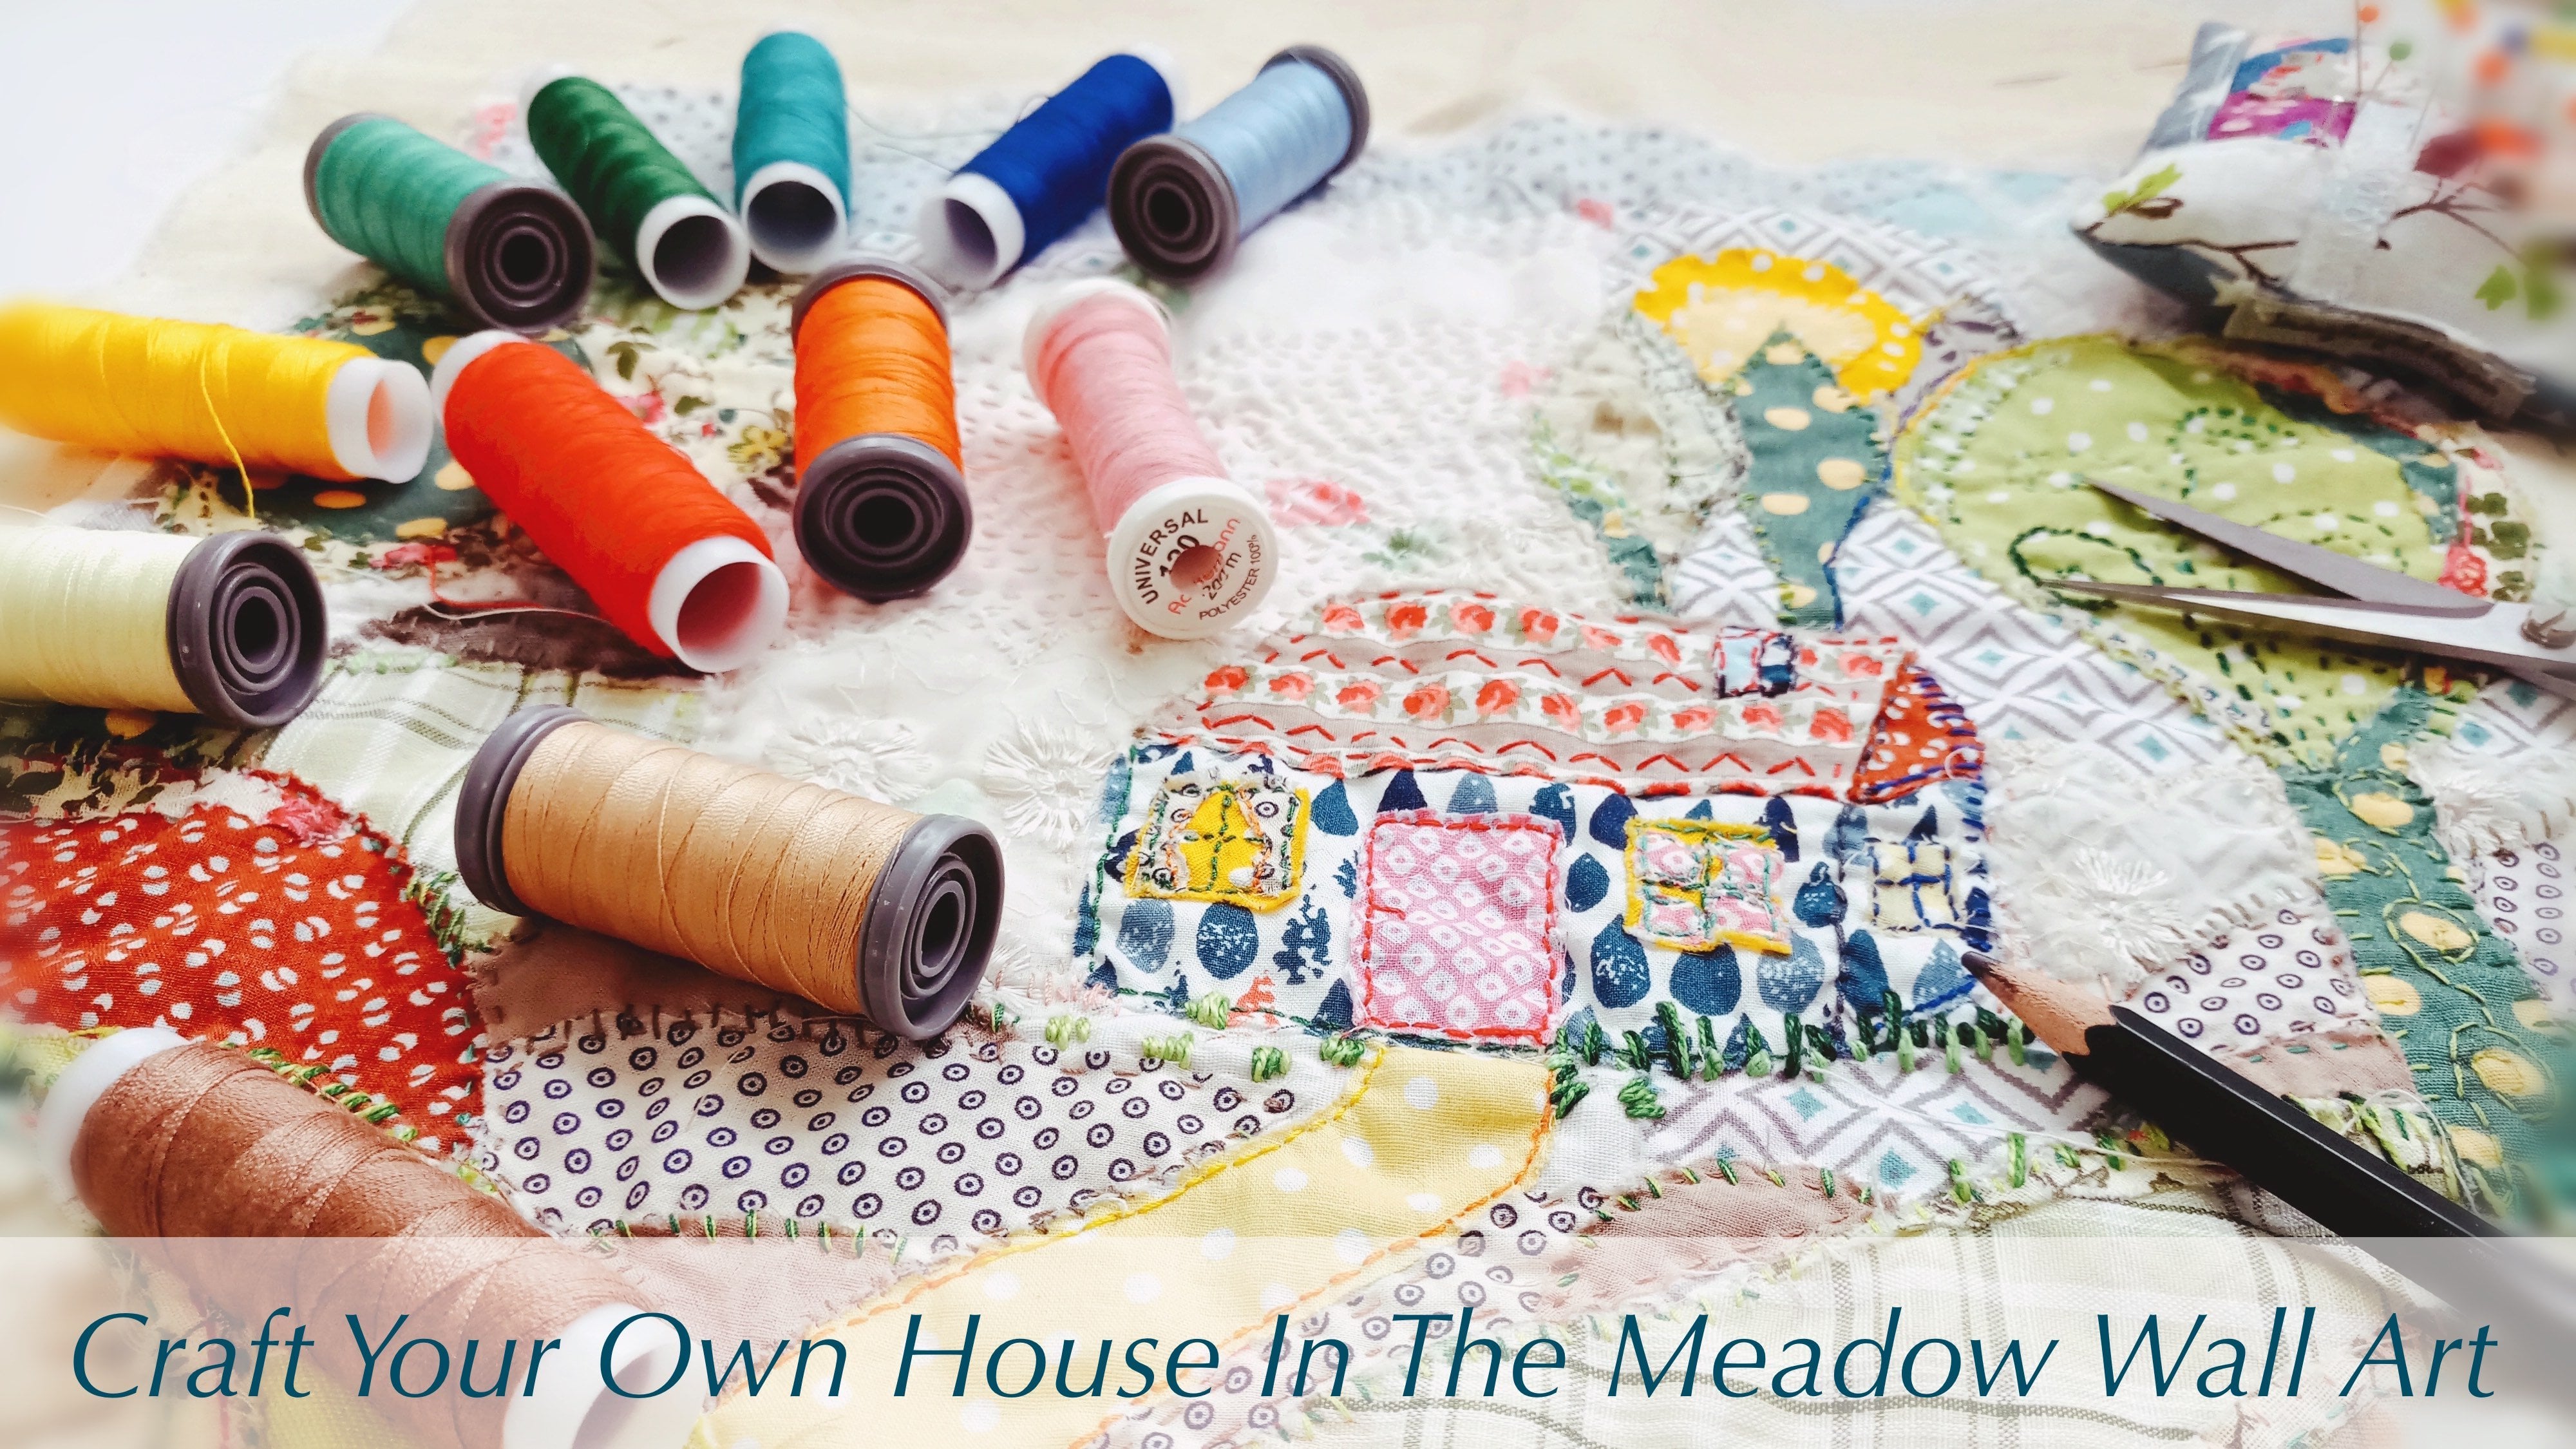
2. Lesson 1: Materials and Tools: Hi, everyone, and welcome back to the course. So in this lesson, I'm gonna be going through everything that is going to needs. Complete the project. So the first thing you need is a plain T shirt of any cooler, but the easiest to work on his wife. I got this one from Zara. About £5. Yangon's even embroidered, reviewed from about 3 to 6 inches wide by one, is six inches. However, it all depends on the size of the design. Want to put on a T shirt? You can pick these up from anywhere but minus from hobby craft. You can also get them off places like Amazon or eBay, an obvious one. You're going to need embroidery. Third, because I was creating a cherry design. I used the colors black, red, green on later. Now he's white. I got these embroidery threads off of eBay, and it was about £10 for 50 colors. He then gave me the needle. Any size needle is fine, but the best needles for embroidery a ones with long I as you can fit most pull strings is dragged through the one home. This is completely optional, but you can also use interfacing fabric. This will strengthen fabric off the tee shirt and also make it easier to so through. It will also make your design last longer. Thean facing I use is heavyweight feasible interfacing, which is really easy as it can just be ironed onto the T shirt. You also need citizens. Another great optional item is an era reasonable pan. This means that you can draw the design onto the T shirt and it will fade over time. This is great for designs that are more intricate. Another great tools have isn't iron this makes so that you? Can I in the clothes before, um, Boyd onto them, and also I in any interfacing in that you may be using this makes for a much more professional, finished product. Thanks so much for watching. In the next episode, we will be doing how to pray T shirt for embroidery
3. Lesson 2: Preparing Your T-shirt: Hi, everyone. And welcome back to the course. In this lesson, we will be learning how to prepare a T shirt for embroidery and also picking a suitable design. I steal cherry design on my sea ship, but you can choose whatever you like, ideally, for beginning. You want to be creating a plane outline which you condemn. Fill him with cola. Now I'm resizing the image in an up core pronto. This is because I'm gonna be tracing the desire straight from my iPod there moved to a dark area and place the iPod between two layers of T shirt. I wanted my designs be exactly in the middle of T ship. So I used to ruler to mark out why that waas and then it just of the iPods what lined up with the dot in the center of the T shirt. Then I begun to trace my design. There's the design tracing the T shirt has mentioned daily. I use an error rays bullpen, so any mistakes will fade later. If you're using interfacing quotes piece, which is slightly bigger than your embroidery, then Ryan and I am teachers. It's completely flopped. If you're using interfacing, please keep what champ, if not skipped the time that you showed on screen. Place a piece of grease proof paper in between two days of the T shirt. They want to make sure your interfacing is shiny. Side of this is because the shiny siders on that sticks to the T shirt. We don't want to place this in between T shirt on the grease proof paper and I in it serve the interfacing sticks. Make sure you put a piece of grease proof paper over the top of the T shirt as well protected from any damage. Um, well, to remove both plays of grease proof paper on the interfacing should be stuck to the inside of the T shirt and already has placed the embroidery coupon. Do this. You want to screw the boat from the top of the heat and pushed the inner heat out. Then you want to place the inner who between the two layers of the t shirt and stretched the outer hoop over the top of that. Then secure the boat. The fabric should be pulled tight. So you've got a nice flat area toe work on. It should look like this. Thank you for watching this section of the course in the next section, we'll be learning how to back stitch on outlining guard design.
4. Lesson 3: Design Outline | Back Stitch: Hi, everyone. And welcome back to the course in this lesson where you were going through how to outline your design using the back stitch, first thing you need to do is grab the color embroidery thread that you're going to be using to outline your design. My experience, the best qualities. This step is blood. We then need to cut your friend to elect about 40 50 centimeters embroidery. Fraud often comprises of six strong's. You need to pull these strings apart to create to Strong's of three. So, as you can see, there are now three laser thread left. I'm gonna be using this out on my design. You don't want to thread your needle to make it easier to put all three strums threw out once you want to lick the ends to press them together that once you've pulled the needle through wants tire single or double knocked to keep threads secure. Don't tie any more than this as it will create holes in your T shirt. You know I want to triple not the other end of Fred. This is so that doesn't pull all the way through the T shirt when you start. Once this is complete. You can snip off the ends with pepper systems, you know, ready to start embroidering. Pick a point on the T shirt. Why? You want to stop and pushed the needle fruit from the back? When you pull it up, it should stop where you've tied the nonsupport through, pushed the needle back down a few know meters away from where you started. This will create your first stitch. We don't want to push the needle back up through the T shirt A few millimeters from where the last stitch left off once pulled through. Put the needle back three. The fabric where your last stitch started. He then want to repeat this until the whole outline is filled in. You should go like this from the back. When you get to the point where you reach the end of the line and you can't go any further without starting in any place, you can tie off the back and start against somewhere else. To do this, make sure that your needle is both through to the back of the T shirt and then tie a few knots in the drop off the excess. You may have to do this a couple of times throughout the outline. It all depends on how intricate your designers. Once you finished outlining the whole design, you want to pull the needle back through the back of the T shirt and tie off, as we did earlier. Here is my finished outline. As you can see, there are a few details I did not do in the outline. This is because they will be added on later when I finish off the extra details. This is because the shines on the Cherries, they're going to go over the red collar, which I'm going to fill the cherry in with. Thank you so much for watching this lesson in the next one we will be doing. How does that in stage as this is the stitch I will be using to fill in my design?
5. Lesson 4: Filling In Your Design | Satin Stitch: everyone. And welcome back to the clause in this lesson, we're gonna be learning how to fill in our design with color. Using with sati and stitch, grab your first color minus green as I'll be filling in the leaves of my cherry first pulling for threat of about 30 centimeters and split it like we did in the last video into two sets of three strands. Thin thread this through your needle. Entire. Not too secure, just like without learning. He wants triple, not the end. You know, I want to push the needle through the back of the T shirt and pull it tights up than not is resting on the back of the T shirt. Then push the needle back through the T shirt on the opposite end of the outline. As you can see, a small fraction of the leaf is now filled in. You want to repeat the previous step until the Holy first field. Once you feel damn tie off the back like we did with the outline. Now I'm going to be filling in the Cherries as this is a larger area. I'm going to be splitting up each carry into four sections and filling in each individually . Now I'm taking the red thread expressing institute. I'm threatening it through the needle as before Now I'm living in these areas with the same method that I used on the top of the leaf. I'm filling in each section individually. If you come to a point when you've only got about 10 centimeters of threat left, pull it through the buck and tire, Not as we did with the outline when we were finishing each line. Here is what my cherry looks like. Fulfilled him. Thank you for watching this lesson in the next one. We will be hardly any final touches and then finishing off our design.
6. Lesson 5: Final Touches and Finishing: Hi, everyone, and welcome back to the cross. As we've now filled in our design in this lesson, we will be doing any finishing touches and then I'm going to show you how to finish off the T shirt. So I've decided to add some shine to my cherry, and I'm gonna be doing this with white thread. First, I'm sweaty institute sets of three, and I'm putting it through the needle as before. So I'm not doing to curve lines of white thread using the box ditch, I showed you how to do the bucks ditch in less than three. After each line, I triple knotted up the buck and snipped off the excess with a pair of scissors. Here is what the Cherries look like with the shine added. Now you need to unscrew your embroidery heap and take help both plays of the huge telling a T shirt inside out and snip off any excess that you may have forgotten before. If you're not using interfacing, you can stop here. But if you are, then keep listening. Now he needs pain up your interfacing carefully and snip off the access interfacing. Make sure to leave about half a centimetre around the design. Now you conflict your T shirt back right side out, and you can see your beautiful design on the T shirt. And there you are. That's the finished T shirt. Thank you all so much for following along with this project. It's been so much fun.
 Lucy Morgan