Transcripts
1. Introduction and Supplies You Will Need: Hi, friends. How are you? I hope you're having
a great day today. I'm excited about sharing
this project with you. This is a drawing and
watercolor painting project that I designed,
especially for kids. You do not need to have any drawing or painting experience at all to be successful
with this project. I will guide you step by step through all the steps
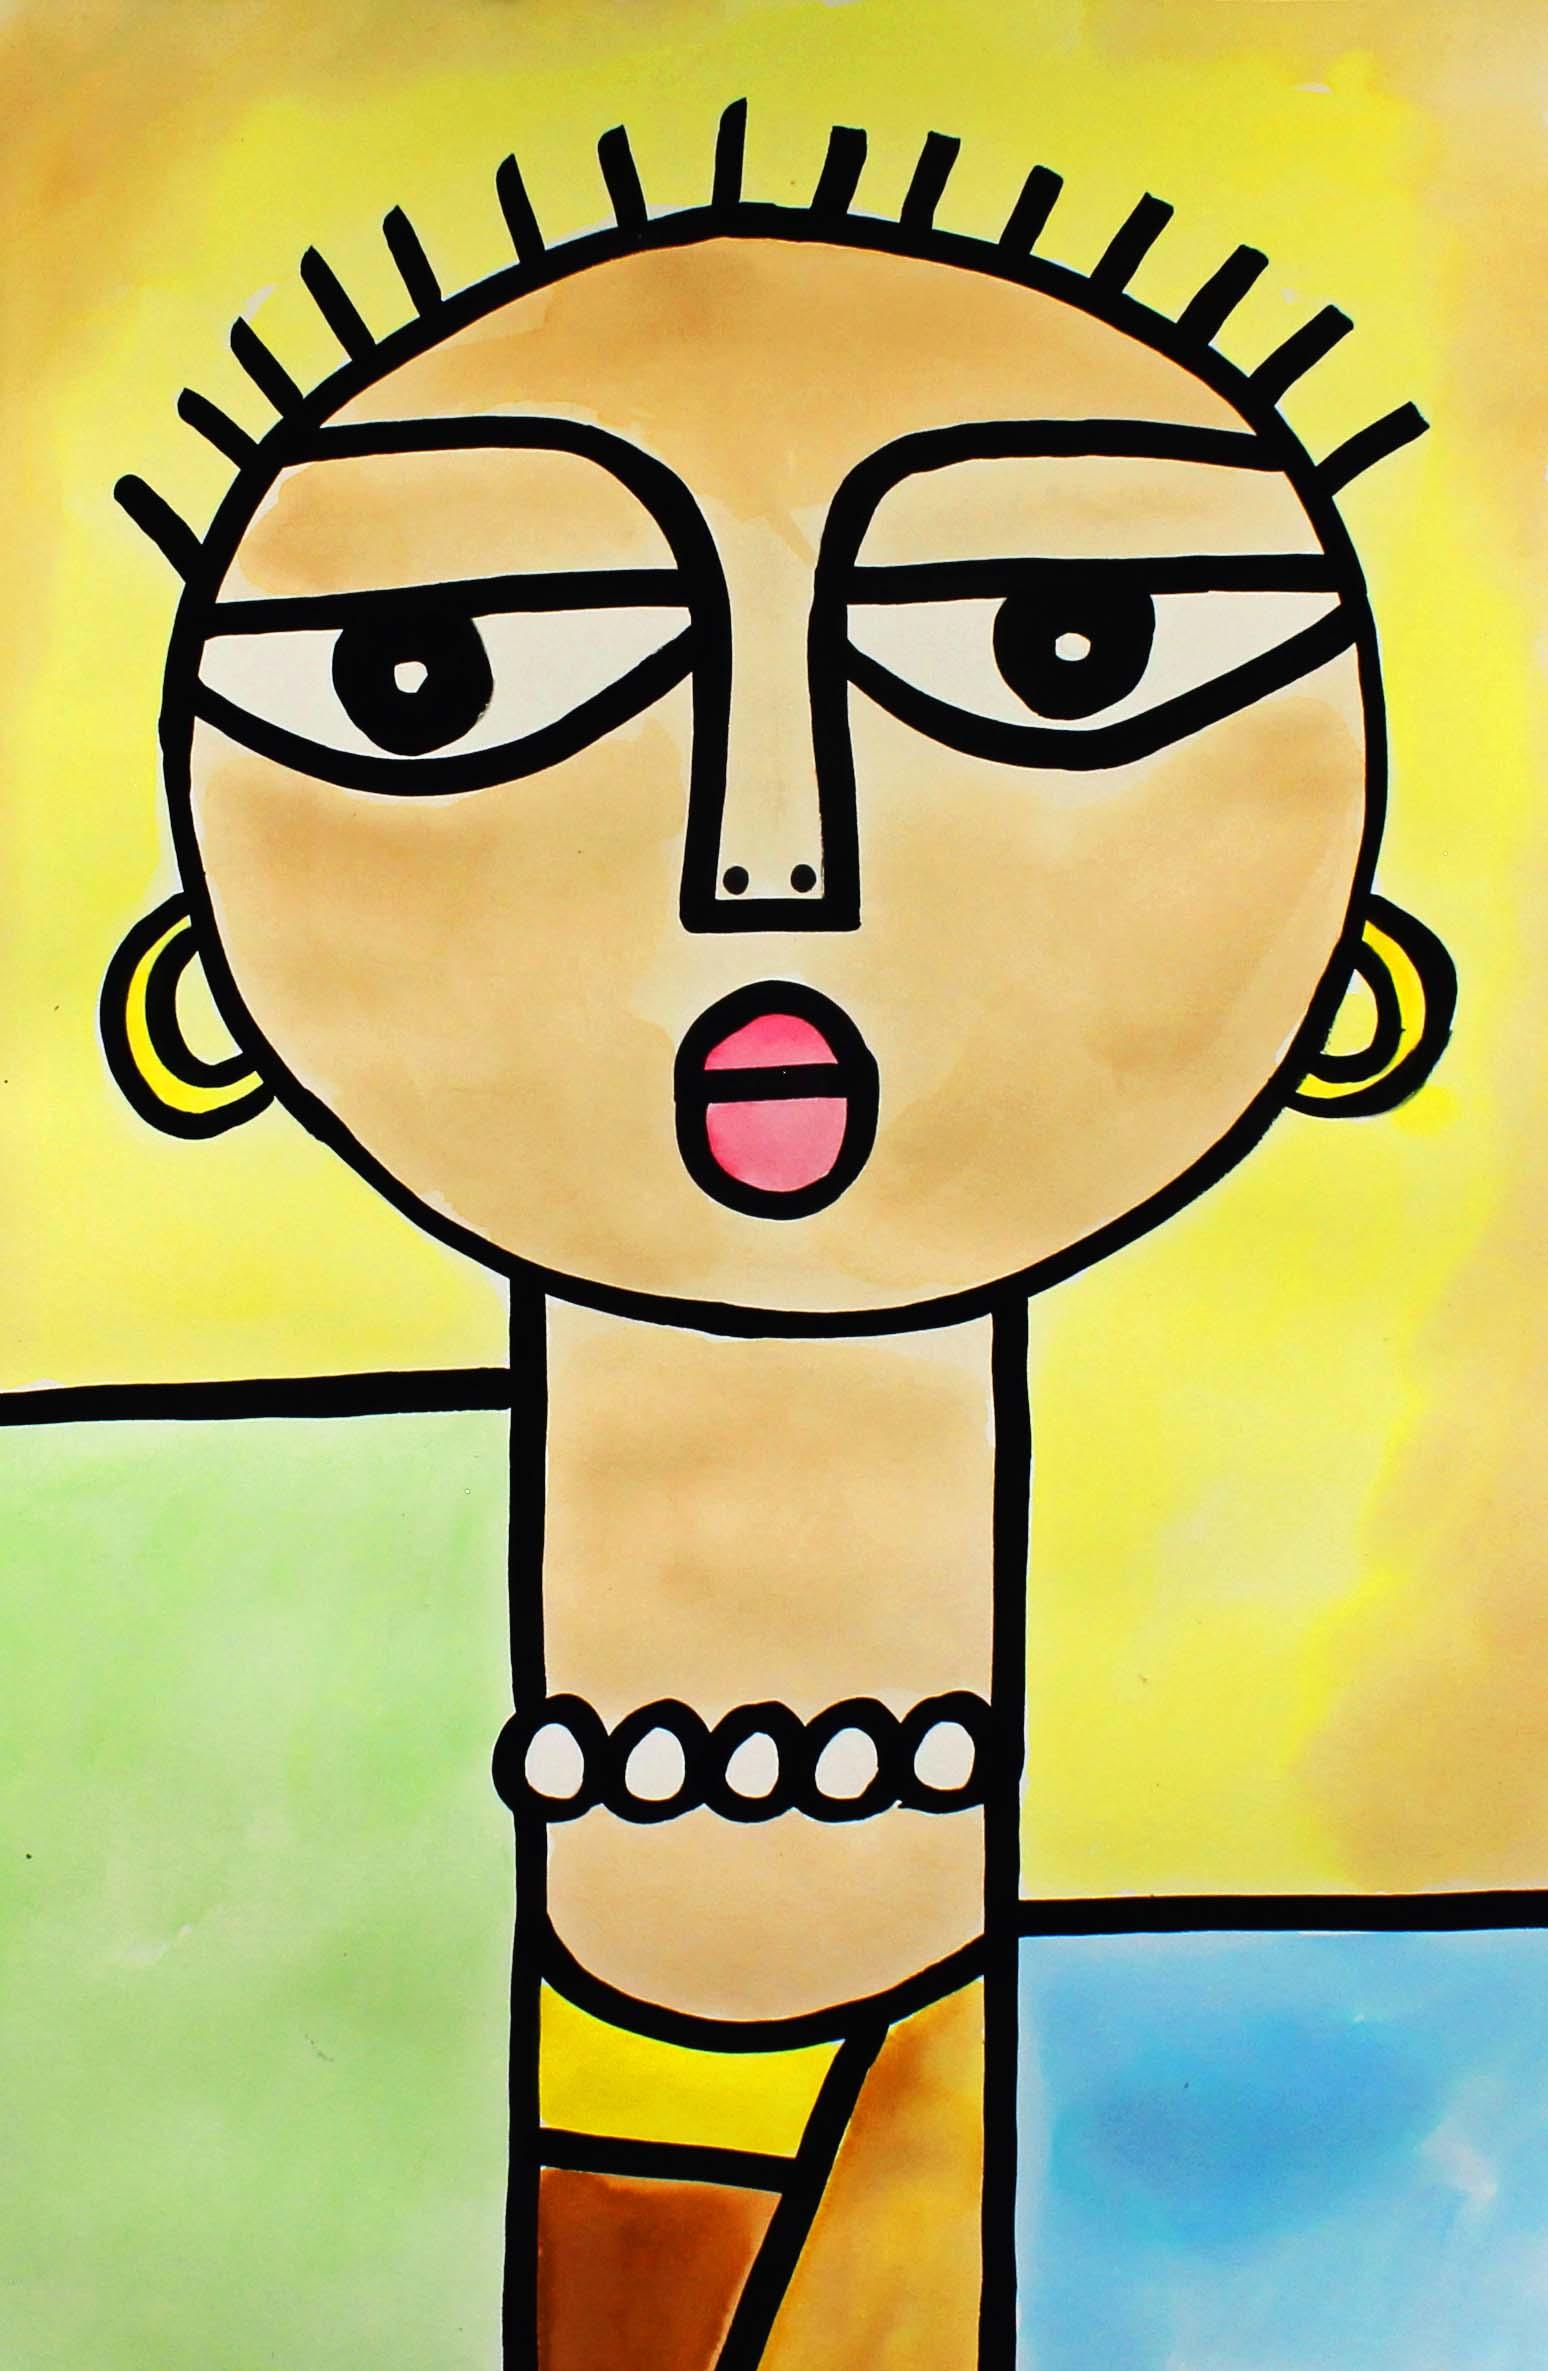
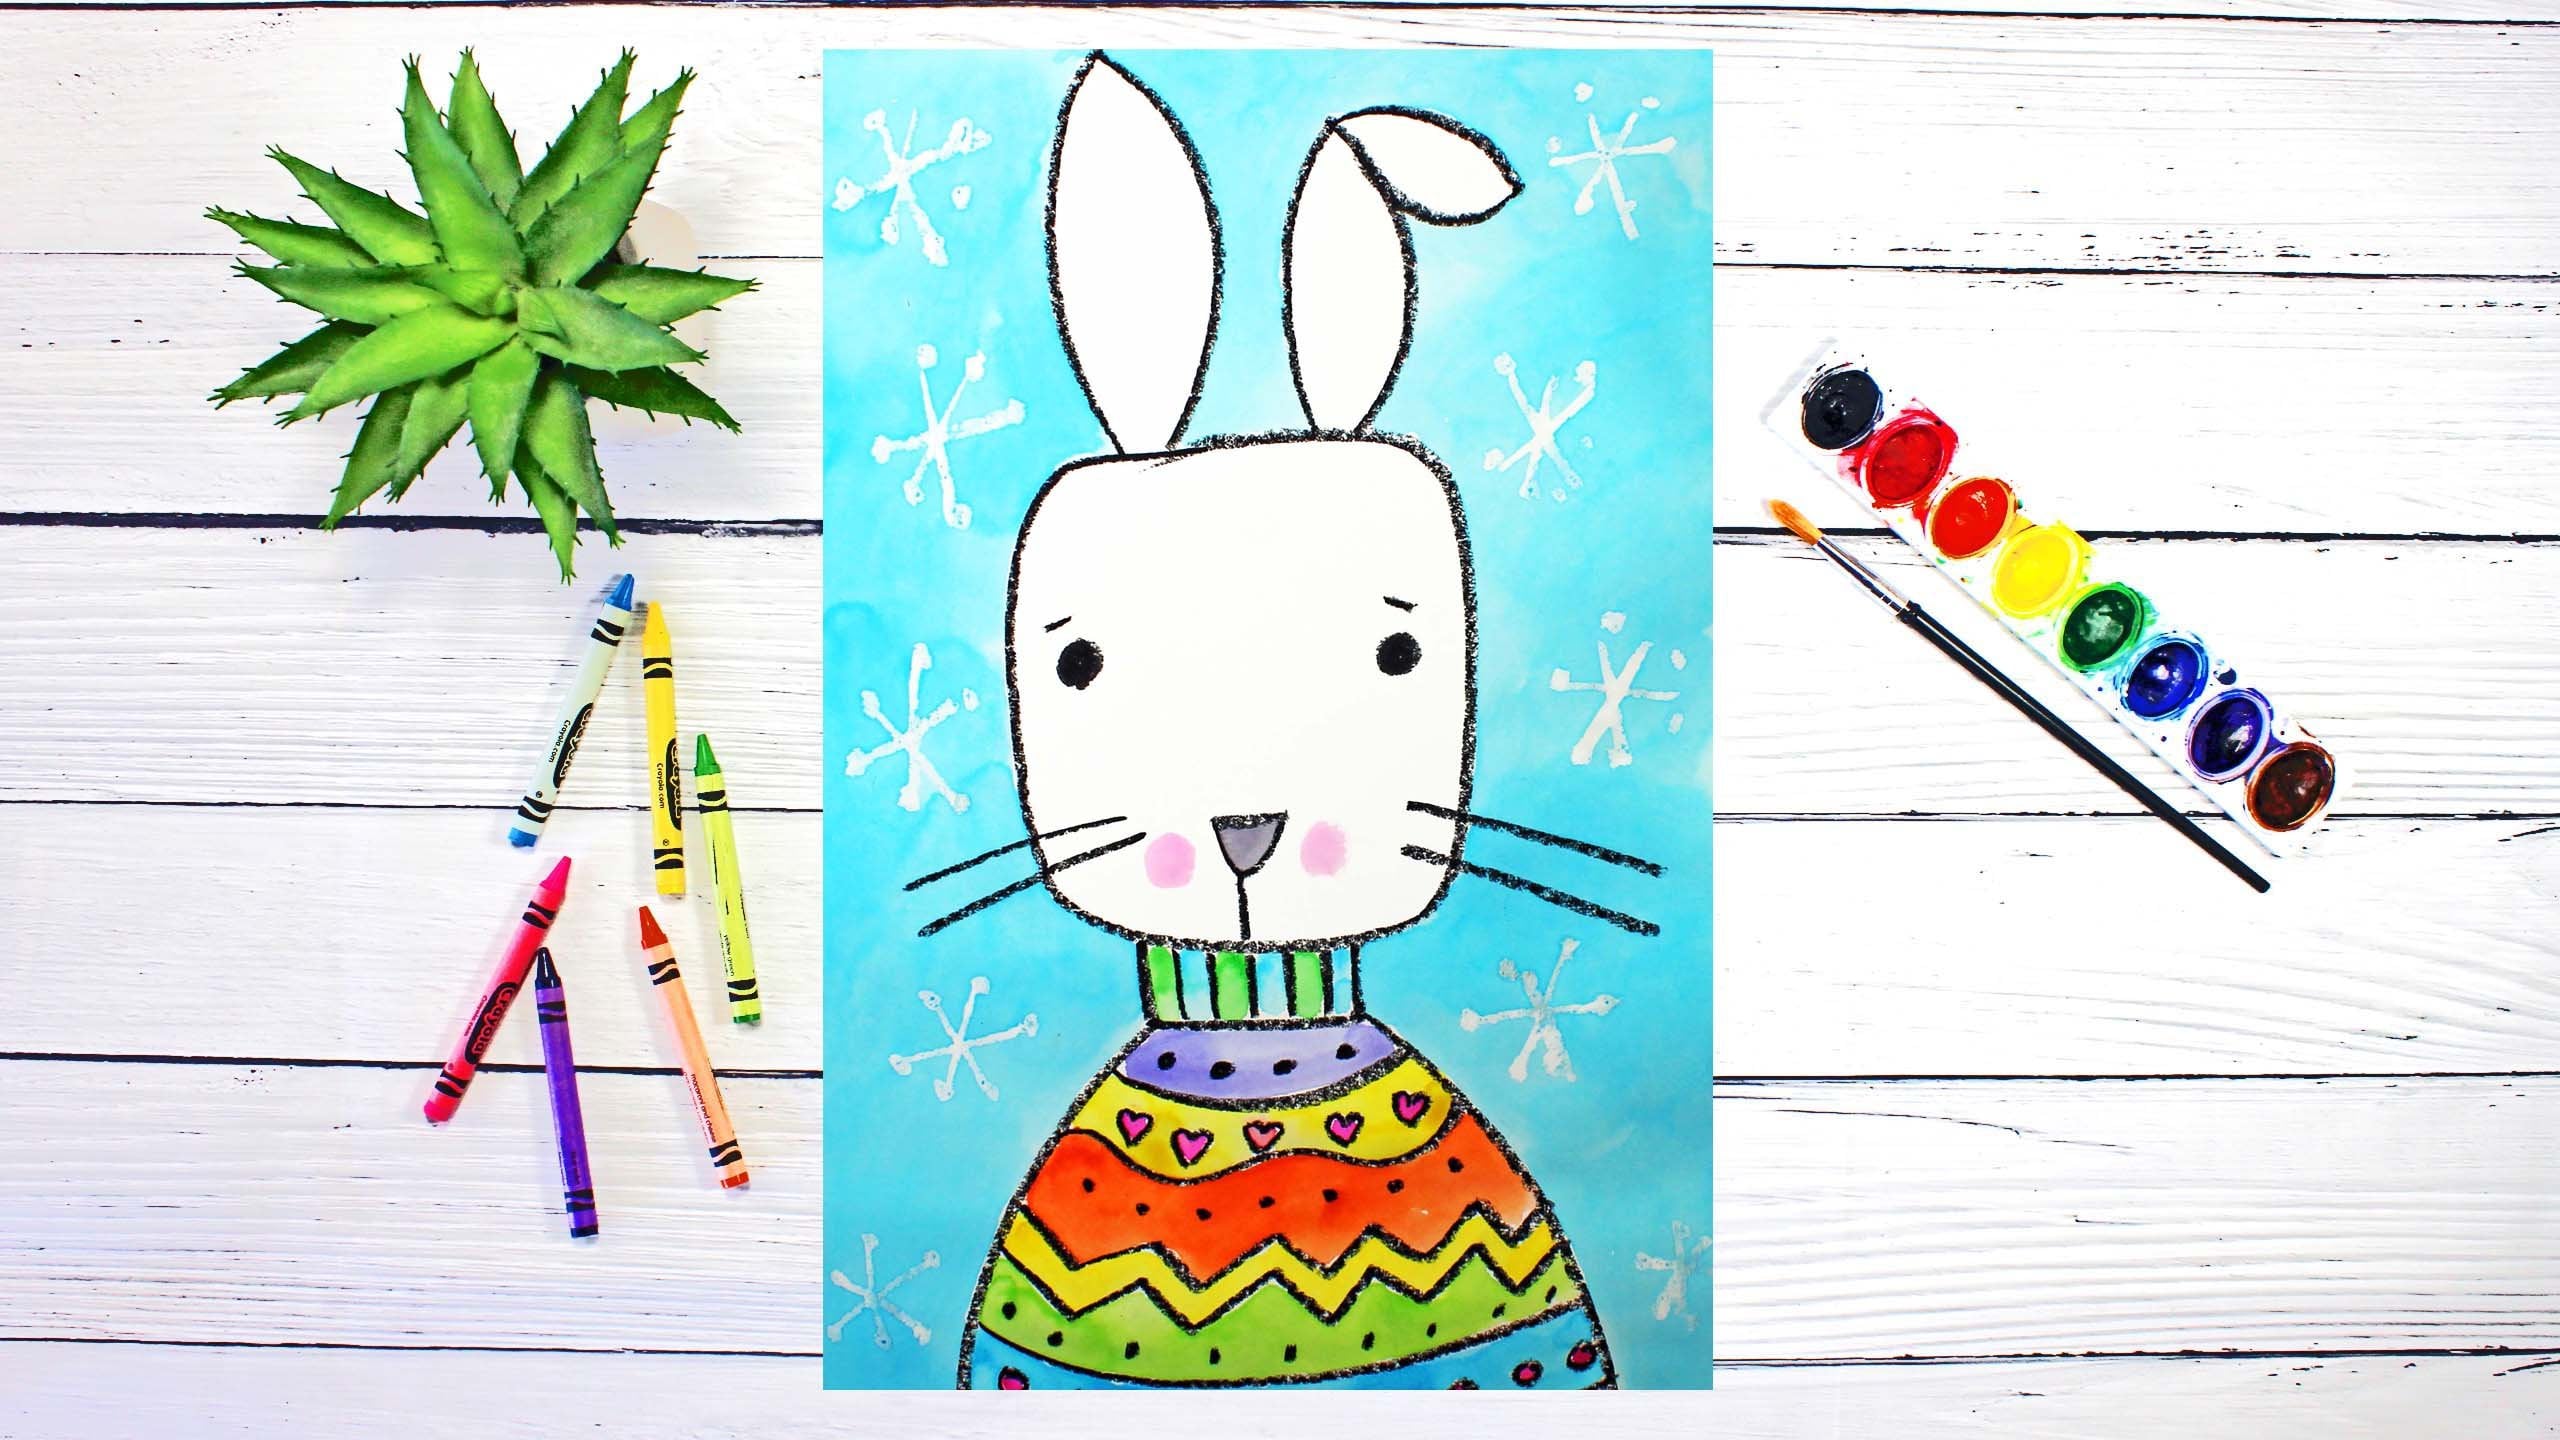
that you need to take. Today, we are going to create this artwork called Young Girl. And this artwork was created by Alicia Ongere and
he's a Kenyan artist, and he creates contemporary
African paintings. So I hope that you have a lot
of fun with this project. Let's get started. Let's talk about the supplies
and the materials that you will need
for this project. The first thing
that you'll need is a sheet of watercolor paper. You will need a set of watercolor painting and a bowl
or a cup with clean water. You will need a pencil
with an eraser and a small paint brush for these black lines and a larger paint brush for
the watercolor painting. You will also need some
black acrylic paint. Acrylic paint is
nice to use because the paint will not run around on your piece of paper
once it is dry. You can add water or
watercolor painting to it, and it will not spread. And you will also need a palette to put your
acrylic paint onto. So go ahead and gather all of those supplies and materials, and I'll see you back
here in the next video.
2. Step 1: Draw a Portrait of a Girl: In this step, we are
going to draw our design. So let's get started. What we're going to do first
is we are going to draw a circle right here on the top half of our
piece of paper. So we're going to
take our pencil and we're just going to start, I would say about 2.5
or 3 " from the top. That will be about
4 centimeters, and we're just going
to draw a circle. So I'm going to go slowly and carefully so I can
draw my circle. And if your circle isn't
perfect, that's okay. It's really challenging to make a perfect circle,
if not impossible. We are going to be covering our circles with paint so they
don't need to be perfect. Okay? All right. The next thing that
we're going to do is we are going to
create some features. This is the inside
of our designs face. So we are going to
create some features. And this is not realistic, so we're not going
to worry about proportions and where
things are on the face. So let's start by making
a straight line in the middle but a little
bit down from the center. So here's the middle of
my circle right here. We're going down a little bit, but it's in the center. And then what we're going to
do is we're going to make a curve line going from
the end of this line up, curved around, and then
stop about right there. We're going to be
touching the circle. And then we're going to do the same thing on the other side. U, curve around straighten out, and go to the edge
of that circle. Now we're going to come back
here to the left hand side, and we're going to
make some lines. We are going to make
some lines from about right here to our nose. So we're going to go
about right here. And then we're going to do the same thing on the other side. Just like that. This is going to be our eyelid
and our eyelid. Now what we're going
to do is we're going to make the
lower part of our eye. So it's going to
be a curve line, so we're moving down
just a little bit. Curve line down, and then
come up and touch the nose. Same thing on the other
side, curve line down. Come up and touch the nose. Remember, if this is
not perfect, it's okay. Now we're going to make a circle right here and right
here for our eyes, and they're going to
touch those lines, which are the eyelids. Same thing on this side. Circle that is touching eyelids. And then inside those circles, we're going to make
a smaller circle right in the center.
There we go. Now we're going to move down
to this part of our nose. Make two dots. These are
going to be the nostrils. And then we're
going to move down from the nose right
in the center. We're going to
make a small line. It's about the same length
as this line for our nose, and then we're going
to make a curve line that attaches each side of that line and then a
curve line going down. Coming back up. This is
going to be the mouth. Now we're going to
make some earrings. We're not going
to be able to see the ears on this artwork, but we are going to
see the earrings. So we're going to
make some curve line coming down from the cheek area, and then a second line
following that first one. Same thing on the
side, Curve line. And then another curve line following along that first line. Perfect. Now let's go up to the top of
our piece of paper, and we're going to
make some hair. Just some straight lines
coming out from the circle. Go slowly and carefully
so you do your best work. I think I'll stop
about right there. Now, from this circle, we're going to come down on the left hand side
with a straight line. And we're going to
go all the way to the bottom of our
piece of paper. I then we're going to make another line coming straight down on the
other side of the face. Now let's make some
pearls for a necklace. And those are just going to be a series of circles that
are connected together. You might be able to
fit five or six pearls. I'm just going to
keep going until I fill up this space,
which I just did. Alright, now I'm going to make a little bit of a design
down here at the bottom. So I'm going to
make a curve line. I'm going to make
a straight line. And then I'm going to make
another straight line. In the original artwork, we have some lines down here
at the bottom of the neck. And your lines can look different or they
can look the same. It's completely up to you. Let's add a few lines
to the background. So I'm going to make
a line right here. You can make your lines
wherever you'd like. And I think I'll make
one more line right. That just adds a little
bit more interest. Alright, I think I'm
finished with this artwork. I'm going to erase
this right here because this pearl is
in front of this line, so I want to erase that. So that way, when I'm covering my pencil
lines with my paint, I don't go through that pearl. If there's anything else that you'd like to add
to your artwork, now's the time to do it,
especially the background. If you like to fill
in a little bit of space in the background, you can certainly do
that at this time. You'll want to do that before we start adding our black paint. Alright, friends,
what we're going to do in the next step
is we are going to apply some black paint and
outline our pencil lines.
3. Step 2: Outline the Design with Black Paint: In this step, we
are going to add some black acrylic paint
to our pencil line. So let's get started. As you can see, I've
already poured a little bit of black paint onto my palette, and what I'm going to do is
I'm going to use my water and I'm going to add a little bit of water to this black paint. And what that will do is it
will make it easier for us to use because it will make it
easier for the paint to flow. So I'm going to mix that up
if that's important step. Because you want to make sure
that it's well mixed so you don't have globs of paint or areas that have
too much water. So you want to make sure
that you mix that up. Take as much paint
off as you can. Any paint that you can't get
off of your paint brush, go ahead and take that paint off with your
handy dandy paper towel. You don't have to
get it all off, but just get as much
off as you can, because we don't want
to have any gloves on our paint brush. So now what we're going
to do is we're just going to start at the
top of our design, and we're going to apply some black acrylic paint
to our pencil lines. We're going to go slowly and carefully so we
do our best work. So I'm just going to
load my paint brush, and then I'll start
here at the top. And then I will just
carefully cover those lines. Because this is such
a small paint brush, I'm going to have to reapply and reload my paint brush quite frequently
because the paint will run out on the brush. All right. So what I'm going to do is I'm just going
to continue on, cover all my lines, and I will speed up this
video so you can watch me. Alright, friends, I'm
finished painting my outline, and I'm going to
take my paint off of my paint brush so the paint brush doesn't dry out with the acrylic
paint on it. If that happens, the paint
brush could get ruined. Now what we're
going to do is take the back of our paint
brush just the back end, and we're going to put it
into our paint and put that black paint right
there on those nostrils. I like to use the back of a paint brush because
this will create a nice round circle that it's really that's difficult to get with the
bristles of a brush. So that's just a
little tip for you. Alright, now that
we are finished, let's rinse out our paint brush, get all of the paint
off in our water, and then make sure you get the excess paint and water
off with your paper towel. All right, friends. So now
what we need to do is we need to allow our black paint
to dry completely. That way, when we apply
our watercolor painting, the black paint will not
smudge and smear around. So we're going to let that
dry, and in the next step, we will start applying
our watercolor painting.
4. Step 3: Paint the Design: In this step, we are going to watercolor paint our design. So let's get started. The first thing that
we're going to do is we are going to add a drop or two of water to
each of our pans of paint. And what this will do is it
will soften up our paints. It will dissolve our
paints a little bit, so they are easier
for us to use. So I do encourage my students
to take that step as it really helps now that our
paints are softening up, let's turn our attention
to our design. We're primarily going to
use browns and yellows, but we're also going
to use a little bit of blue and green in our design. So let's start by creating a light pink color because most of this painting is going to be a light brown. We'll want to make sure that we create enough of that
light brown paint. So I'm adding quite a bit of
water into one of my wells. You'll use mostly water and
a little bit of brown paint. And then if you feel like you
need to test out the color, go ahead and use the palette. That looks pretty good, maybe
a little bit more brown. So what I'm going to do
is I'm going to perfect. I'm going to start
painting the face, this light brown color. And then I am going to
move on to the neck. Alright, friends, I'm
finished painting the skin on my young
girl's face and neck. In the next step, I'm
going to go ahead and I am going to paint the
earrings yellow. So I'm going to be
very careful painting those earrings yellow because
it's a really small space. Then some of her
clothing down here, I will paint yellow, as well. Paint this yellow. And
I'll paint this yellow. I might add a little
bit of brown to this one to make it a little
bit different from this one. These are her clothes
down here at the bottom. So let me add a little
bit of brown to that one. And then on this part
of her clothing, I'll make it might
be a little bit out of your shot on the video, but I'm going to paint this a little bit of a darker brown. Of course, this is your artwork, so you get to choose
the colors that you would like to paint
her clothing, but those are the colors
that I'm choosing, and they're similar to the painting the
original painting. So what we're going to do
next is we're going to paint her lips and
her lips are red. So I'm just going to
use a small amount of water and a
small amount of red and paint her lips. There we go. And then I'm going to leave her eyes white and her
pearls white, as well. When we come back
in the next step, we will be painting
the background.
5. Step 4: Paint the Background: I in this step, we are going to paint
our background. So let's get started. I'm going to paint this
shape right here blue. I'm going to paint
this shape green. And this large shape right here surrounding the young
girl's head and neck, that is going to be
yellow and brown. The yellow is going to
be closer to her face, and the brown is going
to be along the edges. Okay? And I'm not
going to use really, really strong colors for
this background right here. I'm going to use softer colors, so I'm going to add more water. So let me get started on that. I'm going to start
with my yellow. I'm going to put quite a bit of water into one of my wells, and then I will add some yellow, and then I will just start. That's a nice soft yellow, maybe even a little
bit more water. I'm going to start by painting
fairly close to her face. And then I'm going to
paint all around her face, and then I'm going to bring in after I'm finished
with the yellow, I'm going to bring in some
brown paint that I will put along the edges
of my piece of paper. I'm pushing this yellow paint
around a little bit because I'd really like it to
be a soft yellow color. See how I'm not going all
the way to the edges of my sheet of paper because that's where I'm going
to be adding my brown. Now I'm adding a
really soft brown to the edges of my
piece of paper. Just to add a little bit
more interest there. And it will blend in with
the yellow a little bit. That's what I want. I
want those two colors to blend in together.
There we go. Now I'm going to move
down here to this space, and I'm going to make some blue. The shade of blue
is pretty dark, but I'm lighting it
up with that water. There we go. There's the blue. And then I'm going to do the
same thing with the green. I want it to be It's
a darker green, but I'm lighting it up
with quite a bit of water. So it's more of a
soft color so it doesn't overpower
the whole painting. There we go. We
are finished with our young girl painting,
our African painting. I hope that you had a lot
of fun with this project. I will see you next time. No.
 Em Winn, Teacher, Art Instructor, Artist