Transcripts
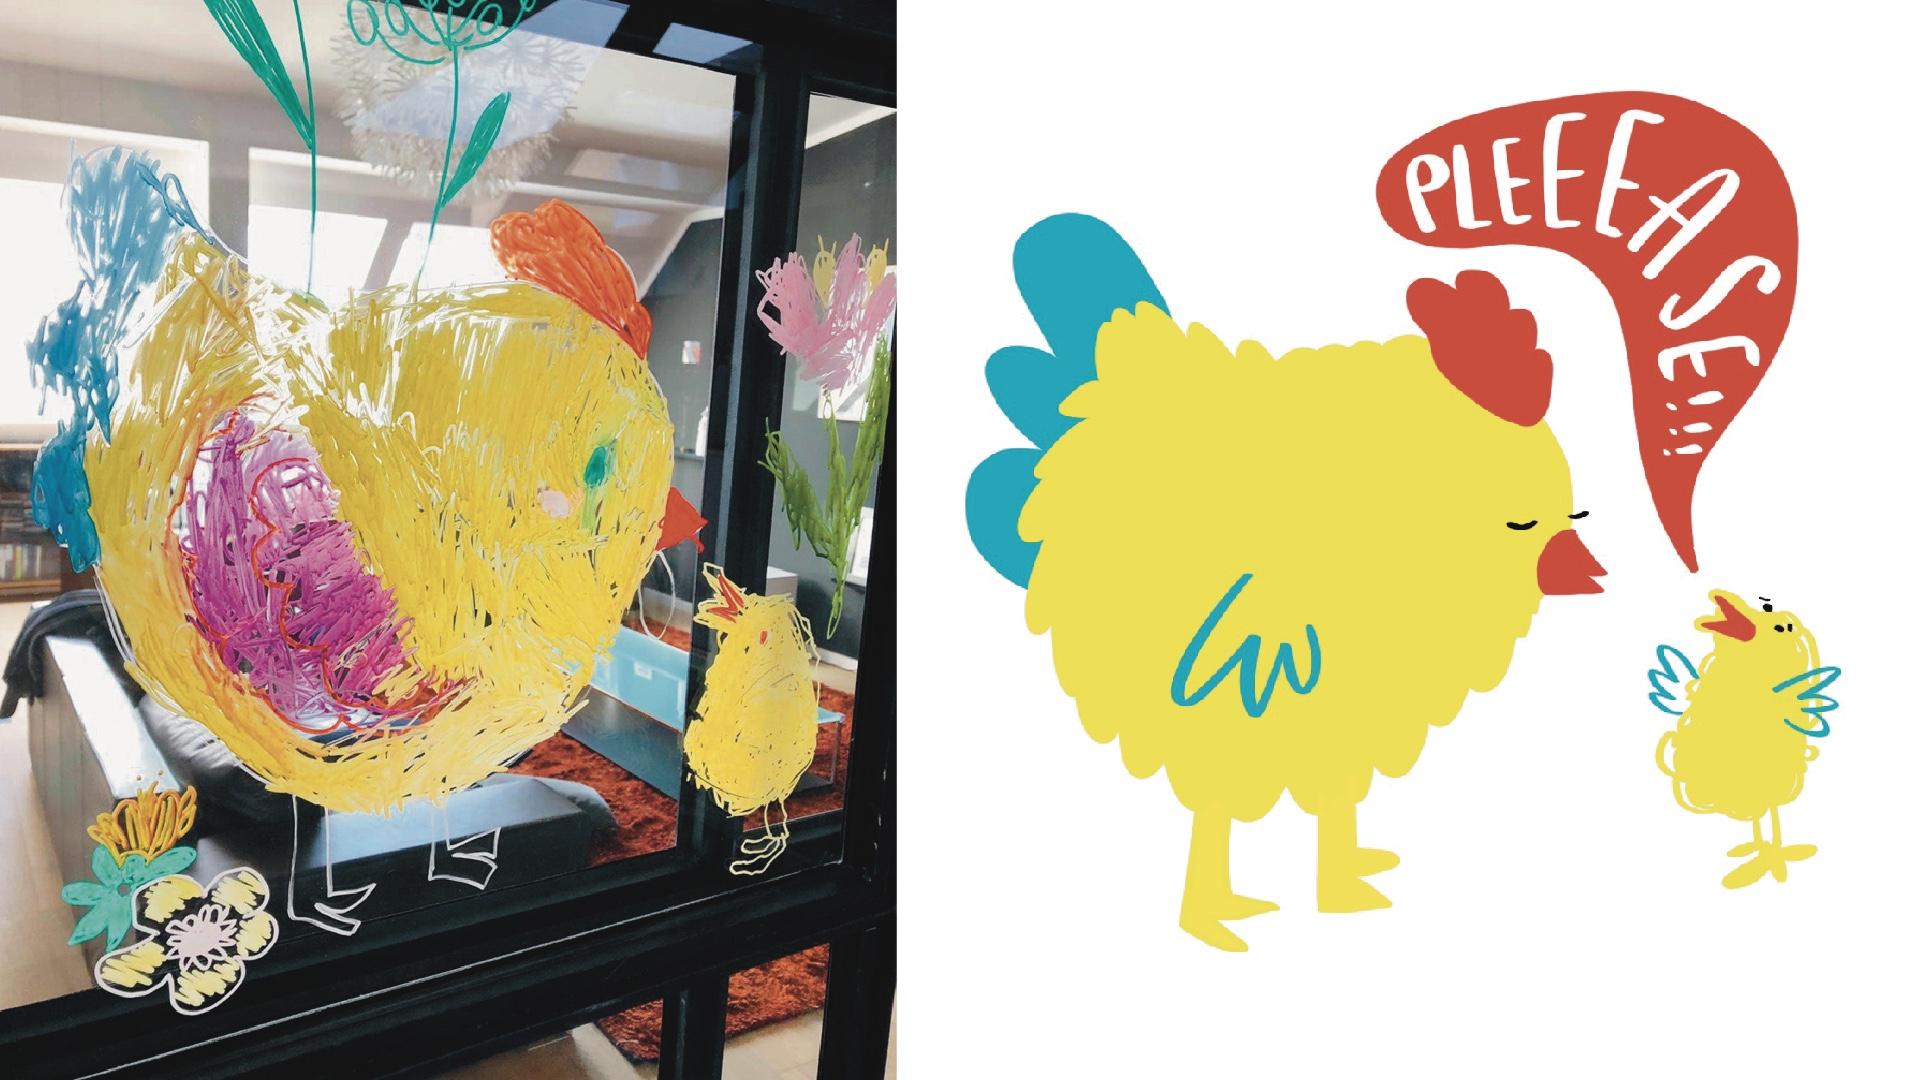
1. Welcome to the class: Hello levels of the digital and analog artwork. In this short class, I want to show you how you can turn your original paintings on paper into a digital animation using procreate without any prior knowledge. My name is Ulrike from Text & Tulip. I'm an illustrator and hand lettering artist and recently received this picture from a friend. She does not consider herself as an artist, but her amazing window drawing simply screamed, animate me. The result was stunning and as it is so easy in the making I have to share this simple process with you. In less than 10 minutes We will captured the analogue charm of your drawings digitally and do a quick redraw in Procreate. The heart of the class, Will focus on just one element that is going to move within your illustration. Therefore, we will use the animation tool in Procreate. As a bonus, we will add a speech bubble for a funny twist or to give you a room for a personal note in your animation. Finally, we will save the animation and share it on Instagram. But of course, you can use any social media you are fond of, or simply use it as a remarkable clip or as a GIF sticker. Beginners and Pros, all are welcome. Let's dive deep into our old sketchbooks and kids drawings. Let's shake them up. Can't wait to see you in class.
2. Your Project : Your project consists of two steps that I want you to share. First, the original piece of art as a picture scan or photograph, and second, jewel little animation. Share them in the project section as well as on Instagram. Last but not least, be kind and leave feedback to your classmates. Now let's line up the tools we need. See you in the next lesson.
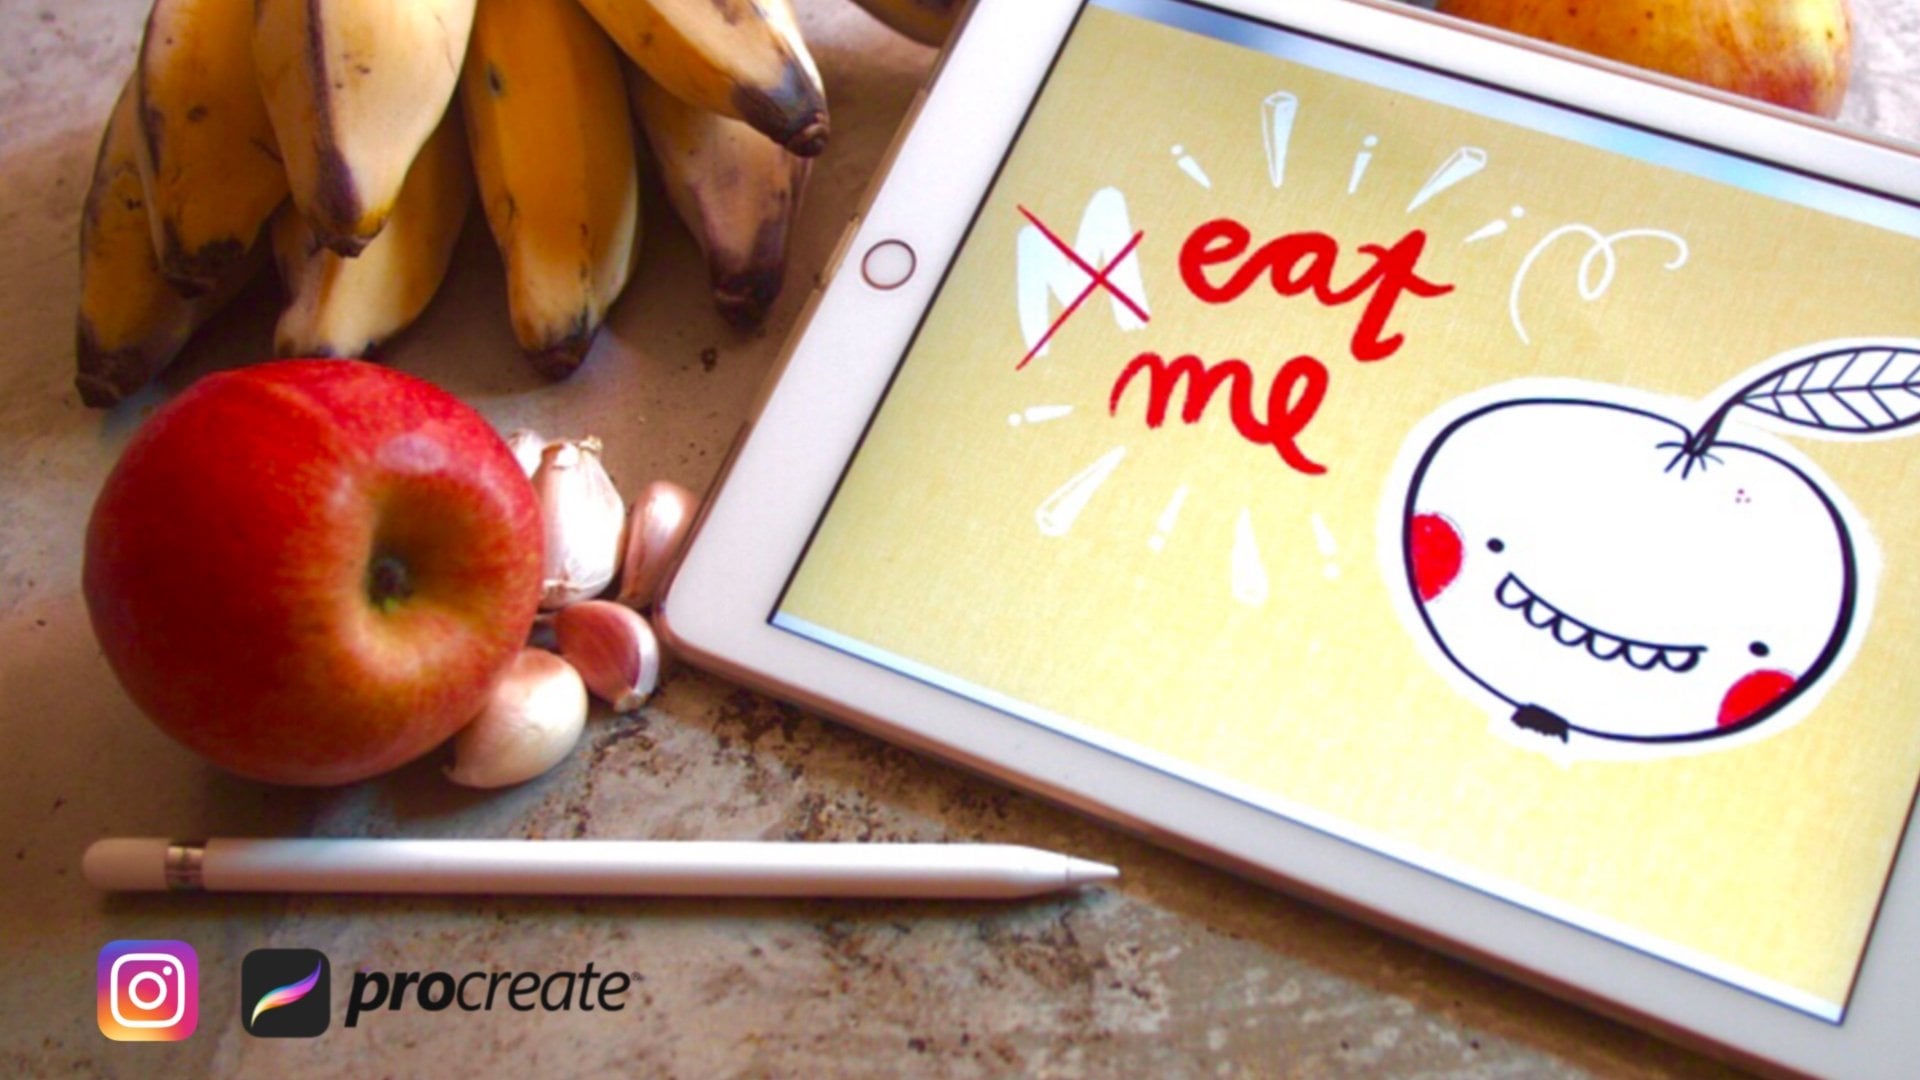
3. Your Tools and Your Canvas: Let me introduce you to the tools you need for this class. I worked with the iPad with a paper few screen protector and the apple pen. The animation will be done in Procreate, my favorite drawing app, you can get in any app store. Key to this class is the analog drawing. Whatever you pick, make sure you have full permission to give it a digital makeover. Take a picture of the picture and save it to your camera. Roll on the iPad so we can easily access it in the class. All right, This is mine. So now let's switch to procreate and create a new canvas. Tap on the little plus on the right corner and the second plus on a black stack. Like in my last animation class, I go with 2000 by 2000 pixels and 300 dpi. Tap on Create and a new canvas will appear in your gallery. As a next step, we need to insert a reference picture we saved to our camera. Roll, tap on the little wrench in the menu bar. Go to Insert a Photo, choose the picture. A viola. It's on your canvas. Now scale it until it fits perfectly on your canvas. On the top of the picture layer, we create one more layer for the next step. The redraw.
4. Redrawing : They'll redraw. For the redraw, feel free to use any brush you like. That gives you a sharp outline. I go with the regular calligraphy brush with 75 percent streamline. So now let's move to the colors. I go with a warm yellow for the biggest body parts of mama chicken and also for the child. I will draw them on our first new layer. So whatever your reference picture looks like, just roughly follow the lines and do not get caught up in details. To make the color fill easier, I use color drop. I recommend to use just simple shapes that express your reference picture. And again, color drop. And the last part, did it legs off the little chicken? Okay, now I create a second layer for all the parts I draw in red. So this will be the big crest of the mama chicken and the beaks of both. Finally, one last layer. This time, I switch to blue to add the big feather tail on mama chicken. Also just simple shapes that are easily to fill. Now I move this layer underneath the others and do some little adjustments. Once I'm happy, I merge those layers simply by squeezing them together. And this is how it looks like. So I take the thumb and the middle finger and then just squeeze the layers together. That's it. Now we are ready for the animation.
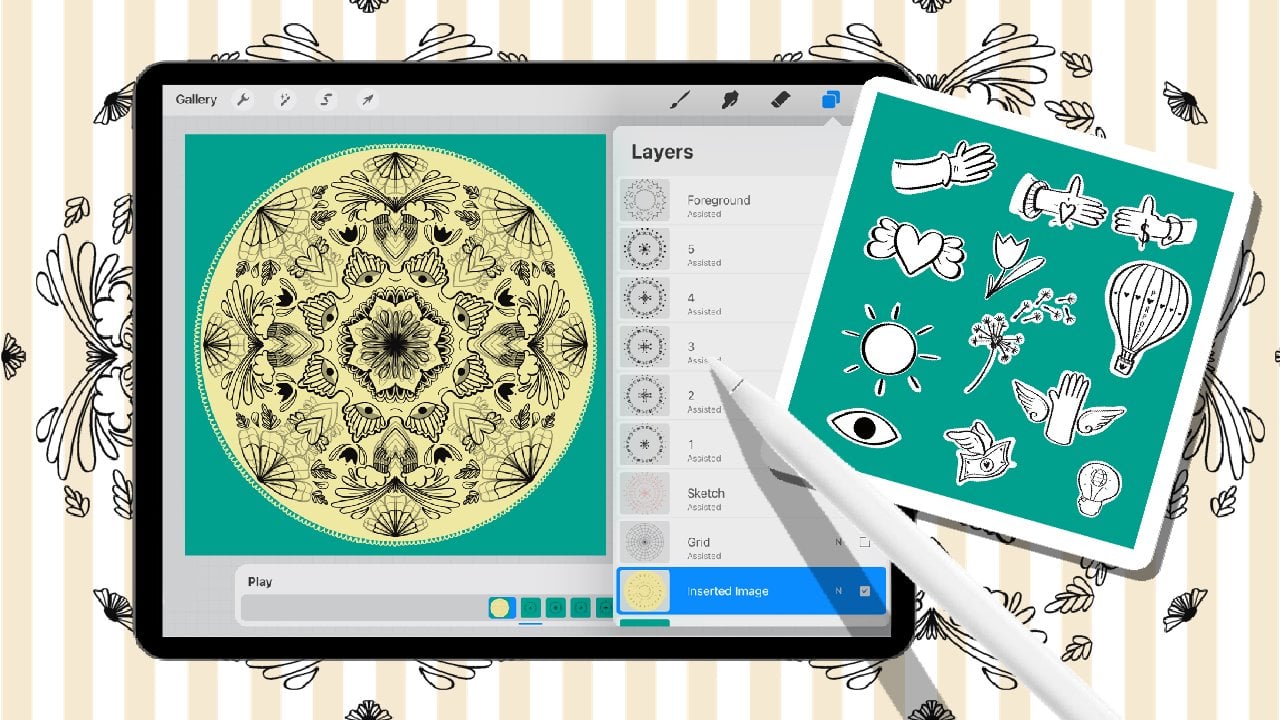
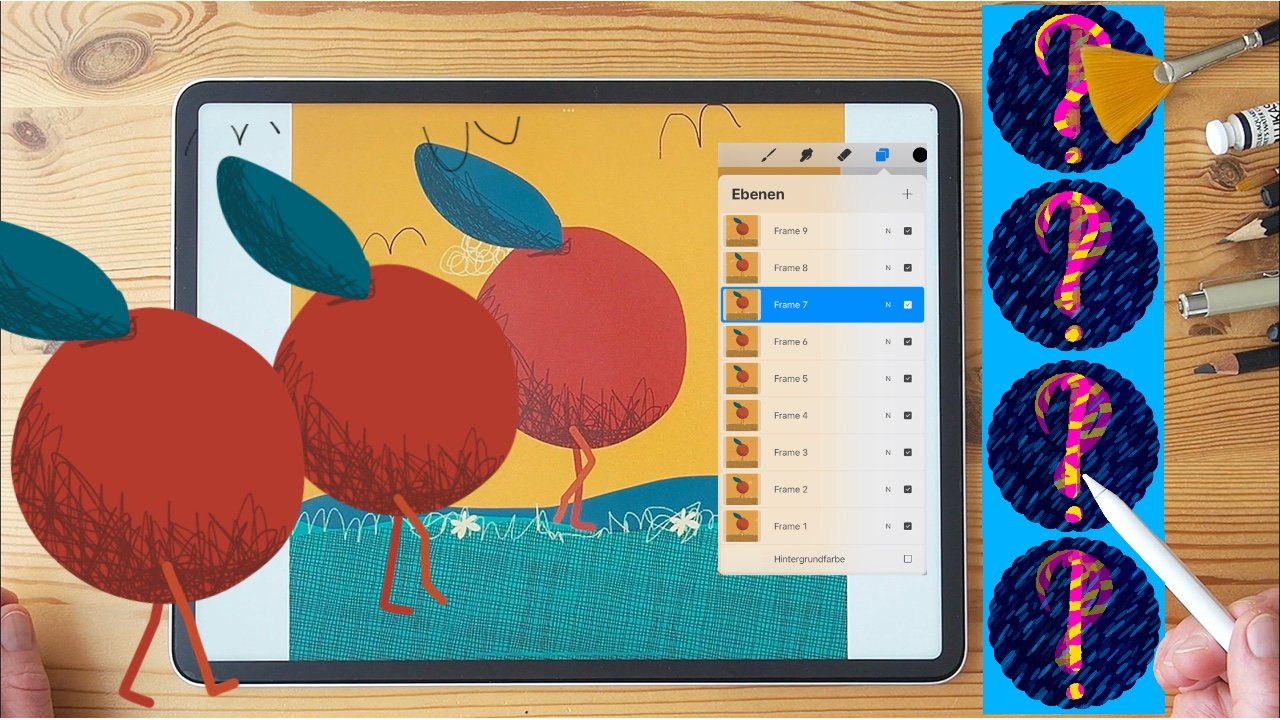
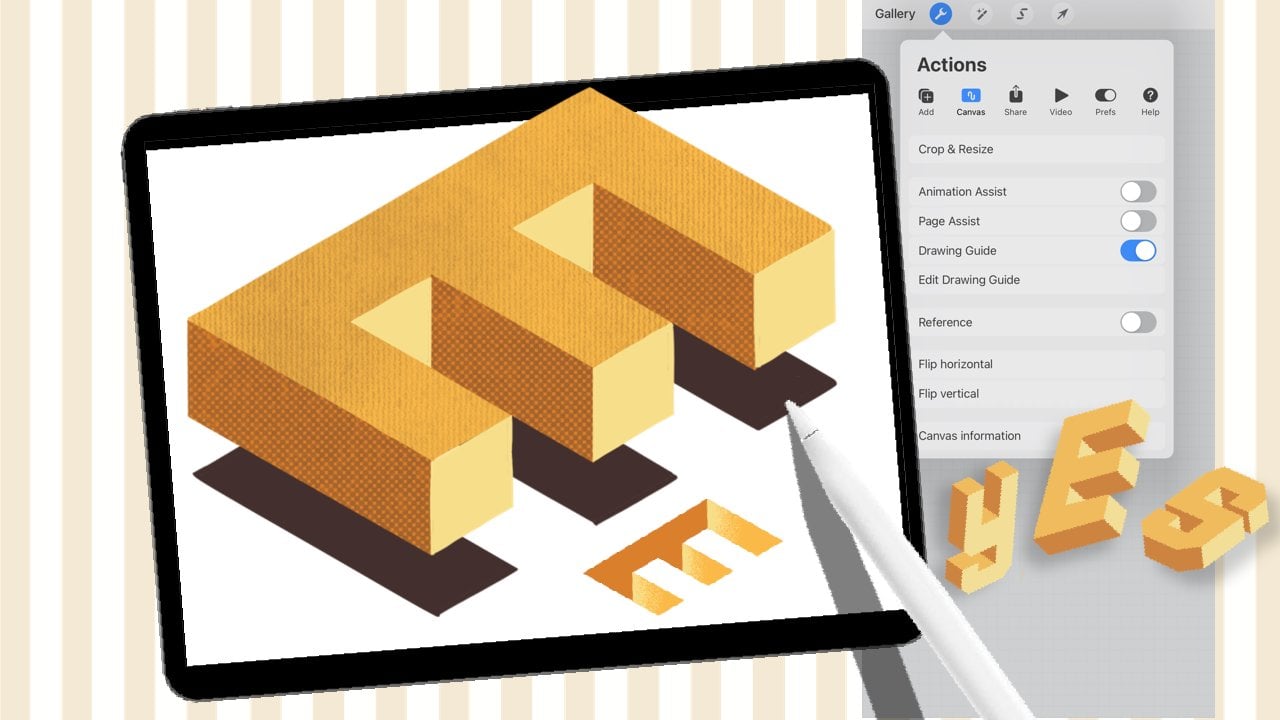
5. Animation: Now let's switch on animation assist. Tap the wrench and go to Canvas and switch the node next to animation assist. Now all layers we are creating will appear in a timeline below. I decided that I wanted a little chicken to jump up and down. So to keep the shape consistent throughout my animation, I create a reference. I tap on the Rubin in the top menu bar and chose the free hand selection tool. Now a circular round object until the dashed line is closed. Tap on Copy paste, and now the copies on a separate layer, my animation should have five frames in total. Therefore, I copy the original four more times. I tap the layer, swipe to the left and duplicate. Make sure it is always the initial one you copy, otherwise the drawing will get blurry over time. In the next step, we erase the chicken from its layer with mama. Now you see that we have six frames in total for animation, and now one more layer at the top. This is where the amazing features of the animation tool comes to play. The layer on the lowest can function as our background, and the layer on the top will be our foreground. That means they are static throughout the whole animation. The animation layers between will be labeled one to five, as the animation will play from the lowest to the highest. If you need an in-depth class around the animation tool in Procreate, I highly recommend my beginner friendly introduction class, animation, doodle Mandela's. Now let's move layer one to five in a way that a chicken looks like as if it's jumping. So the first frame remains on its ground, right? And the second has to be slightly a bit upwards. The third also slightly a bit more up than the frame before. And the fourth frame because now it's moving or downwards, just a bit lower. But not as much as the first frame. And the last one is a big jump, so higher than our third frame. Well done. Now let's lock our foreground layer. Tap on the frame in the timeline to access the Frame Options. And now switch on foreground. Now it is set to static. Above all other layers. Move the background layer to the very end of the stack. And now tap on the frame in the timeline and switch on background. Hit play. We can adjust the speed in the action bar of the animation settings. I will go with six frames per second in a seamless loop. To see our little bird fly, we need to give him fluttering wings. Those I have to draw in each layer from one to five. In the first layer, the chicken is standing still, so the wings are facing downwards. On the second layer, they are in a straight stretch. Yeah, like this. On the third layer, they face upwards. And on the fourth layer, chicken is moving downwards. So also the wings are facing down again. On the last layer where we have the big jump. The wings are in full stretch towards heaven. Now hit Play to check the animation. Now the eyes. Keep it simple and draw the same expression on each layer. And last one on layer number 5. The little eyes. On the top layer, our foreground, I will draw a mother, chickens eyes and her right-wing. As this is aesthetic layer, the elements will appear in each frame of our animation, always on the top. Let's see how it turns out. Hit Play. Congratulations, we've finished our little animation. As a bonus. Let's add a little speech bubble to it.
6. Add a Speech Bubble : Now our little Bono's, let's add a speech bubble. On the background layer, we draw a speech bubble of any shape you like. Now fill it easily with color drop and then make little adjustments as you pleased. Above my animation layer, I will add a reference layer for the lettering. So I swapped too wide and adjust the brush size. And now I can start. This layer will only function as a guide to find the right spacing for the lettering. This I will delete later. So if you're happy, you can start to draw on the first frame of the animation. I write the message of our little animated fellow in each frame. Slightly a bit different to give the handwritten look. Now I can delete the reference layer and continue drawing on layer two to five. You can see on which frame you are at in the timeline below, it appears with a light blue on the line. And finally, the last layer. Are you ready to enjoy the loop? Make sure all layers you just drew are switched on and hit the Play button. There it is. Our final animation. Well done. And this is where we are coming from. See you in the next class where I'll show you how to save it and use it for Instagram.
7. Save and Share: The last step of our process, Let's make the animation shareable. First, as a GIF, hit a range in the top menu bar, go to Share and tap Animated GIF. This is the last chance to adjust the speed of our animation. I will keep six frames per second and hit Export to upload it on any platform I like, I need to save it to my files. Tab on say files, and choose a folder. Now rename your document. Keep in mind that also the filename counts when it comes to search engine optimism, I would always start with my name, followed by two to three major keywords. We go back to the artwork again to share, and now we save it as an animated MP4. So now we can save it as a video directly on our camera roll. So this means you can send it as an attachment or you can use it directly on Instagram. Let me show you how. You see I already posted the little clip. But as I also saved it as an animated drawing in Giphy, I can use it in a story too. So I go to story, go to Create and swipe over to give. Now I type in my brand keywords, text and tulip to see just the Gibbs I made nowadays appear in a row. And there's also our chicken tap on the frame and hit Next. Now let's add a sticker. I tap on the Sticker icon on the top. And again, I choose GIF and type in the brand name, text and tulip. So this will be our story sticker. Let's see where this and as a sticker, I can move it across the template as alike. Let's have a little fun and send the class announcement to a friend. So, well, this was our little speed class. I hope you enjoyed it. See you for little sum up in the last lesson and also to encourage you on your project.
8. Wrap up: Congratulations, you made it. Now you are ready to create any digital animation in procreate of any of your drawings. You can export your files as a GIF or as a video and share it on any social media you like. Do not forget to share your animation. In the project section, showed the original painting and D animation, your mate, be proud of yourself and share them on Instagram too with texts and tulip as little Warner's. Let me show you how the cat, my newest Rule turned out. Well, I hope you had fun and feel inspired to create even more moving drawings. Please also leave feedback on this class. This will make it easier to find been your students. Thank you for joining and enjoy art-making. Choose.
 Ulrike Text&Tulip, Digital Art in Procreate