Transcripts
1. Welcome to the Air Fryer Desserts class!: Hello, I am pleased to
welcome to my kitchen. I am a Portuguese pastry chef. I share recipes on my YouTube
channel on Instagram, and I am also a cookbook author. So as you can see, I love to teach how to
do deserts and pastries, and I love sharing recipes. And that's exactly what I
will be doing in this class. In this specific class, I will be talking about deserts that you can
make in an air fryer. Air fryers or becoming
so popular nowadays, almost everyone has one or is at least thinking
about buying one. They are very convenient
to make meals or snacks in a very
fast and easy way. And that's also the case when we are talking
about deserts. In this class, I will
talk a little bit about the air fryers and
how to bake in them. A few tips and tricks to help you develop your own
recipes later on. But I will also teach you find the dessert recipes
that are simple, easy, and fast to make, but most of all,
they are delicious. So if you already have an air fryer or are
thinking about getting one, and if you love desserts, this is a class for you. The recipes I will
teach you in this class are an apple crumble,
a banana tarts, atom, chocolate from them, a big chocolate chip
cookie, and the cheesecake. Before starting with the class, I would like to tell you
that for convenience, I will leave the
written recipes in the class resources both in
grams or in cups and ounces. Now, let's get started with
our tips and our recipes.
2. Baking in an Airfryer: Pros and Cons, Tips and Accessories: Let's start by talking
about air fryers. What exactly is an air fryer? Because of the name and
all the mark thing, most people think air fryers are just meant to fry
foods without oil. But actually what
an air fryer is, it's a convection
oven, a really, really compact convection oven that works with heat
and with ventilation. So that's great if you want
to do things that are crispy, so it imitates being fried. But you can also use them to bake everything that you
would do in an oven. For starters, they are
much faster than an oven. I never preheat my
air fryer because I find that reach temperature
very, very fast. In my case, probably
less than a minute. But if you find
your air fryer is a little bit slower in
reaching temperature, you can preheat it, and it will take you one or
2 min in the oven to preheat the oven to 180 Celsius
or 350 Fahrenheit, which is the most common
temperature for baking. Sometimes it can take up to half an hour to
reach that temperature. So that's already a big
cut in time and energy. Second pro is that they
are very easy to clean. Most of them, you
can pop this in your dishwasher and
you're good to go. And the third reason why I love to bake in an air
fryer is that you can adjust your recipes and make smaller quantities
in an air fryer. You can easily do one portion, up to six portions may be
depending on the recipe. So that means no leftovers. Now about the cons, I will have to point to things. The size obviously
limits the quantity. For instance, if you aren't
doing a recipe for cookies that will make a full
tray of cookies. You can do it in the
oven in only one batch. If you are doing
in an air fryer, depending on the size
of your air fryer, going to have to do it in
three or four batches. Eight will add up, and that will take you longer
than doing it in the oven. So if you are doing
big quantities, I really don't think it's a good idea to use an air fryer. It's better to use an oven. And the second thing, it's not really a big issue, but it's something that you need to have in consideration. Most they're friars only have the heating coming from the top. Let's say you're making a cake, for instance, if you are
doing it in the oven, most ovens, they have heating coming from the
top and the bottom. So the cake bake evenly. If you only have heating
coming from the top, it can mean that the top sometimes you will gain
a lot of color and the bottom part
sometimes is still not baked or is a
little paler in color. So my advice to you
is that only use the air fryer to bake
things that are flat. Don't use an air fryer to bake something that is
very tall because you will run into this problem
or bake things that you can easily or either
flip or just mix, so everything gets baked evenly. I have here two air fryers. They work basically the same. All recipes that I
will be teaching today can be made
in any of these. This is a very small one
and very simple to use. It only has two buttons. One controls the temperature, one controls the
time, and that's it. This one is more modern, much bigger, which is great. It's all digital, but it also has a control for the
temperature and the time. That's all we need. Before starting
with the recipes, there are a few things
that I would like to show you really help when
baking in an air fryer. First of all, thunks, they make it very easy
to take things out of the air fryer or even flipping things when you're
halfway through baking. One thing that it's very
helpful to have a pan that fits perfectly in your
air fryer Like this one. It maximizes the
space and you can use this to bake small cake, even a few cookies. You can use whatever material you would use in a regular oven. Now if you're baking
something straight in the air fryer without
any kind of pan, I have three suggestions
that might help. One of them is
this silicone mat. You can find all of
these on Amazon. This prevents anything from sticking and they
also have holes, so there's a little bit of
circulation and they come in different sizes and shapes to fit different kinds
of air fryers, more or less the same idea
about the Silicon Macs. You can find these free
cut parchment papers. They also come in
different sizes and shapes and they fit perfectly the
bottom of the air fryers. It's the same as putting a piece of parchment
paper in an oven tray. And lastly, there are
these silly con baskets. Again, they also come
in different shapes. They eat the air fryer. They very easy to remove and you will
only need to wash these because most of the times your air fryer will
be immaculate. I hope you have enjoyed this tips about baking
in an air fryer. I hope you are inspired
to start using yours. So let's go to the best
part of this class, which are, of
course the recipes.
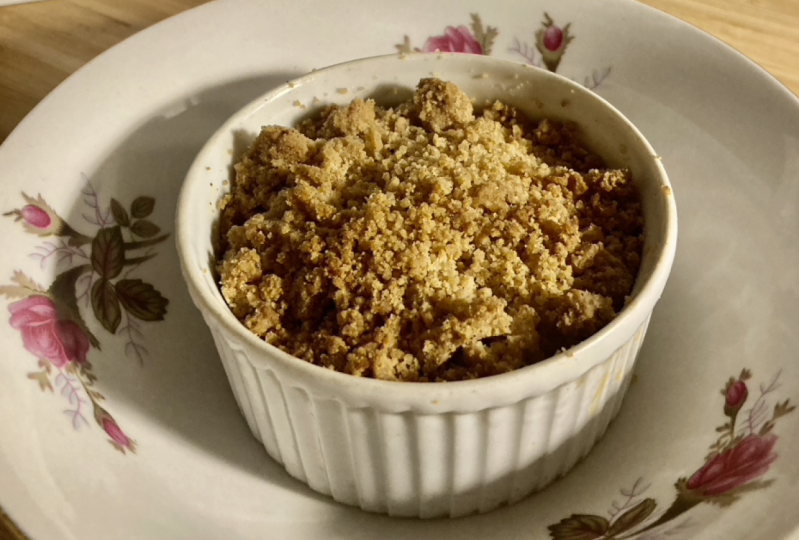
3. Apple Crumble: The first dessert
that we will bake in an air fryer is
an apple crumble. Now, the crumbles are
more or less like pies, but without crusts
on the bottom. And the crest on the
top being very crumbly. It's a very simple
desert, a crowd pleaser. You just need to bake the apples for a little
bit, make the dough, which is very, very simple, and then put the bow on top of the apples and bake
for a little bit more. You can adapt this recipe and use other fruits
instead of apples. You just need to
make sure they have more or less the
same consistency. E.g. pears, peaches, or
plumped, will work great. For the Apple feeling. We will only need apples and the little
bit of brown sugar. You can use any kind of
apples that you prefer. For the crumble, we
will need brown sugar, flour, butter,
cinnamon, and salt. We will start by peeling
and dicing the apples. And it's better if we
cut the apples into very small chunks so
they can bake faster. And we are going to place our diced apples
into a container that will serve to both cook the apples and then
to bake the crumble. Just make sure it fits
your air fryer basket. Mix the sugar with
the Apples Very well, and bake in the air fryer
at 350 Fahrenheit or 180 Celsius for 15 min
mixing halfway through here are the apples
when 7 min have passed, gave them a mix and bake
for the rest of the time. Meanwhile, let's
make the crumble. It's very easy. In a bowl. You will place the flower, the brown sugar, cinnamon, and salt, give it a good mix and then add
them melted butter. I just melted mine
in the microwave. And now we are going to mix
this without over mixing. Otherwise, our though
will be compact and we need a very
crumbly, don't we? This spatula or spoon
mix using cutting movements until you don't
see any flower left. At this point, our apples
should be perfect. They are starting to cook. They are much softer, but they are still
firmly placed. The crumble over the apples
without pressing it, making sure it covers the
apples evenly and baking the air fryer at the
same temperature for 15 min until it's
very golden brown. Apple crumble is great, hot or cold, but in my
opinion, nothing beats it. Worm out of the oven served with the big
scoop of ice cream.
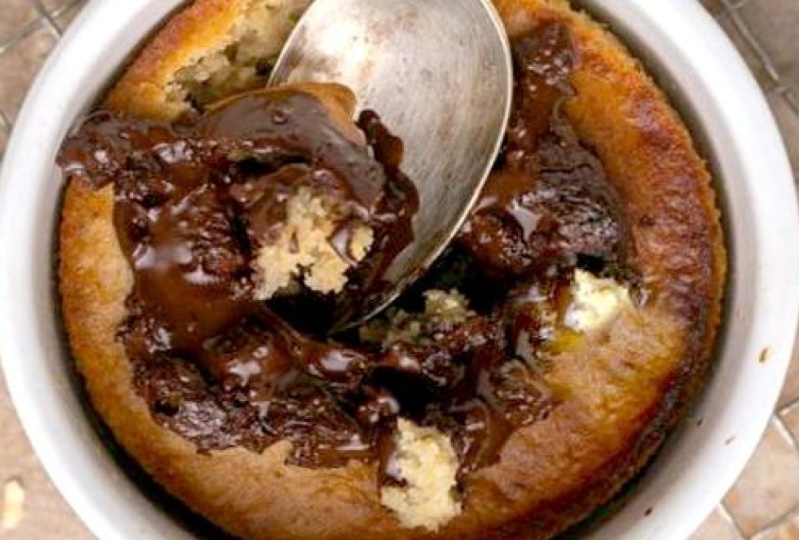
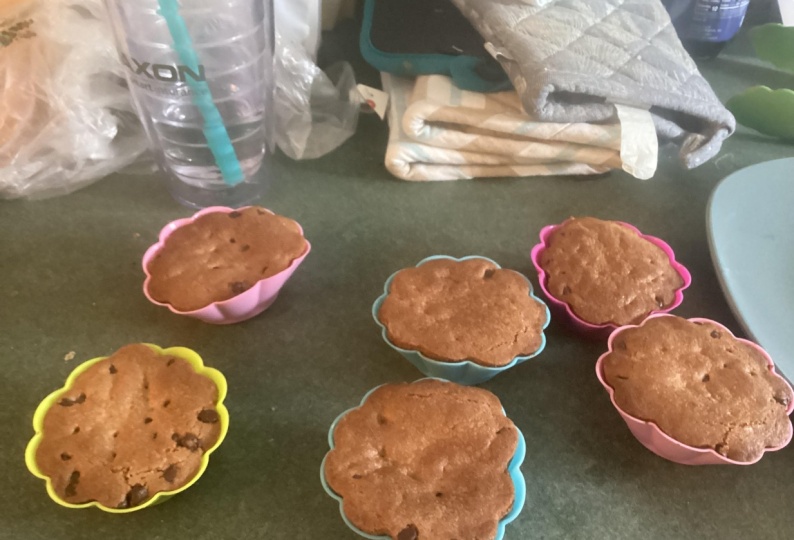
4. Chocolate Fondant: The second dessert
that we will make is one that has a lot of fans. It's a chocolate fondant, also known as a
chocolate pizzicato. We are talking about those rich chocolate cakes
that have a molten Center. They are baked in
individual moles and then they are and
molded into a plate. But in the air fryer, we are doing them a
little bit different. We are baking them directly in the cup gets you are going to
use to serve them. So that's much easier. And this is also the fastest desert that
you will probably make. We will need chocolate. A semi sweet or dark
chocolate works best. You can use chocolate
chips or chunks, or a bar of chocolate
cut into pieces. We will also need
butter, eggs, sugar, flour, baking powder, and
salt in a heat proof ball, place your chocolate
and butter cut into pieces, melting
the microwave, or in a memory mixing
occasionally until it's completely melted and the butter and chocolate are
evenly combined. Adding the sugar mix well with a whisk and then add the flour, baking powder and salt continually skin just until
everything is well combine. And lastly, you're going to add the As soon as your
egg is incorporated, believe it or not, your battery is ready. All you have to do now
is shoes where you're going to bake your fondant
with this quantity, you're going to make either to bigger fondant or
for smaller ones. You can use a smaller
RAM akin like this on the left or a big cup
like that on the right. I'm going to use
the bigger ones. I'm gonna bake to finance. I'm going to divide my batter into two big hit Proof balls. I will place them in
my air fryer baskets, and that will bake them at
200 Celsius, 400 Fahrenheit. The bigger ones like this will take more or less five-minutes. The smaller ones will take about 3 min when they are ready. They are firmer on the sides
but soft in the center, depending on the shape
of your recipient, times may vary a little bit. Make sure you enjoy them worm with the scoop
of ice cream.
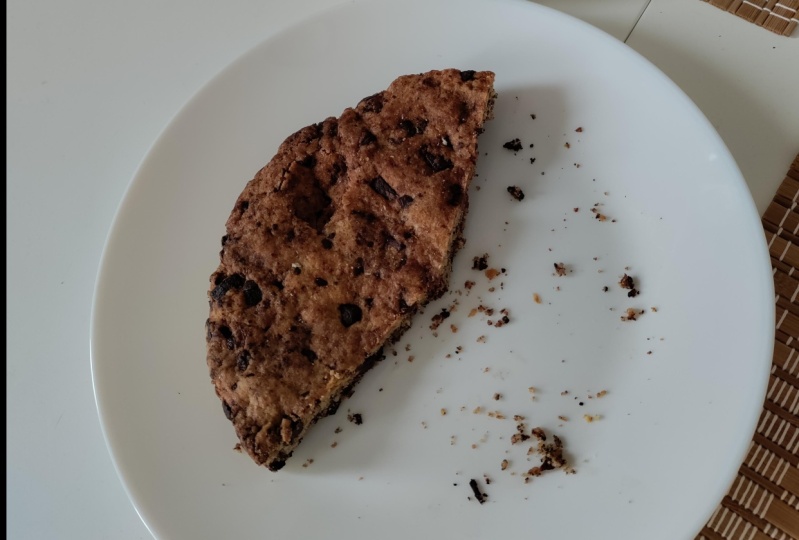
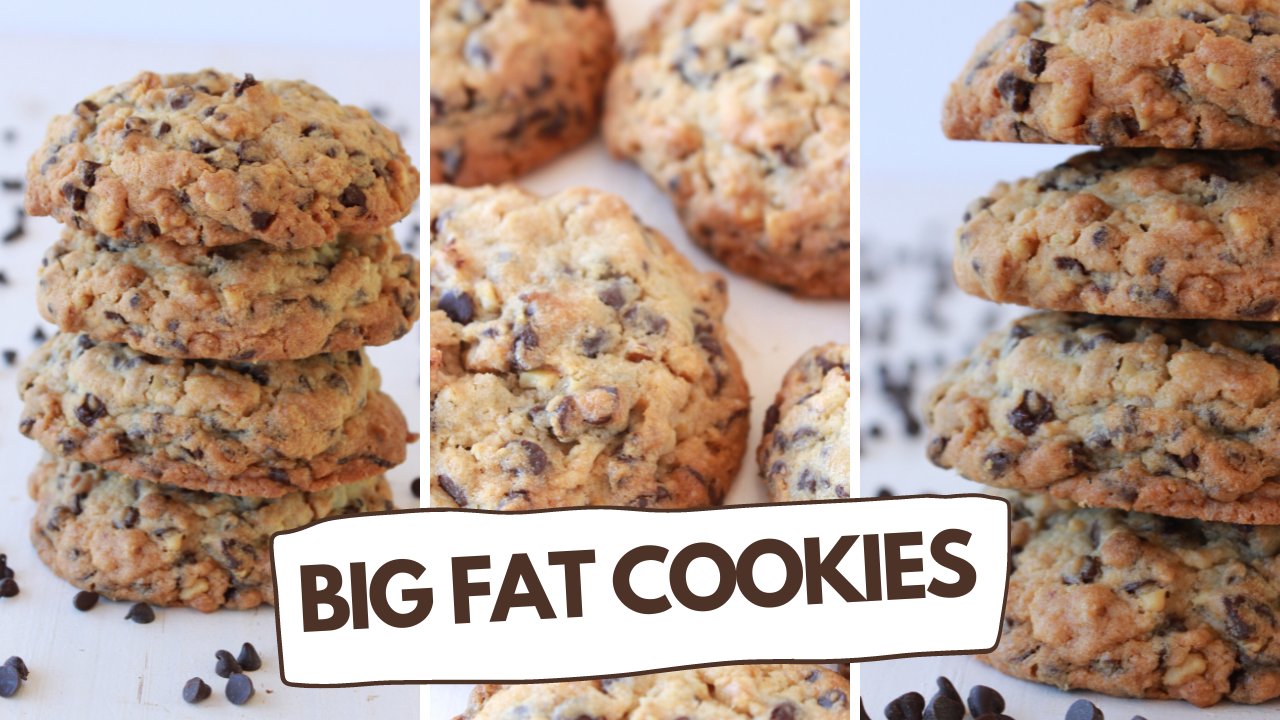
5. Big Chocolate Chip Cookie: Here I will demonstrate a very easy way to make
chocolate chip cookies, which is to bake a big
chocolate chip cookies. And then you slice it in
the shape that you want. You can slice it in squares or triangles bending on the shape of the pen that you will choose. And it's very, very fast
to do cookies that way. They kinda look like something between a cookie
and the Blondie. And that it's great for me. The ingredients we
will need our butter, both white sugar and
brown sugar, eggs, flour, baking powder, and baking
soda, salt and chocolate, either chocolate
chips or chunks, or a bar of chocolate
cut into pieces. Use any kind of chocolate
that you prefer. I like to use semi sweet
for chocolate chip cookies, but dark chocolate or milk chocolate would also work great. Let's start by
creaming the butter with both white and brown sugar. The butter should be at room
temperature and very soft. And you can do this using
a standard mixer with a paddle attachment
or a hand mixer, but I'm using a spoon here. So you can see it's also
very easy to do it by hand. You just make sense
until you have a very creamy mixture and then you add the egg and then keep on mixing until the
ADD is incorporated. When the egg is fully integrated and the mixture
looks like a cream. Add the dry ingredients, the flour, baking
powder, baking soda, and salt, and keep on mixing until almost all the
flower disappears. At this point, we'll
add the chocolate. And here I'm using a bar of chocolate that I
cut into pieces. At this point, will
keep on mixing until the dough comes all together
and it forms a ball. At this point, you
shouldn't be able to see any pieces of rock flour and
the dough is ready to bake, you will choose a pen or a mold that fits your
air fryer basket. And with this quantity, you will be able
to do two batches. I'm using a silicone mold
and I will place half of my dough into the silicone mold and
that will press it. So it's even though should have about 1 " or two-and-a-half
centimeters thickness. And you will bake this
at 350 Fahrenheit, 180 Celsius for 10 min, or it's very golden brown. You will leave this to cook completely before
and molding because the warm cookie
will be soft and it can break once it's
completely cooled, take out of the
mold or the pan and repeat the baking process with the other
half of the doubt. And this one, you can
already cut into pieces. I will cut mine
into a triangles, meaning that the
full recipe will make 16 triangles like this. They have a wonderful texture. They are crisp on the top
and very soft on the bottom. And if you want to
enjoy them worm, you can pop them in the air
fryer for a few seconds.
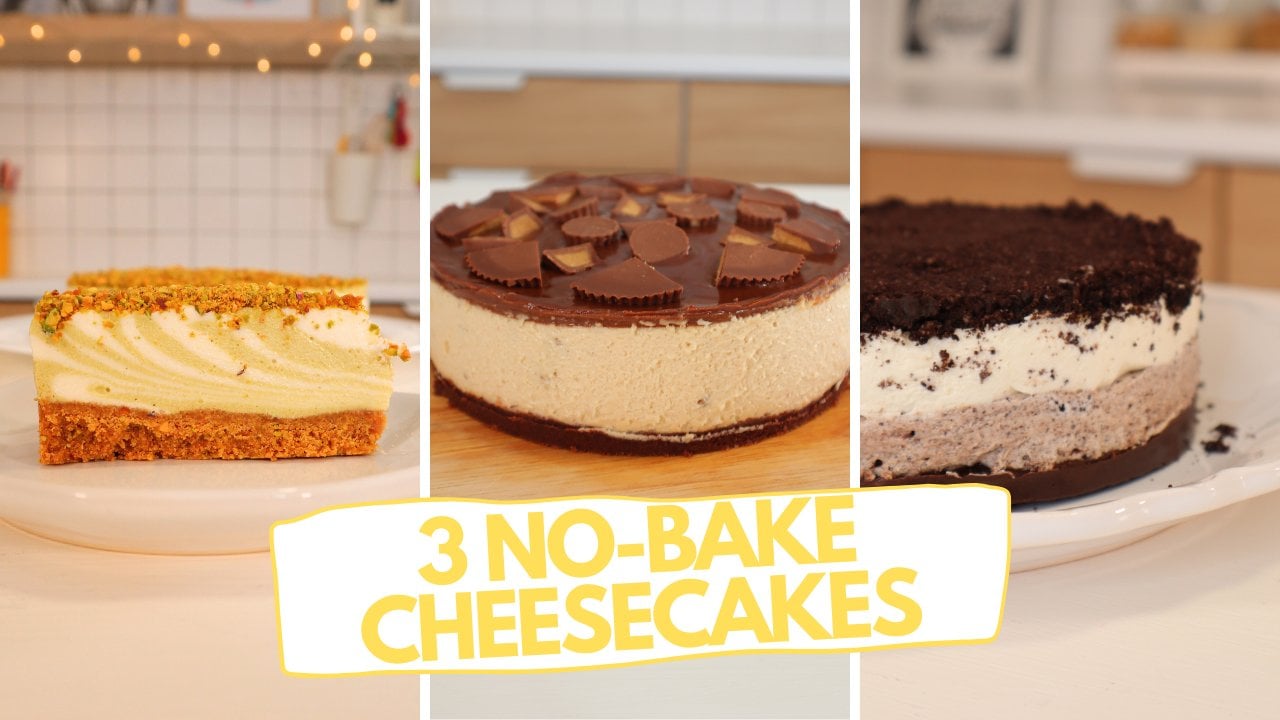
6. Cheesecake Cups: I love cheesecake, I
love baked cheesecake, snow big cheese cakes, big cheesecake, smaller
portion, She's cakes. I am a fan. If you are
also a fan of cheesecake, I think you're gonna like this. We're not going to actually bake the cheesecake in the air fryer, but we're going to use
the air fryer to make the two elements that also
complement the cheesecake. We're going to bake that
cookie-based in the air fryer. And we're also going to use
it to make a fruit topping. I will use blueberries today, but you can use any
other barriers, any other fruit that has more or less the
same consistent, for instance, raspberries,
strawberries. Or you can use a mixture of berries that would
also work really well. As for the cheesecake itself, it's a very simple cream. It's more or less like a
cheesecake moose, actually. And then when we have all
the three elements together, we'll just put them in individual cups and
they will be perfect. You can use this idea. And instead of the cheesecake cream that
I will teach you, you can use yogurt or
ice cream, for instance. The cheesecake has
three elements. For the base, we will
need cookies and butter. You can use Graham crackers or any kind of similar cookie. I will be using speculum for the cheesecake most
we will need cream, cheese, cream, and icing sugar. And for the topping, we will need fruit. I will be using blueberries, lemon zest, and sugar. Let's start with the base, melting the butter, and
making the cookie crumbs. I will melt my butter in
the microwave and use a small food processor to reduce the cookies into a
powder if you don't have one, you can also put them in a bag and crushed them
with a rolling pin. Place your cookie
crumbs and melted butter into a recipient
that you can use on your air fryer
and that can feed your basket and
mix it really well until all the cookie
crumbs are coated with the butter and bake at 350 Fahrenheit or 180 centigrades
for 10 min mixing halfway. Here are the cookies. When 5 min have passed, they are still very loose, give them a good
mix and returned to the air fryer to bake
for the remaining time. Here is the crust fully baked? It should have a very
deep golden color and the toasty smell, it's not compact like a normal cheesecake crust because we are using it in cups, but it should feel dry, transfer it to a plate to cool, and let's make the
fruit topping. I'll be using
frozen blueberries. You can use fresh or frozen. It will work the same. And you'll put the
blueberries, sugar, and lemon zest in the same recipient to
use to make the crust. You don't even need to wash
it, mix everything together, and baking your air fryer
at 350 Fahrenheit or 180 Celsius for
about ten to 15 min, the time will vary depending on the fruit that you're using. And if you're using fresh
or frozen mix occasionally, and you should have
a very soft and compact like mixture
transferred to a plate to cool. And let's make our
cheesecake move, weave together the cream cheese, the cream, it should be whipping cream and
the icing sugar. If you want, you
can add vanilla in this cream wip very well
for a couple of minutes at a high-speed you can use a hand mixer or a
stand mixer with a whisk attachment until you have a very thick
cream like this, transfer it into
a piping bag and it will be much easier to
fill the cups this way. With these quantities, you can make about six cheesecake cups, divide the crust between the
cups that you are using. Remember that both
the cookie crust and the topping should
be called at this point, feel the cups with
a cheesecake cream. You can use a spoon to smooth
the top out and finally top each cup with a portion
of the blueberry filling. You can leave it as is, or you can smooth it out. With this point, we
are ready to eat, but it's best to take
them to the fridge for about 2 h before eating. So they are firmer and cooler. They will last up to
three days in the fridge.
7. Banana Tarte Tatin: Lastly, we are doing
a third, Chatham. Dark patterns are
done upside down. Usually when you
bake a pie or tart, you place your dough on the bottom and the
filling on the top, and you bake it this way. For tetanus, we are
doing the opposite. So we will start by
placing the feeling. We will tap it with the dough. It will bake this
way and to serve it, we will inverted so
the feeling is on top. So in order to do a tar
Tatooine in the air fryer, We have to bear in mind that the heat in most air fryers
only comes from the top. So our feeling needs to be, or either already
pre-baked, pre-cooked, or it has to be a feeling that doesn't need
a lot of baking. And that's why I'm using banana. Say actually I'm using
banana, walnut and ******, but you can adapt the tart to attend to
other flavors as well. What I will teach you is the method and then
you can adjust. We will need puff pastry, that's gonna be our crust. And then bananas,
brown sugar, ******. I'm using pumpkin pie spice, but you can use a mixture
of ****** that you like or you can even just
use cinnamon and walnuts. The first thing we
will do is find the biggest pen that can
feed your air fryer. If you have a
cheesecake pan with a removable bottom,
that's even better. You are going to need
to put a piece of parchment paper
that fits perfectly your pen and use that same parchment paper
to cut your puff pastry. Use it as a mold and
cut around so you have a circle the exact
same size as your pen. You can use any puff pastry that you have left to
make other tart. Reserve it for now and let's take care of the banana part. Makes well, the mixture of
****** with the brown sugar. And you're going to use
this mixture of sugar and ****** to cover the
bottom of the pen, used about three-quarters of this mixture and
reserve a quarter for later slice the
bananas and make sure the slices are more or
less the same thickness. Arrange the slices in an
even layer in the pan. And if you need cut some
slices in half or in quarters to fill in
any empty spaces, leave a little bit of space
on the edge of the pan about the thickness of a finger so we can tuck in the
puff pastry later. But other than that, everything should
be very compact and completely filled with
the banana slices, cut the walnuts into
smaller pieces and distribute them evenly
over the bananas. And finally top, everything with that little
bit of mixture of ****** and brown sugar that you had reserved
in the beginning. Now let's get our piece of puff pastry that
we cut previously. And we are going to place it
on top and tuck it very well around the edges on that gap that we left free of bananas. And with a fork we're
going to pinch some holes. When the puff pastry is
baking in the air fryer, It doesn't puff up
too much baked at 350 Fahrenheit or 180
Celsius for 15 min, the time may vary depending on the thickness of
your puff pastry. When it's ready, the puff pastry should be golden brown and dry. Leave it in the pan for about five to 10 min
to cool off a little bit and then very carefully and using a towel so you
don't burn yourself, placed a plate on top of your
pen and invert so your tag, Catan, can slide off the pen. I'm using a cheesecake
mole, so it's very easy. I just have to open the pen, peel off the parchment
paper carefully. Remember it's hot
and leave it to cool for a little bit
more before eating, you can enjoy it warm or cold, and you can test it with powdered sugar to
make it prettier.
8. Class Project and Goodbye : This is the end of our class. I really hope you have
enjoyed the tapes, the recipes, and
our time together. And now as for the
class project, I will invite you to
do at least one of these recipes and don't
forget to upload the picture. So i and the other students
can see your creation and we all can be inspired to
do more air fryer desserts. Again, I am pleased
that you can find me online at La Dolce Vita, both on YouTube,
Instagram, or Facebook. Thanks for watching. I can't wait to see
your desserts now I will say goodbye to you
and hello to these cookie.
 Rita Nascimento, Pastry chef, Youtuber, Cookbook author