Transcripts
1. Intro Trailer: Hi. I'm Arnold. I'm a
filmmaker, video editor, and I've been working in the video world for
over the last decade. Now, AI has taken
the world by storm, and video is no different. You've probably seen
a types of AI video. Maybe it's a meme
that's animated. Maybe it's a news report
that's using AI video, or maybe someone's just using AI video in their
social media posts. So how do we make all of this? In this class, we're going to review the steps
and the formulas on how to make a good
and beautiful AI video. We'll cover things like the
methods to making AI video, the fundamentals
of a good video, and my three step formula
that you can use as a guideline when you're
prompting for AI video. Now, I think this
is really exciting because it finally gives everyone the opportunity to bring any vision
they have to life. I made this class with my professional
experience in mind, so you can transfer the skills
into your advertisement, your social media
videos, or your editing, or if you're creating
some artworks, you can animate that as well. And then finally,
if you are making films and you're putting
all of this together, this is also perfect
for a filmmaker. For your class project, I'd like to have you animate your own AI video using the techniques that we
learned in this class. And really, it's as simple as that three step formula
that I mentioned earlier. So if you want to get started,
I'll show you the way.
2. Project : So for the class project, we'll be creating a
beautiful video using AI. Now, you can do two ways. You could either just
prompt it straight on your video AI platform of choice using the prompt formula that we highlighted
in the class, or you could create
your own image using another AI platform
and then using that image animated
into a video. Now, bonus points, if
you want to put together a few clips and make a short little edit,
I'd love to see that. I'd like to see how creative you can get
with all of this. And since the potential
is limitless, really. It's up to your creativity, it could be extremely
beautiful. It's all up to you. Now, posted below,
I'd love to see it, and let's get started by talking about AI video and
putting it into practice.
3. Fundamentals: Alright, let's talk about the
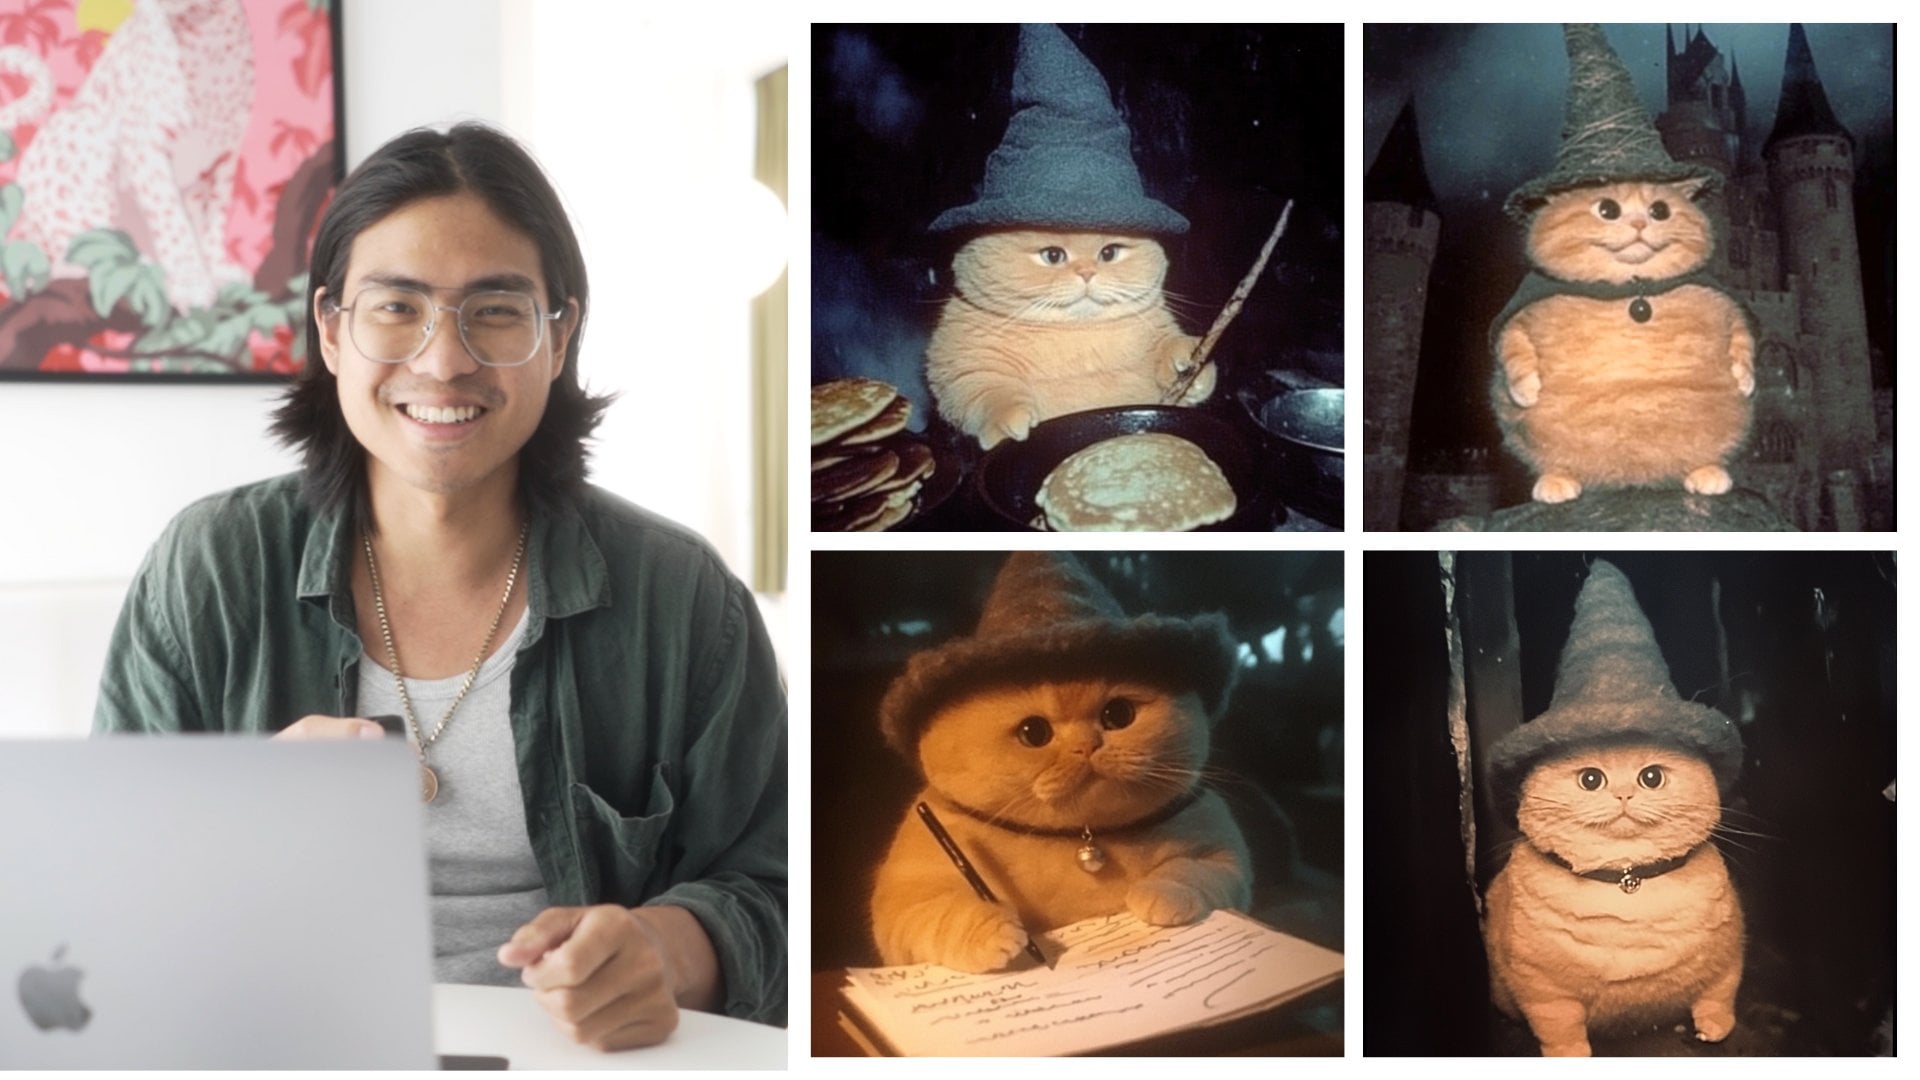
fundamentals of AI video. Now, to start off with, you have to be extremely good at being descriptive at
what you want to create. So what I mean by this is that to actually be a
good AI video creator, you need to be a good text to
image AI generation person. So what that is is as you're
generating these images, you have way more control over what type of AI video
that you're making, because lot of these
AI video things, if you give it a prompt
to generate out, it might give you a lot
of different styles, and as somebody that's making videos or films or putting
something together, you want that thing
to look cohesive. And if you're just
throwing prompts at an AI video generator, it just pulls from all of the information that
it's collected, and it's going to give you
a very general result that could have many variations
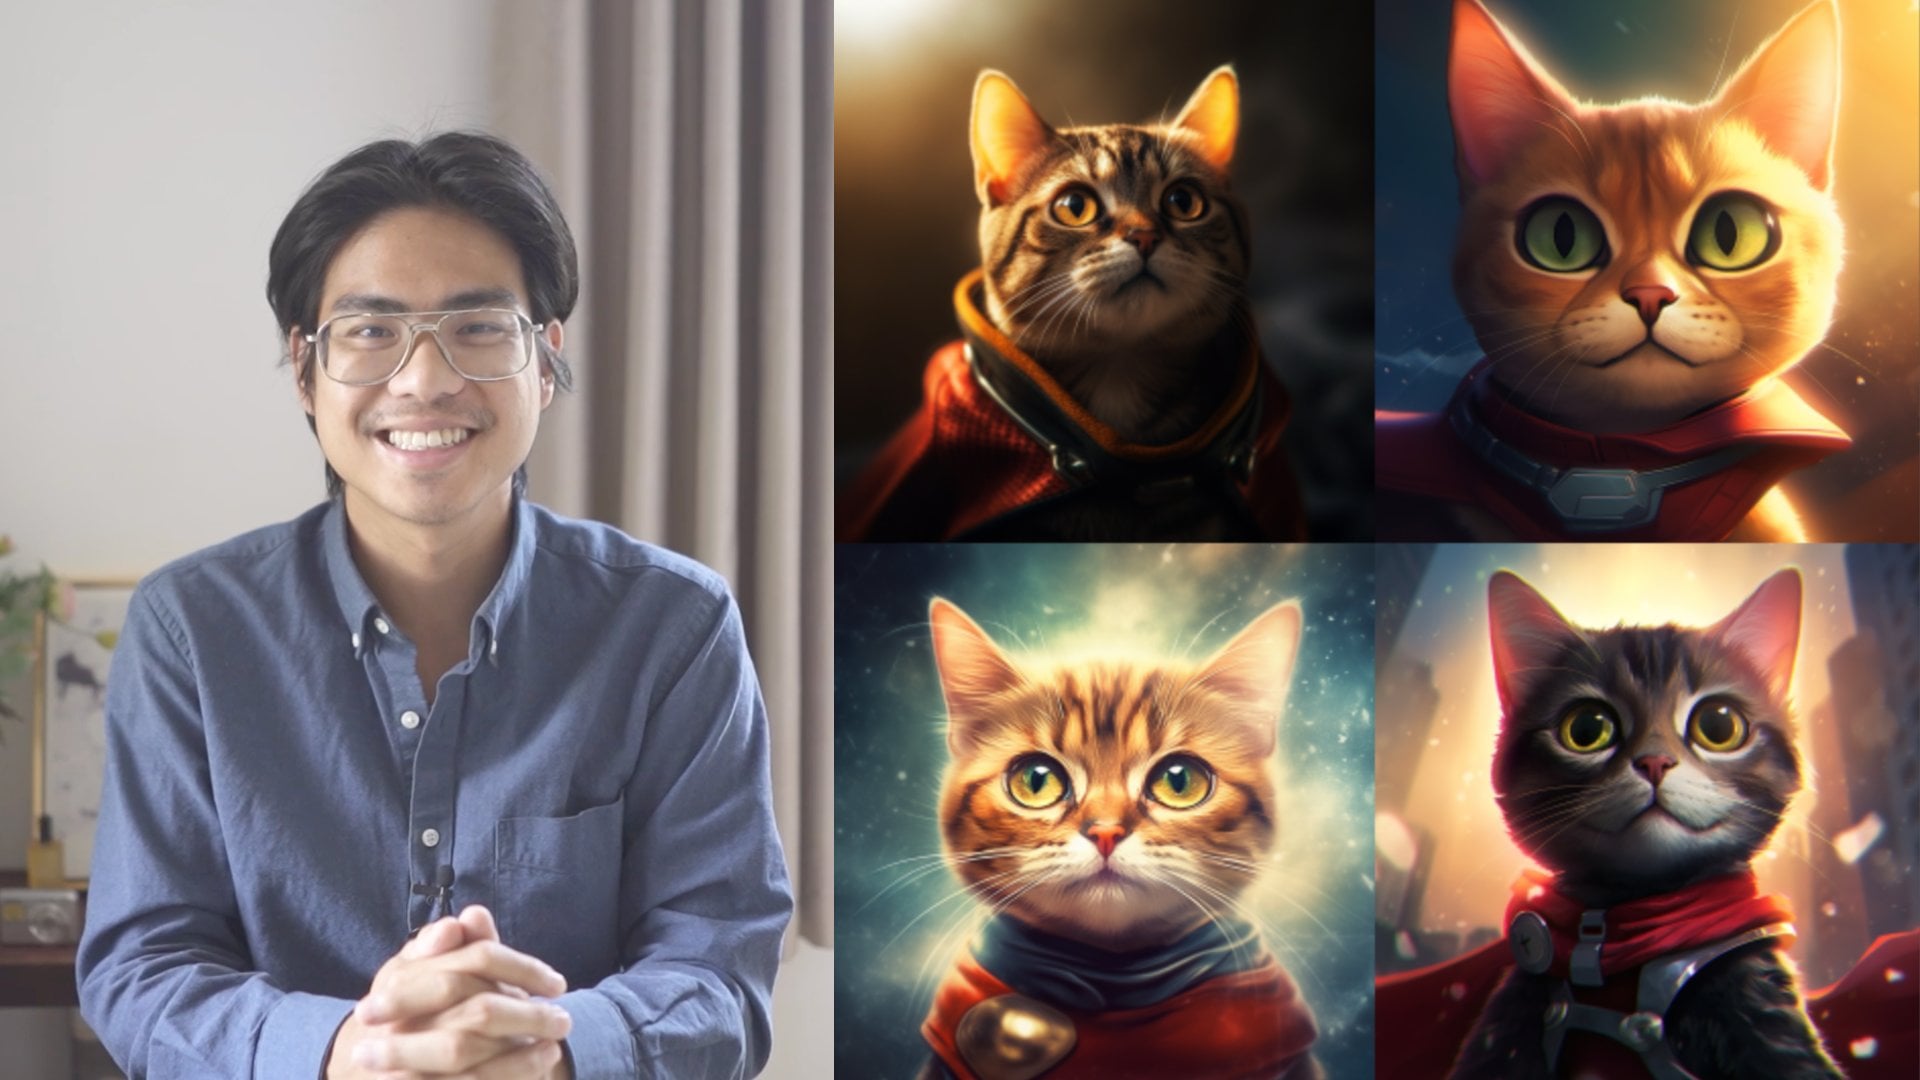
in the way that things look. Now, to a regular person, they may not be able to
tell the difference. But once you start creating
more and more videos, you'll see that there's
subtle nuances in how an image has certain colors, has certain styles
that things are, like, the buildings
are a certain way. The characters are
a certain way, the lighting is a certain way. The color schemes a certain way. And this could go
on and on and on. Like, you can even
boil it down as a very popular example was Wes Anderson had his style be replicated a lot
on social media. And you could tell that it's
his style by the colorway, the way that the camera is
framed and by the movement, amongst other things as well. But these are just
some things to take in mind as you're doing
AI video is that having a cohesive look to it
and being able to describe your vision so well that it's connected to all the shots
that you're animating, that in turn makes it into a
quality piece of AI video. Now, the next thing is that
we need to understand scenes. Understand what
makes up a scene. So not only are you
generating an image now, you're generating
a scene on what makes a video look cohesive. So, in general, a
quick easy rule is to have as you're
telling a story, a very close shot, a medium shot, and maybe
a wide establishing shot. Now, this is not a
hard and fast rule, but it is a general guideline
as you are building out a story to tell or as you're creating
something with videos. It's good to have
this foundation in mind as you are creating. And then finally, I want you to consider what brings
something to life. Because as you are
creating AI video, you need to understand what in this whole scene can be
quantified to bring into life to make it active and
animated and fun and just something that's engaging to whoever you're trying to target with this video
that you're making. So examples of that
are, for example, if you are shooting a
video scene with a camera. This is a lot easier
with a camera, because as you're
shooting the scene, you can see that there
are subtle things in life that are just happening. For example, if I am
sitting out here on my balcony and I'm
shooting something, you'll see that
there's things like the trees are subtly moving. Maybe the light is shifting from how the sun is moving
throughout the day. Maybe subtle reflections
are happening here. And those are things that you need to take
into consideration. As you are thinking about the
scene that you're creating. Now, of course, there's also other elements to it to,
like, sound effects, like you can hear sound
of the cars in the back, maybe some
construction going on, maybe chirpings of birds and people walking,
people talking. These are all things that go into making a whole
scene cohesive. But in our class today, we're just talking about video. So the things to consider in
videos is what is moving, what's making the scene active? And your job now is to take note of that so that as you're
making these AI videos, to understand where to
tell it to have a bit of animation or a subtle bit of activity so that it's not
a completely static scene.
4. AI Video Methods (2 Ways): So there's really two ways
to create AI videos now. The first is text the video, and the advantage of that is, you don't need to go on a separate platform to create your starting image to animate. So if you're using just
any AI video platform, you can just use that
platform, type your prompt in, and then have that video be
generated on that platform. Now, the disadvantage of
that is that you have really no control over how
this is going to look. And if your image in
your head is one way, but this platform decides to generate what you're
trying to say in the sentence in a
whole different way, then you essentially
don't really have control over what you're trying to create and animate
with AI video. Now, image to video, which is my favorite is
where you put in an image, and from that image,
you animate that image. So you might see a lot of different mem videos
that are done, and essentially what
that is is they have these videos made from an image that is
starting off with. So the videos
animating that image. And the beauty of this and
why I like it so much is that you have full control over essentially what it is
you're trying to animate. And this was essentially why
I loved AI generations in the first place was that
now it really opened you up to having whatever is
in your mind come to life. And with images, you're so
easily able to do that. So once that is able to
be tapped into, like, if you are able to fluently communicate into a prompt,
what you have in your head, and these platforms are so
much more powerful like text to image platforms are
able to reference styles, reference images, you
can even draw out your image and have that be referenced and create
something off of that, whereas these video
platforms don't have it yet. So if you're able to do that, you can really create whatever
scene it is that you want. And on top of that, you can
add your own style to it, whichever style it
is that you want, and you can keep
that style cohesive throughout this video
that you're making. So you're putting a lot of
different scenes together. You can keep the style
completely cohesive. So I prefer doing
image to video because from there you have full control over what your vision is, and then you can
create that video based on what your
image starts out with, and even some platforms, you can create an image that the initial image leads
to the second image. Those are the two common ways of doing AI video right now. Let's get started and
dive deeper into it, and I'll show you how you could consider prompting and
then creating AI video.
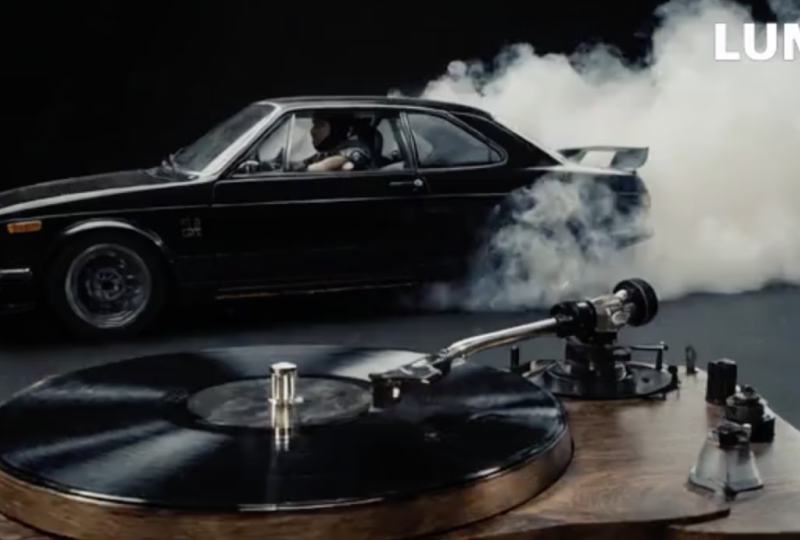
5. Access AI Video Tools: Alright, so we're
going to talk about the three different AI platforms that are very popular right now, and I'm going to start first with Luma Labs dream machine. Now, a lot of memes have been done on Luma Labs dream machine. This is one of the more good looking UI
platforms out there. And from our example,
later in this class, where you're going to use
all Luma labs as well. And if you look at Lumbs, you can see that the platform
is very easy to use. You type in your prop here, and then it'll let you generate whatever
you want to make. Now, it also has things
like camera moving left, right, up, down,
push in, push out. These are very easy for somebody to just implement
into their prompts. Another thing is you
can loop a video. So if you generate a video, you can have it generate in a way that if you
press on the loop, it will loop the video, or it'll make it in a way that you're able to loop the video. Now, enhanced prompt
is something else that I find very
helpful here in that if you want the AI to
be able to help enhance your prompt and make it
look better in some ways and how it interprets to
make your videos better, you can click on the
enhanced prompt here. If you don't click on
it and uncheck it, then you will have
full manual control, which is also good, too, if you want to have complete control over everything
you're doing. But typically I have
enhanced prompt on, which for most of these clips, I use enhanced prompt on
so that it can give me a better kind of result because some things I
might not have considered, and with enhanced
prompt, it might have. So, the next one, Kling. Kling is another platform
that's relatively new. I just came out in the Western
market a few months ago. And Kling is very
popular recently. It's been making
its rounds around the Internet with a
lot of viral videos. Now, for example,
we can see here, Kling has a video
on streets, like, going down the
streets, and this was generated completely on Kling. Now, I like Kling a lot
because these videos that generally come out
of Kling are very good. I've been very impressed
with the results of Kling. Like, for example, if you
look at this one right now, this is a woman
eating a doughnut, and it's good. It's very impressive. So, if you look down, you could also see that there's image generation
on Kling as well. The free tier right
now is free to use. You have a bit of credits, maybe four or five videos a day. And if you wanted to
navigate to using it, it's very easy as well. You can just go
to the home page, you can click on AI
videos or AI images, and then you could just prompt in whatever you like to make. Now, there's also
all these functions here that let you create
and have a bit of control. It does have camera movement, which is something
that I really like because in the next platform, we're going to talk
about, that was one of the favorite
controls that I use, because as a filmmaker,
there's a lot of movement in the
videos that we make. So having camera movement
is something very good. Now, negative
prompt is also good as well because negative lets you have the option of
what to not include. Like, if you don't
want humans in there, you could put it in the
negative prompt side. Whereas, with Luma labs, I felt like I didn't have
that much control on there. Now, the last
platform is runway. Runway is probably
the most advanced one where you have a lot
of different features, but my favorite feature is
what they do with video. Now, on video, you have the
option of generating a video, like we'll go through
in this class, where you're doing it from text to video or from image to video, and there's also the function of them doing video to video. So you upload a video, and they could change it into a different style or feel
based on what you prompt. Now, there's also a lot of different other features
on runway, but personally, my favorite is the
generative video because that's where they shine. They also do a lot of
these other things, as you can see here. I've used a few before, and it's relatively
pretty good, too, but still the best one is
the generating AI video. Now, with the
generating AI video here, it's super simple. You either drag
something in or you could just prompt whatever
you want to prompt here. And there's a lot of different
controls as well where you can control the
camera control. You could also control
different parts of the image that you uploaded, for example, like if
you uploaded an image. And then there's
some other styles and stuff that you
can look at as well. So, those are the three popular AI video tools
that are out right now, and it's up to you
to find which one is the best fit for whatever
it is that you're creating, because no tool is the
best at everything, and every tool has
its specialty. So find the one that
works best with you, and then go and
create on that one. Now, moving on, we're
going to go and explore how to prompt
in our AI video.
6. Formula : All right, so to simplify how to formulate a prompt as
you're doing AI video, we're going to break
this down into a three step simple formula. Now, the first one is to give the idea of the
subject to this AI. So as you're prompting, the first thing to start
with is the subject, so that it understands
what you want to do because in a image
you're giving it, for example, it's
infinitely complex, right? So it doesn't know
what you want. So you highlight the subject. If it's a man in this image
that you're giving it, then you tell that AI through the prompt
that this is the man. It's maybe a man wearing a hat or Asian man or
something like that. And then you have that
be the highlighted part. Now, the second part of
that is the movement. What type of movement do
you want to see here? Is the man moving? Is
the camera movement? So you think about the different types of
movements that are happening? Is demand moving. So maybe the man is walking
up somewhere slowly, or maybe he's running. And of course, these maybe take different iterations
to come out perfectly. But essentially, you
still got to give it the movement that
you want to highlight, so this subject movement, and then you could also add on to that the camera movement. So maybe you're panning
out or you're zooming in or it's a 36 the
kind of rotation. And then finally,
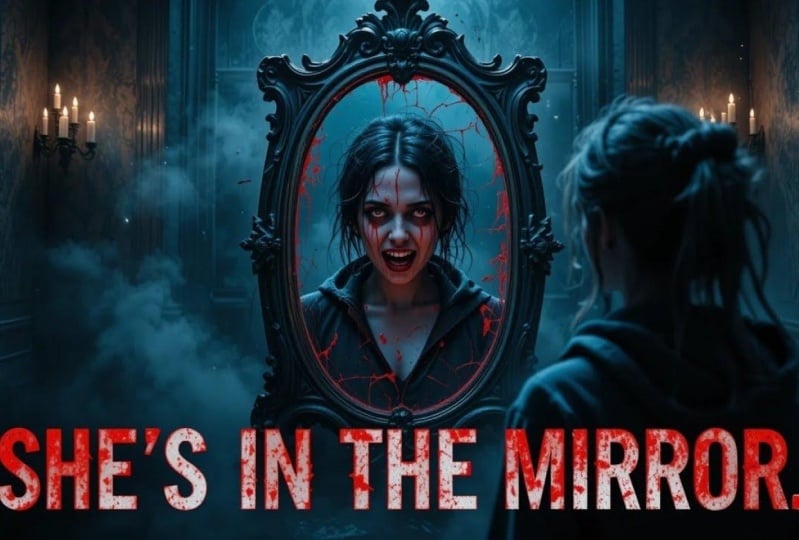
you add the details. So stylistic details. And this is very much like in prompting for images as well. This is where you throw
in those extra spices and flavors just so it understands
what you're trying to do. Like, maybe you're giving
this a foggy scene or there's some smoke coming out or flickers of light or
something like that. This is where you
would add it in. So there's a lot more to
it as you're prompting, but this is a simple
guideline for you to use as you're
prompting videos, because many times
if you just go in, you give it an image or
you prompt something, it doesn't come out extremely perfect or looks
good on a video. But with these three things, you can have the subject
moving, the camera moving, and the different
spices in there, like, the additional details that brings things to
life in the video. So now you have this
nice looking video that actually looks
like a real video instead of just
like a video with everything inanimate and
just one subject moving. That doesn't look
like a real video. So the next video
we're going to move onto and talk about
how to implement these
7. Camera Movements: Alright. All right. So we talked about camera movement
being one of the key things to prompt
while we are doing AI video. Now, for this example, this is a panning movement. Panning movement is
essentially having the camera moving across
on a single plane. We use that a lot in filmmaking because it shows
a lot of a scene, and it's also engaging. It's not just one static shot, but you're moving across the scene and
showing more of it. It makes things more
dynamic and active, and it's something
that's used a lot. So, I like to use this panning movement
if I'm doing something that's landscape or if I'm doing something that is
showing a big scene, maybe a city or something, and I want to showcase that
there's a lot happening, but not really focus on a
single individual thing. So with panning, you
could either pan up, down, left or right. Now, the next one
is a tracking shot. Now, a tracking shot is
essentially following a subject. So in this example here, you're seeing the camera
track as it's moving, right? So it's tracking the person that is the star or the
main subject here. So, when you're doing
something like this, it's good to have a subject that is going to be the
highlight of everything. And a lot of times, if I'm actually
shooting in person, for a tracking shot, I would do kind of a semi like, in the style of a 360 rotation, but not go fully 360. So I would just be going around the subject while following
the subject with my camera. And this shows more
of the subject, different angles of the subject, and it's also very engaging. I like to do this
too for example, if somebody is working on
something like they're fixing a part of a car or a
motorcycle or a vehicle, I like to just pan around, and as I'm panning around, I'm tracking the subject. So as I'm moving my camera, I'm tracking that
subject so that it could still keep that subject as
the center of attention. Now, with tracking shots, you can think about which
direction to track your shot, like the camera
could be going from the bottom up or
from a certain side, like bottom left going
up to the top right or from the bottom right
going up to the top left. It depends on you on
what your vision is. Now, the next shot
is a zoom shot. So a Zoom shot is very good
because it is very engaging. It brings us closer to the
subject, whatever it is. Now, for this example, you can see that it's bringing us closer through this person. And there's actually
even a trend on TikTok, where I remember recently, it's just just popped
up a lot recently, and it's just people standing in front of the whole family, and it's a slow motion zoom in. Now, if you want to highlight something and you
want to make it epic. Personally, I like
the zoom effect. So you could zoom in
or you could zoom out. And with zoom outs or zoom ins, sometimes there's this
special parallax effect that people do as well where the sides are expanding so fast and at the middle,
it's just zooming in. So it kind of looks like
things are massive, but it's like a
optical illusion. So Zooms are something that's
very fun to experiment with and to play with as you're bringing attention
to your subject. Now, one of my favorite ones
is actually the drones, because I don't have a drone, and the fact that
you're able to create something with the
drone perspective, using AI is amazing. So like this video here, you're watching a race
through Monocle or something, and this is with a
drone perspective. So you can have this
drone zoom in and follow these cars as it's speeding
down this highway in Monaco. Of course, I don't have
the budget for that, but if you are
creating an AI video, able to create
something like this. So even if it's not this, you could have a spaceship, or you could have
a luxury villa, or you could have a space
cabin villa or something, and then have it have the drone
view coming in or panning a certain direction or going in a certain way that your
vision wants it to go to. So using drones, you
can get very creative. And if you are doing this type
of movement using a drone, consider how the drone
might be moving. So some of the
examples that I saw on the platform that I
used, which was Lumbs, it had a drone example where the drone started
off in the sky, and then it made the
drone move into a castle. So you can control where the drone starts
and where it ends up. The drone movement is
definitely one of my favorites. Now, another one that I really
like is the 360 rotation. So with the 360 rotation, you can really see like the subject that you
are trying to showcase, but with this
rotation that gives you many different dimensions
to what you're looking at. So for this example, you can see that it's
rotating around a city. Now, it's not a full 360, but you get the idea that's still moving
in that direction. If you want it to be a 4360, you'd probably have
to keep prompting it, or if you have two
different images, you could set one that starts it off and then an ending frame, that would be the 4360. Now, this could also be
similar to a drone movement. But personally, when I've used this in my the 360 rotation, I felt that it moved more
than the drone because the drone would go in a way that's kind of
like an FPV drone, where it would go in and
it would turn directions, and kind of like as if you're
flying through the plane. But with a 360 rotation, it feels more of as if you're
using a camera and it's on a helicopter or on a special machine or device that lets it do a 360 rotation. Now, these are some
of my favorites and some that you can
consider when using, and it's not the end of B use your creativity and
come up with your own. Now, the next lesson, we're
going to also look into different subtle details that
you can add into your prop.
8. Subtle Details: Alright, let's talk about the
details that you can add. Now, these might be subtle, and they might go unnoticed, but they add a lot to the
overall impact of these videos. The first one is
the environment. For example, here,
you can see that the environment has people
moving in the background, and this makes it feel
like an actual video, because if you were
to just prompt it to have the smoke coming
out of the coffee cup, sometimes the background
is just completely static. Now, that doesn't
look like a video. This would more so fit in a video as if someone had
shot this clip from a cafe, which shows a dynamic scene
of something that's happening and many different
elements coming together to make this
scene come to life. Now, the next one is
character movements. So subtle movements add a lot to how things are
perceived to be real. So in this example, you can see the character having these micro movements of
looking to the left side, and it's just like
they're not an image. They're actually a
living human being. Or at least they're
portrayed to be a living human being because here you could
see them actually moving, actually showing some emotion, actually having a
bit of life to them. Instead of just a static image, which is one of the biggest
flaws so far is that some of these renders come out with different parts that end up
just being completely static, like if you had prompted
a camera movement only, and the character was not
prompted to do anything. Sometimes the characters
just stay exactly the same. So, for something
like this prompt, I would have character
looking to the side, character breathing,
maybe character blinking, or having some micro movements
that you can think of. And that would add a lot to the feel of the video
that's generated. Now, the next one is particles, such as dust or fog or certain
light streams coming in. The thing with this is
it's very unnoticed. And once you start
playing with it more, you'll start to see that it adds a big impact on the video. So one thing that
I did when I was filming and editing
videos a lot was I would add in certain
elements like the grain or the
certain fog particles, or nowadays, a trend that's
coming up with a lot of video editors and filmers
is and filmmakers, as well. That they put in a hazy effect using real fog
from fog machines. And this adds a
dynamic element to the scene that's being created because there's subtle things moving on in the background, and that's more entertaining for people that's watching
because nowadays, we always need something to kind of interact with us
to get our attention. So keep note of the
certain dust or the fog, the things that's
flying around in the image or the video that
you're trying to create, and that will bring the video
to a much higher level. Now, the next one to
consider are lights, lights, lens flares,
details in the lighting. And for this example, you can see that there's a
light particle that's being moved around and interacts
with the subject. So, the thing is, if you did it prompt the
light to do anything, it might not do anything, it might just disappear, or it might just stay
completely static. Now, with this lighting prompt
that I did for this image, I had it say the light
would glimmer or shimmer. And although it didn't
completely shimmer, it still had an impact. On the overall feel of this video because it
moved with the subject. So one thing when
you're filming on a video camera is when
you're filming video, and you move around, when
the light hits your lens, it will refract and cause
these different light flares. And you could see, like, for example, the circle
in this sample image, there's lots of light circles, that would move along with
the camera movement as well. So these are some small
little details to consider with the
lighting, and overall, once you put it together, it adds a lot to the effect of bringing
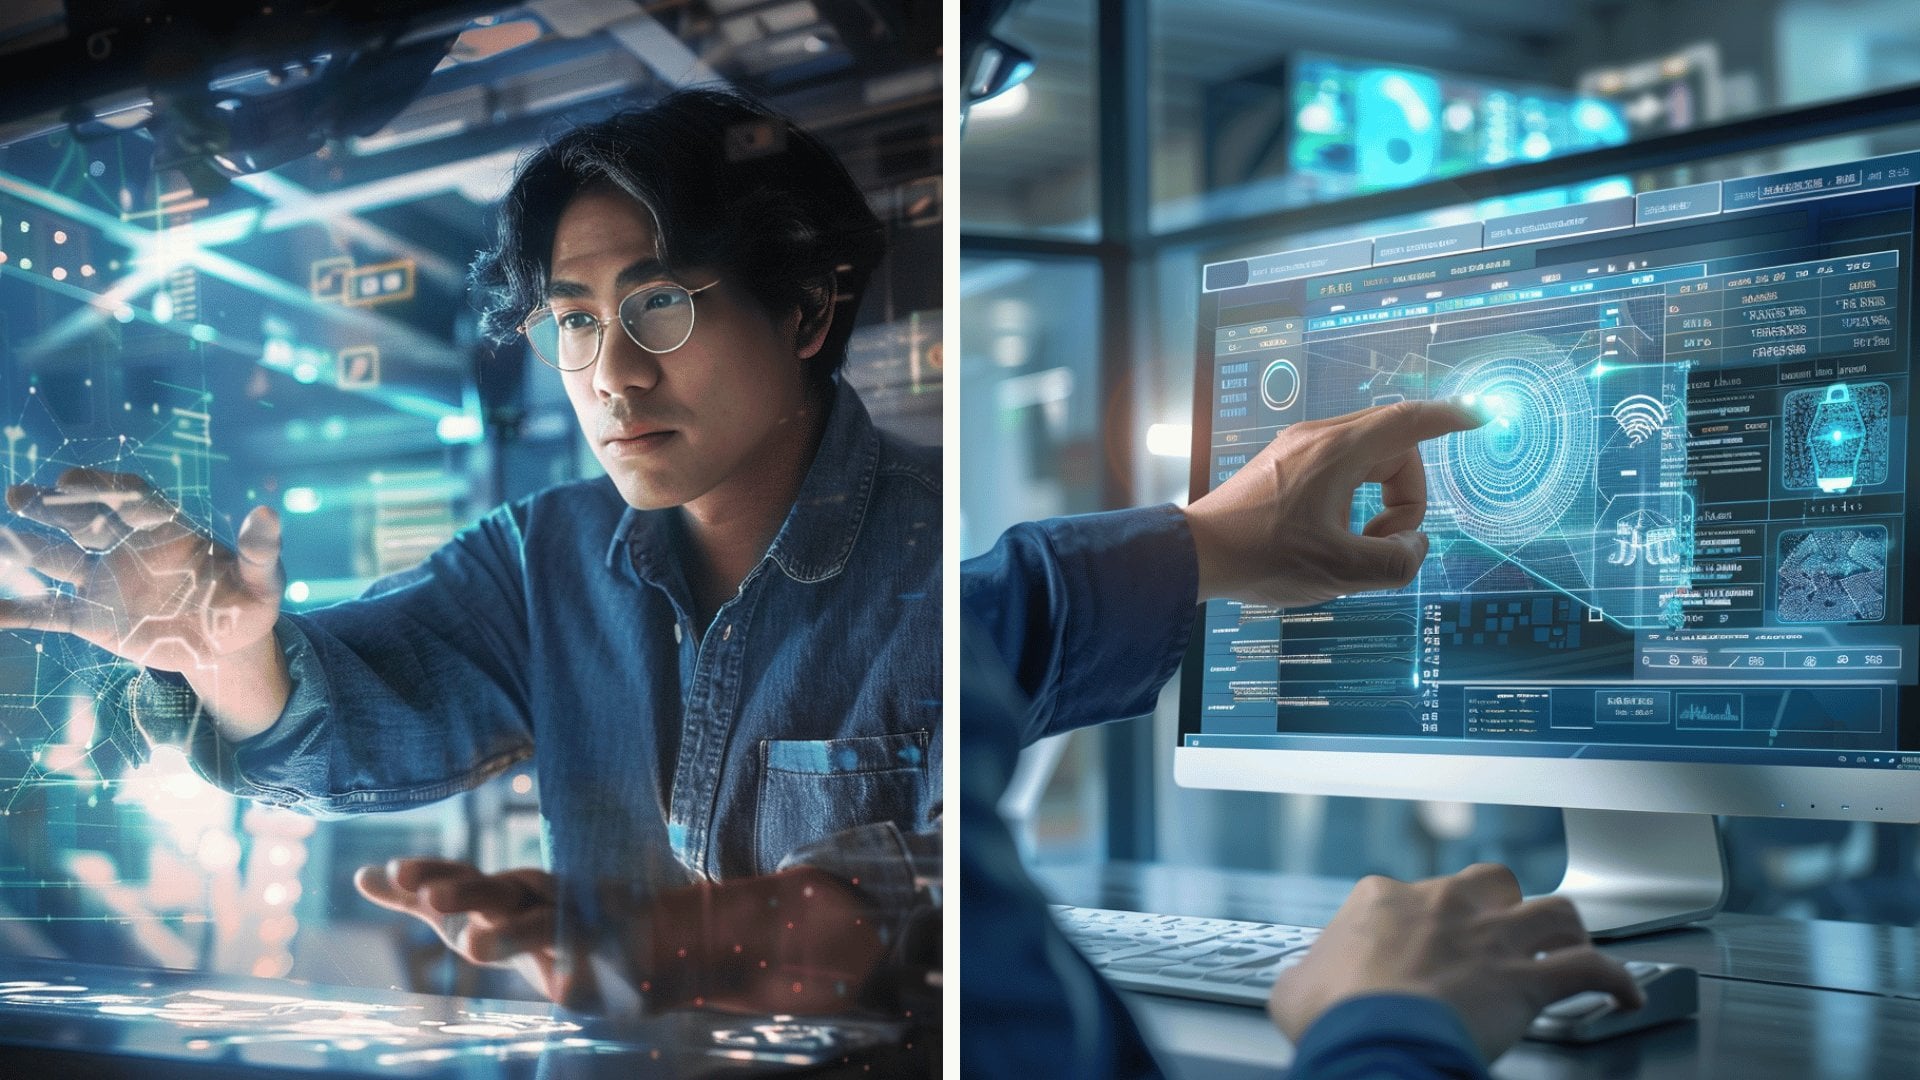
this video to life. Now, for this one,
object interaction is, how does your subject
interact with different things that are
happening in the environment? So, the object that's
being interacted with is the glasses looking
at a digital screen. So the digital screen is
displaying something, and it's constantly moving. And as it's moving, the character has
this reflection of what they're seeing
onto their glass. So what you're seeing here is this character looking
at a computer screen. The computer screen
is doing its thing. And I did prompt for some subtle movements
in the eye, like, the character to
look at the screen, but there's only very
slight movement. So there's nothing too obvious, but after I looked at it, I thought this was good. So I ended up keeping it
to be used for the future. But as you can see, the
main part of this is that the glasses is being reflected from the
display on the screen, and this shows that this
person is watching something, and it shows that it's actually a dynamic environment
that they're in. So up next, we're
going to put all of this into practice
as we actually prompt and get into some hands
on generation of videos.
9. Text to Video: Alright, so now
we're going to do the text to video section, and we're going to put all of the thoughts and descriptions that we had just talked
about into practice. So I'm gonna jump into
Luma Dream machine, and we're going to
create our video. Now, the first step is to set the scene and to
add the character, the subject, whatever is the highlight of this
video we're making. So to set the scene, I'm going to have a
shot from behind of a detective that would be our
subject in a dark alleyway, maybe dark, foggy alleyway. And then the next
part, we're going to add the camera movement to this. So I'm going to say with camera, following
closely behind. And then you'd like
to add what type of lighting and mood so we could do with Non
lights casting a glow. And then finally, you could add whatever style that you
want to put into this. So I was thinking
maybe a noir inspired, like, vintage film style. So I'll put something
like shot from behind of a detective in a
dark foggy alleyway with camera falling
closely behind, with neon lights
casting a glow on the mysterious noir
inspired scene. And then I'll run So
after running it, this is the scene that we got. A detective walking through this alleyway with a bit of fog. It has that very
mysterious feel to it. This is a very
good looking clip. But the reality of text to video is that it
takes a lot of renders. And a lot of times
these images look in a way that isn't what you
are trying to imagine. So the best way
to do about it is actually to take in your own image and then
turn that into a video. The next practice, we're
going to do image to video, which is my favorite
way of doing a video because you have full control
over the vibe of the video, so that if you're doing
something that's like a film, it has a very cohesive look
to it because you can edit the whole look of all the shots before you animate them
to be in a certain style.
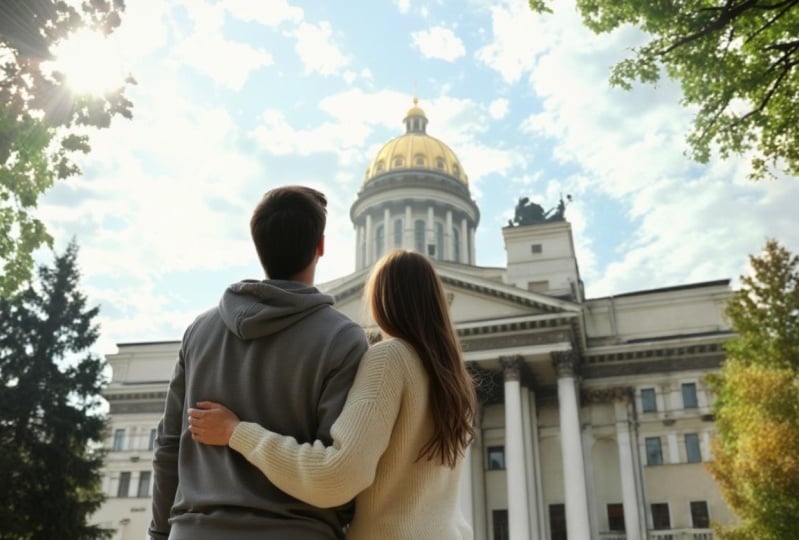
10. Image to Video: Alright, so now we're going
to do the image to video, which I single handedly
think is the best, most powerful
function of AI video. So from here, we're going
to drag in an image, and I'm going to show you
how powerful this can get. Now, the image in question is a temple seen with
a man in front, and there's a bit
of fog and lighting and kind of sunset
looking lighting. Could also be a sunny
day kind of lighting, but it depends on what
we want it to do, right? So, this is the shot.
It's beautiful. I'm gonna show you what we
can do when we bring it into a image to AI video
type of platform. Now, we'll start with
the first part of it, which is defining the image, the subject in the image, which is an expansive temple
with man slowly walking. And now, the next part is to incorporate what type of motion that we want
to see in here. So, for this, I would
like to see a kind of pan out with this majestic
temple popping up. So I would have the
camera pull out. And of course, you could
get really creative. You could have a
vertical effect or certain drone shots or different type of animated
camera movements. But for here, we're
going to keep it simple, camera pull out. And then I'm just going
to add some details such as the lighting
and the style to it. On dusk sunset. With smoky Or instead of smoky, let's do foggy. Foggy scene. Now, the thing with this is, you could also probably put the foggy in the beginning
part where it's like expansive temple with man walking up a foggy step
or something like that. So just try to play around with the prompt
and see what you get. Now, for here, I think this will come up
with something good, so I'm going to run it, and then we're going to
see what we get. Right, so this
finished rendering, and then from that shot, we have this beautiful scene of a man slowly walking
up this temple. It pans out, and as you can see, while it pans out, this
massive temple is popping up. This is perfect. This is
exactly what we want. And this is why I think image to AI video is significantly better than doing text to video, because with text to video, you don't really have control over what image it
starts out with, which is the of the most
important parts to it, I think, because there's f, the scene that you're creating. And when you're just having text to video
done by this platform, it just really just
throws whatever it thinks you're trying to say at you and makes a
video out of that. But with image to video, you have something
under your control. This is an image I generated, and I like this image a lot, and I wanted to create something animated
with this image.
11. Conclusion: Congratulations on
finishing the class. Now, AI video, as you've
learned, is infinitely complex. But with the simple formula that we covered in this class, you're going to be
able to break down and have a guideline on how to create very beautiful
looking videos that you could just build upon. And this goes back to
prompting with AI as well. The more descriptive you are, the better that the
results are going to be. And with our simple formula, you could go about
and starting in how to create your own
video that looks better than just
going in and typing some random thing out because now you have a
guideline to follow. I'll see you in
the next class and enjoy creating AI videos.
 Arnold Trinh, Multi-Disciplinary Creative