Transcripts
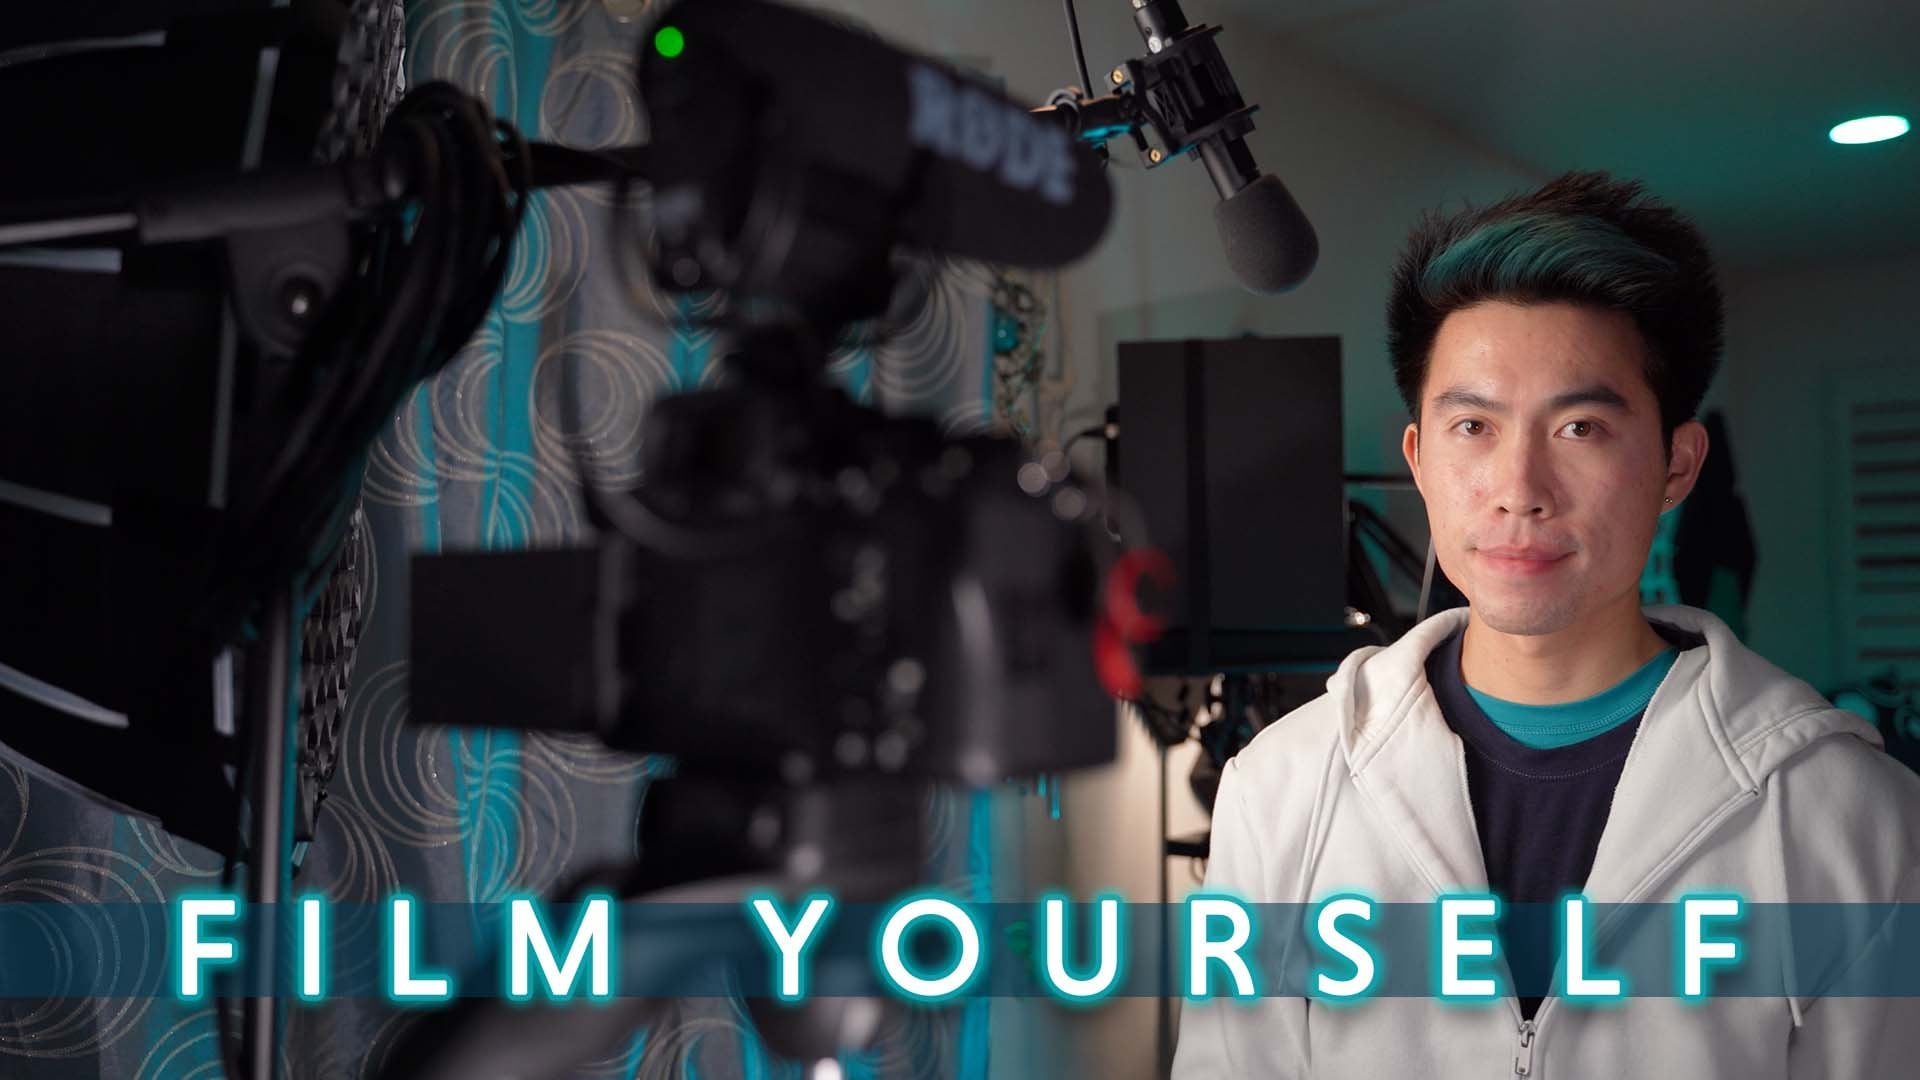
1. Introduction: This'll course is designed to teach you advanced lighting techniques and philosophies for cinematography and film. Our goal is to move beyond the basics of lighting and look a practical examples of lighting methods that you can apply to real world scenarios to solve more difficult lighting challenges. Lighting for film is a balancing between the visual aesthetic that you want to achieve and the practical limitations of placing light in space. We will assume that you are familiar and proficient with the fundamentals of light and photography, understanding how exposure, aperture and camera sensitivity work, how to measure light and the definitions of terms such as Key and Phil, and that you were looking to build on your base of knowledge for more advanced lighting techniques. We will not cover brands and types of equipped as these lessons will be valuable, regardless of what grade of equipment you have access to when lighting a film, he will almost never have exactly the tools you wish you have, and these lessons will teach you how to achieve your visual goals regardless of your practical limitations.
2. Lesson 1: Philosophy of Light: When approaching a scene with a director long before you get to set, it is important to ask them. What is the scene about? What is the director hoping to achieve in this story? By including this scene? Usually you can have them boil it down toe a word. Apology, redemption, betrayal. Lighting in narrative work is about telling this story with pictures, and we have to understand what fundamentally happens in the scene before we can place any light in space. Everything we do with light must have a purpose. Be deliberate, served this story and reveal something about the characters in the process. To achieve this, we have to look beyond the basics of lighting. Here we have a traditional three point fighting set up. There's a standard he light to the left of the subject. A fill light bounced to the right of the subject and a backlight behind the subject. This is the standard taught for use in interviews and advertising, but when we approach lighting for narrative, it becomes less applicability. The more situations we encounter, this light tells us very little about the subject and what they're feeling lighting them is our opportunity to bring the subjects inner workings outward and to tell the audience what is happening. Below the surface, using only light is the character alone and brooding, plotting revenge? Are they excited about the future and presenting the world their best self? Are they conflicted? Split between two choices. There is no one approach that tells every story. Our goal here is to give you the tools to tell any story you need to when approaching how to light a scene. Second question to consider is where would the light be come from? How would light enter the space? Normally, it's important to fit the style of lighting for a given seen to the environment. It's taking place in highly unrealistic light. Sourcing can be distracting to the audience, even if they're not entirely conscious of it. In this example, subject is near a window, so our expectation is that the source of light would be large and coming from the side. But we have added a hard top key life, which does not fit with our expectation and calls attention to the lighting. The audience might ask if there is something they should know about just out of frame and Then they stopped paying attention to the story. Here we've moved the light down and level with the window while not coming from the exact same direction as the window light or coming through the window itself. Our light supplements the naturally occurring light and fits into the scene more naturally . Here we have a scene involving a candle. Again, the audience sees where the light should be coming from and what kind of light it should be . A small candle flickering at or below eye level. We have placed our key light broad in front of the subject and above eye level, which makes the subject appear lit. Now we have moved the key light level with candles and closer to its angle along the subject, but not so close that we cast a shadow of the candle itself. Even when the audience cannot see what is actually lighting a scene such as overhead in an office setting, they take information from the scene itself and quickly, subconsciously making educated guess, relying on their memories of being in similar places. When we have naturally occurring light in a setting, we can work with it, but we don't absolutely have to rely on that light alone. Here we have a subject near a window with no supplement light or Phil. While this might work for the tone of your project, it might be too high. Contrast, depending on yours there so we can supplement the naturally occurring light by introducing a source, Mento appear as part of the window. The audience won't notice that there are really two sources here and believe the window is doing the work of lighting the subject. Here. The subject is in front of the window, but the window acting is a back life again. Contrast is high and might not be suitable for all projects, with the window serving as a bright background, we can supplement this with a source in front of our subject, raising the relative brightness on their face to match the exposure behind them, even though the light is coming from the opposite direction. From the source, we see the matching levels of brightness as well as quality of light, which we'll cover later blends the two together enough that it does not distract the audience to their I. The window is lighting up the entire room from their experience the audience understands that during the day, sunlight coming through an open window will light an entire space by bouncing around the walls, floor and ceiling. As a cinematographer, you have to understand that oftentimes light from a window is highly directional and won't always be able to provide enough bounced light in a scene to expose your subject from every angle. When considering back lighting a subject, it is important to first identify what we want that like to do for us. The common misconception that comes from the standard three point lighting technique is that backlight is mandatory and perfunctory. If we find ourselves in a situation where a backlight gives us no advantage or would call attention to itself for being overly unnatural, we simply don't use it. Here we have a subject lit from the adjacent window. The subject has good separation from the background. Their color and shade are different on their own, and the lens of the camera has are subject shark while blurring what's behind them, separating them further. The audience understands there is a window and has no visual cue to expect any kind of back light coming from inside the house here is the same shot. But with heavy back light on the subject, the audience would immediately believe there is something out of frame shedding light on our subject, perhaps a giant hole in the house. The backlight is distracting and doesn't address any issue with the subject, while it technically does separate them further from the background by merit of being much brighter. Now, in addition to all the other factors mentioned, it offers very little benefit. Here are subjects It's in front of a backdrop, with a similar tone and color to their palate and with similar amounts of light falling on it. The background has no detail or business, and so the separation due to depth of field is very little. This is a situation where we might want to lift our subject off the background and a backlight would be helpful. The same shot with a backlight added. Now our subjects, it's clearly off the background and draws the audiences attention much more clearly important. To note the back lights, it's behind the subject on the opposite side and directly across from the key light. This allows the backlight fall on the darker portion of the subject that blended most with the background. Fill lights are perhaps the most misunderstood portion of lighting subject. It's important to understand their purpose before placing them and determine if they're necessary at all in a given environment. What Philip does for us is determined the lighting ratio, the lighting ratio of the scene is the difference described in stops between our key light side of subject and the shadow areas on that subject. The darker the shadows are, the higher the ratio between the brightest and darkest area, and the more contrast is in the scene. A low ratio, such as to tow one, has the shadows one stock or half the amount of light below the key side and has low lighting contrast. This is a common style of lighting for comedy or less dramatic subjects or scenes. All of our shadow information is visible, and nothing is hidden in the darkness. If we remove some Phil by backing the fill light or board away, or by dimming the source, we increase the ratio, my deepening the shadows. Here we have the subject where the shadow areas are four stops darker than the key side or the shadows are receiving only 1/16 the amount of light as the key side. This ratio would be expressed as 16 to 1. Contrast is much higher and there are details lost in the shadow area. This style is much more common to dramatic or horror subjects. As you can see, by changing the position of just one source changing the amount of Phil, we dramatically alter the lighting ratio and the overall aesthetic of the scene. This is the power of the fill light.
3. Lesson 2: Quality of Light: when we discuss the quality of light, what we really mean is the nature of the shadows casts. Light can bend, reflect refract, breaking two separate wavelengths and apparently be in two places at once. And we can exploit these characteristics to change the light that we throw on our subject. In my experience, it's rare that I would point a bare light source at a subject with nothing in front of the source to shape or change it. This fits with our philosophy of blending the lighting of our scenes with the light that would naturally be there. It's rare in our day to day lives that we would have a bright bare bulb pointed and focused directly at us. Fluorescent lights of the office are often behind. Diffusers are lamps have lampshades are windows have curtains? There are two ends of the spectrum on the quality of light, hard and so all this determines is the spread of a given light source for how much area the light is cast over and how sharp the shadows it casts are. First, we will discuss softening light. Softening light is the most common way we modify a source most often by placing a piece of diffusion in front of. But we should understand what factors contribute to the softness of life. The size of the diffuser itself is the primary factor. When we use a piece of diffusion or a silk or a bounce board, we effectively make that fuser our news source and how large that sources relative to our subject is what determines the lights softness. If we had to diffusers one twice as large as the other, but place twice as far away from our subject, they would cast light the same softness because relative to the subject, they're the same size. That's the reason that in terms of light quality, sun and moon cast very similar qualities of light. While the sun is 400 times larger in diameter than the moon, the sun is also about 400 times further away. Here we have a light softened with diffusion. Exactly three feet away from the subject, I noticed the spread of shadows across the subject's face and how soft the edges of the shadows are. Now. We have moved that exact light twice as far away. After adjusting our camera exposure, we can see the nature of the shadows has changed the relative size of the diffused sources smaller due to distance. And we can see that the edges of the shadows air sharper and more defined in the shadows spread much less than before. Essentially, we have made a soft source harder by moving it away. The material and method of diffusion is the other primary factor in determining softness. There are countless types and grades of diffusion material available. The general rule of thumb is that the more diffusion a material creates, the less light reaches your subject, which is important when trying to determine your exposure filter. Manufacturers will list that light office. There's a filter factor number. They range from roughly 1/3 of a stop for the lightest fusion, usually something like Opal Frost to more than a full stop in half. For something like full great applause. Many light manufacturers that include diffusion material with their lights don't bother list of filter factor with the material. But my observation has been that there often a type of grid material, it loses about one stop of life for even softer light. On our subject, we can go further and use a bounce board. Instead of pointing the source directly at the subject. Here, we conceive the same size and distance of key light as a whore, except now the light is bounced into a white bounce board, and we have compensated exposure in camera again with loss of light again, the shadows have spread even further, and the edges of shadows air less defined. This is a common method to achieve soft key rights. When large diffusion panels aren't available or won't fit into the physical space, We can take this method and apply it elsewhere. Here we have the subject to close to a wall and in a space too small to put a light. But we still want a soft key light by placing a whiteboard or even using a white surface in the space. Out of frame and bouncing are light off it. We achieve the same soft key is before learning to find areas on your set where you can naturally bounce. Light will get you out of a lot of difficult situations. Let's look at modifying light in the other direction, making our light harder. There are scenarios where we want sharper beams of light such as higher contrast scenes where we're trying to mimic beams of light through a window or suggest narrow cuts of light through a doorway. There are more aesthetically pleasing ways to achieve this. Look that don't simply involve pointing a hard light source at the subject. One of the ways we can achieve this is by shaping the light by employing a mirror as a reflector. Here we have the same hard key light on the subject but provided by using a small mirror the same way we would use a bounce and aiming the mirror as opposed in moving the source. Although we have lost some bite from reflecting it, look at the shadows and how much more defined the edge of the shadow is. Since we have all these tools at our disposal, it is important to establish a guideline about what we're looking for in our shadows on a subject, regardless of the quality of light. As humans, we have developed very keen perceptions about the faces of others. It's how we do the vast majority of our interpersonal communication, slight changes or deviations in a person's countenance. Inform us a great deal, and it's where the majority of our attention is placed on others. If shadows are not placed on a subject face in a pleasing way one that does not distort the shape of the face, we immediately recognize it. How and where. Shadows should be placed on the subject changes with everyone in accordance to their shape . But a few rules can be applied to every subject. Here we have a hard keep casting shadows below the eyes. In addition to calling attention to an area absolutely no subject as bond of the shadows at visual weight below the eye, effectively changing its overall shape, making them appear out of proportion by taking the exact same hard light and lowering it to diminish the shadows below, the eyes were returned them to their natural proportion and achieve more naturally pleasing light. Studies tracking the movement oven audiences I across a given frame have shown the vast majority of our attention. What a person is on screen is placed on their eyes when lighting a person considered the eyes First, we will cover this more in the following lesson. Remember, all lighting is a balancing act, and there's no free lunch every time we modify a source. We lose some amount of light because of its nature. Did bounds reflect and refract? And we need to compensate camera exposure for it, whether that's by adjusting our aperture on the lens or by using amore intense light source to begin. Ideally, you have calculated about how much light you'll lose by the kind of modification you want and used an intense enough source in the first place.
4. Lesson 3: Determining Exposure: in this lesson, we'll discuss advanced methods and considerations when setting exposure. When we refer to exposure in this course definition we use is the amount of light from the scene entering the camera. That is to say, exposure comes from the light, reflecting off objects in the space and actually reaching the camera lens. Determining exposure is more than checking a hist a gram to make sure the camera isn't losing information. Exposure is determining what we want our like to do with the subjects it falls on. The first thing we can do to control and determine her exposure is to decide our camera's aperture before turning on any light. How we set the aperture affects the image in a number of ways, and being deliberate about how we want those effects to appear helps us craft the look of a scene as well as maintain visual consistency both within and between scenes Here we have decided that our aperture on the lens should be it at four, and our camera's sensitivity should stay at ESO 400. We turn the light on and immediately we can see it's over exposed. Instead of changing settings on the lens or camera to accommodate the light. It's important to understand that it's the light that we should change for the camera. We've like the size of the light source on the quality of light, so to reduce the exposure without altering the quality way, simply dim the light down or place nets in front of the light to achieve the desired exposure with modern lights. This does not negatively impact the color quality of the light, as it would have in the past, and it allows us to maintain the predetermined camera and lens settings. Remember, we should always move or change the light before thinking about moving or changing the camera or subject as mentioned. Determining exposure revolves around the information on screen and where along a spectrum of brightness, we want that information to fall. What details do we want to highlight and which do we want to fall away? You can think of your image like a dia rama or model that you only see from one angle. When you place more light on the subject in the frame, it moves forward towards the audience and draws their attention. When we take light off a subject, it moves it further back, making it less notable to the audience. Here we have a subject and an object lit evenly. We have set the exposure for both of them at the same level, such that most of the details on each are equally visible to an audience. Now we increase the exposure on the object, not even dramatically, just by half a stop worth of light. And you can see immediately it draws more focus an audience. Would dens of consciously give the object more attention than the subject and the meaning of the shot? Changes from the two sharing of two subjects supporting the object, which is more important here. Now the subject has the increased exposure, and the meaning changes again. Now the object appears in support of the subject. Less important and probably, Justin added, prop to room exposure is about telling the audience what's important and guiding their attention to it. Exposure reveals or hides detail, and this is the tool we have to give the audience deliberate information. That's how we tell the story with light now that we have covered the purpose of exposure and its relation to moving subjects forward or backwards and frame. We can discuss what to do about backgrounds. If we think about the background of the image, like the canvas underneath the painting, we can understand it's purpose background as a foundation for the image subjects sits on when exposing a background. The same rules of lighting ratio apply because we're looking at the contrast between the light and dark and how that affects the aesthetic as a general guide, though not always, the background should be at a lower exposure than the subject to set them off. Here we have a background at the same exposure is the subject waken. See how they blend together? And it's more difficult to determine what in the frame is most important. When we bring the background exposure down by one stop or half the amount of light, the subject moves forward and draws our attention. This creates separation and makes them more distinct. The image is easier to look at, and even though we have taken light away from the scene, it still appears to be bright. Our lighting ratio here is 2 to 1. The same low contrast ratio recovered earlier. Now we have removed even more like dropping the exposure on the background. Three stops or 18 theme amount of light we started with the subject stands out further. The scene has more contrast. This is a common ratio for more dramatic or horror material. Remember, if it's in our frame, we are responsible for it. Every piece of the image has to serve a purpose, even if that purpose is to point. Attention elsewhere in the background is a fundamental element of every image.
5. Lesson 4: Common Scenarios: In this section, we will look at a number of common lighting scenarios that regularly appear on the right and wrong ways to approach them, using the lessons we've already covered. No matter how many different stories air written, the same lighting challenges keep occurring, and having these approaches already worked out will save you a ton of time experimenting and adjusting on set and make you appear twice as experience to the director. Candle is an extremely common lighting scenario, while digital cameras have been sensitive enough to shoot strictly by candlelight for years . The reason we want to deliberately like this scene is because of what we know about candles . As a source, they're small, throw hard, light, cast unflattering shadows and don't even approach the background. Here we have a subject near a candle that in frame, which tells our audience where the light should be coming from. Since we already know that part, we can place our source near where the candle is and further back from it. Our sources level to the eye line to avoid casting ugly shadows up the subject's face, but not so high that appears out of sync with the candle itself. The source is larger than the candle and diffused to soften the shadows It does cast. This is because if our source was as small as the candle and through hard light, the subject would have two sets of competing shadows on their face, which is both unattractive and unnatural, distracting the audience. Now we warm the color of the source, either Elektronik Lee or with gels and match it more closely to the color of the candlelight. We don't need to intentionally liquor our source, since the candle itself is given off light and flickering on its own. Two sets of out of sync flickering would again be distracting for the audience. Here we have naturally, attractively lit are subject while still respecting the natural light present in the scene and not calling attention to the lighting that we have done. Darkness on screen is a paradox Secret. To convene darkness in a scene is to have an area or object of relative brightness that the rest of the scene can fall below in exposure. Here we have a literally dark scene, with no areas of high exposure conveying contrast between light and dark. The audience would understand the CIA's night. But more importantly, they would have trouble distinguishing detail and claimed the scene is difficult to see. Now we have added just one light behind the subject, providing a rim of higher exposure around their face. The exposure is brighter than anything would naturally be during the night. This light gives us detail on our subject. The outline reveals shape and allows the audience to easily understand what they're looking notice. The background has very little exposure. The dead giveaway between lighting for darkness and executing a day for night effect is the relative exposure in the background of frame scenes shot at night tend not toe have very much exposure in the background. Where is day for night? Shots cannot avoid background detail. Here is a frame shot during the day and affected in post to simulate night day for night. Although technically it has the hallmarks of what we think night should look like. The presence of background detail gives it away as in effect and can distract the audience . Another common scenario we find ourselves in is the desire to light from above. Lighting from straight over top of a character can convey a moody dramatic aesthetic appropriate for tense, intimate scenes. The issue is that relying solely on an overhead light casts long shadows on the subject's face, changing its shape and appearing unappealing to the audience. This is a situation where employing fill light can save us by moving a bounce card directly below the subject. Opposite the top key light, we can fill in the face and provide exposure to the important areas of detail. The eyes, the mouth. By angling the Fillmore upwards, we can place more emphasis on the face and less under the chin. This is a valuable approach to learn before shooting a scene around a desk in the dark or a game of poker. Here is a common scenario that many cinematographers tend to overthink or approach to broadly. You have a scene of two subjects facing each other. Each needs a key light, and you've decided that each needs a backlight for separation. On paper, you might be afraid that this is a four light set up, and you could end up fighting multiple sets of shadows all over the set. Our approach here would only use two lights each, providing the key light for one subject and panned to provide the backlight on the other with both lights on the opposite sides of the subject. From camera, we achieve an attractive, narrow key light on both subject faces, with a portion of the spill from each light landing on the closer subject. And here we have the same set up, but with one light. As before, we can use a shiny reflector to substitute for one of the lights and provide a key for the further subject. While the exposure on each subject is not as equal, this approach could fit a scene with one large source in the environment, such as a window. By using as much of the light as we have from one source weaken do the work of four.
6. Lesson 5: Advanced Techniques: I lights are a powerful but not required tool that we can use to draw more attention to our subject. When discussing I lights, it's important to know that they don't come from pointing light directly at our subjects I but rather by placing a source within a range of space between the subjects of visible I and the camera. Because the I is curved, we don't necessarily have to put the light directly on the camera itself, but can use lights ability to bend and reflect to place the light just off line of the camera and achieve the same effect. Here we have the same subject with around I light placed just above camera and dimmed so as to affect the overall exposure as little as possible. I light don't require the source to be very bright at all. Since what we see in the subjects, I is a reflection of the light itself. What matters most is the placement and size of the source. Here is the same subject with the I light provided by a large bounce board just beneath the camera. Very little light is falling on the board itself, but because it is large and placed between the subject and camera, it appears very bright. While a very attractive technique, it is important to remember that by its nature, the I light will be very visible to the subject and so you must take care to keep it from distracting them by being overly bright or overly obtrusive. Lighting for a space rather than a single subject is a very common scenario we find ourselves in often character blocking and movement will take them through an environment, and we do not always have the tools to allow our perfect key and fill to move with them. We can solve this issue by lighting the space to allow them to move through it and maintain the lighting quality and ratio we want. The simplest method to light the space is to take the highest intensity source we have for the key and bounce it off of the ceiling or a white bounce board placed on the ceiling. Remember, bouncing the light is diffusing it, which spreads it over. A greater area with this method were essentially making the ceiling our light source, providing a key light to everything under it. Now our subject can move around without us losing our light. Now let's assume you find yourself in a scenario more common than we want to admit. You have to light a subject. Can you only have one life? If this hasn't happened to you, it will. And if it has, it will happen again. In this scenario we have to approach is that we can rely on. The first is to use the light is a strong back flight providing separation for the subject . Except we pan the light just off of the subject enough that we can move a bounce card close to subject's face, which instead of a Phil now works as its own key life. The second is to use our light as a key light from the front in the first place. Then we can use a bounce or a shiny Reflektor just behind the subject and create a backlight. As before, we panned the light off the subject just enough to allow light to get the bounce behind them and reflect back onto the subject. In both scenarios, there is enough light pointing over the subject shoulder that we can employ a second bounce card and create a fill light. If we want to adjust the lighting ratio, you see we have essentially a three point lighting set up, using one light in two distinct ways. If the light was replaced with a window, you can reasonably shoot without artificial lighting all together. One very important subject to approach one that I have not seen covered but will make you absolutely indispensable as a cinematographer is understanding kindness to subjects. Here is the subject's face. The arrows denote areas of the face the average subject is self conscious about, while you, a cinematographer, may have an idea for an interesting lighting set up. What you need to understand is that all humans in their respective cultures have preconceived notions about what constitutes an attractively portrayed person. You need to be able tow work within these biases if you are interested in keeping your job because every subject watches the dailies, and if the lead in a film thinks you're portraying them poorly, the director may have to choose between you and their star, and that is not a fight that cinematographers often win. The trick to attractive lighting on the subject lies in the exposure and placement of the shadows. Our goal is to lower the visual contrast in areas of concern by lowering the lighting ratio where possible and avoid increasing exposure on areas of concern. Here we have our key light below the subject's eye line. What this does is increase exposure under the chin, an area that no subject is happy with. This placement emphasizes the roundness of the face shape, and de emphasizes the eyes. Now we have the same light raised up 30 degrees above our subjects. I lied. This increases the exposure on the eyes and casts a shadow below the chin de emphasizing the area as a rule of thumb. Keeping the light and camera just above eye line will flatter nearly every subject and should be your default starting location when setting up medium and close up shots. Here we have a light said above the subject's eye line. As recommended, however, the light is high enough and hard enough that it casts long shadows beneath the eyes, increasing contrast and attention to another area of concern. We can and fill light to this set up to lower the fighting ratio on the face, but the shadows air still prominent because their edges are well defined now. Way have diffused of light, softening the edges of the shadows and de emphasizing the area under the guise. If we add Phil, we further increase exposure on the eyes themselves and draw attention away from under the eye area. If you are vigilant in watching for shadows or contrast on areas of concern for your subject, your subjects will very quickly learned to love you.
 Joe V.