Transcripts
1. Welcome: Hi, everyone. I'm Content Call. And in this course, I'm
going to show you how I use Adobe Express to create
professional content, edit photos and
videos, use AI tools, schedule your posts,
and even create print-on-demand products
right through Adobe Express. If you're a content creator, artist, educator, or a
small business owner, this will really help you. This is my go to product
for creating content quicker and easier with
more sustainable workflows. By the end of this
course, you'll have the knowledge to create
social media graphics, edit your videos, use AI tools, and build a content
workflow which is sustainable and
less time consuming.
2. Overview of Adobe Express: Before we get into the details, let's get comfortable
with Adobe Express. To get started, you can open your browser and type in
express at adobe.com, and this will take you to the
Adobe Express Landing page. Alternatively, you can also use an app on your tablet
or your phone. They support both
devices as well. I find it kind of comfortable
working on my laptop, so I always use the
web browser version. So once you're on
the landing page, you will see a few options. You have a search
part where you can search for templates or
anything that's on your mind, like a color palette
or something, and it pops up with
some of the options. Then you have getting
started either with a new design from a scratch
or a photo, create a video. Then you'll see your recent files that you have
been working on. As usual, I've been working
on my YouTube a lot lately. So you see my YouTube
thumbnails here. Then you have the quick edits. This I use a lot on my phone. The QR Code generator is handy if you want to
create pamphlets or handouts with your web
page or your scores URL. Instead of typing
the entire URL, the QR Code is cooler. So you can generate
your QR codes here. You have a clip
makeer which converts your long form videos into shorter clips for social media, removing a background,
creating PDFs, and a lot of other quick edits
that you can use quickly. Have the templates,
I always go to the templates to get started with anything that
I have on my mind. So a lot of templates
to choose from. And if you go directly
into the templates, you will see you have them
sorted by seasonal moments, by the layouts,
social media, print, whatever you're looking
for, you can even filter them based on your
style or your mood. Then you have your photos here. You can choose from
Adobe stock photos. You have some videos you can
choose from if you have, you know, B roles to create
and things like that. So you have some
beautiful B roles that you don't even have
to shoot sometimes. And design assets, backgrounds, text layouts really handy. Text layout is really
handy, especially me. I don't come from a
graphic design background. So something like this is very difficult for me
to imagine and create. So I find these
text layouts really handy to create
social media content, and you can directly use
it from here as well. They are available in your
templates, too, and many, many stickers and web page templates as well
to choose from. That's your homepage
options that you have. When you go back
to your homepage, you have something on
your left panel as well. You have the home
option which just takes you to the
homepage, the R stuff, which is basically
if you have saved your files into folders,
you will find them here. When you go to your stuff, you will see some of
the files that you have been working on which
will appear here, if you go to projects, I have some of my reused content saved into folders or projects. For example, I have my
brush branding content here which has everything
related to my brushes, pamphlets, handouts, um even some visual boards
and things like that. Everything that I
have created for my brush branding
from Adobe Express. Then for posts and stories, you can store them here so that you can reuse
them again and again. Some of the posts and stories
you must have seen on my Instagram are actually
created here and saved here. So that's what you find in your stuff. Then
you have templates. I already talked
about templates. And when you click on
three dots for more, you will be taken to brands, Schedule, learn and add ons. So click on brands, and this is where you will
see all your brands saved. So I have three different
brands that I have saved. One is for Adobe because I use Adobe related graphics
quite often in my content. So I have one separate
brand created for that. Then you have my website
brand that I have, which has all my colors, my logos, my fonts, which is just easy to reuse
and save in one place. So this is all my
colors together. And I have a separate
brand created for YouTube, as well, because for YouTube, I have a slightly different
color palette there, and I wanted to save it as a
separate brand for YouTube. So here you can
create your brand, and then you can go to Schedule. In Schedule, you have basically
your content scheduler. So here you can schedule
all your content, and I'll talk a
little bit more in detail during our
scheduling module. And next you have the learn. Here you have so many
different articles available for learning. So you can always go
through, read them. You have some expert
advice videos, which I find very handy
every once in a while because I don't have a
graphic design background. So here you have
graphic designers talking about some
of their advice. And next you have
something called as addon. Add ons are basically
something you can add on to Adobe Express. There are a lot of different
things to pick from lot of different things
to search from and select and play around
with for add ons. And that's the entire overview
of your Adobe Express. In the next module, we
will go into the detail of creating our Bankit and our
logos. So I'll see you there.
3. Brand Kit & Logo Creation: First thing is, let's
create a brand kit. I'll show you how
to get that done. First, go to your homepage and click on the Tree Dots
and go on brands. And here you will see some of the brands that
I already have, like I showed you before, but you can create a
brand from scratch. So create brand. You have the manual setup
and you have the option to extract brand from or upload. So you can either upload
a picture or a website, screenshot or a mood board to select kind of the fonts
and the colors from there, or you can do a manual setup. I'll walk you through
the manual setup. So in the manual setup, just create your brand name. So I'm just going to say
Adobe Express course, and you can choose
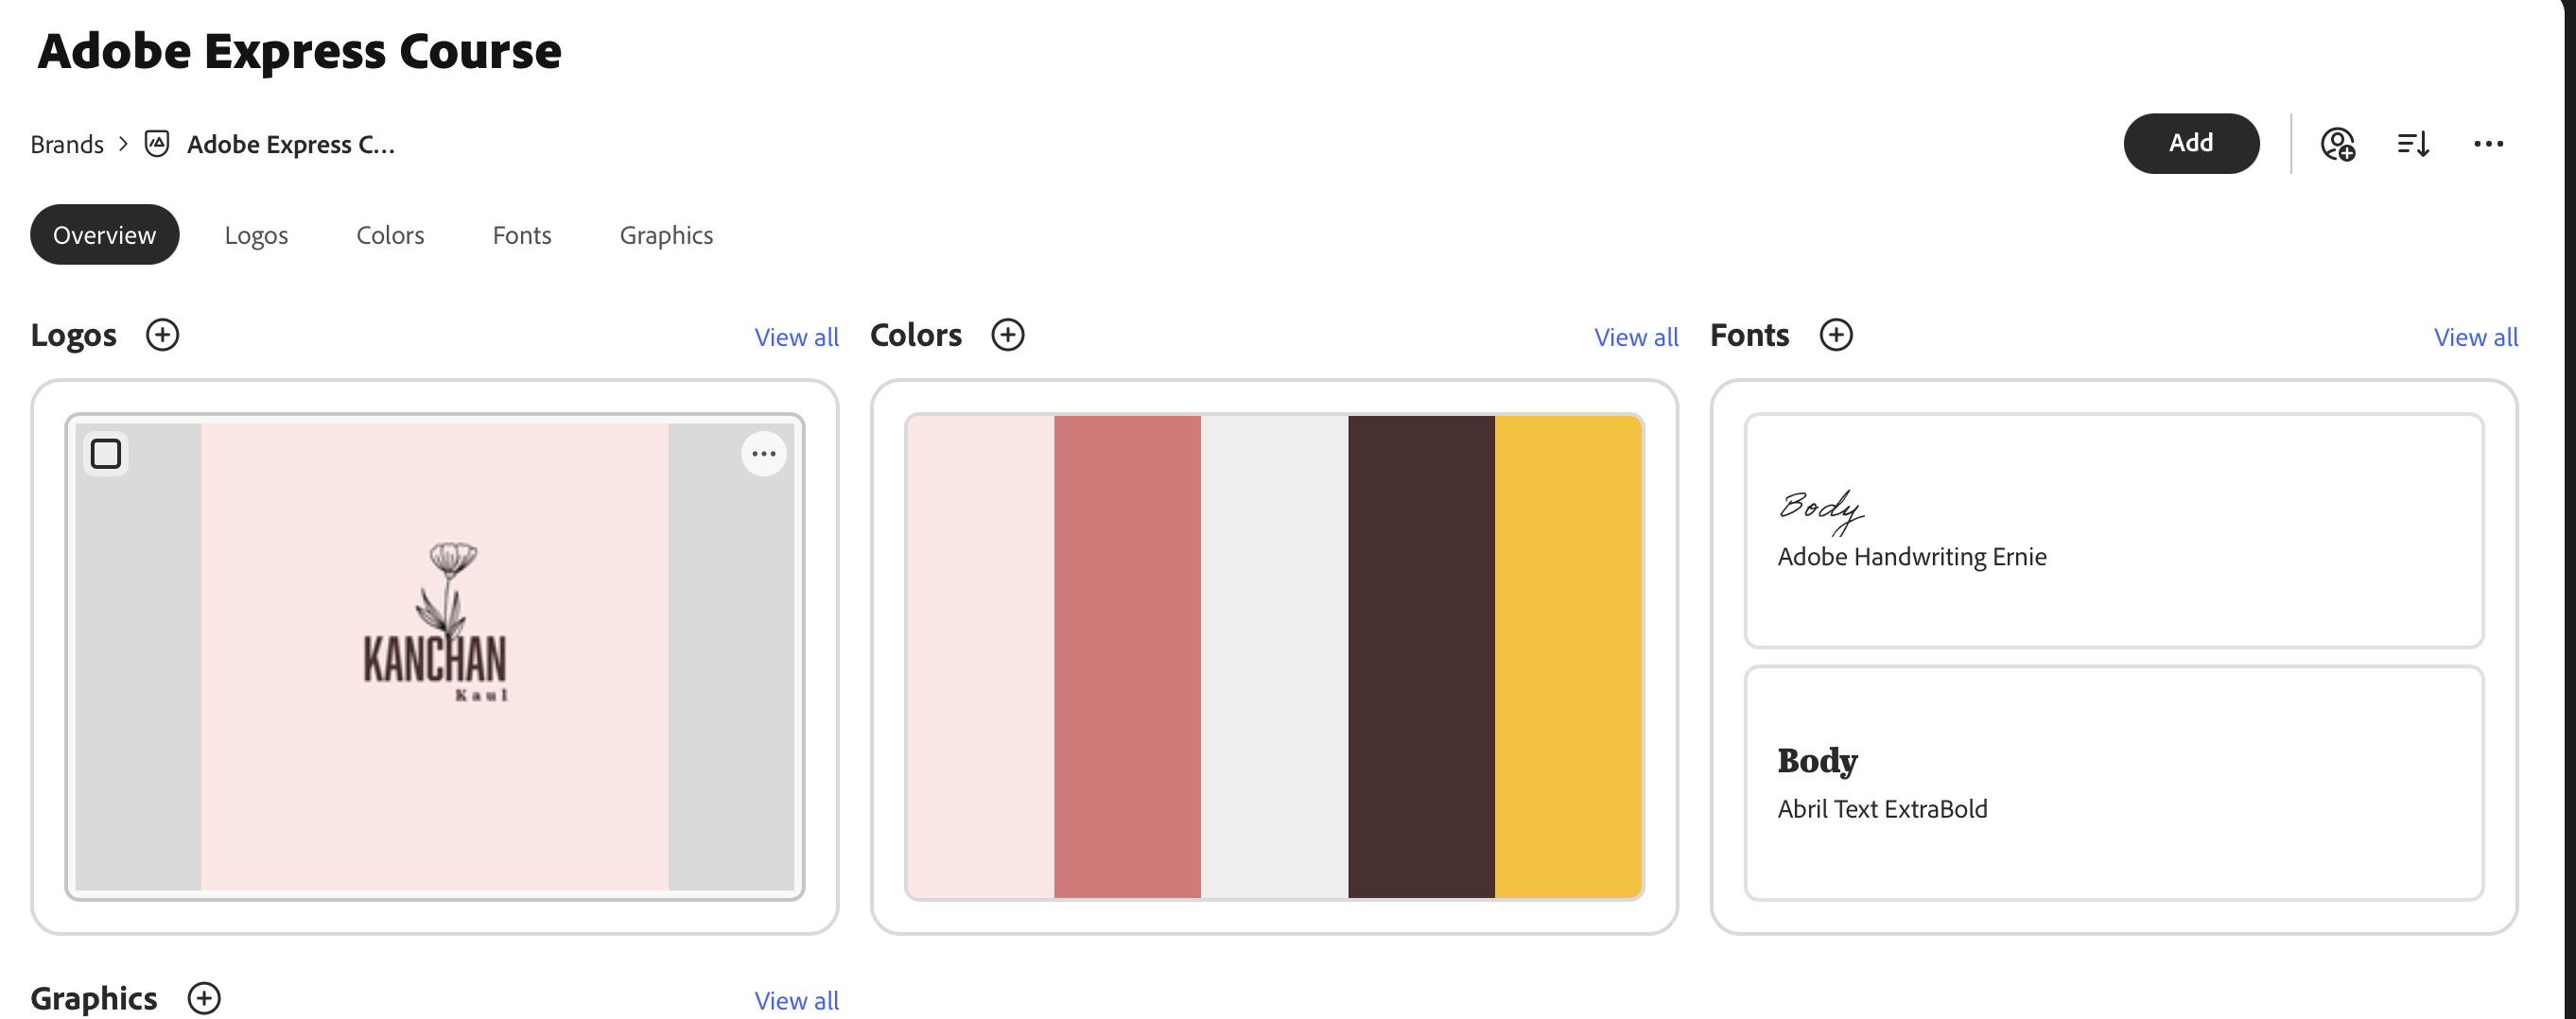
where you want to save this and click on Create. So here you have the
option to add your logos, colors, fonts and graphics. If you already have a logo, you can go ahead and upload it. If you don't have a logo, you can actually first create the colors
fonts and graphics, and then I will show you
how to create a logo. So go to colors and add colors depending
upon how you feel. If you already have a website, you can pick the colors from your website and add it here. For example, here, you can add a hex code for your
website colors that you have. And if you're starting
right from scratch, you can just pick the colors based on what you really like. I'm these days into
pastel colors, so I'm going to go for those and just select a few that I think
will work well together. So here I have a
few light colors, few darker tones, and I'm going to go for
something like this. And maybe a accent color
which is like a yellow. These days, I'm
into yellow a lot. This is what my
entire brand color I think this is the mood
that I'm going for. And I'll click on Add. Next for fonts, usually, my recommendation for
fonts is have a subhead of font font for the body where you write
the big paragraphs, which are easier to read
and one accent font. So I'm going to add
those fonts here. So let's see for a heterophont, I think something which
is bold and stands out. I think this one is a
great head of font. And you can change
the role here, head or body or none, and then I'll have another
font for the subheader, so I think this one will go well with the header
that we have. And here it has selected all the different
options for that. So I'm just going to
move the ones which I don't want and just keep
the ones that I want, and I'm going to remove it and change the role for
this to header as well. So these two header
and subheader, I think, go well together. Then another font for the body. I think something
which is easy to read, Aberl text, something I
think is easy to read. And this is all the
body fonts that I want. So you can, you know,
use different types of fonts for your website or anything that
you're creating. You can actually remove some of the ones
which you think are not going to be used. So yeah, you can just let everything that
you think will not be used and delete them to keep it a little clean
and easier to maintain. Then an accent font. So for accent font, I write
something which is cursive. So let's look for
a cursive font. This Adobe handwritten
font is quite cute. Maybe I'm going to
just select that. And in fact, online, if you go and search for Adobe
fonts which go together, they have really good
combination fonts as well that you can select and just search for that
font here and add it to your fonts page. So this creates all the
fonts which keeps it kind of work floor very simple and you don't have
to keep selecting fonts. Next, you can add your graphics, so it's something that you
reuse again and again. Like artwork that you have that you kind of want to
keep standard across the stuff that you
create either for your social media or for
any print on demand, like, you know,
handouts and pamphlets. So I have one picture that I think will go well
with this theme, and I want to add
that here to see how this one works with
brand that I'm creating. So this is one of the
pictures that I recently drew and I wanted to kind of reuse it in one of the brands. So now this is your brand
that you have created. Let's go ahead and create a logo so that makes
the brand complete. So go back to your
homepage and search for templates and
just type in logo. Here you have a lot of logo
options to select from. If you're confident, you can
just create from scratch. But if you're like
me who doesn't have a background in graphic design, you might find this
a little handy. I usually resonate a lot
with something which has a floral or nature
element to it. So I kind of kind of want to pick something which
resonates with me. So I really like this. Maybe I'll use this
to create my loco. So let's go to this and
select customized template. So what you would do is
change the text, so Can chin. Call. And I want to change
the colors to my brand. So go to brands and select the brand
that we just created. And I want to change,
maybe the fonts. So select all the
fonts that you think will work for this and
click on apply brand. So this kind of changes the
colors and fonts and mixes and matches to show you
what you want to pick from. So a lot of different options that
it has created for you, or you can just make something
on your own, as well. Yeah, I like the
simplicity of this, and I'm gonna keep it like this. Um, maybe I'll just move
this here my last name, and I want to move this
flower a little bit up here. So this looks good, and move this to the center. And this is my brand logo. Now go to Download and
select the format. So PNG works well, but you have other options
and just select download. So this will download the
logo that you just created. And to complete your brand, go back to the brands page. So go to brands and
select your brand and select the logos and upload the logo that
you just created. And with this, it's done.
4. Photo Editing: This module, we will see some of the photo editing features. So go ahead and click on Edit photos and select a
photo that you want to edit. So I want to edit a headshot of myself that I want
to use on my website. This photo is a bit dark with the light being
in the background, so I'm going to use some of the editing and
enhancing features here. So as you can see, this
photo is a bit dark, so you can use the
adjustment tool, so you can say Auto Enhance. But the auto enhance is not
really made it brighter, so you can always go ahead
and adjust it manually, go to brightness and
increase the brightness. So this gives a bit more
brightness to this picture. Next, the removed
background option is really handy to just
remove the background, and you can use this
with a new background. So if you go ahead and
select a background, you have a lot of options to select from, which are random. You can be as random. Or you can give a prompt to your AI to create a
background for you. So what we can do is go back and here you have
some prompts to select from. So I'm going to say add spring
blooms and see what kind of background AI creates for me. Not bad. It has given me a really beautiful
outdoor look to this from my studio to
outdoors very quickly. I'm going to crop this
photograph a bit. I want it to be a bit smaller, and you have the option to
select a square, as well. So I want it to be a square
and I'll just press Enter. And this is my updated
picture that you can use. So this is some of the options that you have
for editing your photos. You also have filters. So I feel that this
picture is a bit bright, so you can always add filters. You have these filters
to choose from. You have the cinematic filter. And yeah, many
different filters. I really like this filter, so I'm going to
keep this filter, and you have tones
to choose from. I rarely ever do it
for my headshots, but I have done this before for some of my
artwork as a background. So this is some of the
options for photo editing. Go ahead, upload your pictures, upload a photograph of
your artwork or anything else that you want to edit and play around
with these options.
5. Video Editing for Social Media : In this module, I will
show you how to edit videos and some of the options you have for editing videos. So go ahead and select Create
video on your homepage, and you have the option
to create a video which is for YouTube
or mobile video. Usually, I'm creating
a lot of reels, so mobile video it is. So you can browse templates and reuse something
which is already there. Or you can create
something from a scratch. So start from a scratch is
one option or add media. So select an Ad Media, and here you can select from the stock images
and stock videos. I will go for stock images
and stock videos to just show you what
are the options here in video creation. So go here and select
this and in this video, the theme that I'm
thinking is more like how nature inspires
me for painting. So I'm going to add some B rolls and videos from the stock images and photos to create this reel. Then you can go ahead
and add more content, so you can say
media and here you search for painting
or paint brushes. So I like this, and it kind of is matching my theme
of my color as well. So here you can either add as
a layer or a new sequence, so I'm going to add
as a new sequence. And you can add a
voice over in this. What are your
thoughts when you're creating this video, right? Yeah, I want this
theme to be nature, how nature inspires me, and I want to create
based on that. I really like this
video as well of flowers being laid
down on the table. So I'll add this as
a sequence, as well. And I'm just playing around
to see what looks good. So you can create a
video like this and, um, kind of have a voice over to create a
real and see how that goes. If you aren't creative,
just like me, like I'm struggling with
thinking about this, you can have a template. So let's create a
video from a template. Go ahead and create video,
select browse templates. And here you will get a lot
of templates to select from. And this is my way of
creating because I'm not too confident about my
skills of editing. So I like this simple template
for a quick shot reel. So here I want to
replace this video. So what I'm going to go here
and collect and replace, and you can upload or replace
or you can even add videos. So I'm going to go
here and do this. That's how easy it
was for me to create a placeholder reel
for my Instagram. So you don't have to be burning out creating art related video, but just this one, like a simple 7 seconds real saying never stop
exploring, and you never know. This might even blow
out if with good music. Talking about music,
you can add audio. So go ahead and select audio. You can record a voice over. You have some files
which are available, which has beautiful songs
that you can just pull in. I think this one
goes really well, so I'm going to pull this in. And this is my entire video. Let's start from a picnic. And that's my lovely
video that I created. So a lot of options to explore starting from scratch or starting from a template. You can change
this fonts to suit your style or your brand
and go from there.
6. Print and Deliver from Adobe Express: This module, we will
see how we can create print-on-demand products
right from Adobe Express. For this module, I will be using the logo
that we created, and I will be sending out print-on-demand for stickers
to create for my logo. And I've done that
before for my artwork, for my logo, for my brand, and created these stickers
that I have used for all my products that I sell
and packaging as well. So if you go on this
cute little truck icon, that is basically your
print-on-demand screen, and here you have the option to select cards,
invitations, fliers. Right now, the options
are a bit limited, but it does have a few
things which you can work with and pillows
and stickers. So I'm going to go for
a square sticker sheet and resize it. It says you need to resize it. And you can select which pages. So there's only one
page in this case. I want a sheet of stickers. I want it to be square. Or maybe round, I don't
know. Round looks good. So you can have a round sticker, as well, which is
created from here, and you can just add
it to your cart and ship it for your
print-on-demand stickers. So I have created mugs from here for Valentine's
Day for my husband. I have created cards here, which I send out along with my packages and some
stickers as well. So it's really handy to have it. Again, you don't
have to download it and then upload it
to a print-on-demand. Page. I think the
prices are very good. They get printed by ASL, and it has tracking
and everything, so it's really quick and easy. So I would highly recommend
if it is available, something like a sticker
sheet or posters and cards, I think something you can always explore for print-on-demand. So that's another
quick little module, and I would love to see what
you have printed. So let me.
7. QR Code Generator: In this module, I'm going
to show you how we create a QR Code for the quick edits. So go back to your homepage
and select generate QR Code. Here you can have
the option to choose the color you want your
QR Code to look like, and you have the options
to choose a style, make a border, and a lot of
other options to choose from. You can paste your URL here, so I'm just going to paste
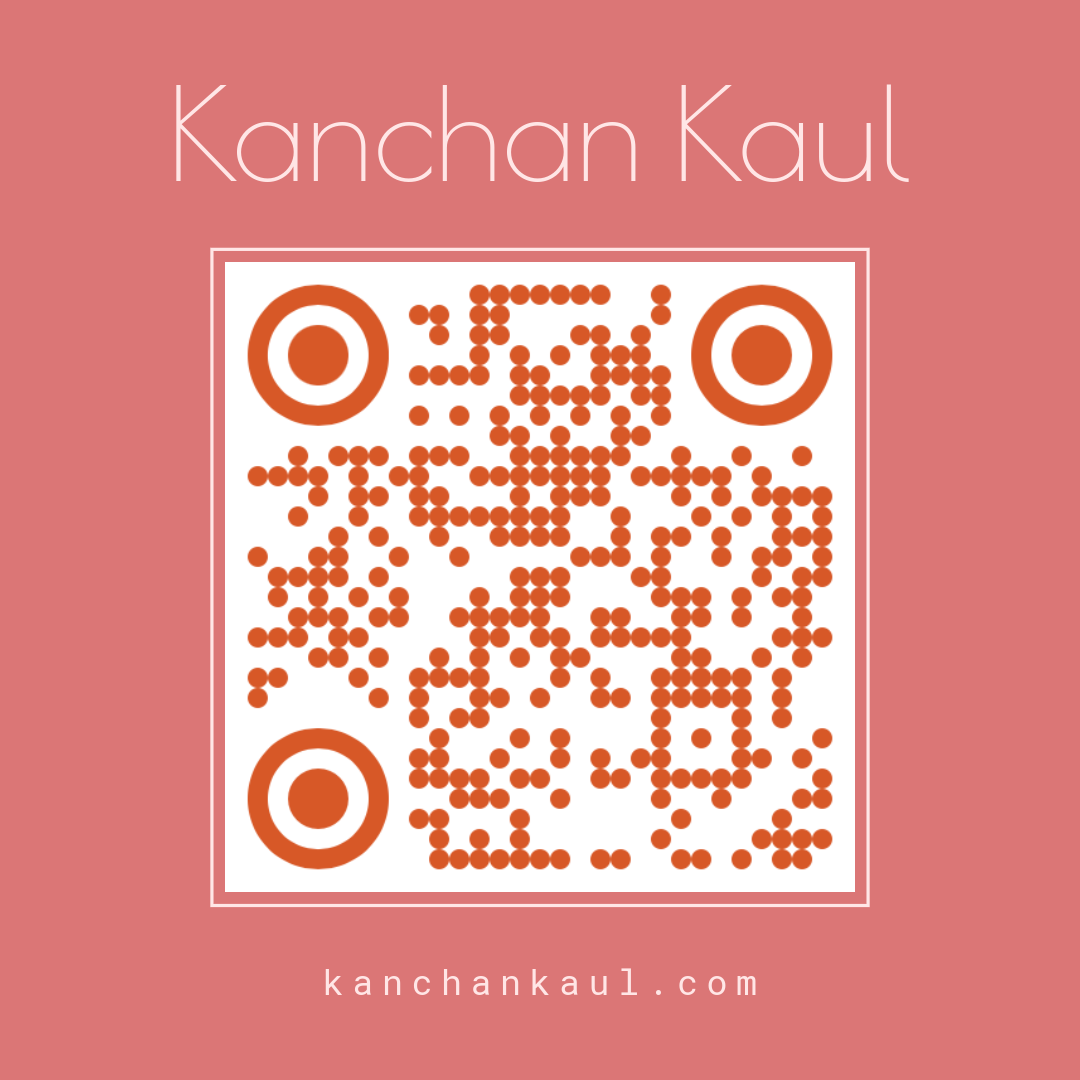
my website link here, and it will process my QR Code. And this QR Code can be used for different posters,
invitations, business cards. What I have done is
created this QR Code for my website and
used it for my um, posters or invitations
that I add to my brushes that I sent out. So just pick something that works for you
and go with that. So you have so many options
to choose from or you can just open it editor and
create something of your own. Um, yeah, it's so convenient and so useful to have this generated right
in Adobe Express. Again, there are so many
tools to do this for you, but you don't want
to have your QR Code generated a separate tool
download it, upload it here. Everything in one place is
actually so much less time consuming and just
easier to manage. So give it a go. This is a very handy tool for anybody who has a website or a link that you want
your users to go to and templates that
you can select from. And I can go to my brands
and say Add brand, and it will actually
just add it. So if I want only the colors, so you can just keep
selecting colors to see which one really works
for you, this is good. Then I want to probably change this title to concent
call and brand name. Instead of brand name, I'll
just say conchoncall.com. So the people know
where they are going when they
select this QR Code. So this is cool, and then a use case would be to print
it directly from here, create a sticker
from this or a card, invitation card or
anything you want. I create a sticker and
post it on my packaging. So this is a quick way to stay
within the same ecosystem. You don't have to
keep downloading and ploading to different sites. So you kind of eliminated three
sites with this workflow. You don't have to go to
a print-on-demand site. You don't have to go to
a different editing tool and you don't have to go to a different QR Code generator, all in one place
in Adobe Express and it really makes your
life so much simpler.
8. Scheduling for Social Media: Alright. Now, I'll
show you something that I use a lot as
well on Adobe Express, which is the scheduling tool. And I love this tool
because you don't have to download anything and then
upload it to a scheduler. Everything can be done
within Adobe Express. So I'm going to use that
same video that we created. And that can be posted
on my social media. So what we can do is go
ahead and schedule it. So go on share. And here you have the option to schedule it directly to Tik Tok. If you're on TikTok, I'm not, or you can schedule
the post on Instagram, click on Schedule Post, and it's going to be a real. Here you can write a
caption or generate. So you can write
something like Exploring is my creative outlet. And you can generate some so you can generate
a new caption, rewrite it, short
on it, lengthen it, so it has some AI
capabilities here. If you like it, you can
insert it and insert it. And that's pretty much
what you have to do. So you can either publish it directly or you
can schedule it. I'm going to schedule this for a future date maybe on a
Monday, on a certain time. You can select the time
as well and just say schedule so you can
view this schedule now. If you go to the calendar, you can see that you have
your scheduled video appearing here and you can create a schedule for
your entire week. So it doesn't have
to be just the ones which you create Adobe Express. You can add new posts and videos directly
from the scheduler. So if you browse, you can create your videos here and post here. So I created Adobe Express one, which I was using. I have created this one. So let's schedule
this this post. So this post is
something I created on Instagram sometime back
through Adobe Express, and I want to schedule
it for future so you can select all the
pages you want to schedule and say upload and
write a caption for this, select the channel and this will be posted
without any intervention, without downloading all
these files, uploading them. Everything is in one place. So that's a quick update about scheduler,
and I love this. It is a great tool, especially if you've
created content on Adobe Express and
you don't want to download it and save
it in another folder. This is a very good way
of keeping it clean. The workflow simple,
straightforward. That is pretty much what
I have for Scheduler. So go ahead, try it out and
let me know how it looks.
9. Final Thoughts: So this is my entire workflow of all the tools and techniques that I use in Adobe
Express to create my social media content and print-on-demand
stuff as well. And I hope you found it useful. Give it a try. It is a very
strong and powerful tool. I would highly recommend
it for any creator, educator who needs to have
their own branded content for social media and even
for physical products.
 Kanchan Kaul, Artist and Illustrator